

Start here / Matelume 1.0.4
One image.
One material in your scene.
Choose a real design you want to use. Make a small test, bring it into your 3D software, and judge the result under your own light.
5-day trial from your first linked PC. Exports up to 2K with a watermark on the Color map. Account and internet required. The trial does not start a paid subscription.
Give it a good starting image.
Use a straight-on, sharp image of a flat design: your artwork, a licensed pattern or a suitable material swatch. Avoid folds, perspective, glare and shadows. This release is designed for flat images; a room photo is not a material scan.
Have the real width in mind. A 20 cm repeat and a 2 m repeat should not produce the same-sized threads or paint marks.
What are you making?
A pattern with a surface you can feel.
Control the weave, raised parts, stitching and construction.
02 / Wall artYour artwork, ready for the wall.
Choose paint relief, metallic areas, varnish and a frame.
03 / MarbleThe stone your design calls for.
Control repeat, scale and how the surface catches light.
01 / Fabric
Decide what the pattern is made of.
- Choose Fabric and load your flat design. Set its real-world size and prepare the repeat if you need one.
- In What stands up, select the raised parts. For a flat printed or woven design, choose Nothing stands up; Height and Stitching are skipped.
- Choose the ground weave and judge it live at true size. Or choose Rely on the construction and select a construction to provide the surface.
- For a raised design, try the stitching controls. Preview, then export a 2K test and check it in your scene.
A useful test: use the same image for a flat cloth and a raised design. Compare what changes when light crosses the surface.
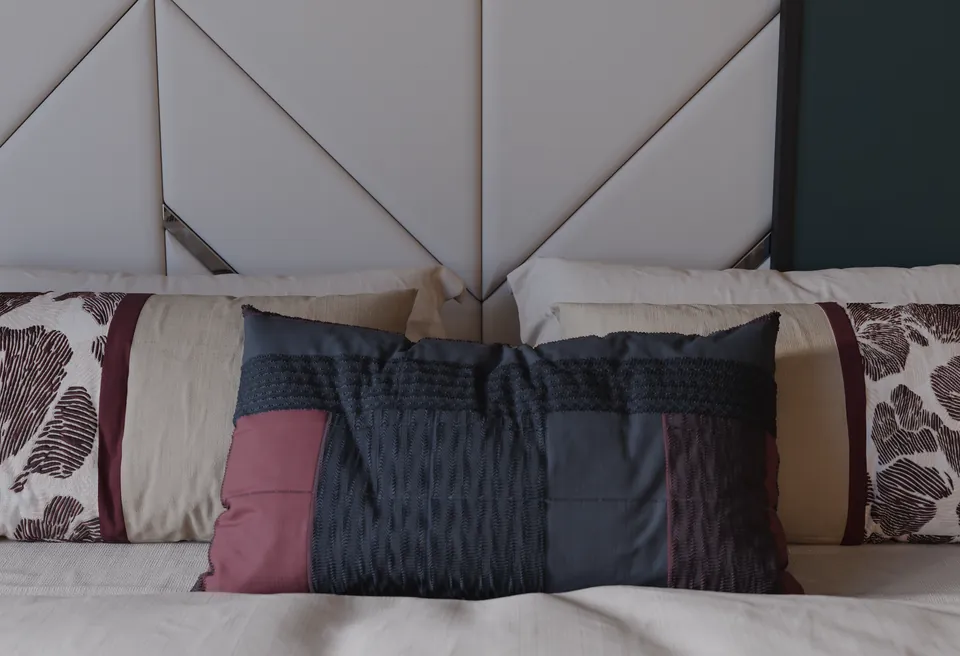
02 / Wall art
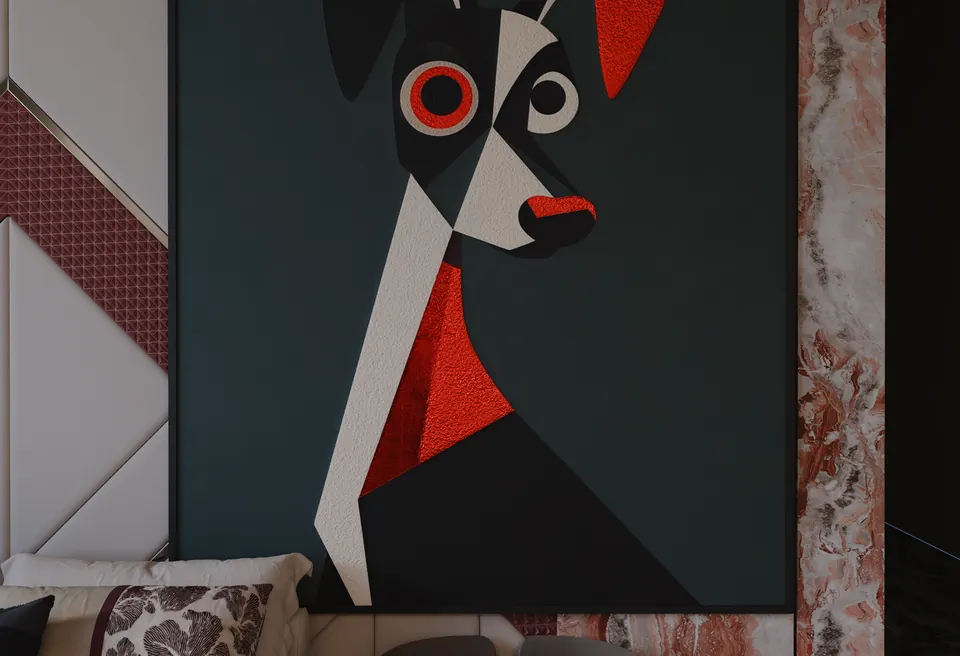
Keep the painting. Choose its surface.
- Choose Wall art and load artwork you have the right to use. Set the size it should have on the wall.
- Choose which parts get bumped, or Nothing for a flat artwork. For raised paint, judge the marks in the live close-up.
- Choose the finish. If the artwork calls for metal, select those colours; do not turn highlights into metal just because they are bright.
- Choose the frame, preview the result and export. For the 3ds Max framed-art FBX route, Matelume also needs an installed Blender to perform the conversion.
A useful test: move the scene light to the side. Judge the paint relief and frame at the intended viewing distance.
03 / Marble
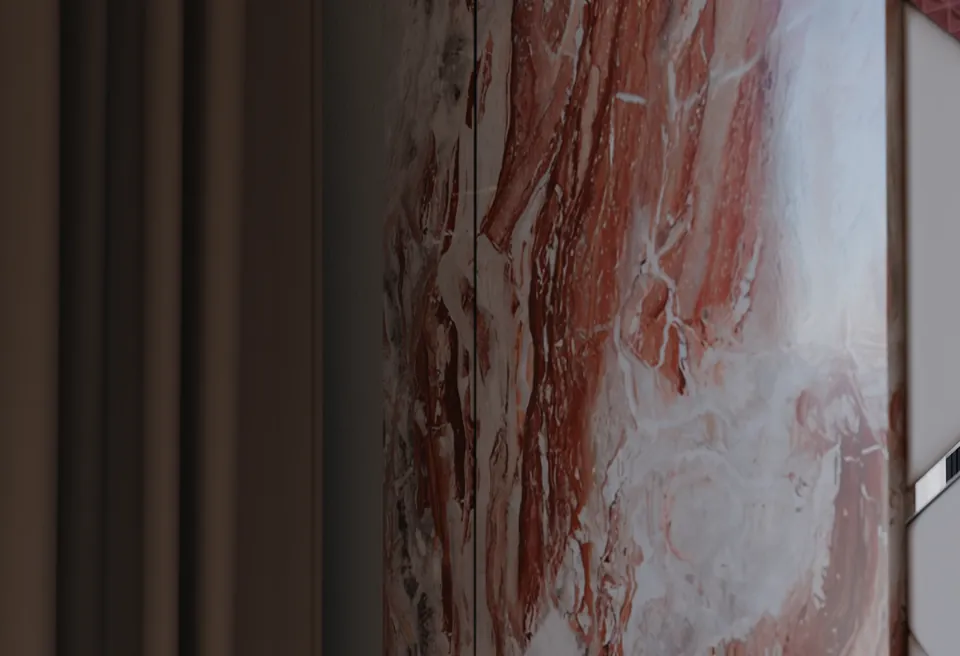
Make the veins belong to the room.
- Choose Marble and load a clean, flat stone image. Set a believable real-world size.
- Make the slab repeat with Best join and set how much of it is kept, or choose No seamless to use the slab once. Check the join and the size of the veins.
- Choose the surface detail and finish. Compare the veins with the surrounding stone instead of adding relief everywhere.
- Export a 2K test. Inspect the repeat and reflections on a simple surface in your own scene before applying it across a large wall.
A useful test: look at both a wide view and a close-up. A material needs to hold together at the scale where you will use it.
Finish the test in the software you use.
In Matelume, choose Export the maps and check the saved summary. Install the matching Blender add-on or 3ds Max plugin, then import the export folder through its Matelume panel. Blender uses Cycles; the 3ds Max plugin supports V-Ray and Corona.
Check scale, seams and the finish under your scene lighting. Use a simple object first so mapping or scene setup does not hide what the material is doing.
Blender import instructions → · All import and export guides →
Stuck at a particular step?
Tell us the material type, the step and what you expected. For an export problem, include build_log.txt from your export folder. Only share an image if you have permission to share it.
Get help with your material →