

Matelume / Guide
A little guidance.
A material of your own.
Current release: Matelume 2.0 · 30 October 2026
Start with your first flat image, or go straight to the tool you need.
What are you making?
New here? Start with your first fabric →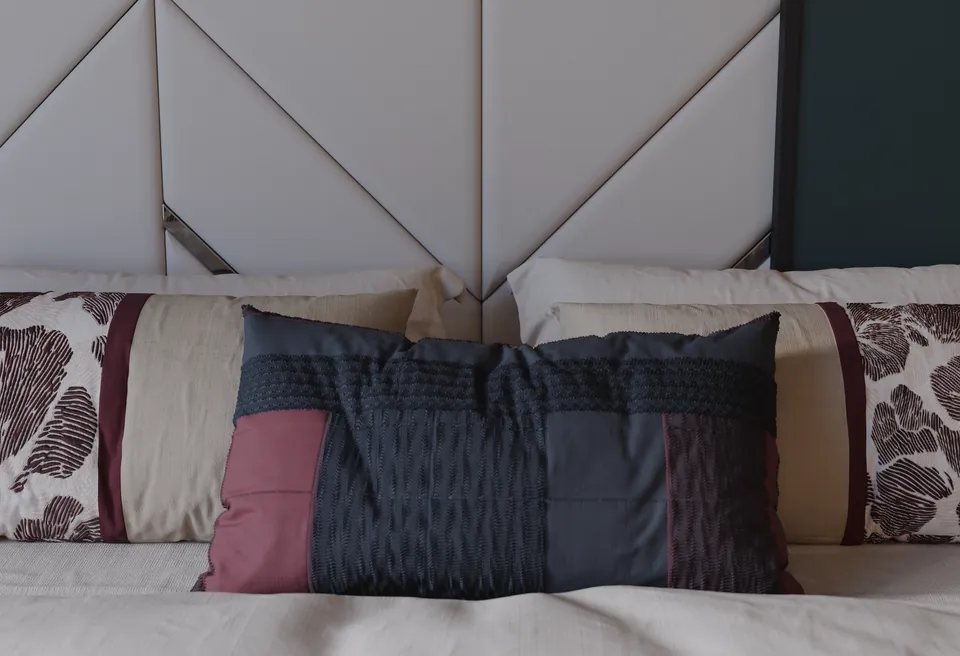
Fabric
From a flat pattern to weave, raised detail and stitches.
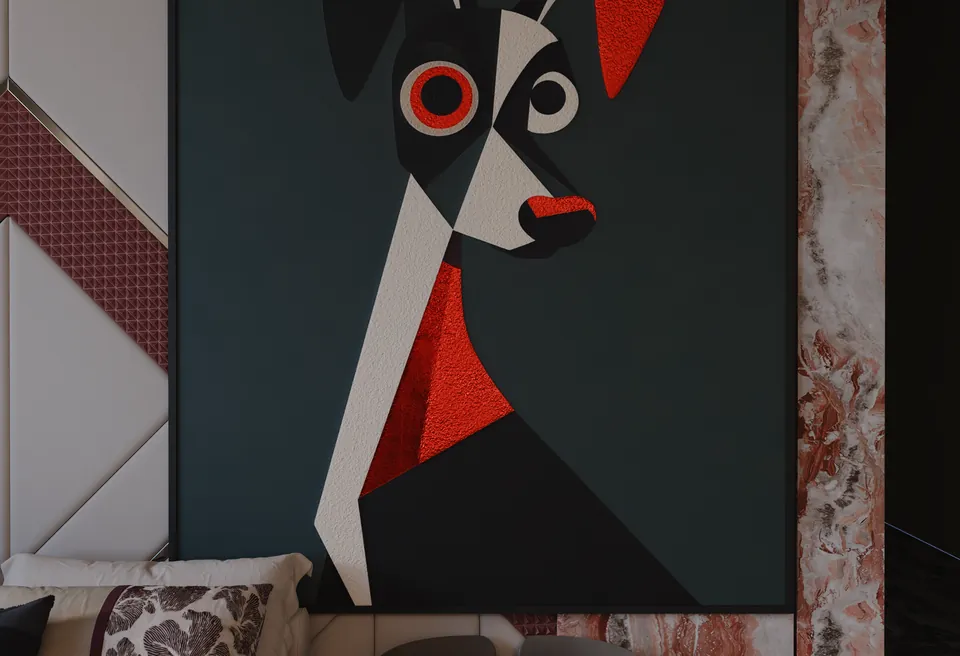
Wall art
From your image to paint, metal and a finished frame.
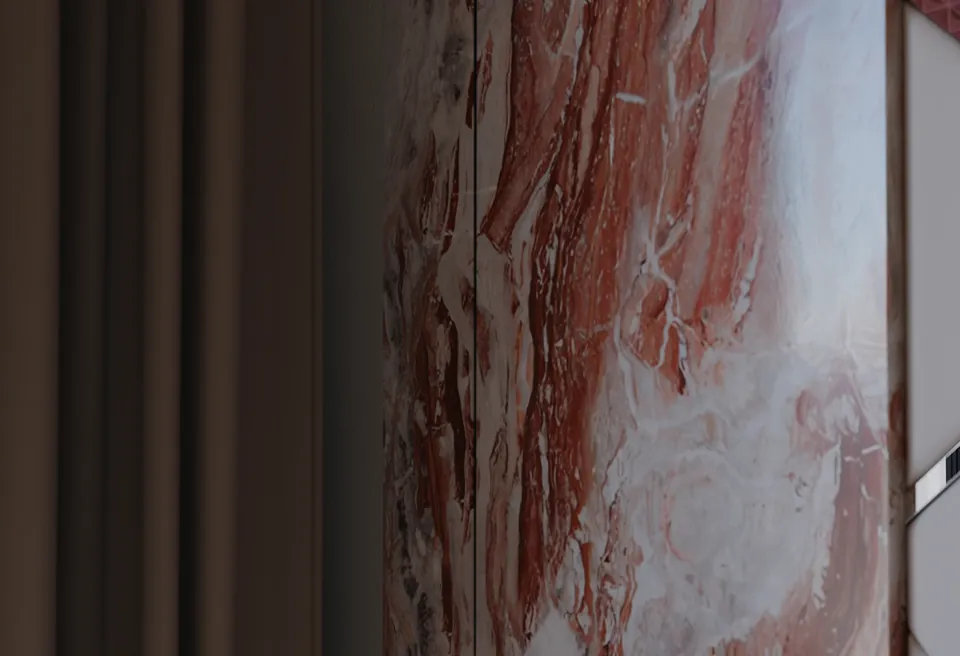
Marble
From a slab image to seamless stone and its finish.
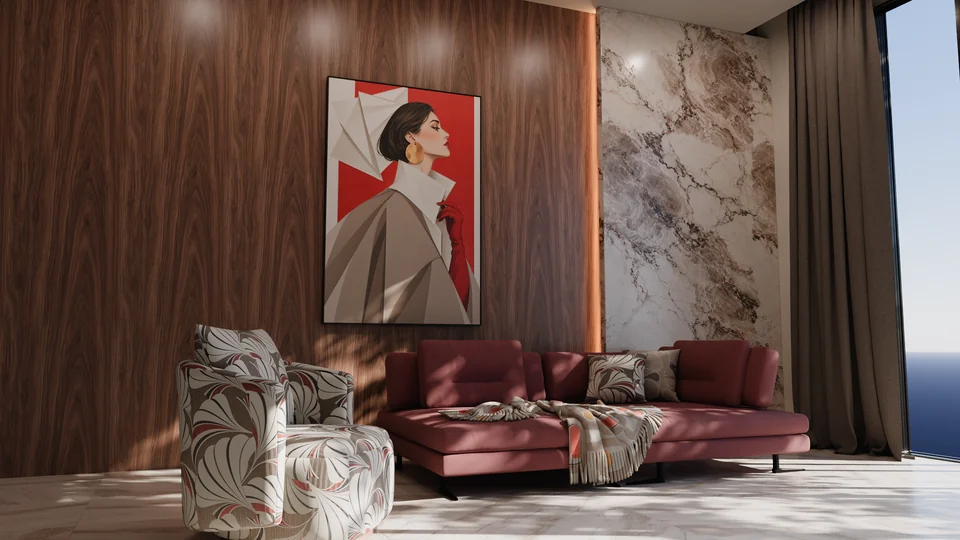
Wood veneer
Keep the grain. Choose the surface relief and finish.
Matelume material examples · Scene and props: iMeshh
Find a tool. Follow a step.
Get started · 5 guides
What Matelume does
Matelume turns one flat image into a real-size PBR material for your 3D software, made on your own Windows PC.
System requirements
Matelume needs Windows 10 or 11 (64-bit) and an internet connection, with 16 GB of RAM recommended and ideally an NVIDIA graphics card.
Install Matelume
Download the Windows installer, get past the SmartScreen warning, install and start Matelume, update to a new version, or uninstall it.
Sign in and link your PC
Link Matelume to your account through your web browser with a matching code; you never type a password into the app.
Quick start: your first fabric
Make your first fabric material in the Studio's four phases, Begin, Prepare, Craft and Export, with only the essentials.
The Studio · 4 guides
A tour of the Studio
The parts of the Matelume Studio, from the top bar and the step bar to the picture, the 3D view, the controls panel and the step guide.
Begin: image, software and material type
The first three steps of every material, choosing and cleaning up a good photo, picking your 3D programs, and saying what the photo shows.
Prepare: quality, scale and seamless
Choose the size of your maps, set how big your photo is in real life, and make one tile that repeats with no visible join.
The 3D view
Check your material on a real object at its real size, pick the object, turn the light, show real relief, and switch on path tracing for a Cycles-like still.
Fabric · 7 guides
Fabric overview
The six Craft steps that turn your seamless tile into a finished fabric, in order, and which ones matter most for embroidery, print, jacquard and velvet-like cloth.
What stands up
Pick the parts of your design that are raised and stitched, by clicking shapes on the photo or by choosing colours.
Ground
Set the cloth under your design: a woven ground with its weave, density and thread height, or a cloth that relies on its construction.
Height
Set how far the raised parts stand from the cloth, in real millimetres, and check it in a true-scale side view.
Stitching
Choose how your raised parts are made, from 26 stitch types in six groups, each with its own control, and set the density of satin cords.
Construction
Lay a fabric finish (velvet, chenille, silk, suede or cotton) over your finished material, and set how strong it is and how glossy your raised parts stay.
Imperfections
Add subtle signs of use to your fabric one by one, each starting at zero, from a list that follows your material.
Wall art · 5 guides
Wall art overview
Turn an image of a painting or a print into a framed 3D asset at its real size, and set that size first.
Raised paint
Pick where the paint, or the clear gel on a canvas print, stands up, then set how thick it stands at its thickest.
Paint, metal and ageing
Give the raised paint a type and a varnish, turn gold, silver or copper colours into real metal, and age the painting a little.
Frame
Build the frame round your finished artwork live in 3D, with its shape, moulding, inner frame, mat and glass, then age the frame and the glass a little.
Exporting wall art
Export the framed artwork as a GLB and an FBX with its materials and textures, plus the artwork's full map set and the frame's textures.
Marble · 6 guides
Marble overview
Make a stone slab material from one image: its real size, a seamless tile or the slab once, a soft relief, the veins' own finish, the gloss you choose and optional wear.
Seamless slab
Make one tile of your slab that repeats without a visible join, choose how much of the slab it keeps, or use the slab once.
Soft bump
Give polished stone its gentle relief, pits and fissures a few hundredths of a millimetre deep, and check it at true scale.
Gloss and veins
Give the veins their own finish, then set how glossy the whole stone is, in the gloss units a gloss meter reads.
Imperfections
Add subtle signs of use to the finished stone, fine scratches, polish wear, small chips, dust and water marks, each starting at zero.
Exporting marble
Export your marble's full-quality maps for your programs, with the vein mask, a .json of its real size and finish, and a how-to sheet per program.
Export and use · 4 guides
Export your material
Build the full-quality maps into a folder, with the maps each program gets, what each map is for, the real-size JSON, Package it and Send to.
Use Matelume in Blender
Install the Matelume add-on in Blender 4.2 or later, put materials on your objects at their real size, and receive Send to Blender from the Studio.
Use Matelume in 3ds Max
Install the Matelume plugin in 3ds Max 2025 or later and put V-Ray or Corona materials on your objects at their real size.
Other programs and renderers
Use Matelume maps in any PBR renderer, with which map goes where, OpenGL or DirectX normals, and the tile size and displacement taken from the JSON.
Account and plans · 2 guides
Trial and plans
Every Pro tool, full-size exports and no watermark. Free for 14 days from your first linked PC. Buying a plan unlocks the same installed app.
Your PCs
Use Matelume on up to two PCs, one at a time, and link, switch, unlink or move to a new PC.
Help · 3 guides
Troubleshooting
Fixes for common problems with the installer, the Studio window, sign-in, slow builds, memory, the add-ons, material size, visible seams and the export folder.
Frequently asked questions
Short answers about AI, your images, working offline, Mac, supported renderers, commercial use and image rights.
Contact support
How to reach Matelume support, what to include so we can help quickly, and what never to send.
Metal and Wall paint
Explore all six types: Fabric, Marble, Wood, Wall art, Wall paint and Metal.
- Metal overview — Make a metal material from a photo of a metal or from a colour: pick the metal, set its shine, add an effect and a little wear, then export it for your programs.
- Colour and shine — Pick which metal it is, from 41 metals or your own colour or photo, and set how shiny it is.
- Effects — Give the metal a finish: brushed, hammered, bead-blasted or linen, at its real size.
- Imperfections — Add the wear of use: scratches, fingerprints and small dents.
- Exporting metal — Export the full-quality maps of your metal for the programs you use.
- Wall paint overview — Make a painted wall from a colour or a photo: the wall under the paint, a decorative effect if you want one, and the finish.
- Start from a colour or a photo — Begin your wall paint with a colour, or with a photo of a painted wall.
- Real size and seamless — For a photo, tell Matelume how much wall it shows, then make one tile that repeats over the wall.
- Base — Pick the wall under your paint, then set how big, how dense and how high its texture is.
- Looks and finish — Add a decorative paint, such as Limewash or Micro-cement, and set how much it shines.
- Exporting wall paint — Export the full-quality maps of your paint for the programs you use.
Questions people ask
Plain answers about photos, real size and your 3D program.
- What software can turn a photo into a realistic PBR material for interior design renders in 3ds Max or Blender?
- I’m an interior designer. Which tool can make realistic fabric, marble and wood materials from my own photos for my 3D renders?
- How do I turn a fabric photo or scan into a seamless PBR material at real size?
- How do I make a seamless marble material from a photo of a slab?
- How do I turn a wood veneer photo or scan into a PBR material?
- How do I make a realistic metal material with measured colours?
- How do I get PBR maps from a photo for 3ds Max with V-Ray or Corona?
- How do I turn an image into a Blender material?
- When should I use Matelume, and when should I use something else?
- Matelume or Substance 3D Sampler: which one do I need?
- Which tools can turn a photo into a PBR material, and how do they differ?
- Questions about Matelume