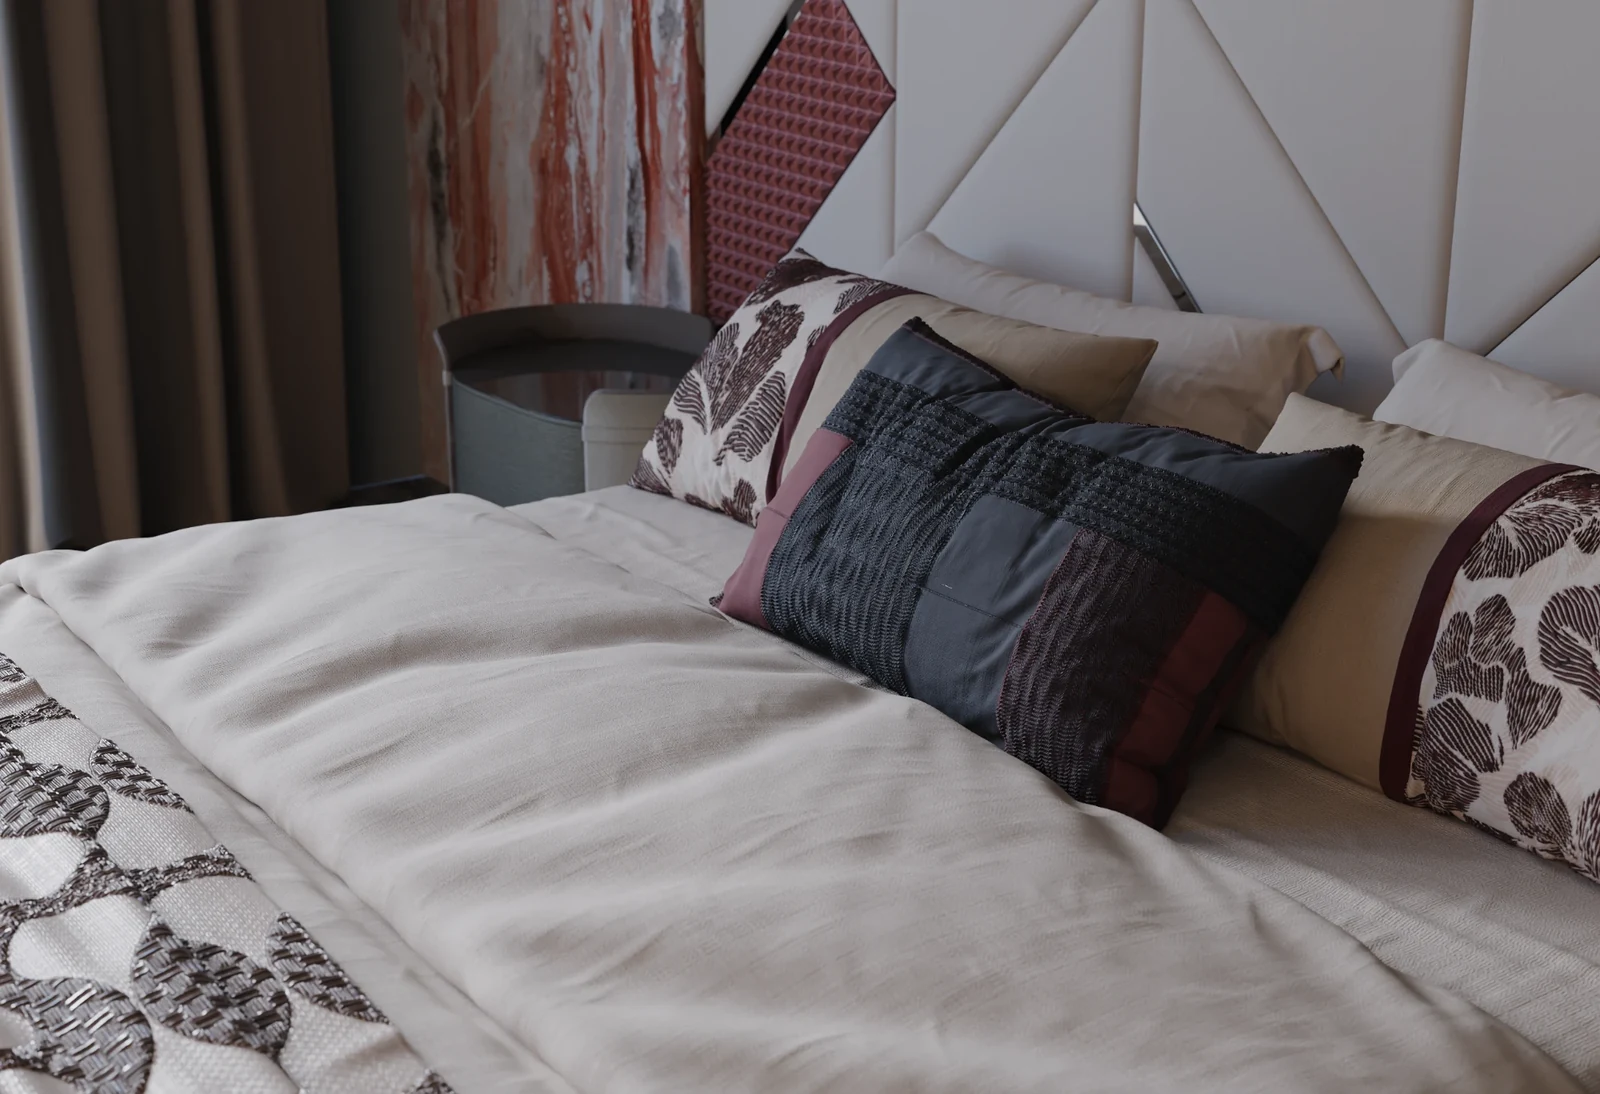
Start with a flat image and build fabric, wall art, marble, wood veneer, wall paint or metal. Choose the surface detail and finish, then bring the material into your 3D scene.
01 / Begin
Choose the idea and material.
Start with a flat pattern, artwork, marble or veneer image, or a plain colour you have the right to use. Choose Fabric, Wall art, Marble, Wood, Wall paint or Metal.
02 / Prepare
Set its true size and repeat.
Prepare the image, set the real-world size, and make the surface seamless before you build its detail.
03 / Craft
Choose what the surface becomes.
Build the relief, stitching, weave and finish while judging the result in the real-size 3D preview.
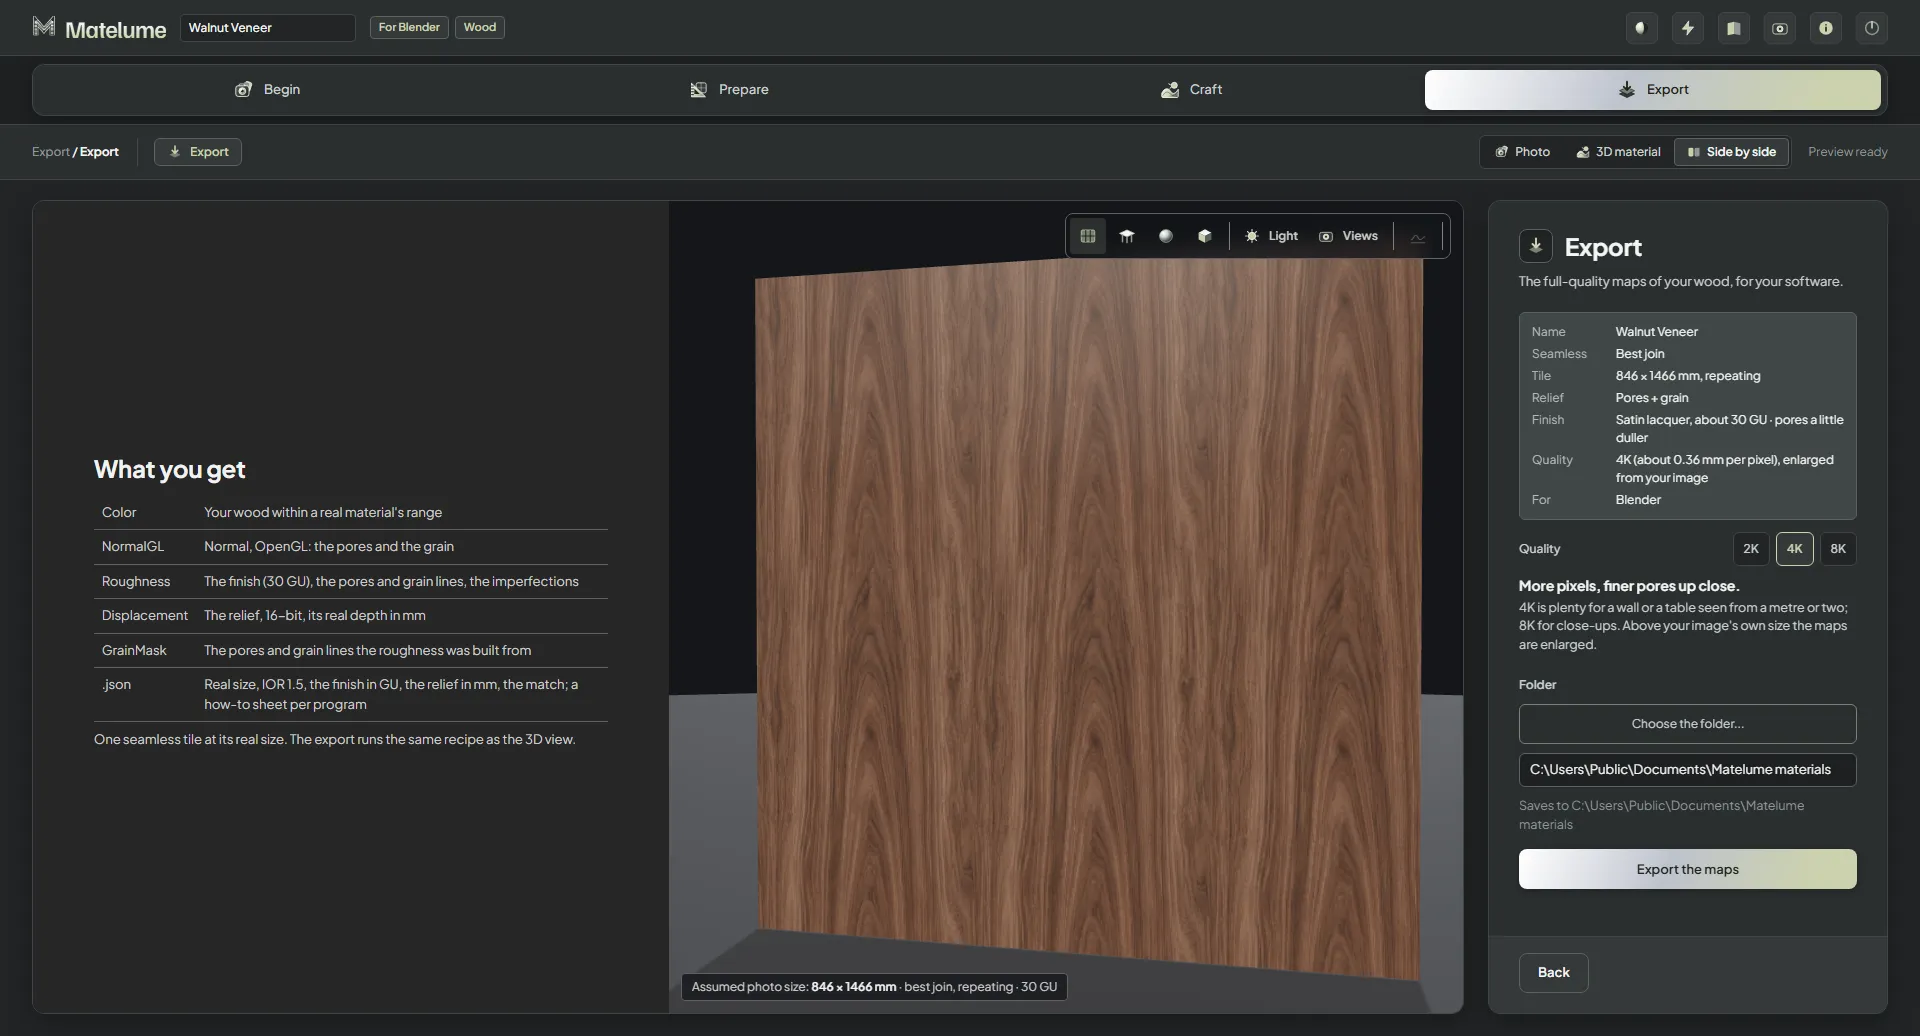
04 / Export
Send it to the room.
Send supported materials to Blender or 3ds Max, or export the maps for your own setup. Wood transfer is verified in Blender; its 3ds Max integration has not been verified for this release.
Watch it work
Start to finish, in the real app.
Three short walkthroughs, recorded in Matelume itself. Sound on.
Wall art A flat artwork becomes a framed piece with raised paint. Watch on YouTube ↗Fabric Plain colours become a real fabric: weave, stitches, velvet, wear. Watch on YouTube ↗Marble A marble image becomes a real slab, from honed to mirror polish. Watch on YouTube ↗
The result
One room. Every material made in Matelume.
Rendered in Blender Cycles. Scene, furniture and props by iMeshh.
Expand a stage to explore it. Explore the complete six-material flows below.
Fabric
Begin — Your image, software and material type
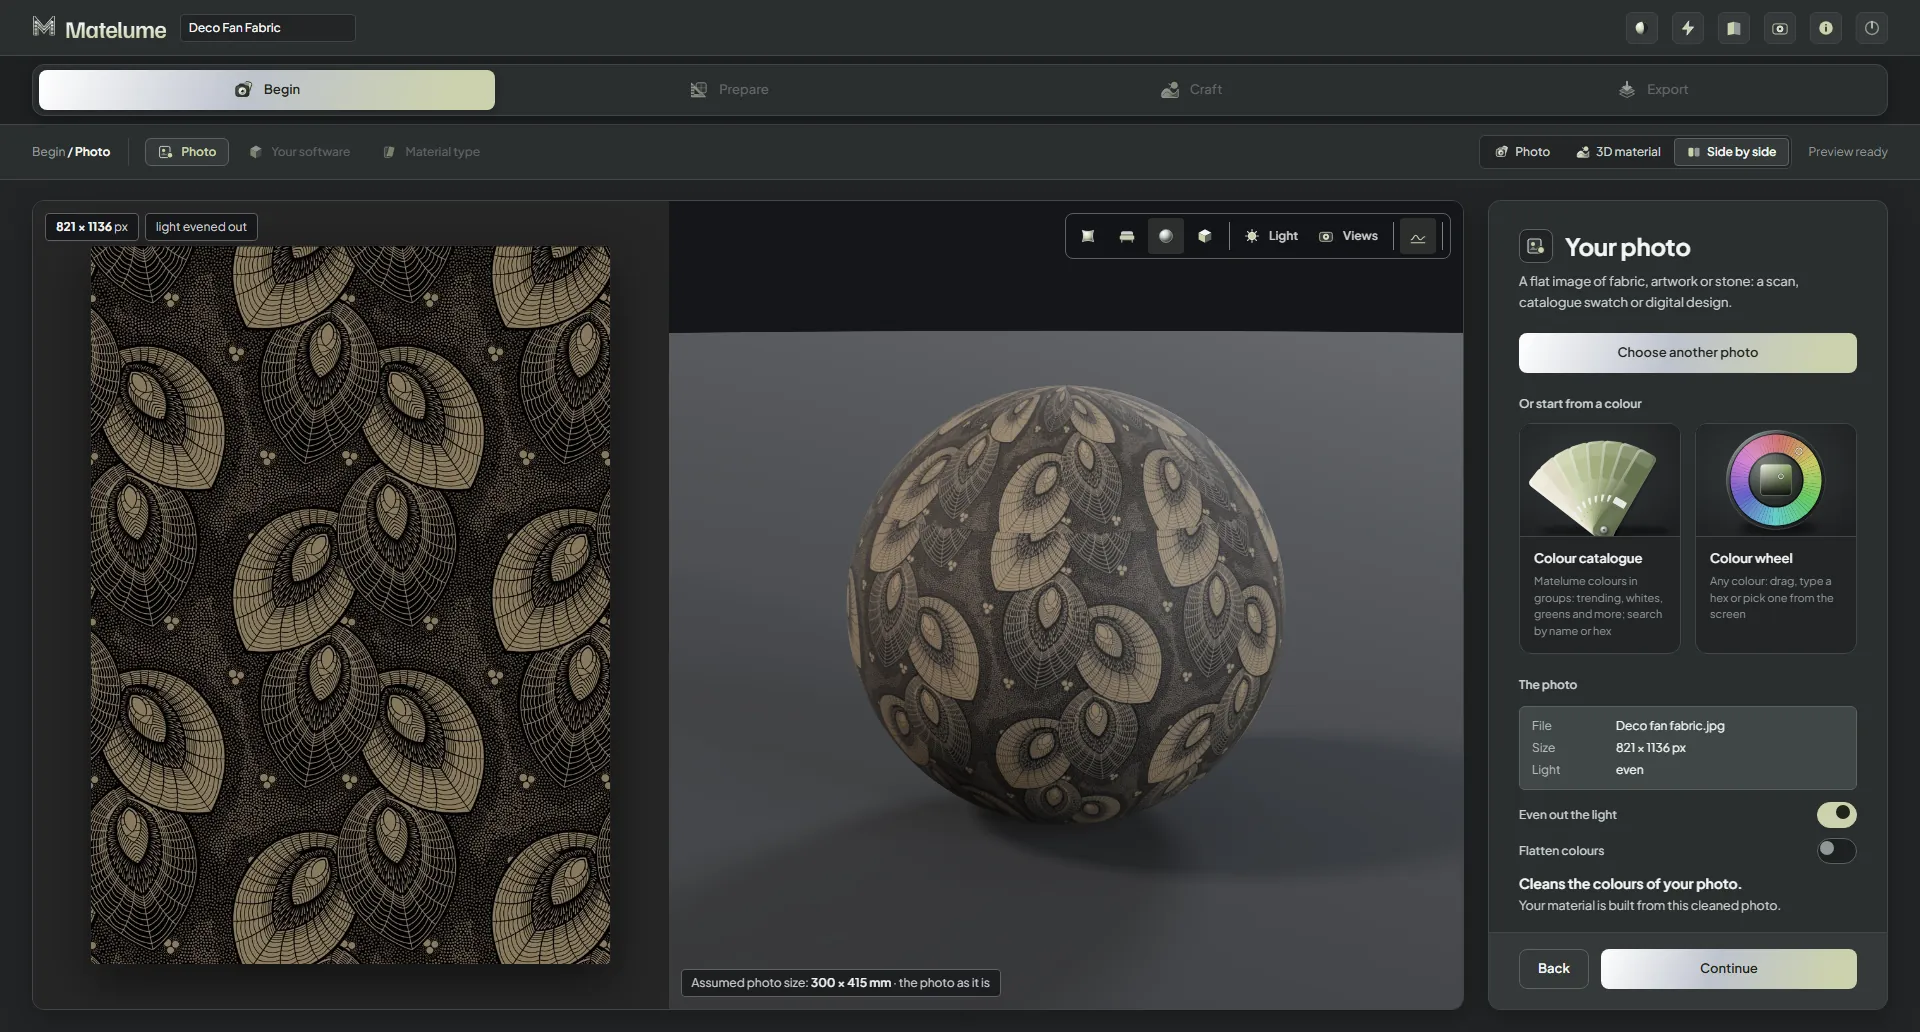
Recorded app view: Choose your image.
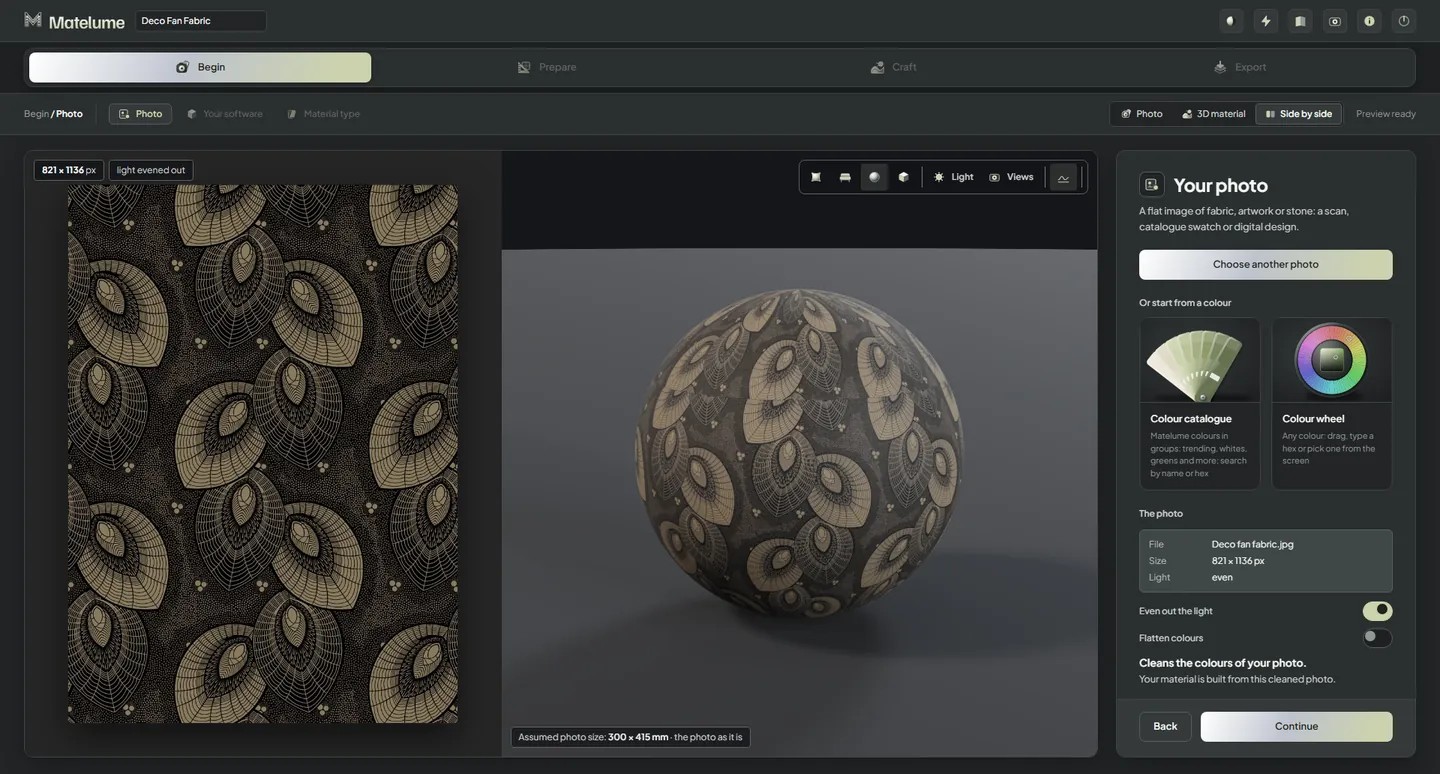
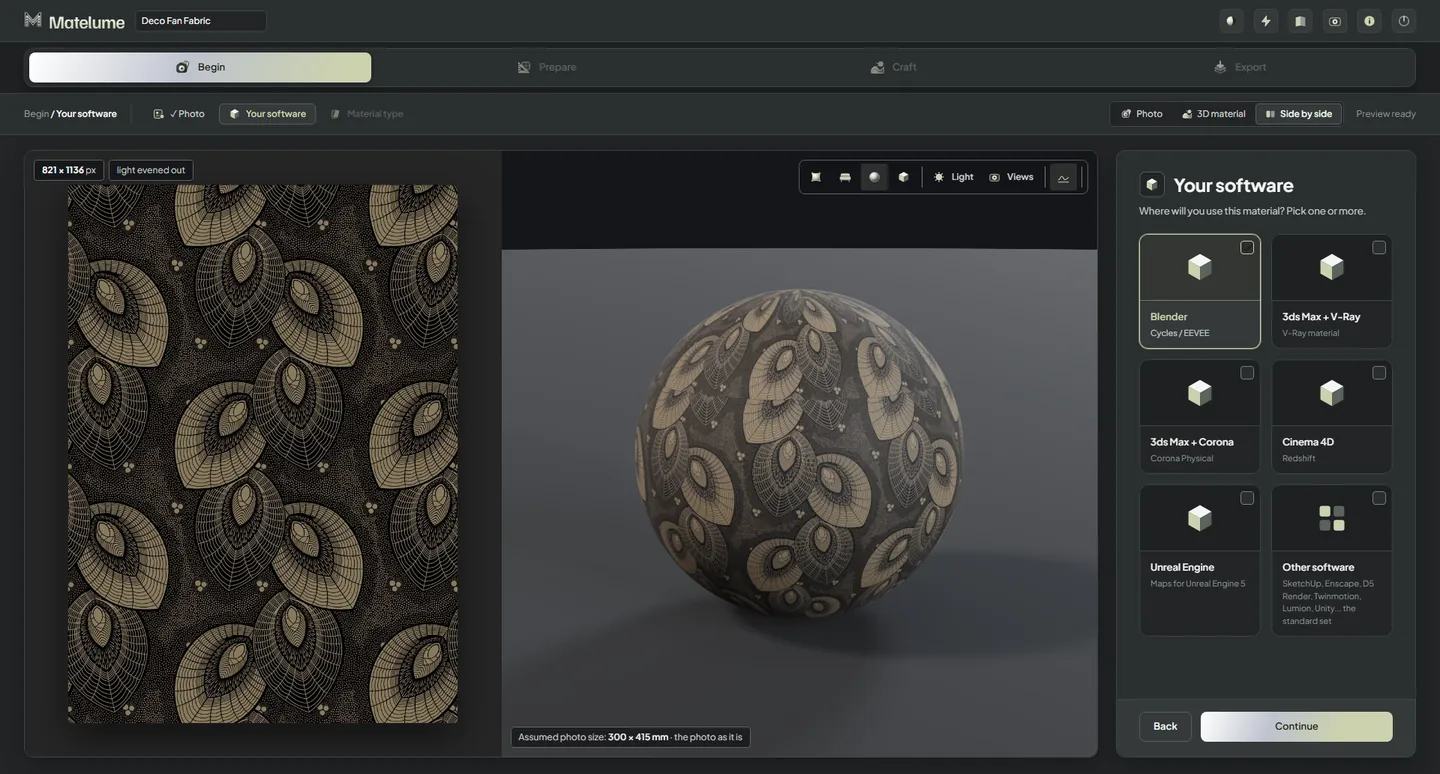
Choose your image
Use a clean, flat scan, swatch or digital design you have the right to use. Even out the light if needed; fabric also offers optional colour cleanup.
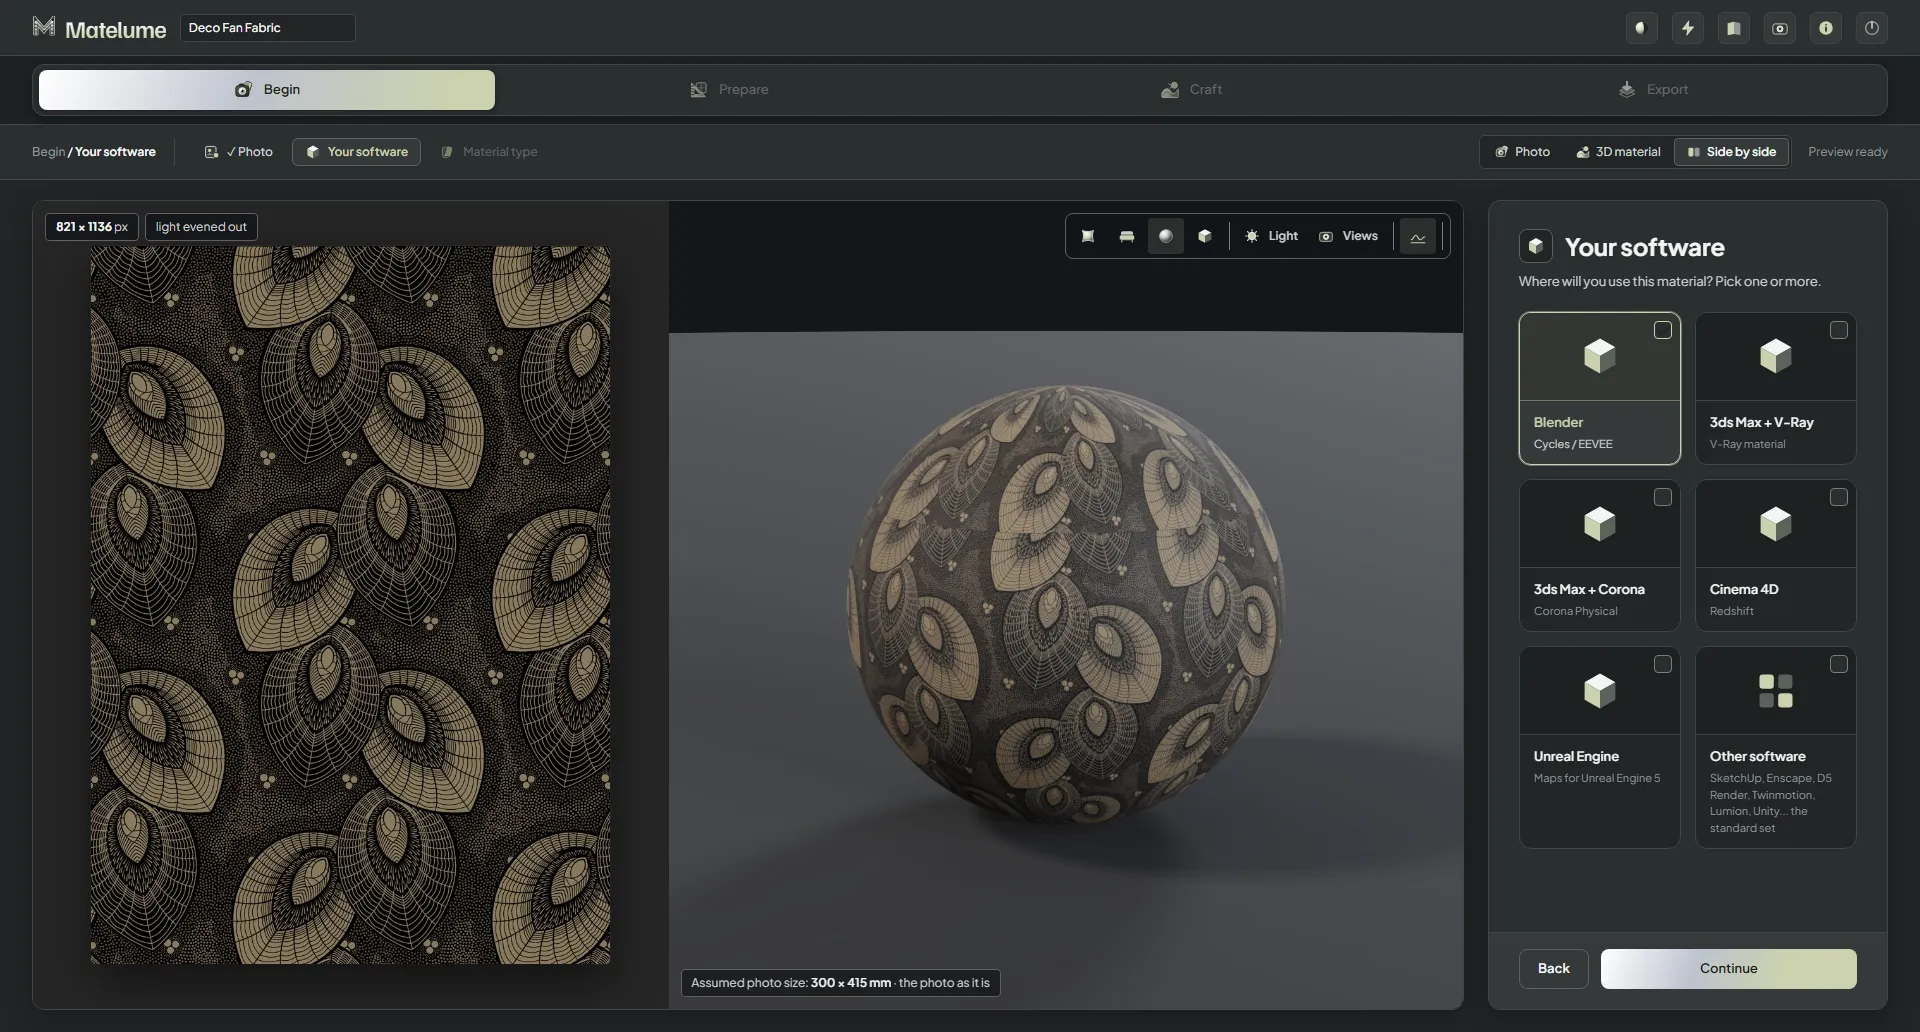
Recorded app view: Choose your software.
Choose your software
Select the programs you use so the export includes the appropriate maps and instructions.
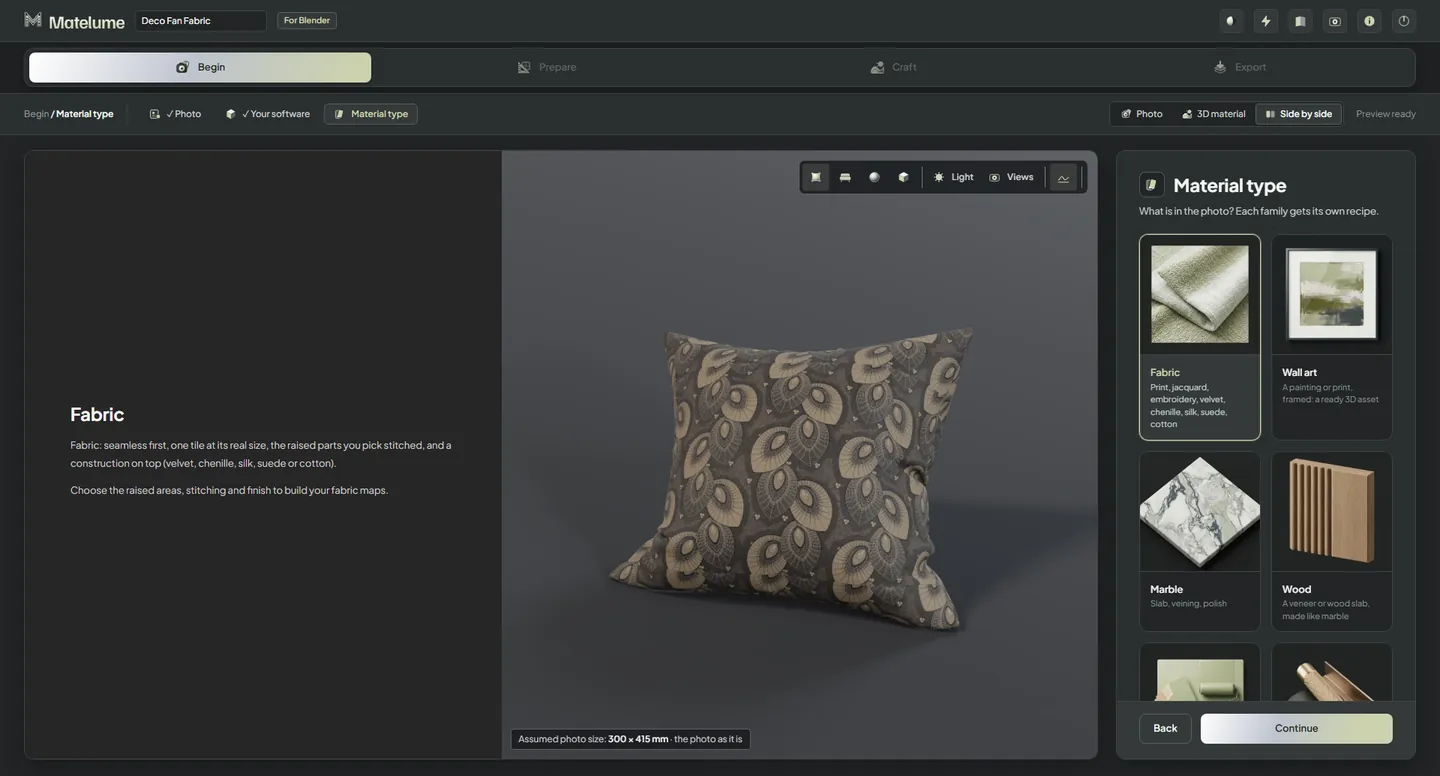
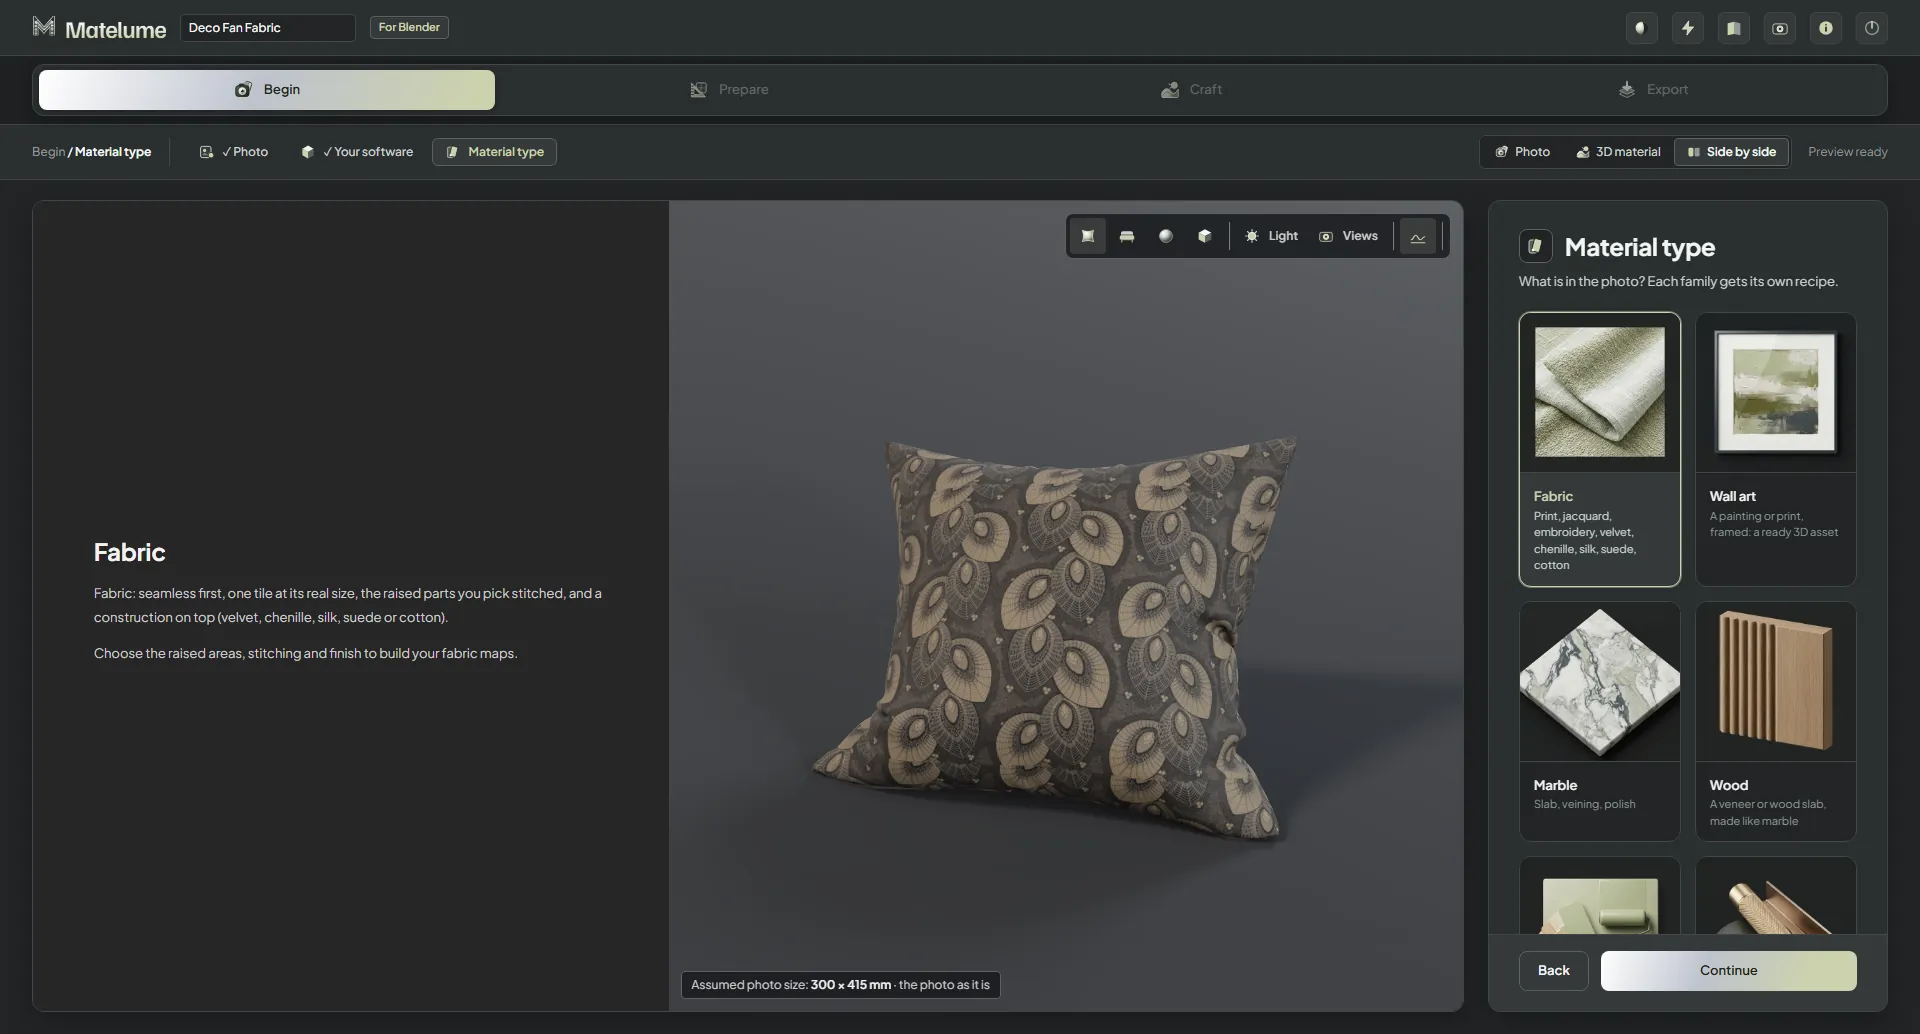
Recorded app view: Choose Fabric.
Choose Fabric
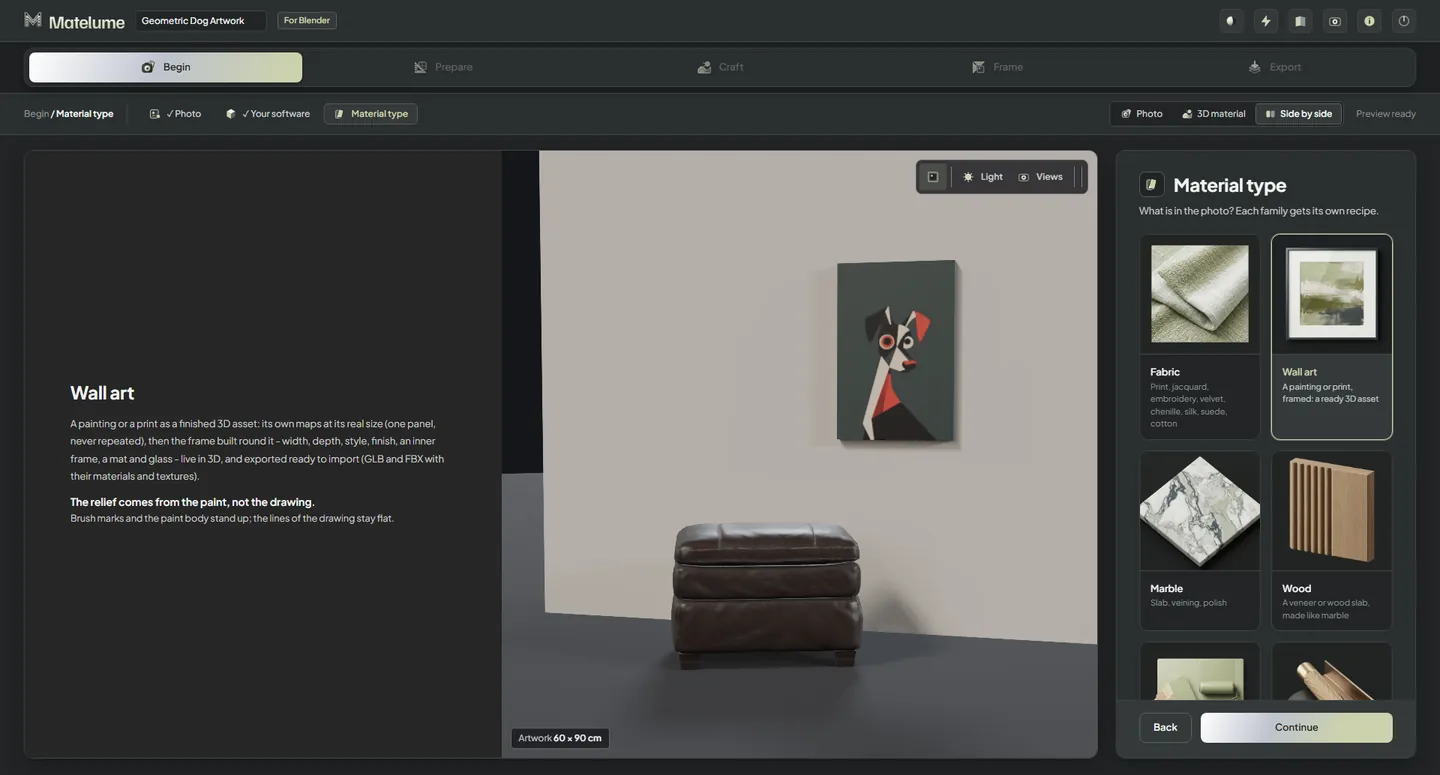
Pick Fabric to open its controls for cloth, raised detail, construction and finish. Wall art, marble and wood each follow their own craft steps.
Prepare — Quality, real size and the repeat
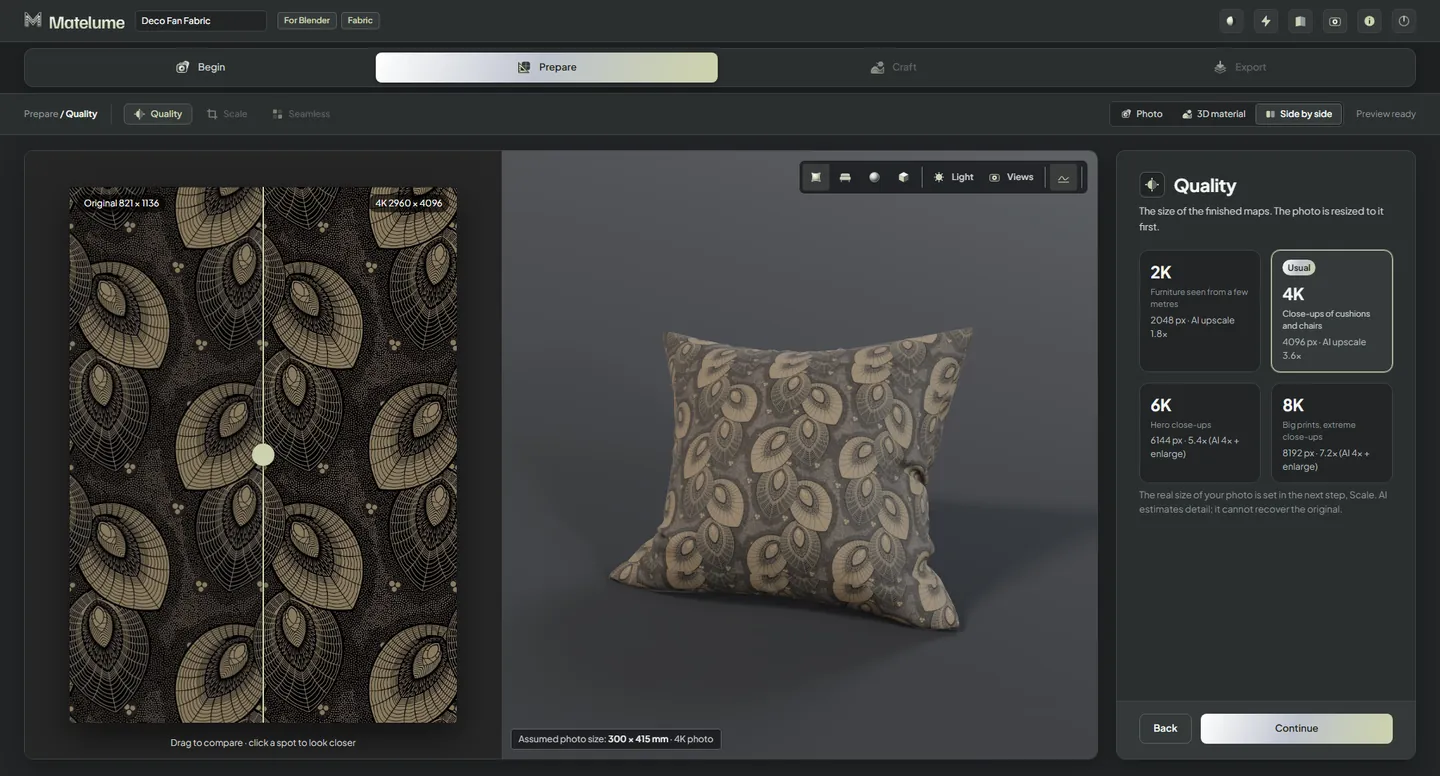
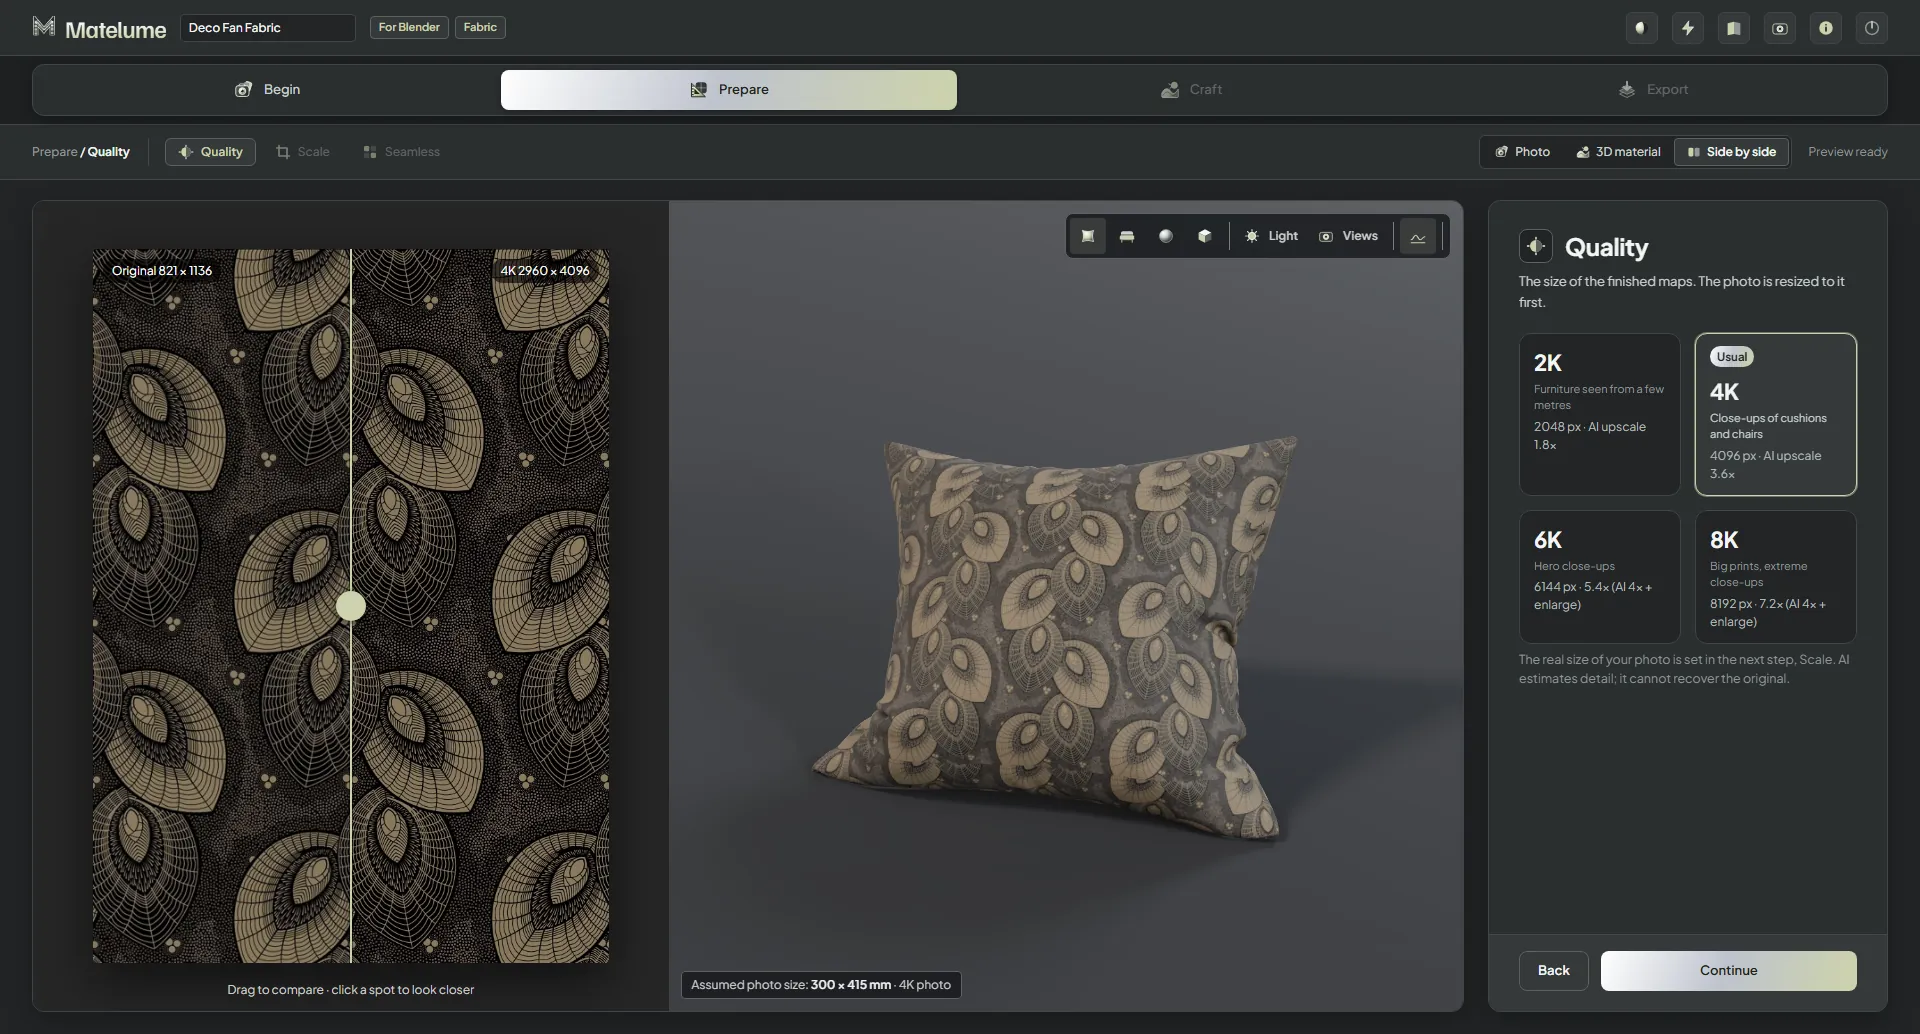
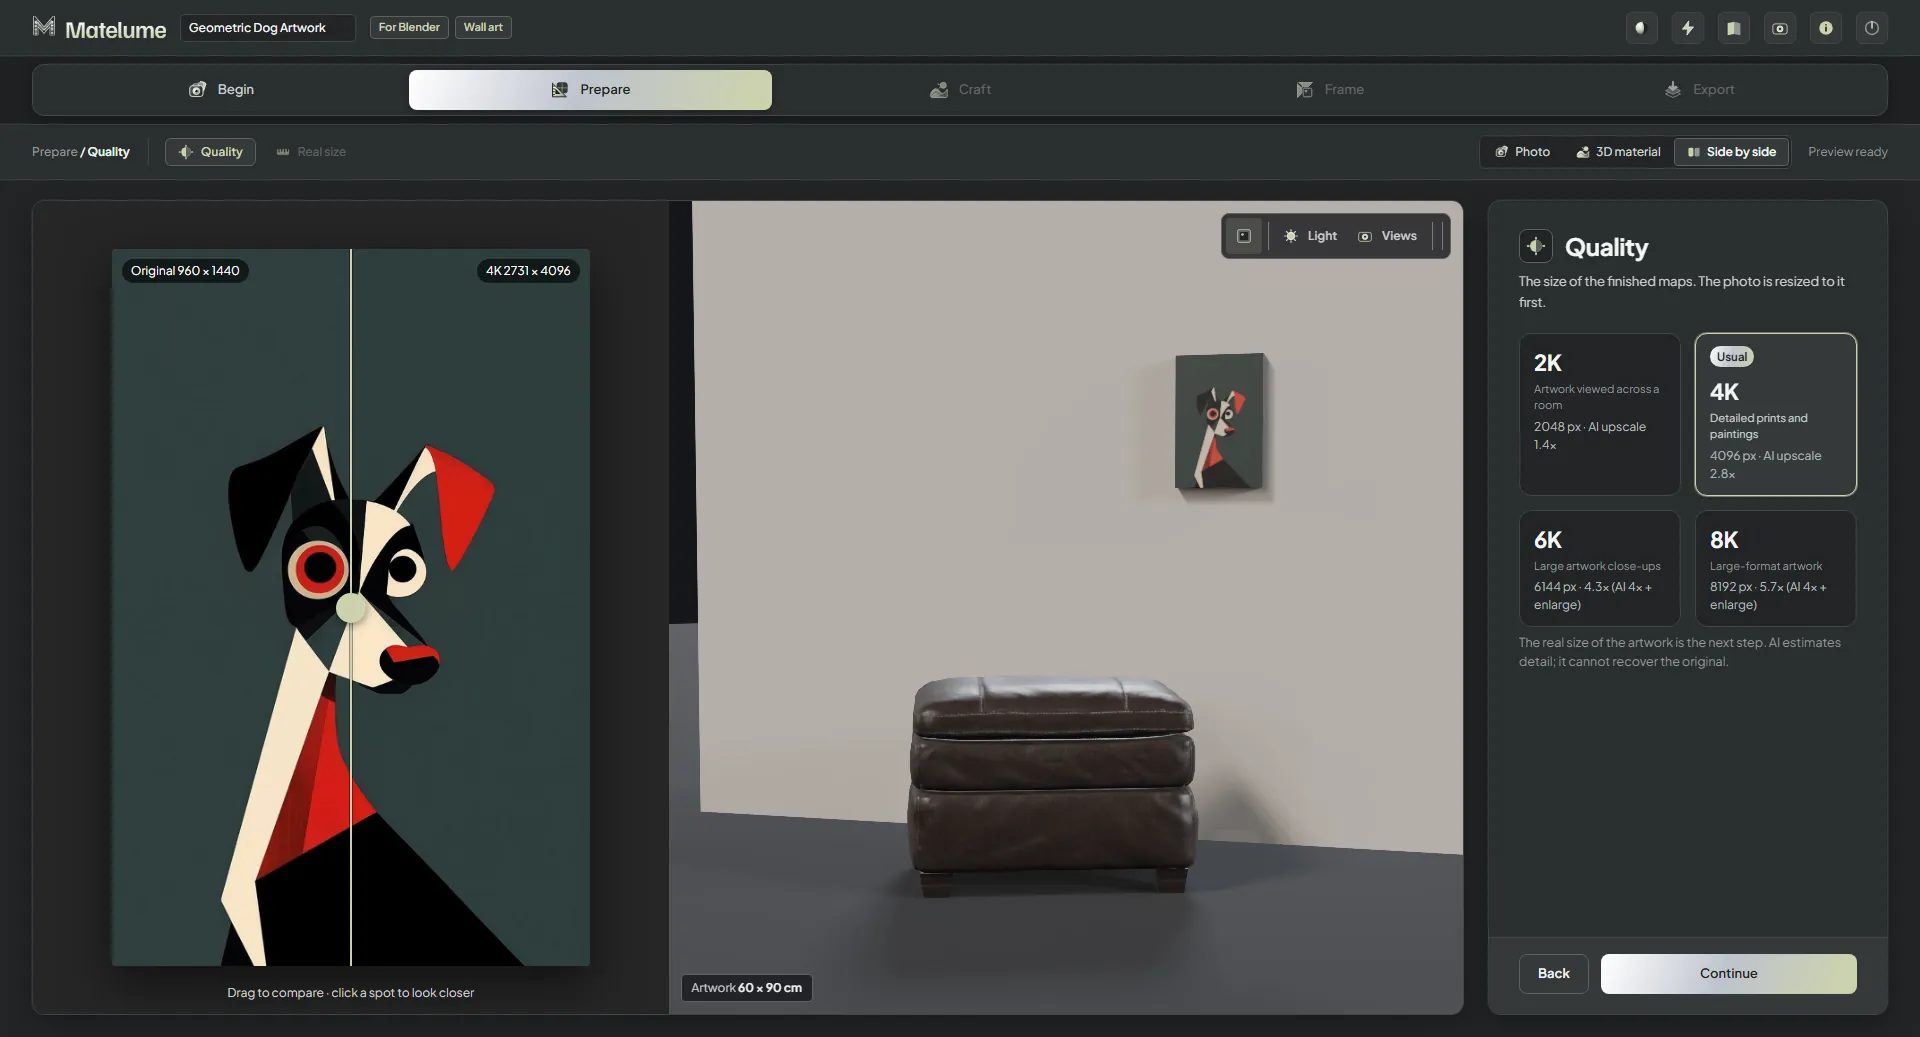
Recorded app view: Choose the quality.
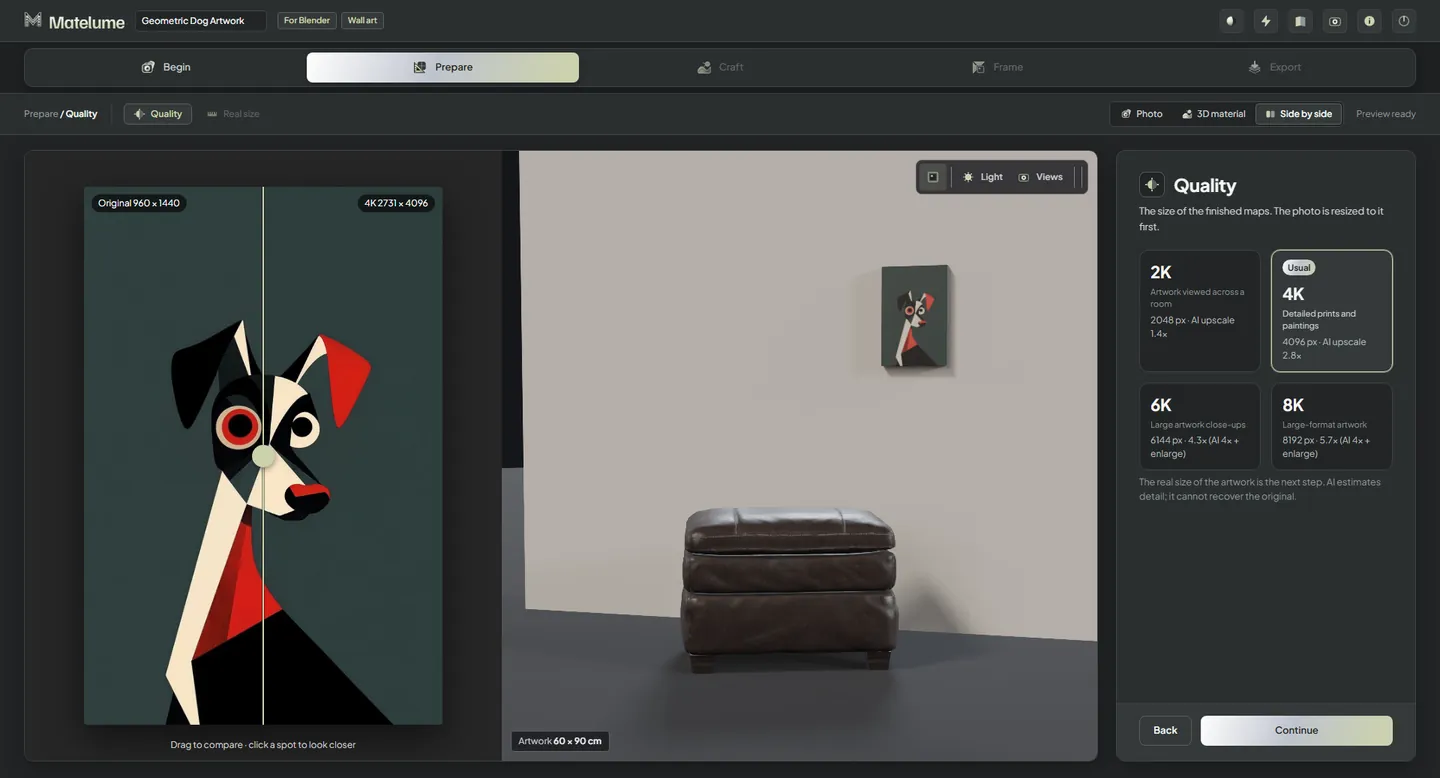
Choose the quality
Pick the map resolution for your project and plan. Compare the prepared image with the original; enlargement estimates detail.
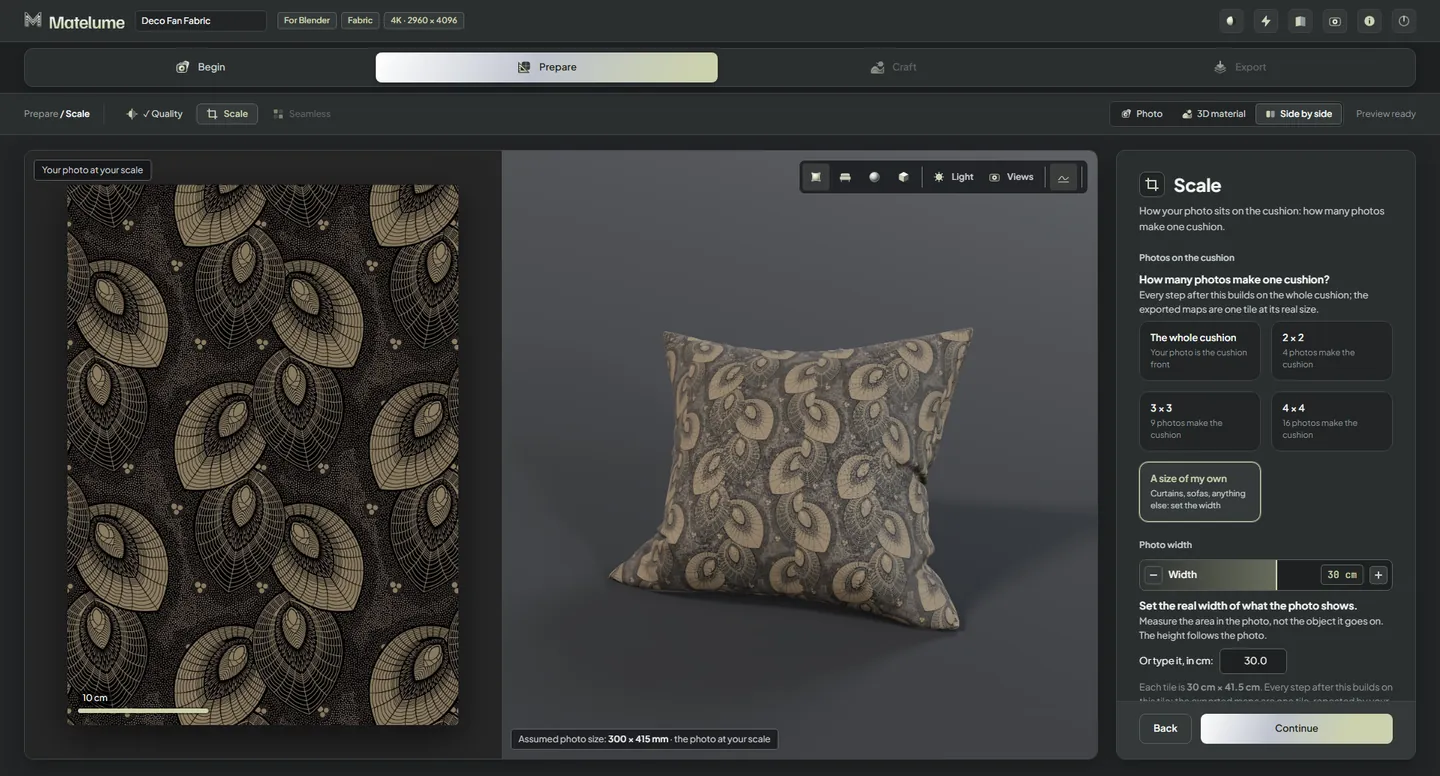
Recorded app view: Set the scale.
Set the scale
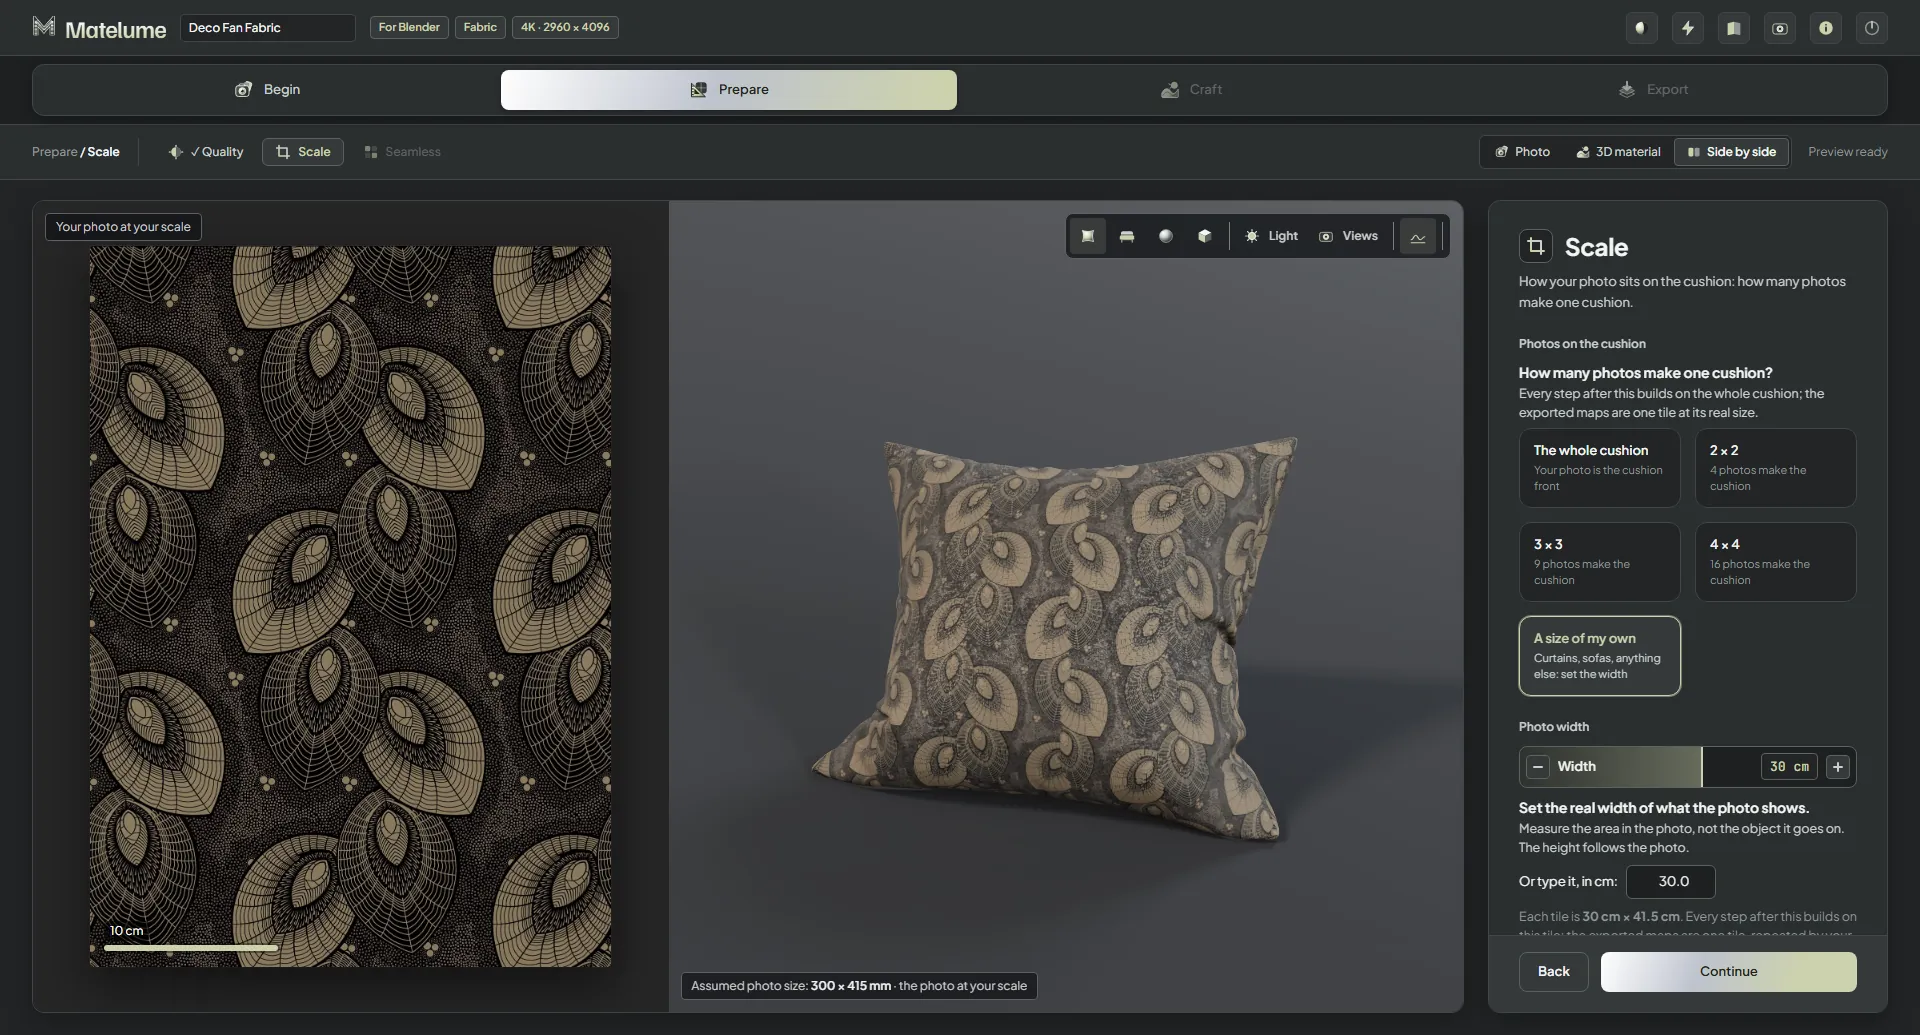
Tell Matelume the real dimensions of the design. Choose one cushion front, multiple repeats or a custom size.
Recorded app view: Check the repeat.
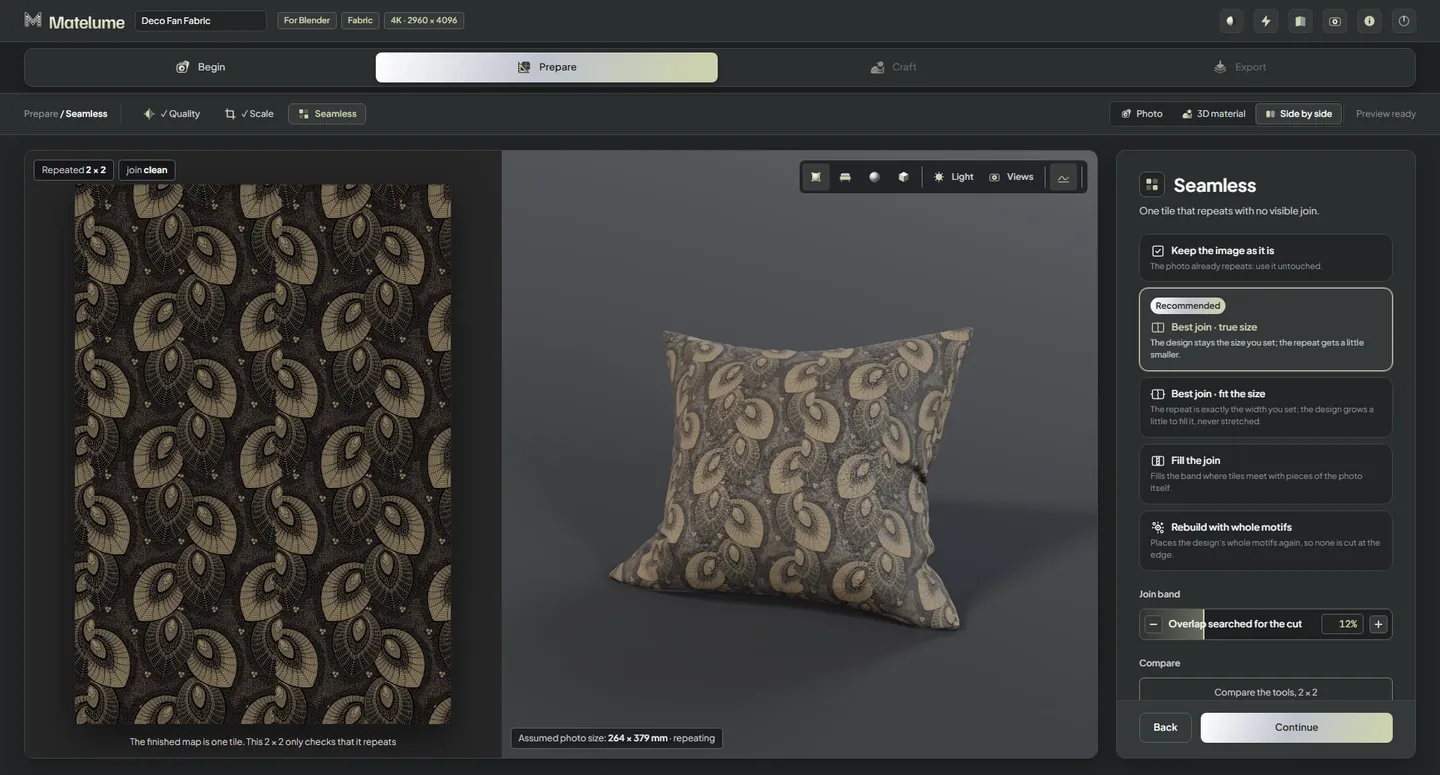
Check the repeat
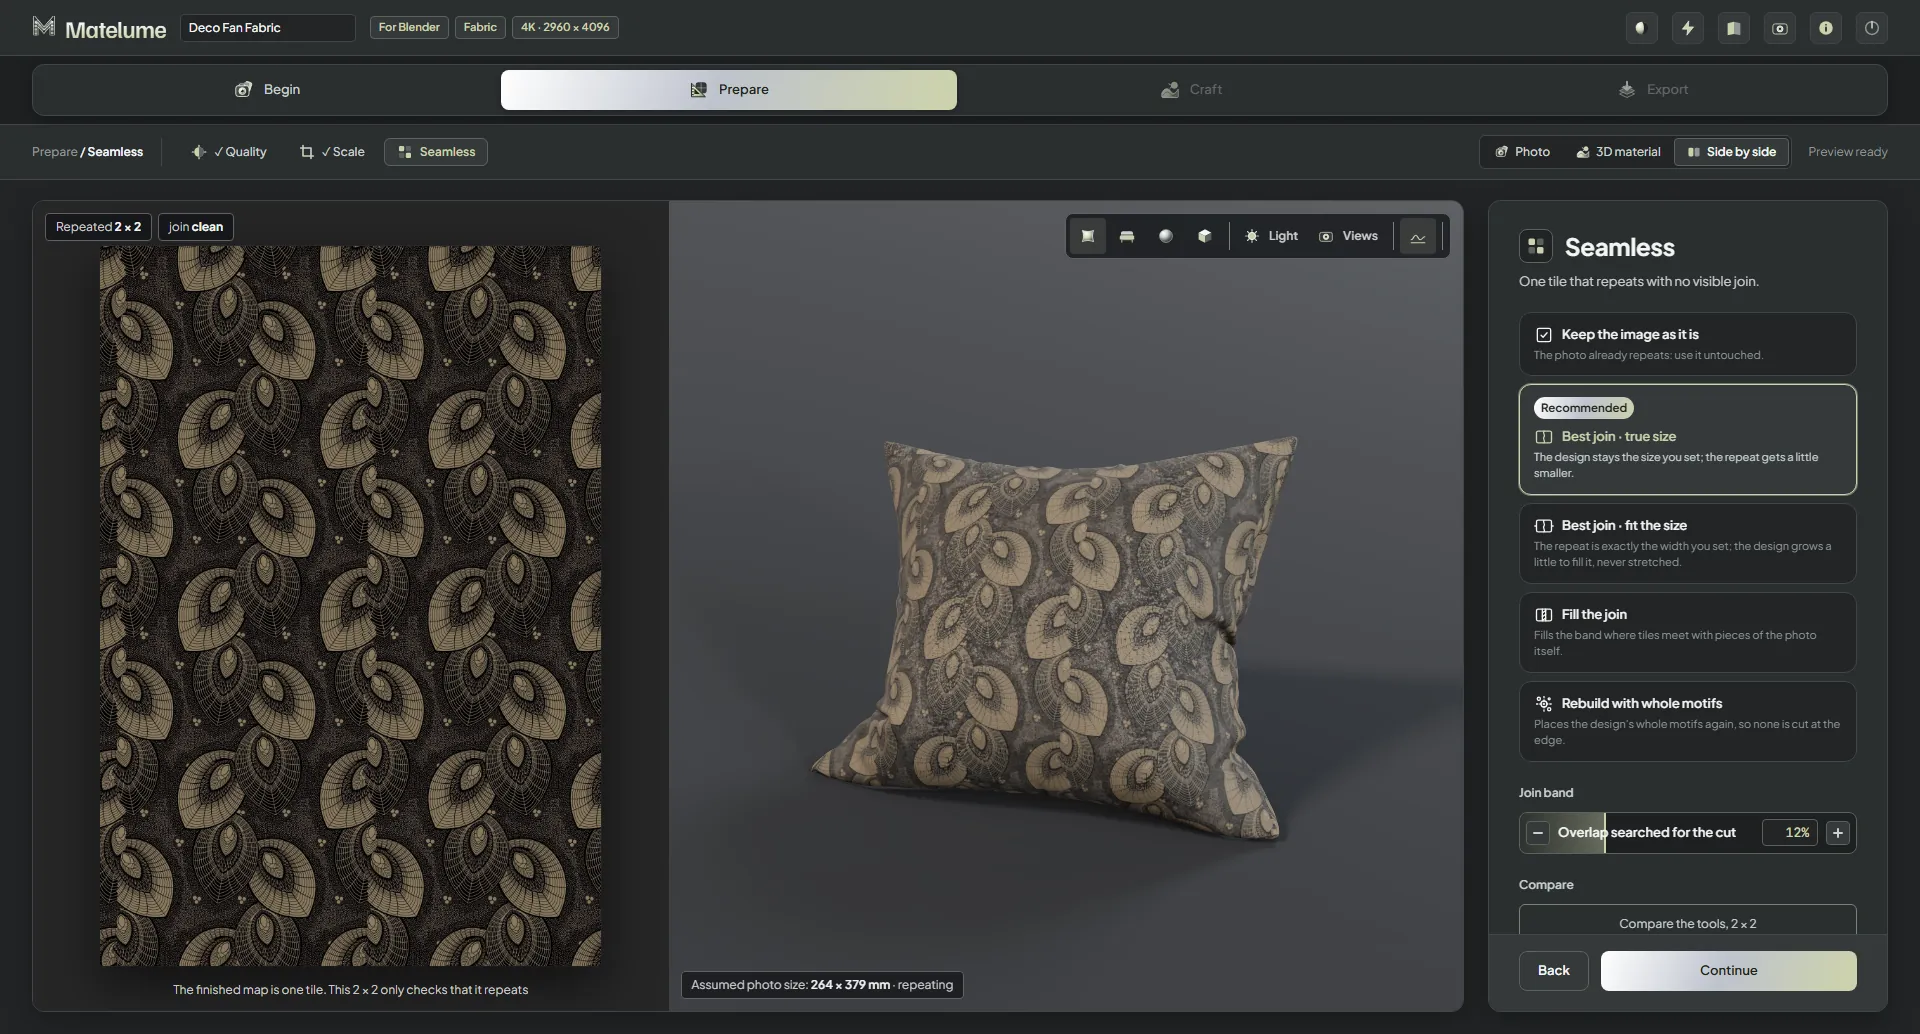
Keep an image that already tiles, or choose a seamless tool. Inspect the joins and repeated design before moving on.
Craft — Six choices that shape the fabric
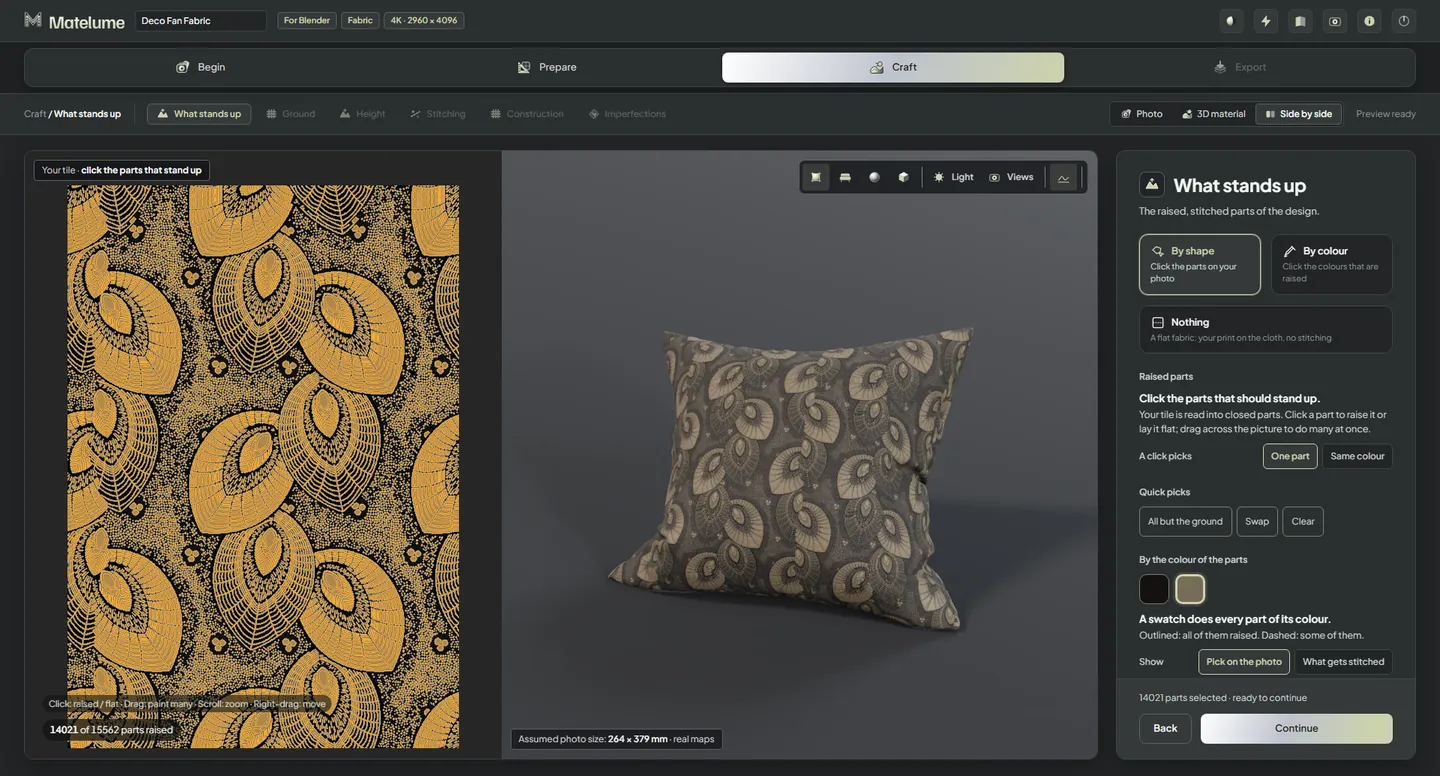
Recorded app view: What stands up.
What stands up
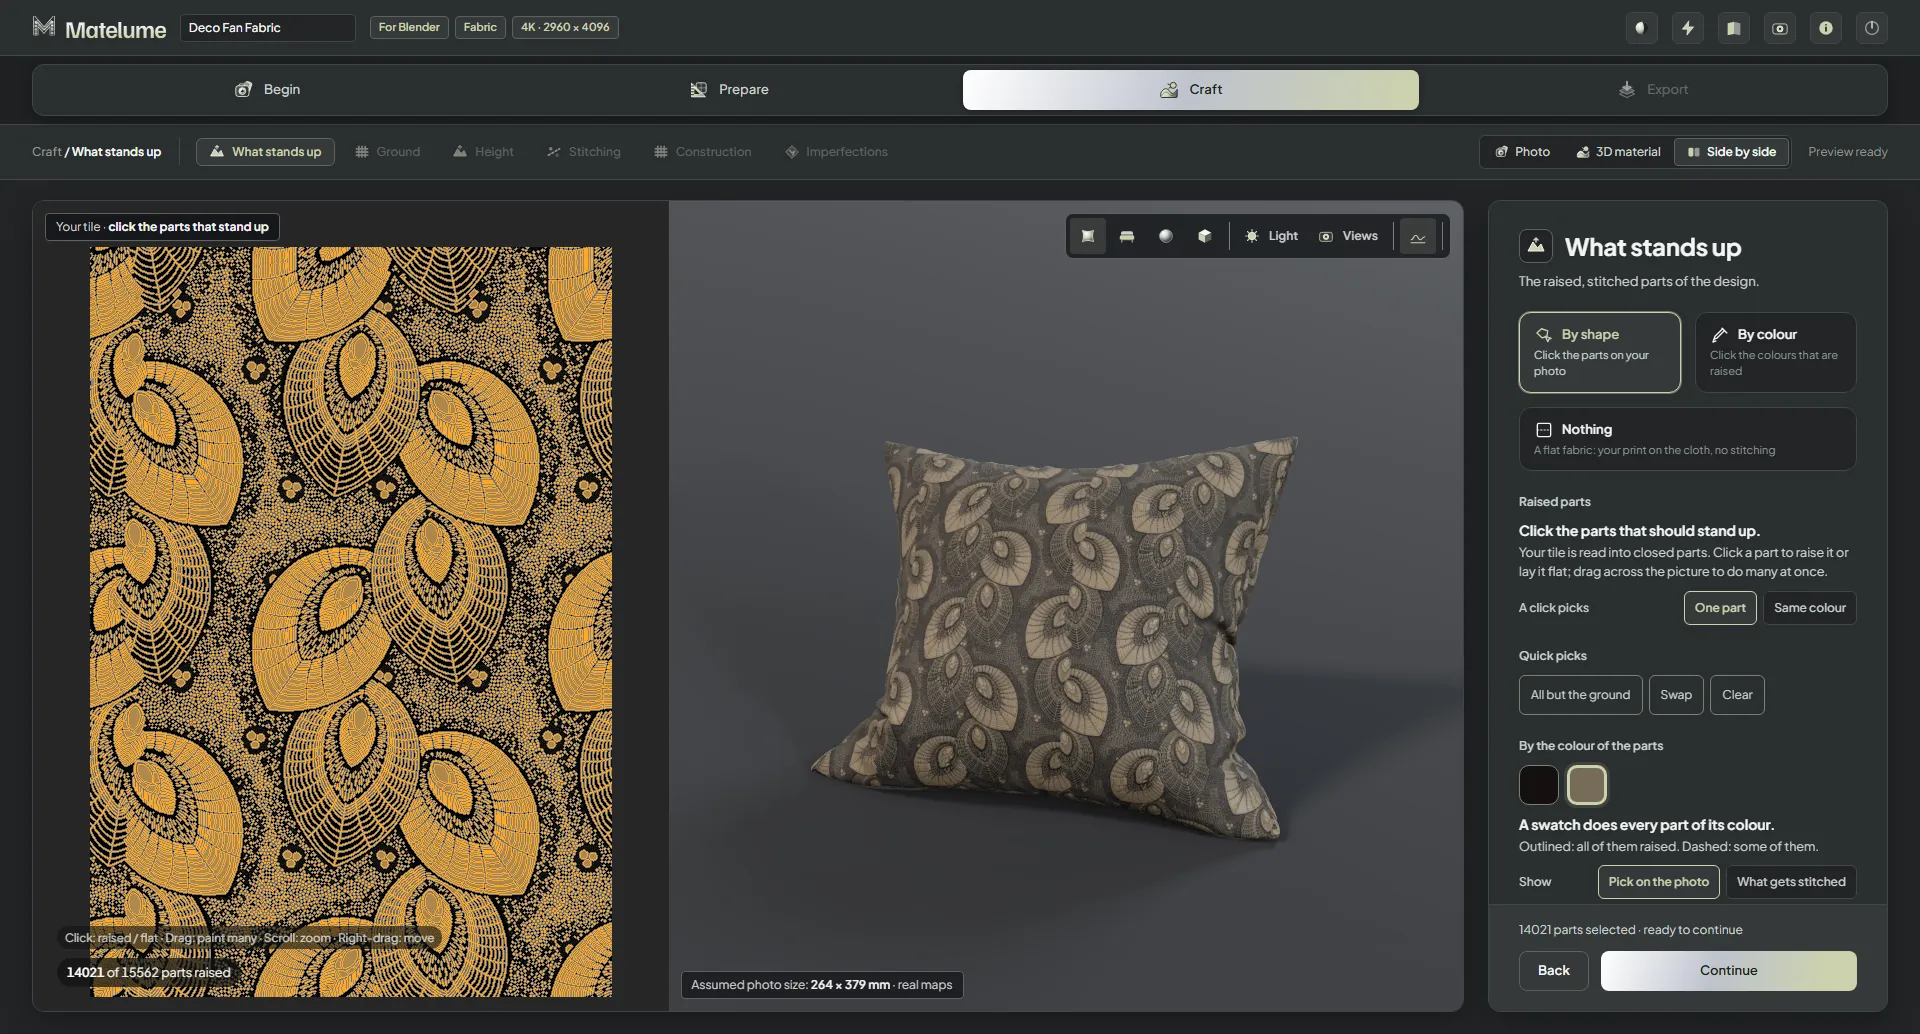
Select the shapes or colours that become raised details, or choose Nothing for flat printed or woven cloth.
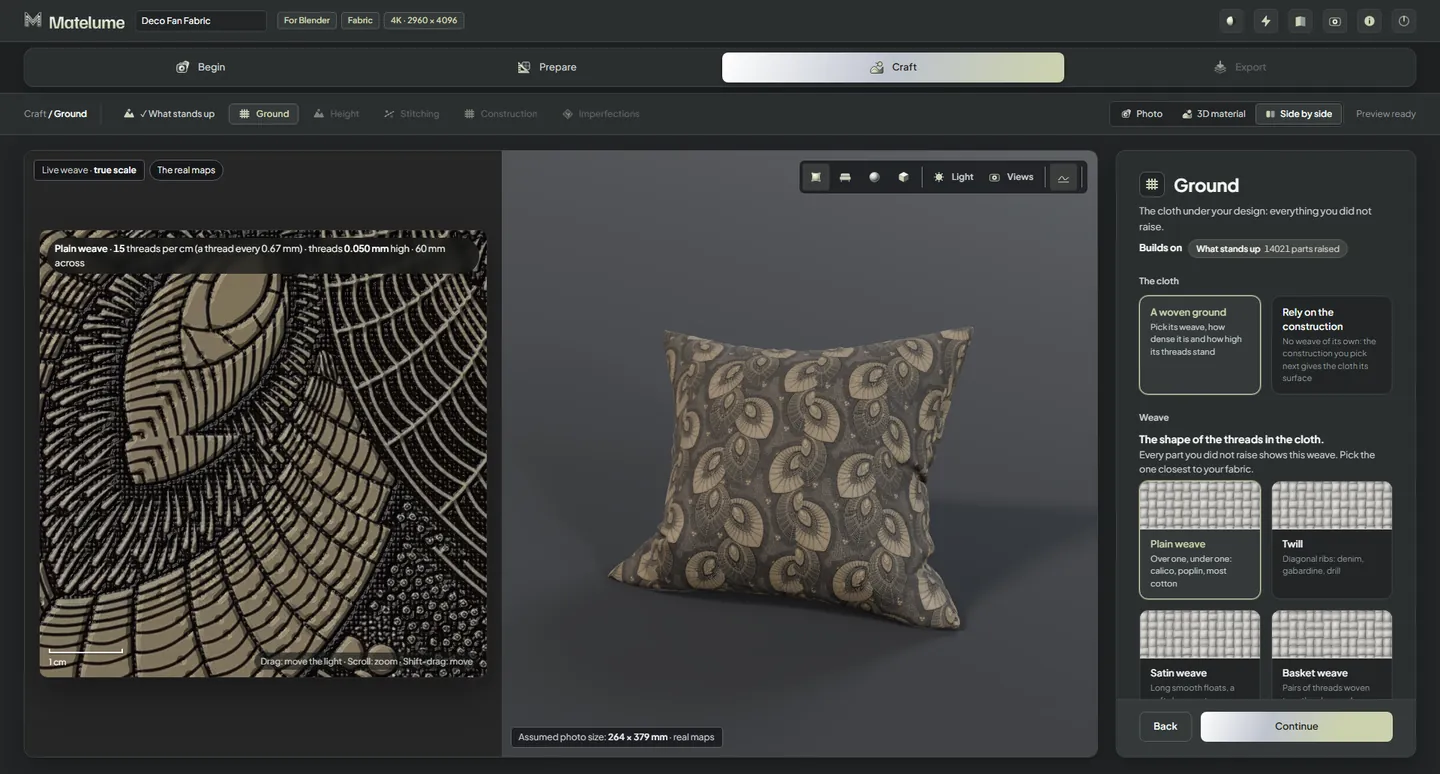
Recorded app view: Ground.
Ground
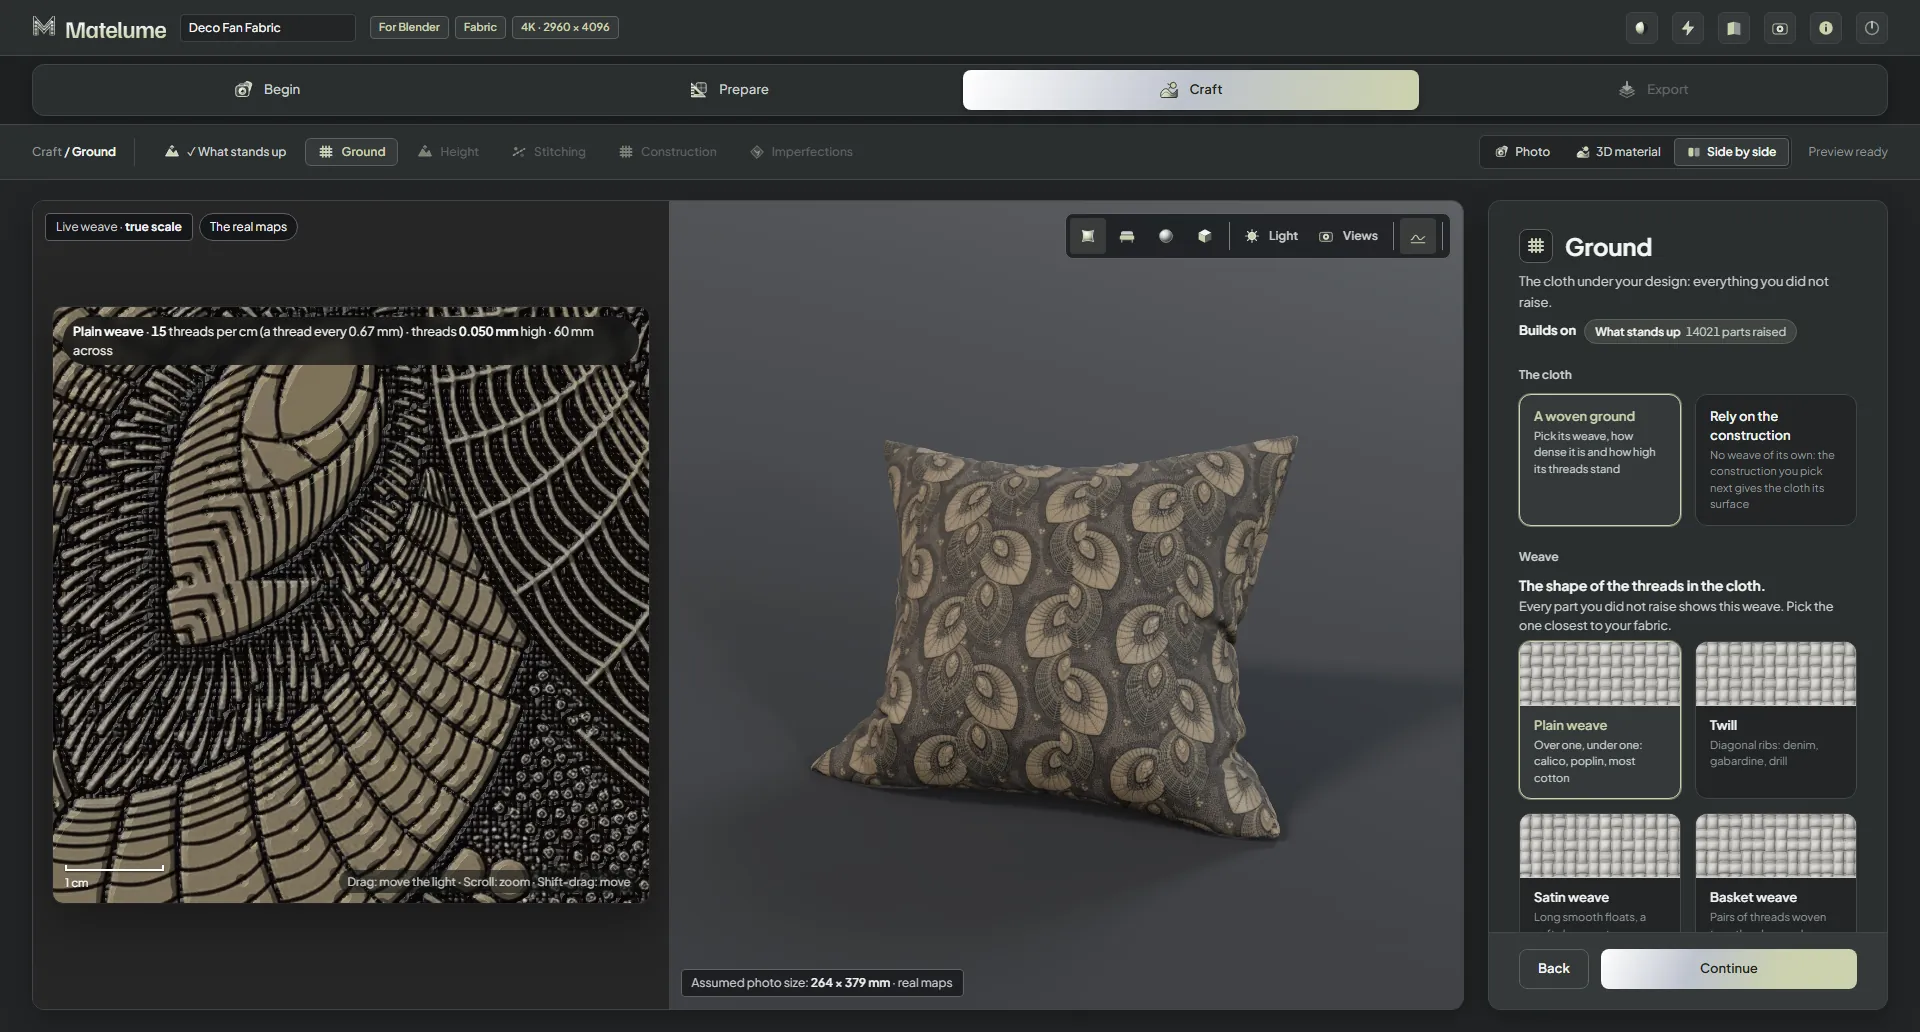
Choose the weave, thread density and thread height for the cloth underneath the design.
Related stitching view; Height control is not shown.
Height
Set the raised parts in millimetres at the real size. Flat fabric skips this step.
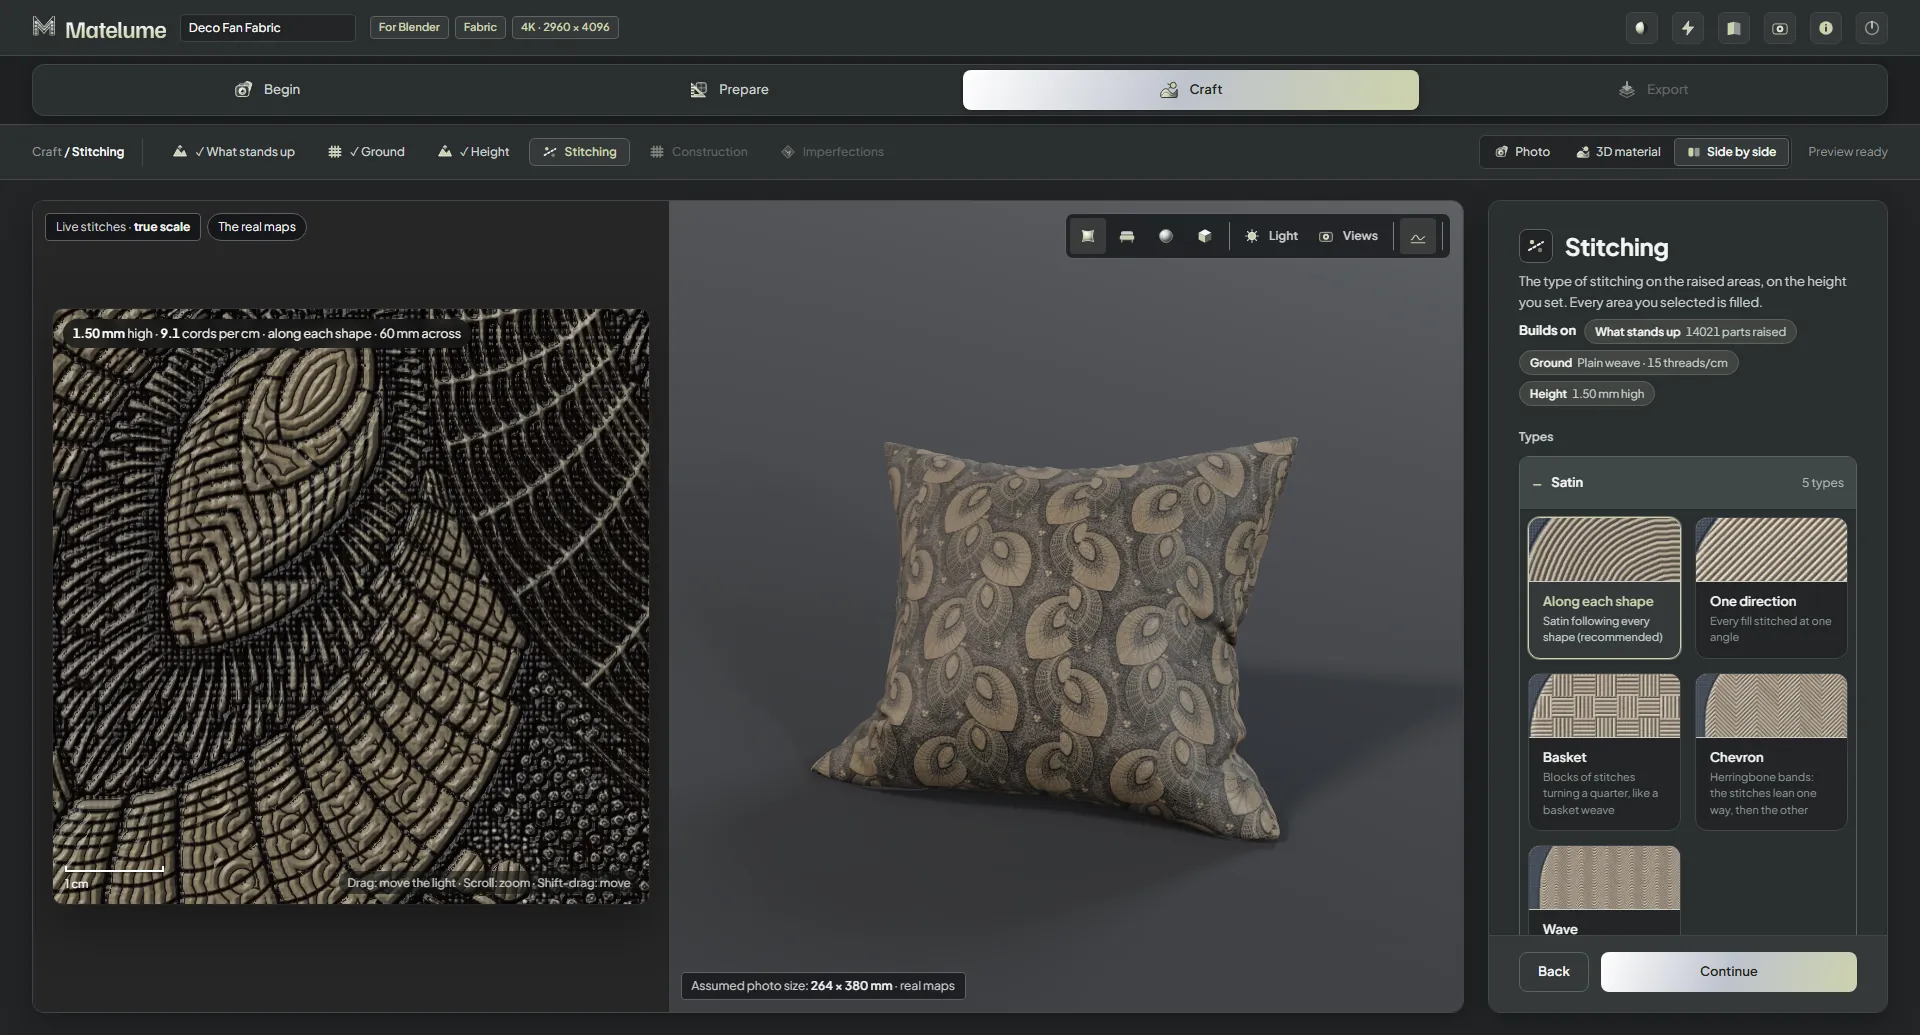
Recorded app view: Stitching.
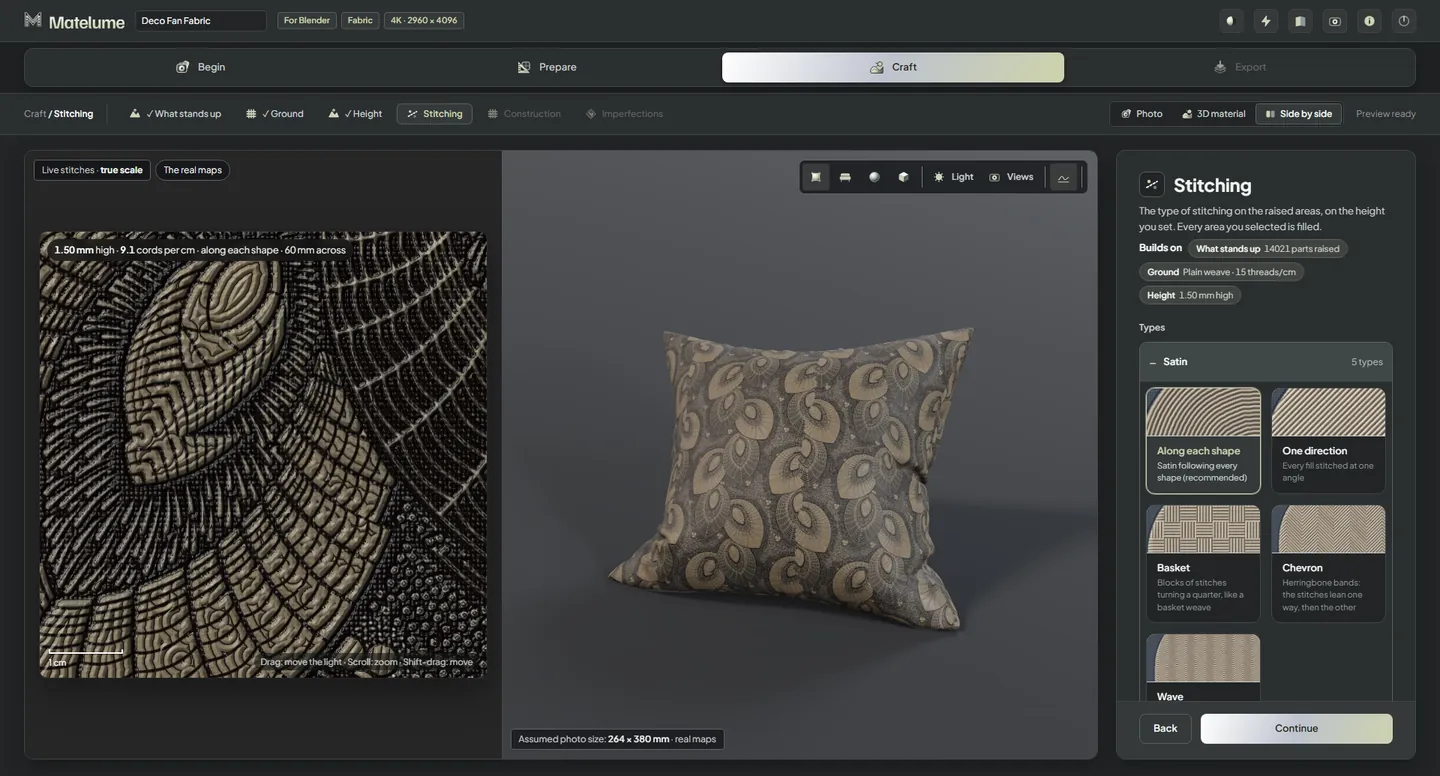
Stitching
Choose how the raised parts are made: stitches, knots, beads, quilting and more. Flat fabric skips this step.
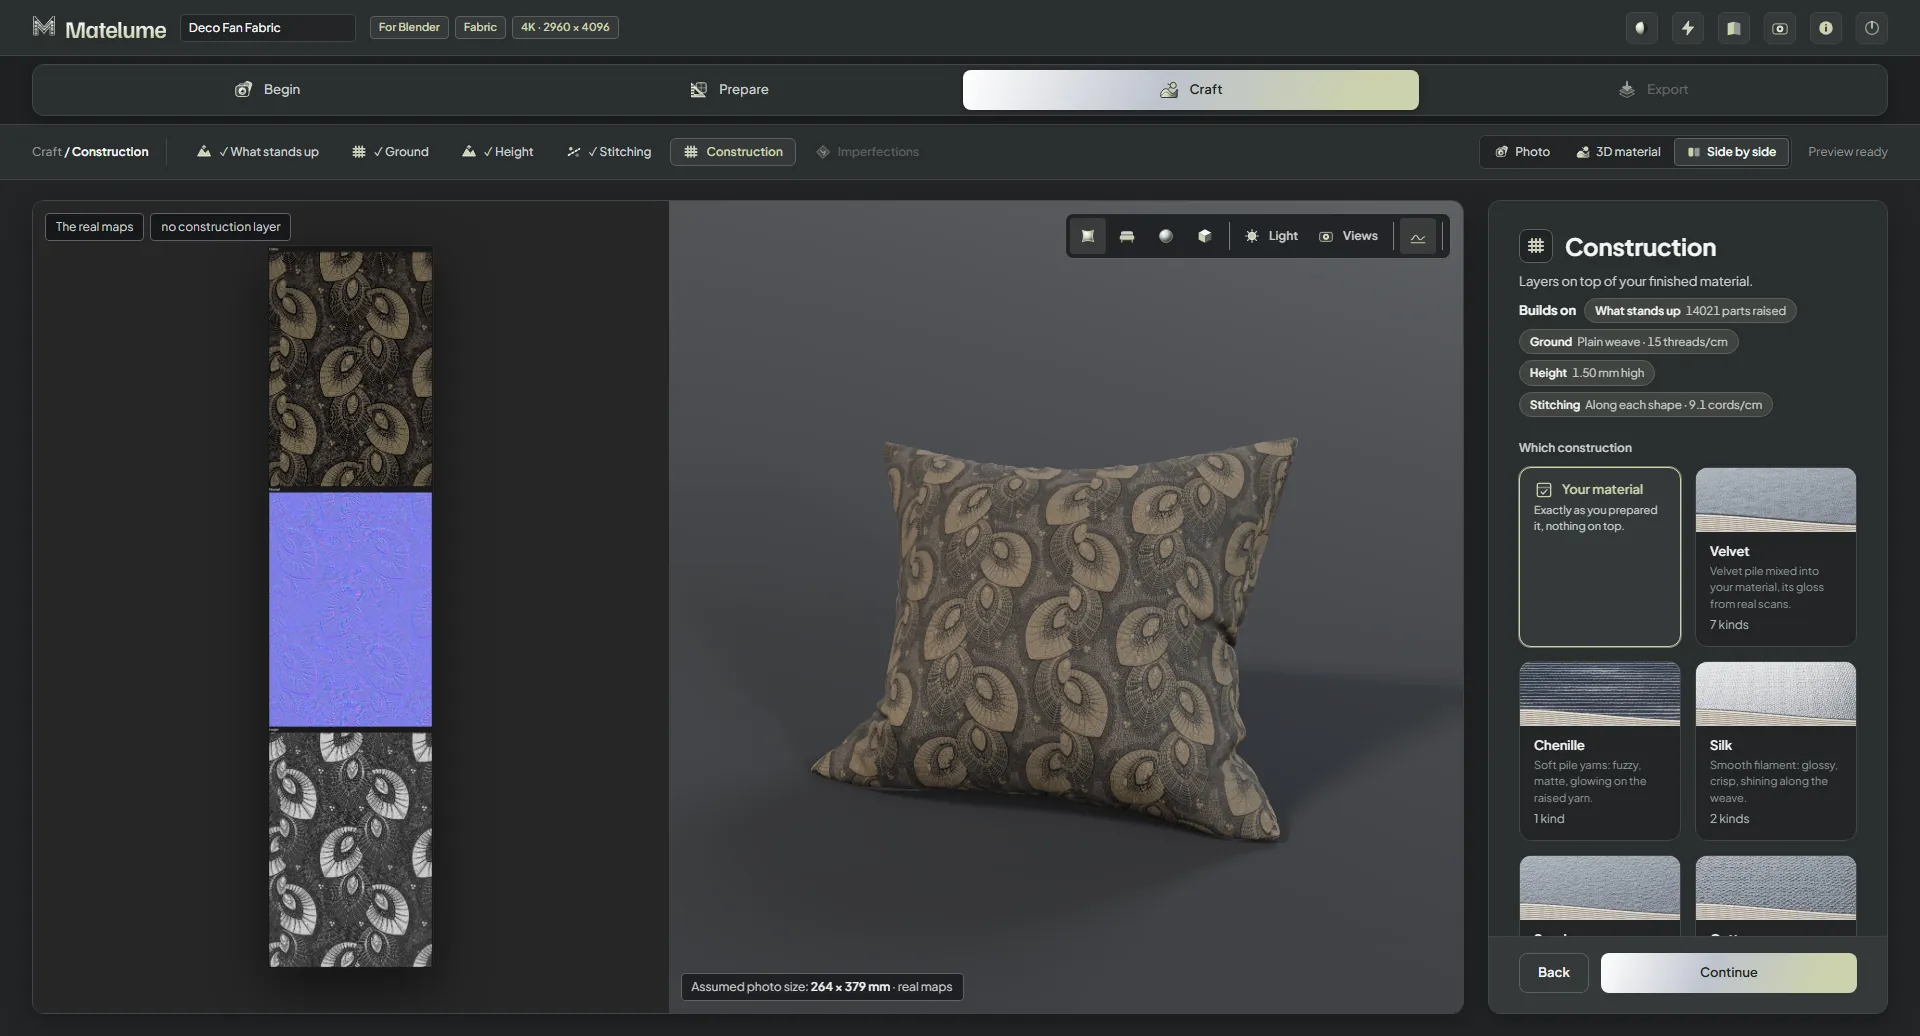
Recorded app view: Construction.
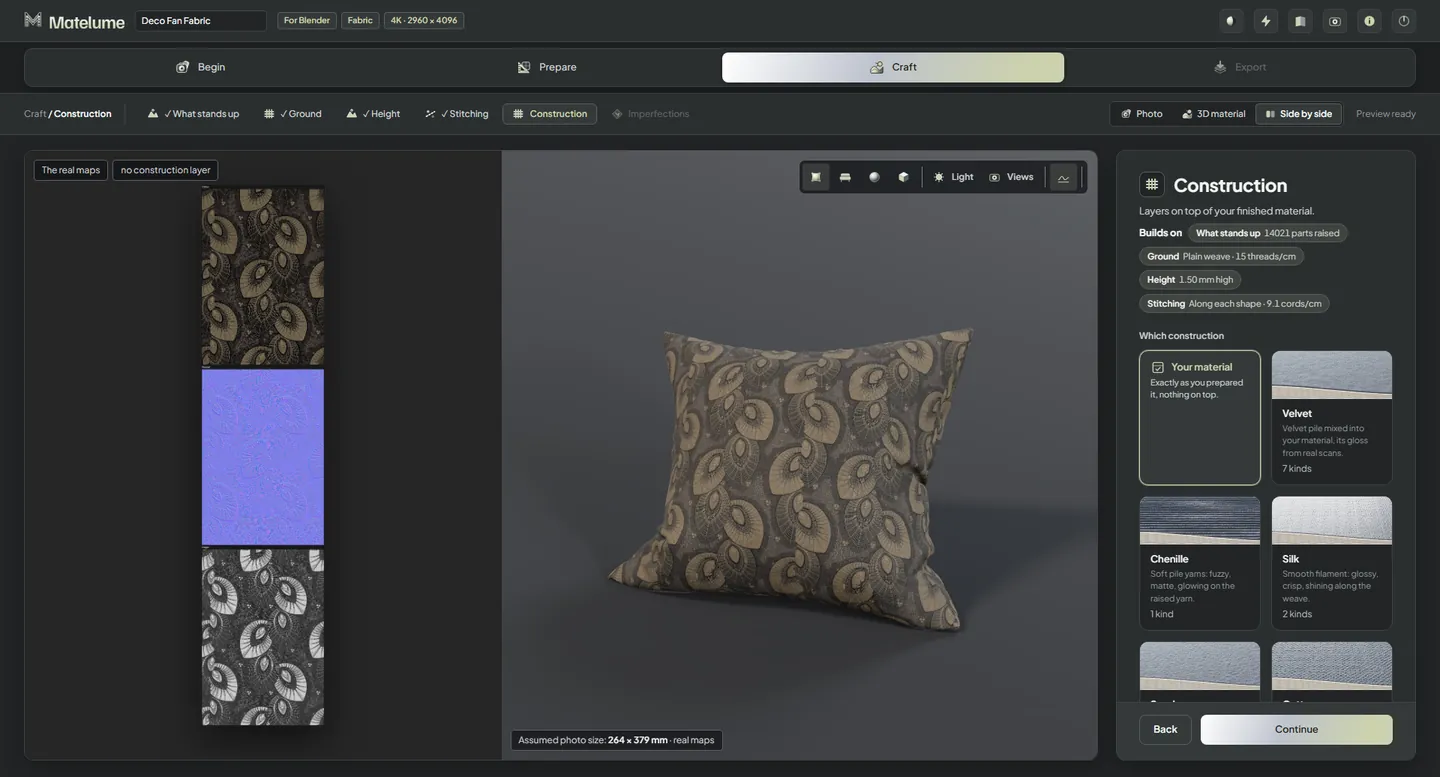
Construction
Optionally add a fabric finish such as velvet, chenille, silk, suede or cotton.
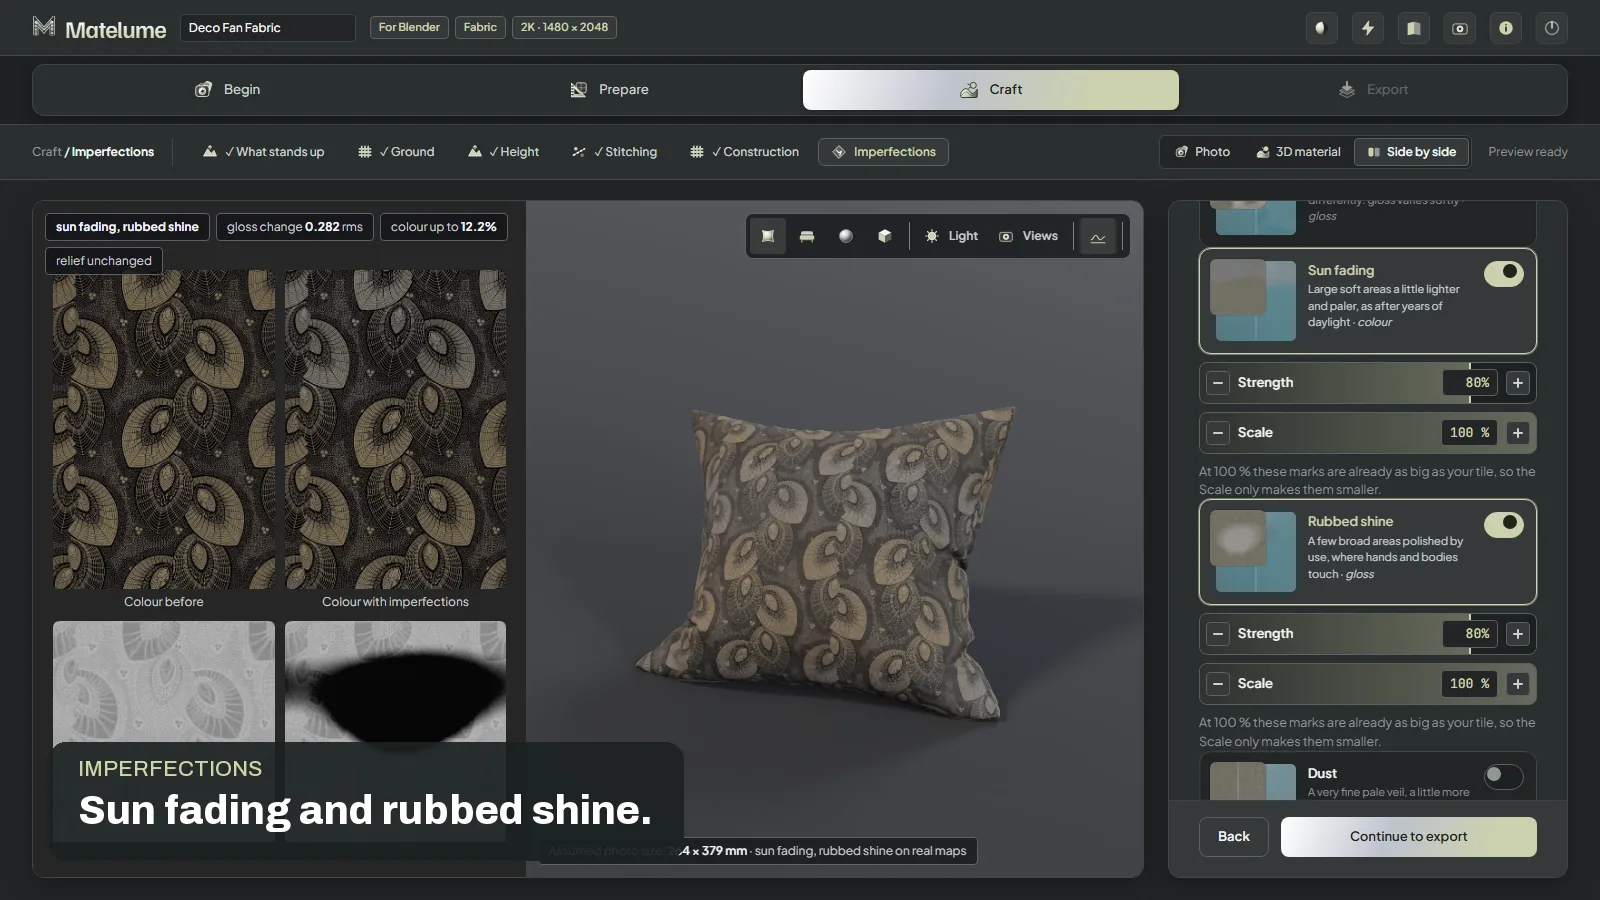
Still from the recorded Matelume walkthrough: Imperfections.
Imperfections
Optionally add signs of use, or keep a clean finish. These choices sit over the completed material.
Export — Build the maps and use your material
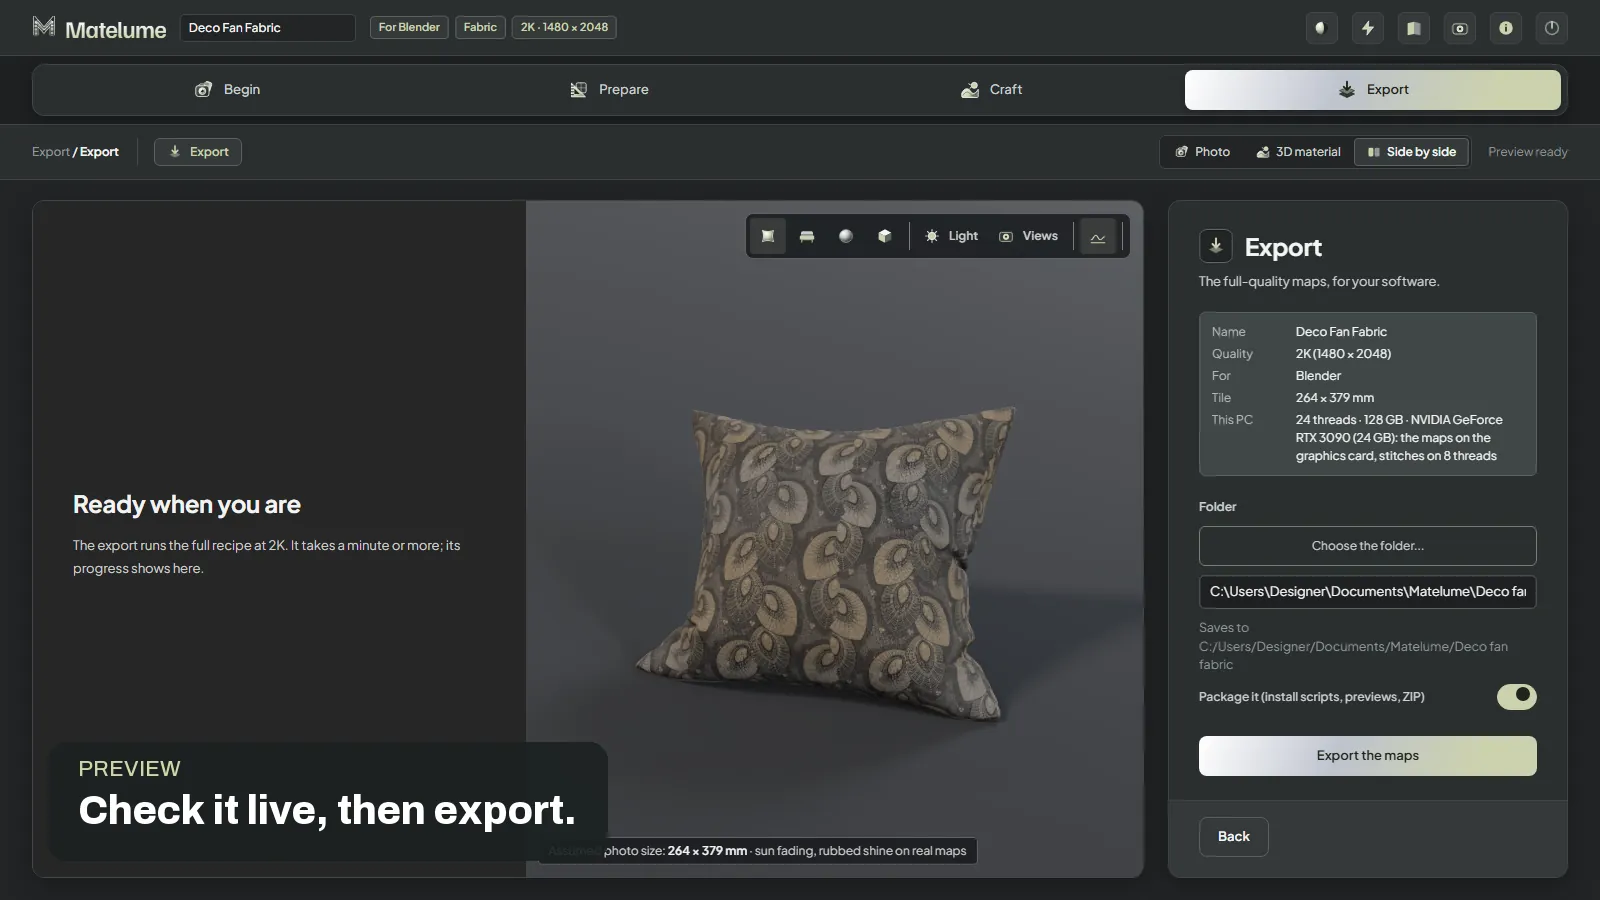
Still from the recorded Matelume walkthrough: Export the maps.
Export the maps
Choose a folder and build the full-quality maps. Package it can include instructions, previews and a ZIP. The 14-day trial includes every Pro tool, full-size exports and no watermark; Max features are not included.
Blender Cycles render. Scene and props: iMeshh.
Bring it into your scene
Use the included Blender or 3ds Max add-on, or set up the maps manually in another program. Judge the result in your scene’s lighting.
Wall art
Begin & prepare
Recorded app view: Choose your image.
Choose your image
Start with a flat digital artwork or scan you have the right to use. Choose your target software.
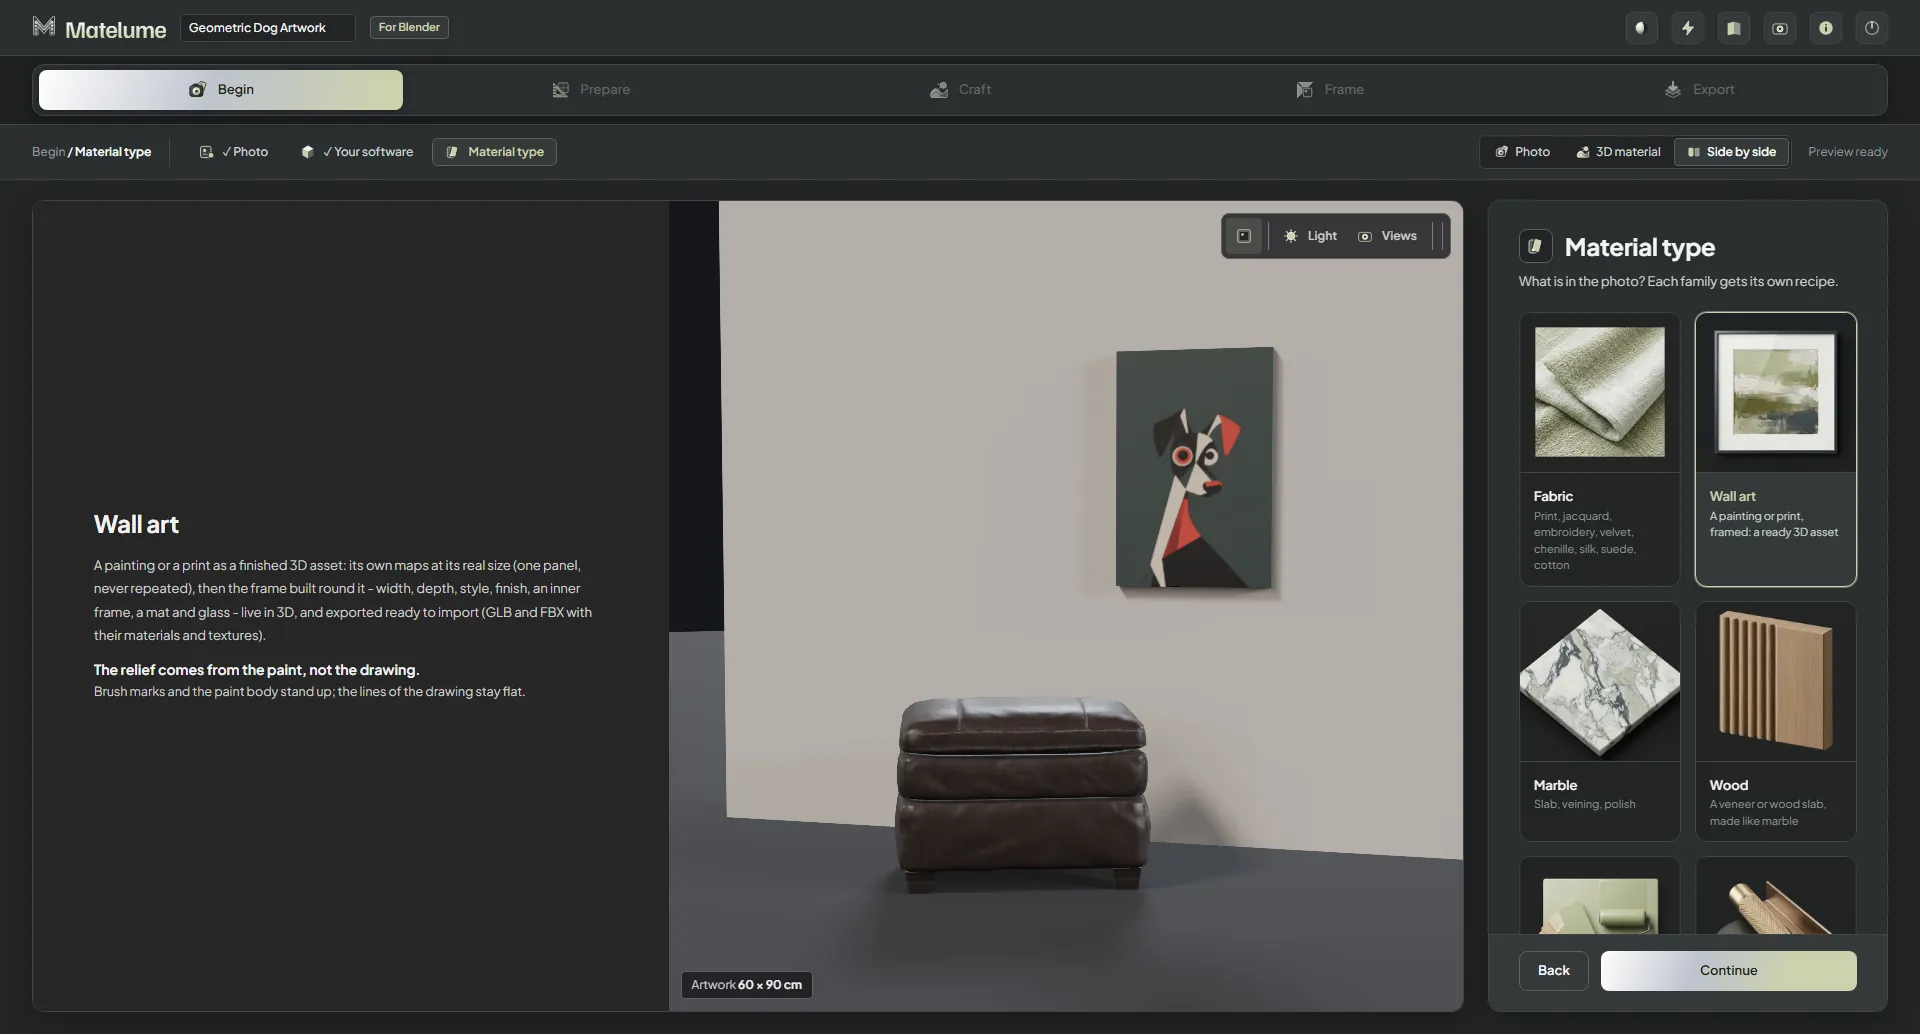
Recorded app view: Choose the artwork type.
Choose the artwork type
Pick Painting on canvas, Print on canvas or Print on paper. Paper skips the raised-paint steps.
Recorded app view: Quality.
Quality
Choose the map resolution for the detail and plan you need.
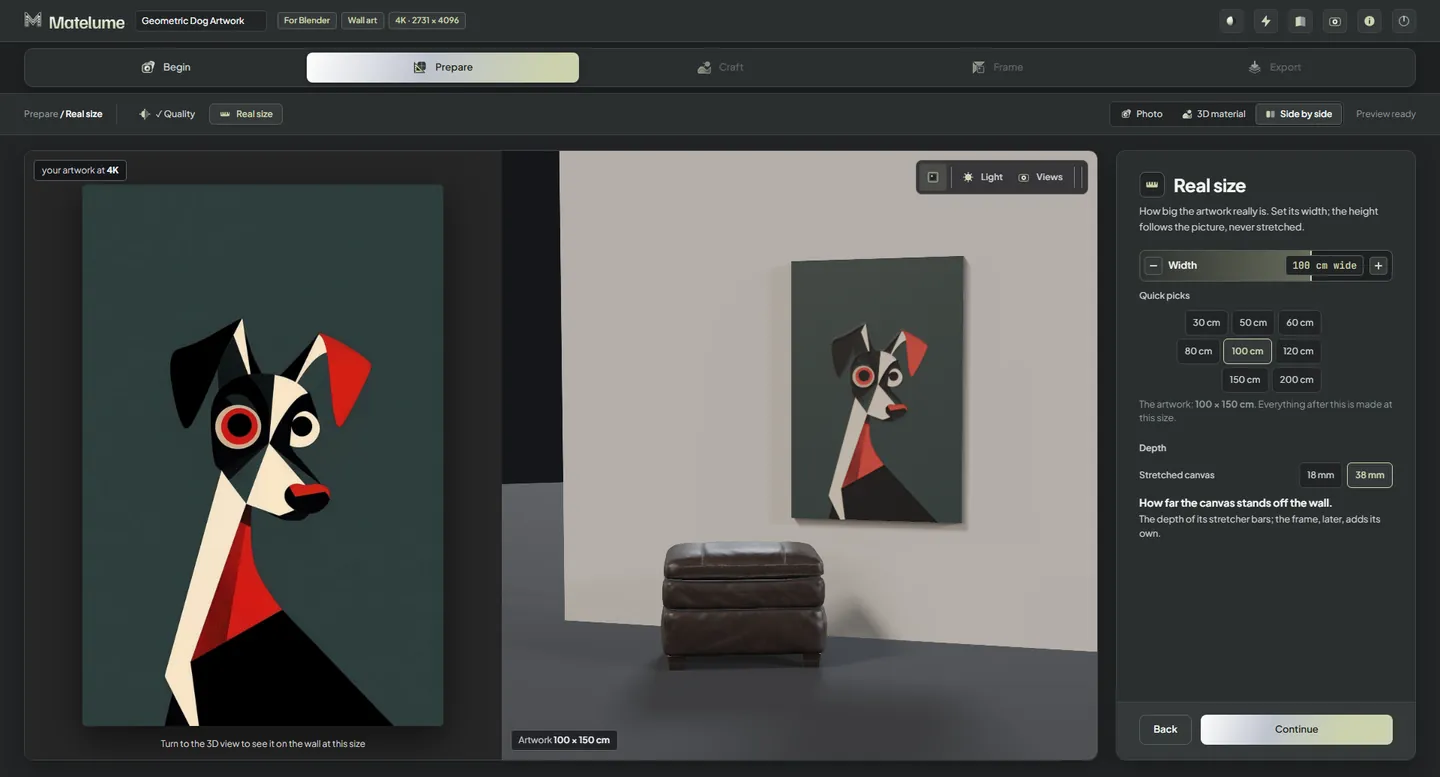
Recorded app view: Real size.
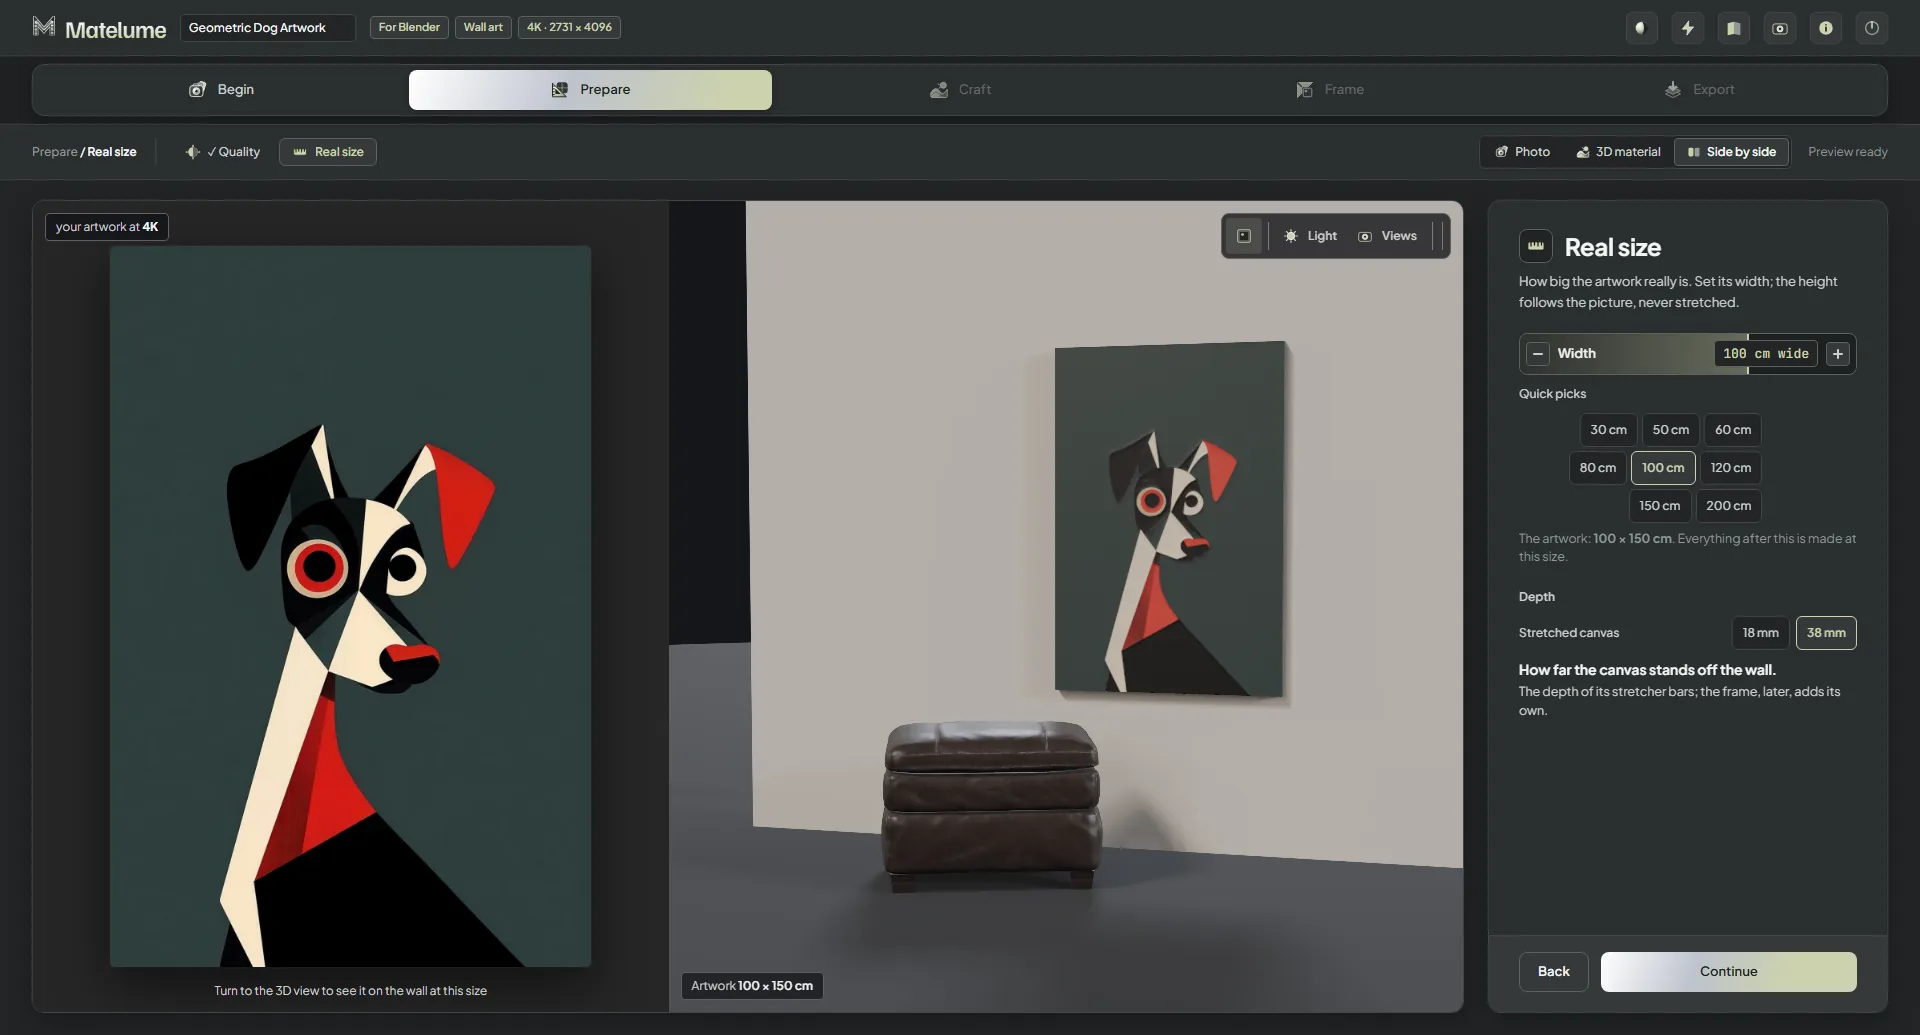
Real size
Set the artwork width. Its proportions stay intact; canvas also has a depth choice.
Craft the artwork
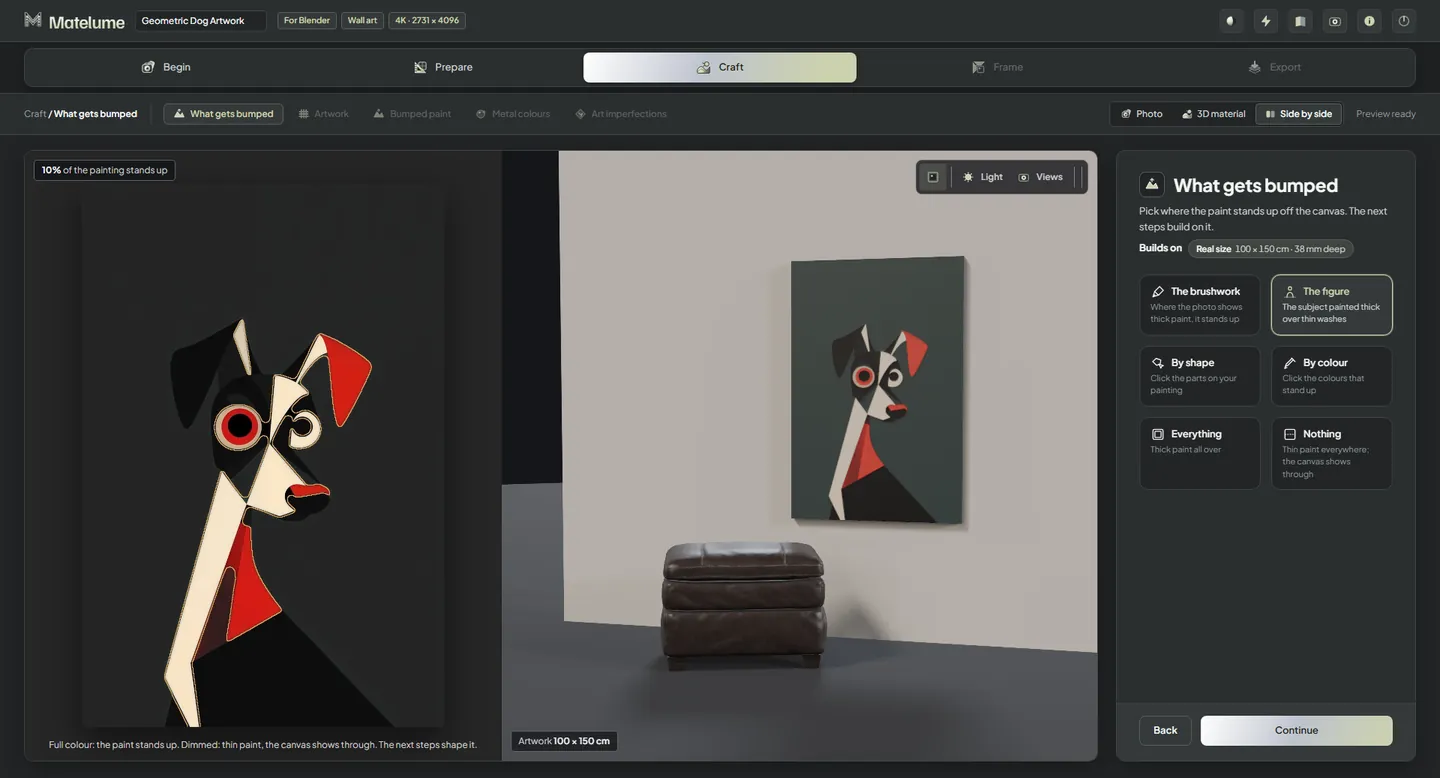
Recorded app view: What gets bumped.
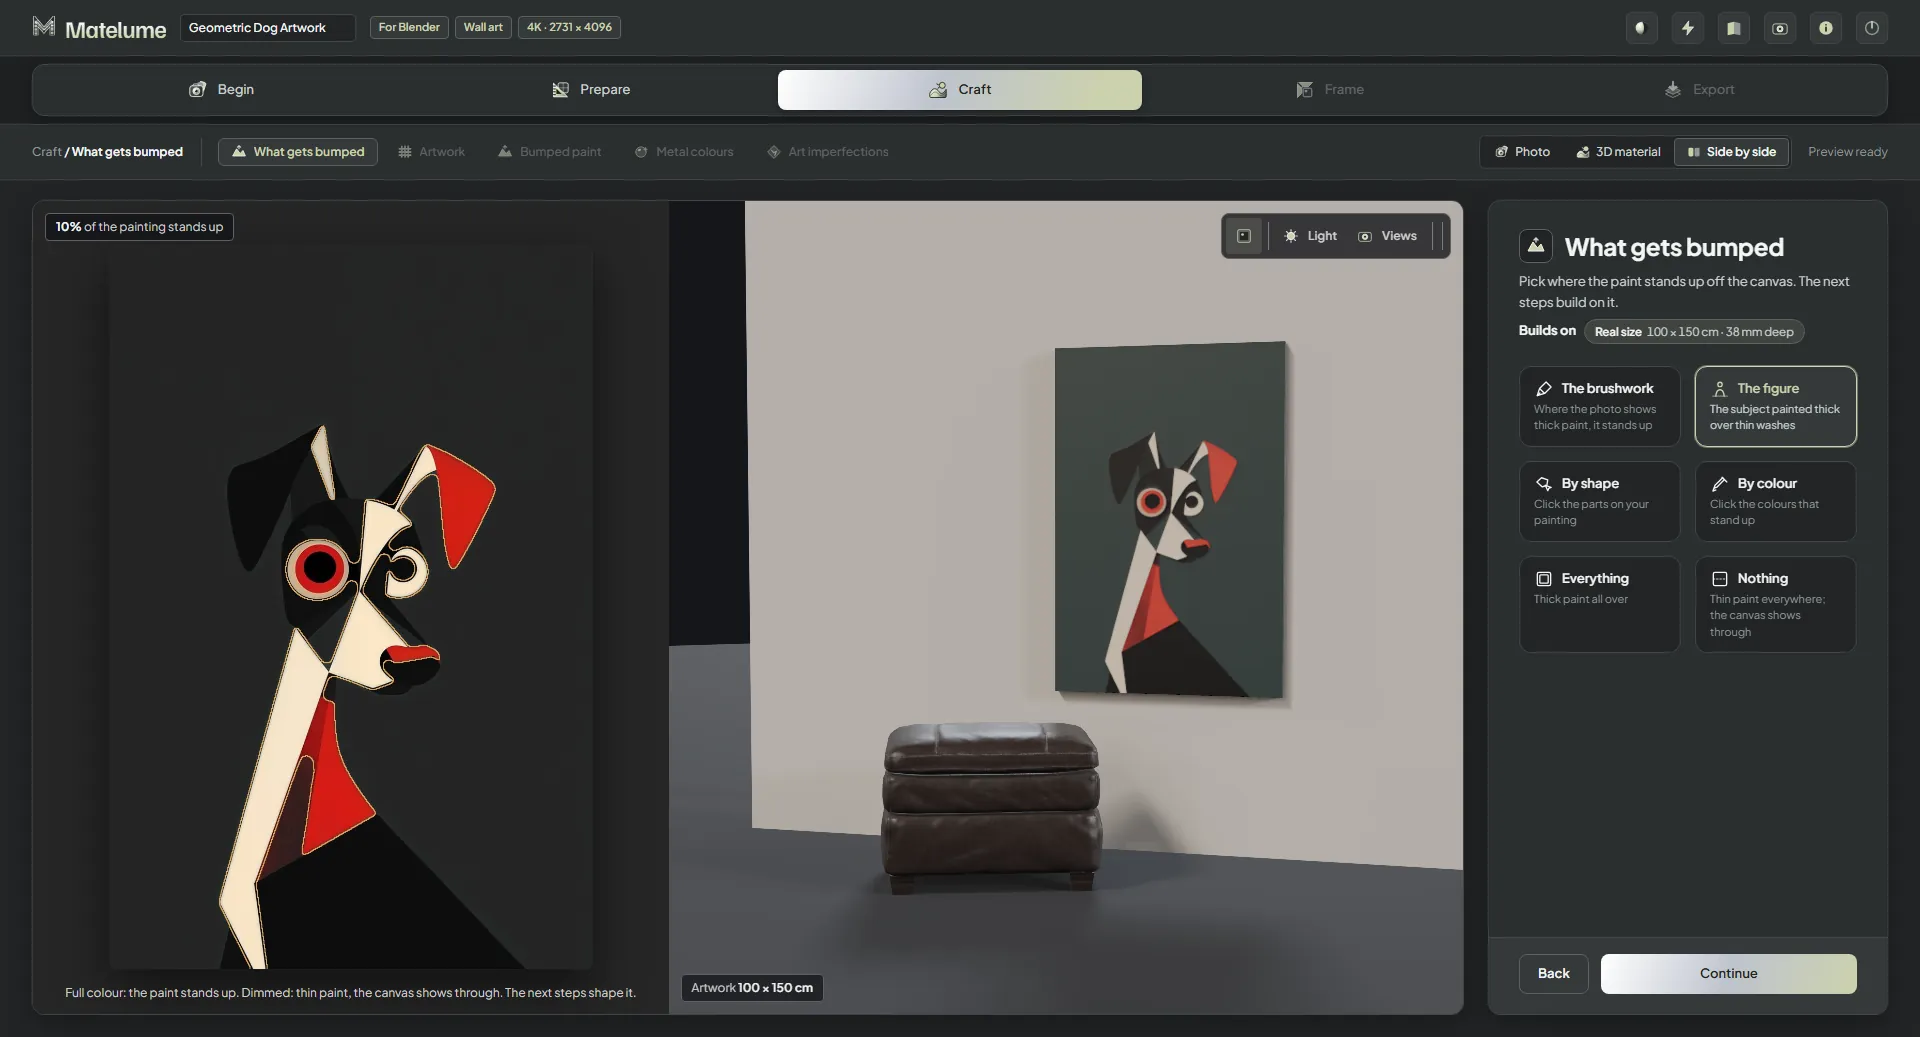
What gets bumped
Select where paint or clear gel should stand above the surface.
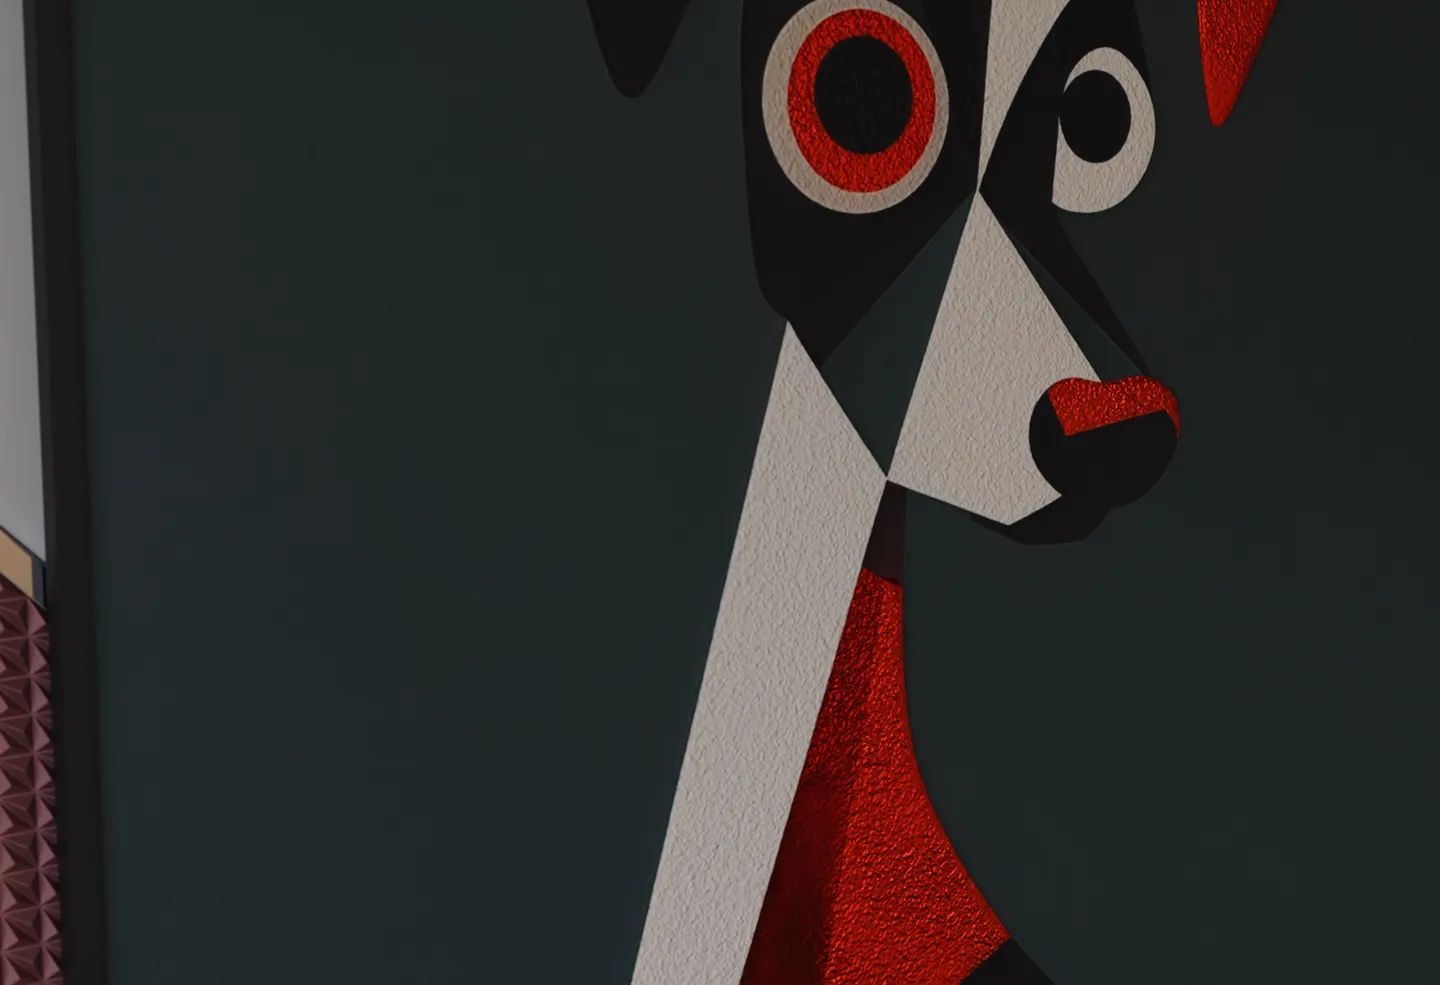
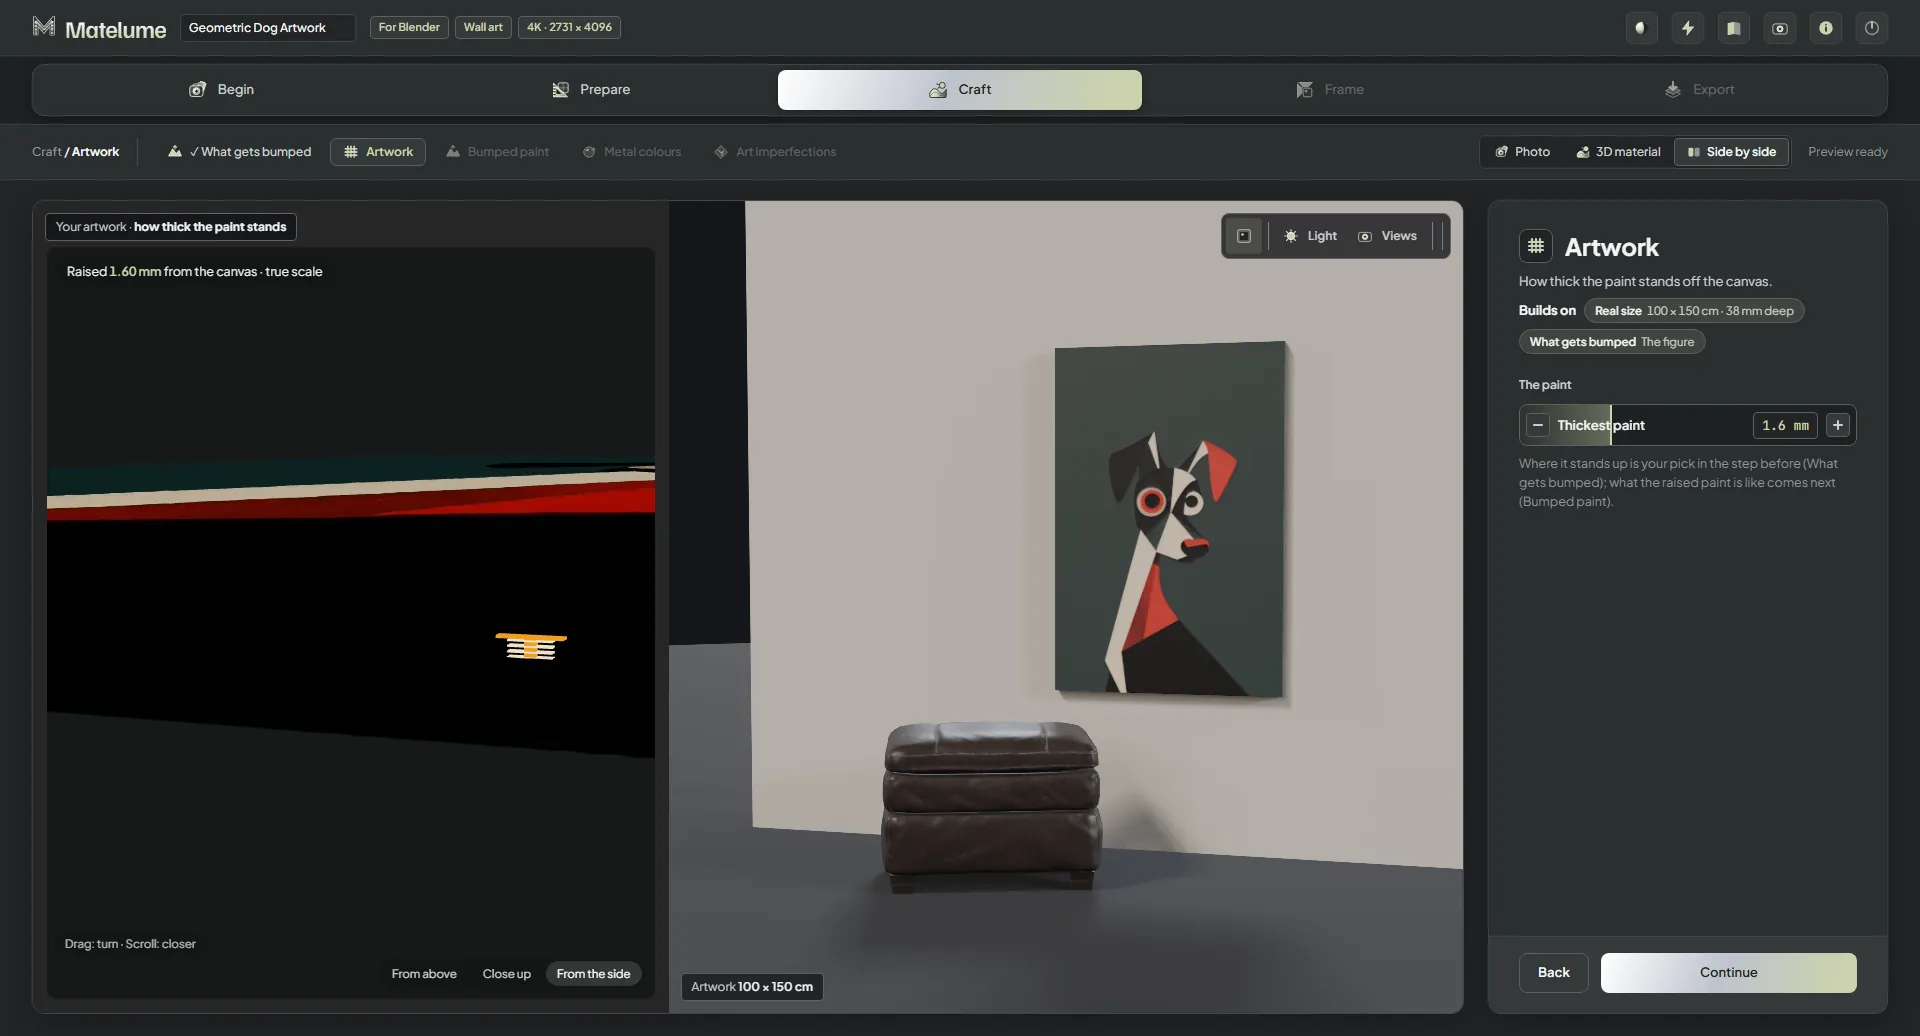
Finished artwork detail, not a control screenshot. Scene and props: iMeshh.
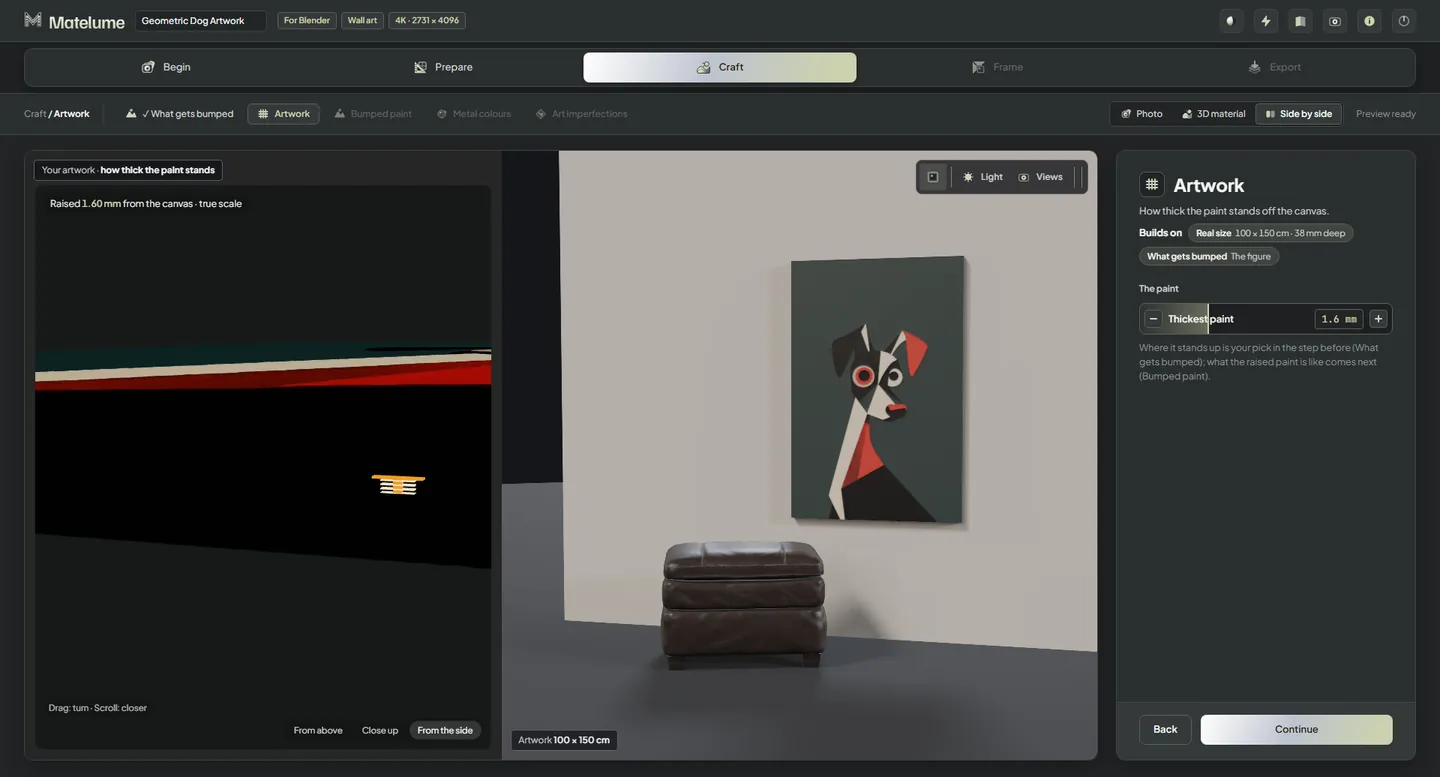
Artwork
Set how thick the raised paint stands at its thickest.
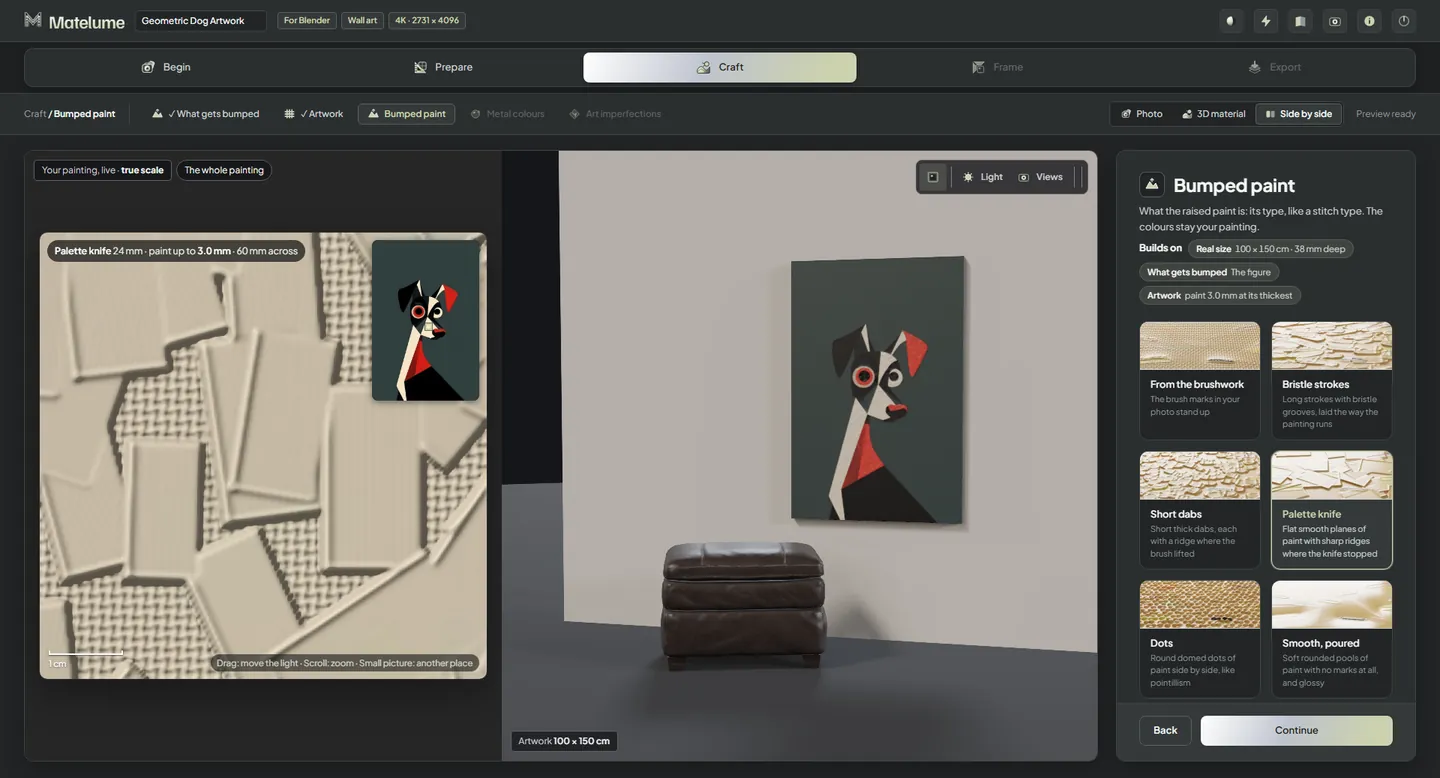
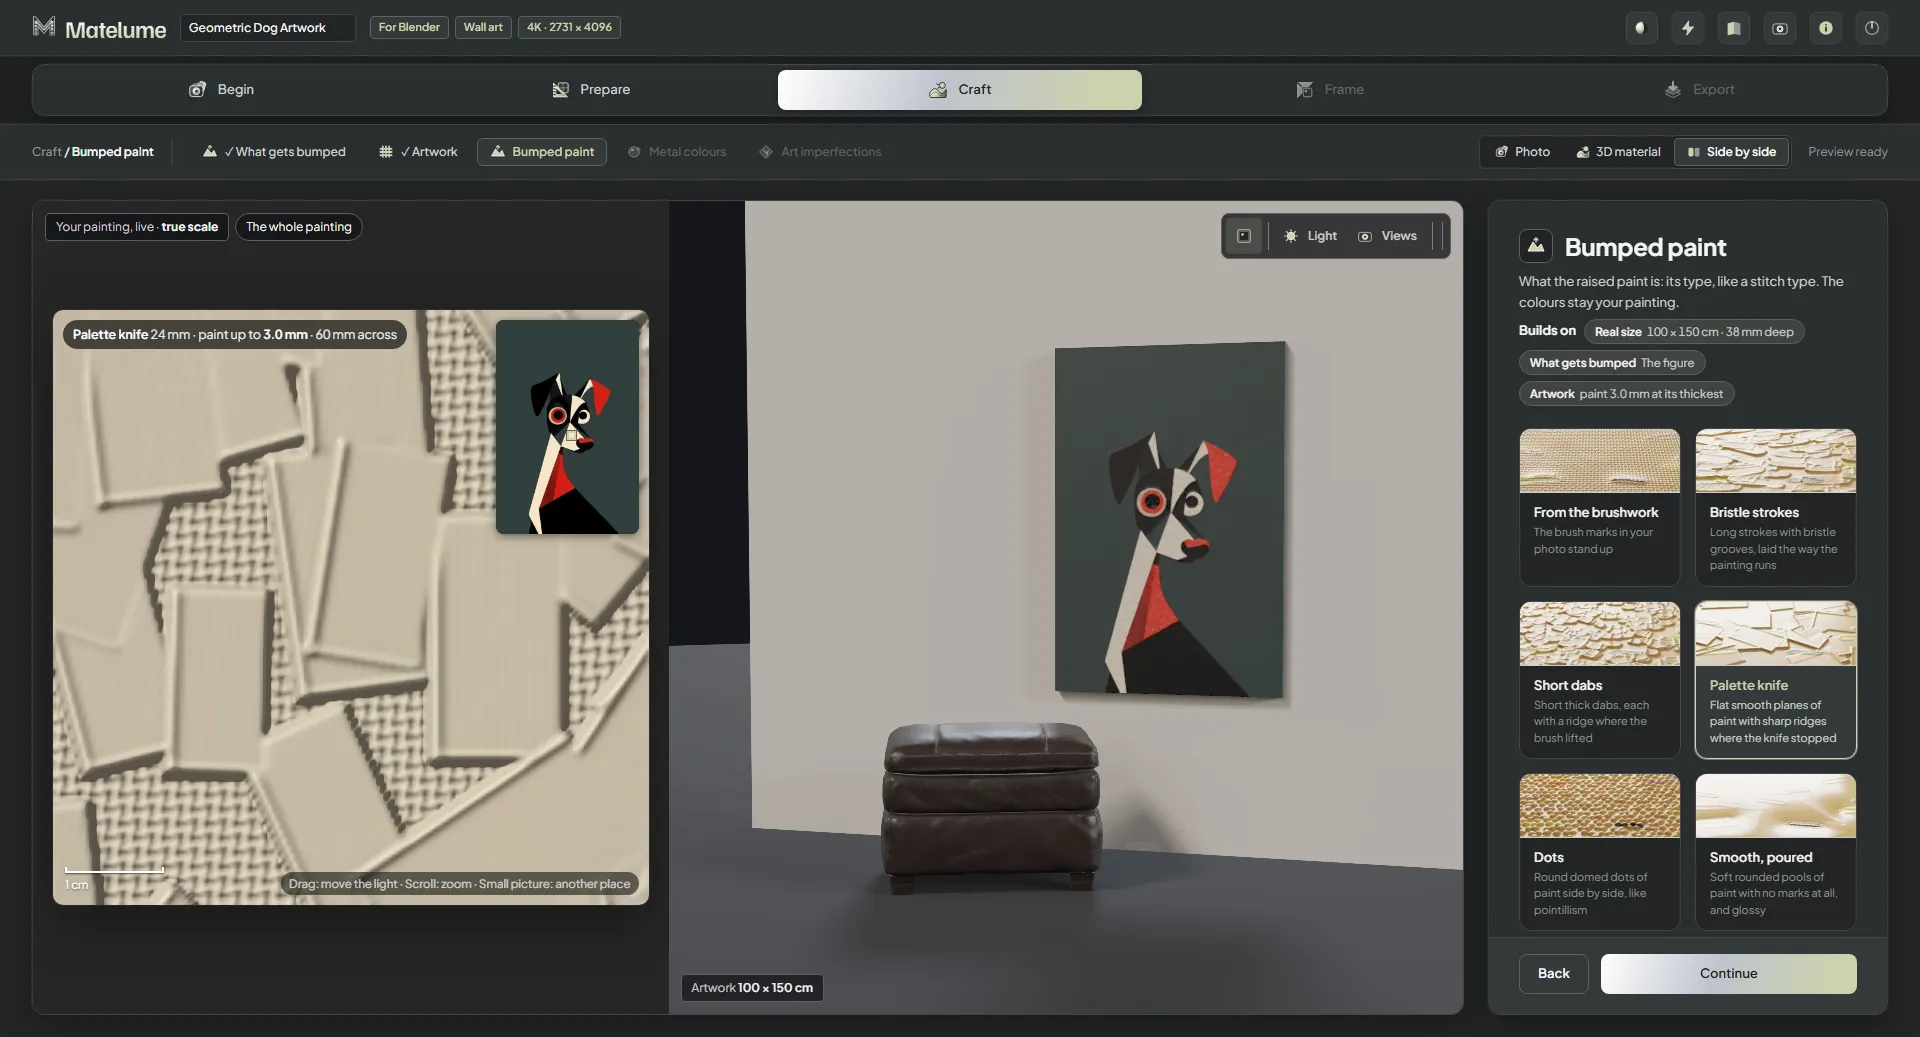
Recorded app view: Bumped paint.
Bumped paint
Choose the paint treatment, mark size, depth and density, then the varnish.
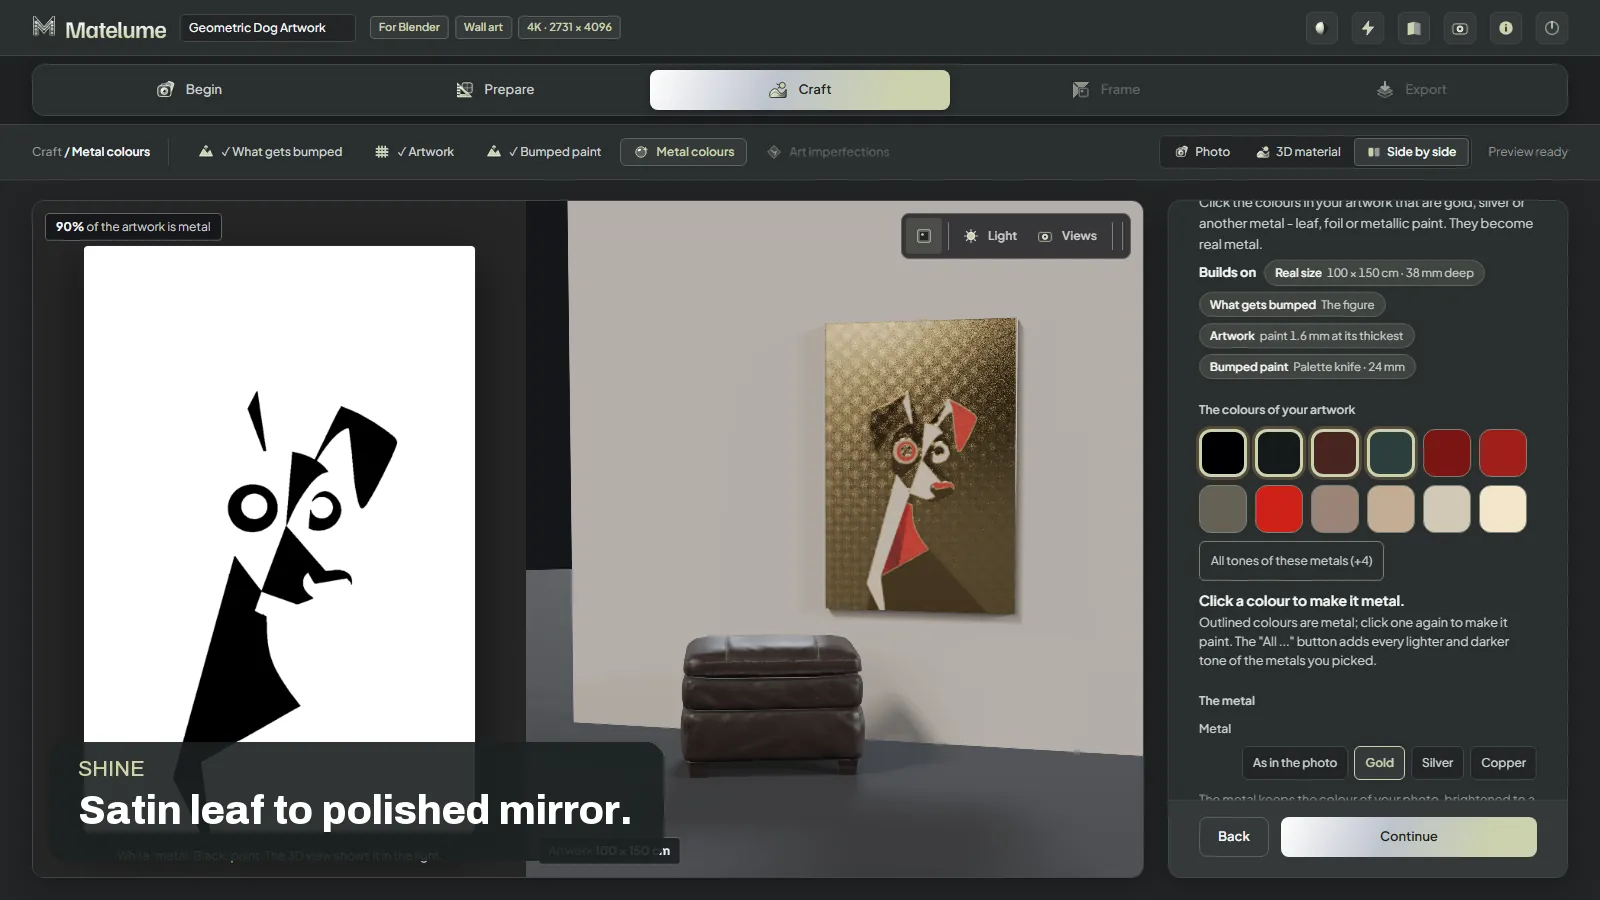
Still from the recorded Matelume walkthrough: Metal colours.
Metal colours
Choose colours that become gold, silver or copper. Matching golds can be selected together.
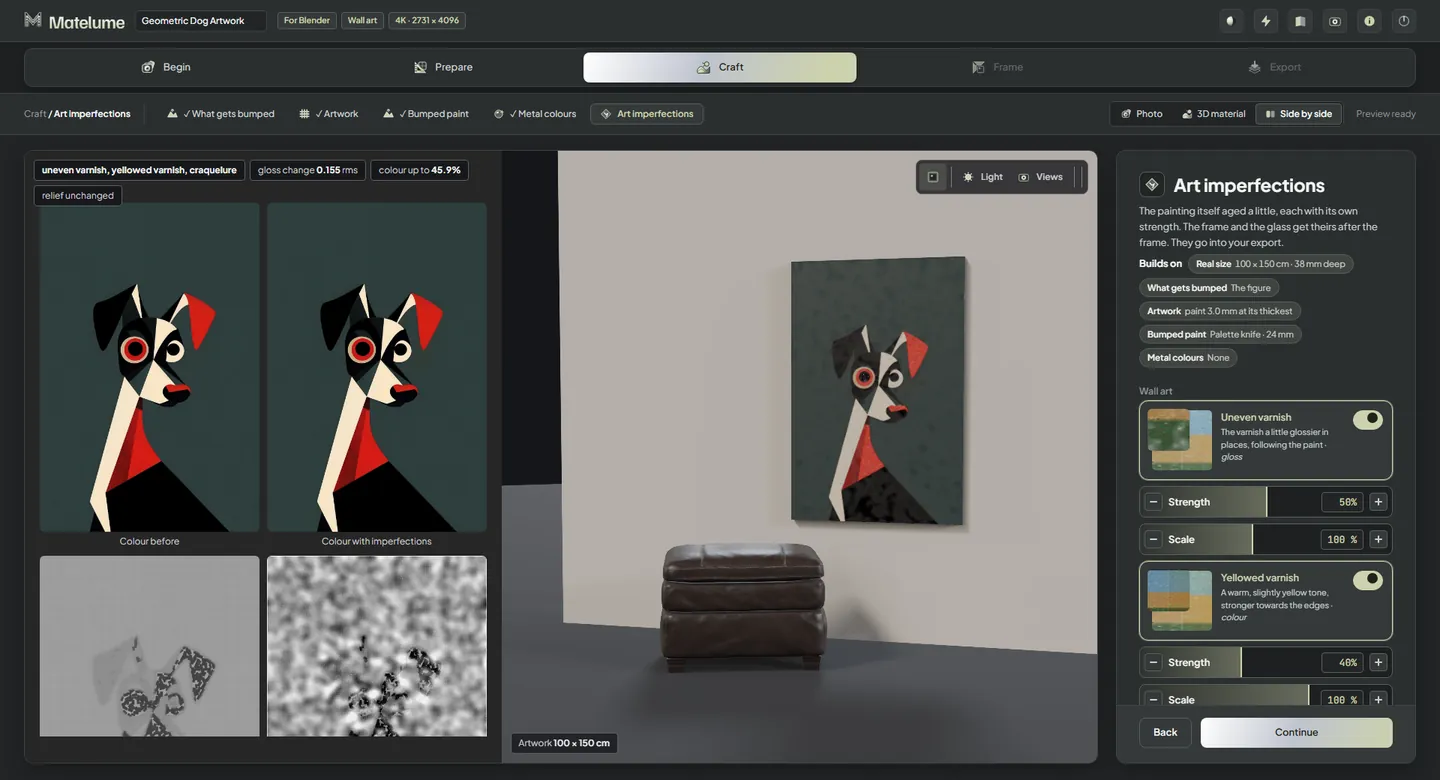
Recorded app view: Art imperfections.
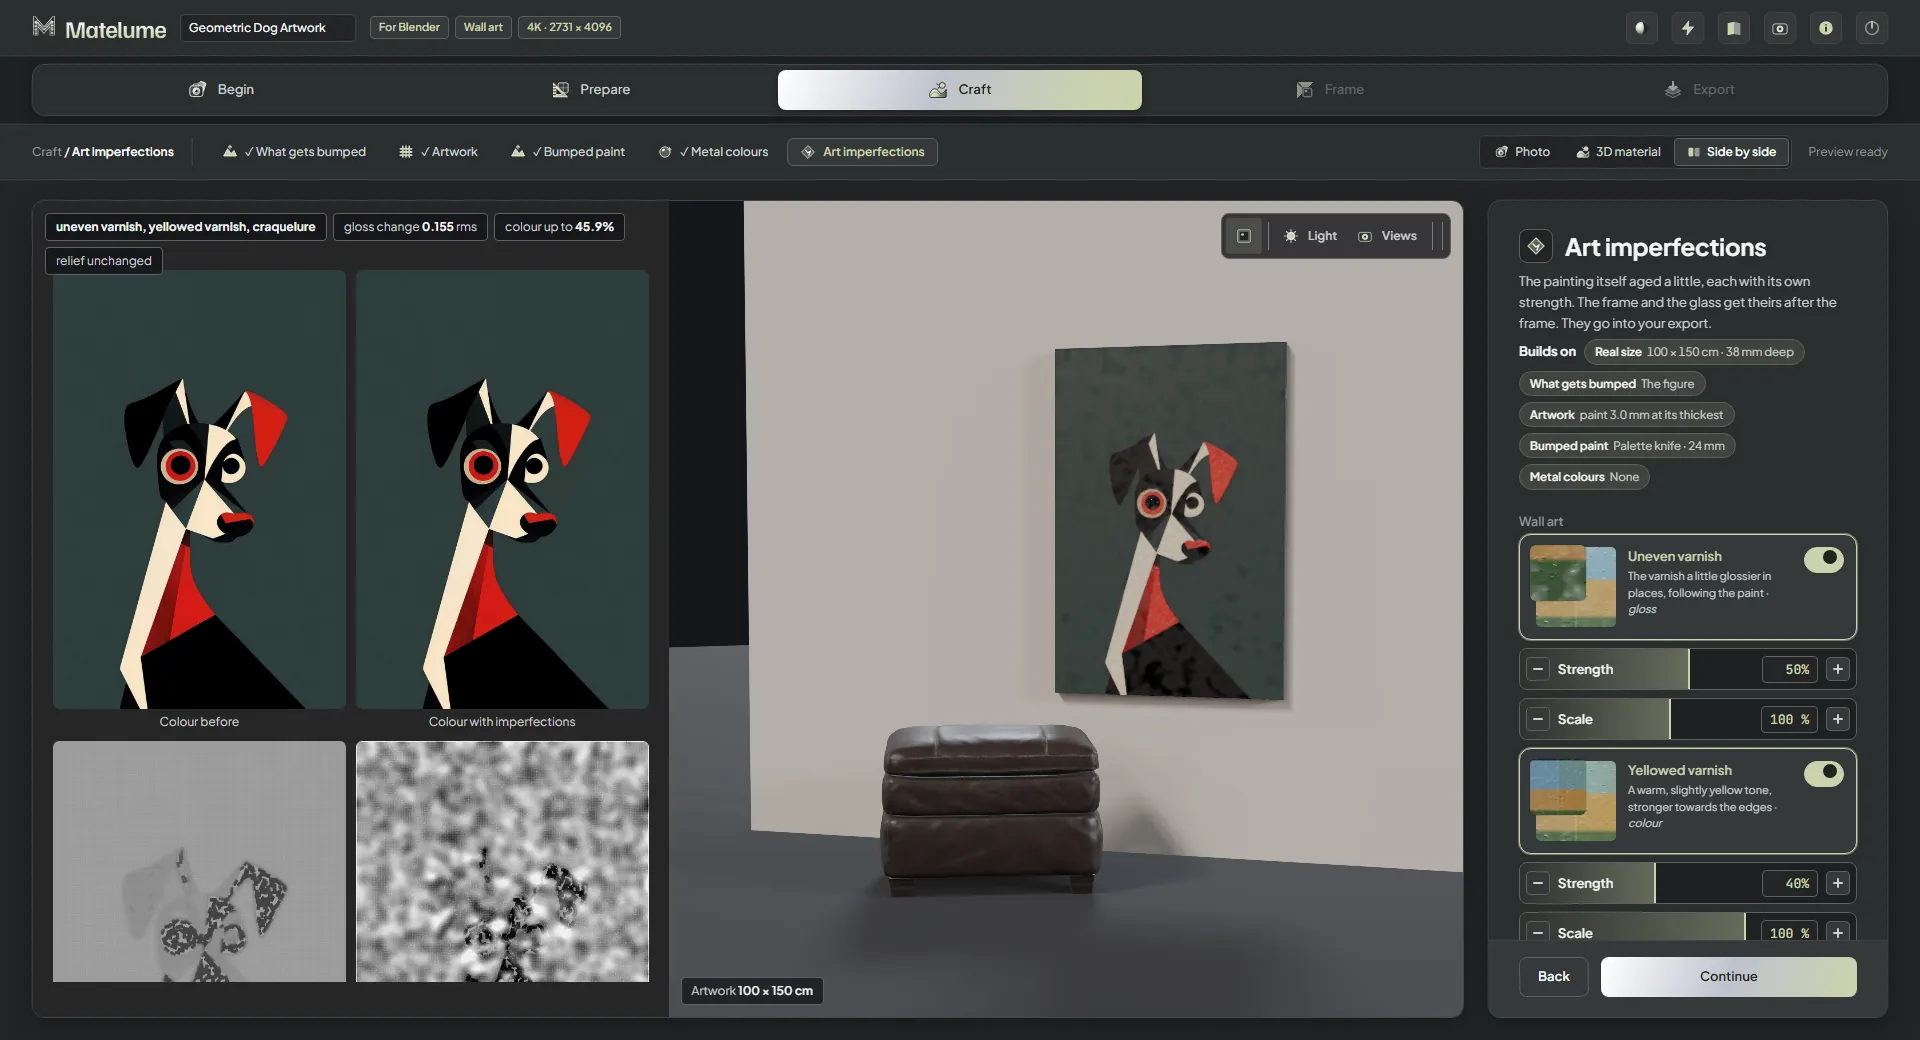
Art imperfections
Optionally age the artwork, or leave it clean.
Frame & export
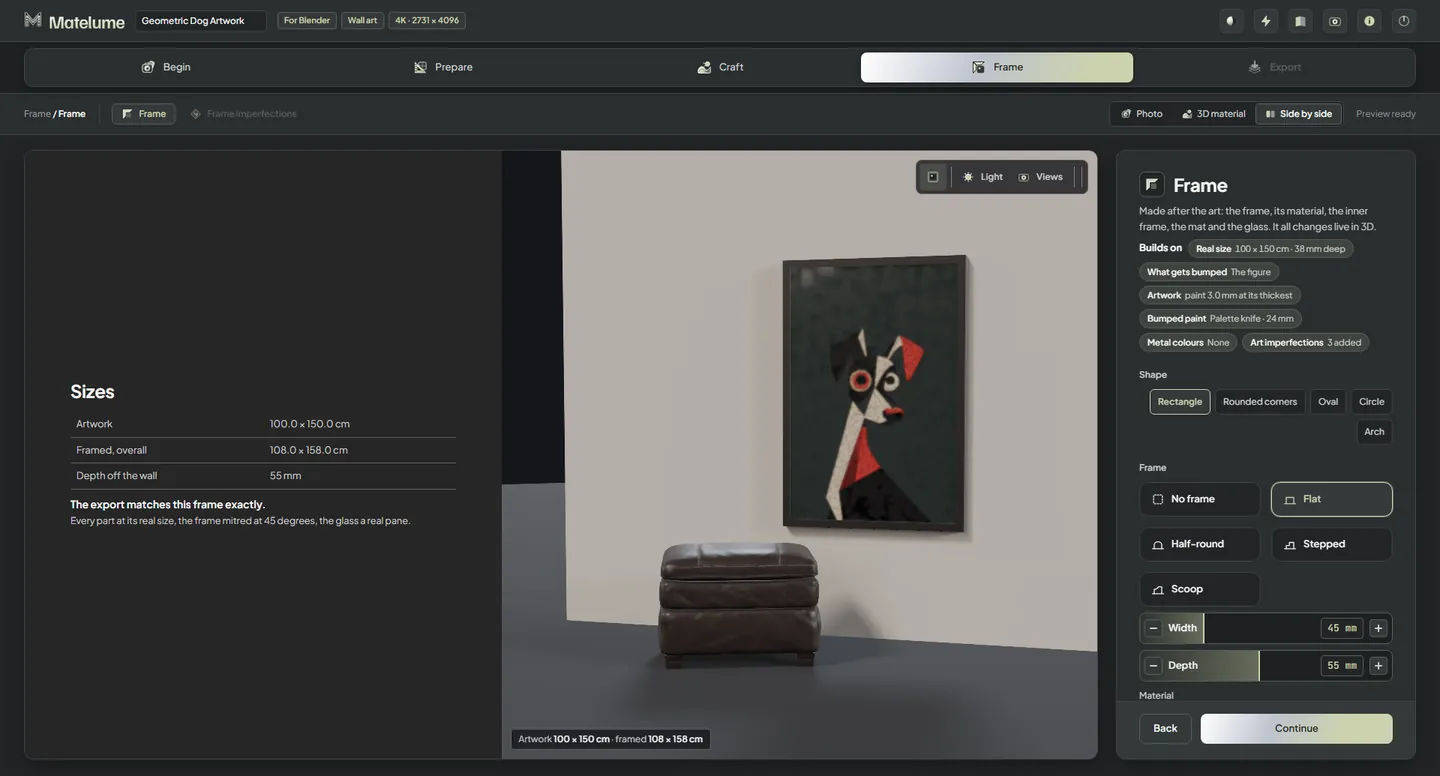
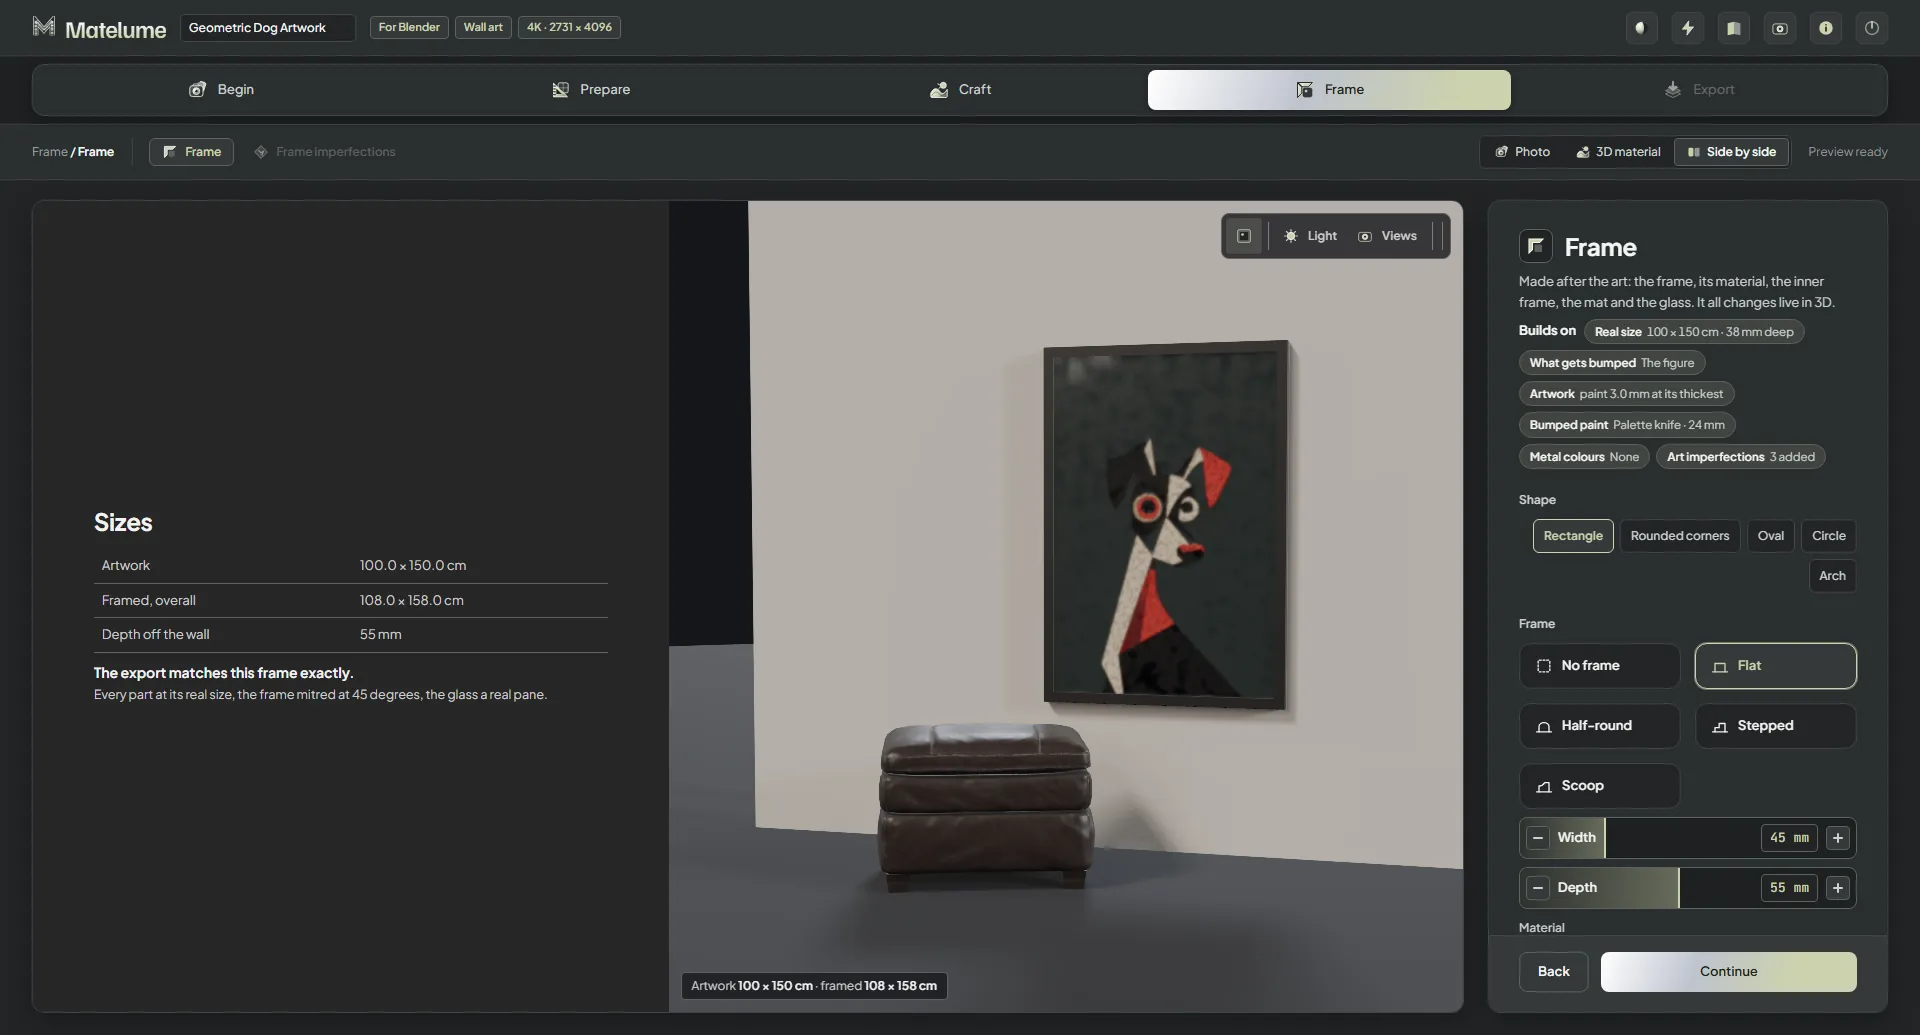
Recorded app view: Frame.
Frame
Choose the moulding and finish, then the inner frame, mat and glass.
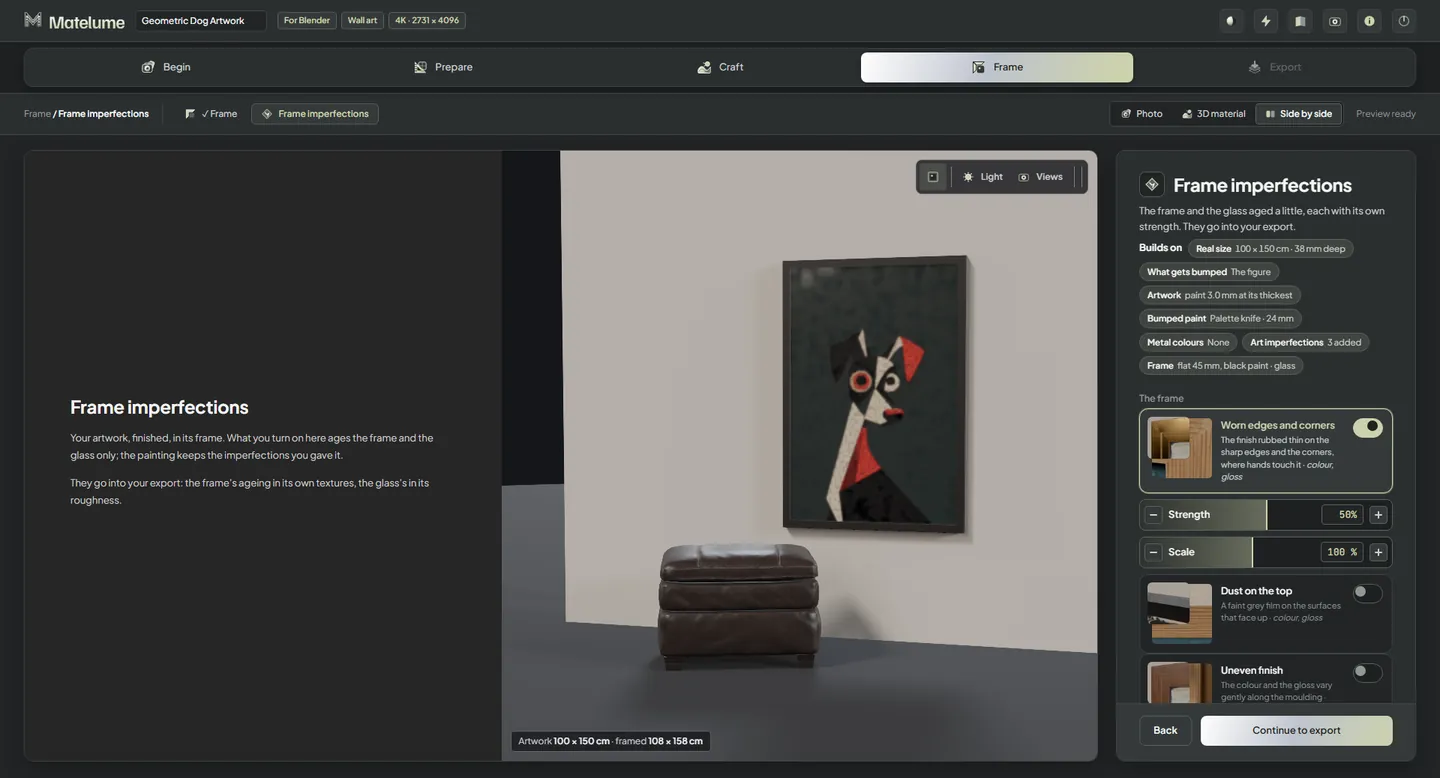
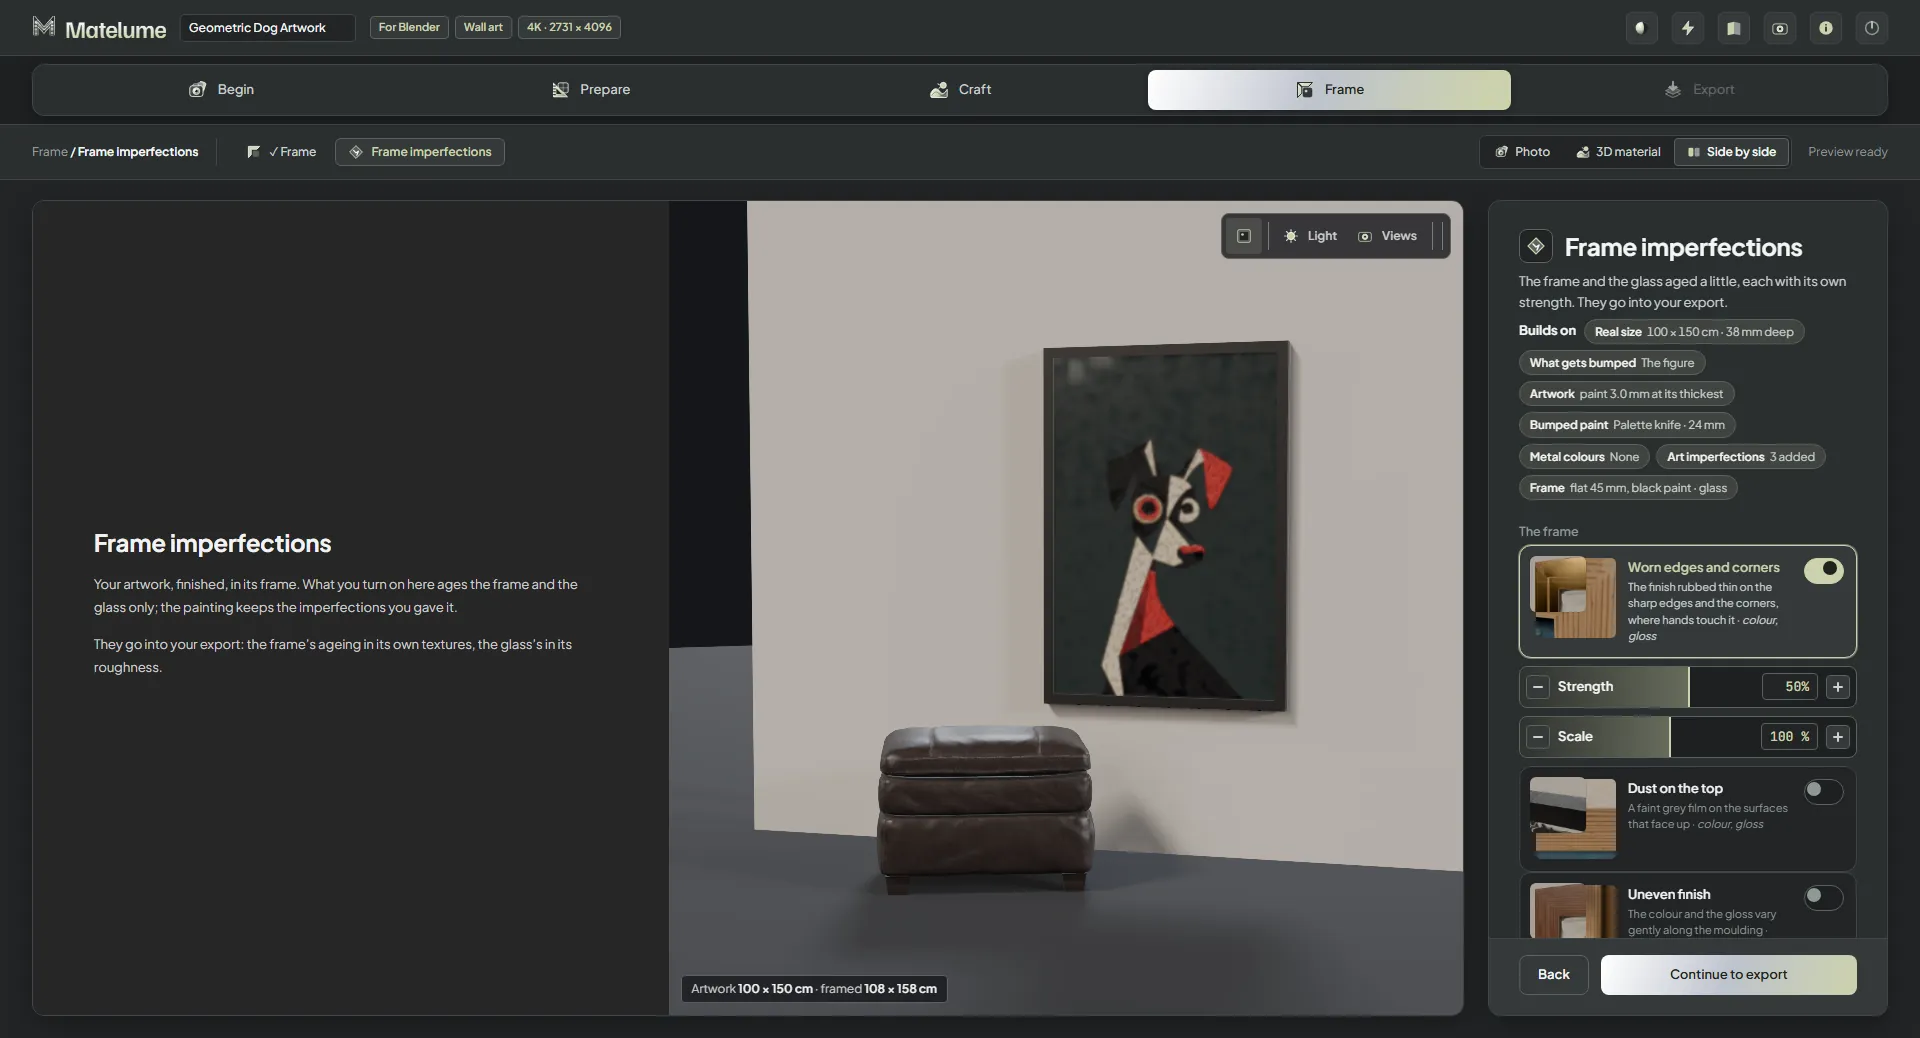
Recorded app view: Frame imperfections.
Frame imperfections
Optionally add wear to the frame and glass.
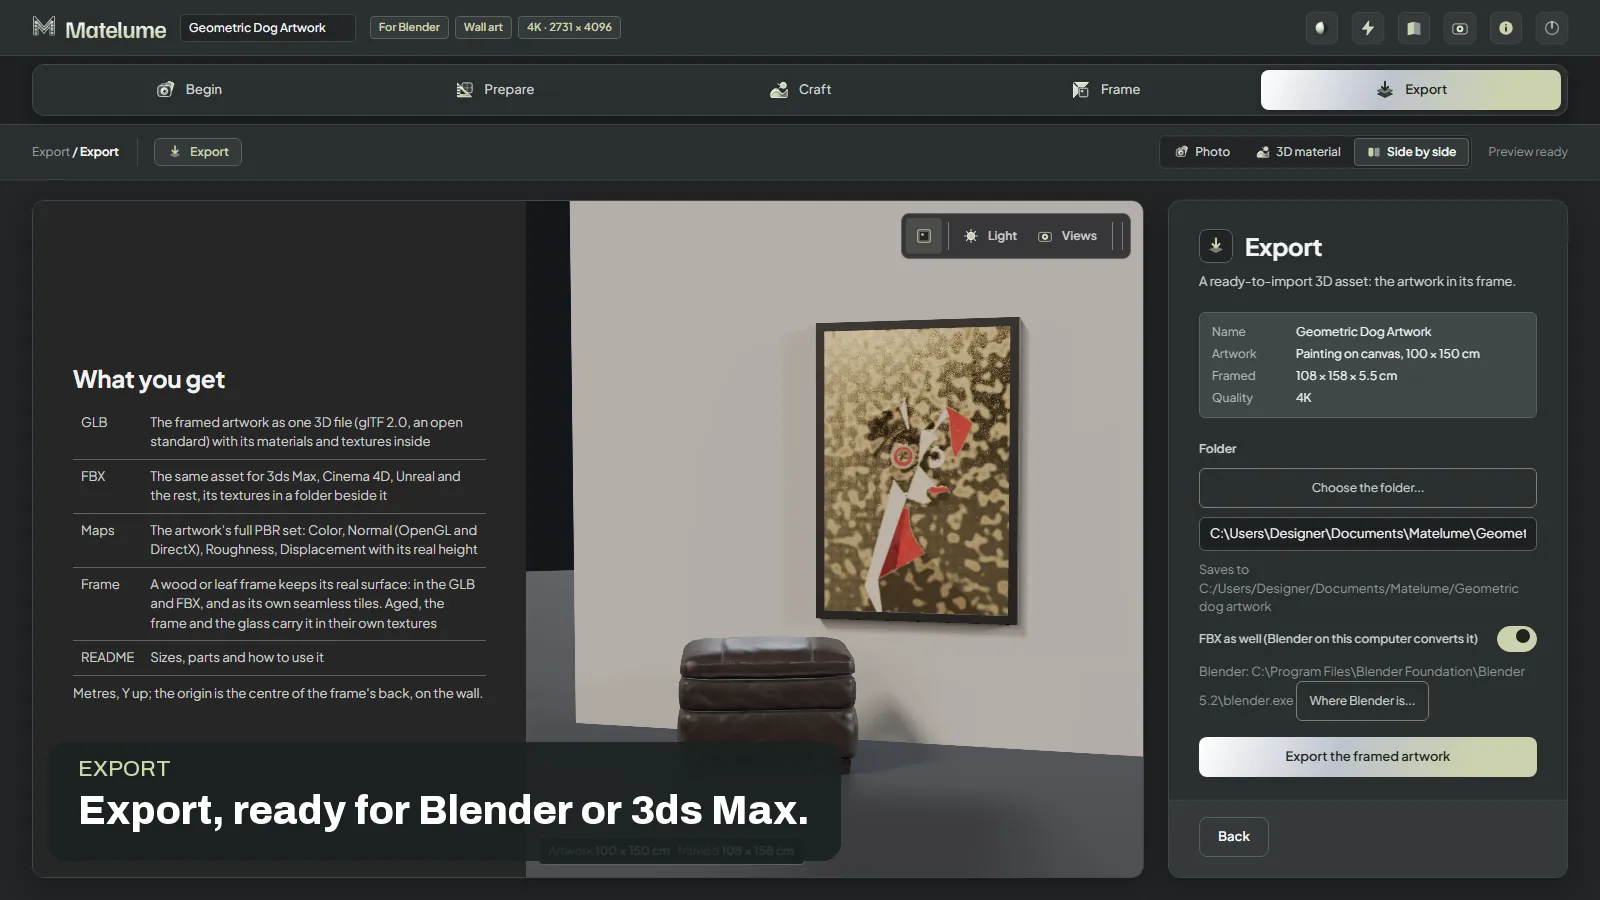
Still from the recorded Matelume walkthrough: Export the framed artwork.
Export the framed artwork
Export the 3D asset as GLB with its materials and textures. FBX also requires Blender installed.
Blender Cycles render. Scene and props: iMeshh.
Use it in your room
Import the framed asset into your scene at its real size.
Marble
Begin & prepare
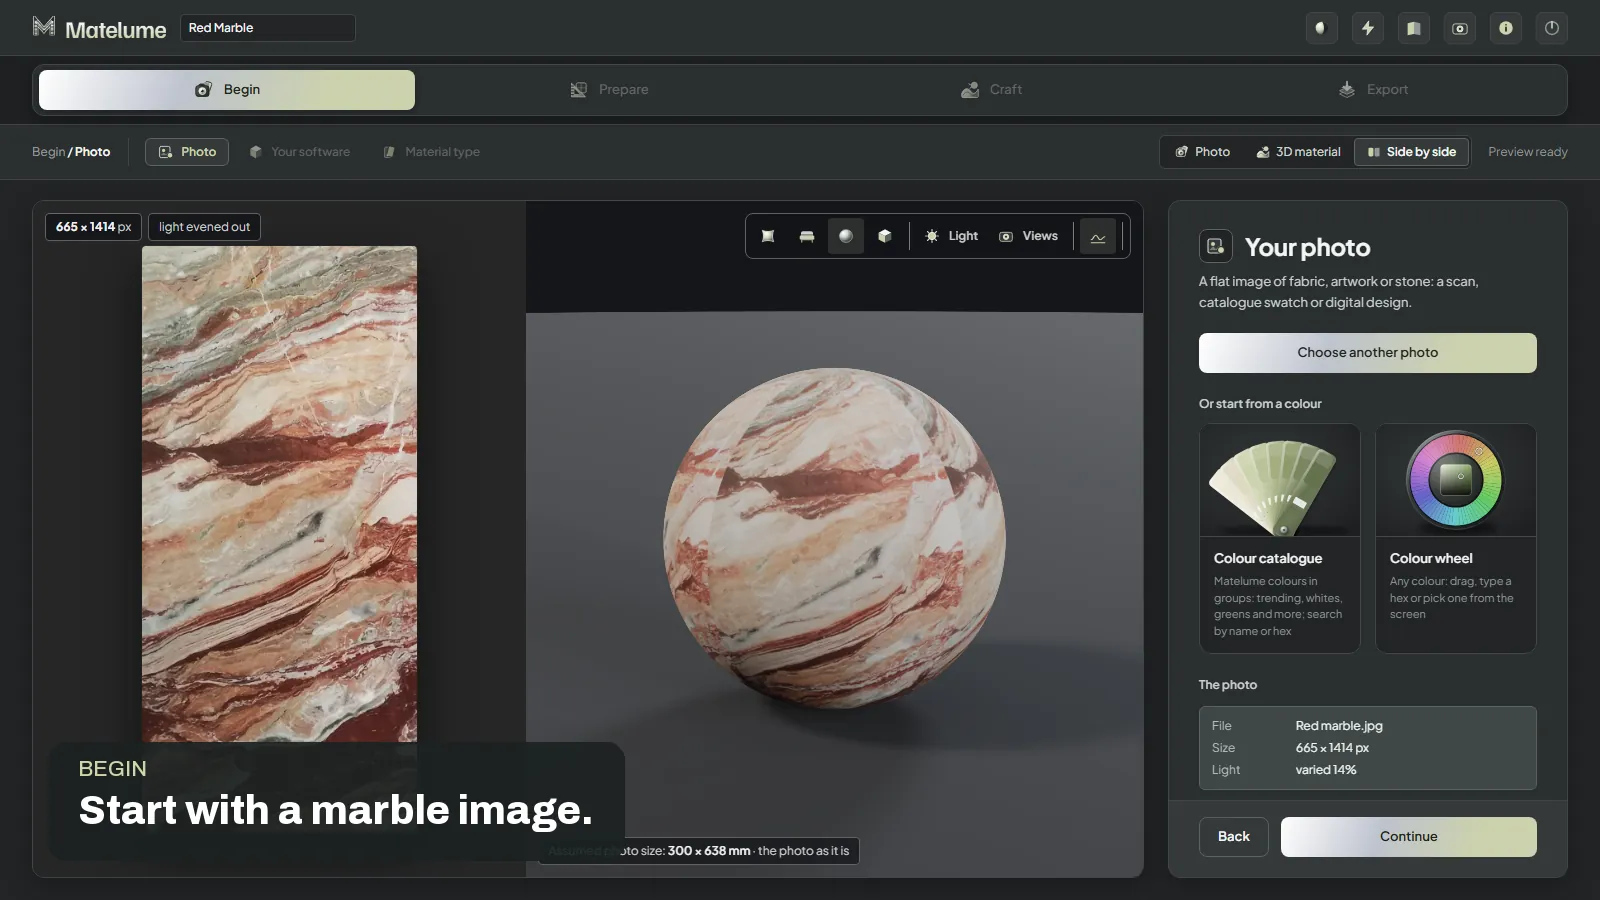
Still from the recorded Matelume walkthrough: Image and software.
Image and software
Choose a clean, flat stone image you have the right to use, then select your target programs.
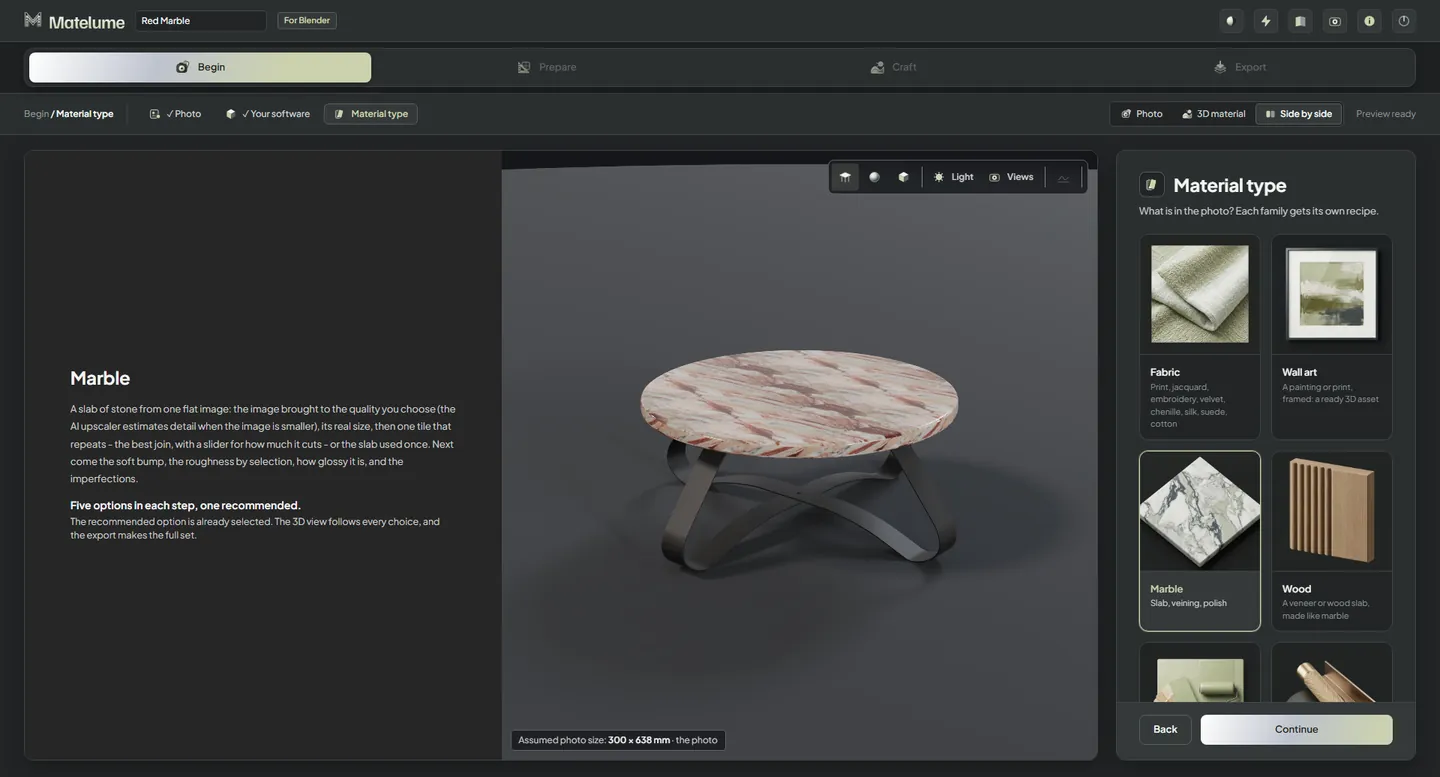
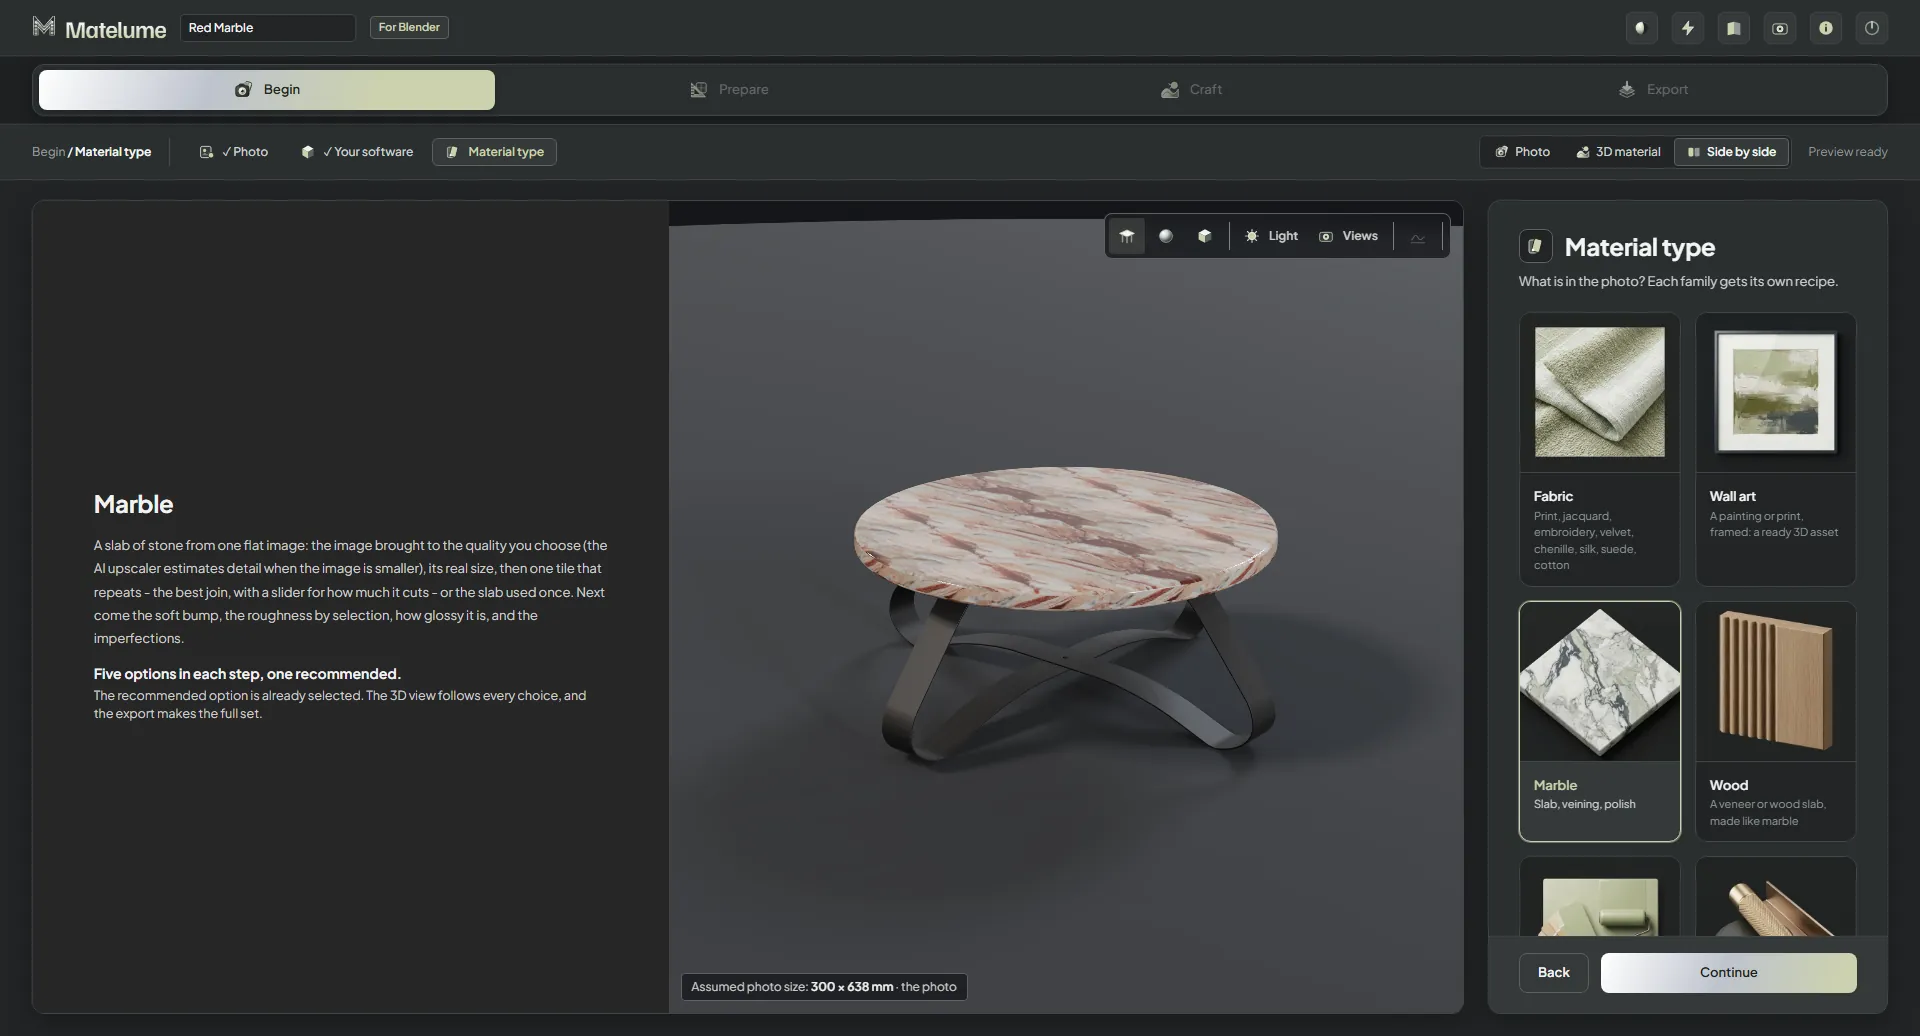
Recorded app view: Material type and quality.
Material type and quality
Pick Marble and choose the resolution for your project and plan.
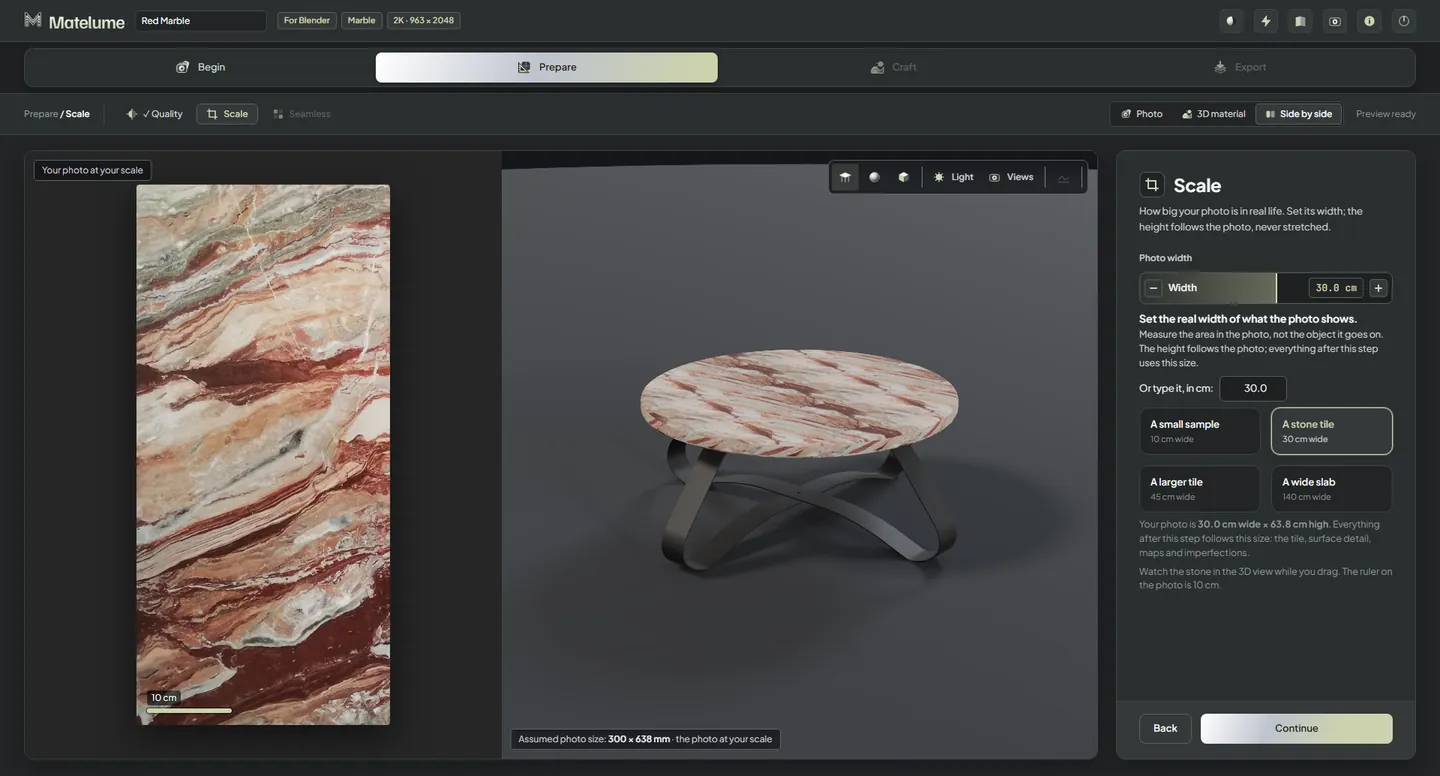
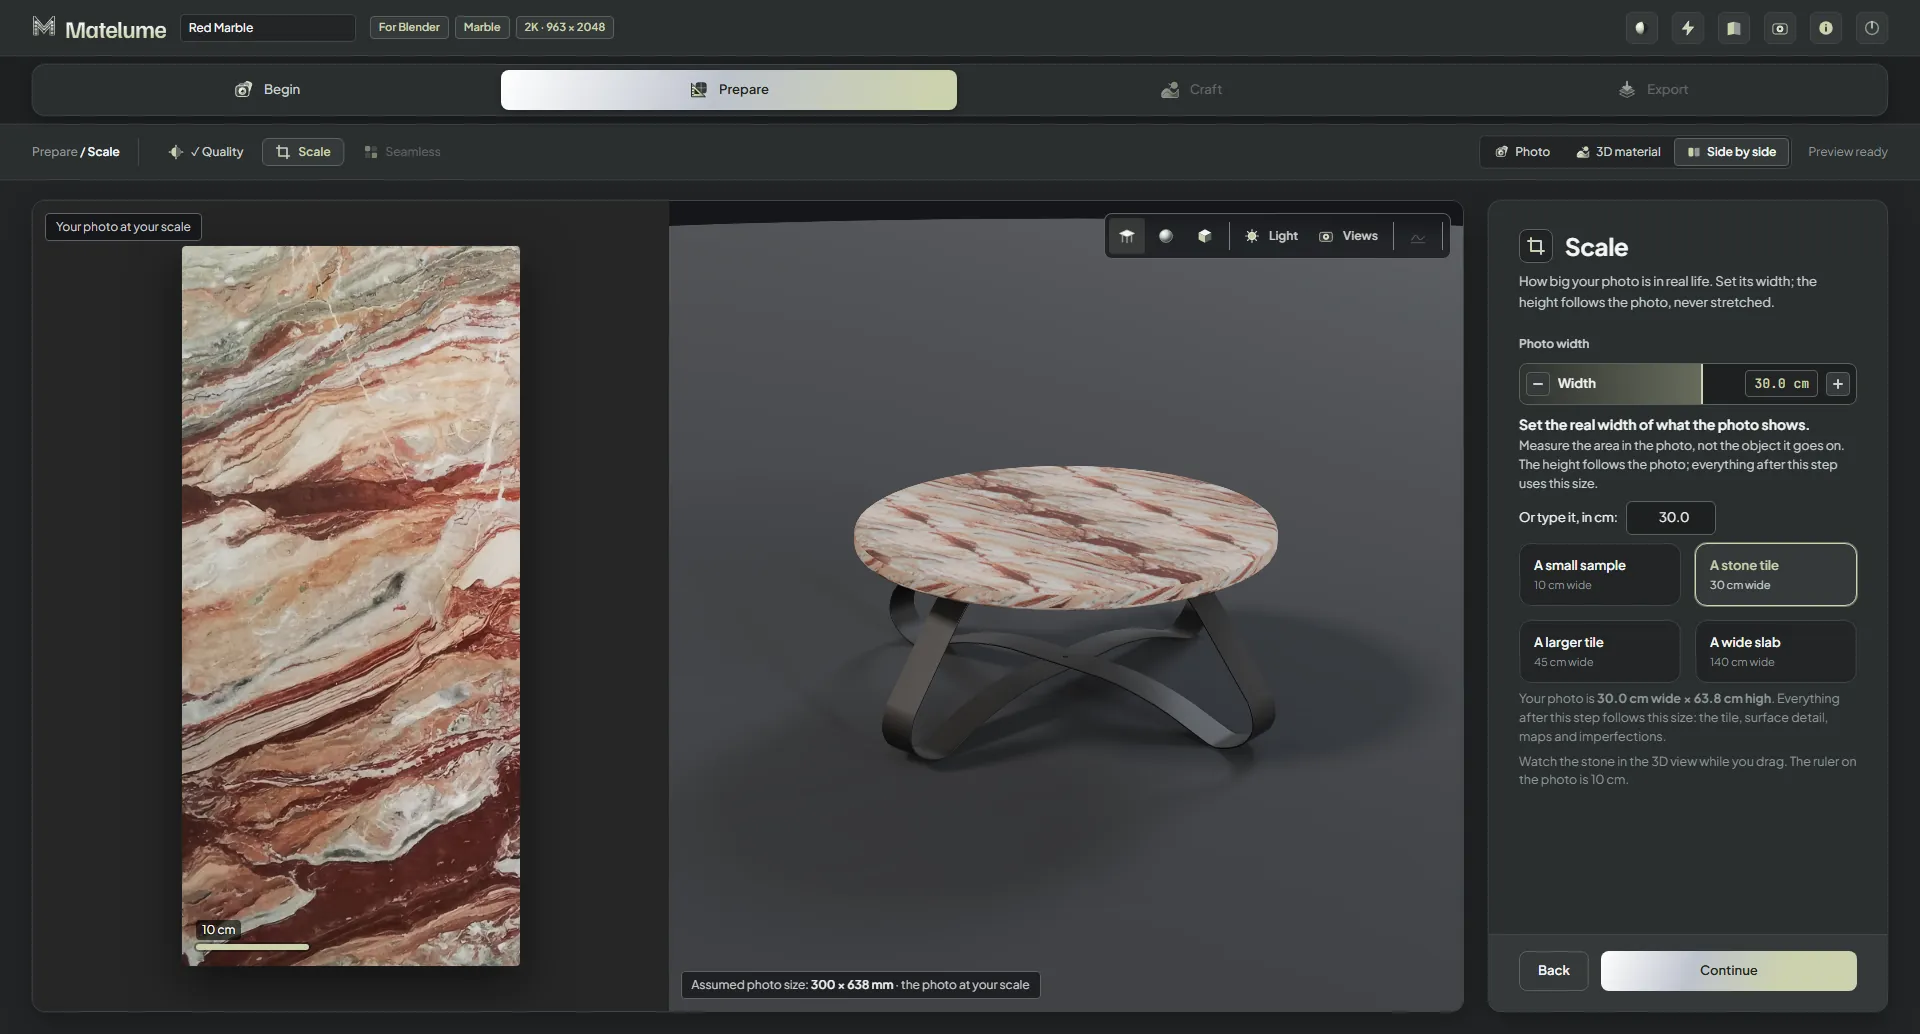
Recorded app view: Scale.
Scale
Set the real width of the slab image; the height follows its proportions.
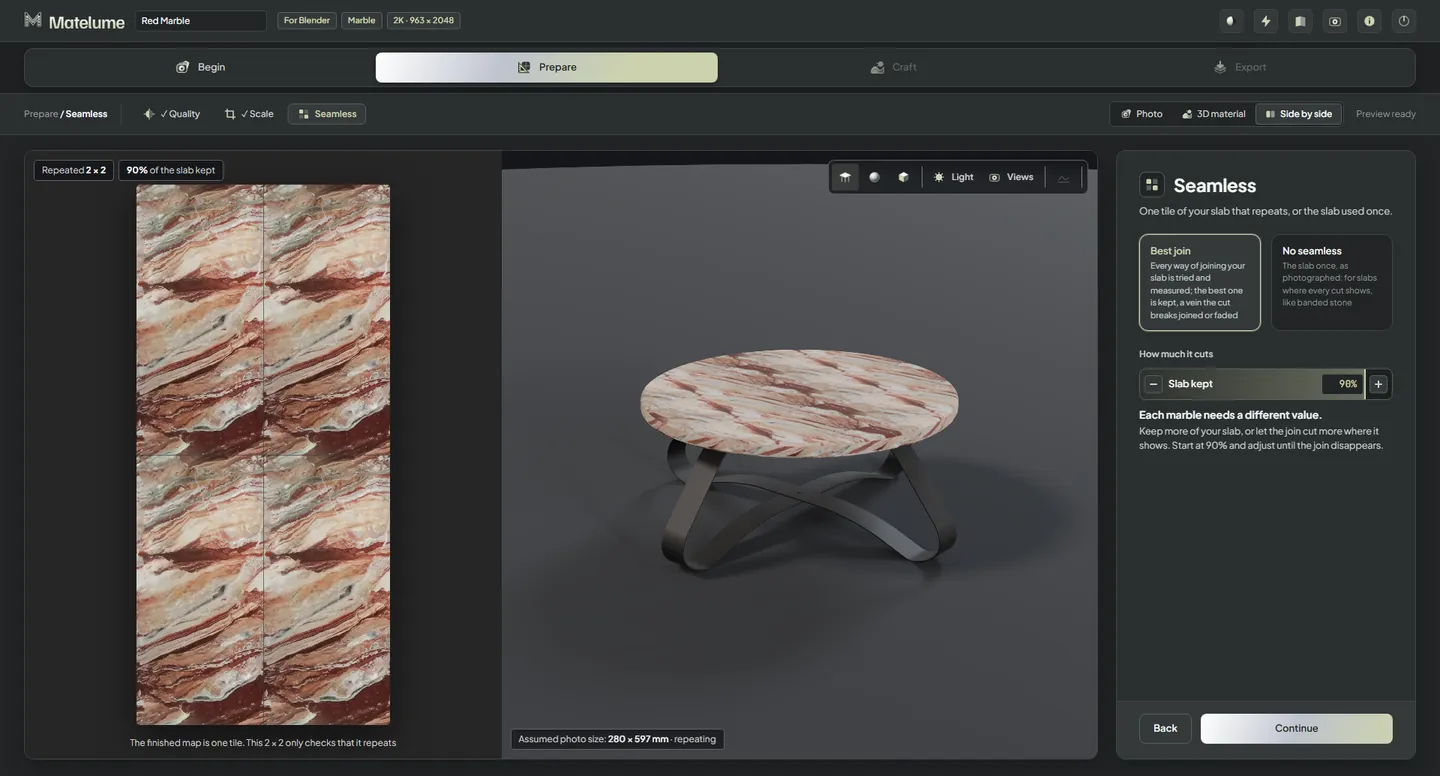
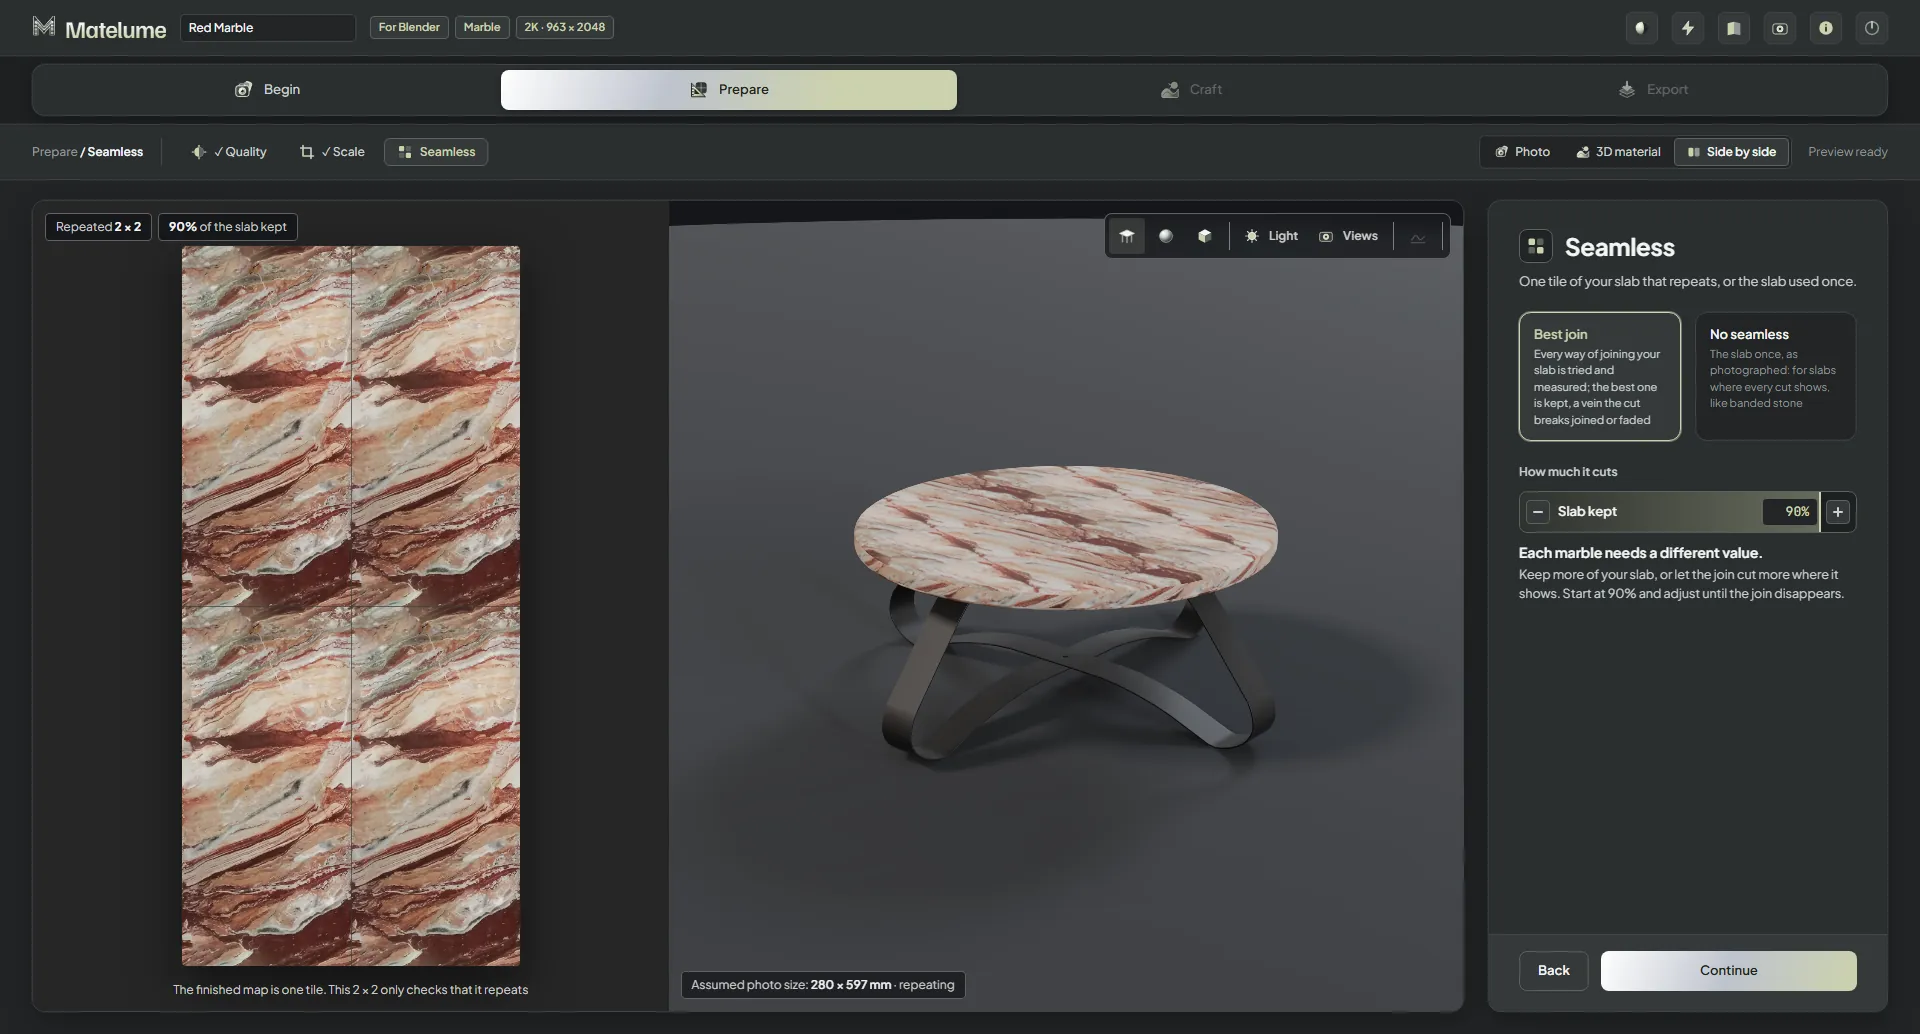
Recorded app view: Seamless.
Seamless
Choose a repeating tile or keep the original slab once. Check the joins in the preview.
Craft the stone
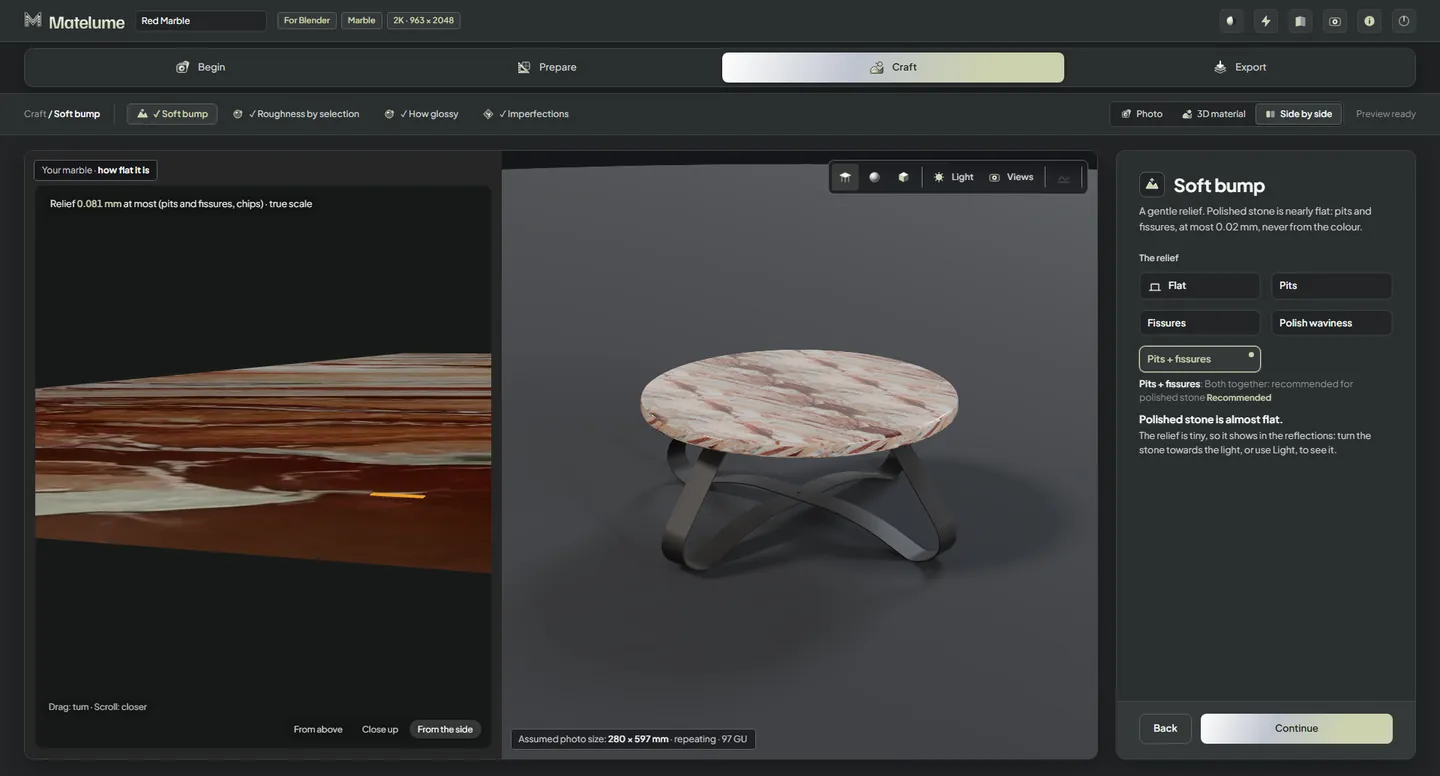
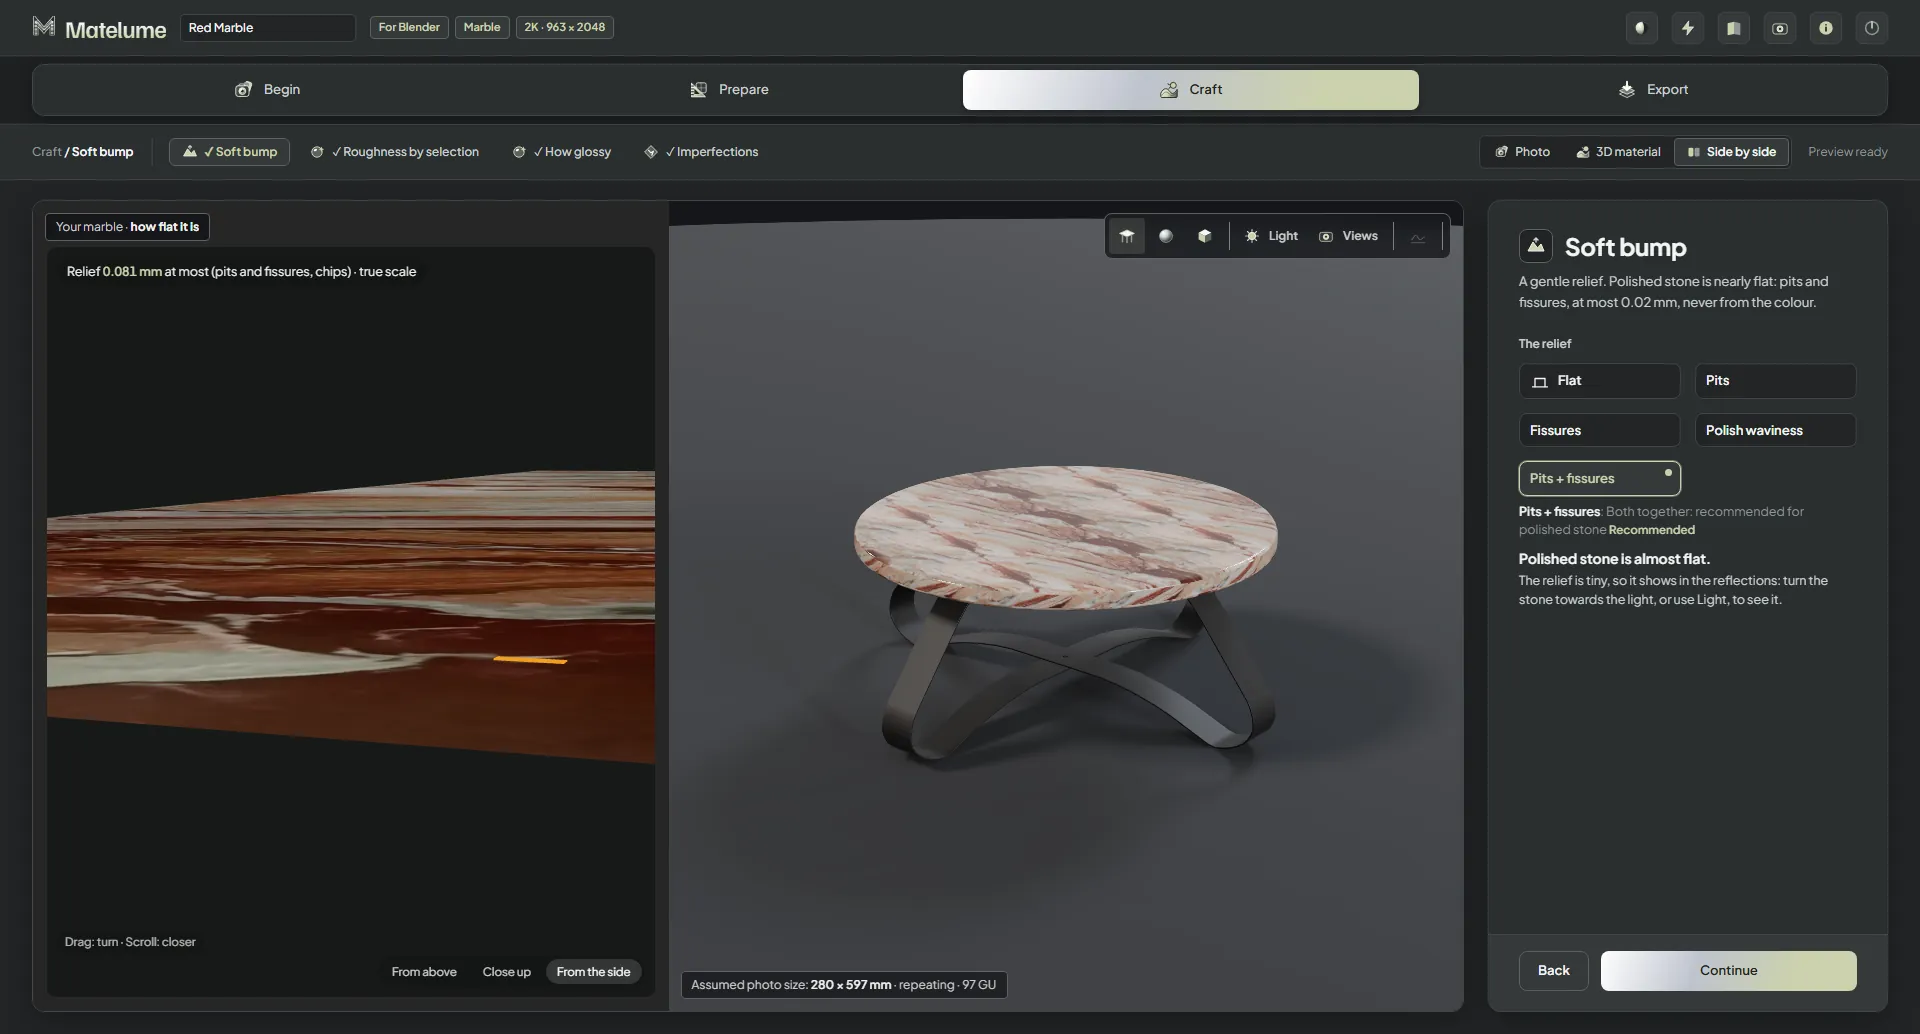
Recorded app view: Soft bump.
Soft bump
Choose a subtle surface relief, including pits and fine fissures.
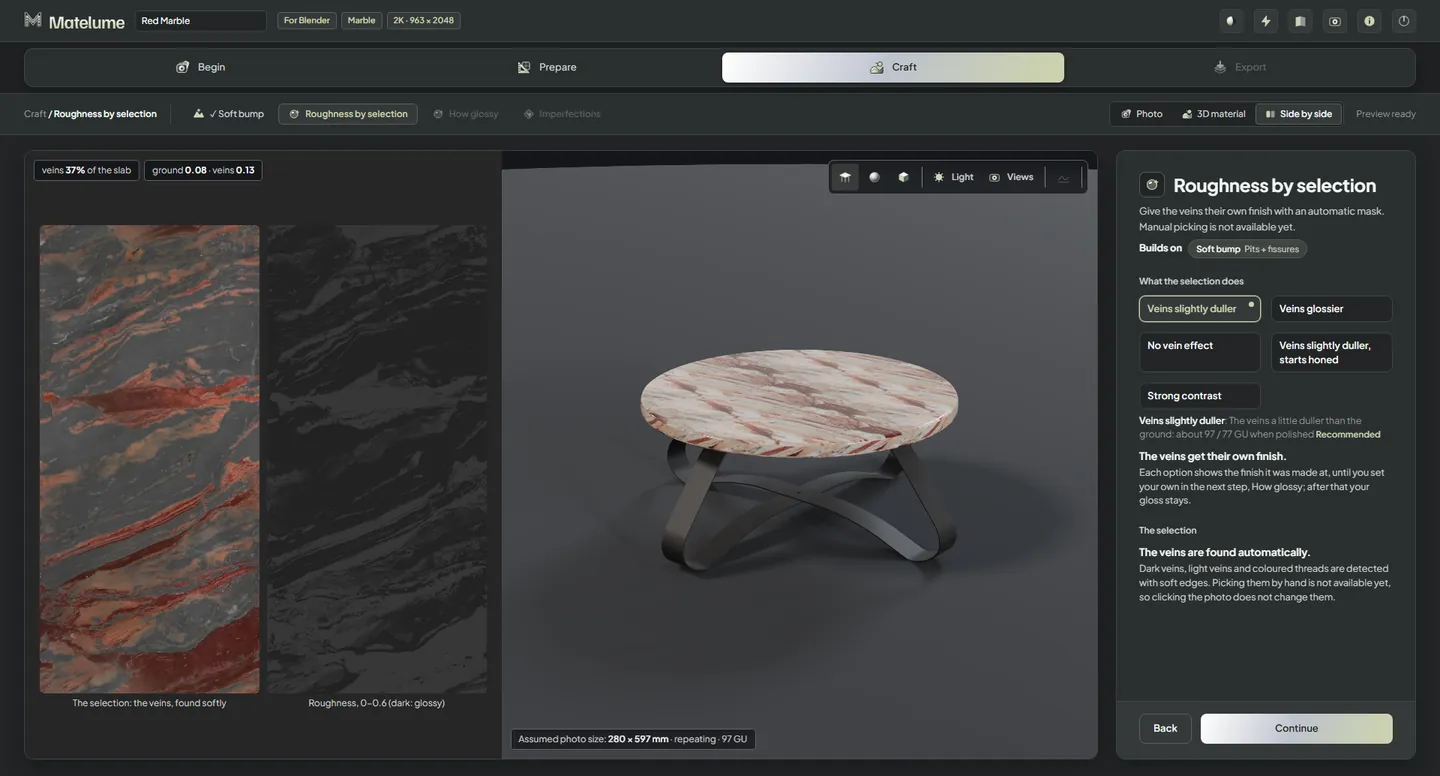
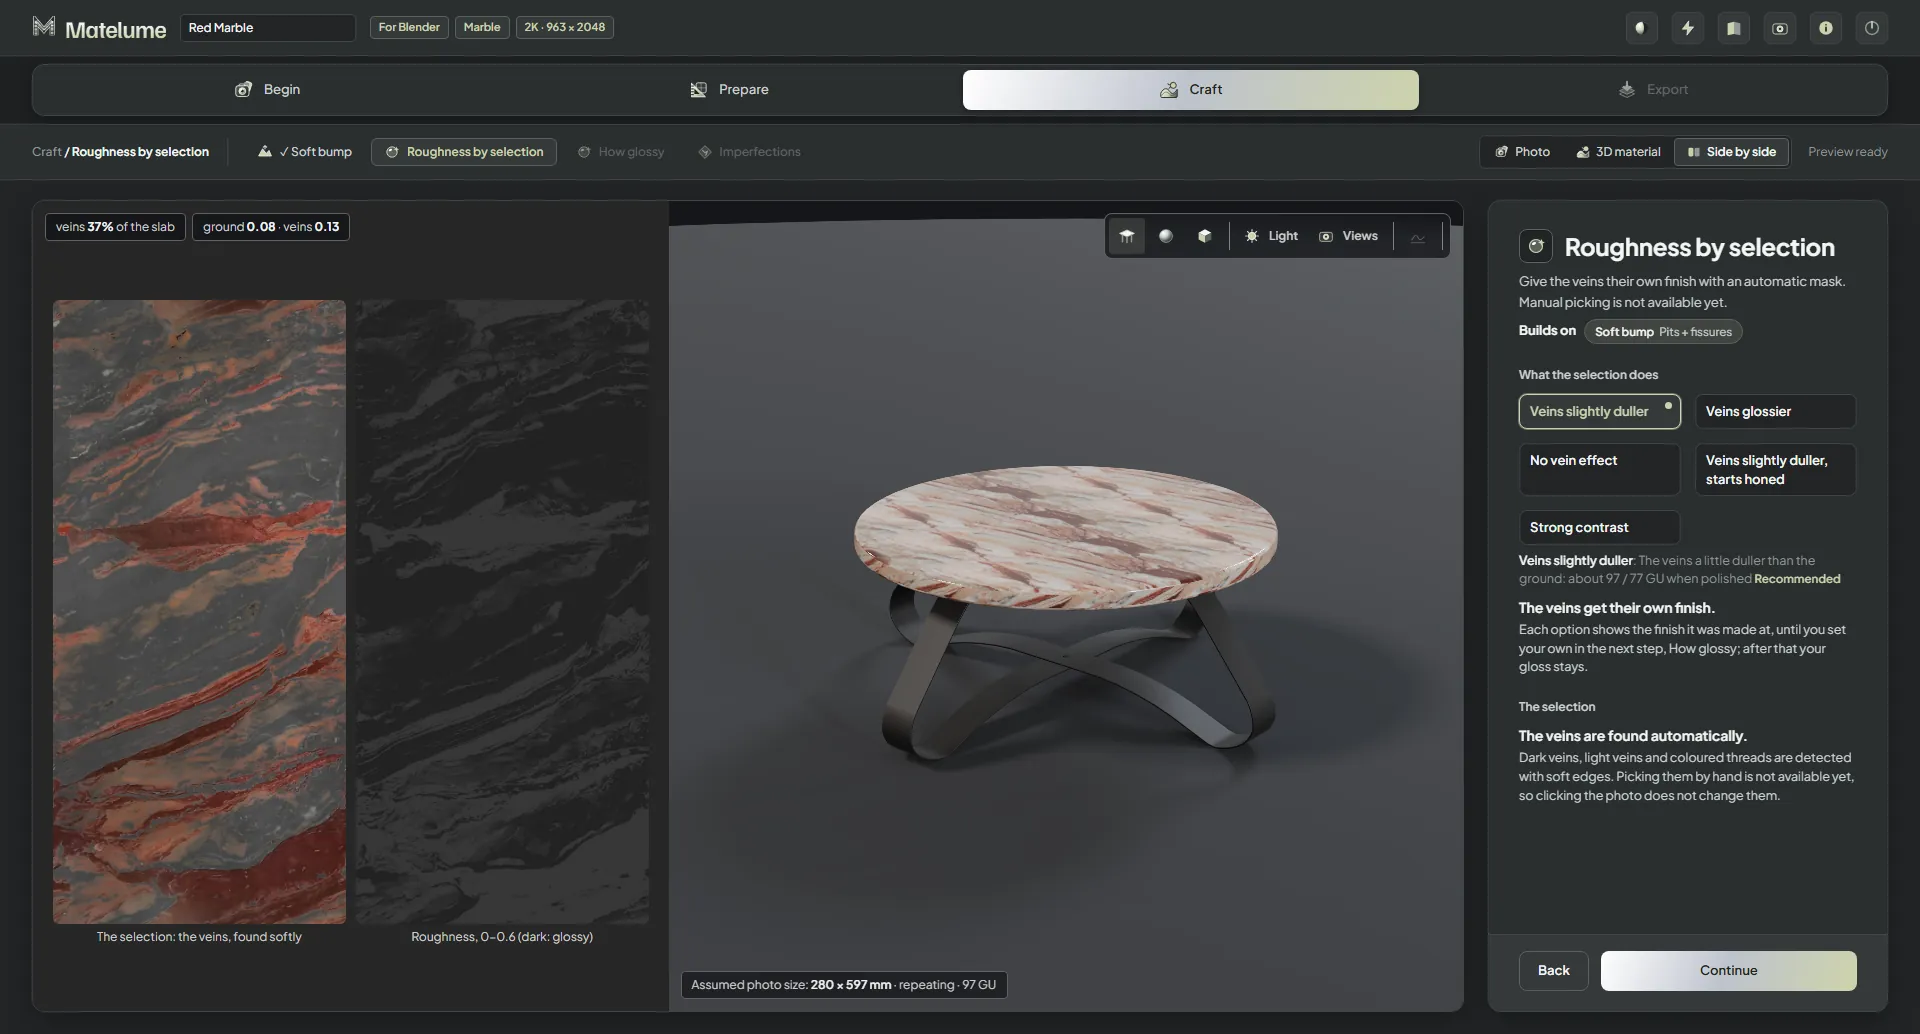
Recorded app view: Roughness by selection.
Roughness by selection
Make the veins duller or glossier than the surrounding stone.
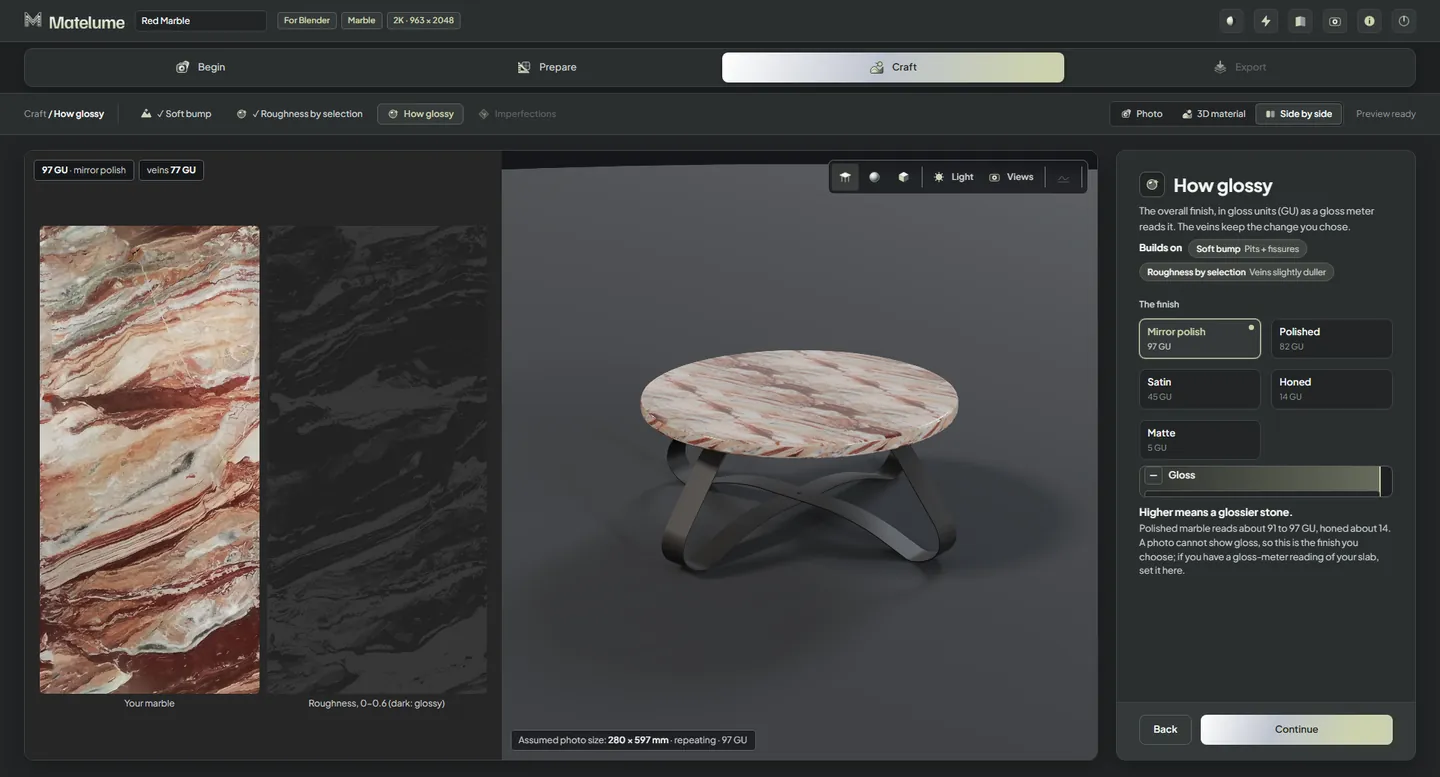
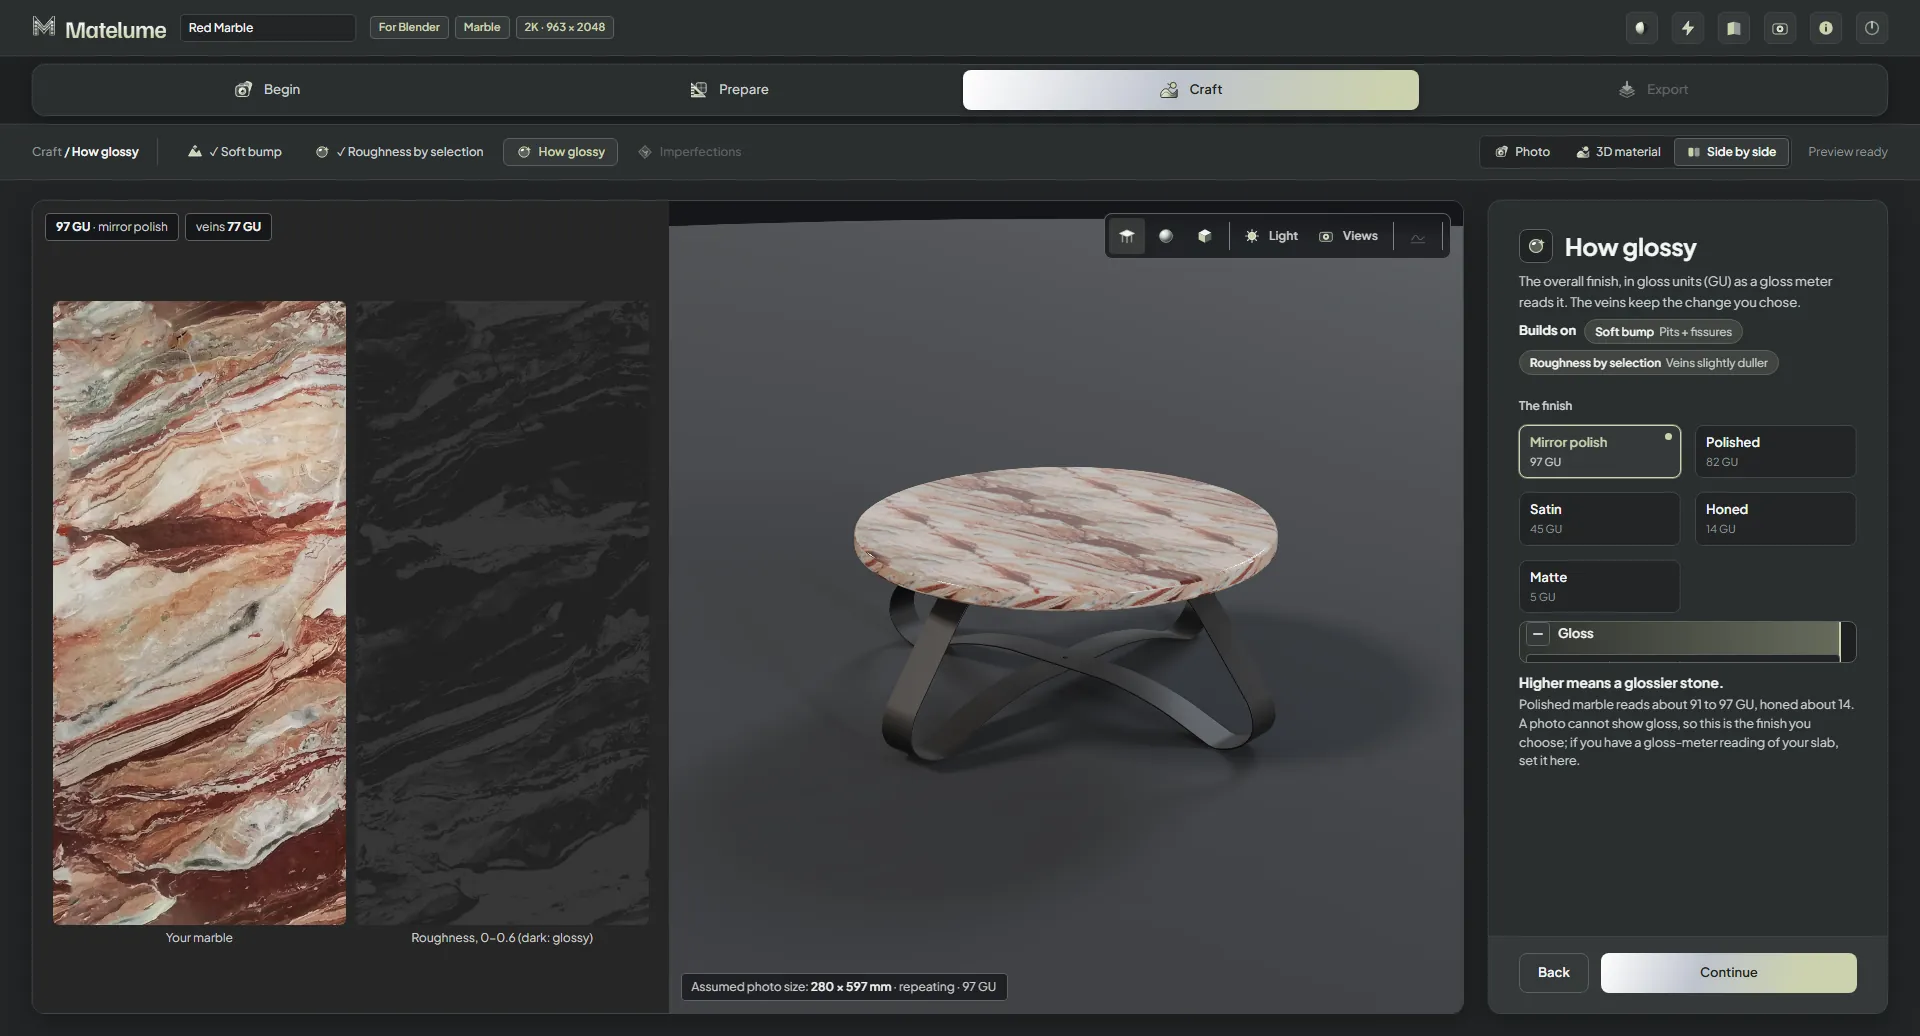
Recorded app view: How glossy.
How glossy
Choose the overall stone finish, from honed to polished.
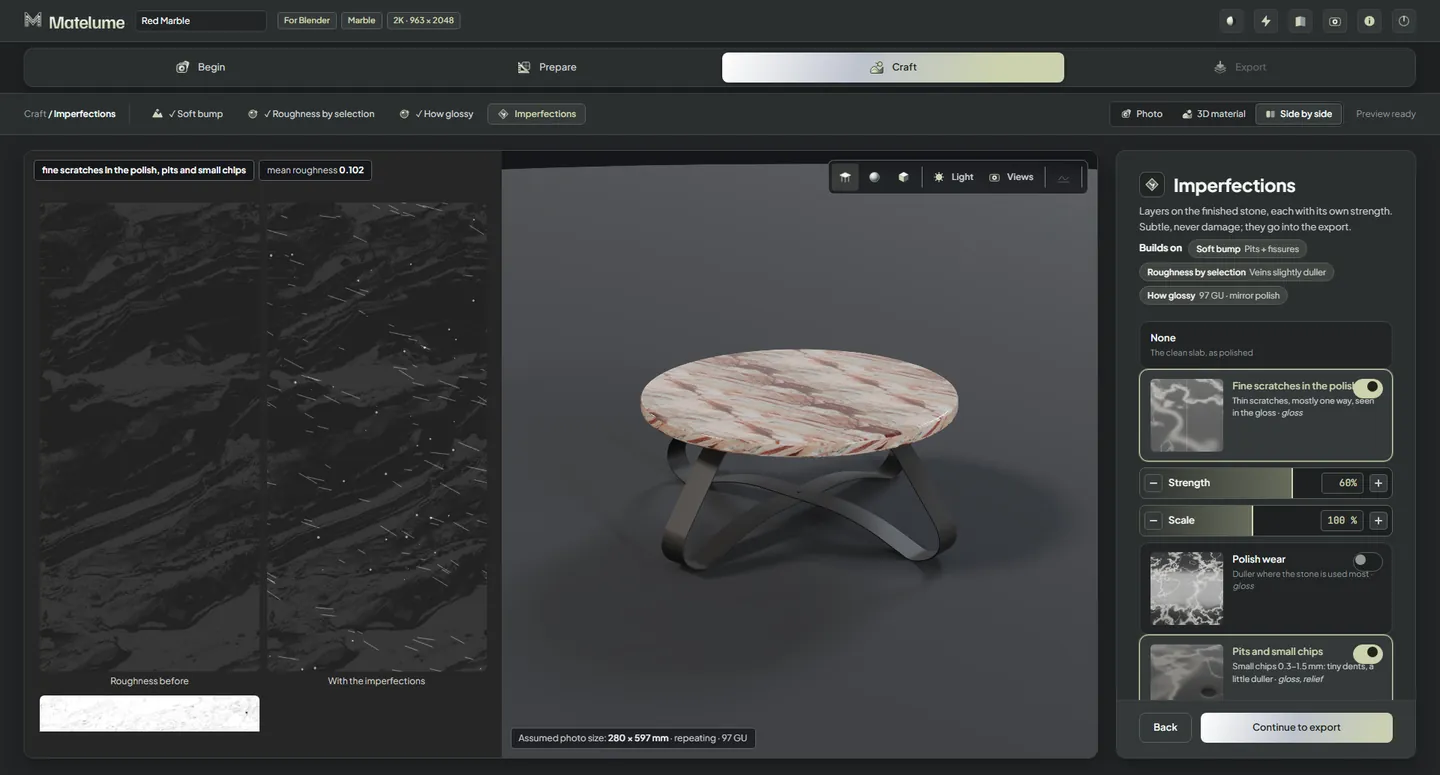
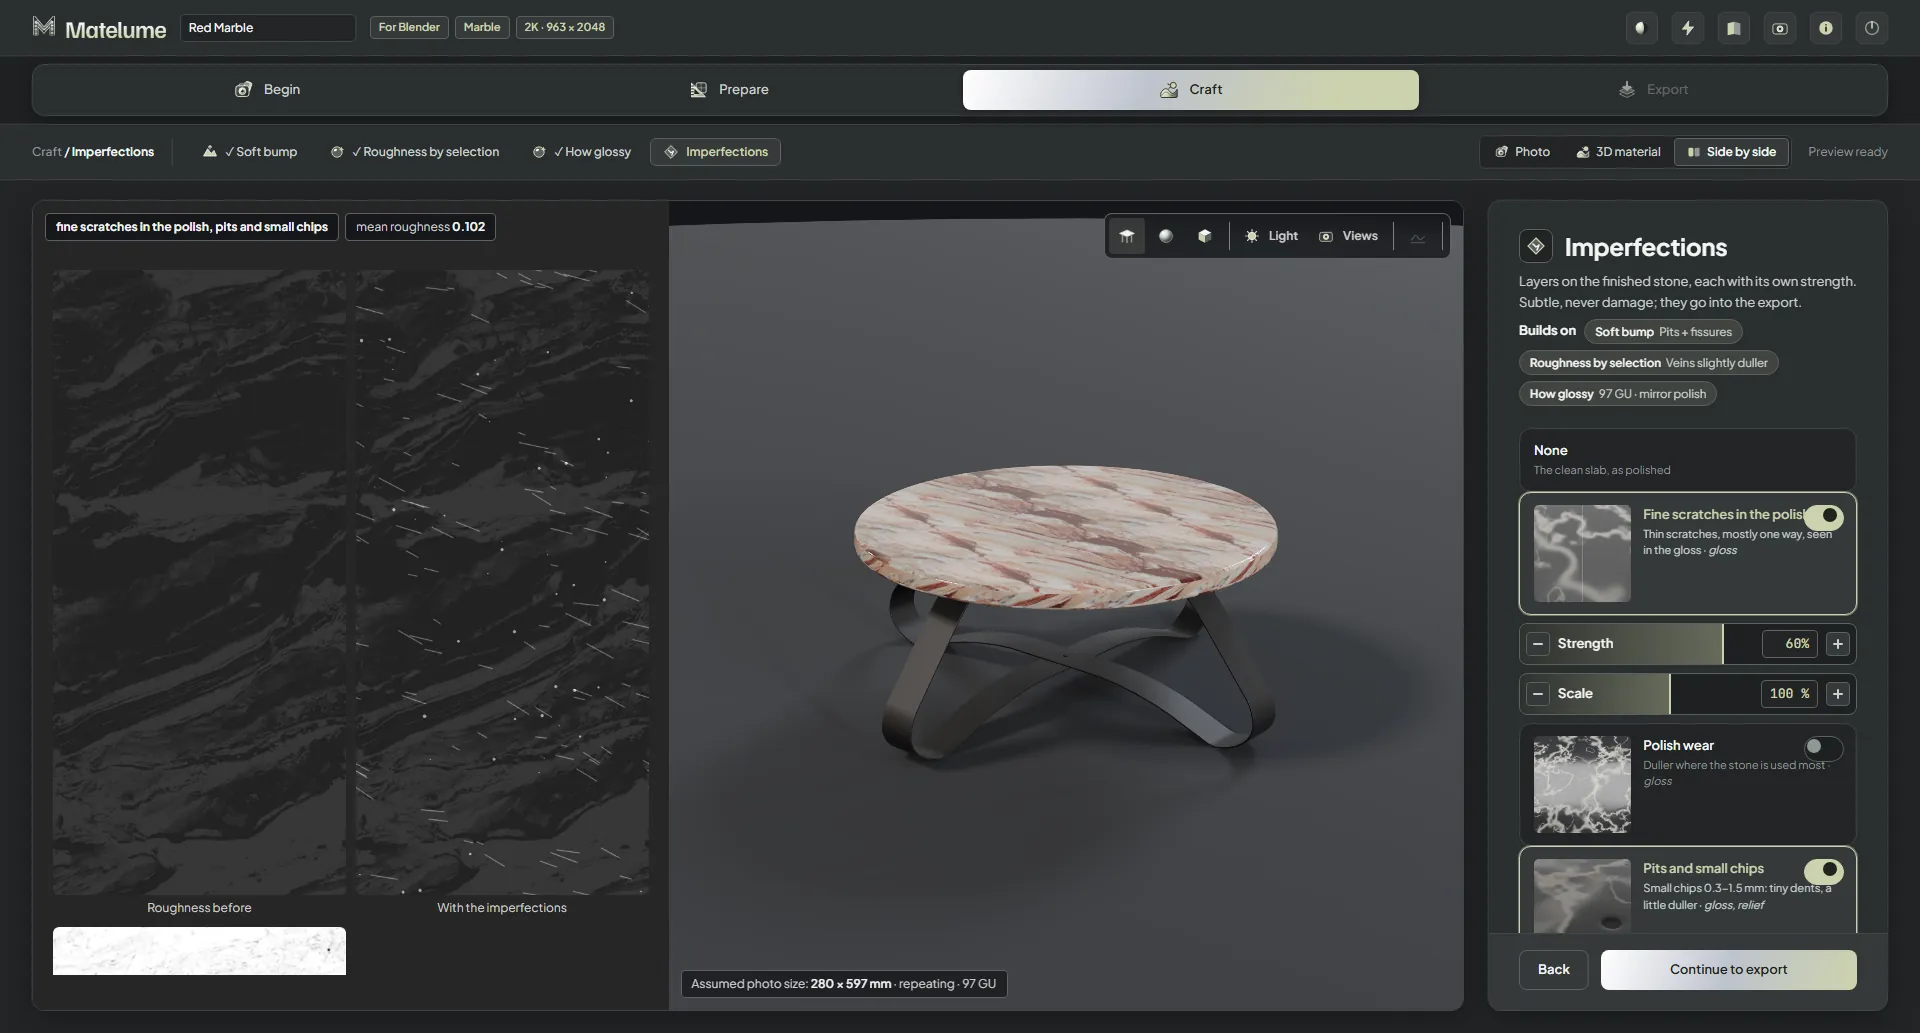
Recorded app view: Imperfections.
Imperfections
Optionally add scratches, wear, chips or dust.
Export & use
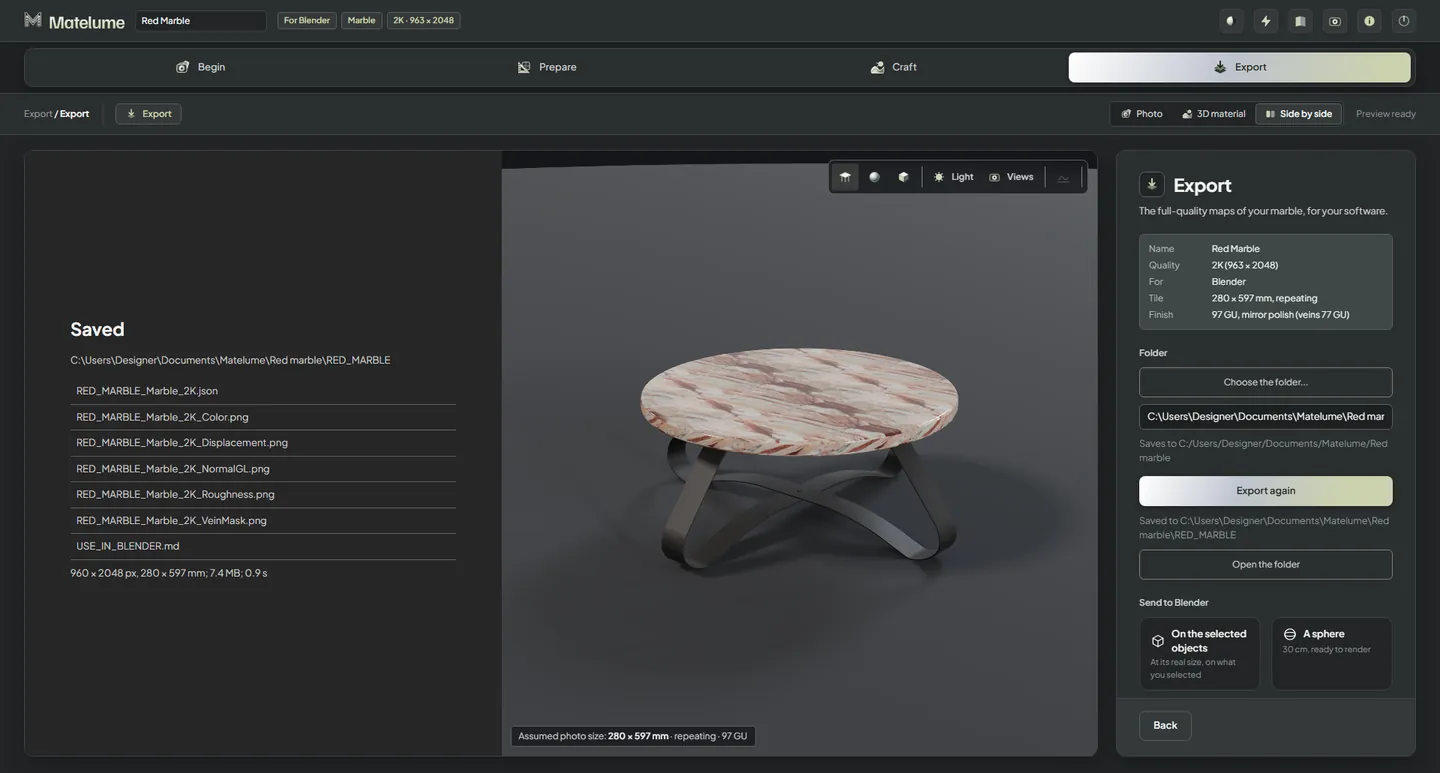
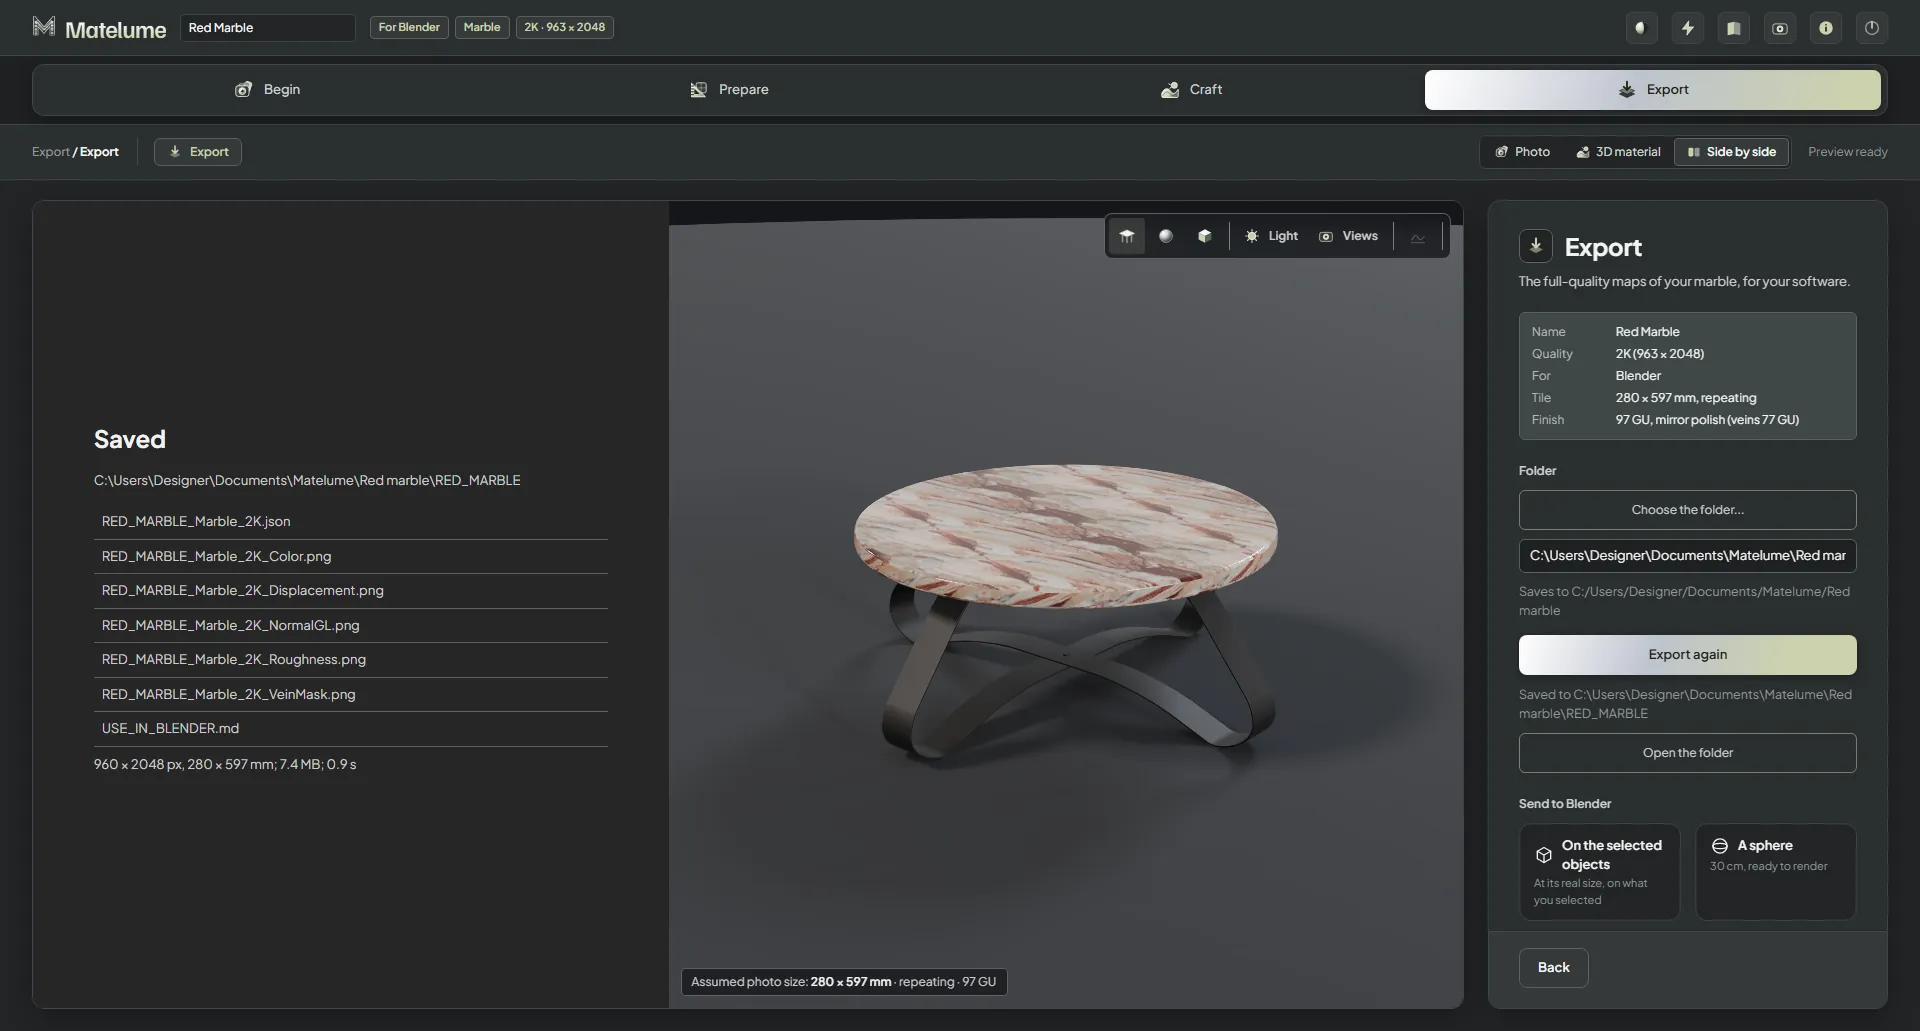
Recorded app view: Export.
Export
Save the material maps, vein mask and real-size information.
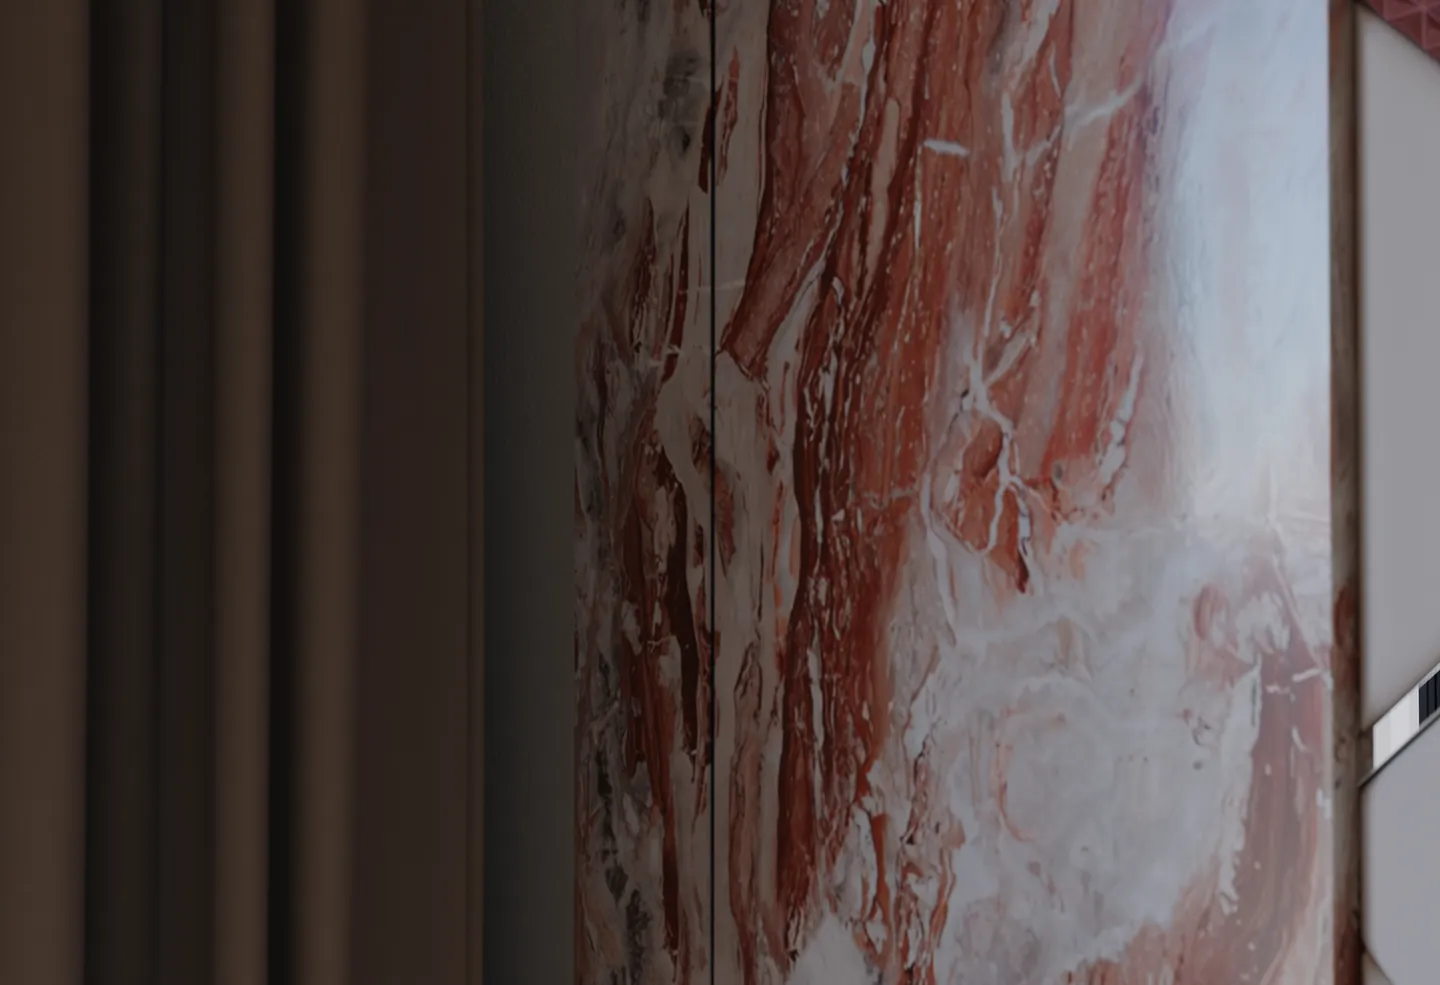
Blender Cycles render. Scene and props: iMeshh.
Bring it into the scene
Use the Blender or 3ds Max add-on, or connect the exported maps manually. Check it under your scene lighting.
Wood veneer
Wood — Real size, grain, finish and export
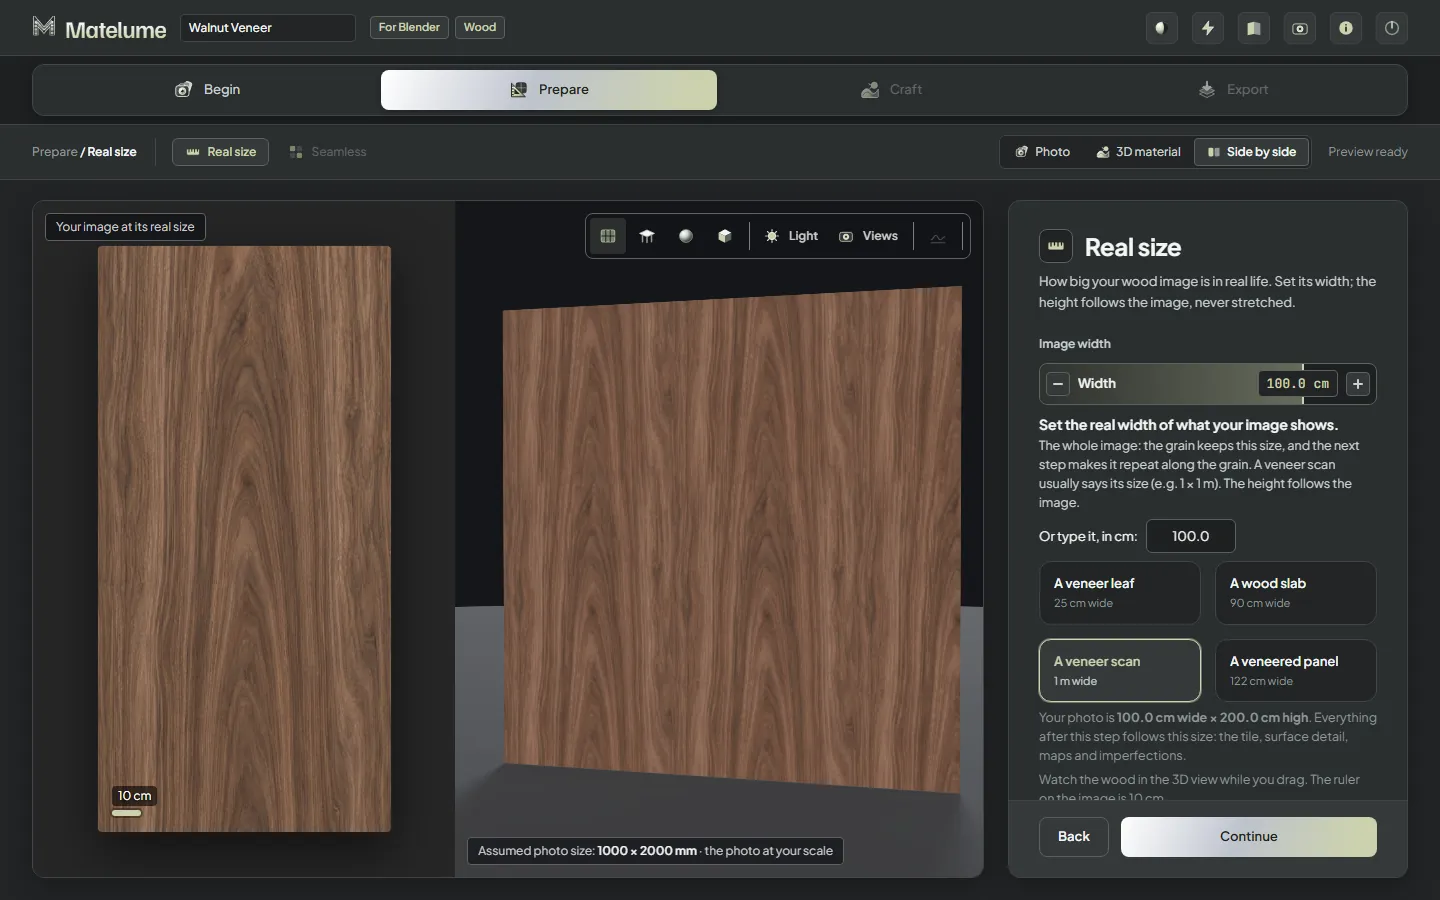
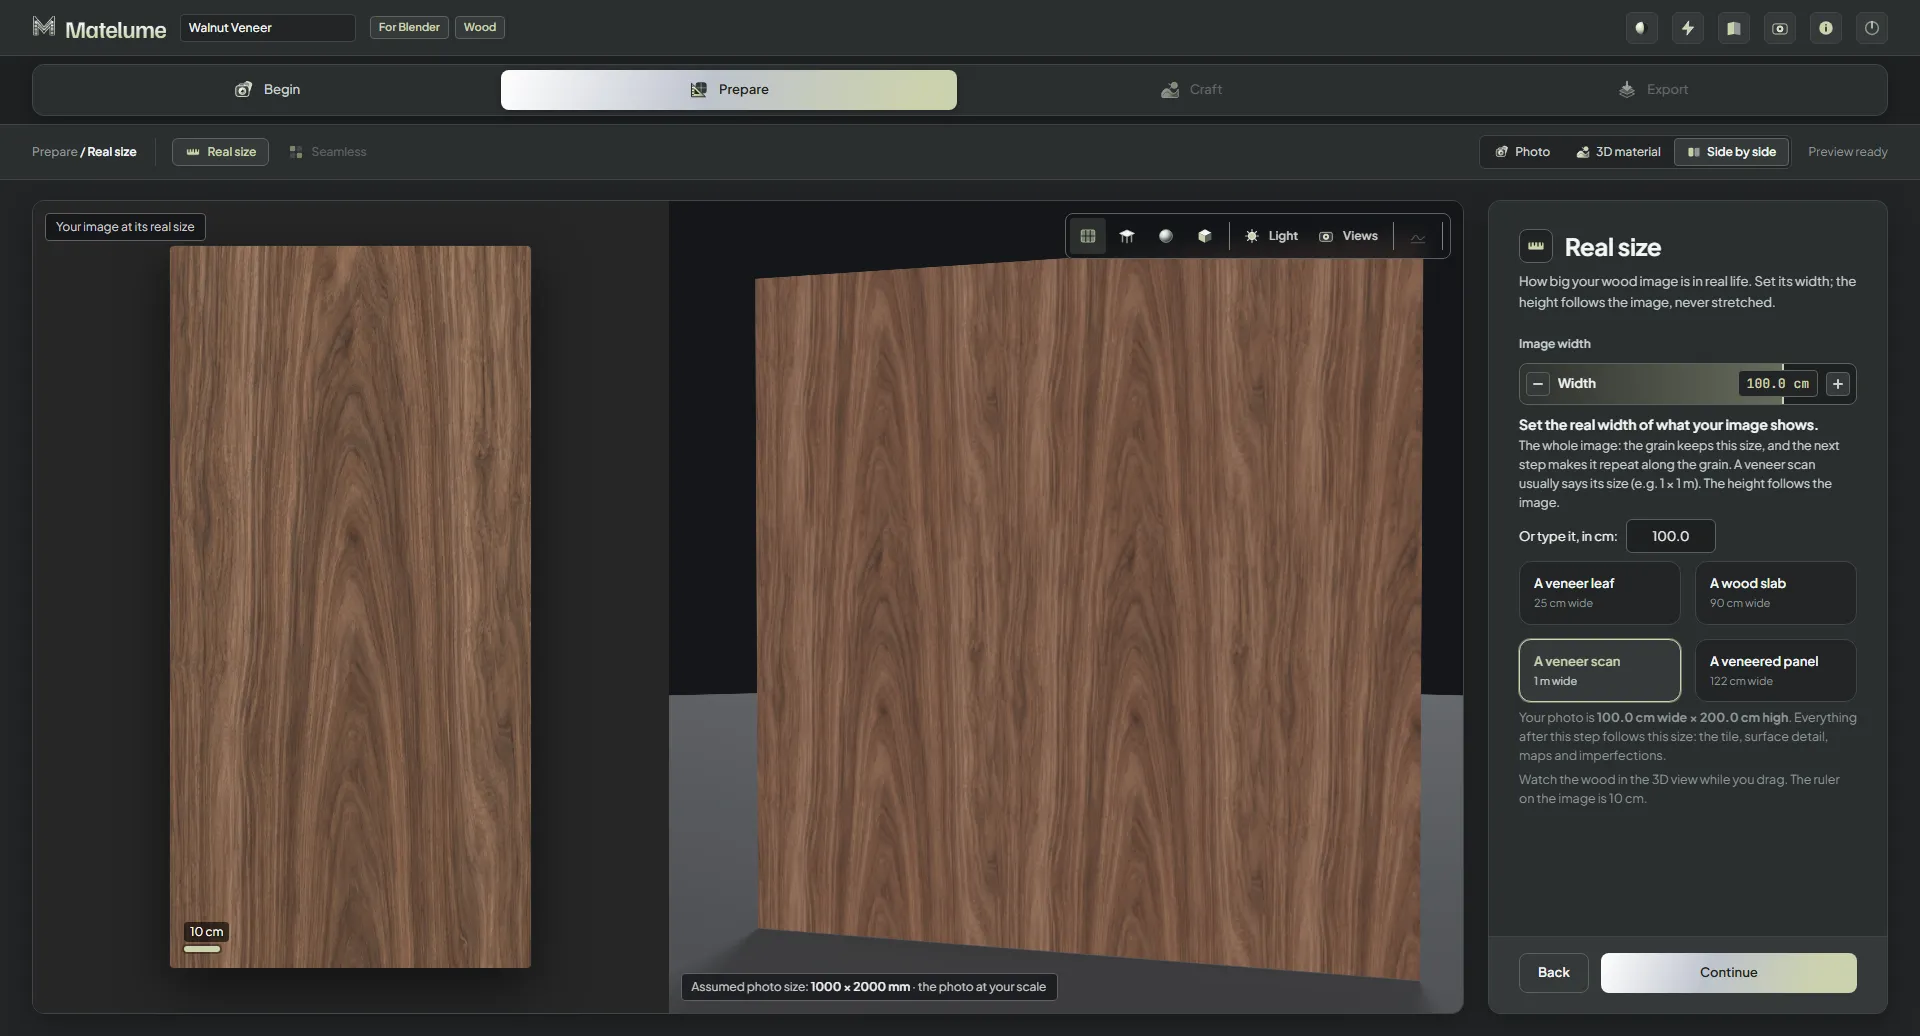
Actual Matelume app capture: Set the veneer image width at real size.
Set the real width
Choose Wood and import your flat veneer image. Set the width the sheet should have in your scene.
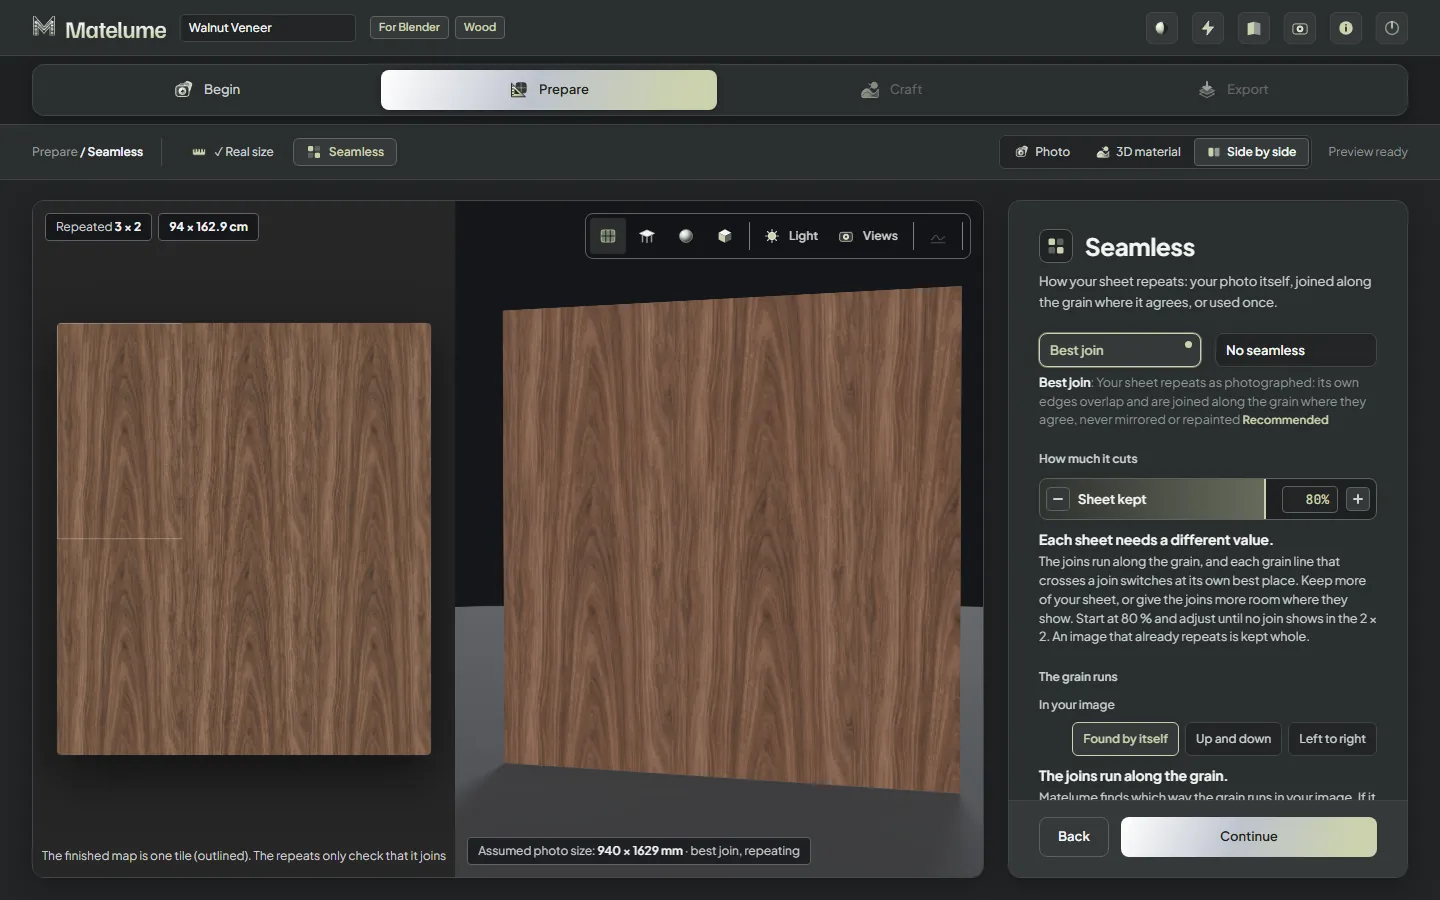
Actual Matelume app capture: Choose the veneer join and inspect the repeat.
Inspect the grain and join
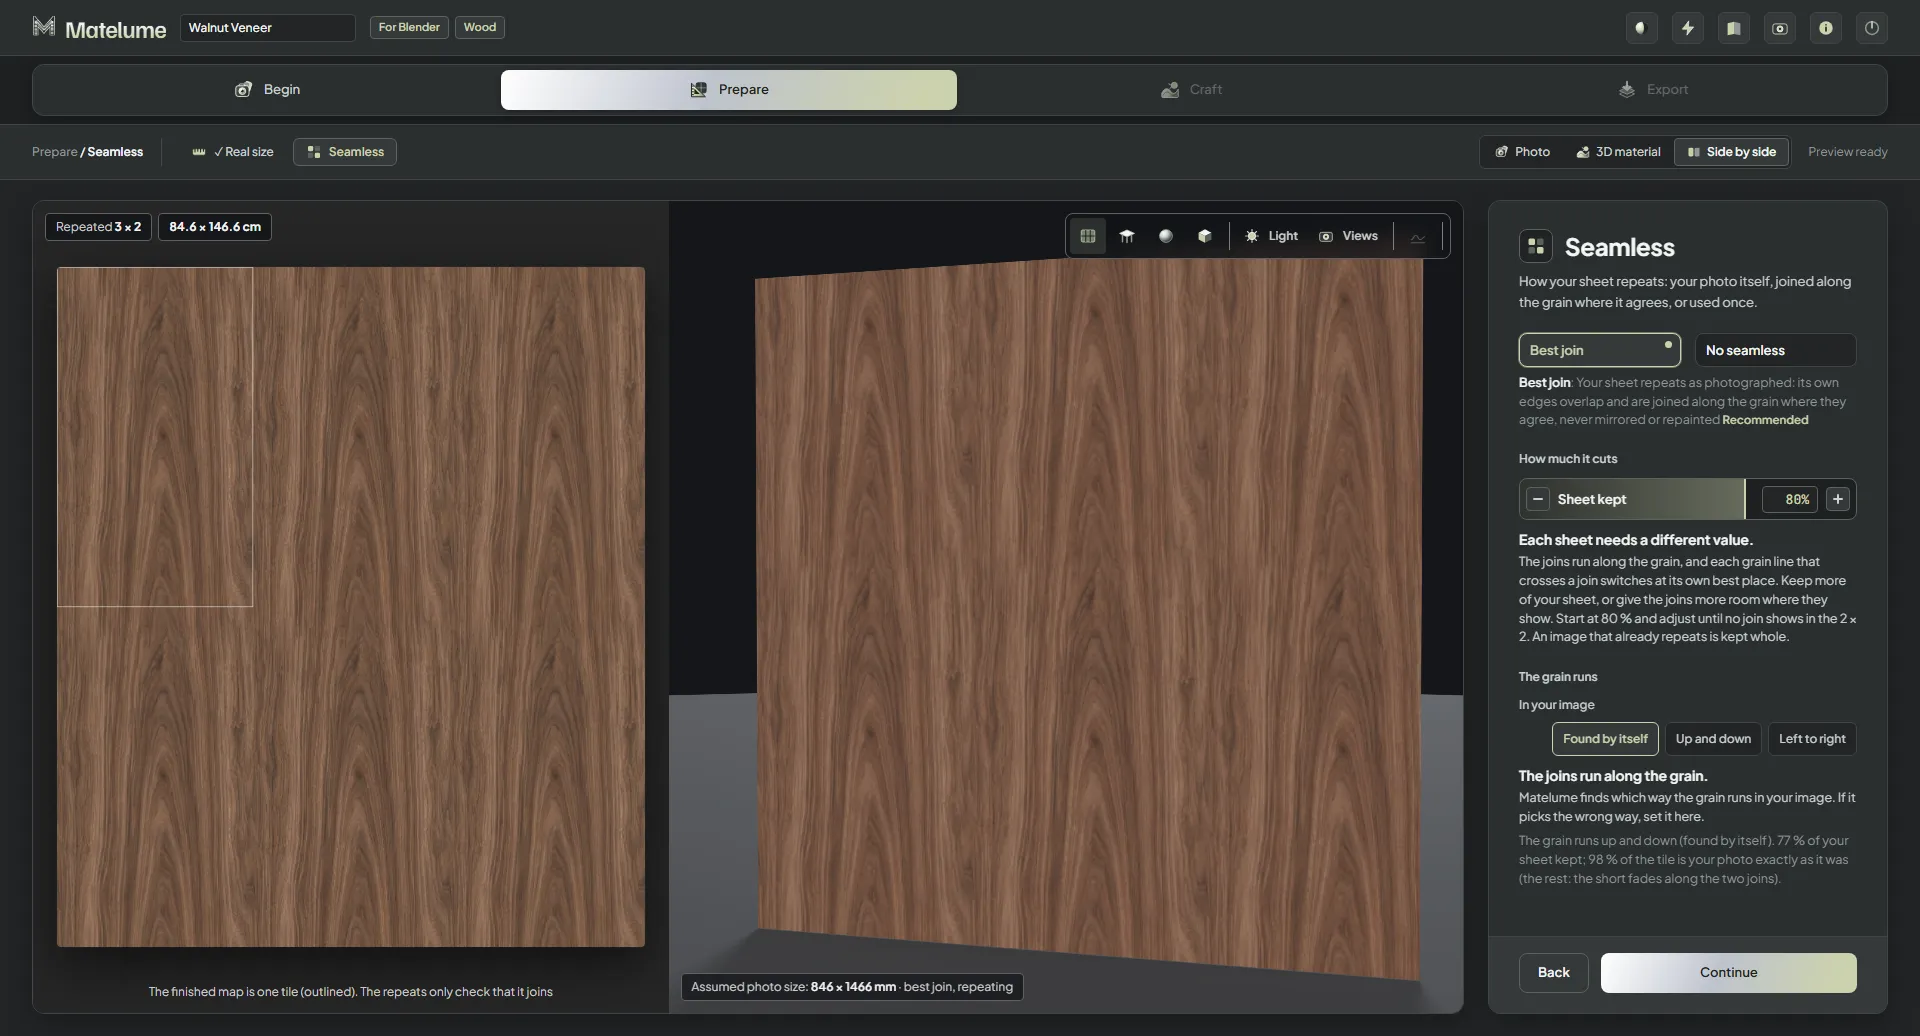
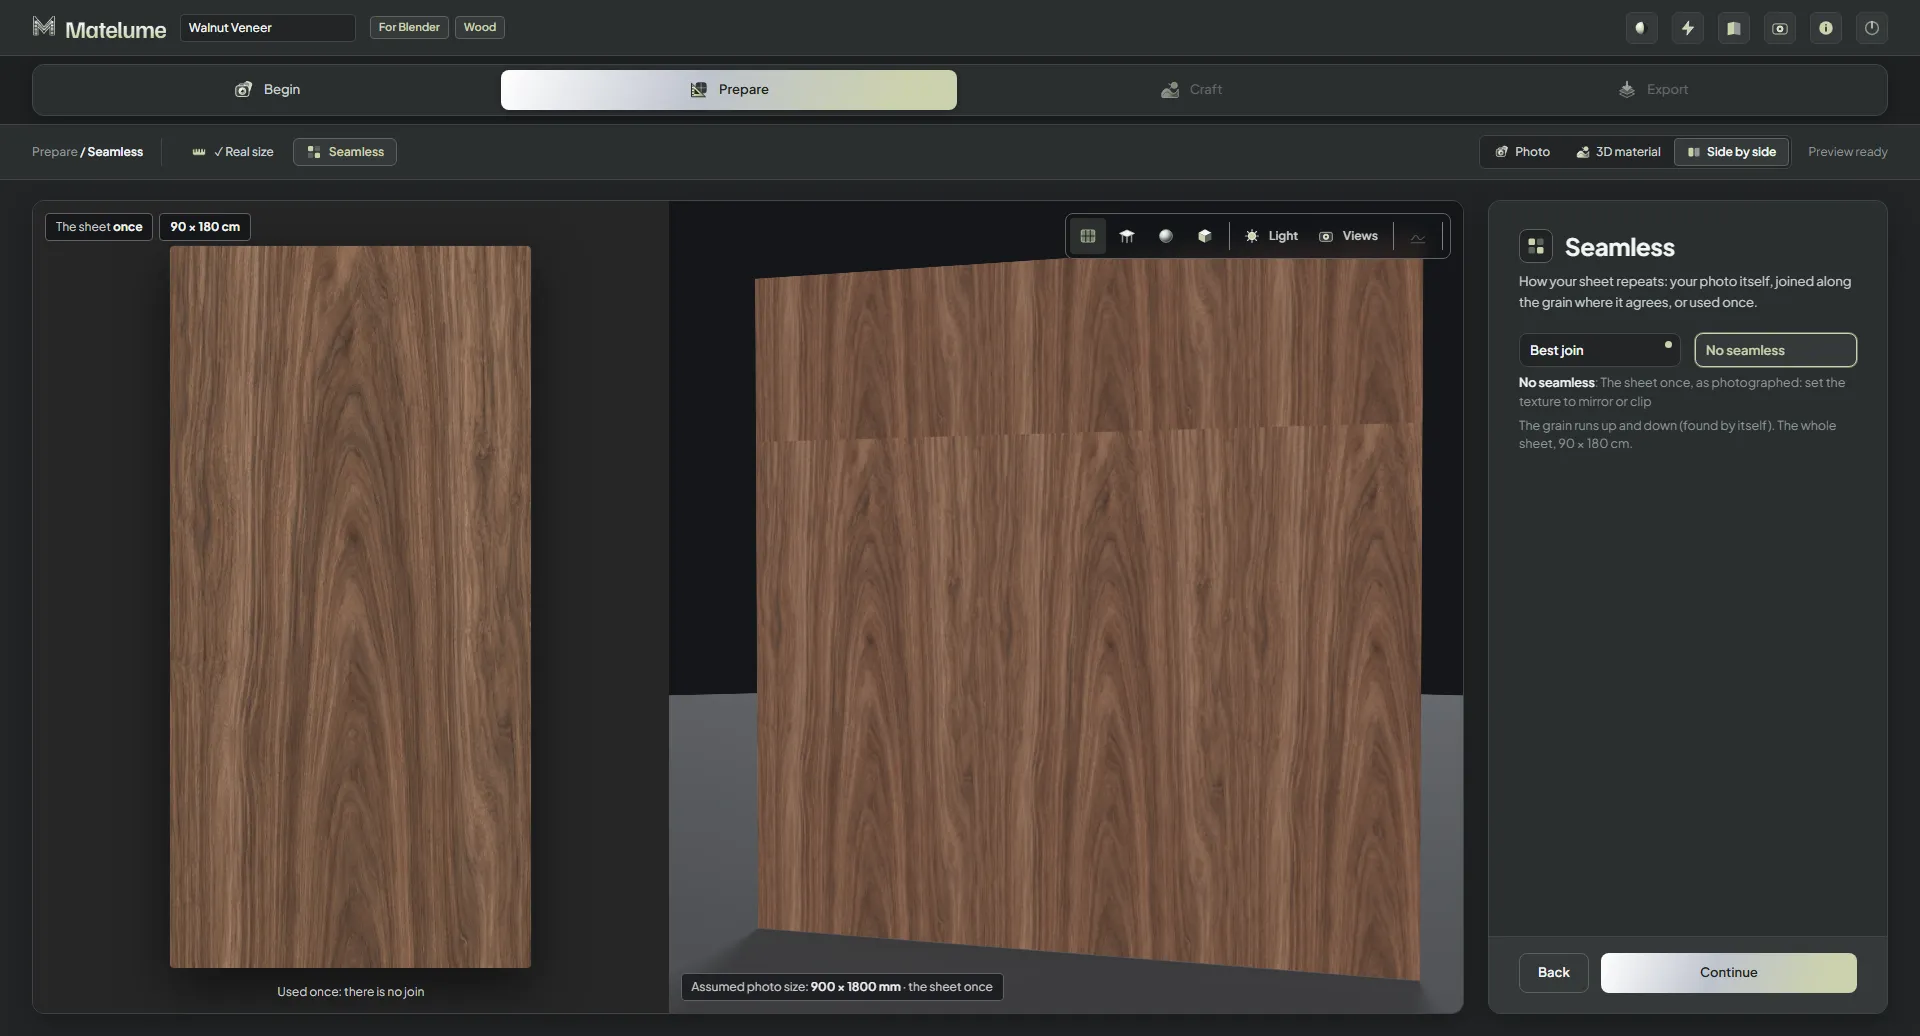
Keep the sheet as it is, or work on its seamless join along the grain. Check the result before adding surface detail.
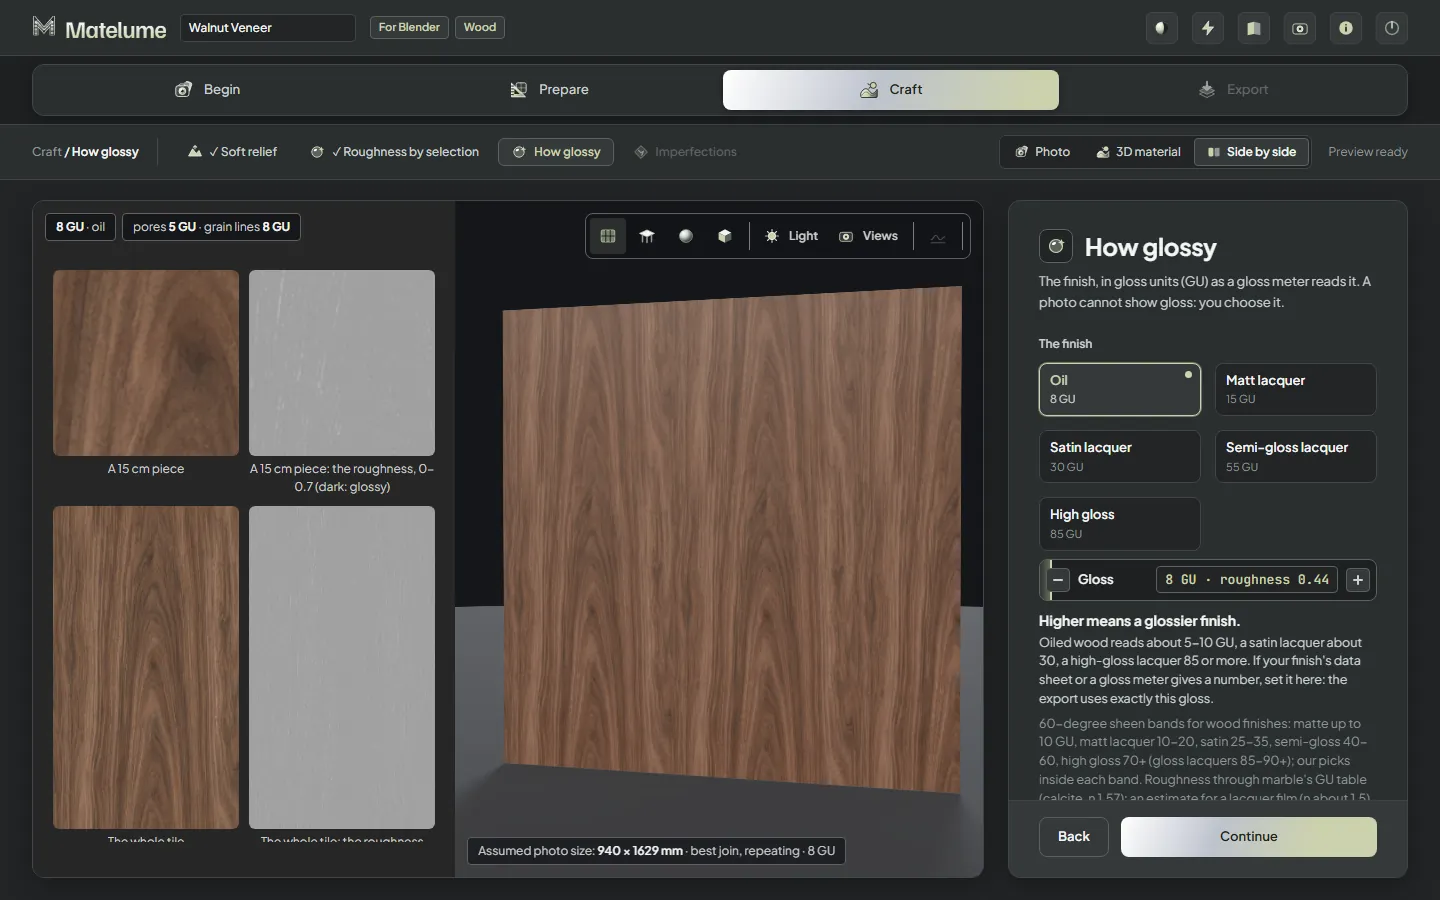
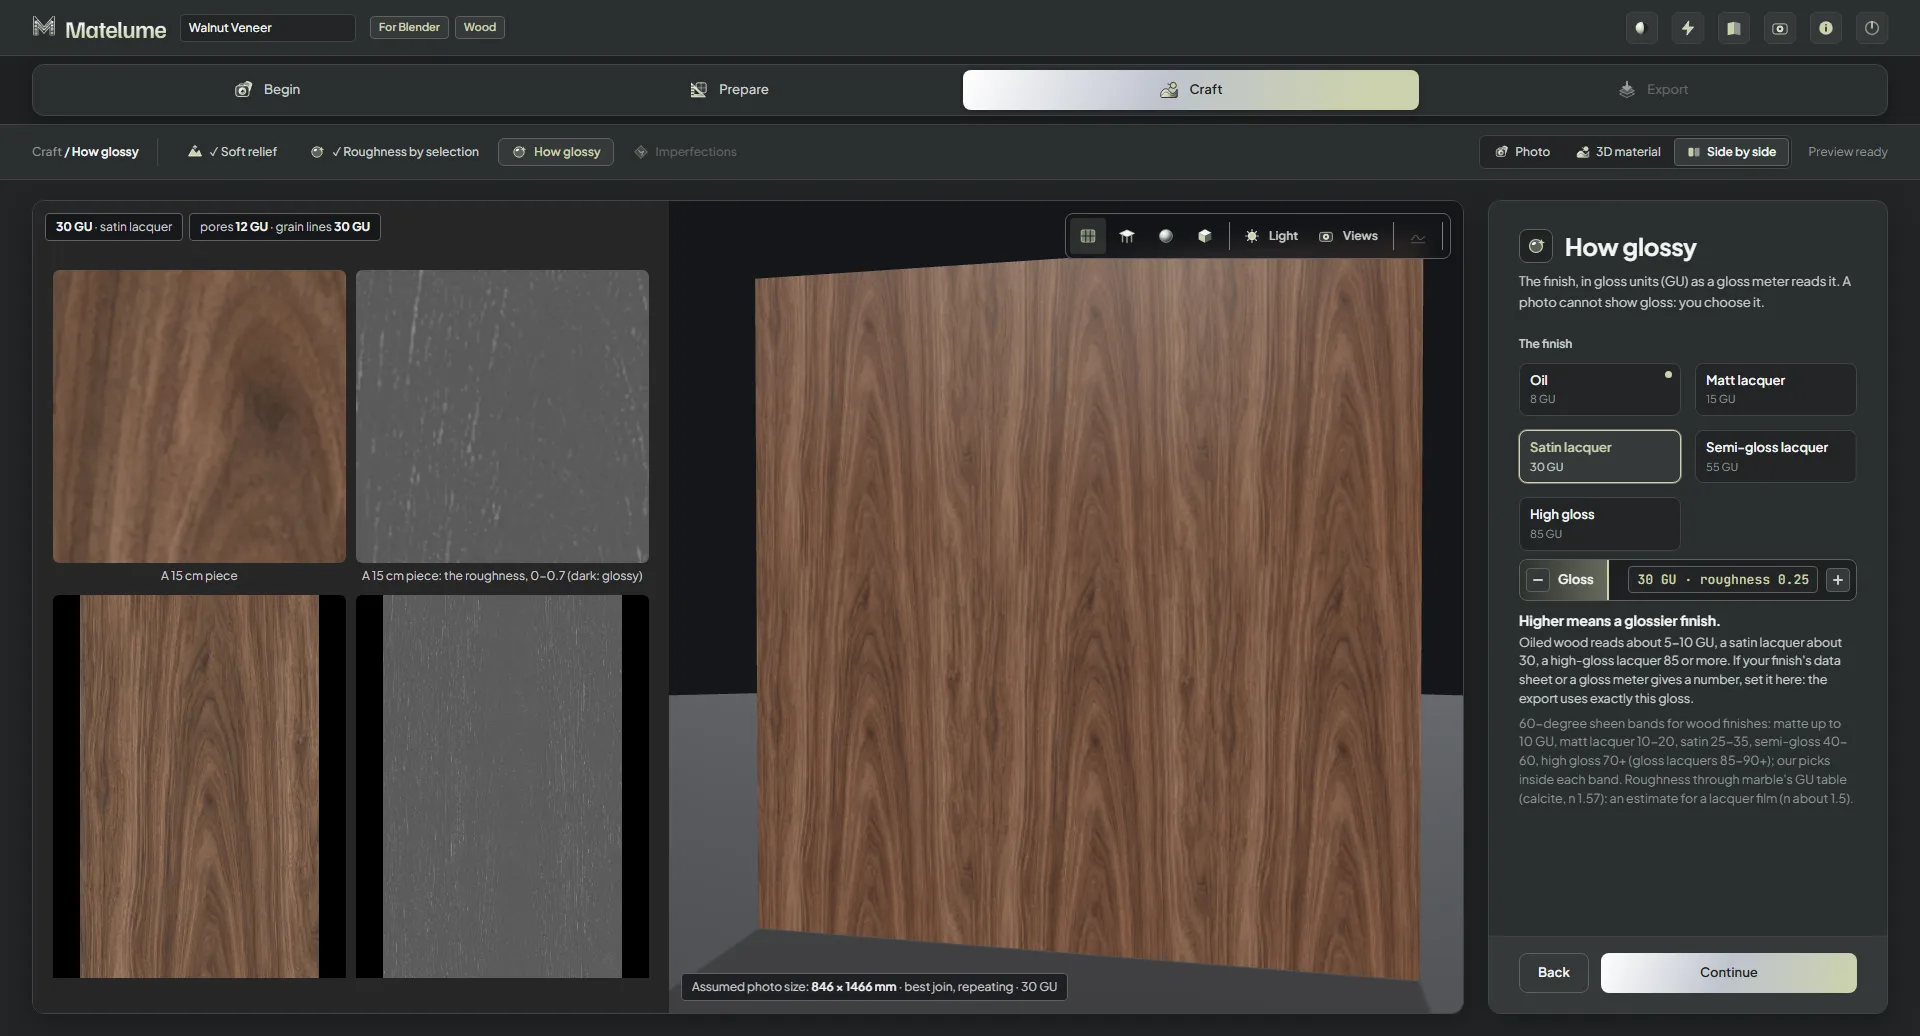
Actual Matelume app capture: Wood finish and gloss controls in Matelume.
Choose the surface and finish
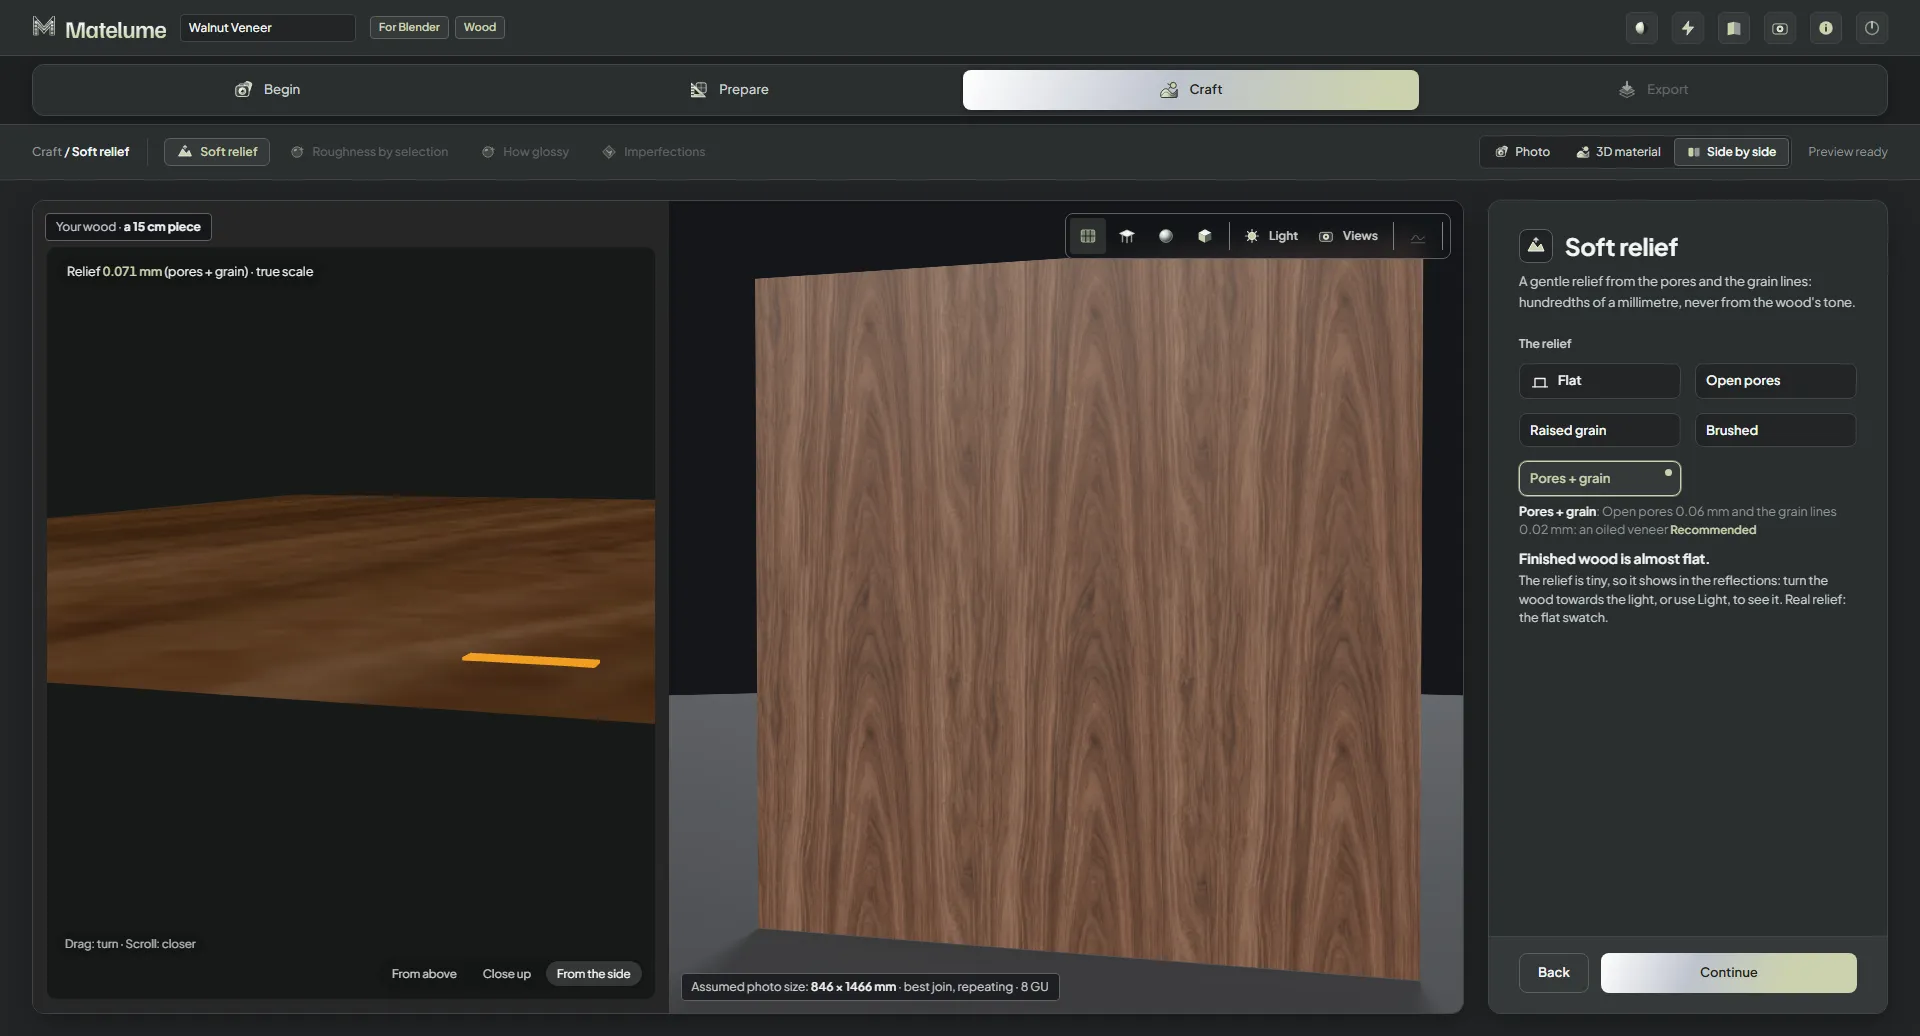
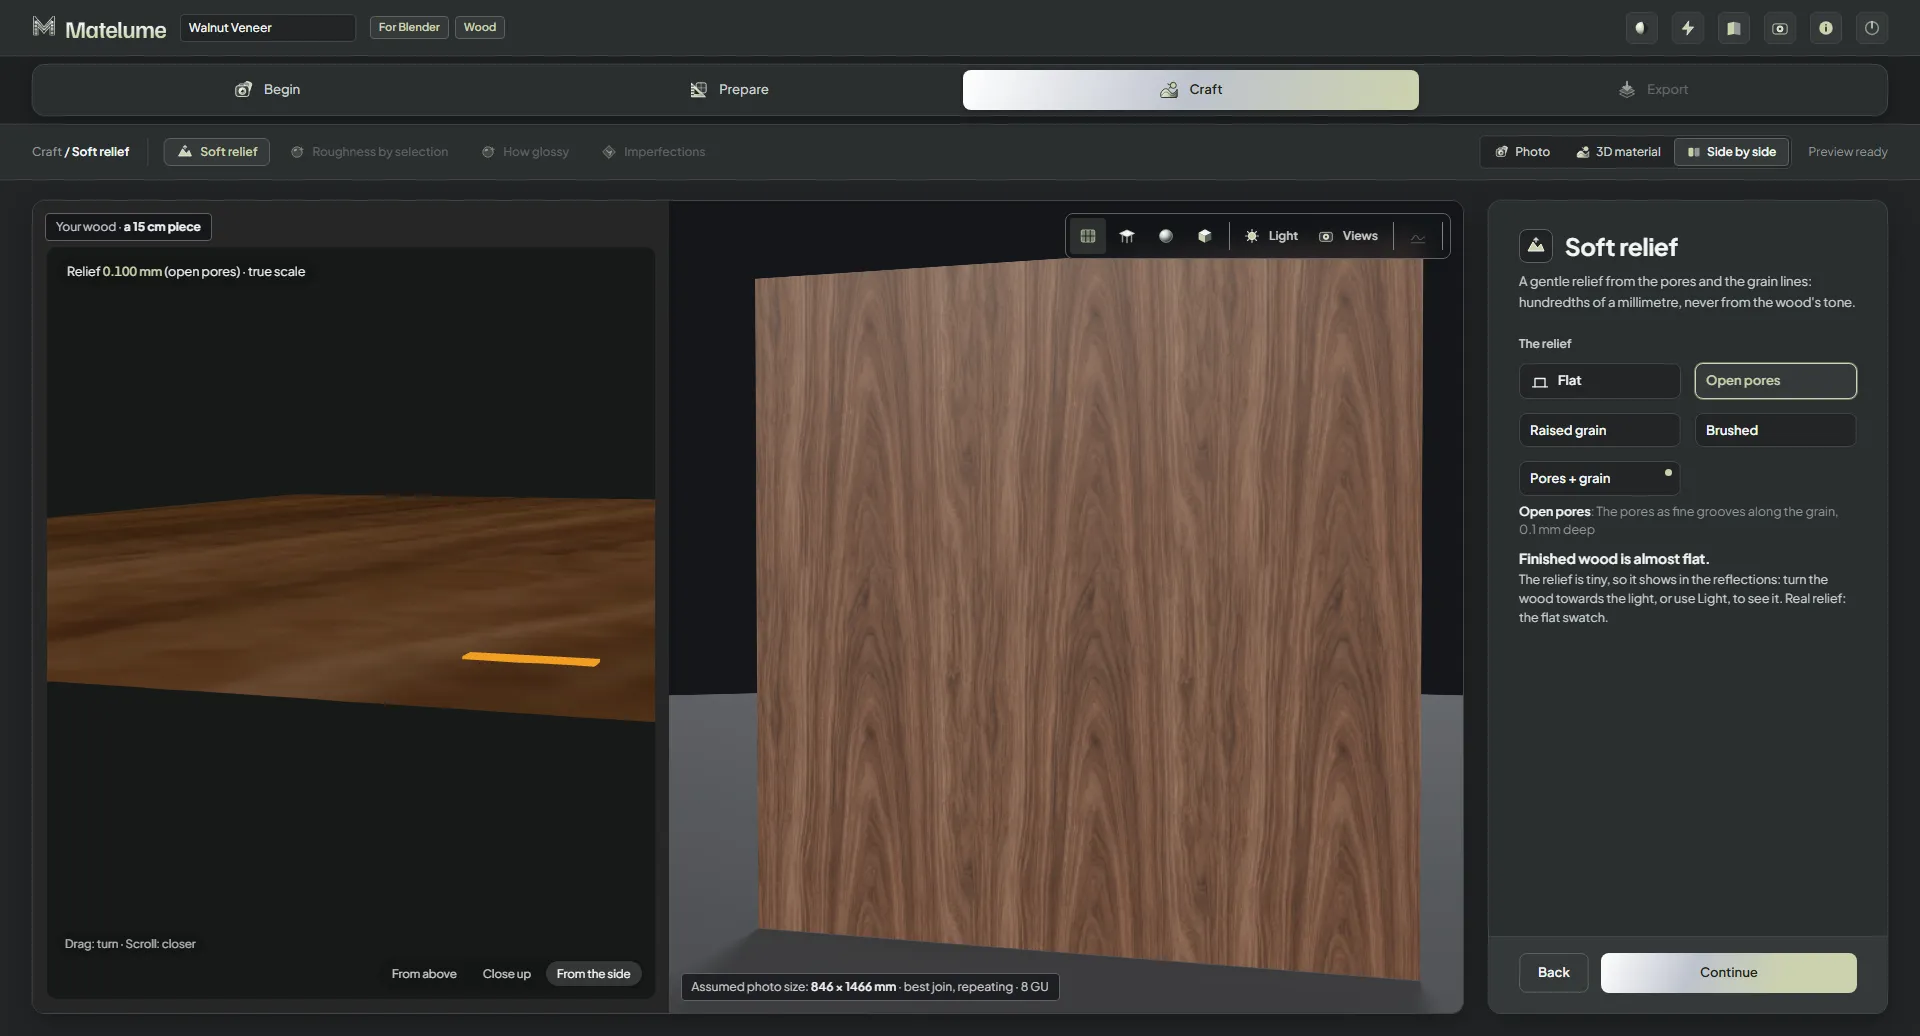
Set the relief and how different areas catch light. Choose a finish, adjust its gloss and add optional imperfections.
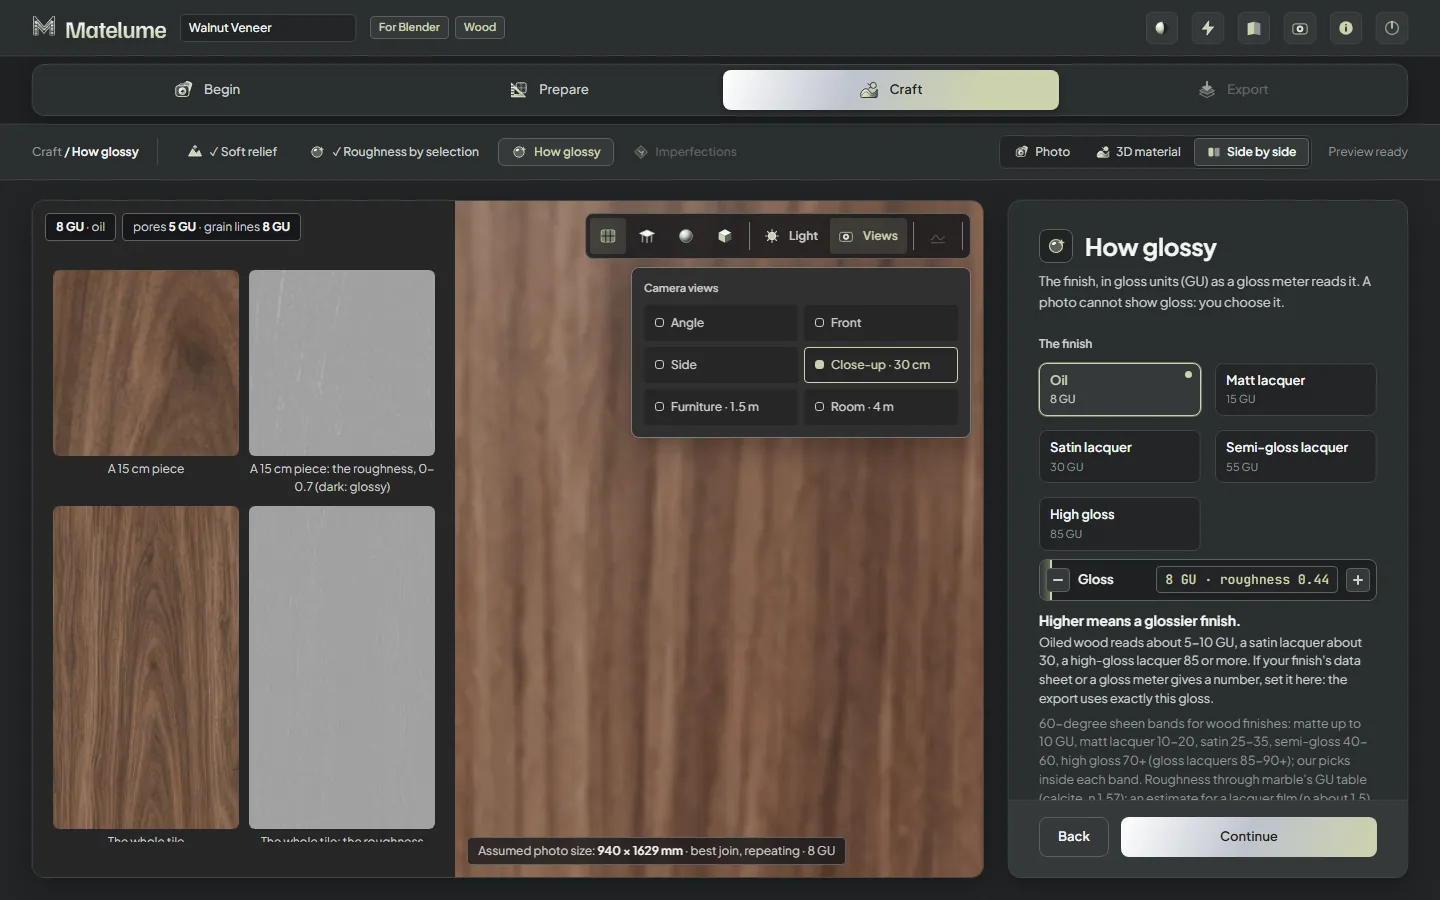
Actual Matelume app capture: Wood on a table in the Matelume 3D close-up.
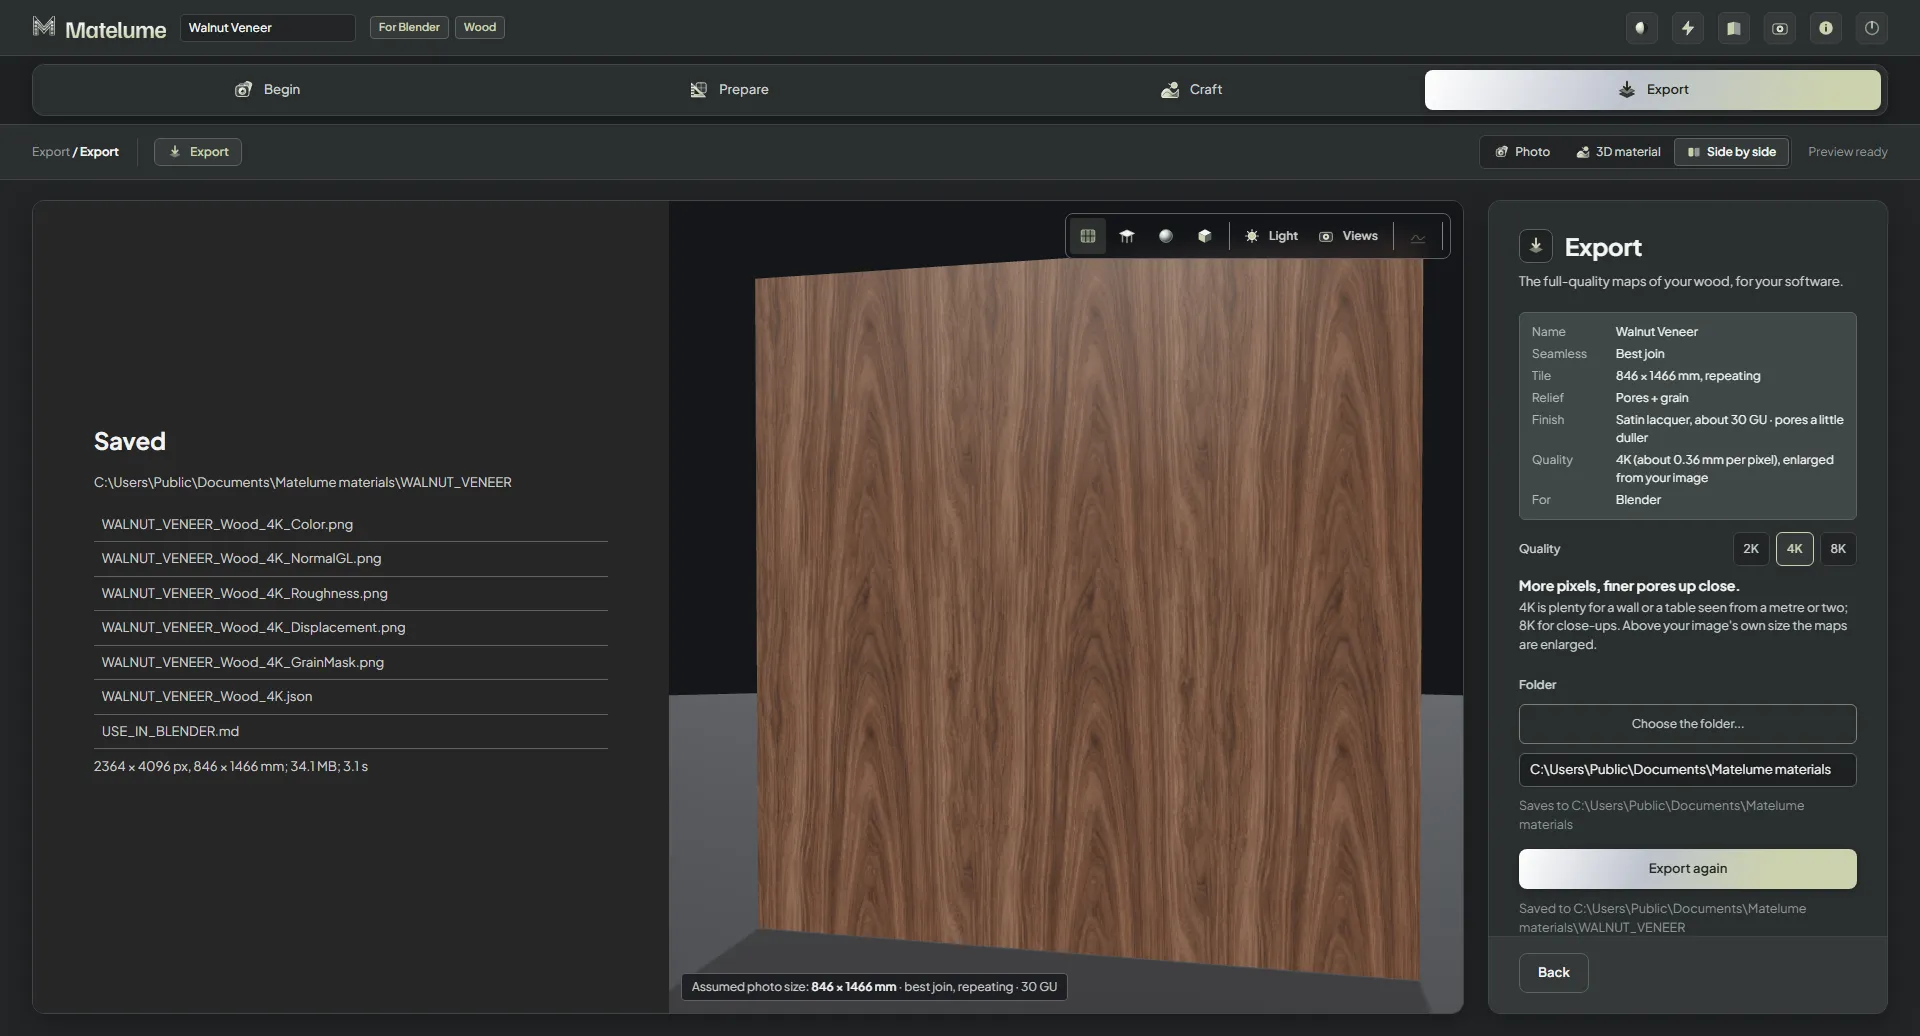
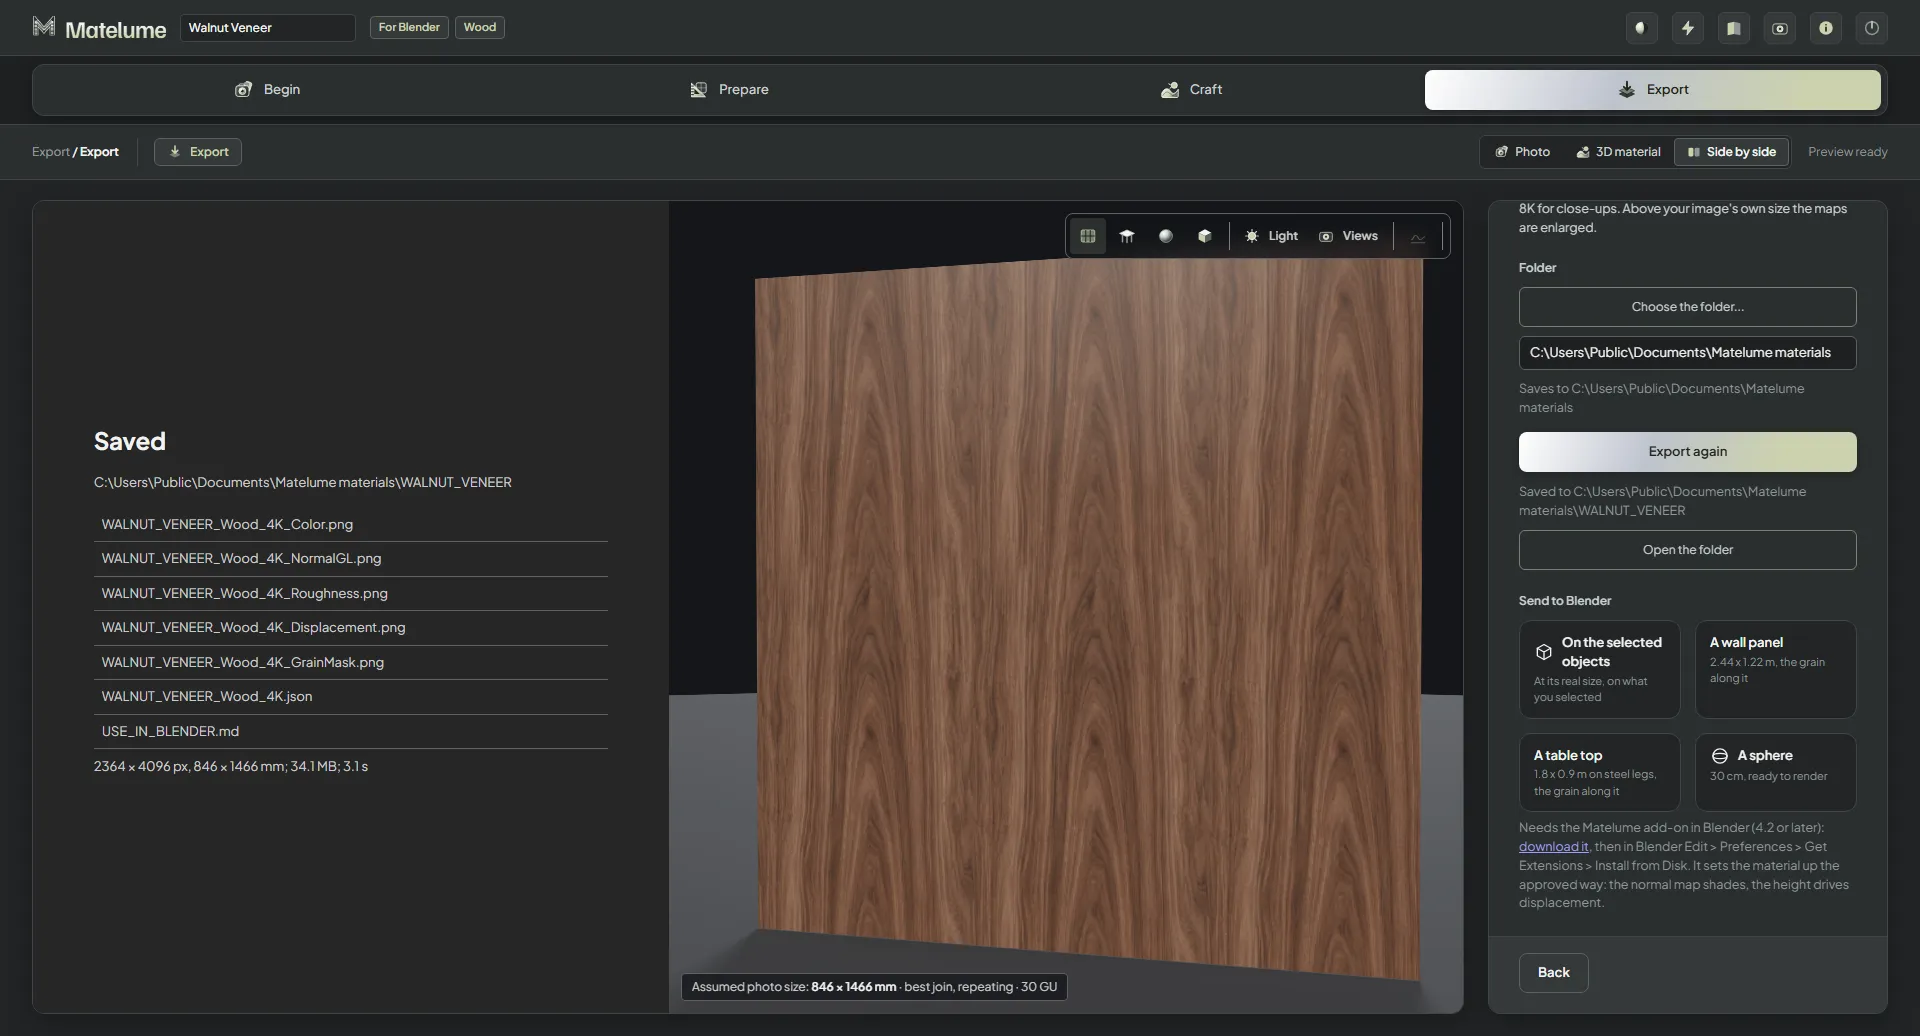
Export and use it in Blender
Export the maps, then use Send to Blender for a wall panel, table top or selected object at real size.
Wood represents one veneer sheet. It does not create floors or plank layouts. Wood transfer to Blender is verified; Wood integration with 3ds Max, V-Ray and Corona has not been verified for this release.
Pick a colour from the wheel or the built-in Matelume colour catalogue. It becomes a single-colour image, then follows the same material steps as an imported image.
For fabric, choose Nothing stands up, then add a woven ground. For wood and marble, the colour stays flat: gloss and optional imperfections shape the finish. A colour start does not invent wood grain or stone veins.
Choose a material to follow every step in the 2.0 Studio.
Fabric
Give your pattern a surface.
Follow the fabric workflow · 10 app views
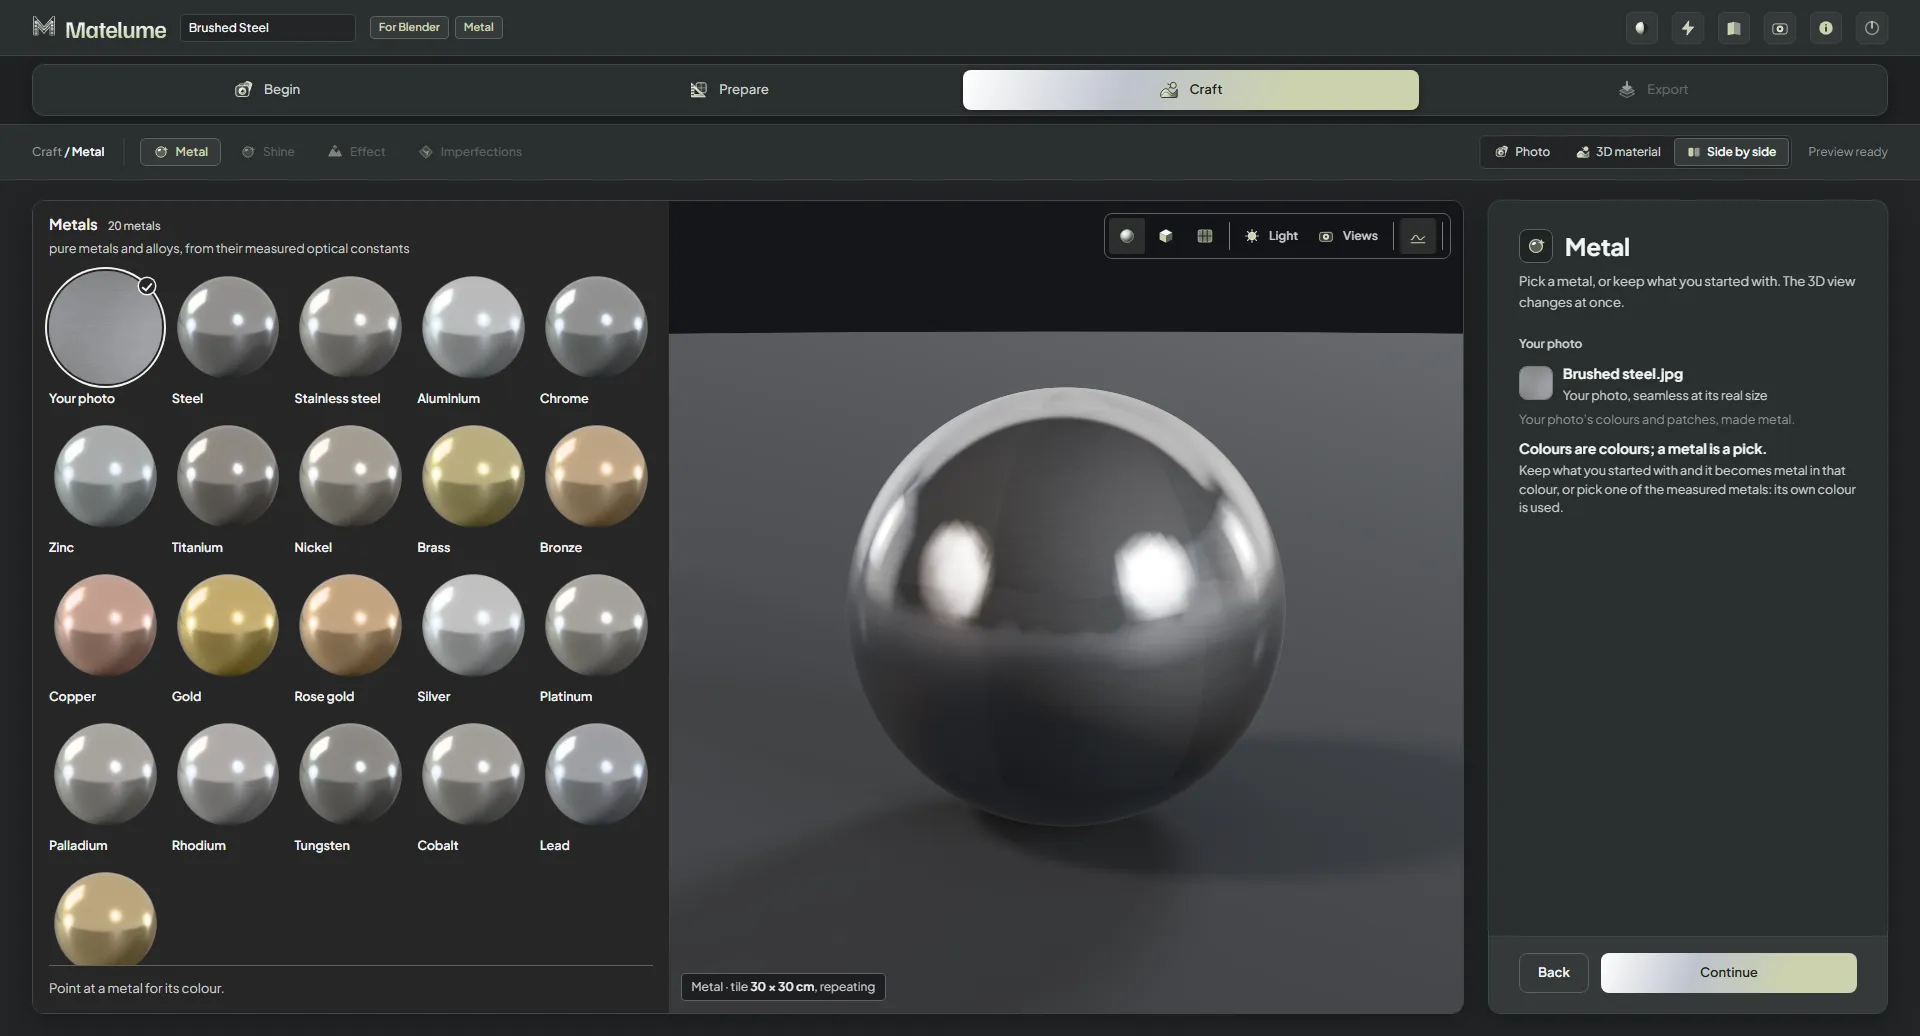
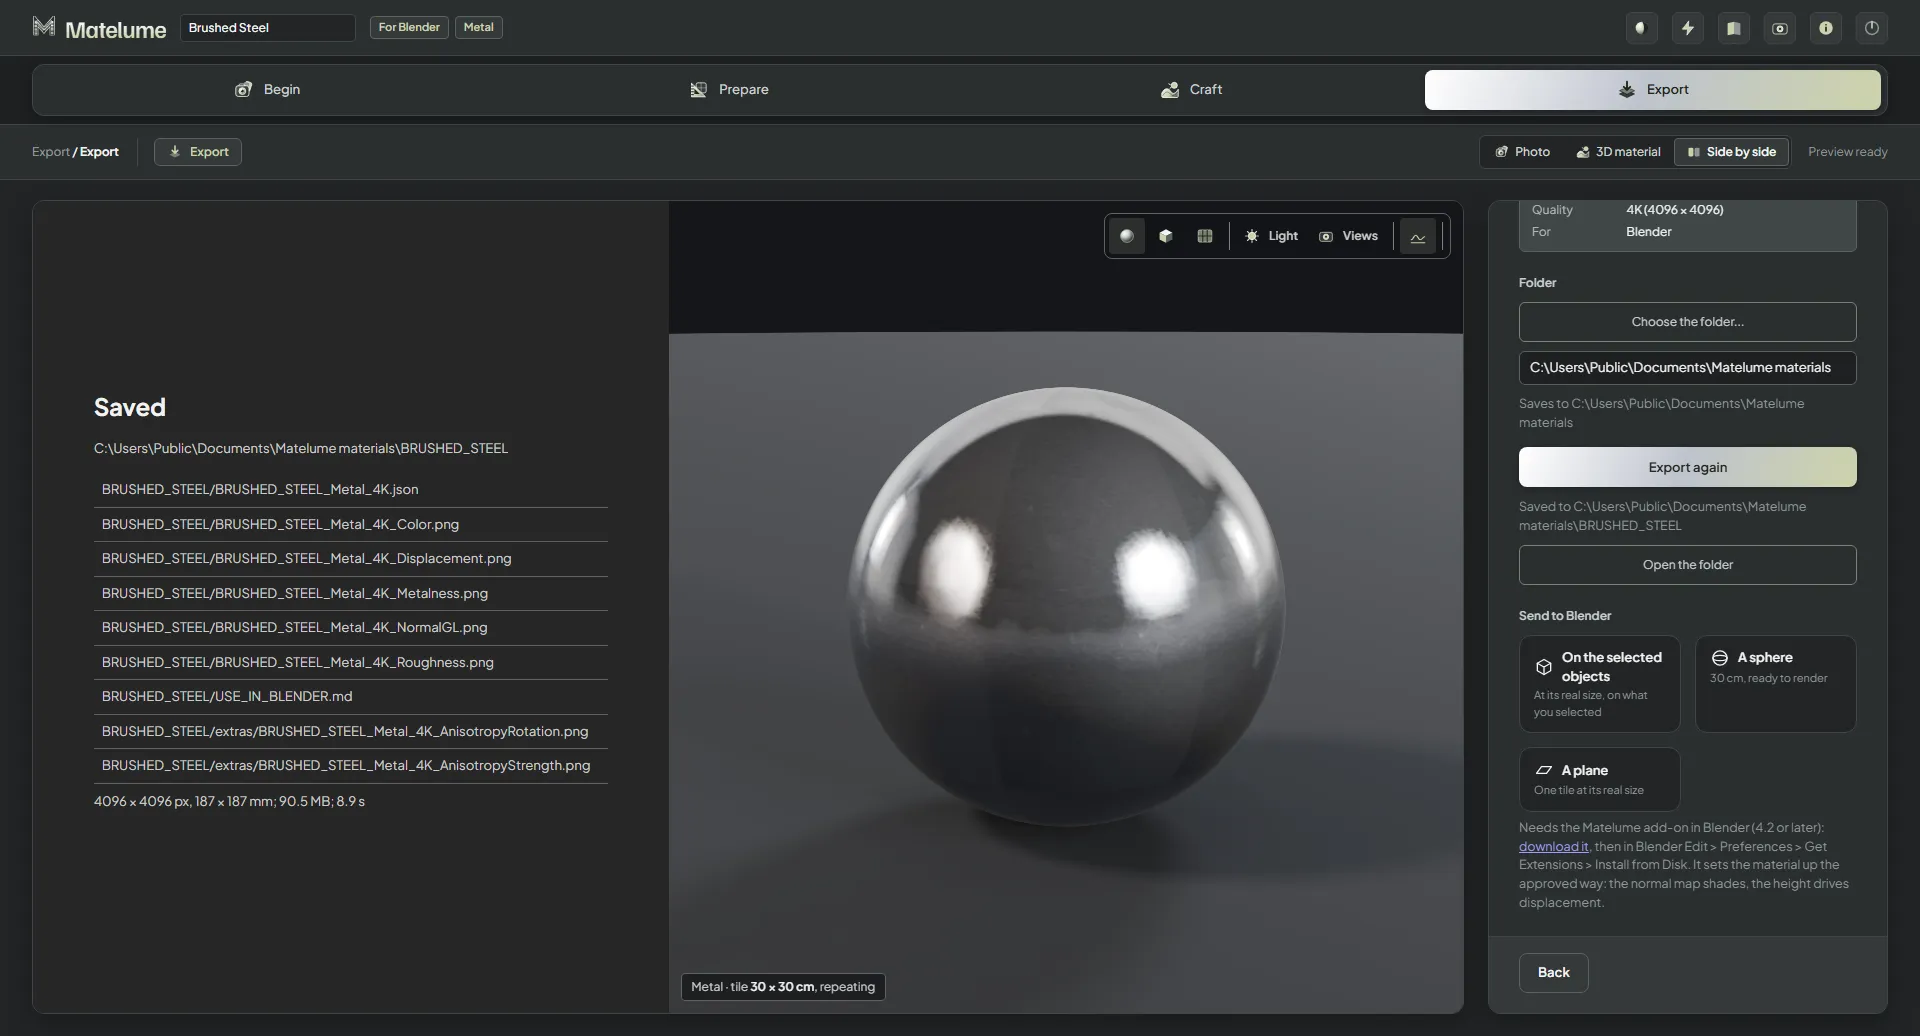
The first step of Matelume: a deco fan fabric photo is loaded and shown flat beside its 3D preview, with the colour catalogue and colour wheel as another way to start.Choosing the software the material is for: Blender, 3ds Max with V-Ray or Corona, Cinema 4D, Unreal Engine or other software.Choosing the material type: Fabric is selected, beside Wall art, Marble, Wood and the other types.Choosing the quality of the finished maps: 2K, 4K (usual), 6K or 8K, with 4K selected.Setting how the photo sits on the cushion: how many photos make one cushion, with the photo at its real scale.Making the photo repeat with no visible join: Best join, true size is selected and the 2 x 2 check shows the repeat.Clicking the parts of the design that stand up: the raised parts show in colour on the photo, and the choices By shape, By colour and Nothing.The cloth under the design: a live plain weave at true scale beside the weave choices and its density.Choosing the stitching of the raised parts: live stitches at true scale beside the satin, basket, chevron and wave stitch types.The Construction step with the finished maps (colour, normal, gloss) beside the 3D cushion and the list of constructions: velvet, chenille, silk, suede, cotton.
Marble
Shape the finish around the veins.
Follow the marble workflow · 8 app views
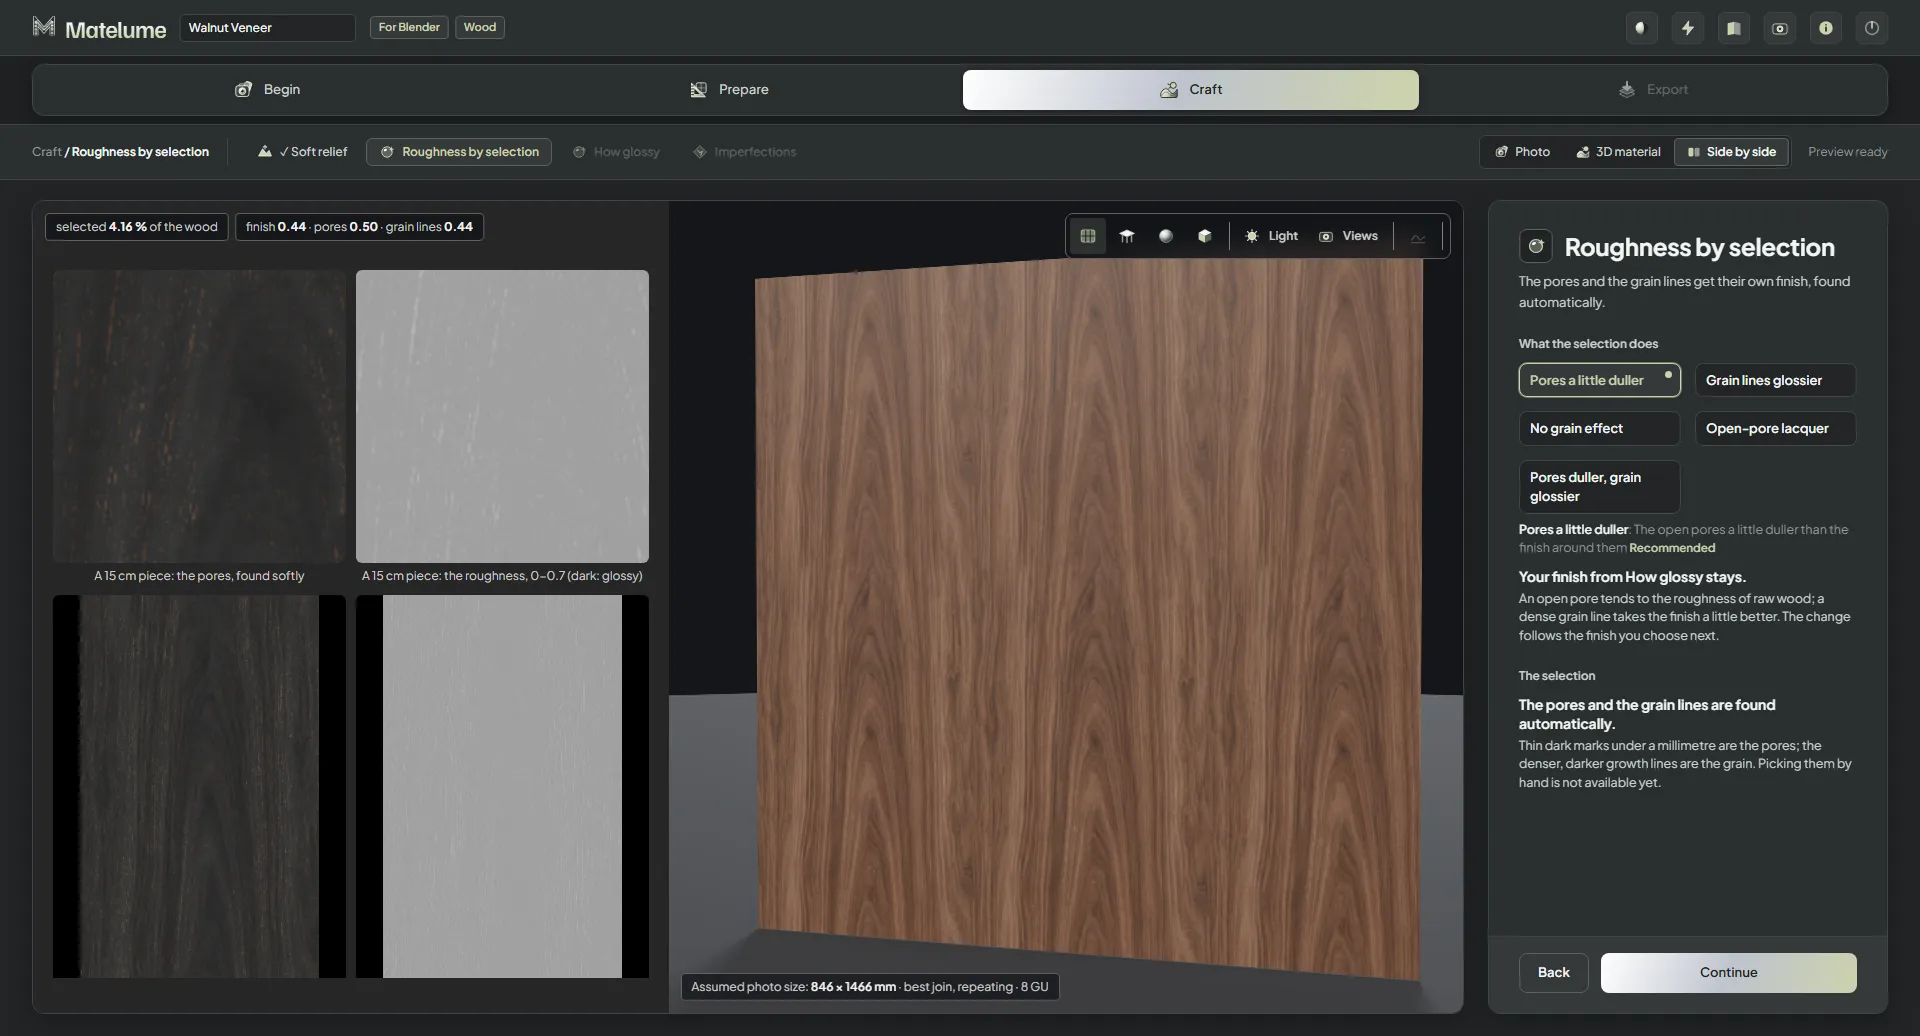
The Material type step with Marble chosen, the red marble table shown in the 3D view.The Scale step: the real width of the marble photo is set and the table follows.The Seamless step: best join of the slab, shown repeated 2 x 2 beside the table.The Soft bump step: the relief options beside a side-on view of the slab.The Roughness by selection step: the veins found in the photo and the roughness map.The How glossy step: five finishes from mirror polish to matte, with the gloss slider.The Imperfections step: fine scratches and small chips switched on, with the roughness before and after.The Export step after saving: the folder and the list of saved map files.
Wood
Make a veneer at its real size.
Follow the wood workflow · 26 app views
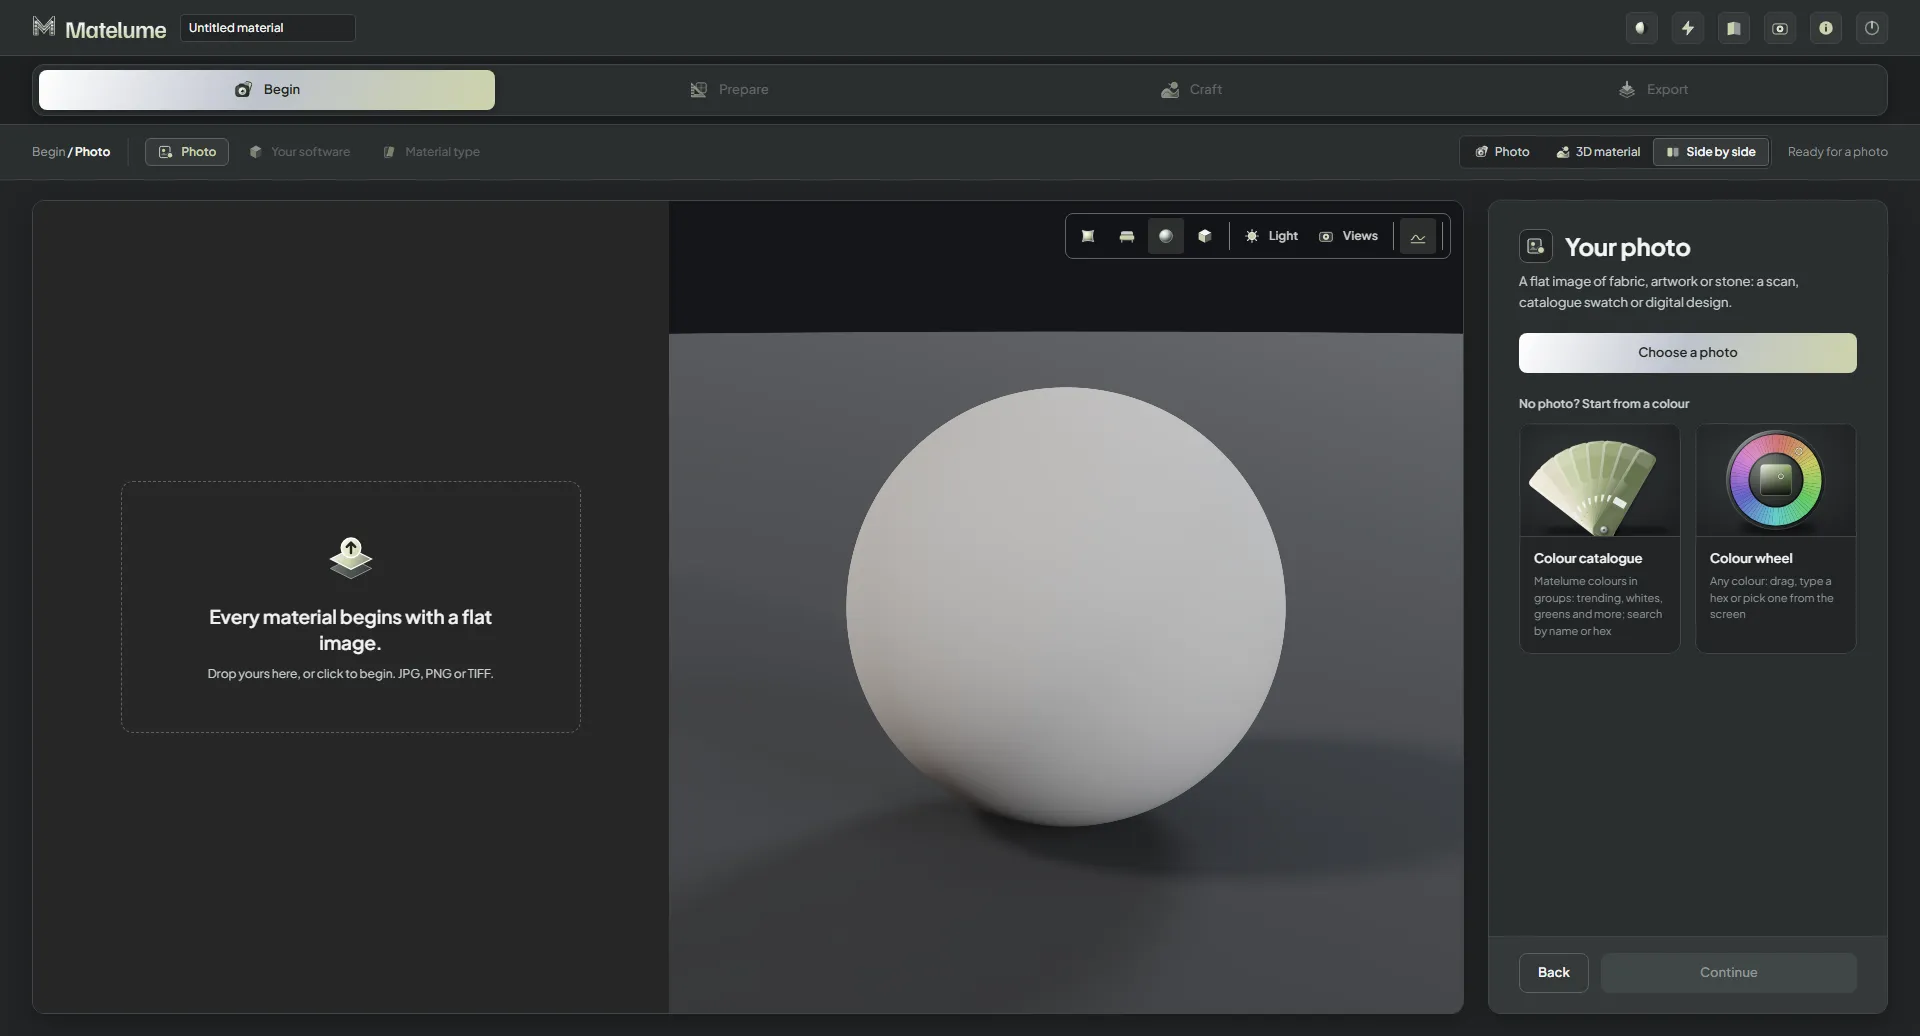
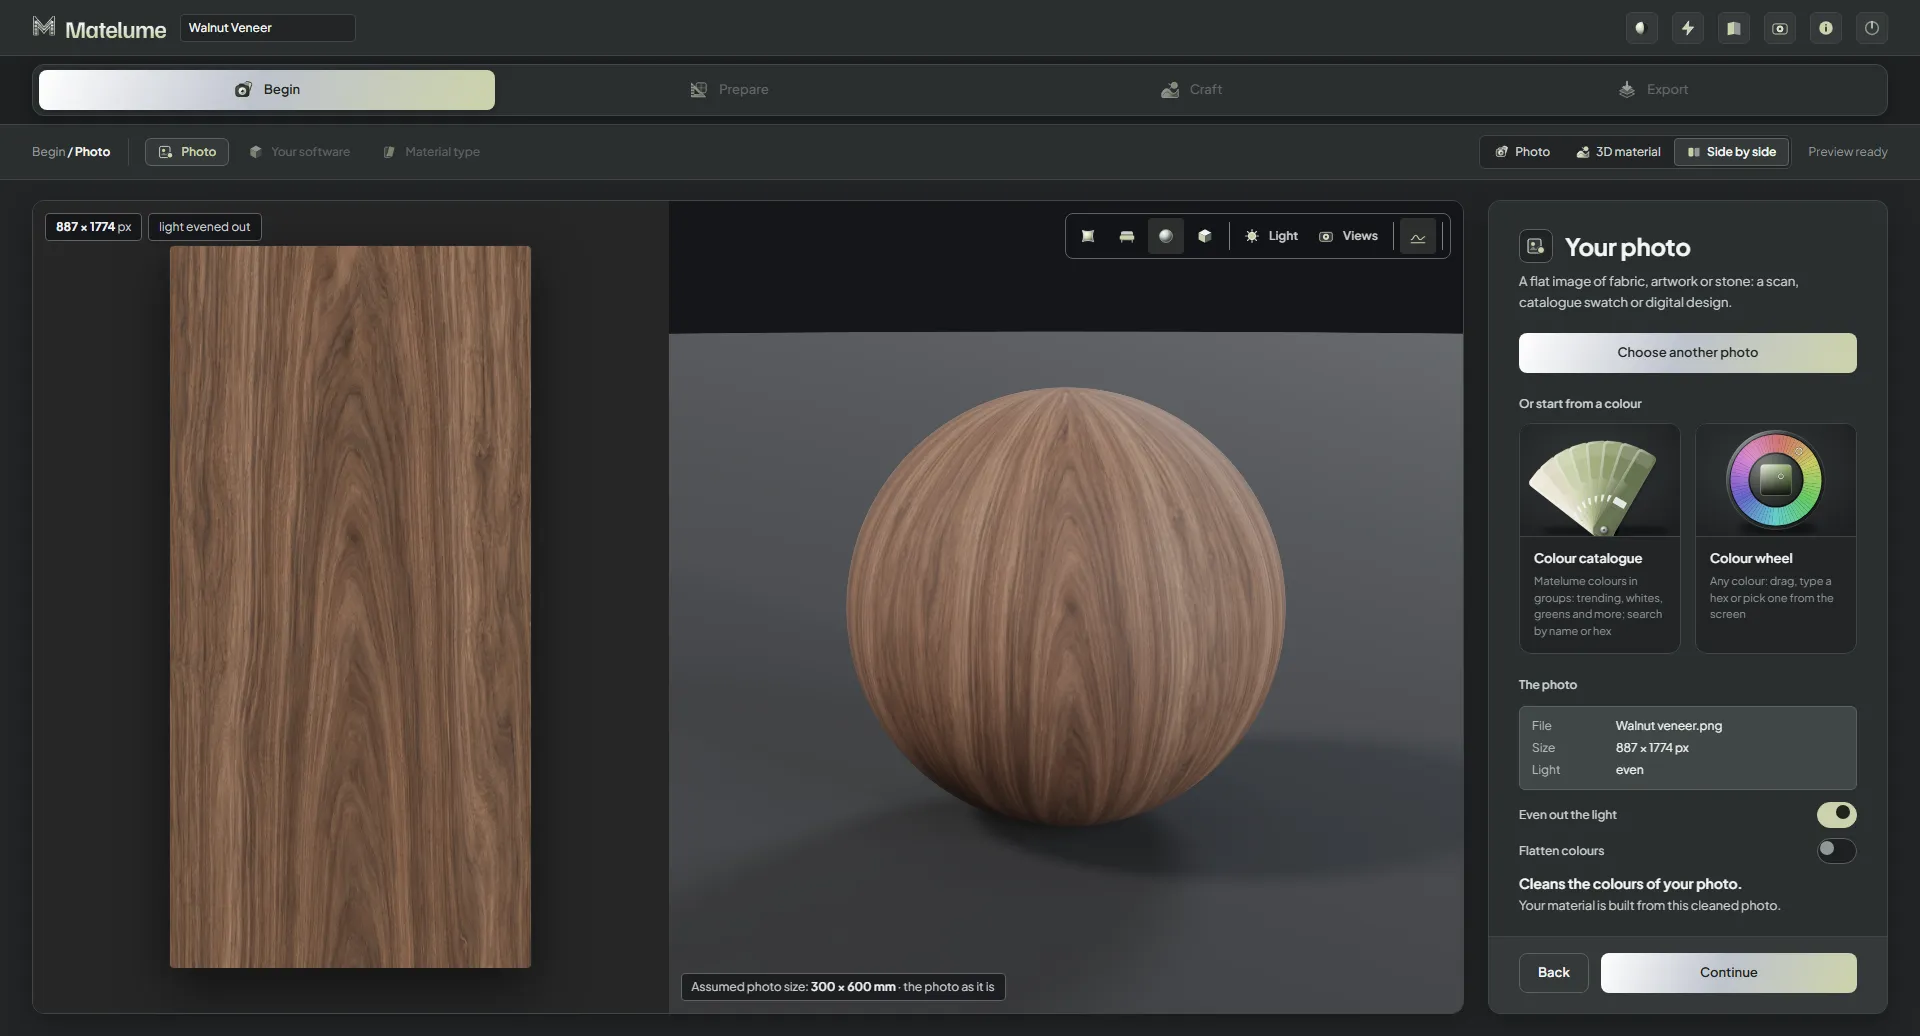
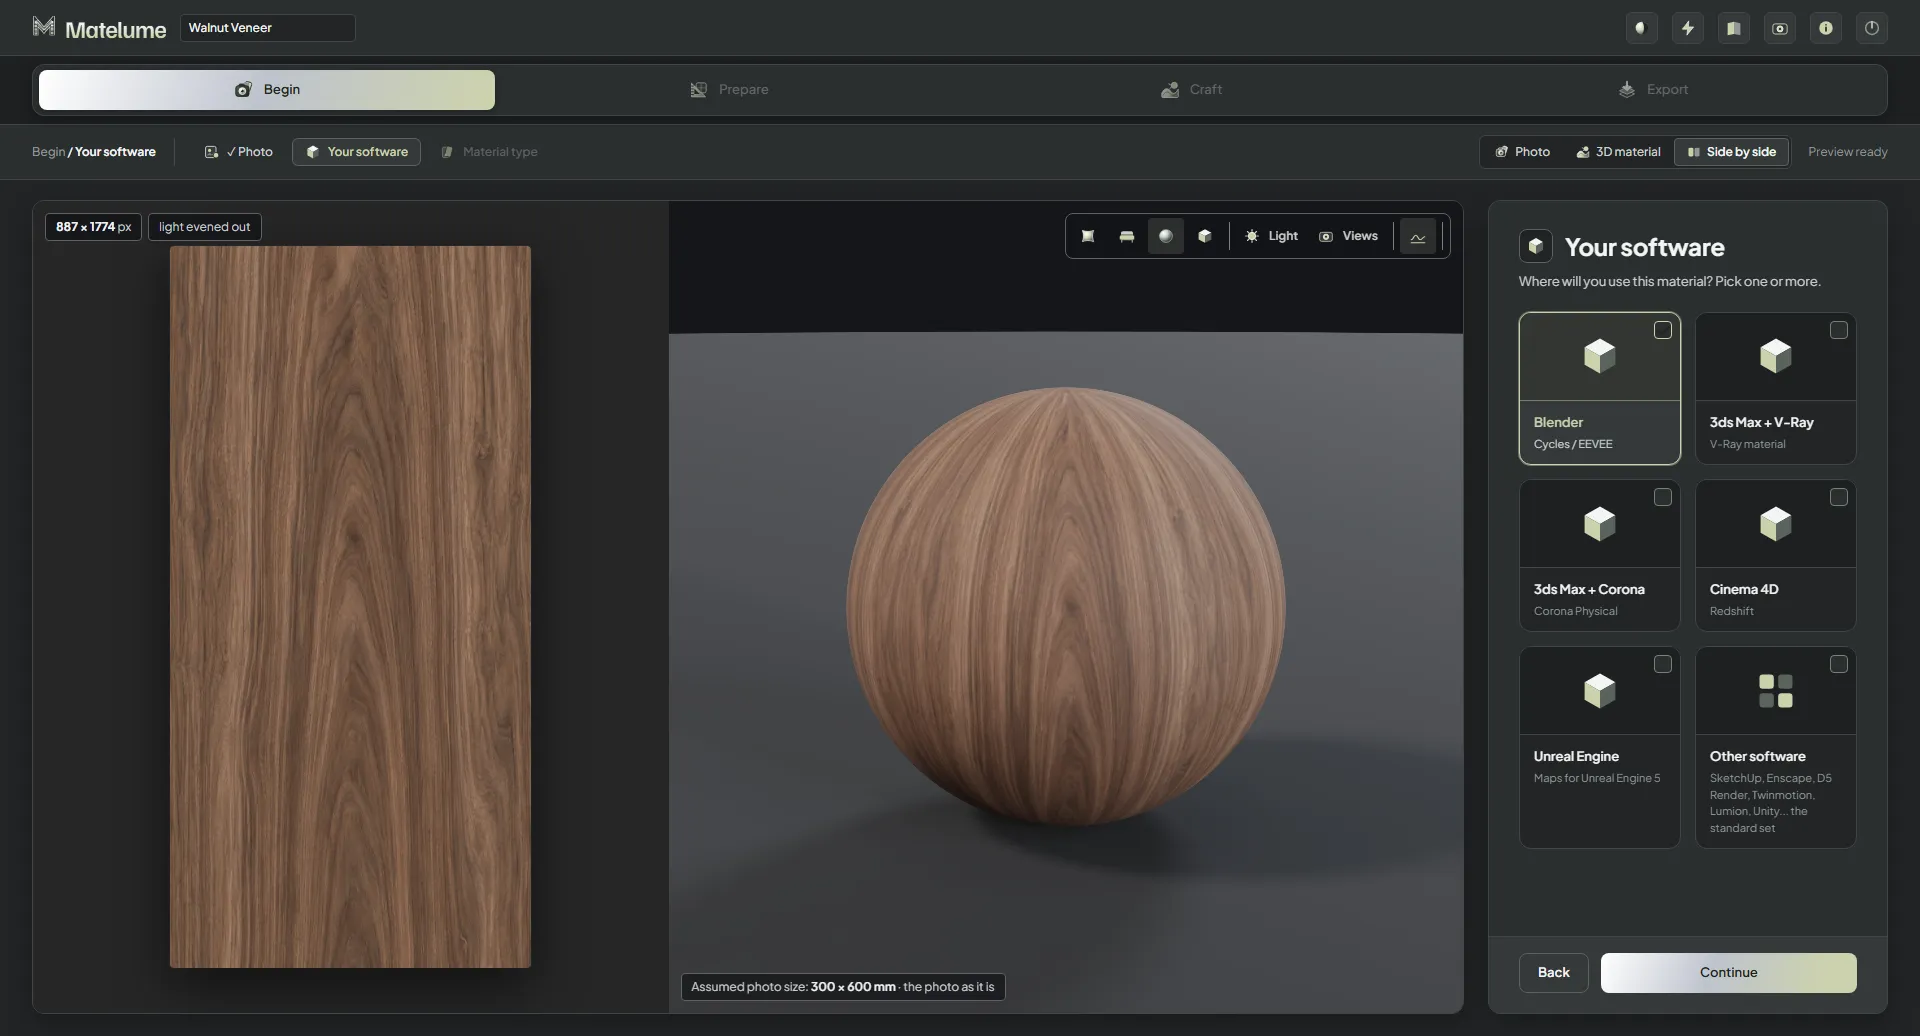
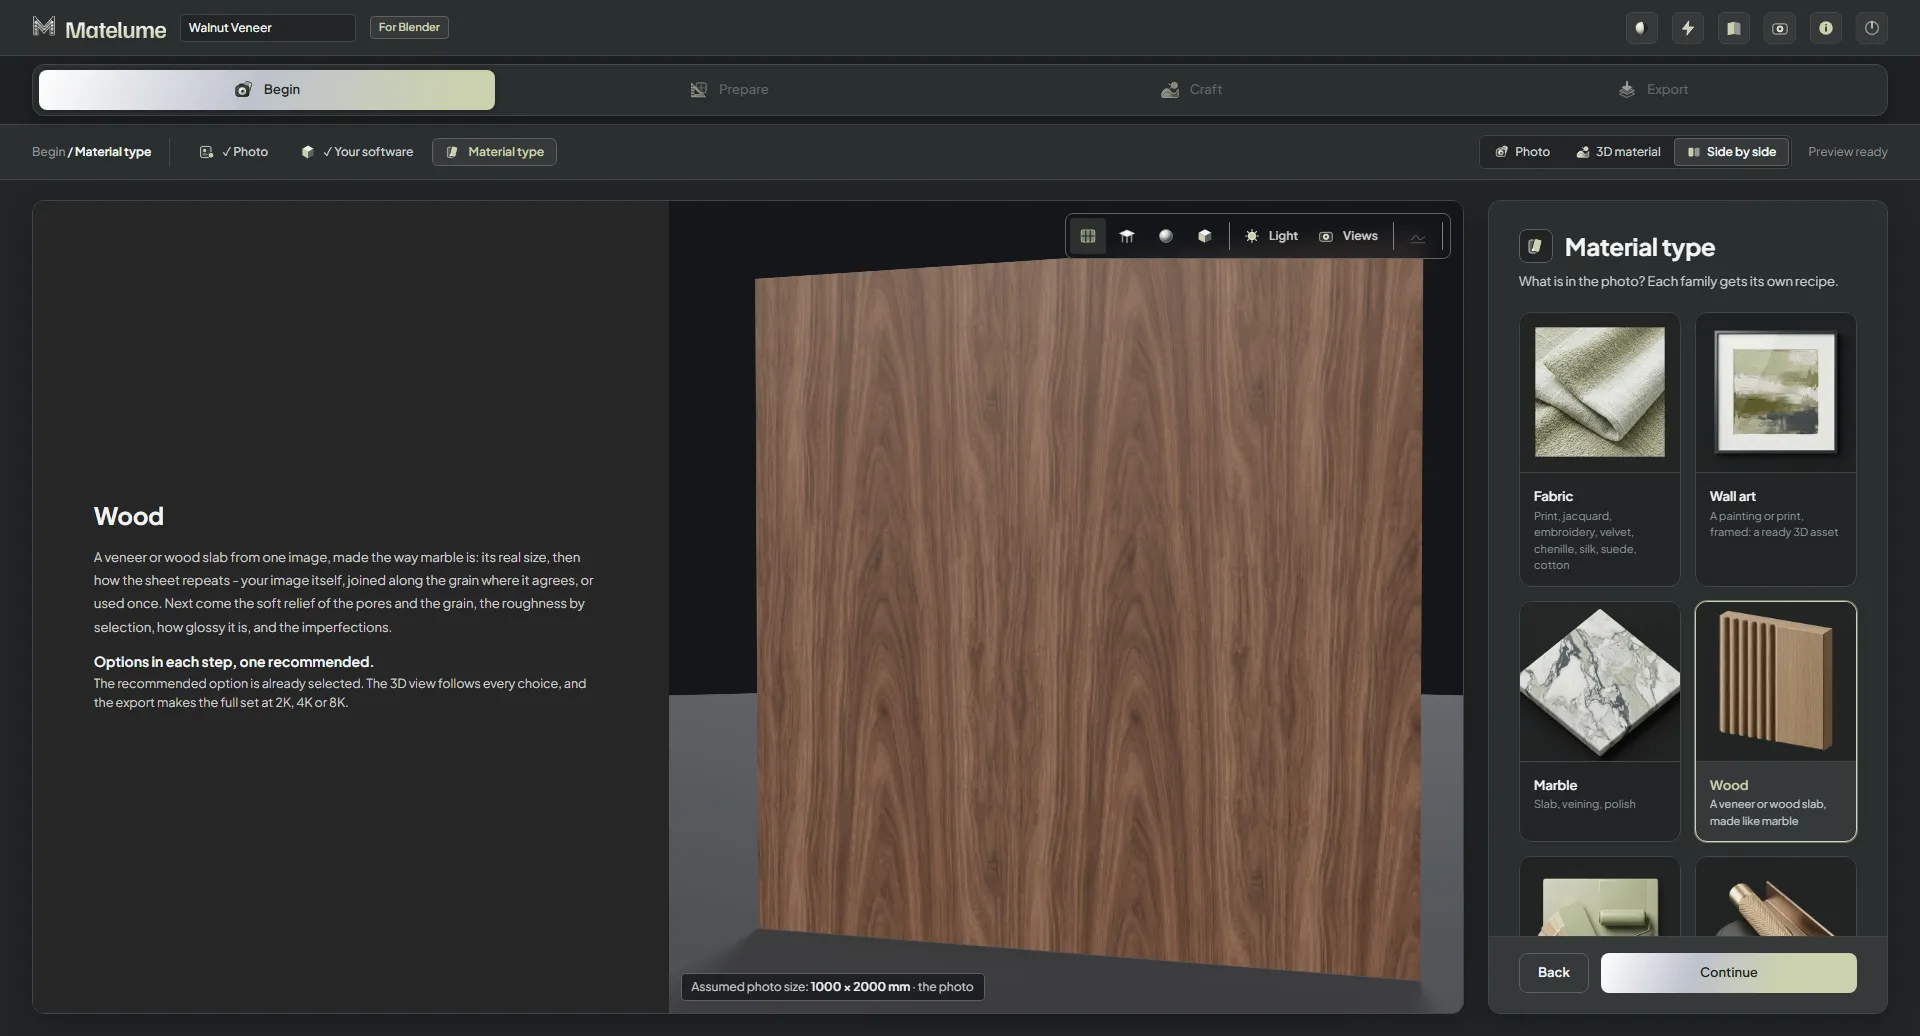
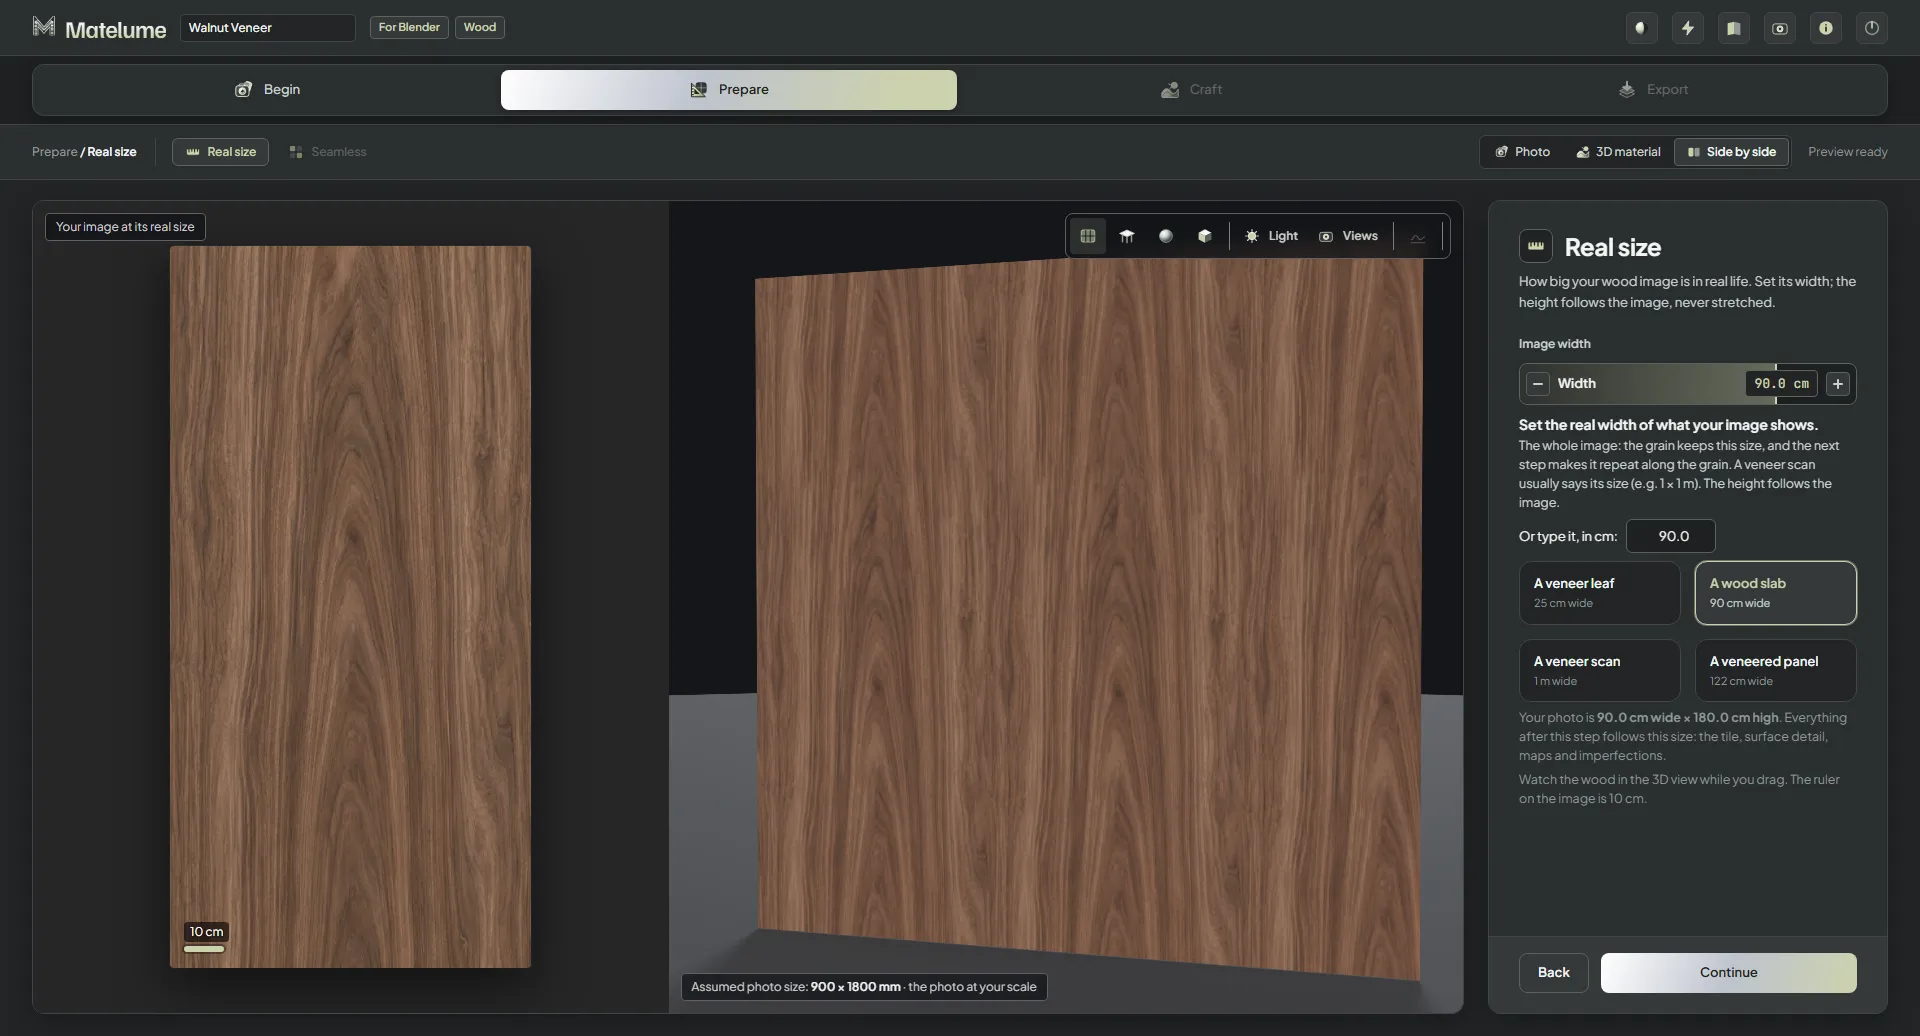
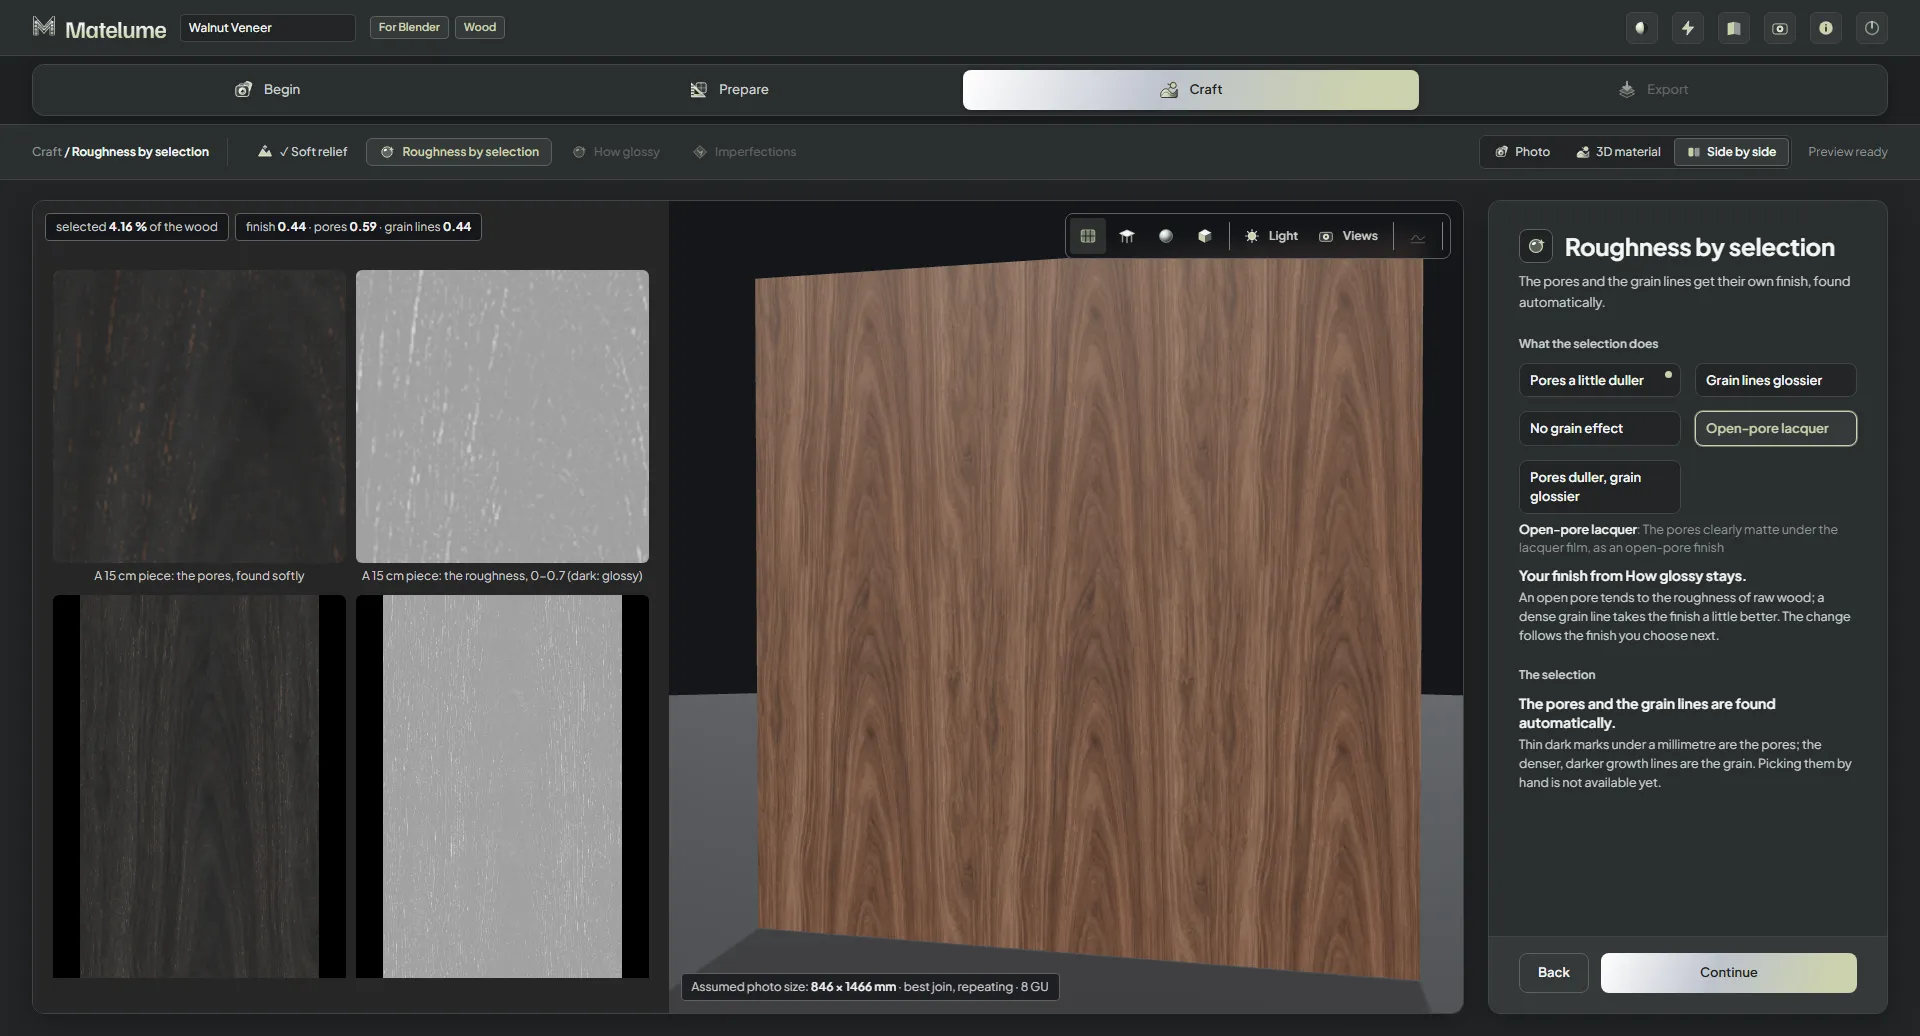
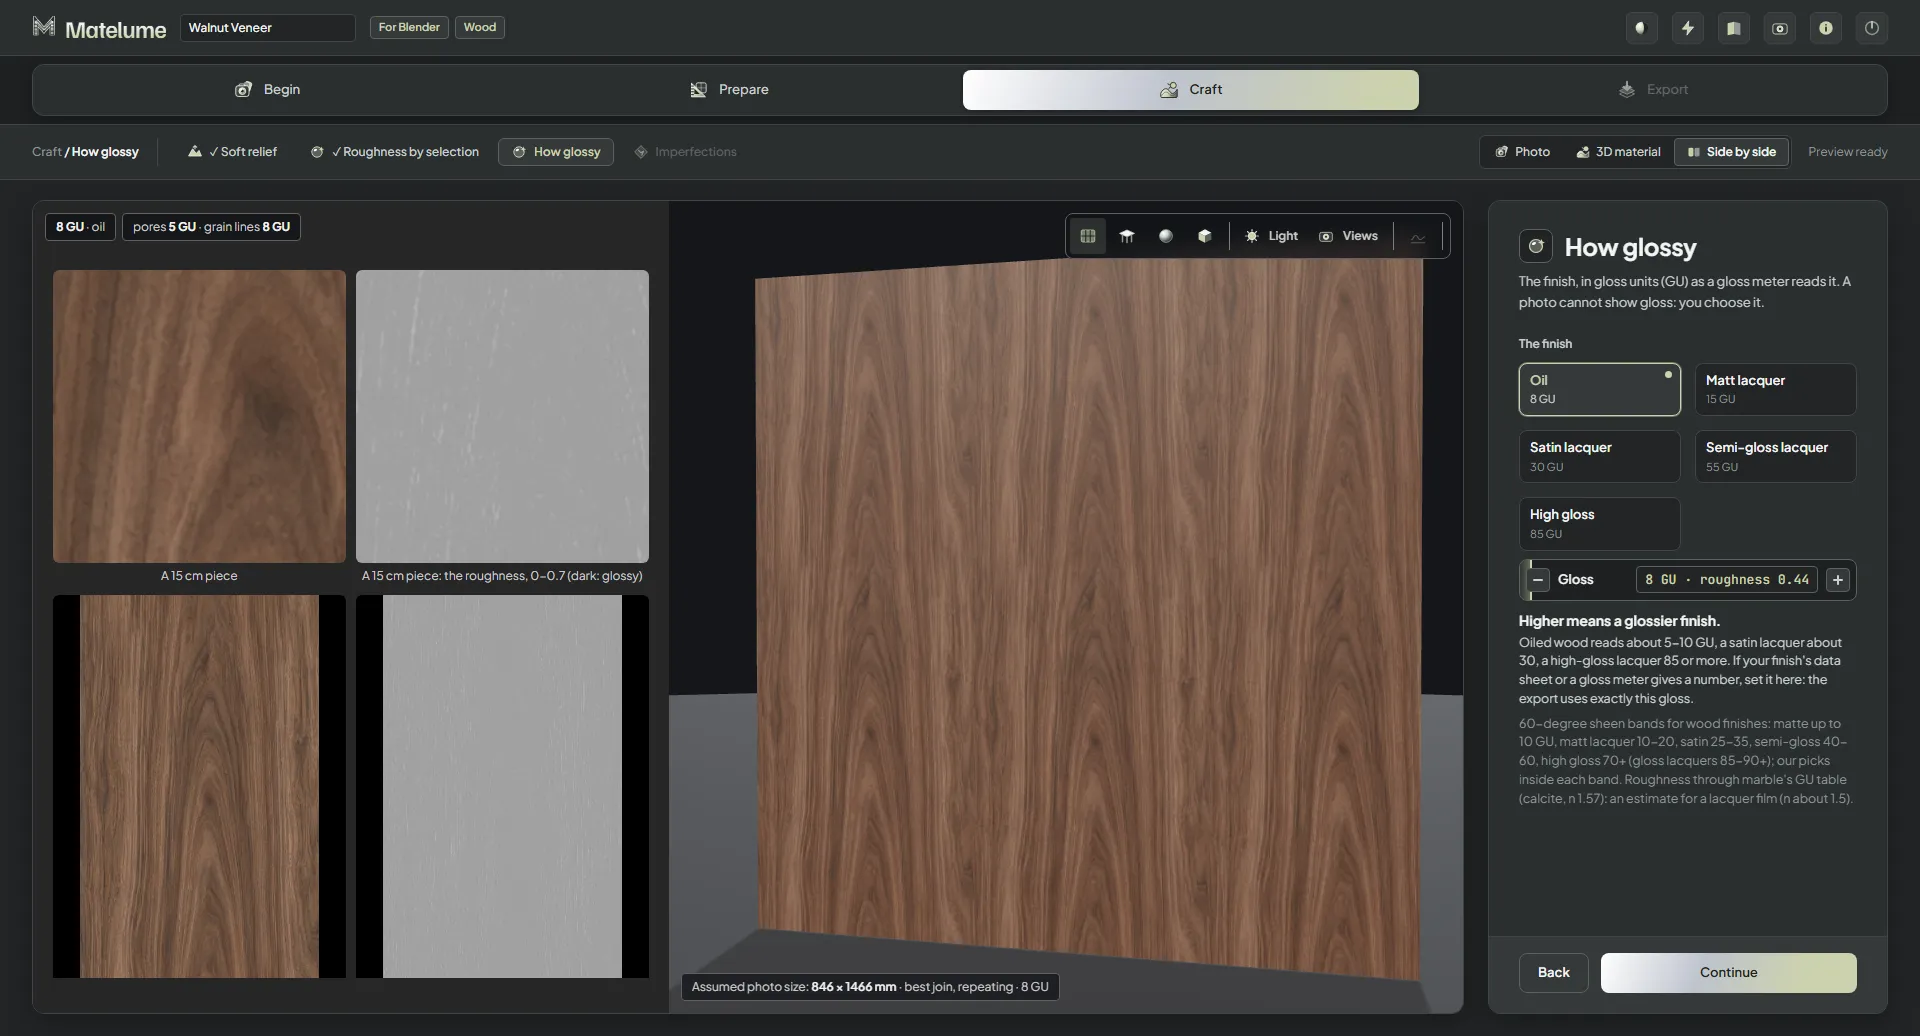
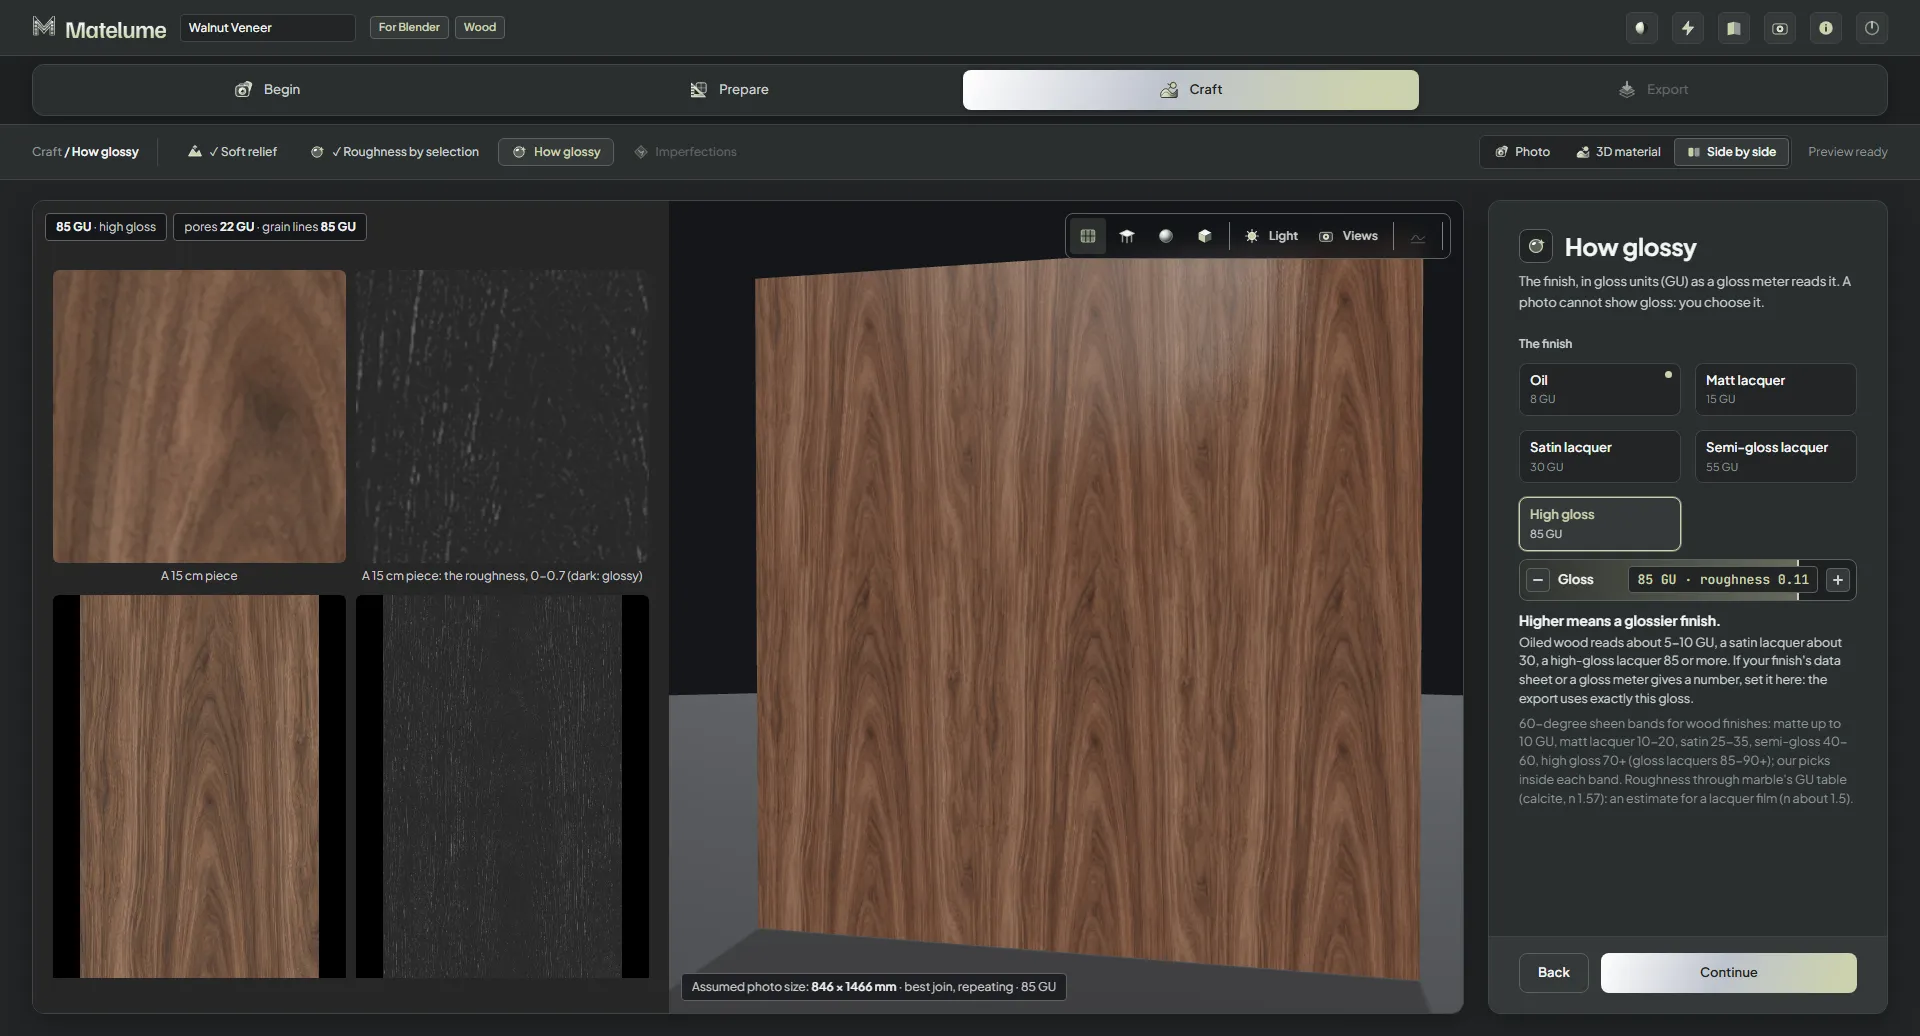
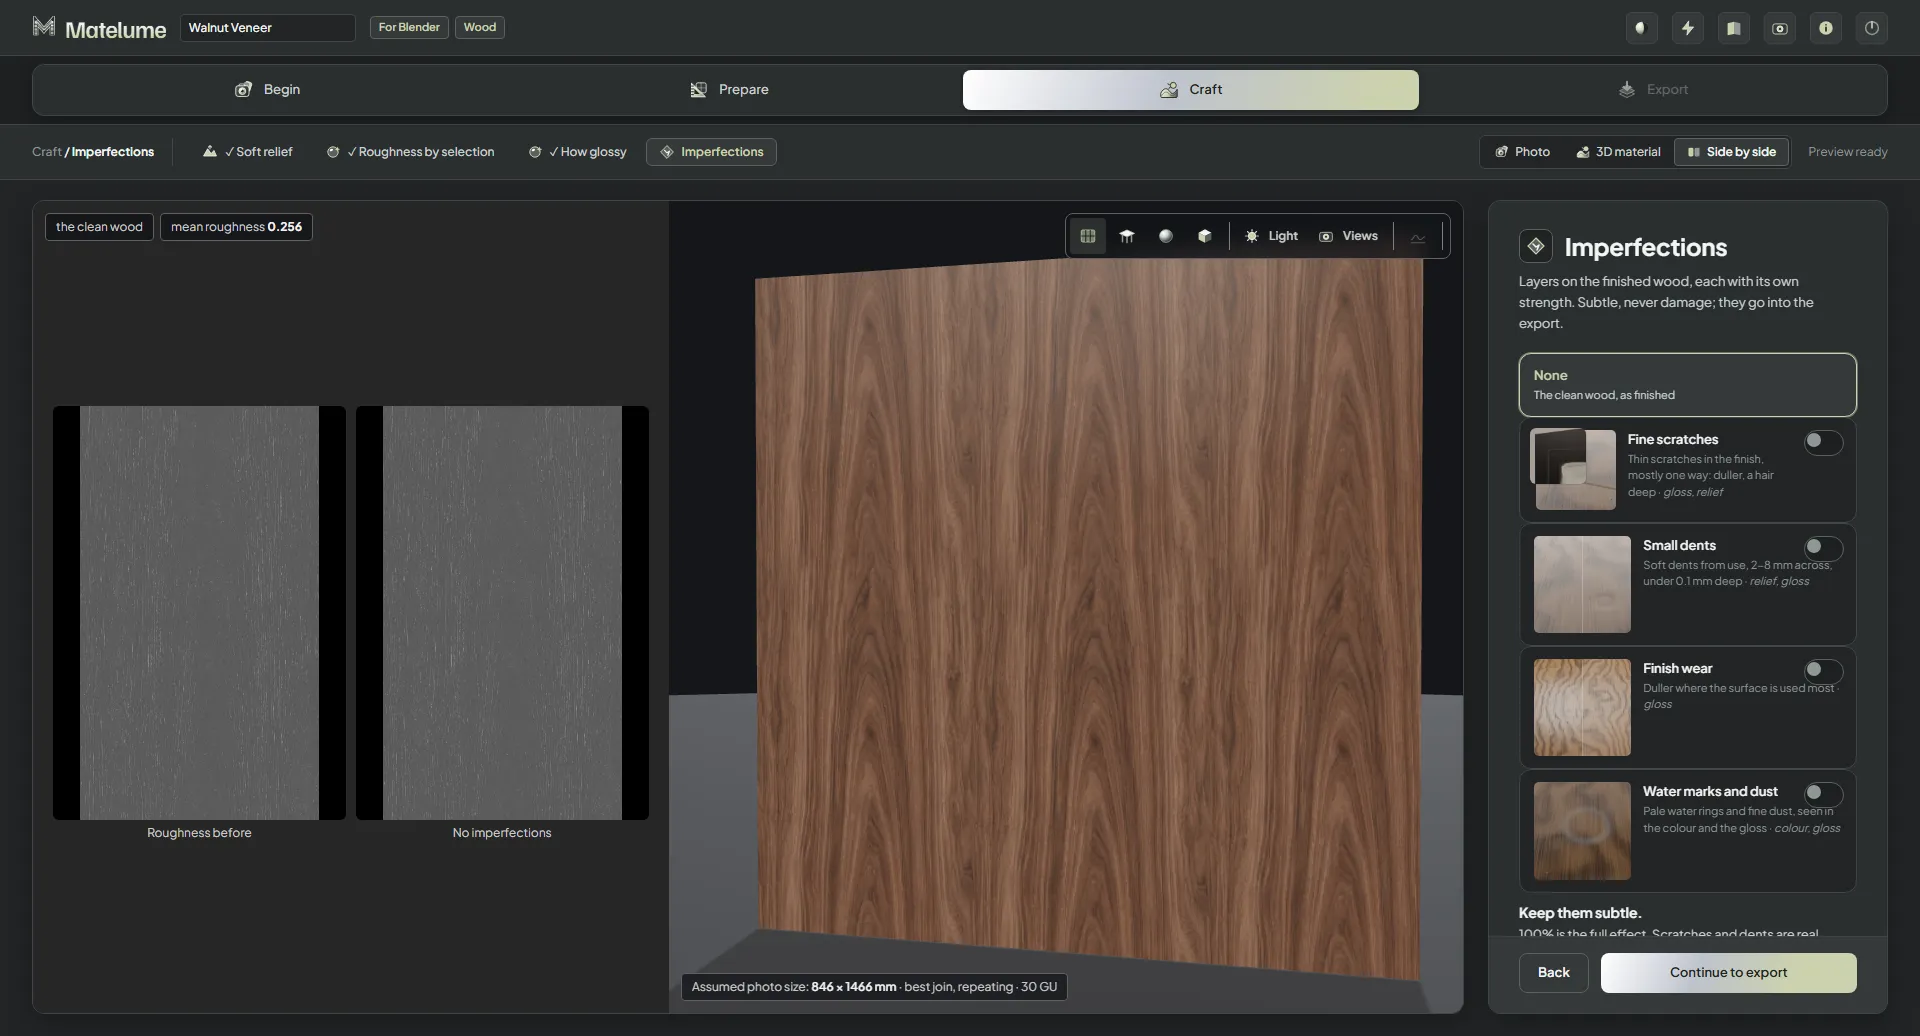
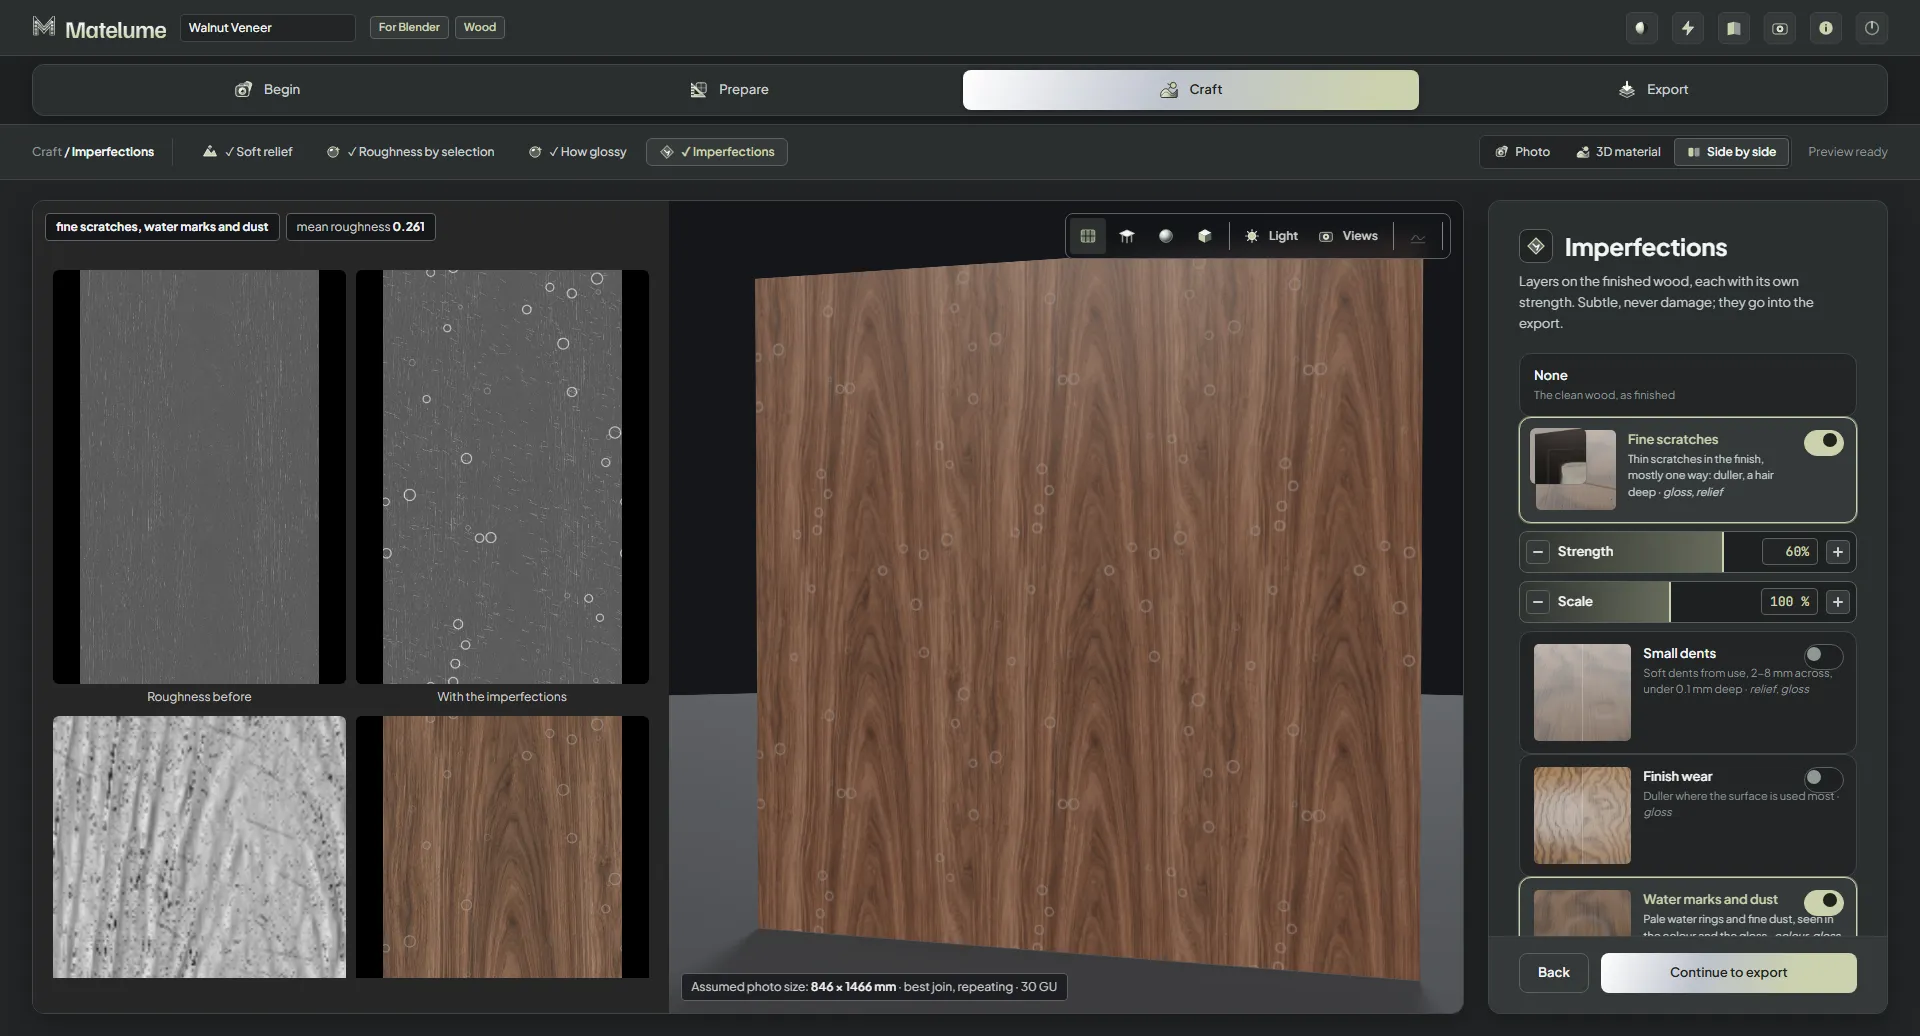
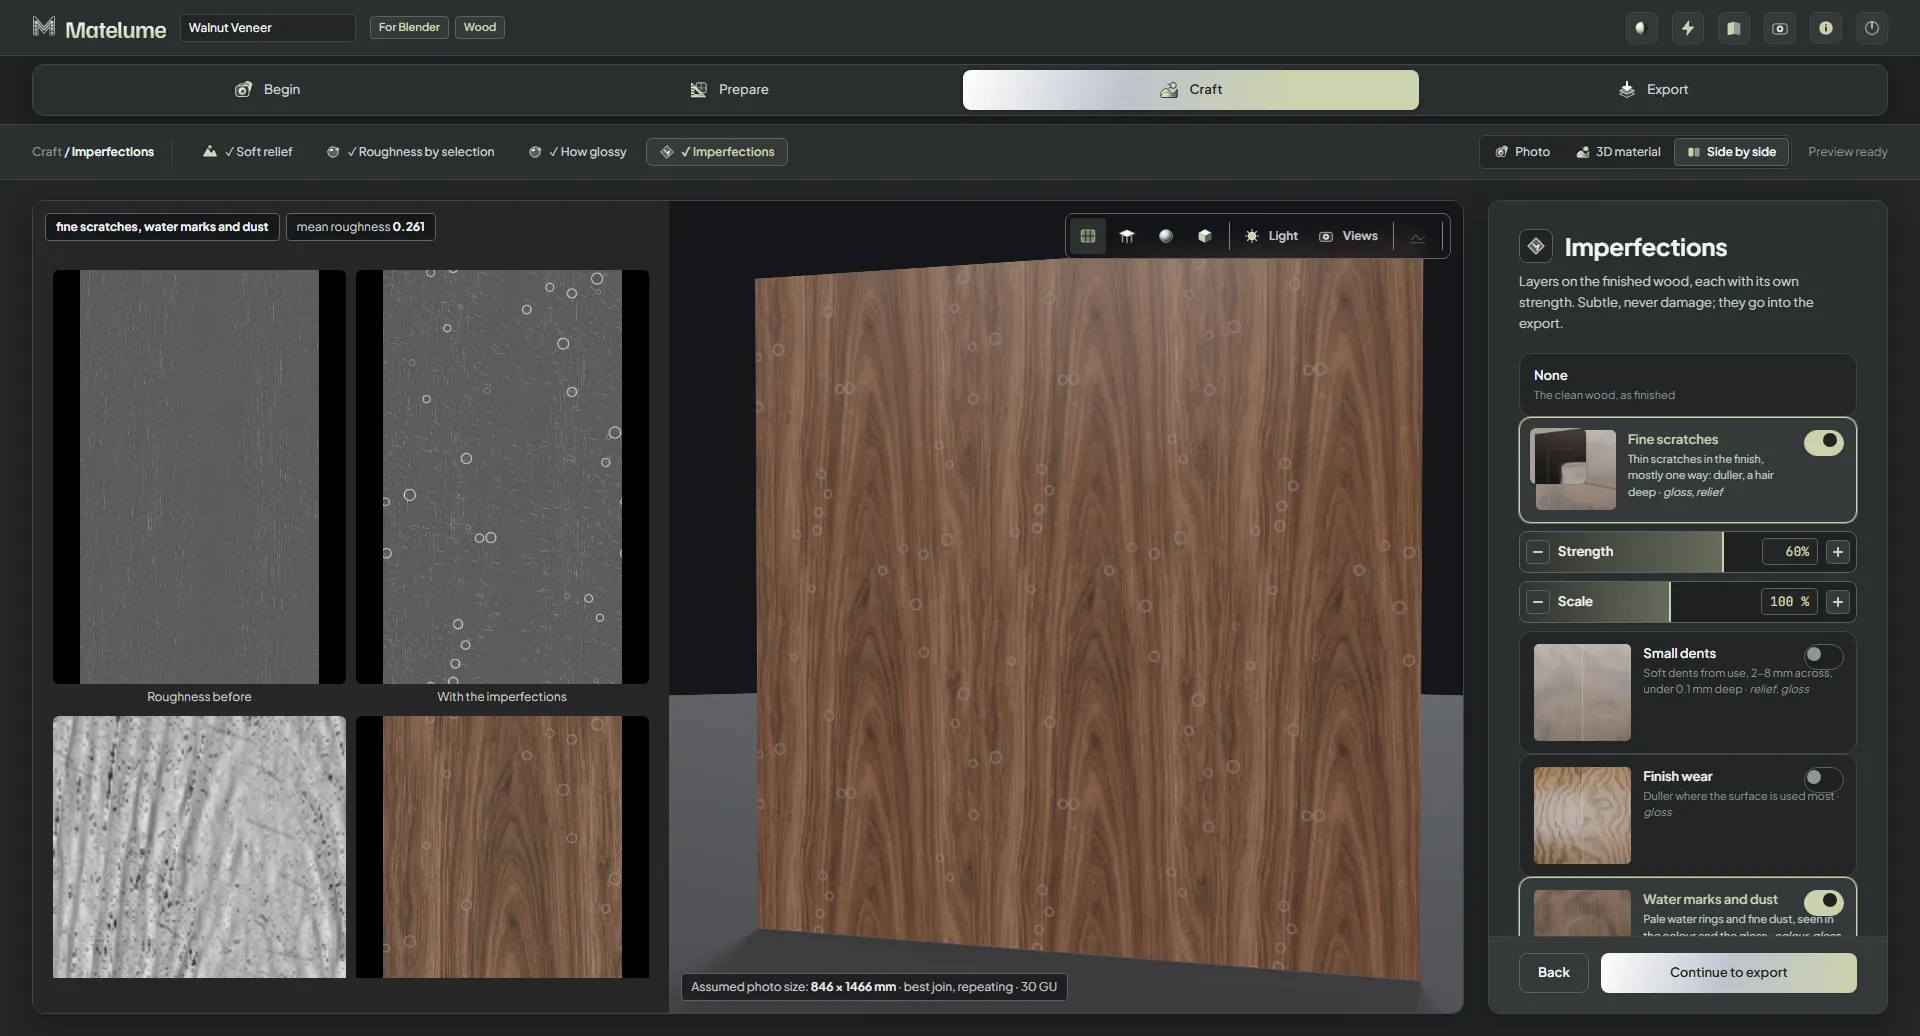
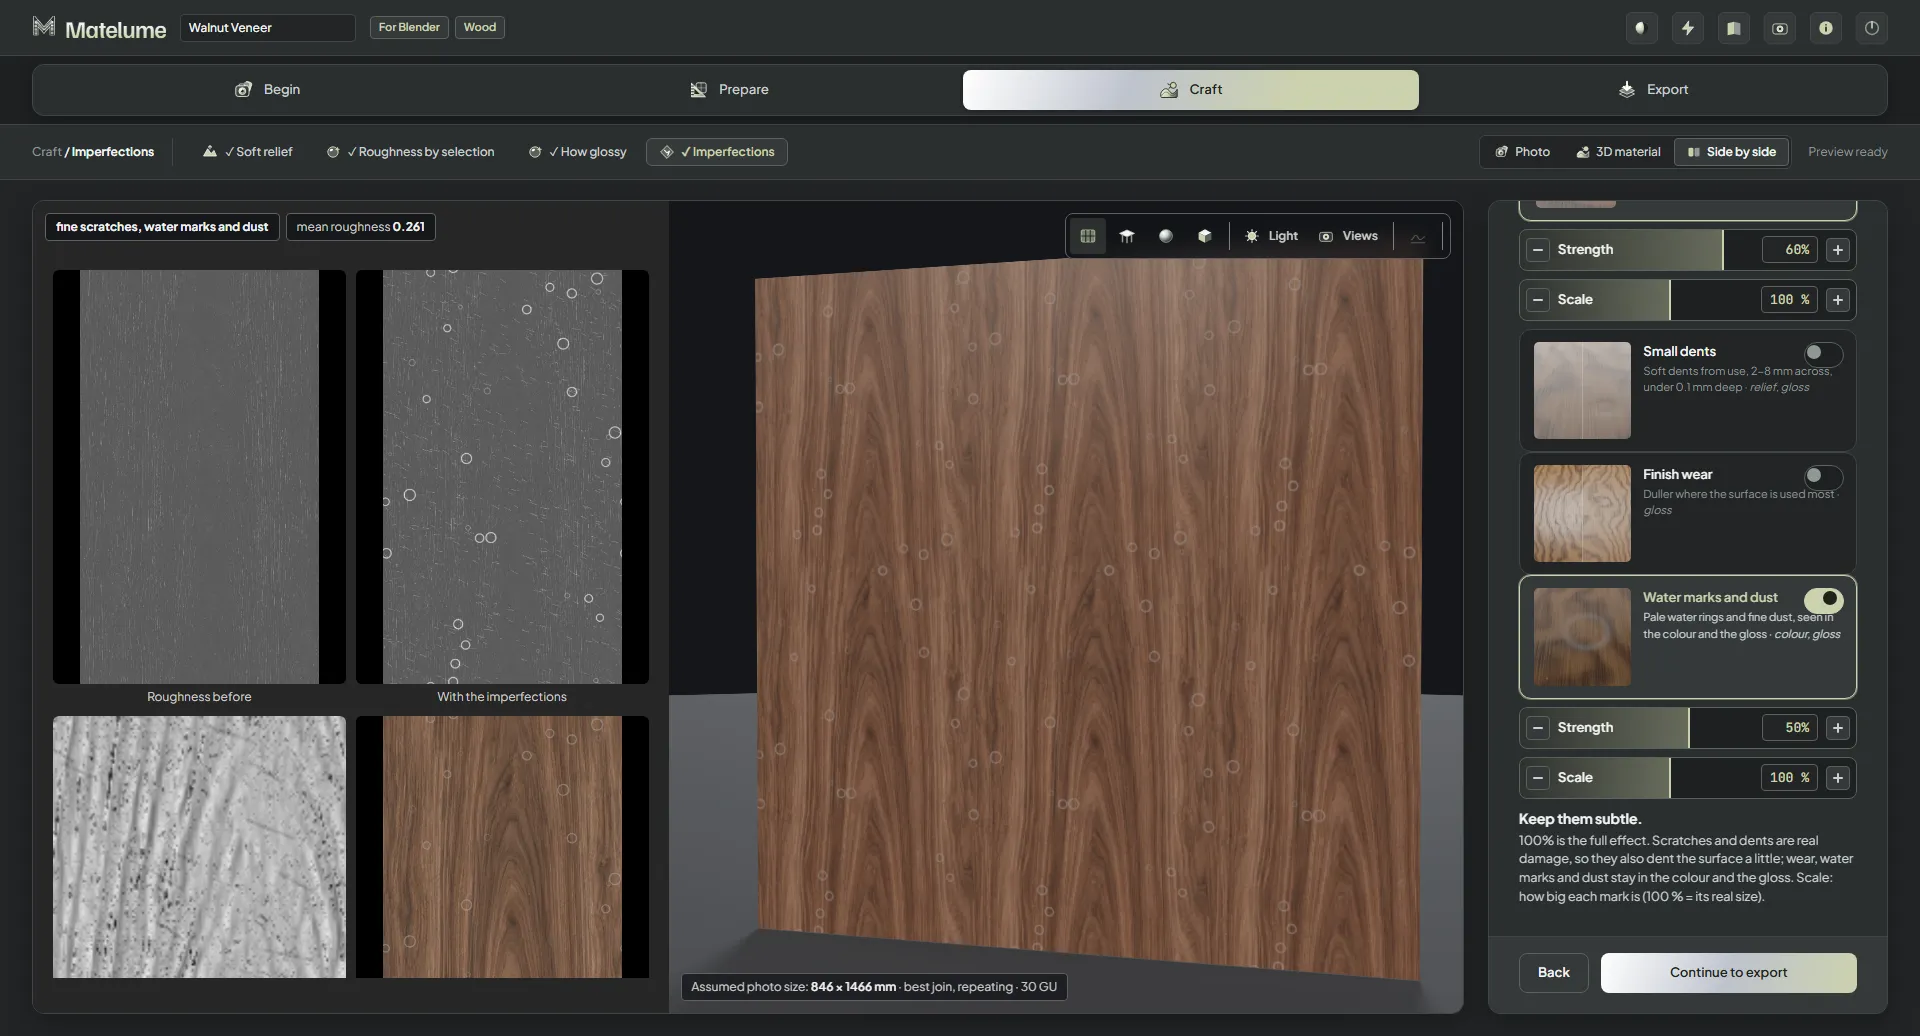
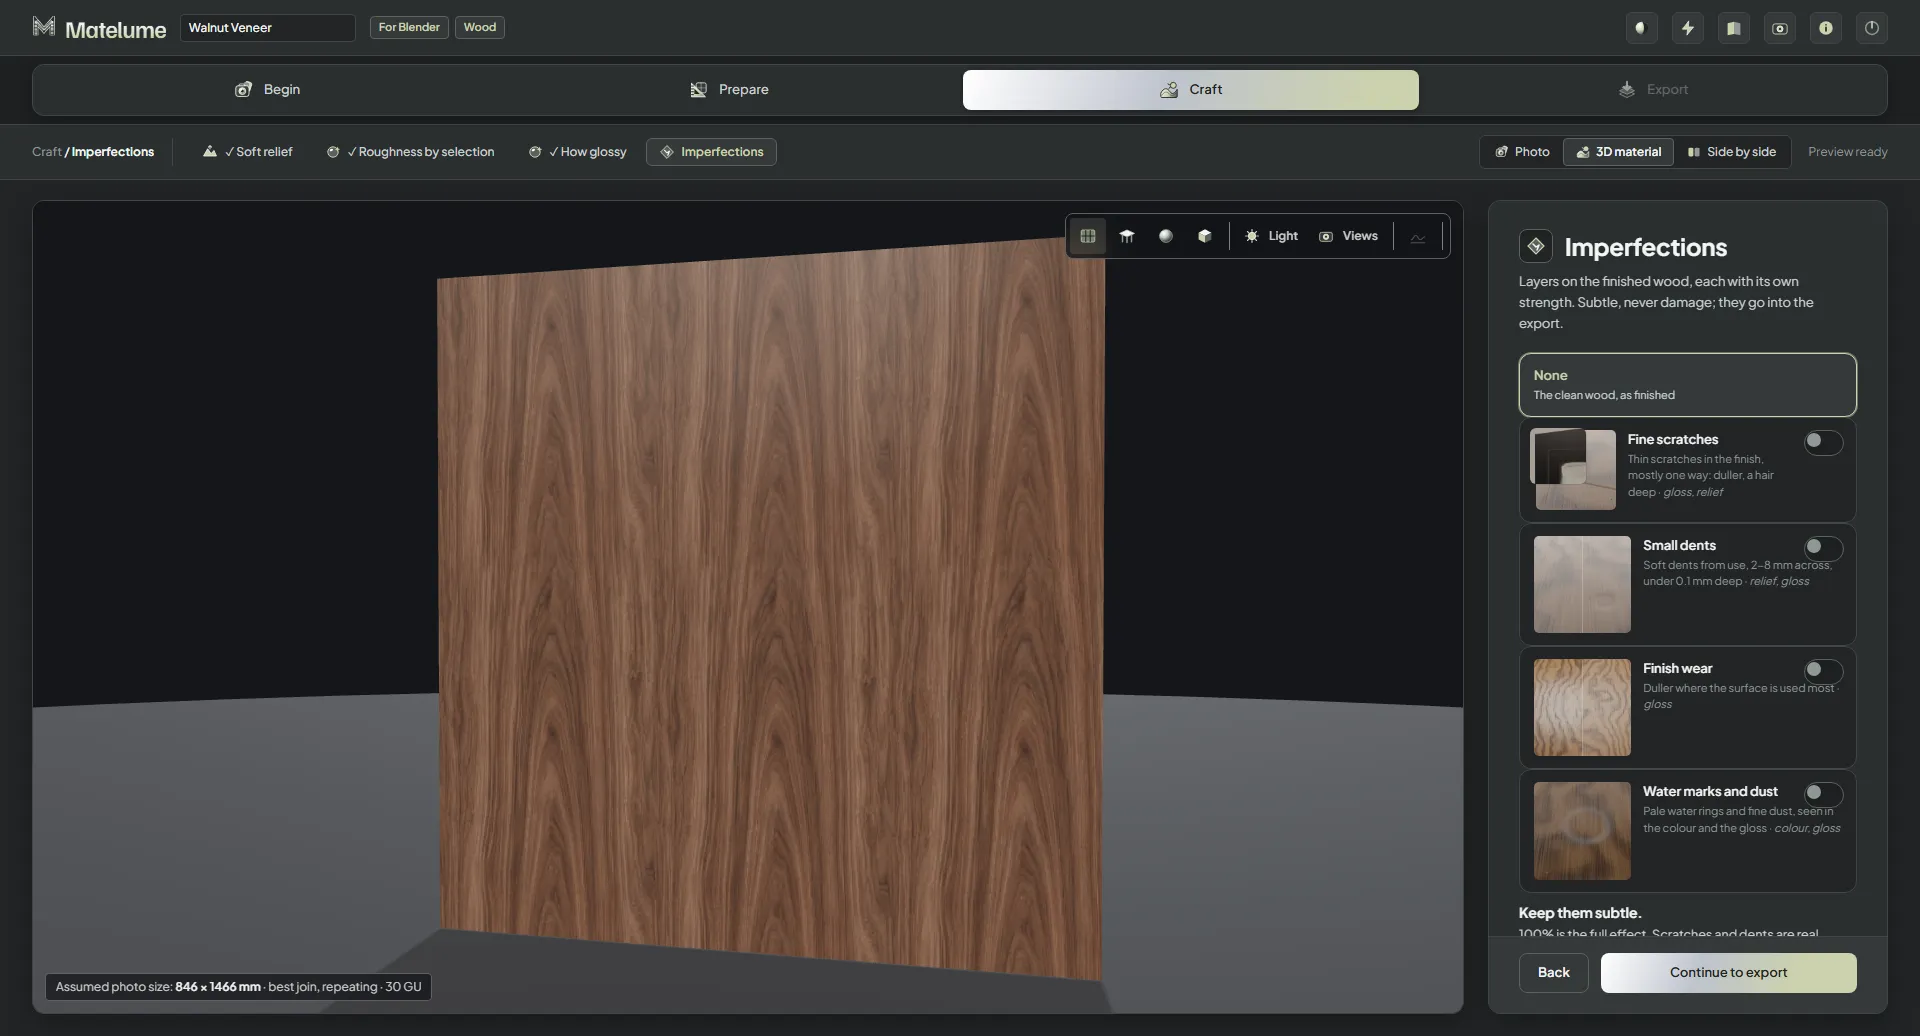
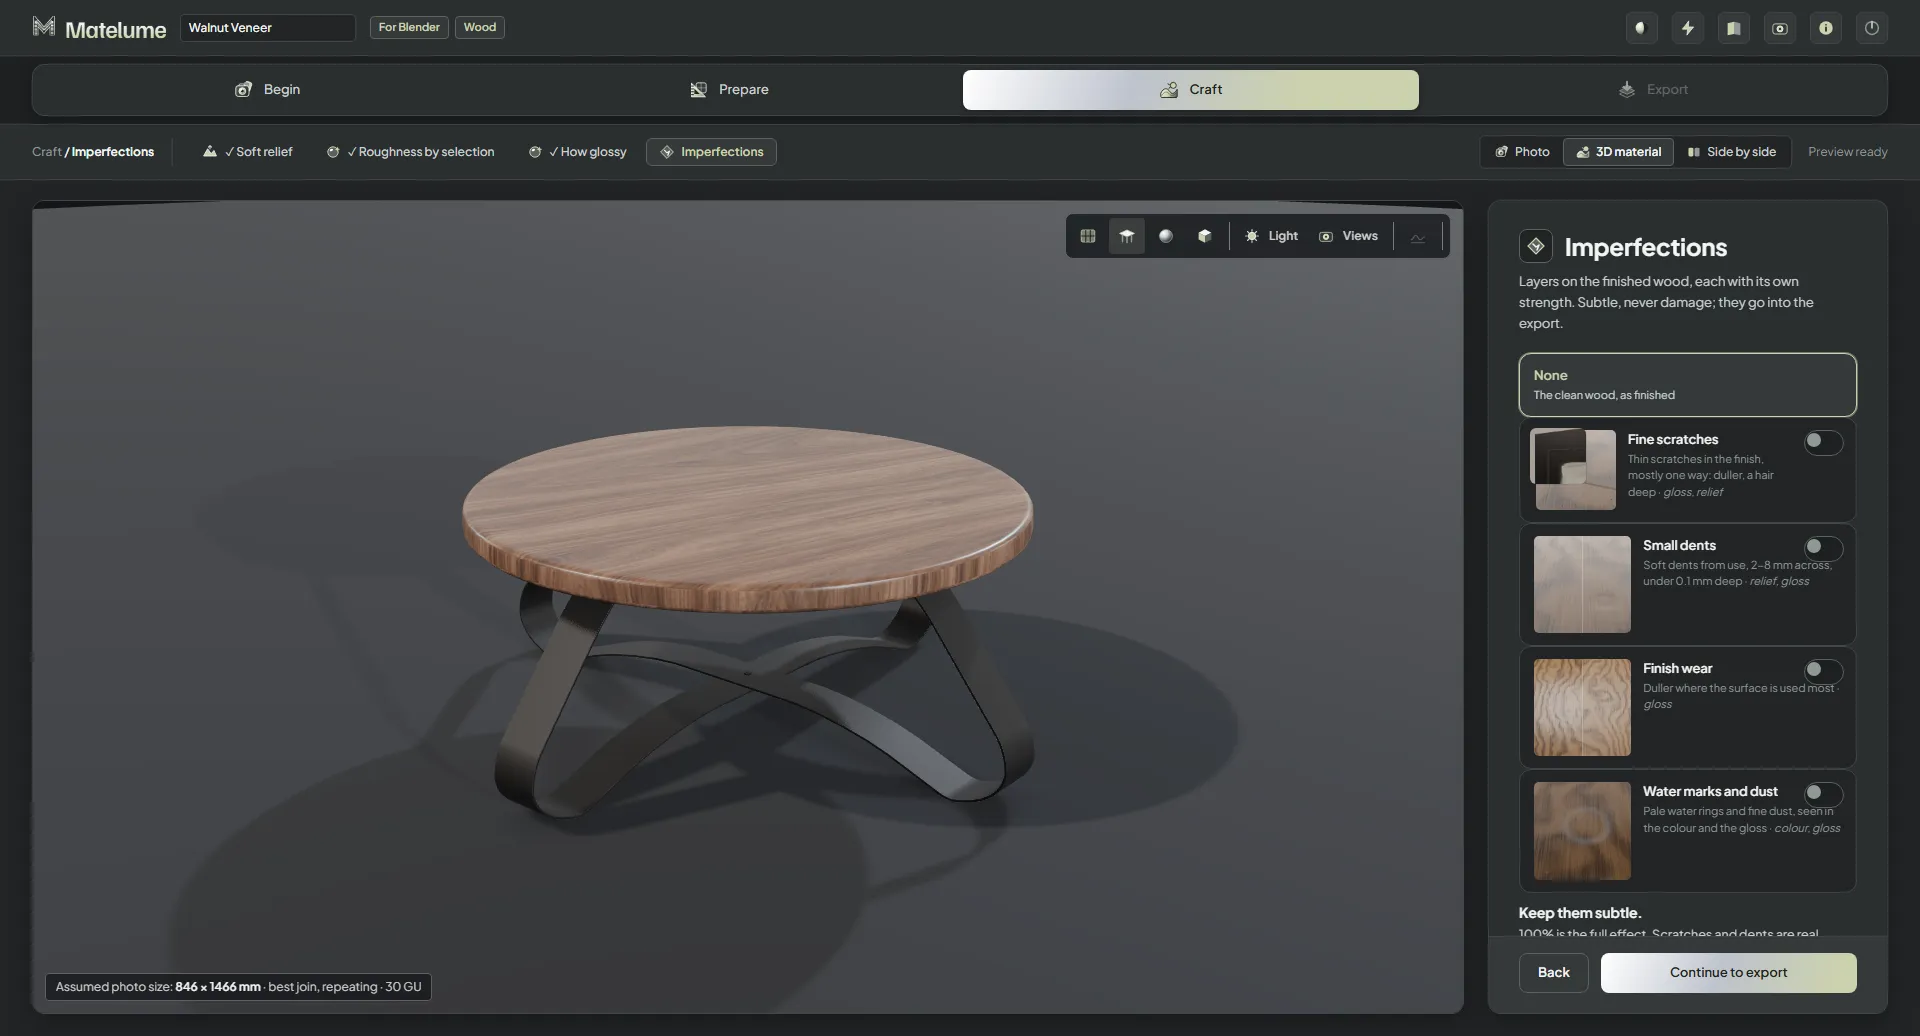
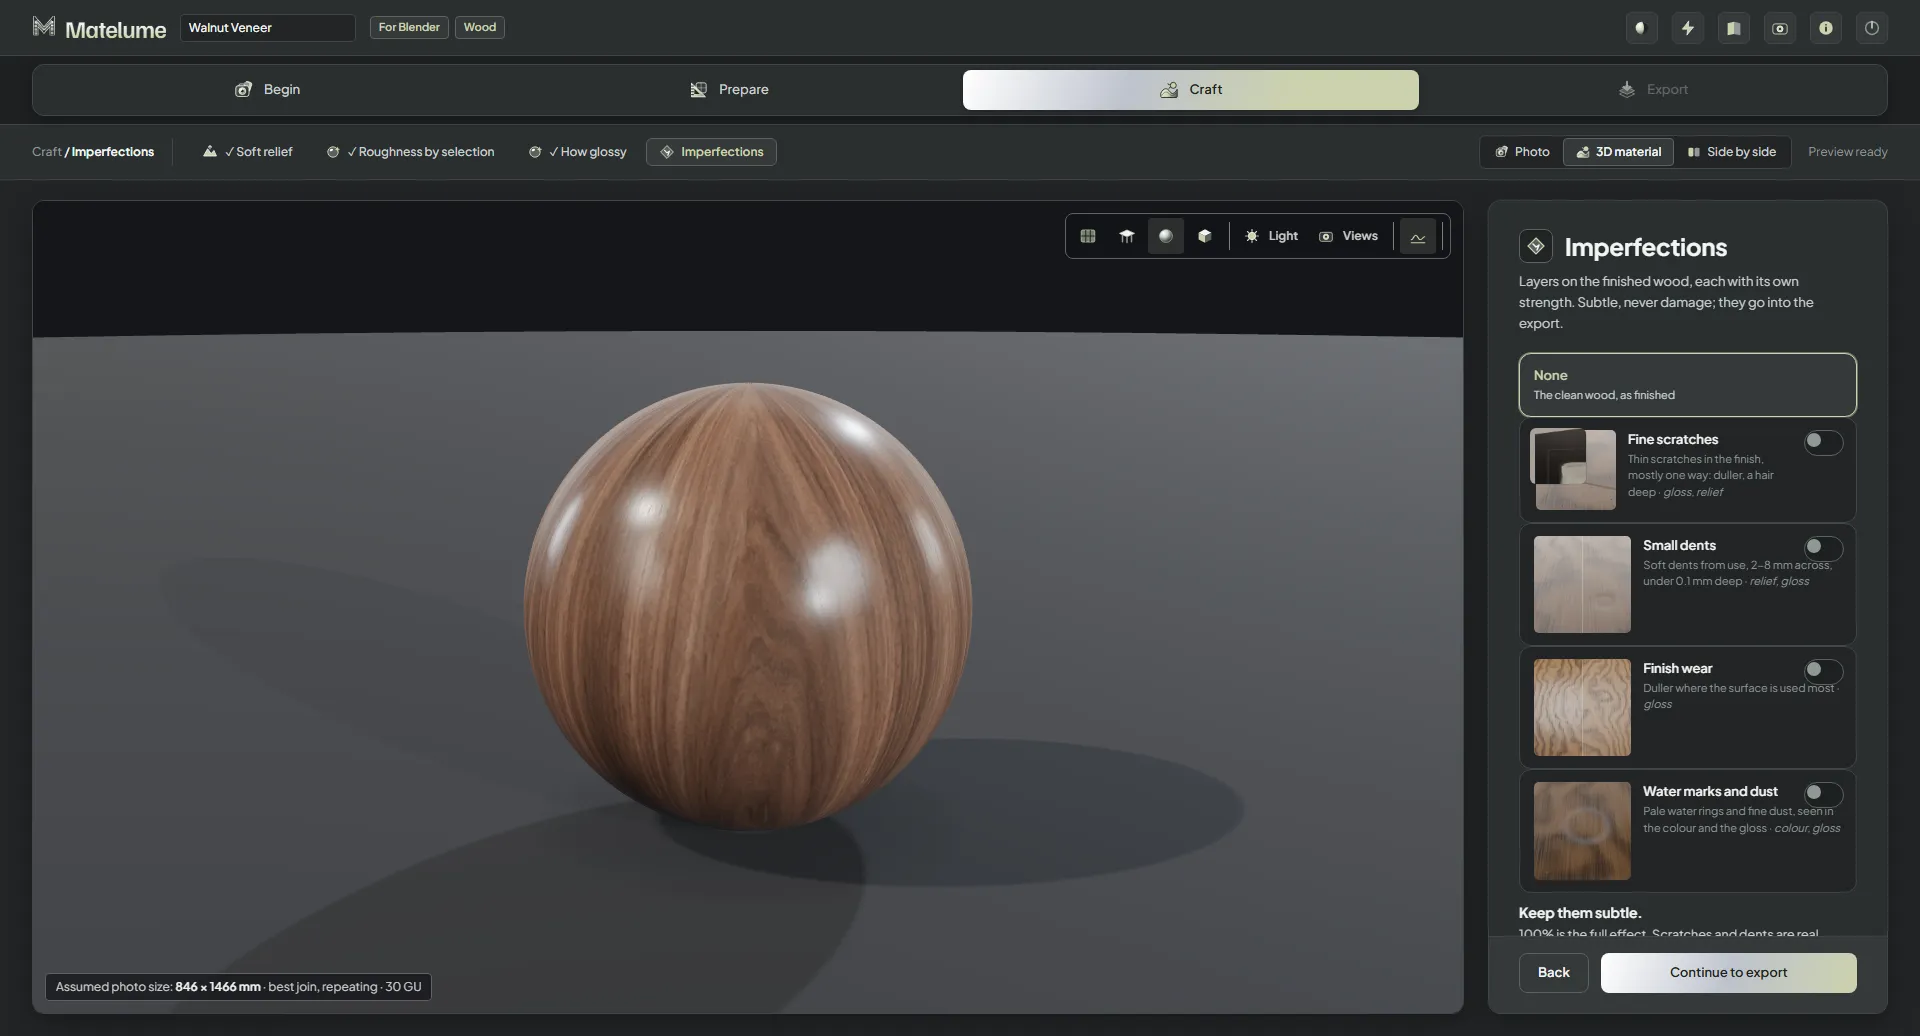
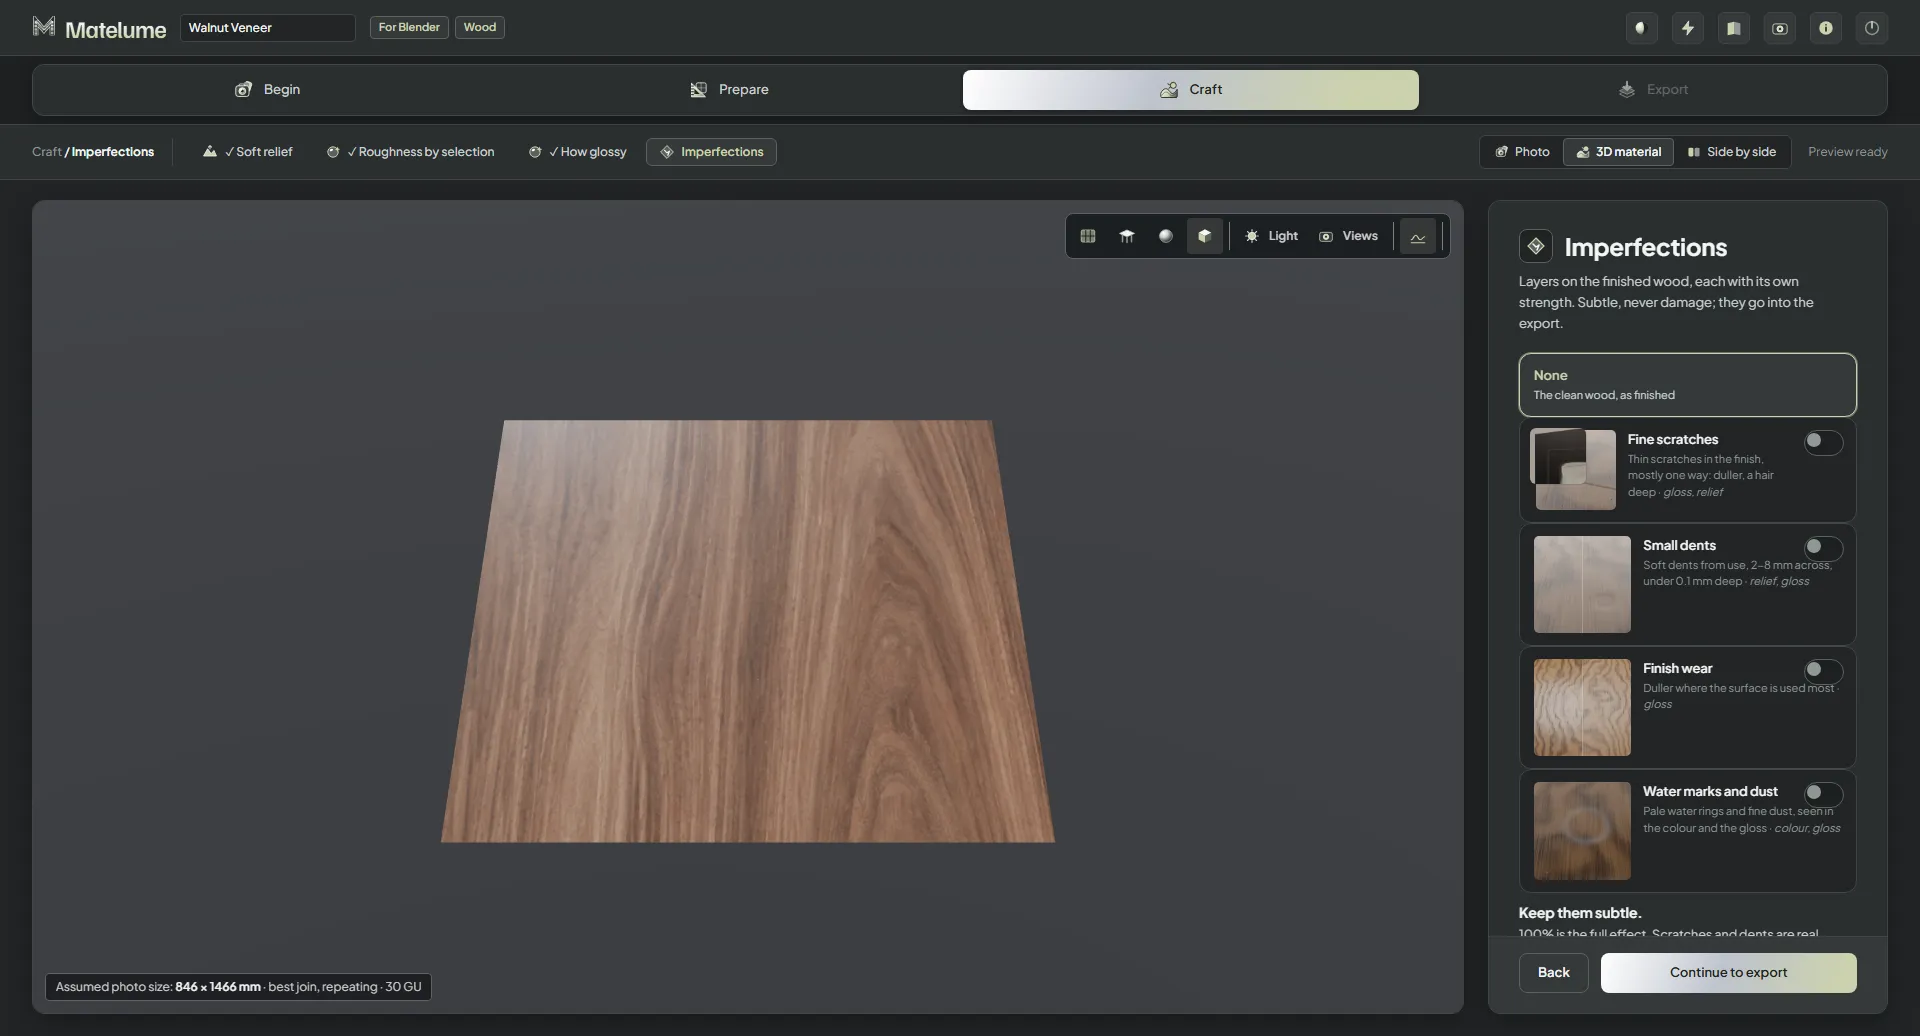
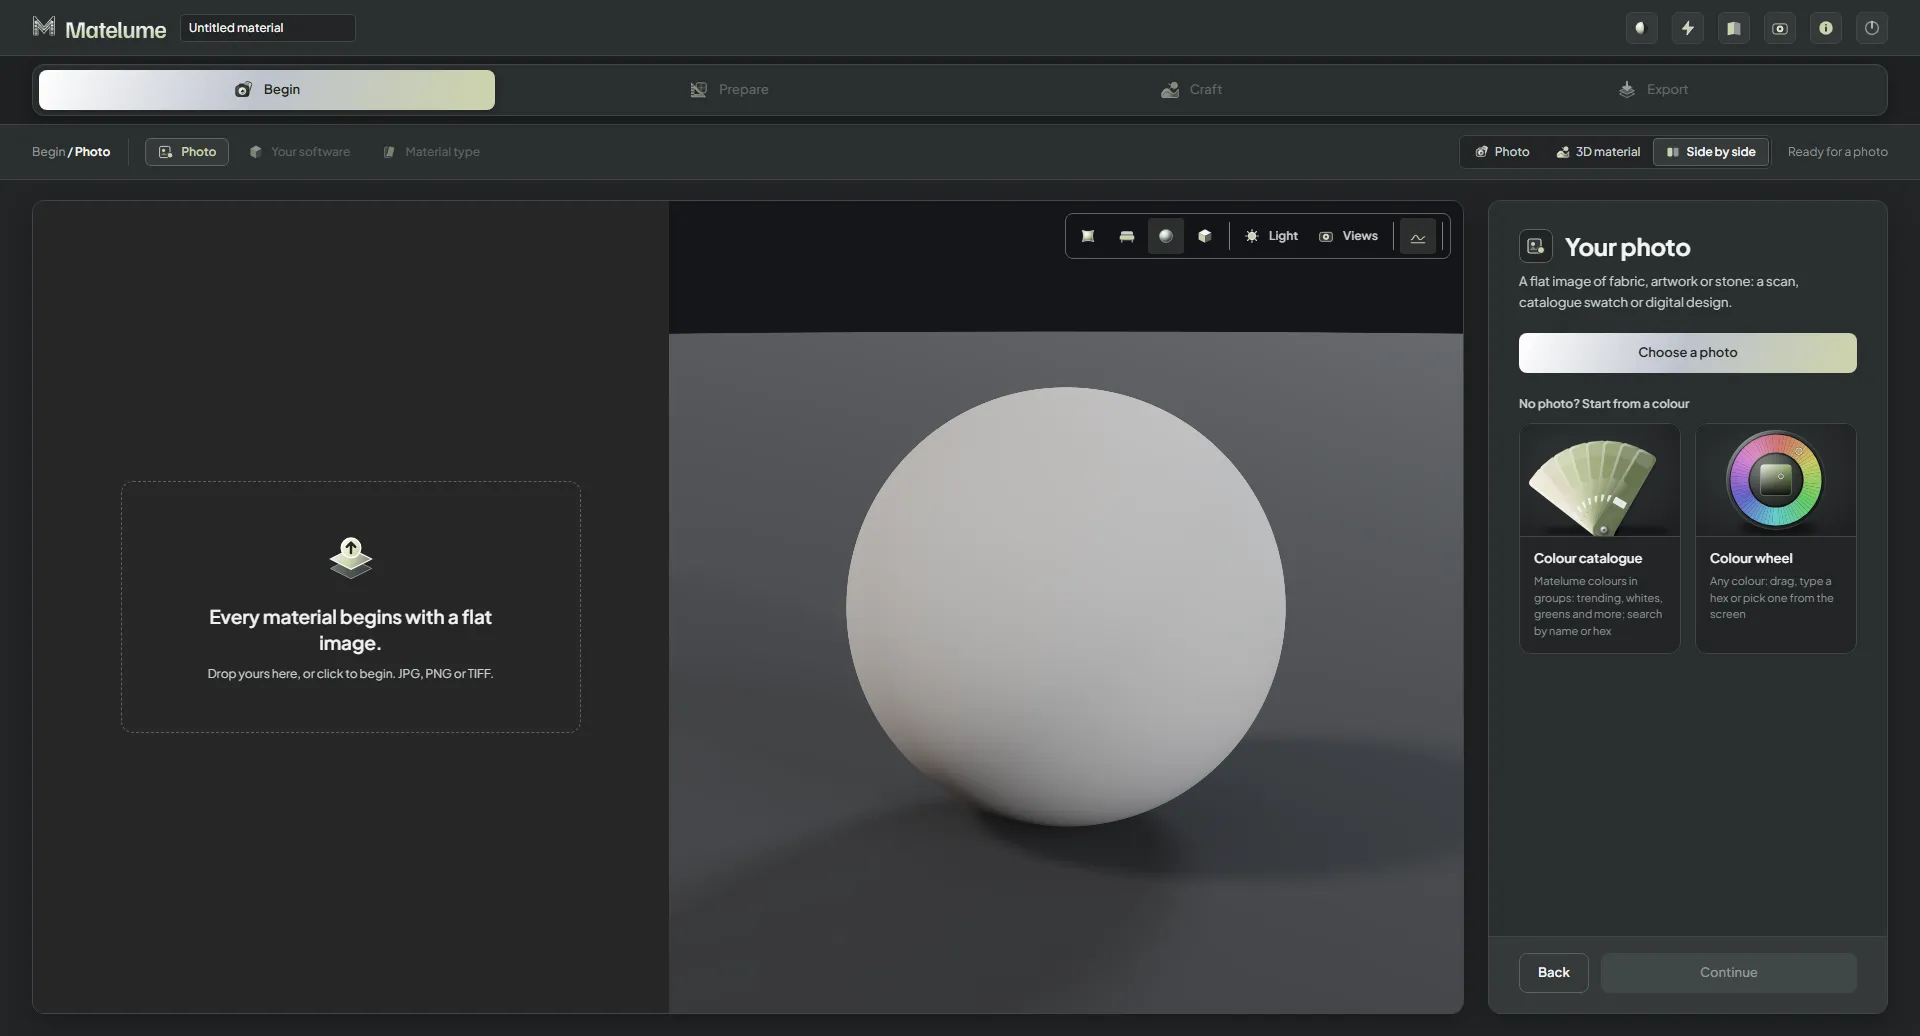
Matelume before anything is chosen: the empty start screen with a drop zone for a flat image and the 3D sphere waiting.The photo step with "Walnut veneer.png" added: the photo on the left and the walnut on the 3D sphere on the right.The Your software step: pick the program the maps are for, here Blender.The Material type step with Wood chosen; the 3D view shows a veneered wall.The Real size step: how wide the veneer really is, with quick size cards and the photo shown at true scale.Real size with "A wood slab, 90 cm wide" picked; the wall in the 3D view follows the new size.The Seamless step with Best join: the sheet kept slider and the 2 x 2 test where the joins follow the grain.Seamless set to No seamless, so the sheet is used once without any join.The Soft relief step with Pores + grain: a gentle relief seen in a raking light on the left.Soft relief changed to Open pores only; the close-up shows the pores and the wall stays unchanged.Roughness by selection: the pores and the grain lines can be duller or glossier; the colour and roughness pictures sit side by side.Roughness by selection set to Open-pore lacquer, shown with the roughness picture.How glossy with Oil, 8 gloss units: a natural, almost matt wood.How glossy with Satin lacquer, 30 gloss units, and the 3D wall showing a soft sheen.How glossy with High gloss, 85 gloss units: the wall in the 3D view reflects the room.The Imperfections step: None, Fine scratches, Small dents, Finish wear and Water marks and dust, each with a picture and a switch.Fine scratches switched on at 60 %: thin scratches in the finish appear in the close-up.Fine scratches and Water marks and dust both switched on, each with its own Strength and Scale.The Strength and Scale sliders under Water marks and dust, scrolled into view.The 3D view on its usual object, a veneered wall of walnut.The same walnut on a round table top with steel legs.The same walnut on a sphere in the 3D view.The same walnut on a flat swatch in the 3D view.The Export step: the summary of your choices, the quality 2K, 4K or 8K, the folder and the Export the maps button.After exporting: the saved folder and the list of files, Color, NormalGL, Roughness, Displacement, GrainMask and the .json.Send to Blender after the export: on the selected objects, a wall panel, a table top or a sphere.
Wall art
Turn an image into framed relief.
Follow the wall art workflow · 9 app views
Choosing the artwork in Matelume: how thick the paint stands off the canvas, shown from the side beside the painting on the wall.Choosing where the paint stands up: The figure is selected and the parts that stand up show in colour on the painting.Setting the real size of the artwork: 100 cm wide, with quick picks and the stretcher depth.Ageing the painting: uneven varnish, yellowed varnish and craquelure switched on, each with its own strength, with the maps before and after.Choosing what the raised paint is like: Palette knife selected among brushwork, bristle strokes, short dabs, dots and smooth poured paint, shown live at true scale.Choosing the quality of the artwork maps: 2K, 4K, 6K or 8K.Choosing the material type with Wall art selected, for a painting or print.Ageing the frame: worn edges and corners switched on with its strength, and the other frame and glass imperfections listed below.Choosing the frame: a flat frame with the shape, width and depth controls, and the sizes of the framed artwork.
Wall paint
Begin with a colour or a photo.
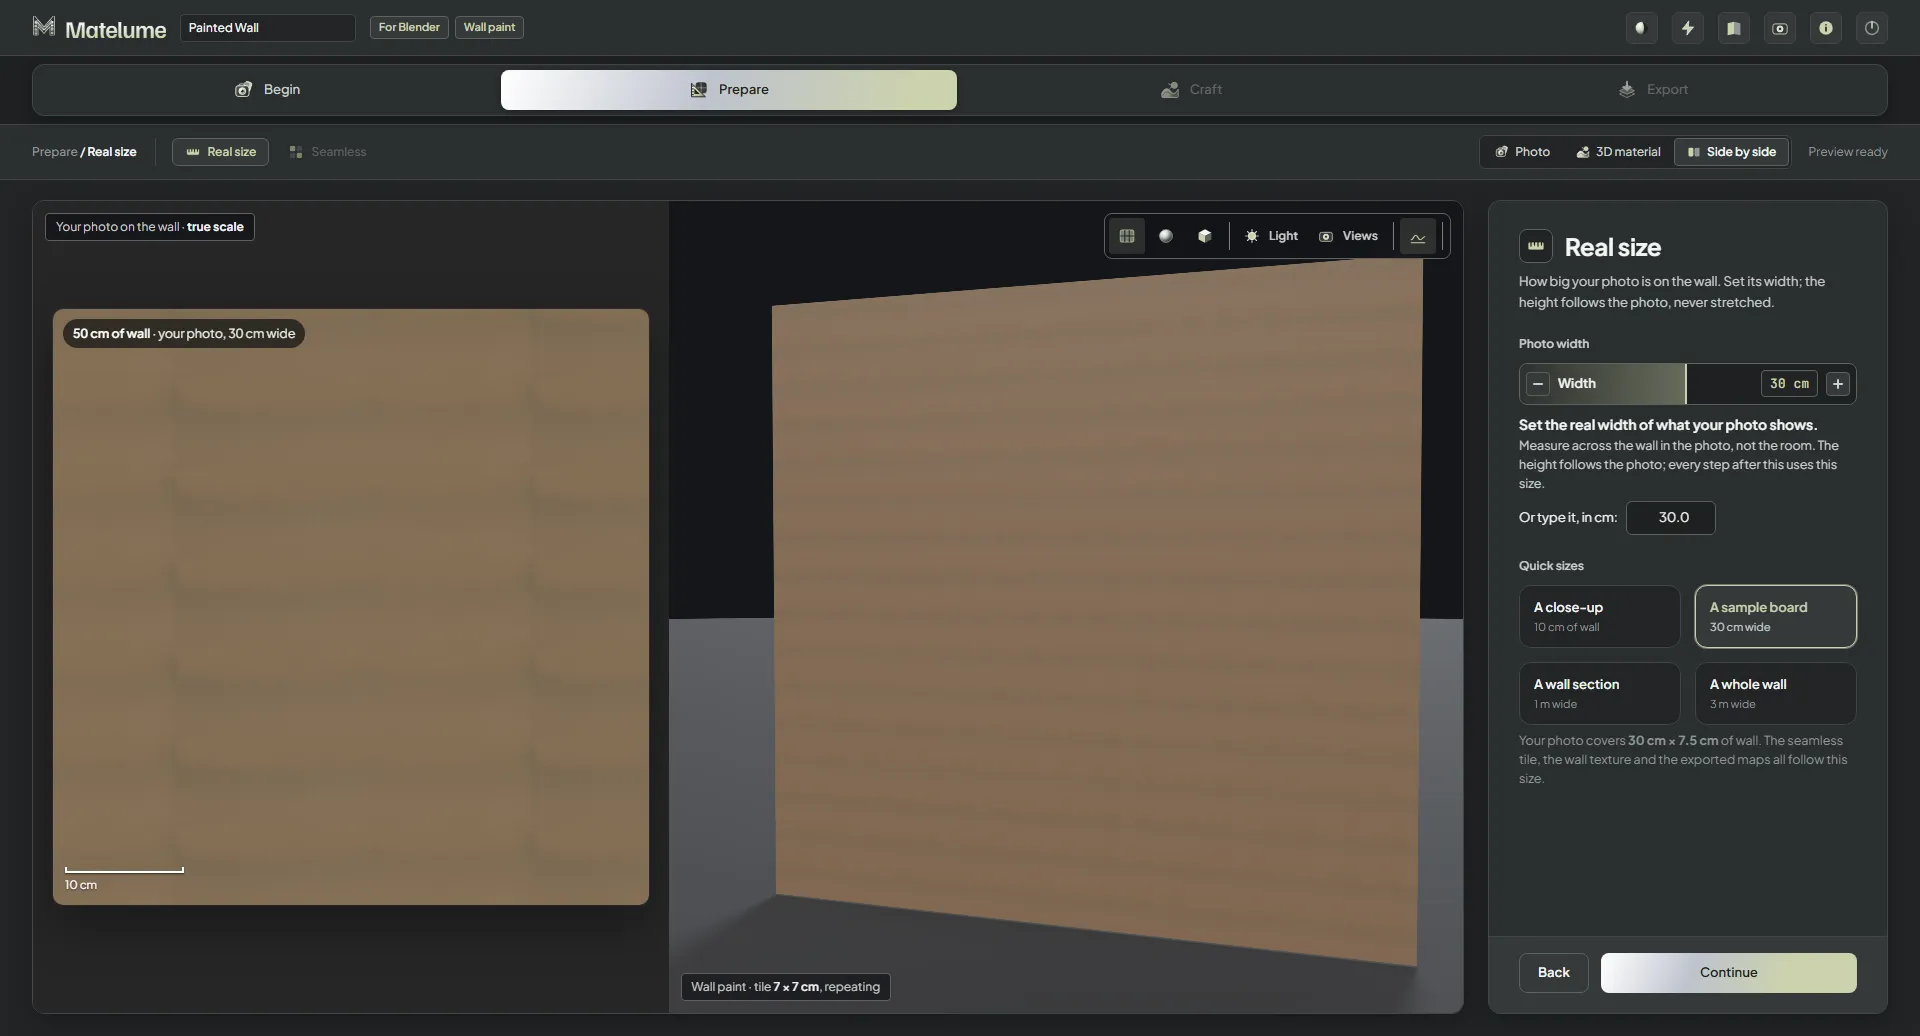
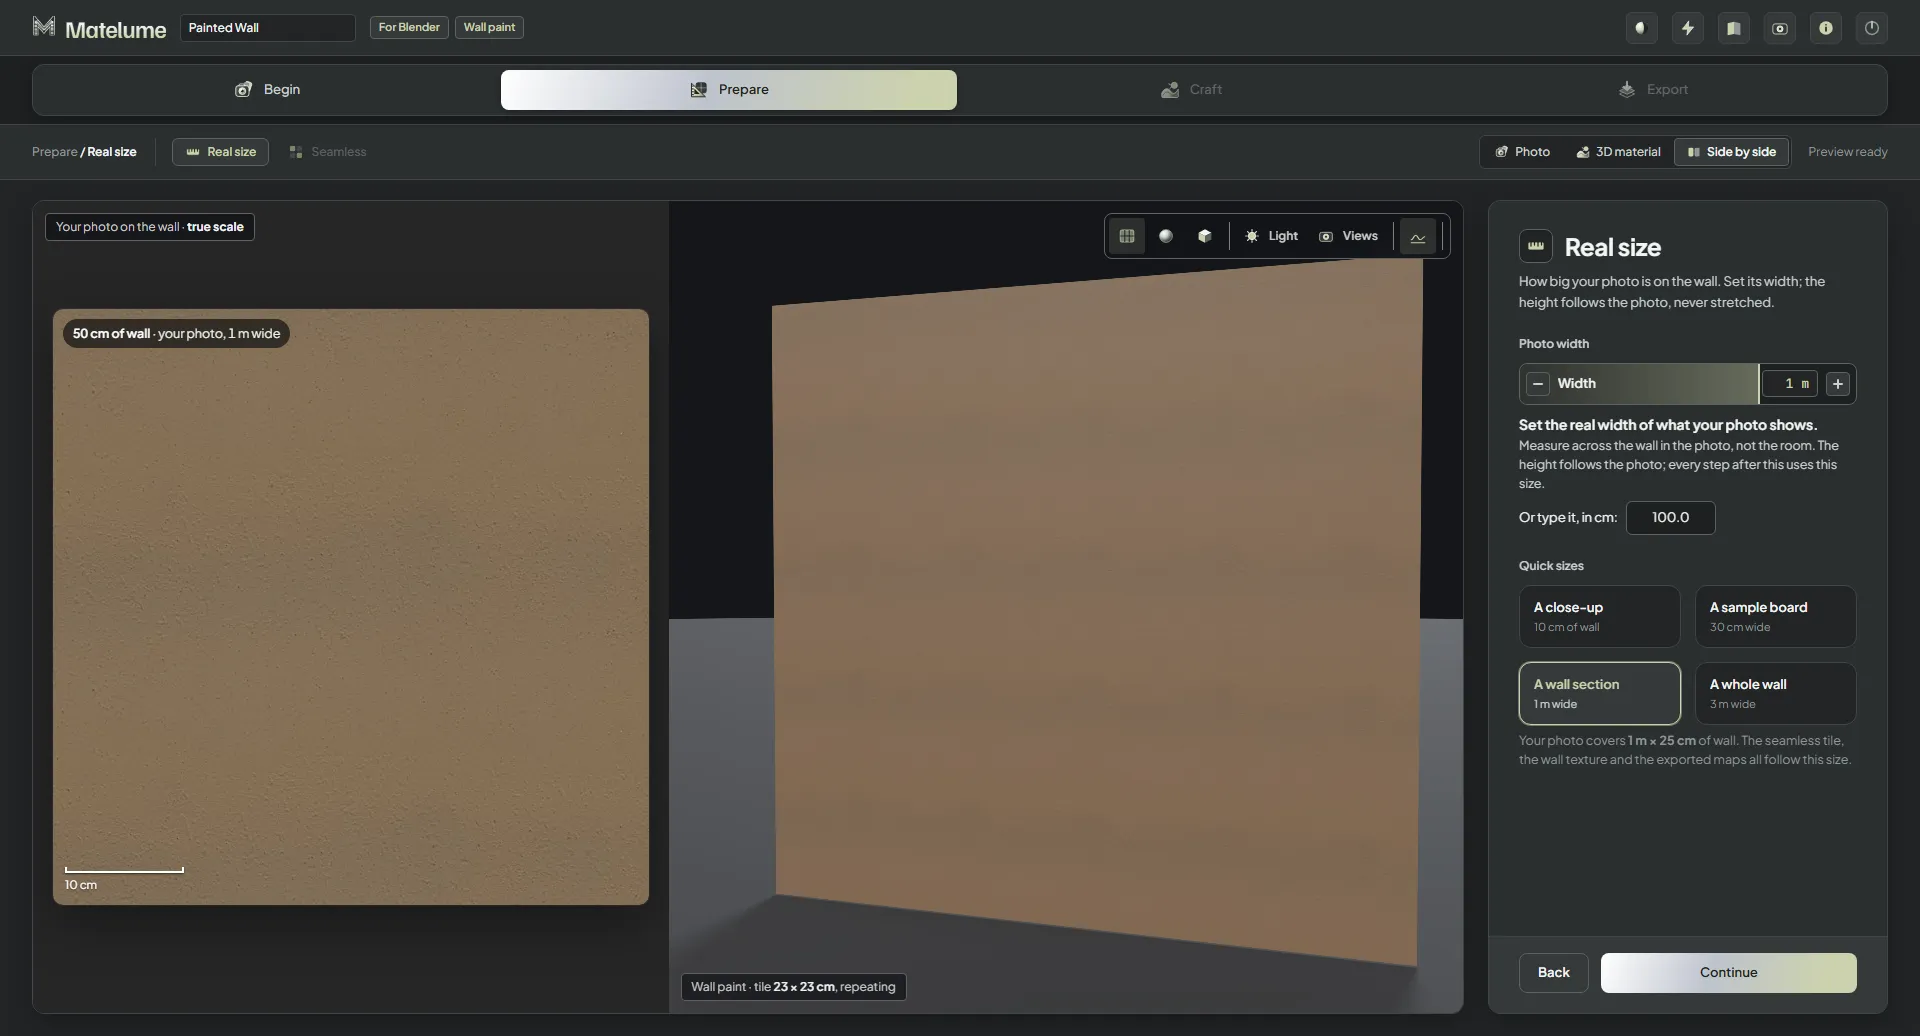
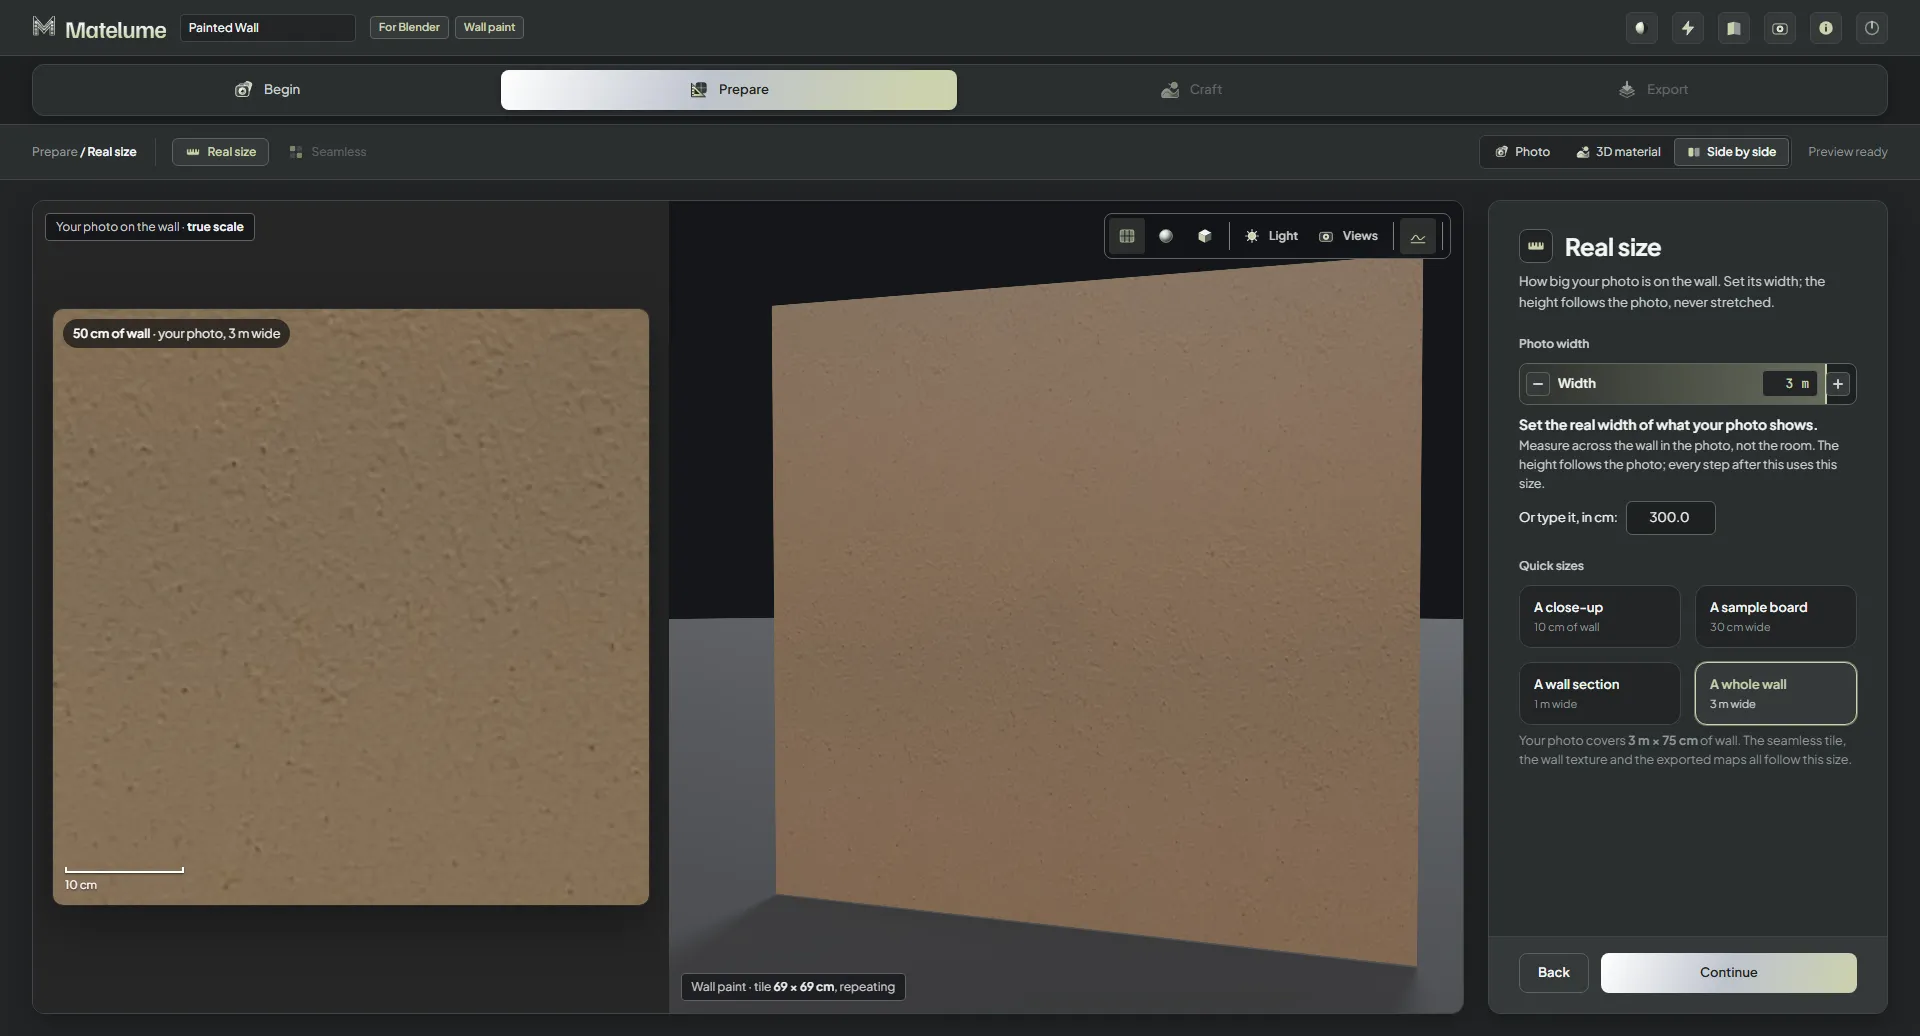
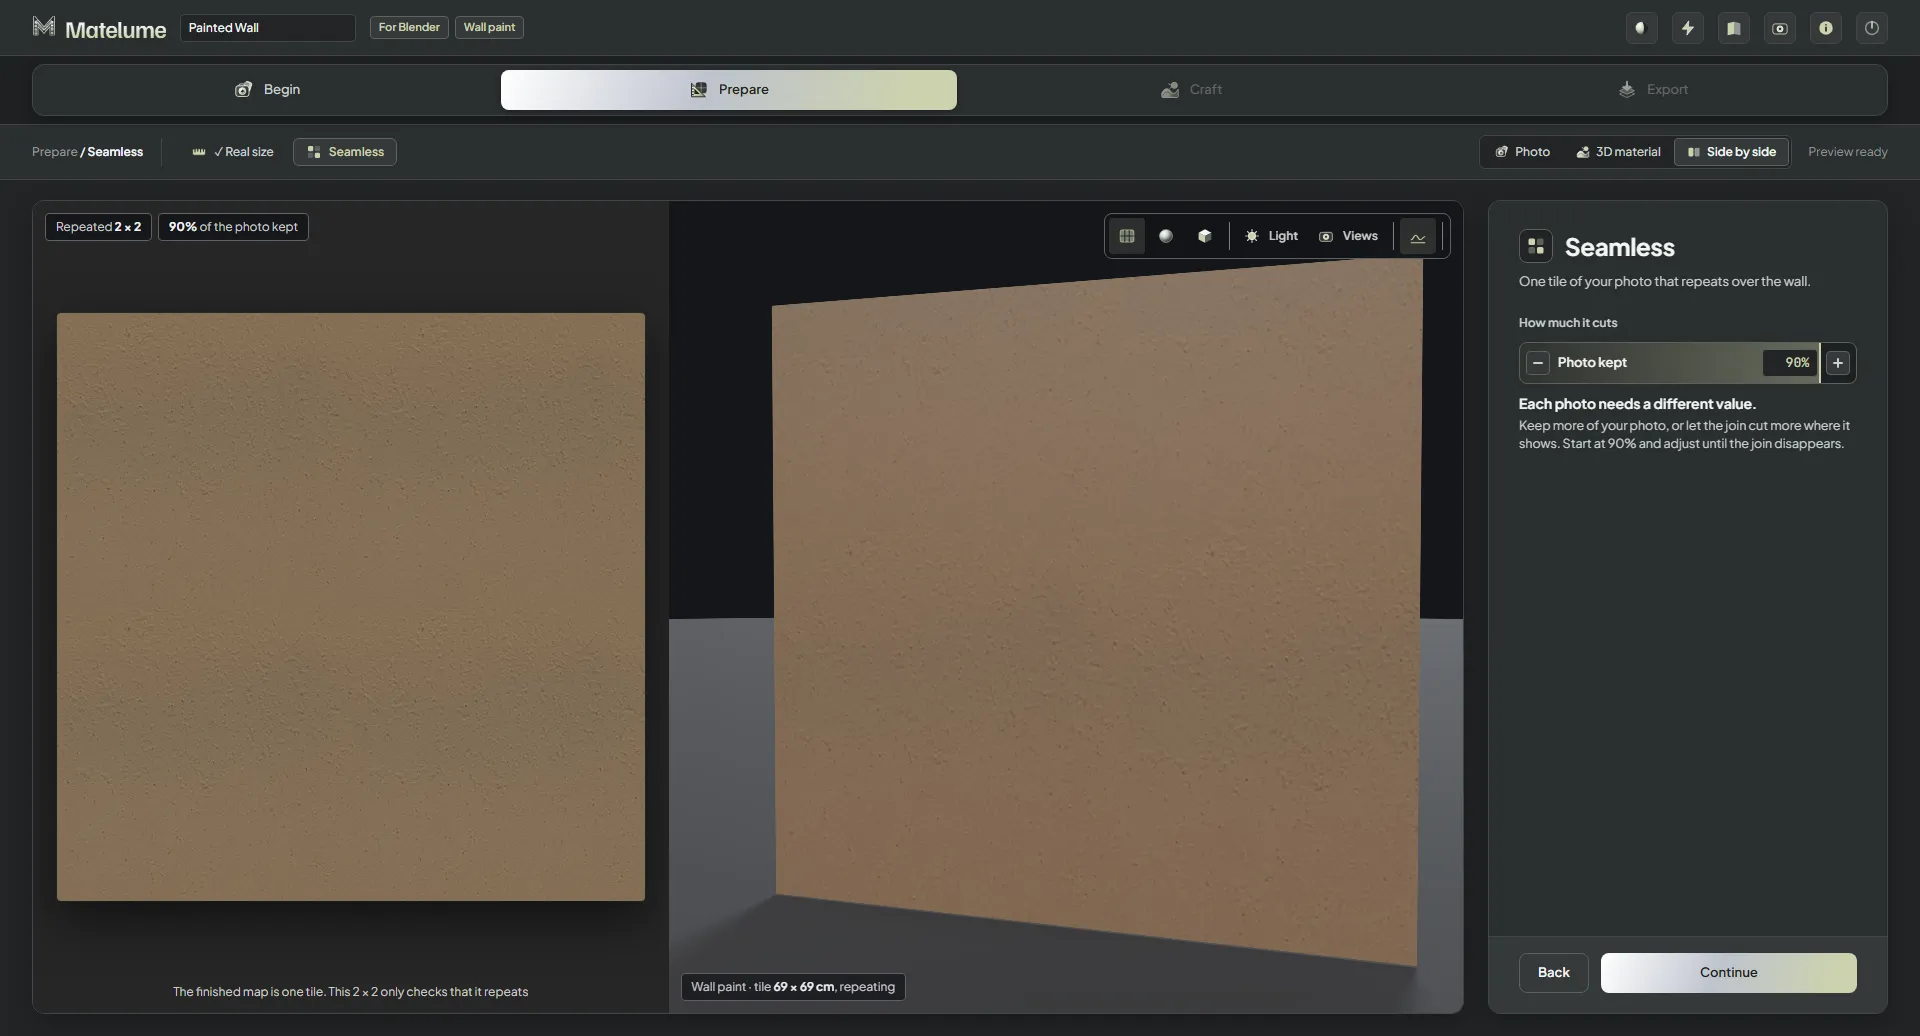
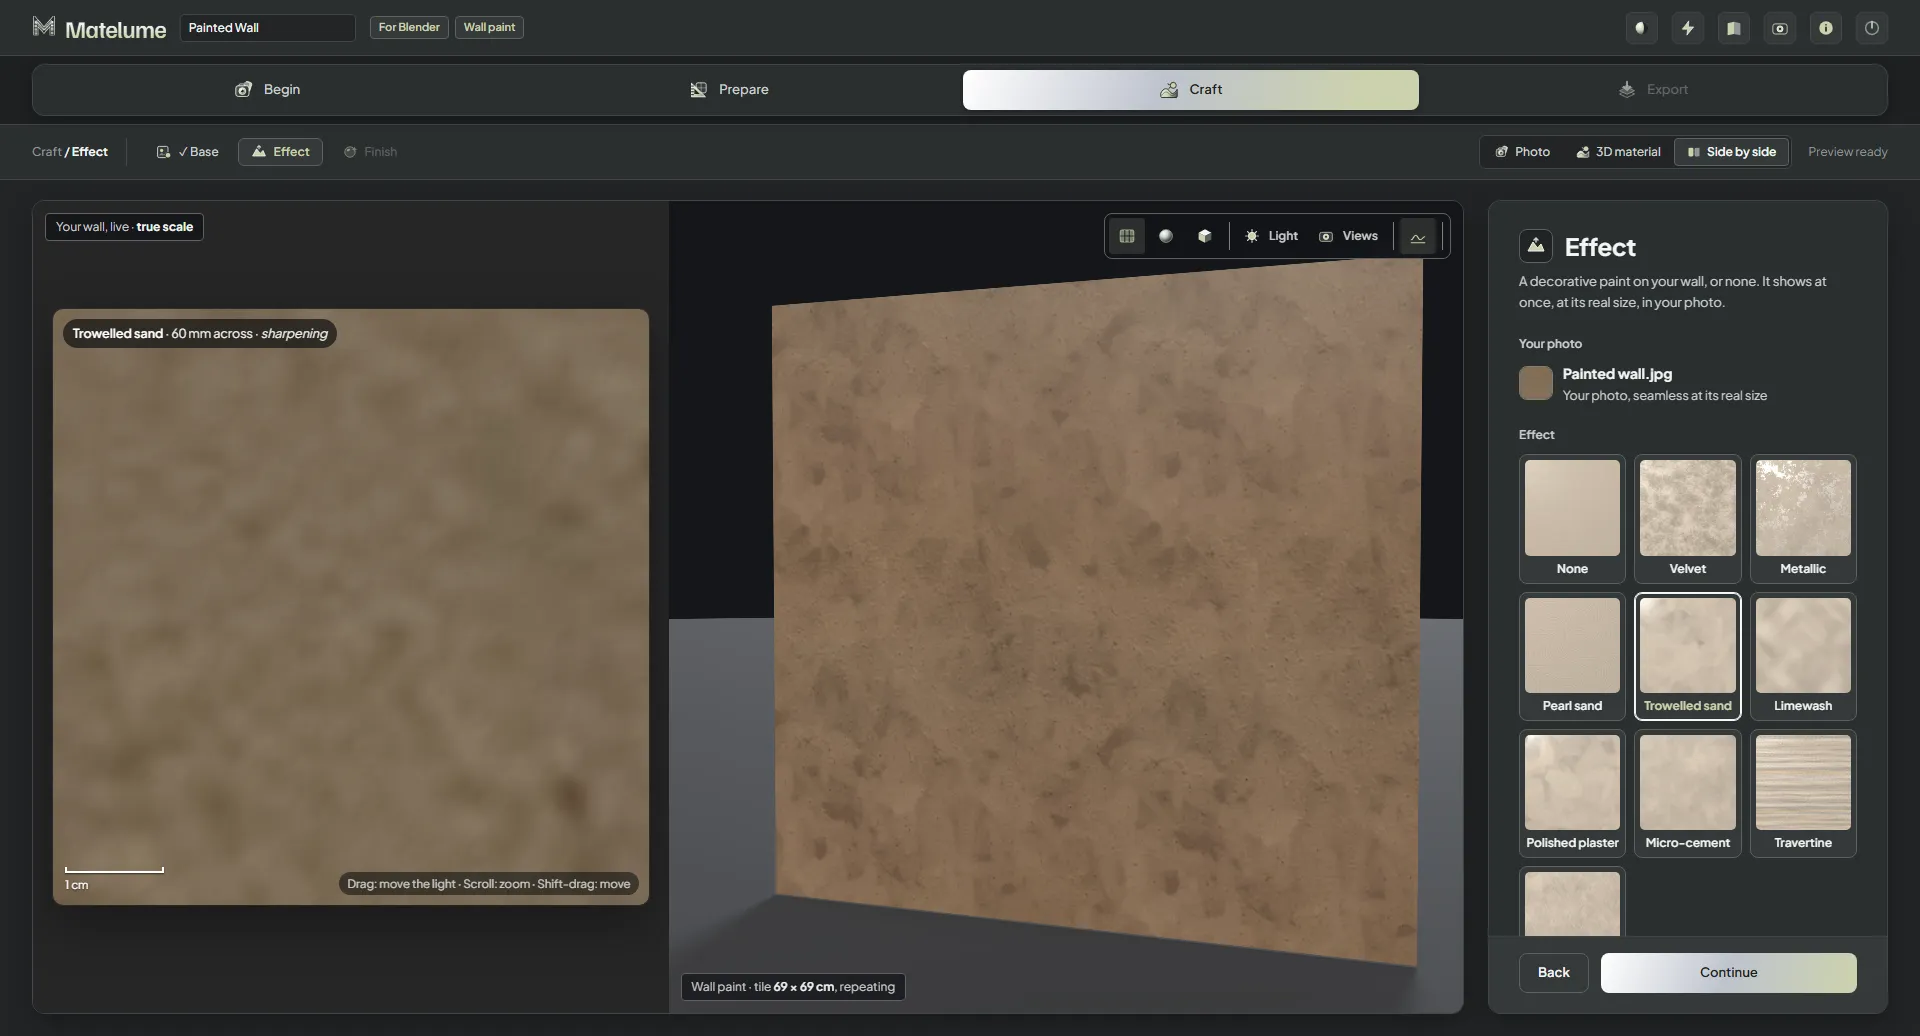
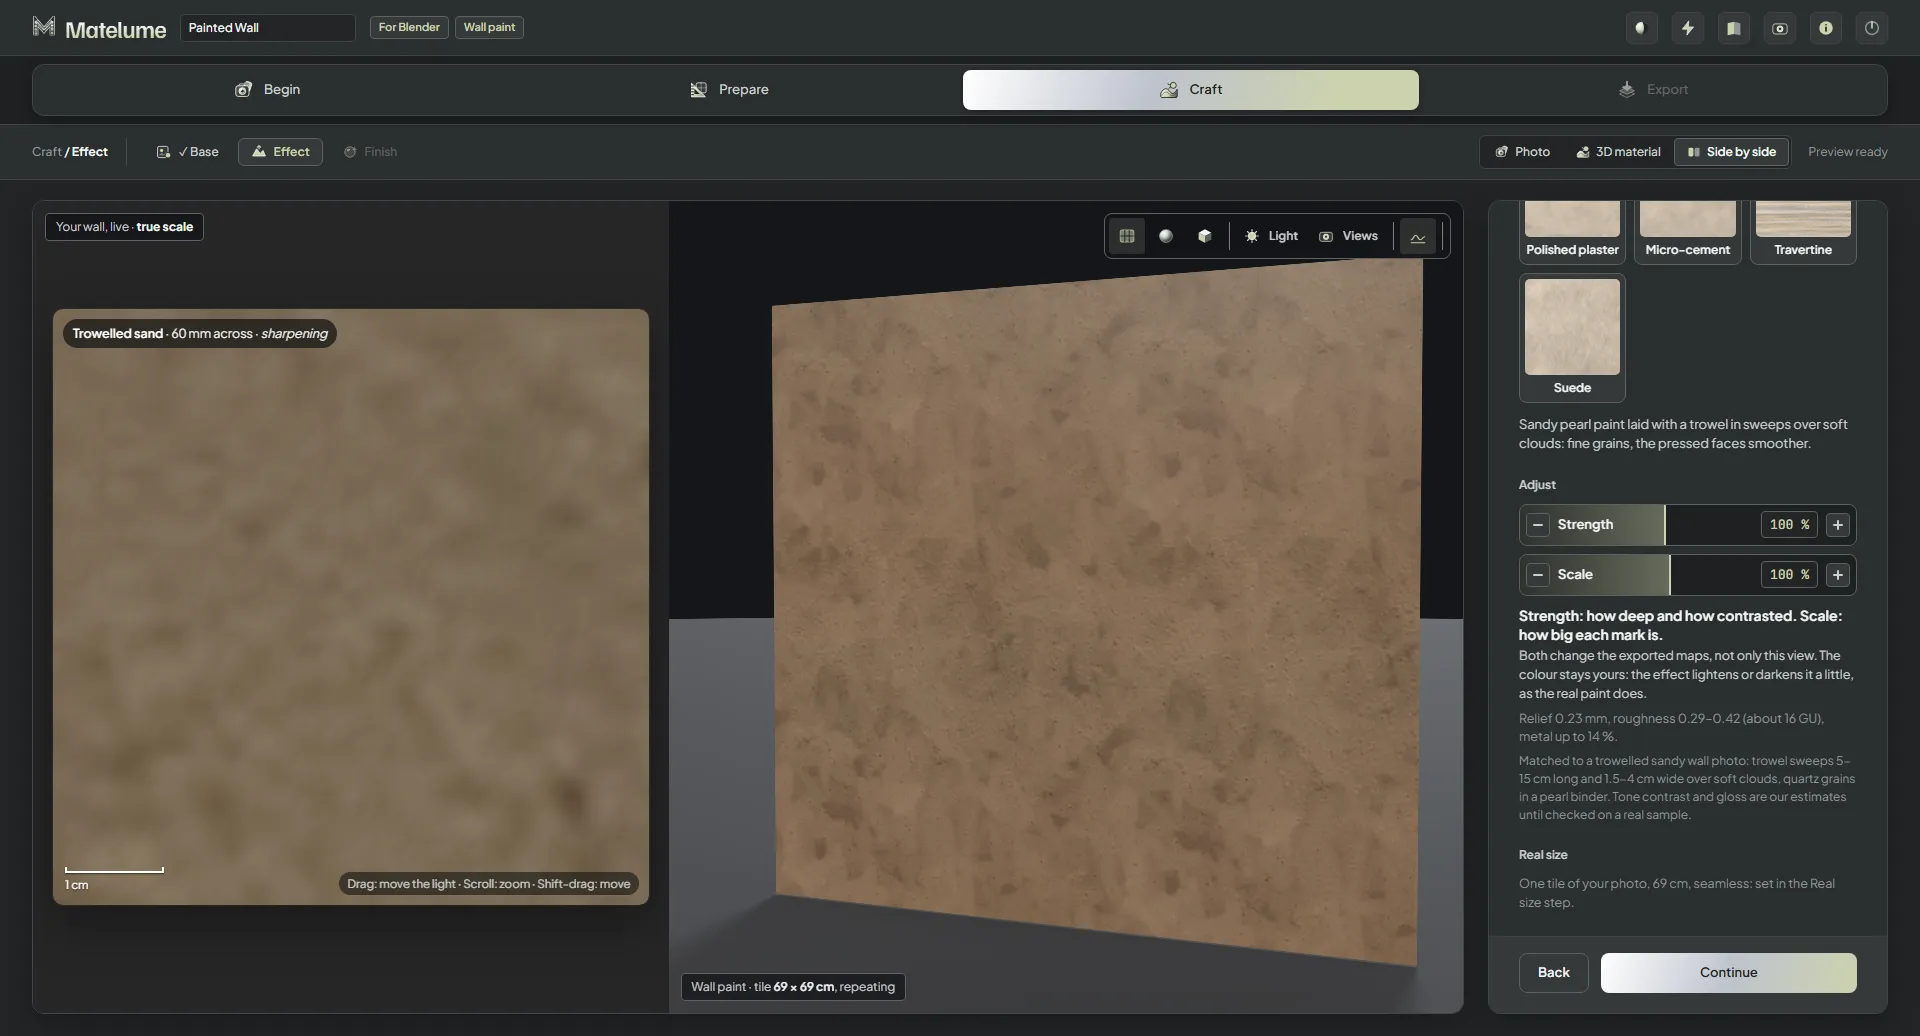
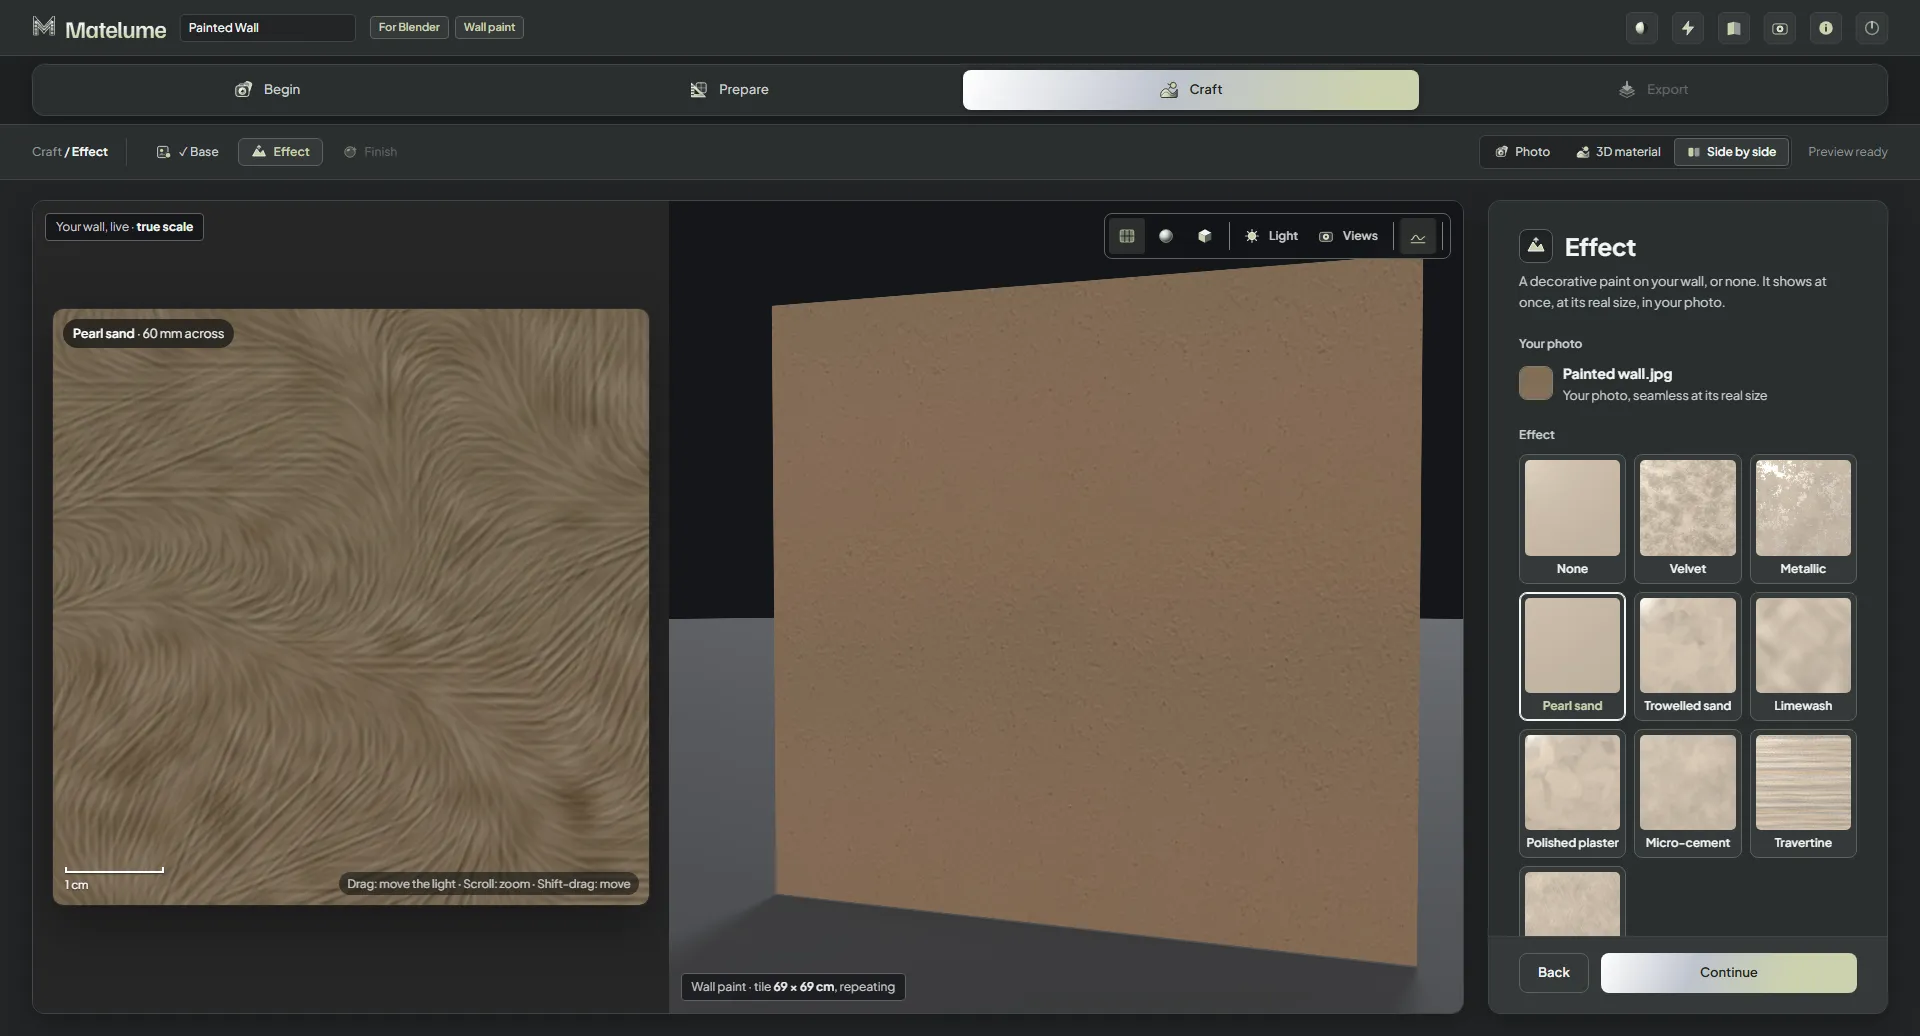
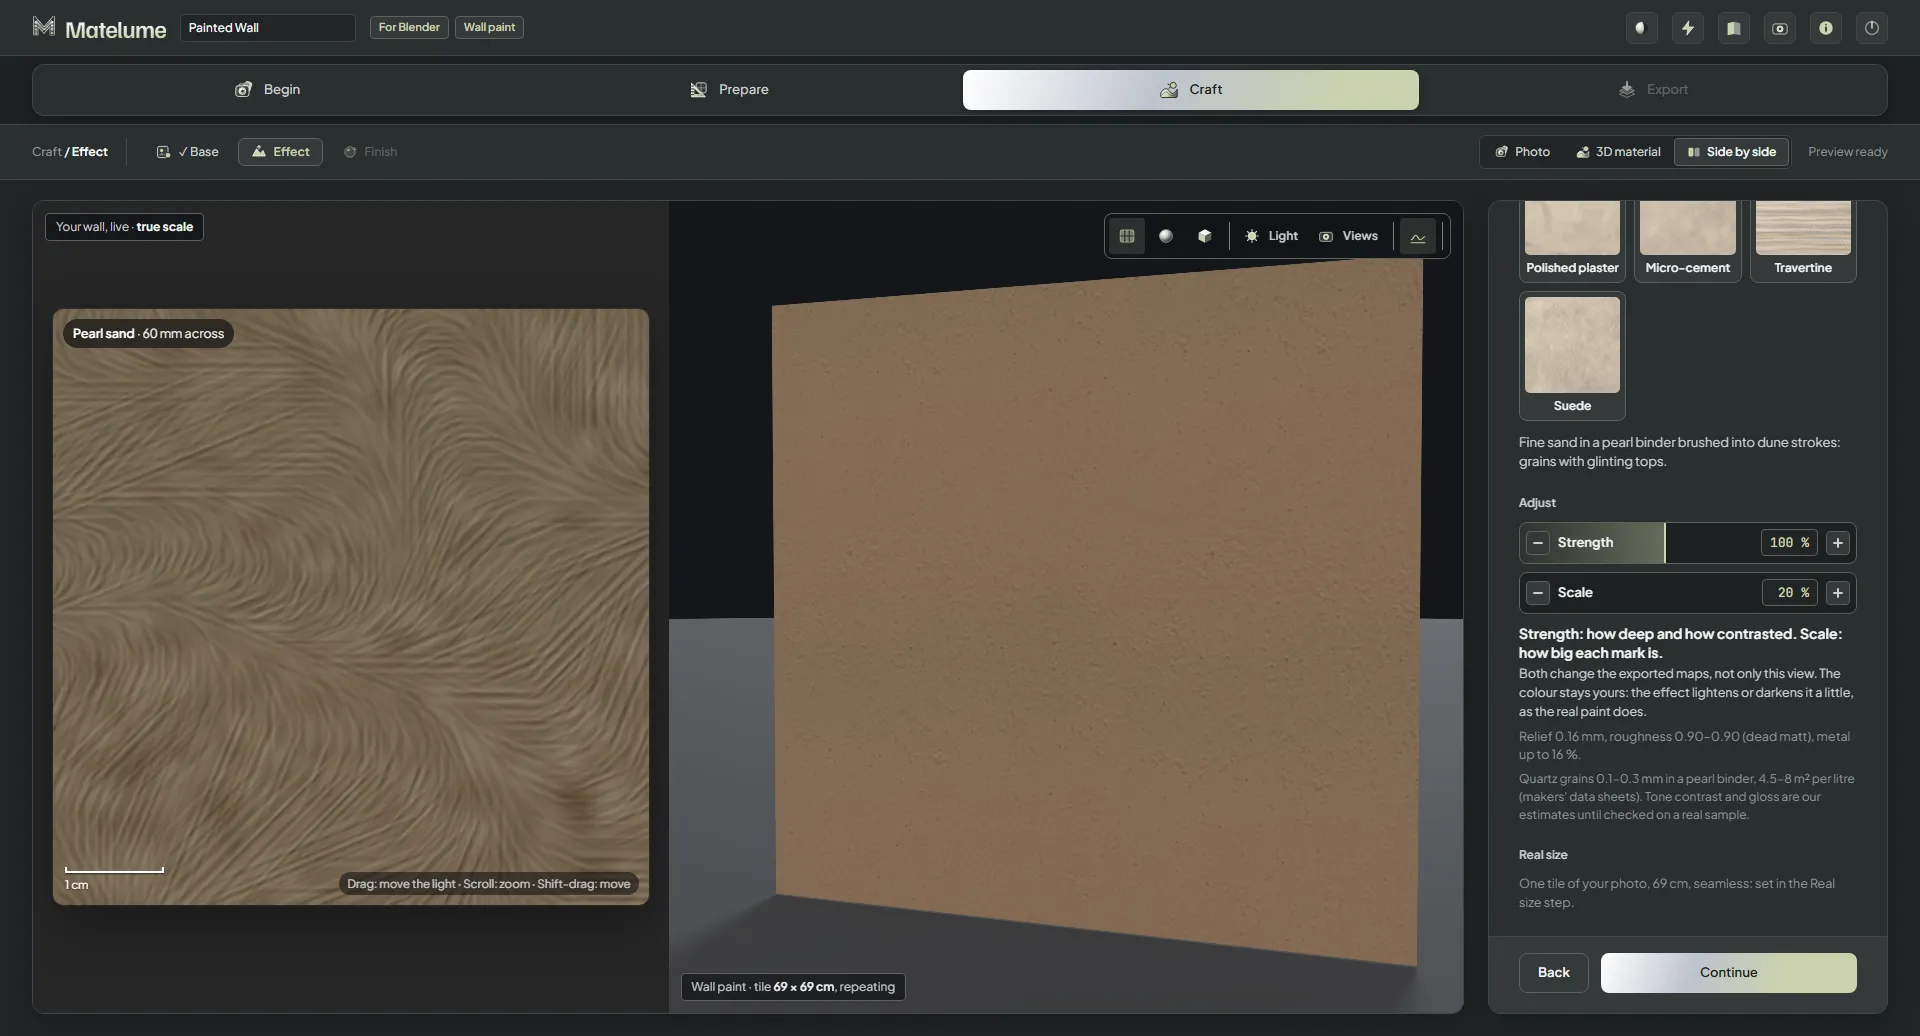
Follow the wall paint workflow · 46 app views
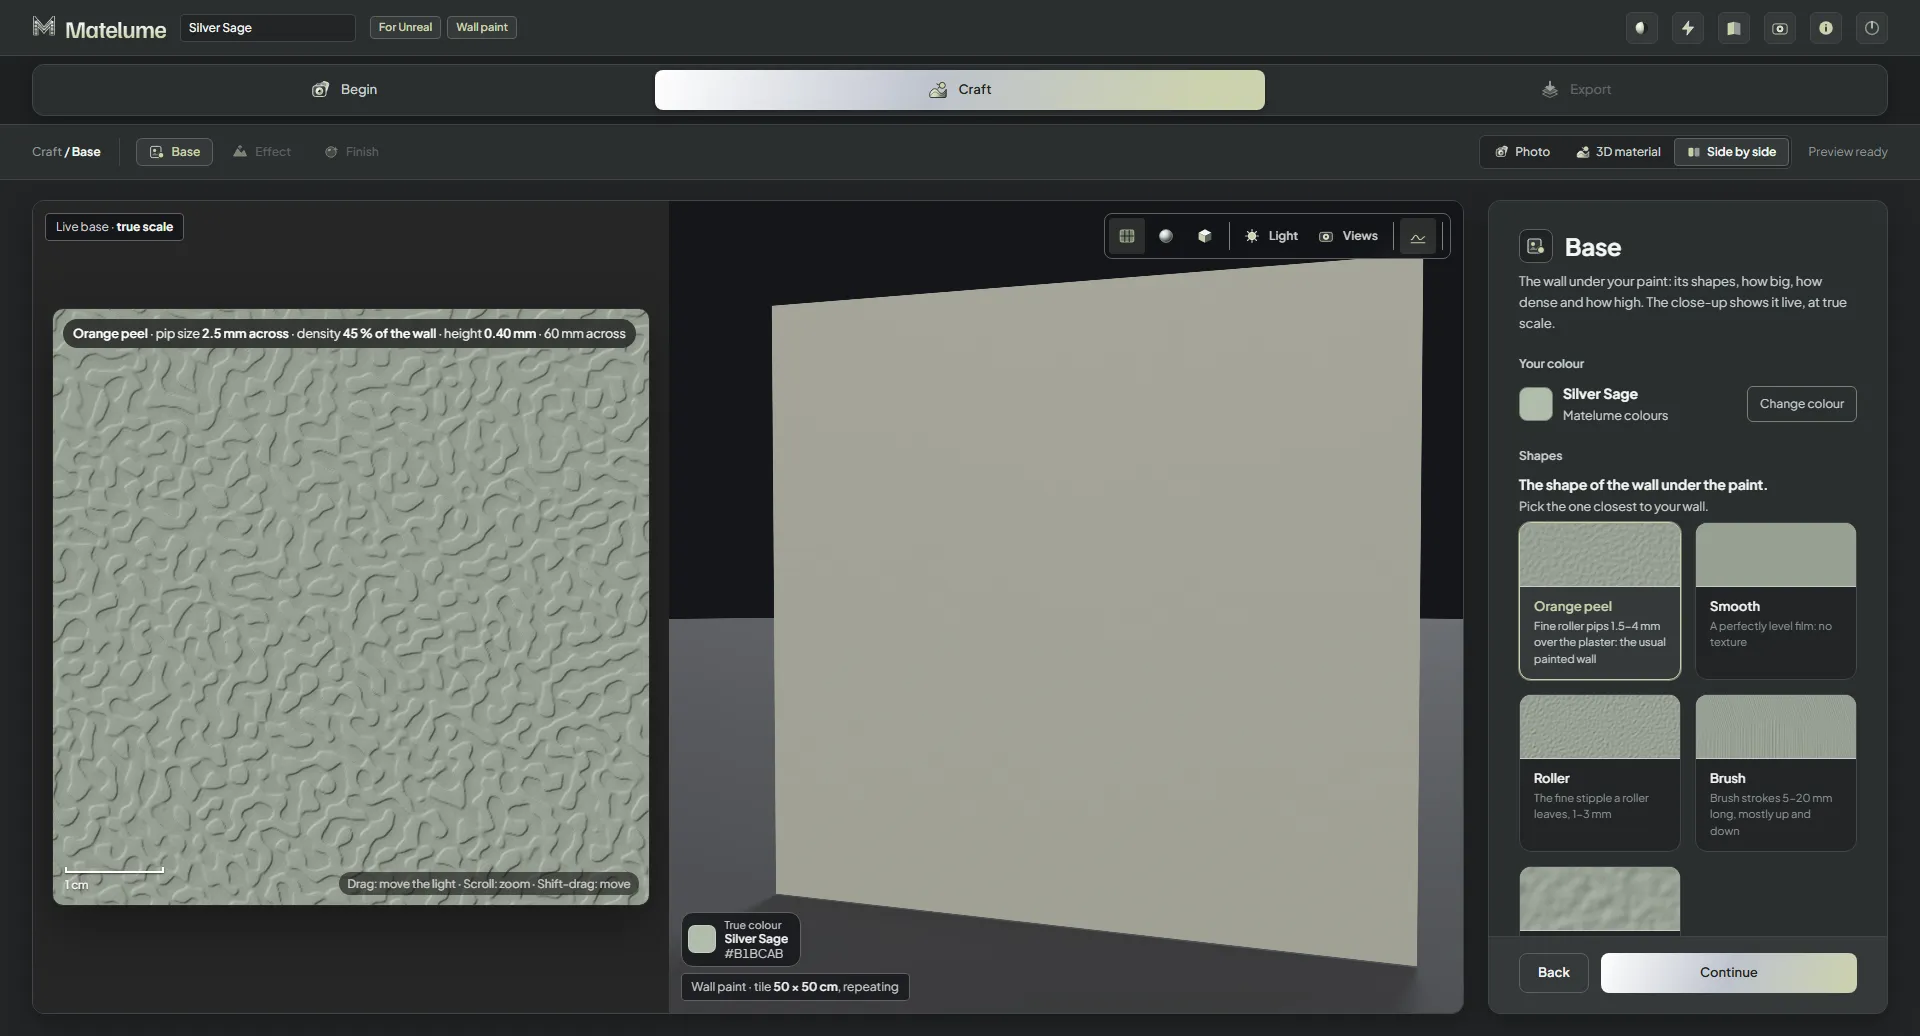
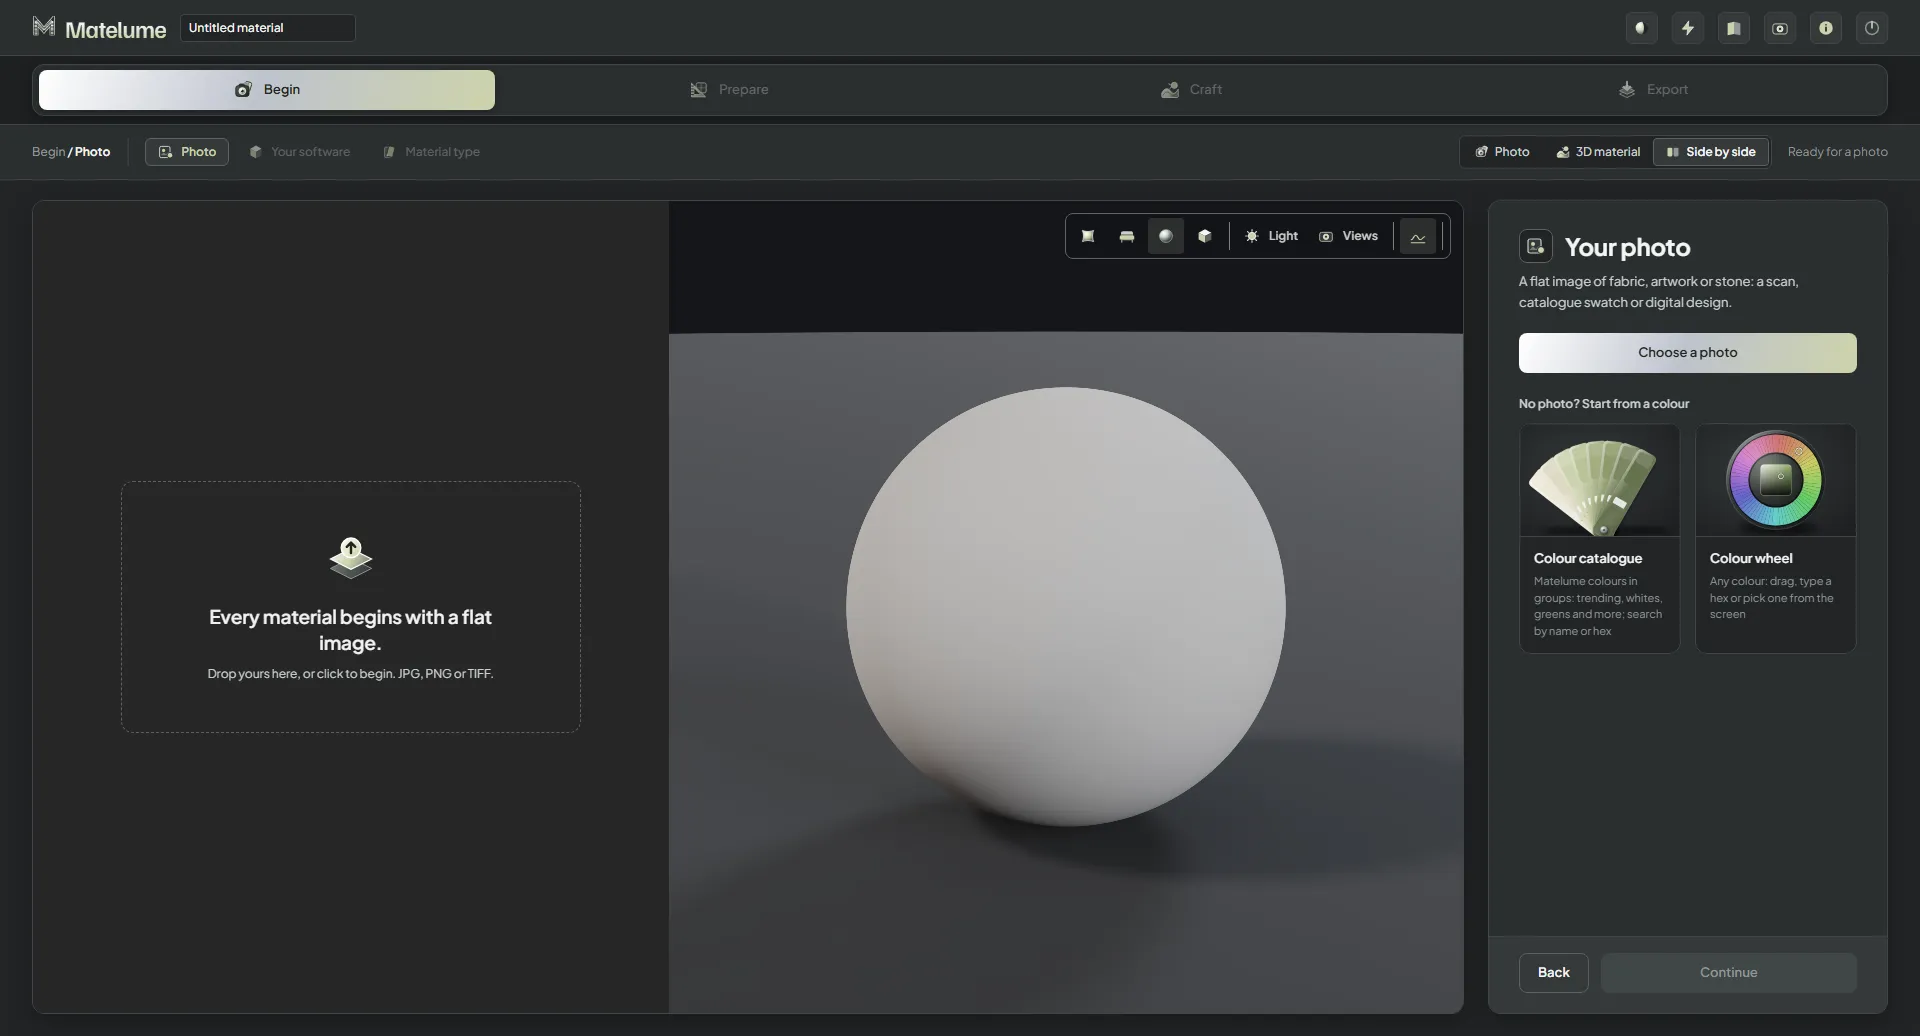
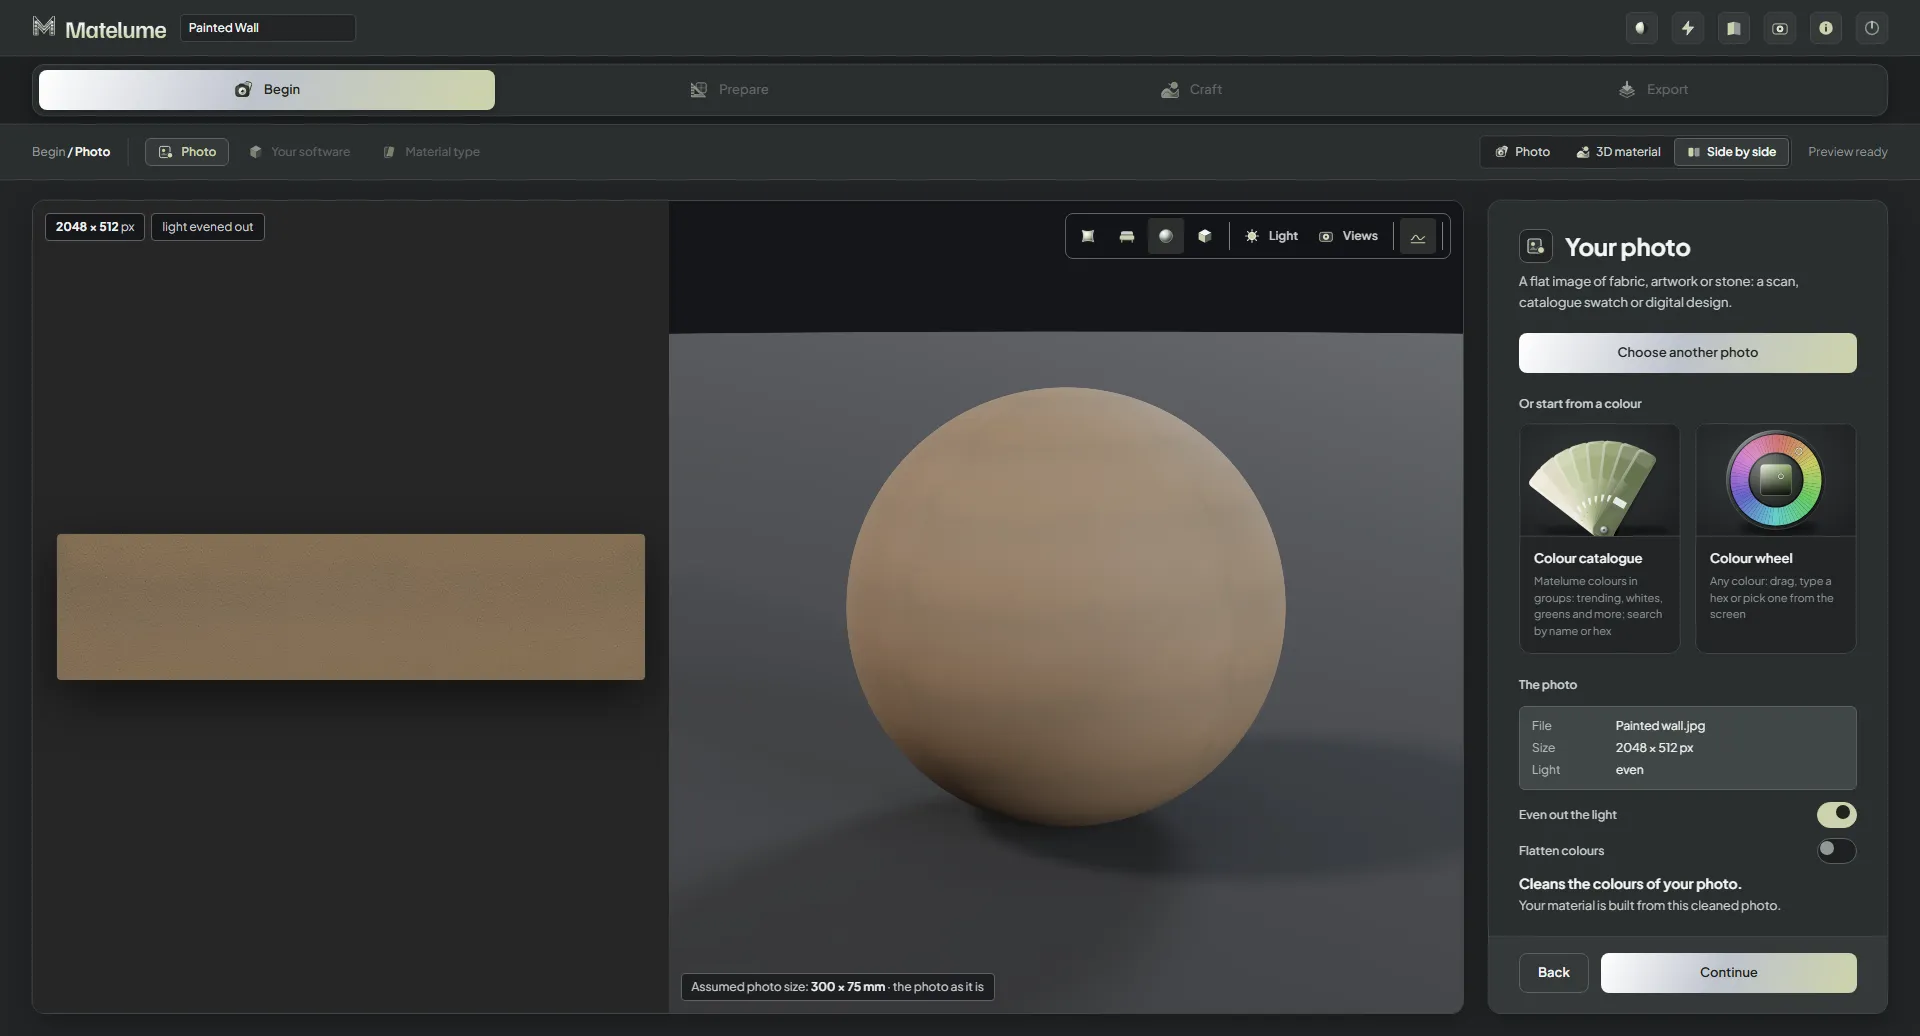
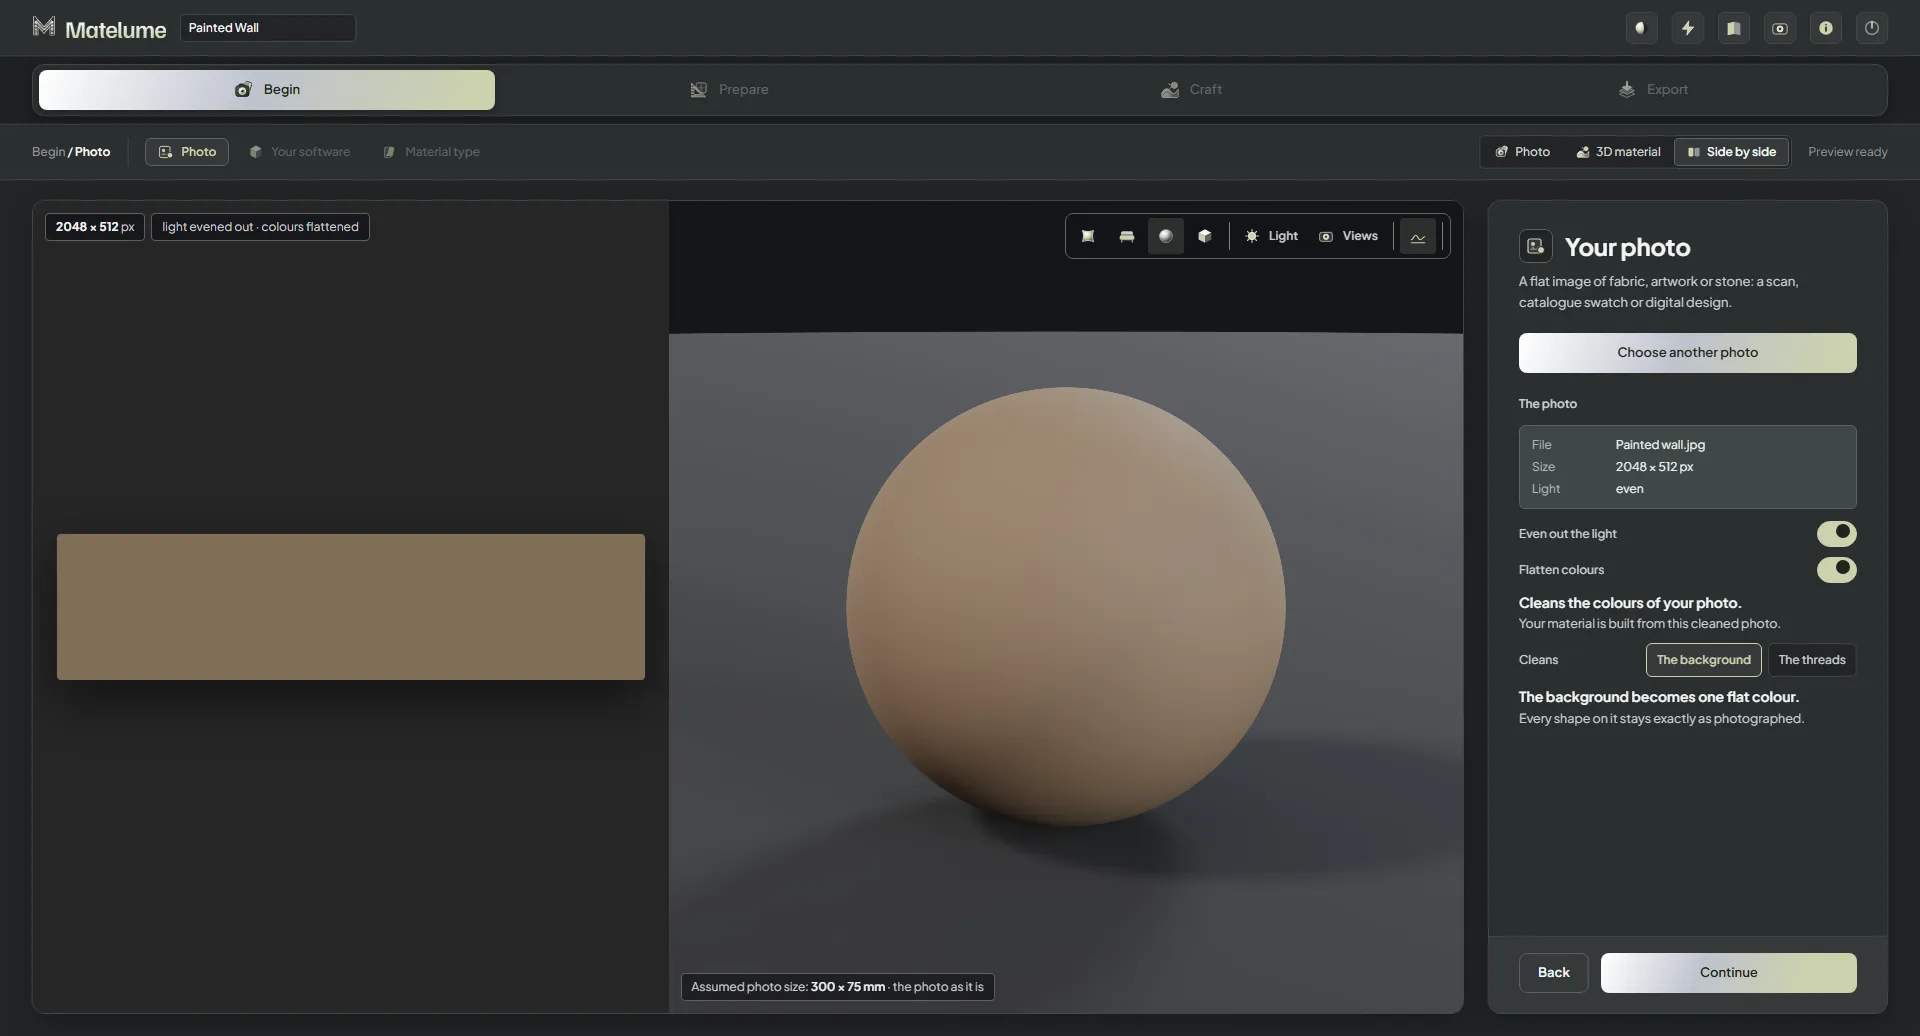
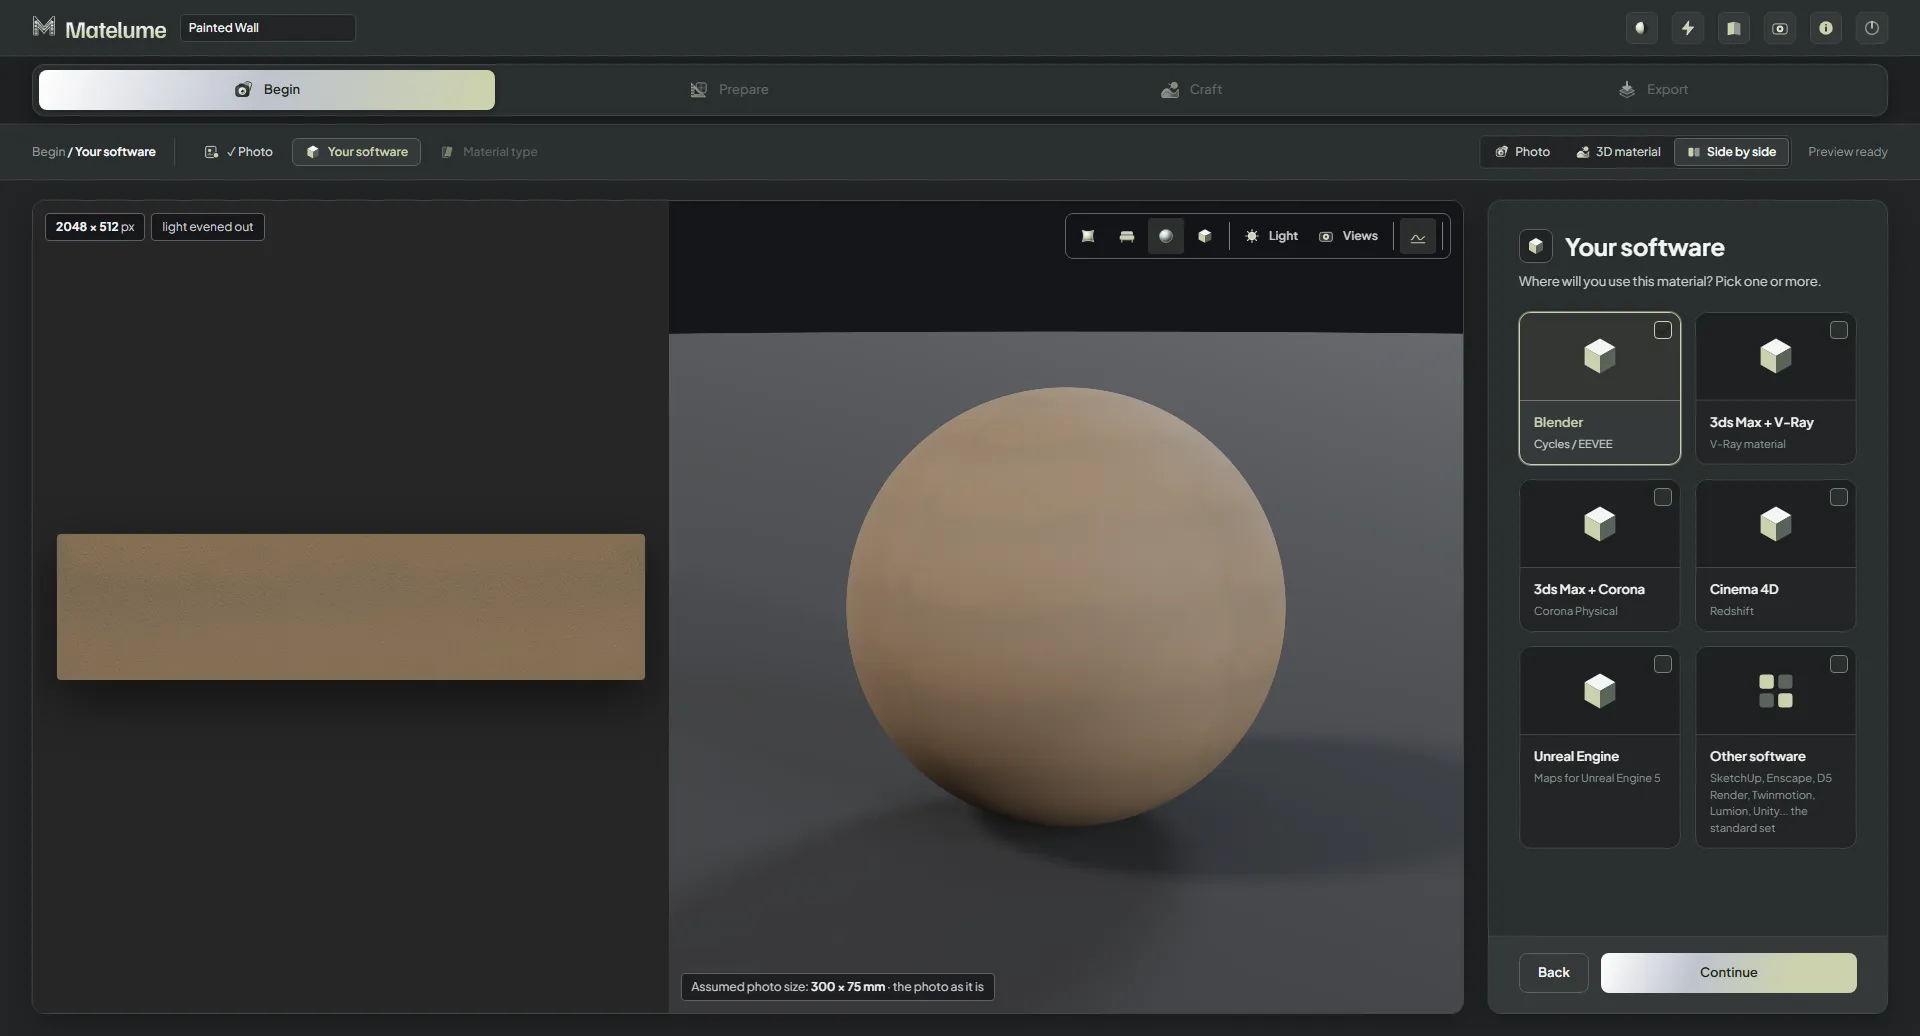
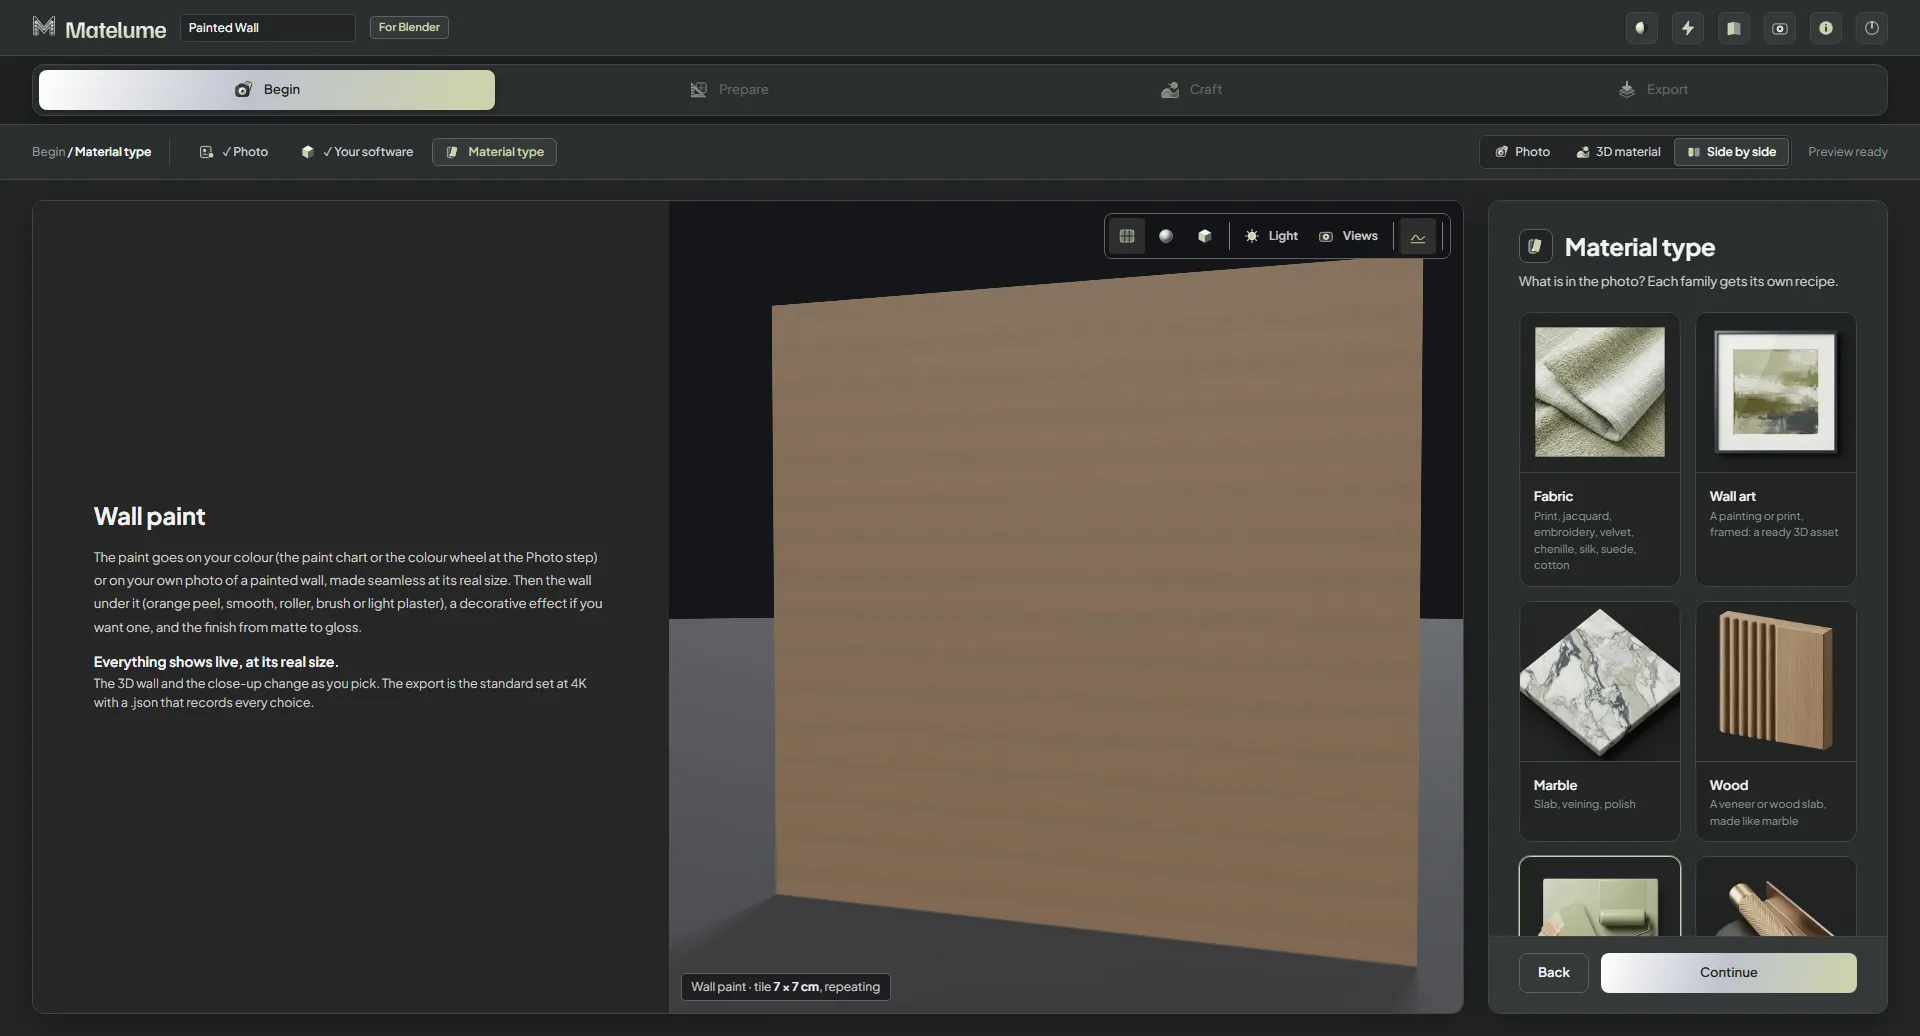
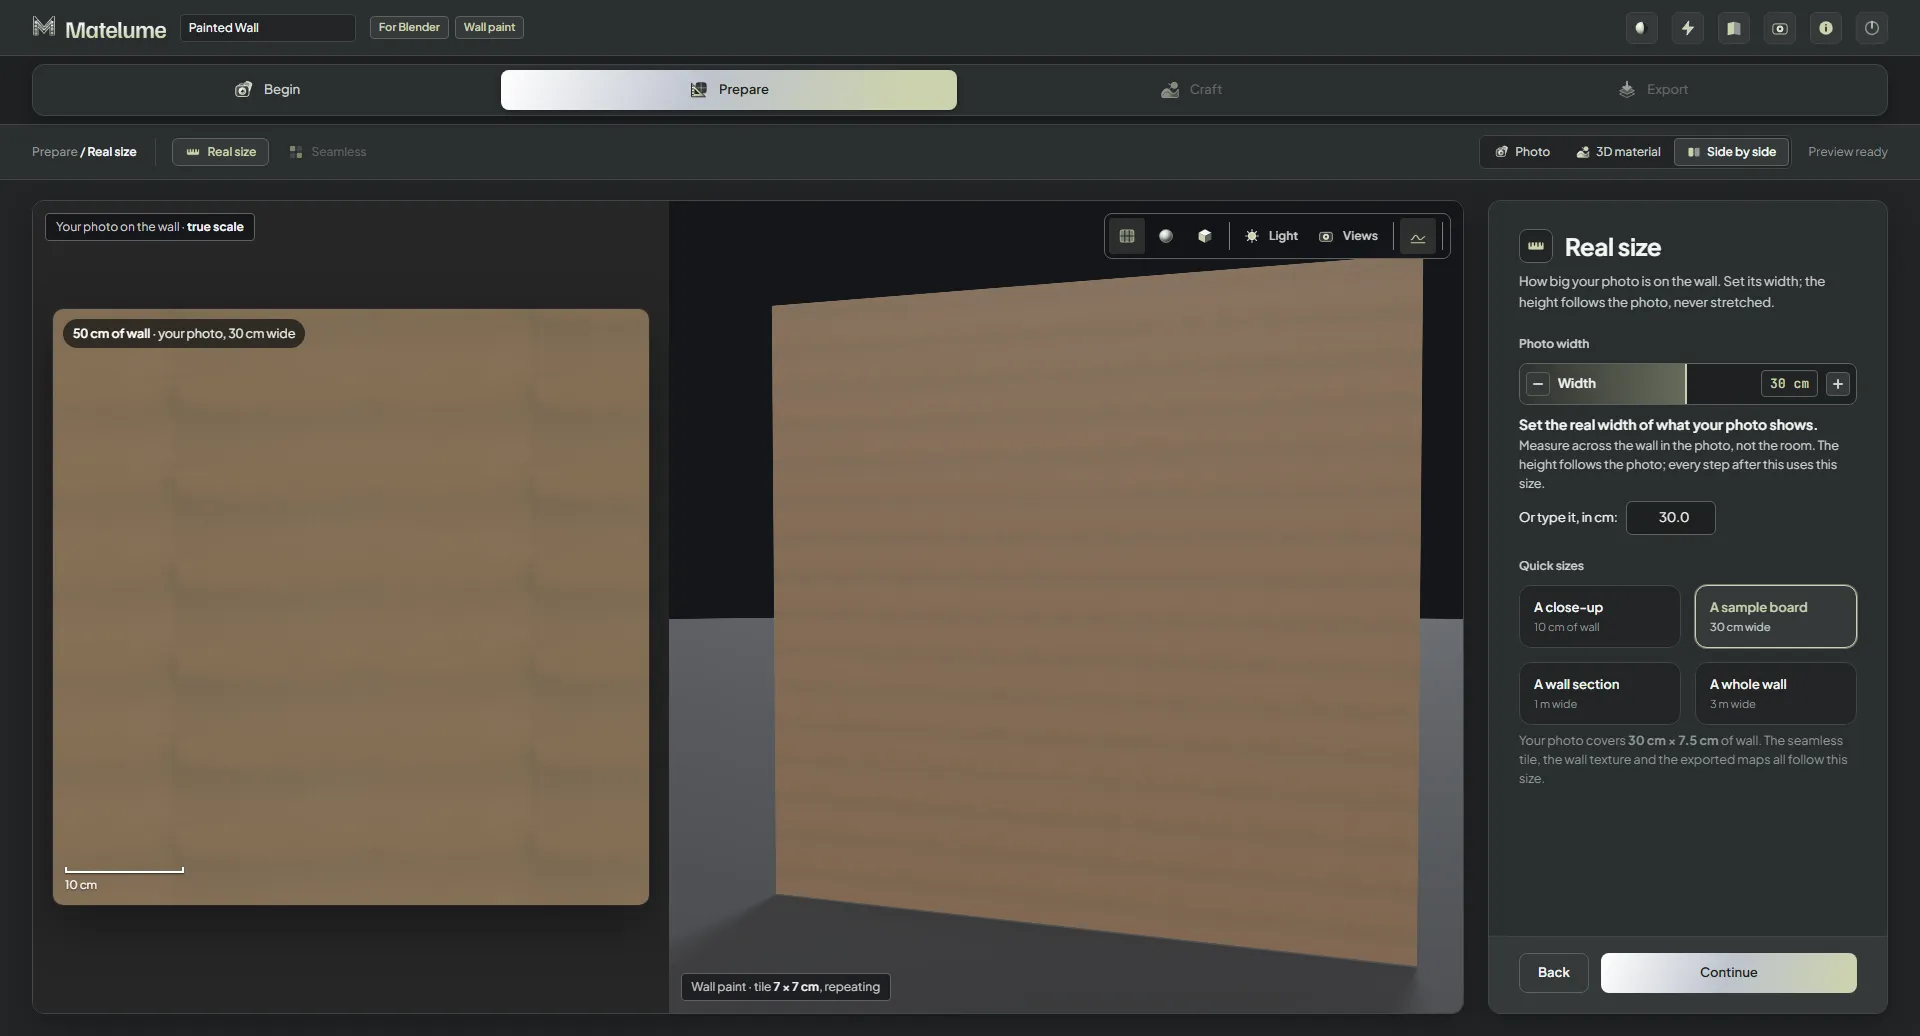
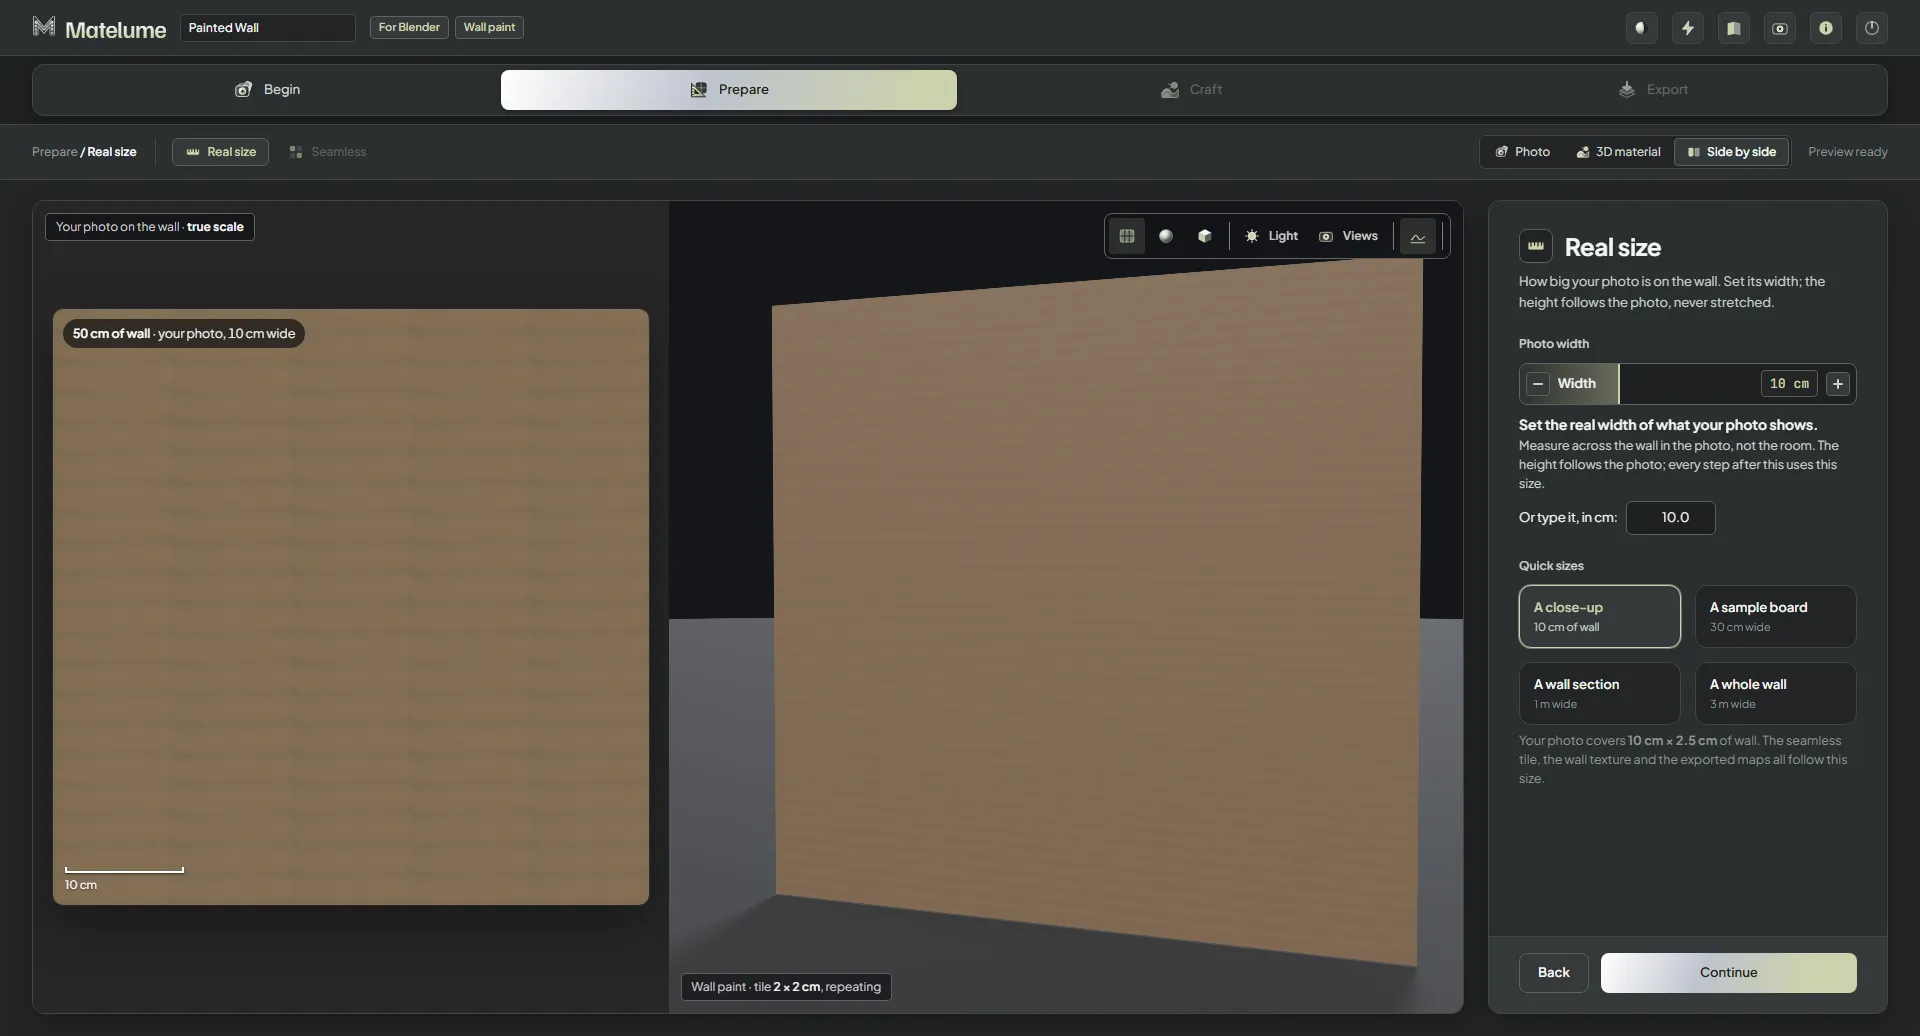
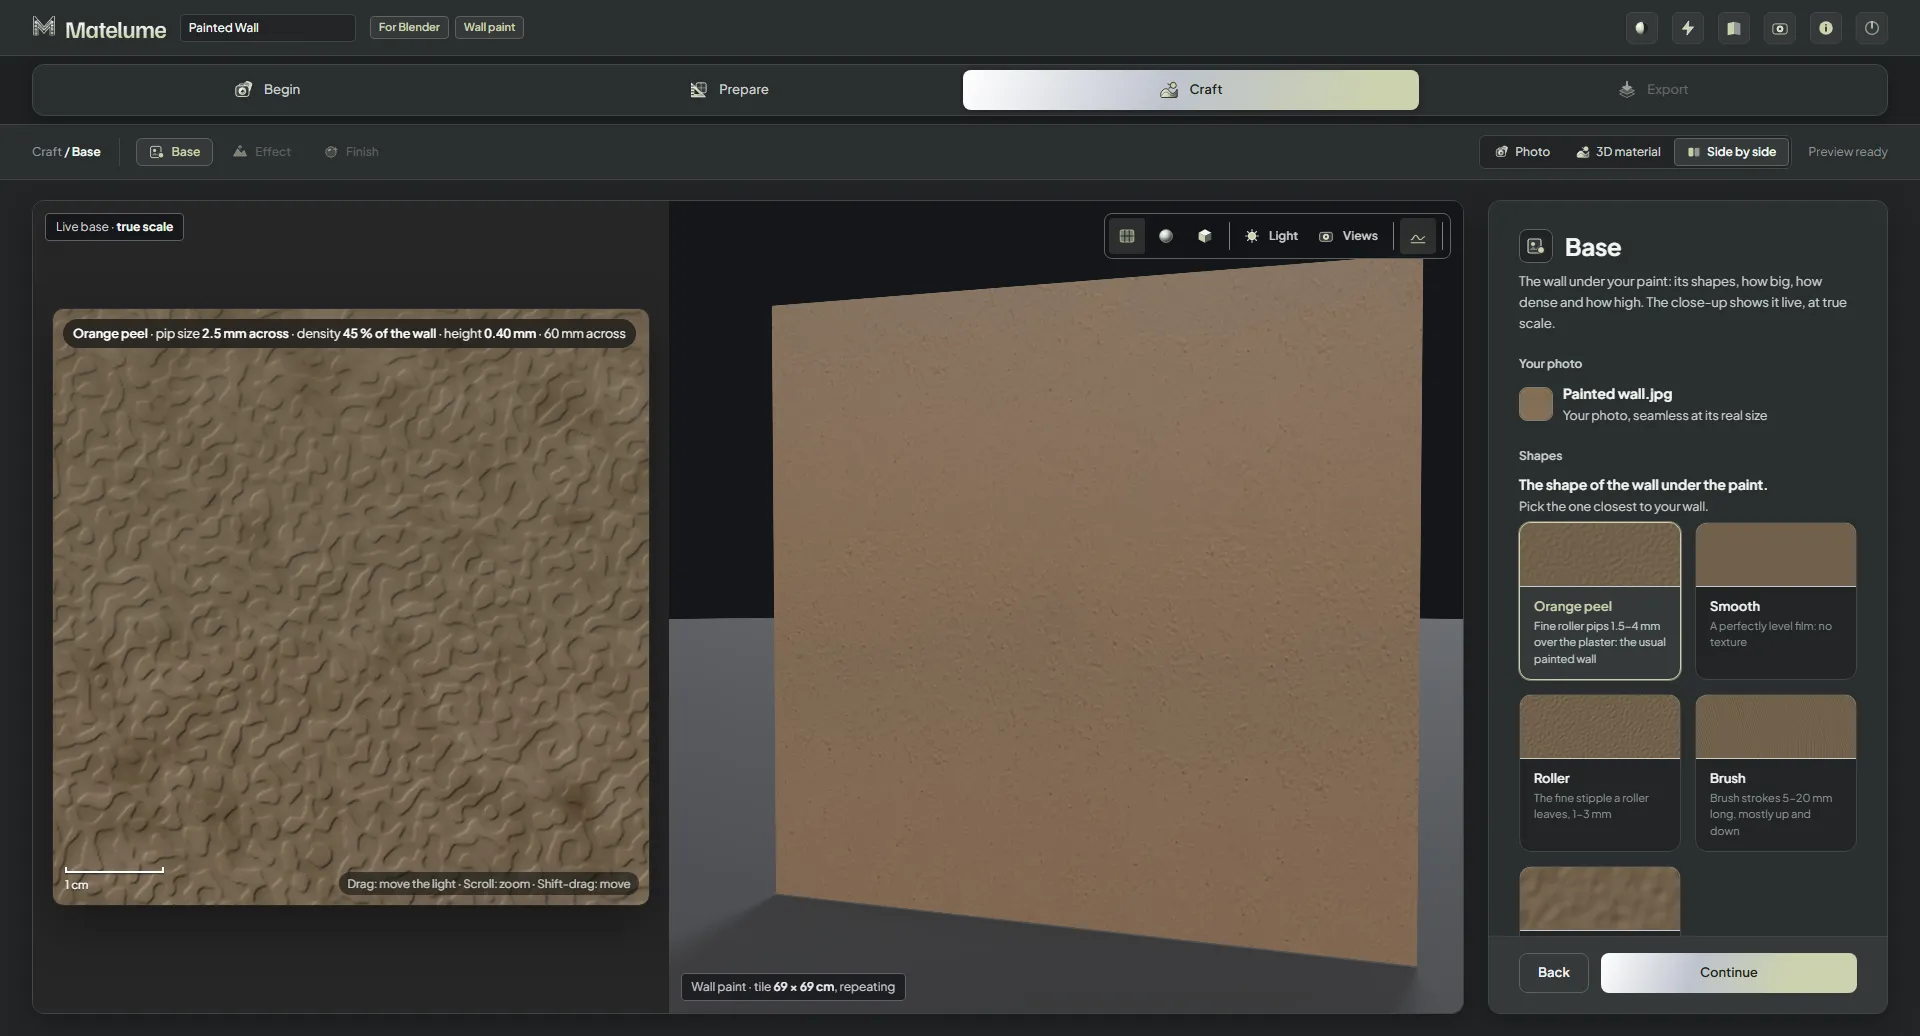
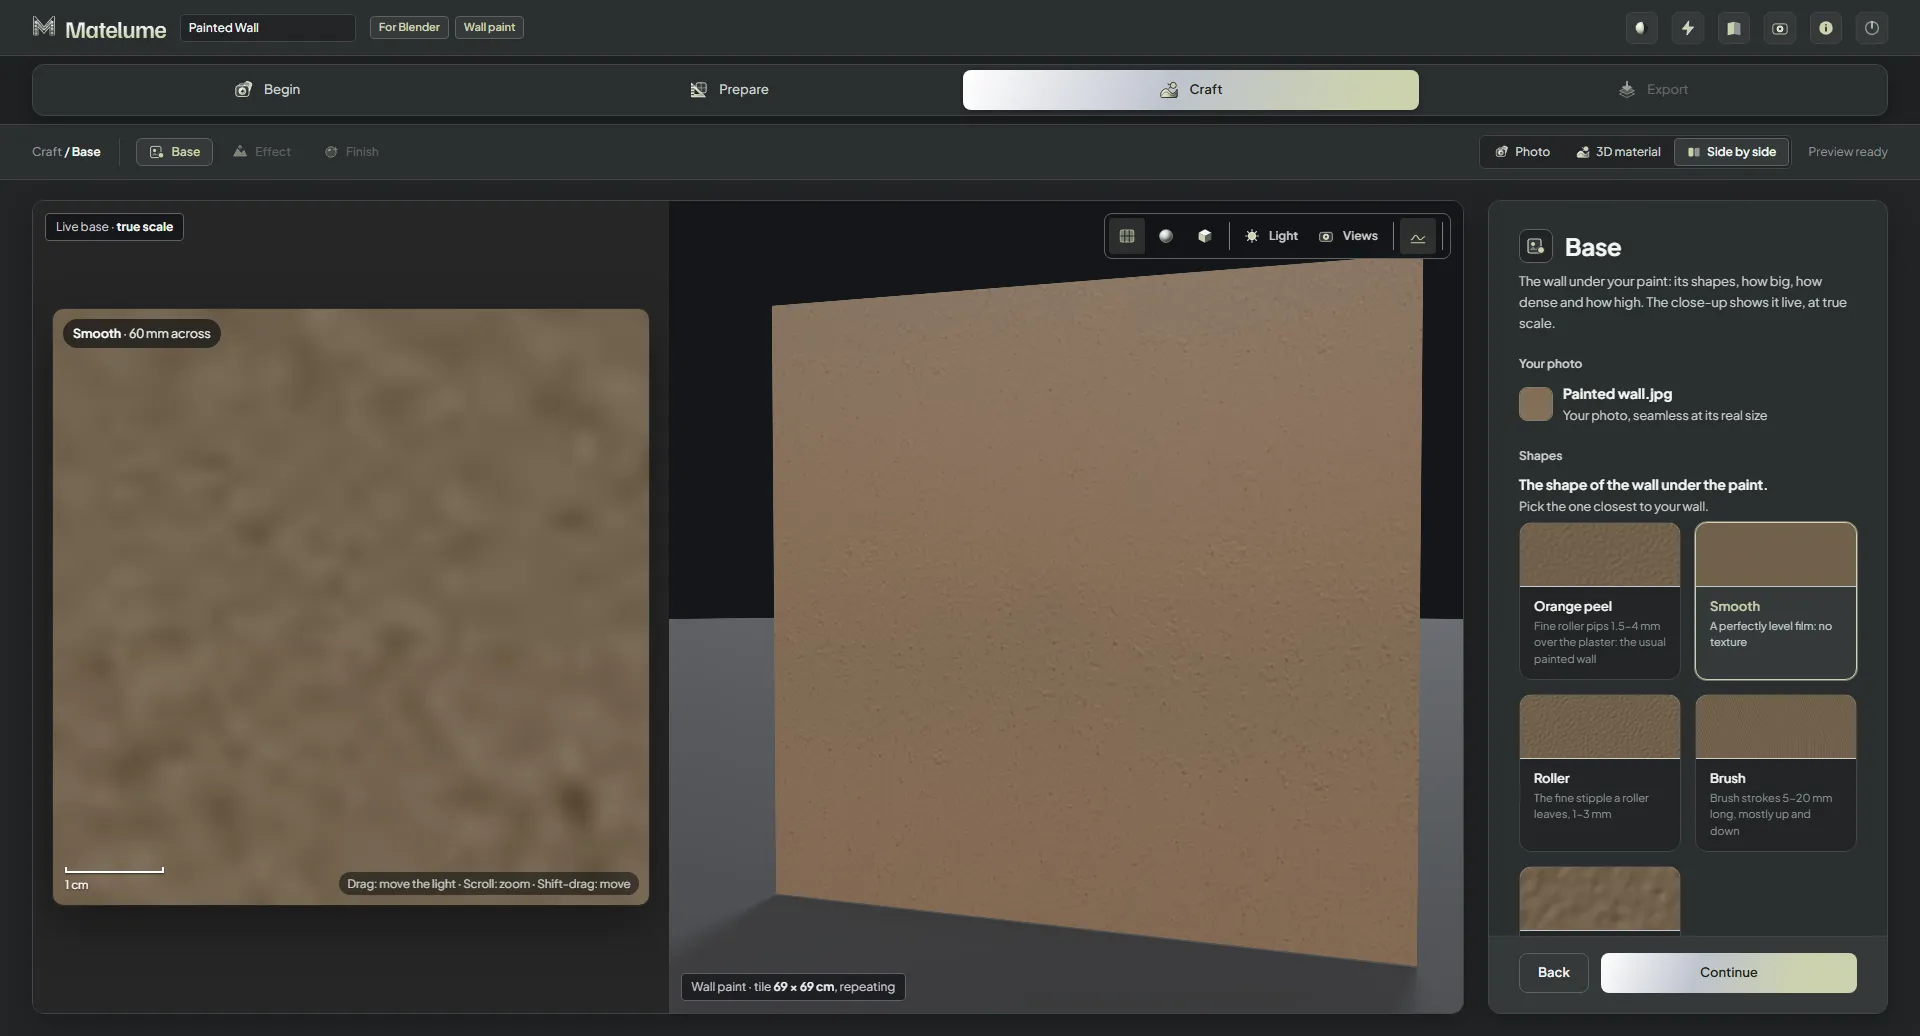
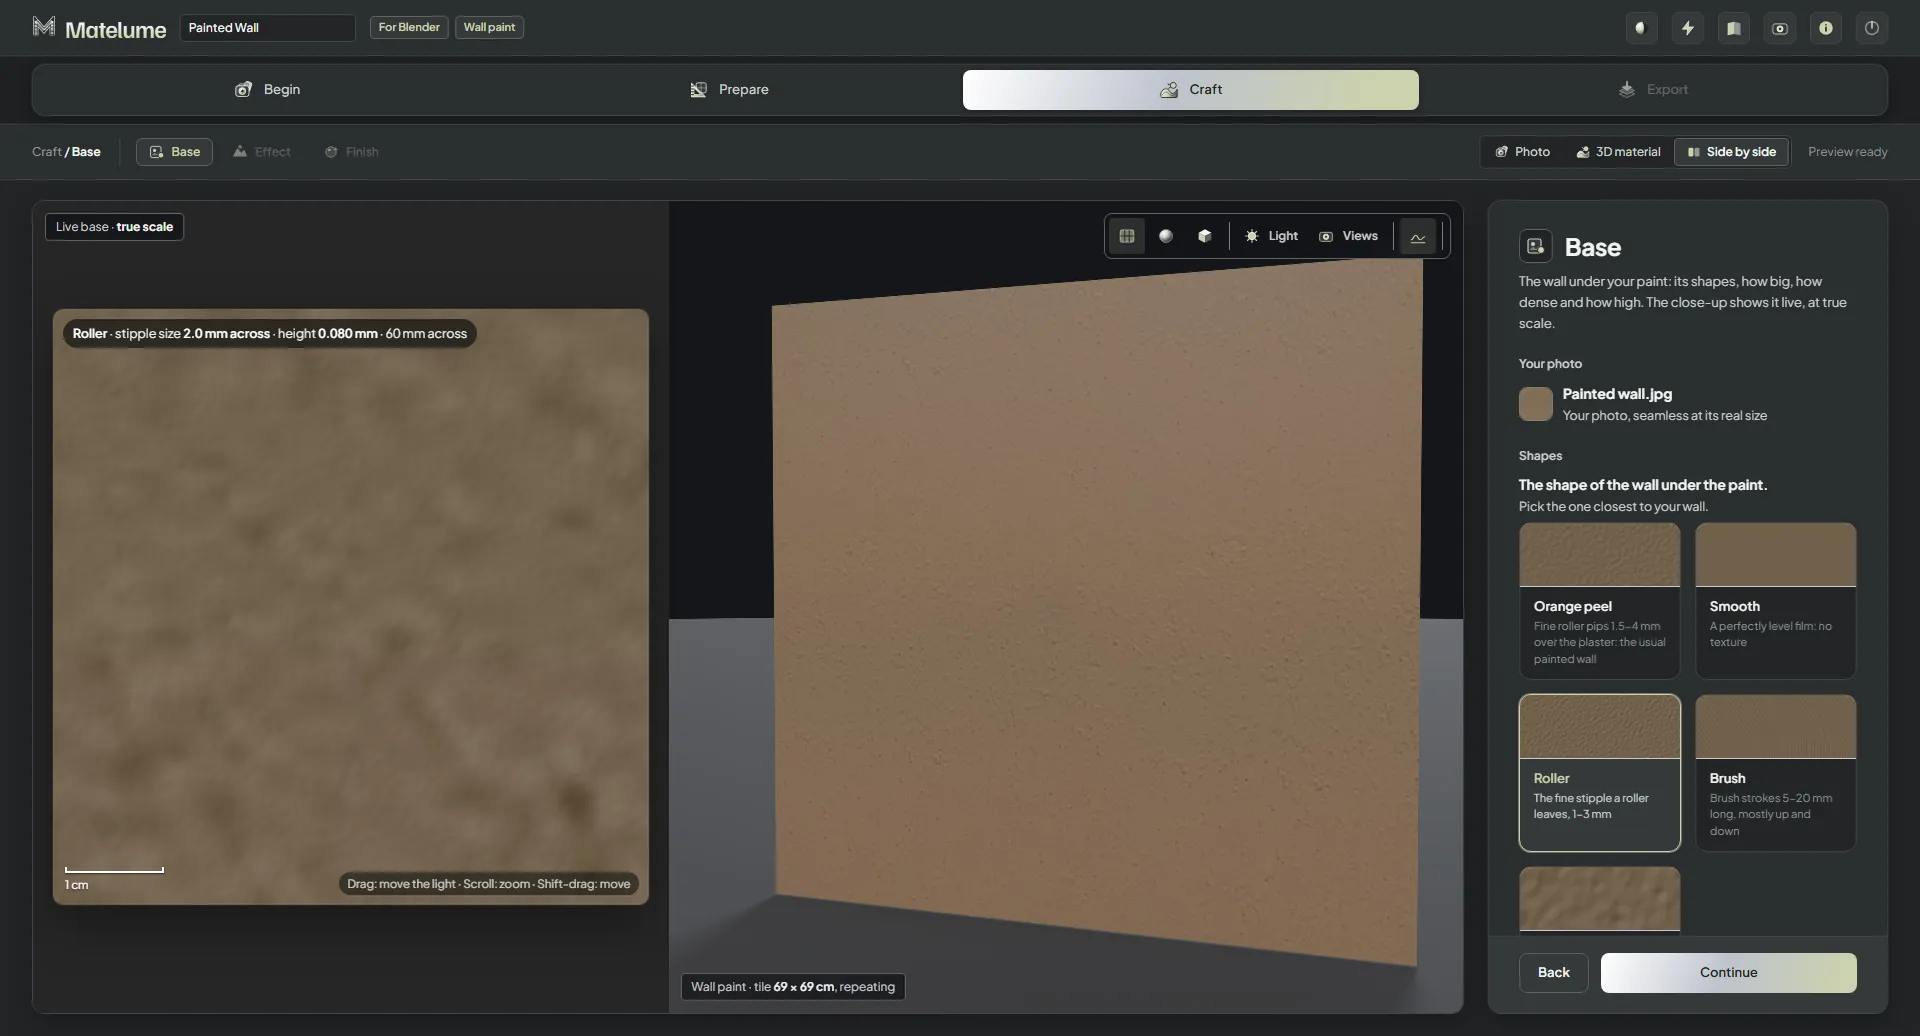
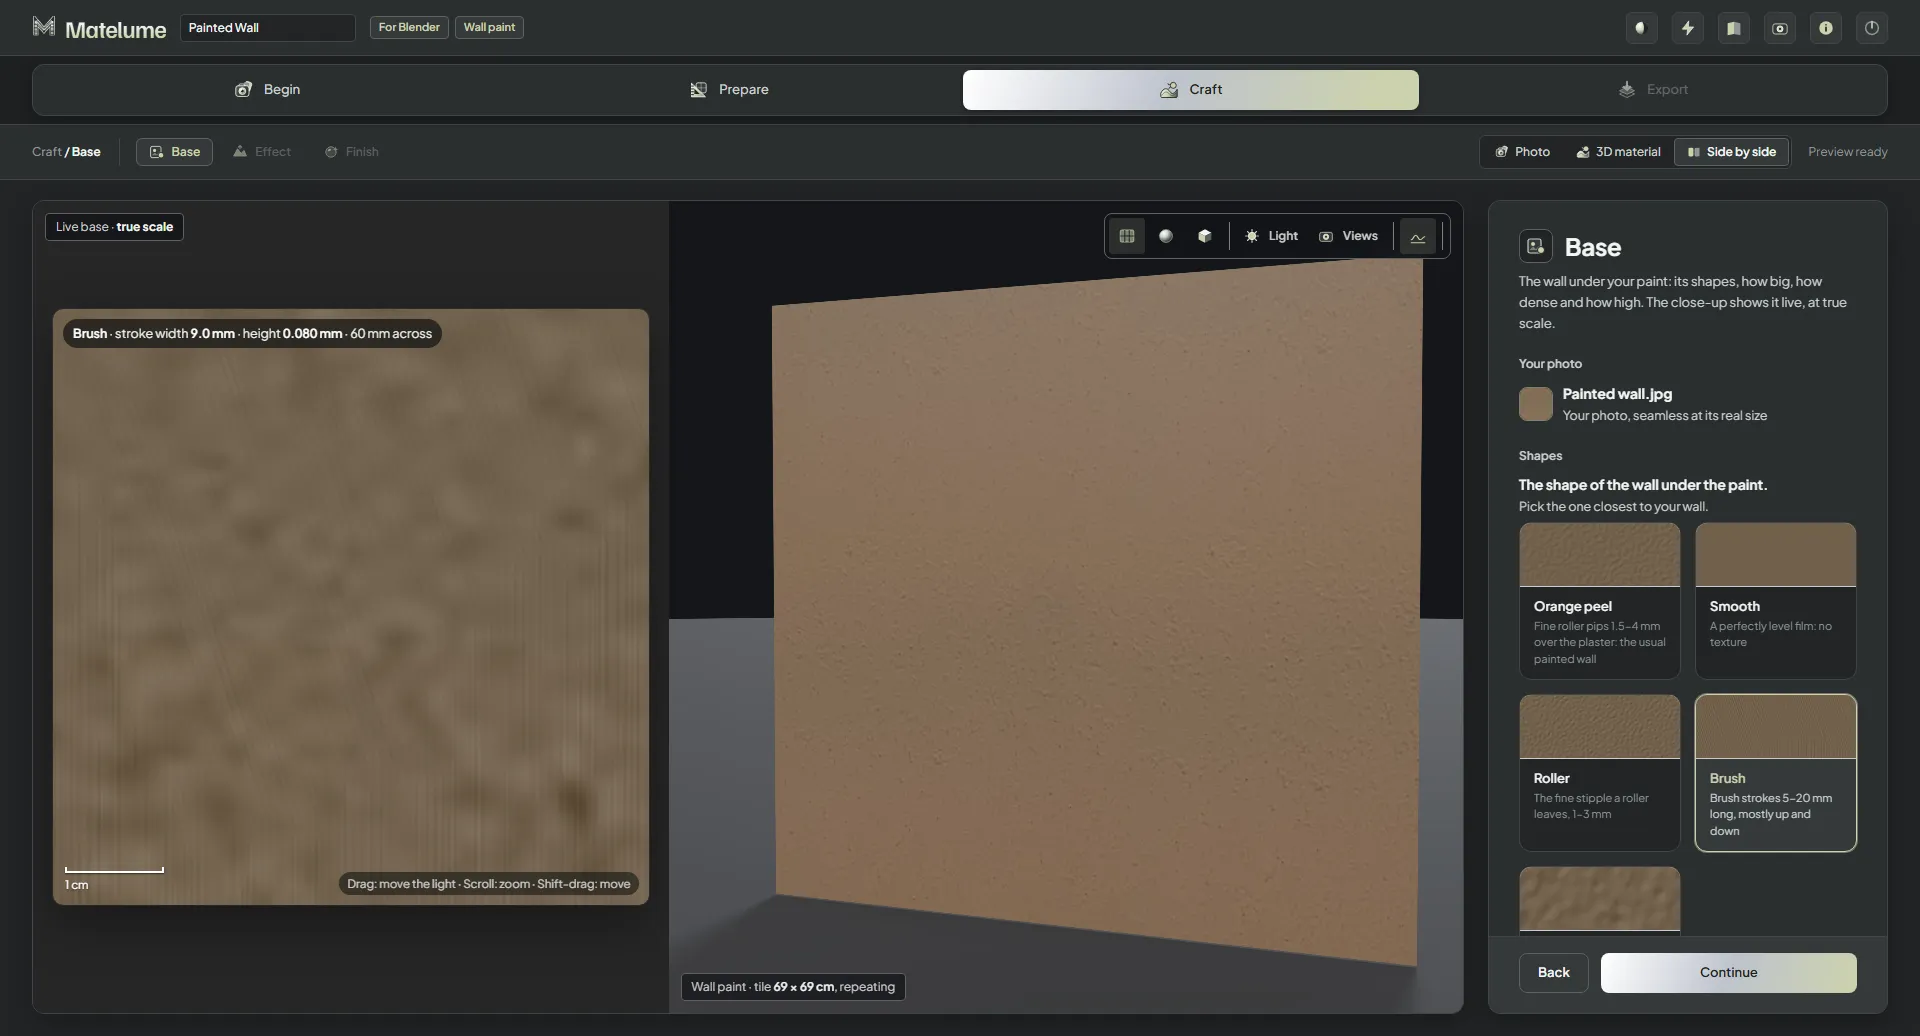
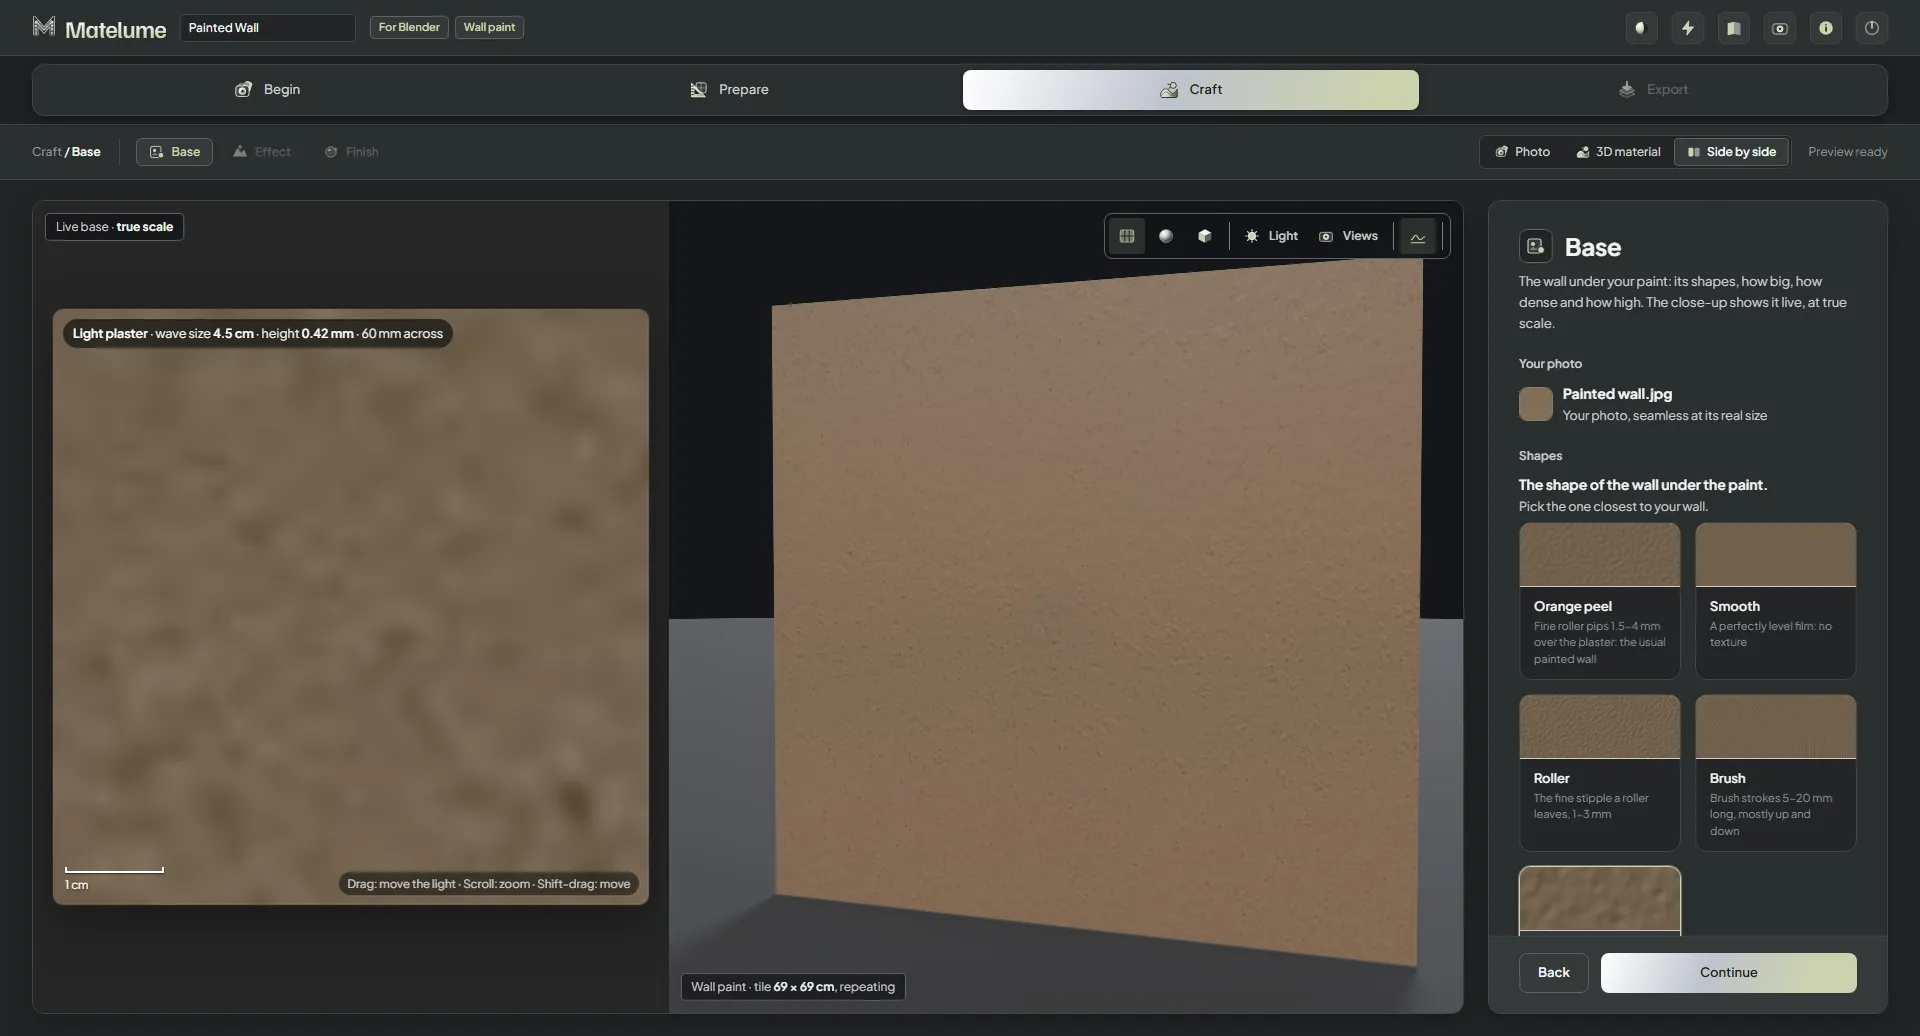
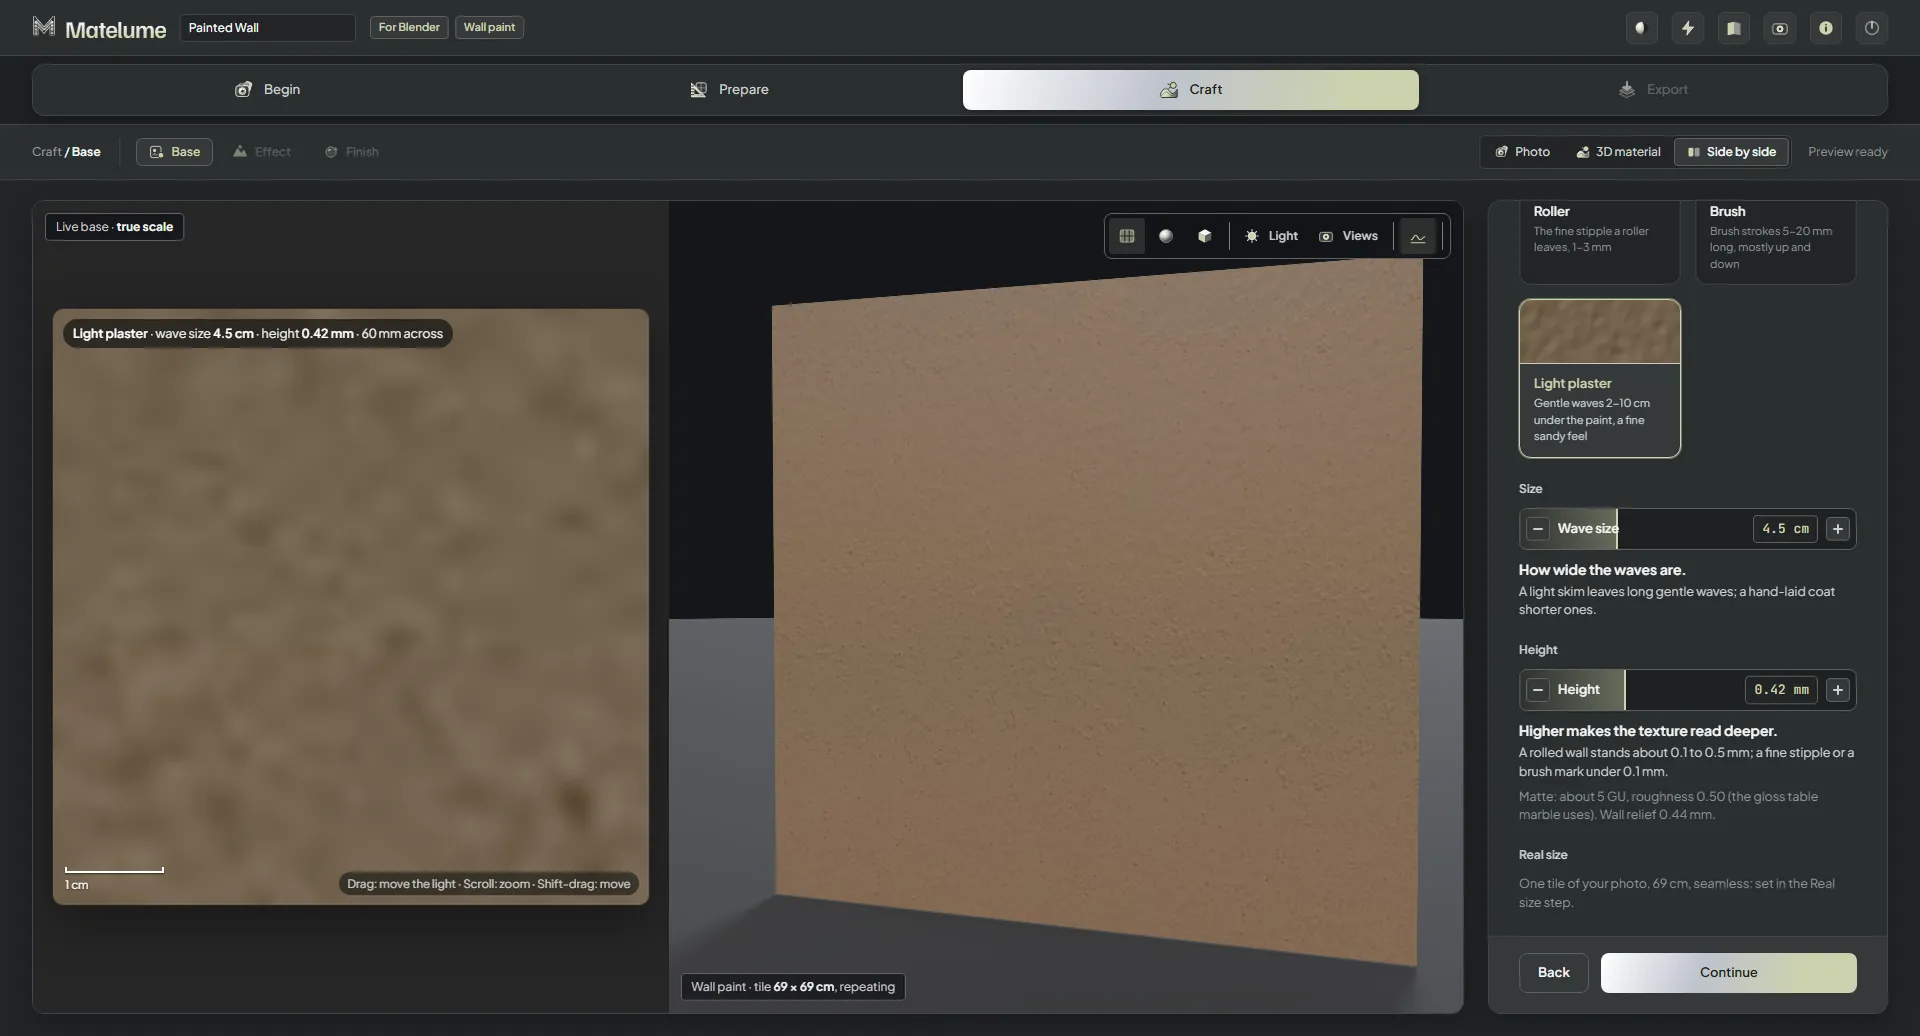
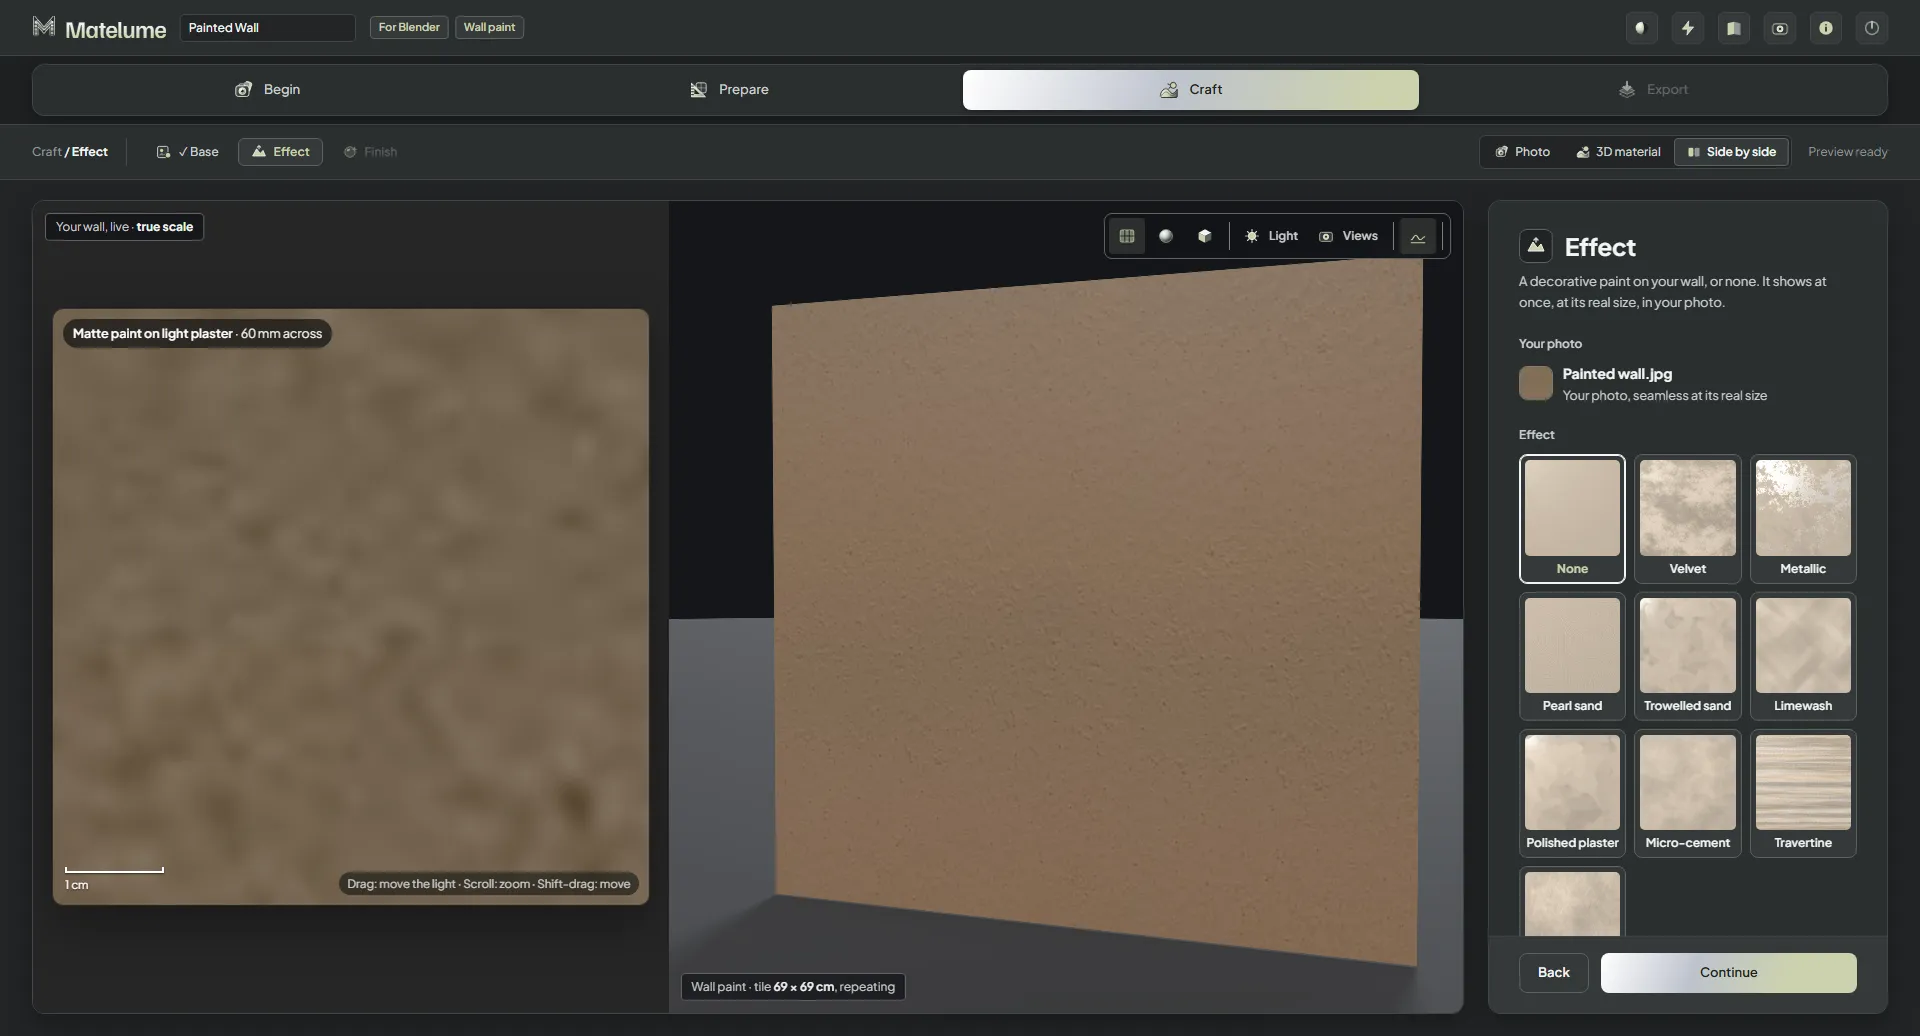
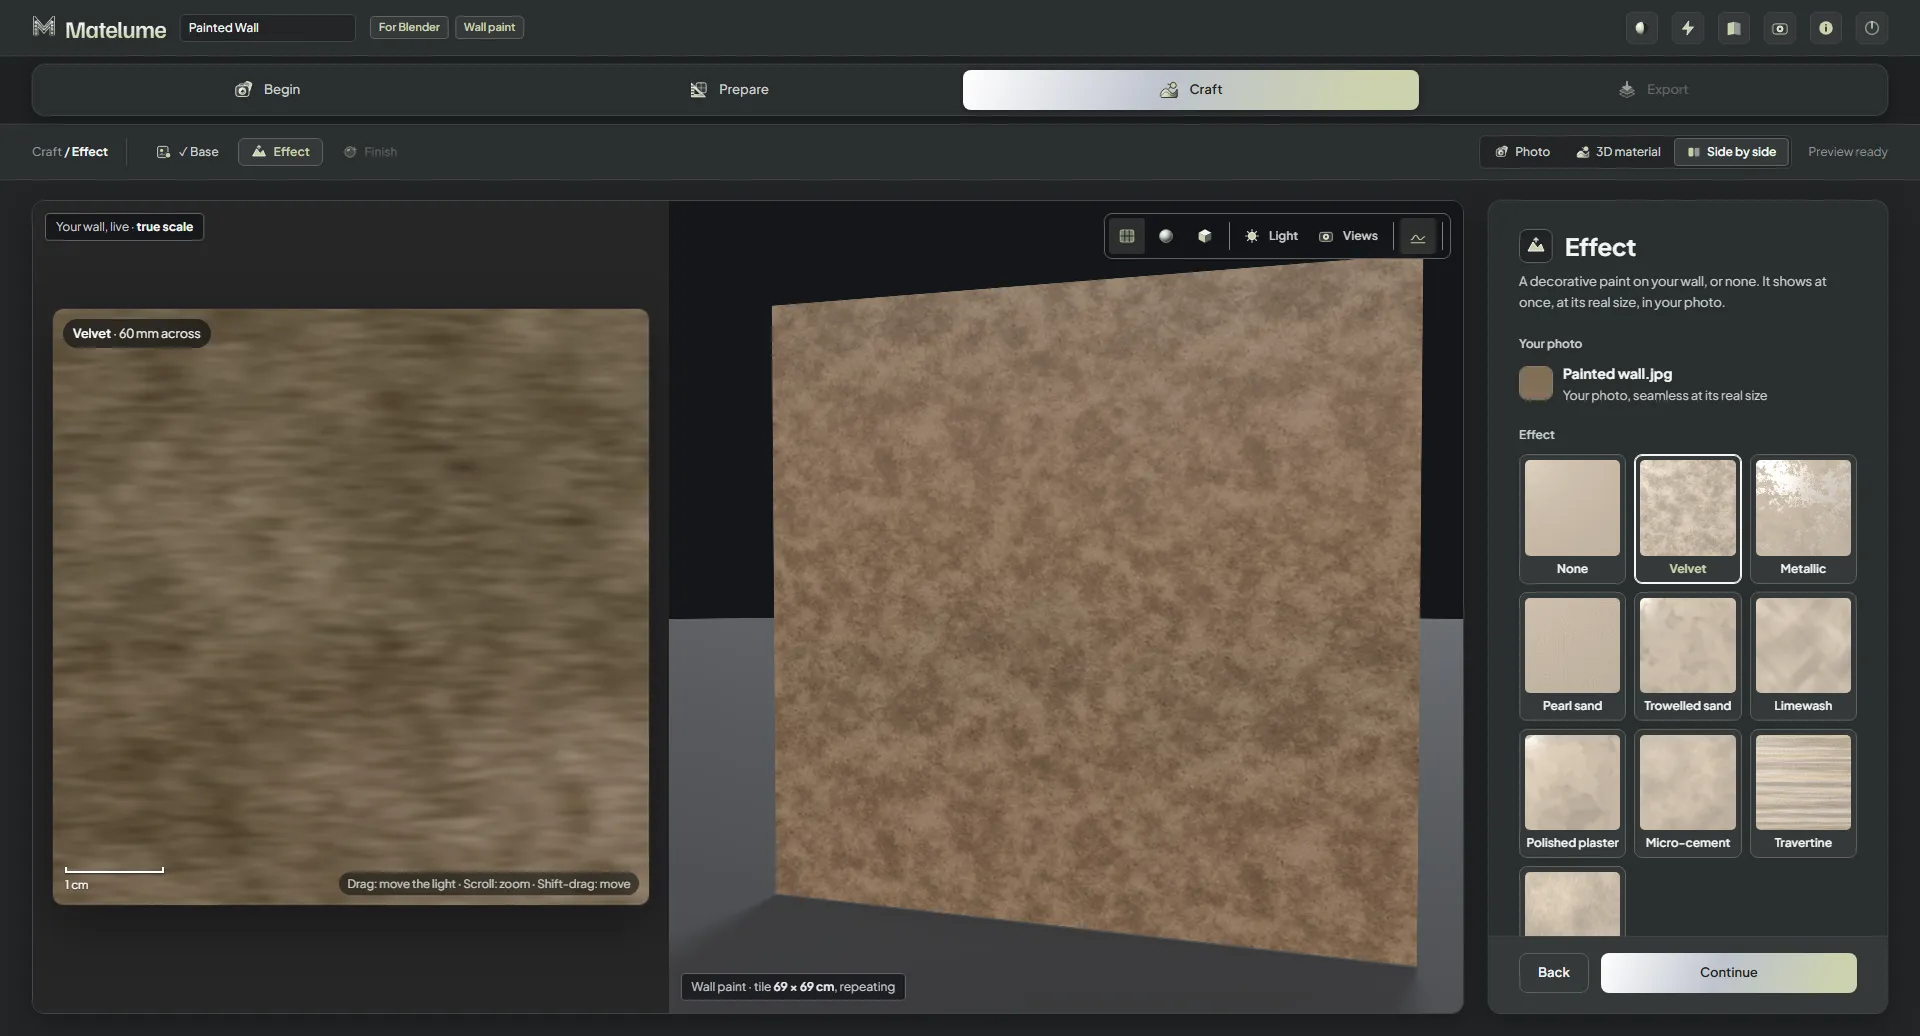
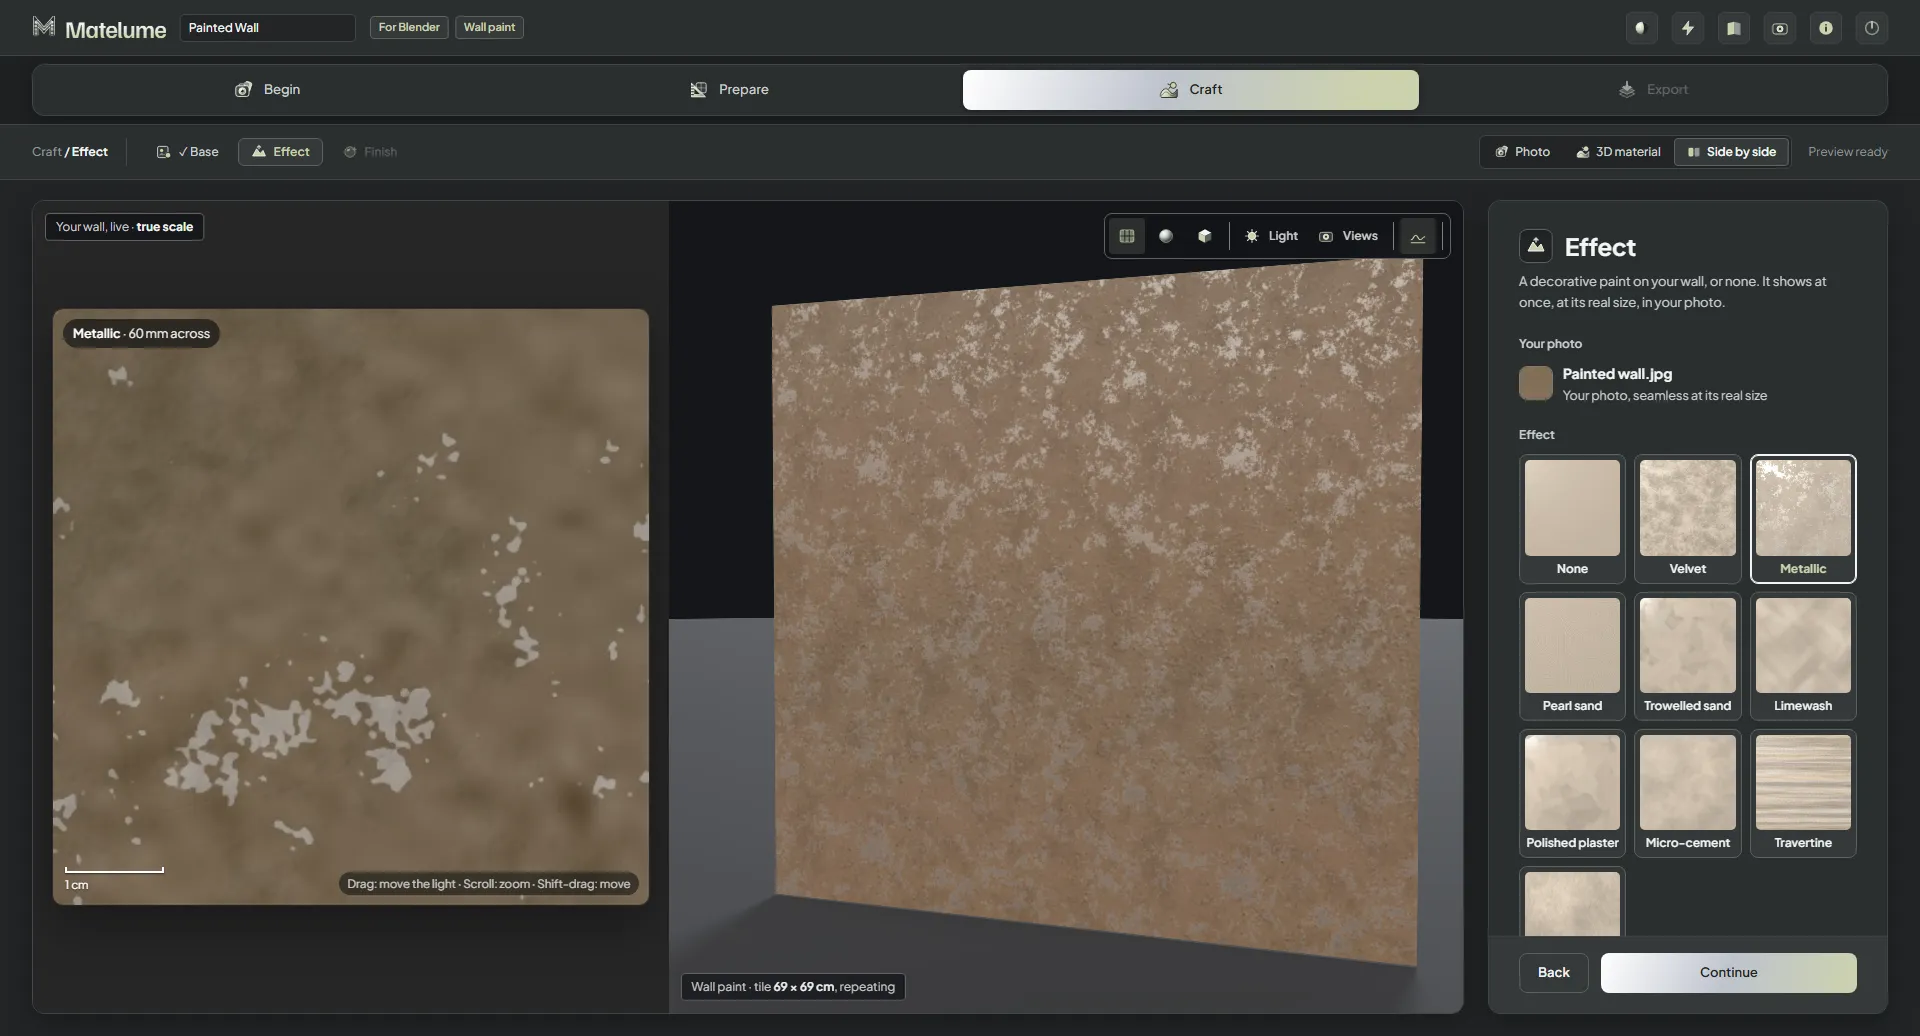
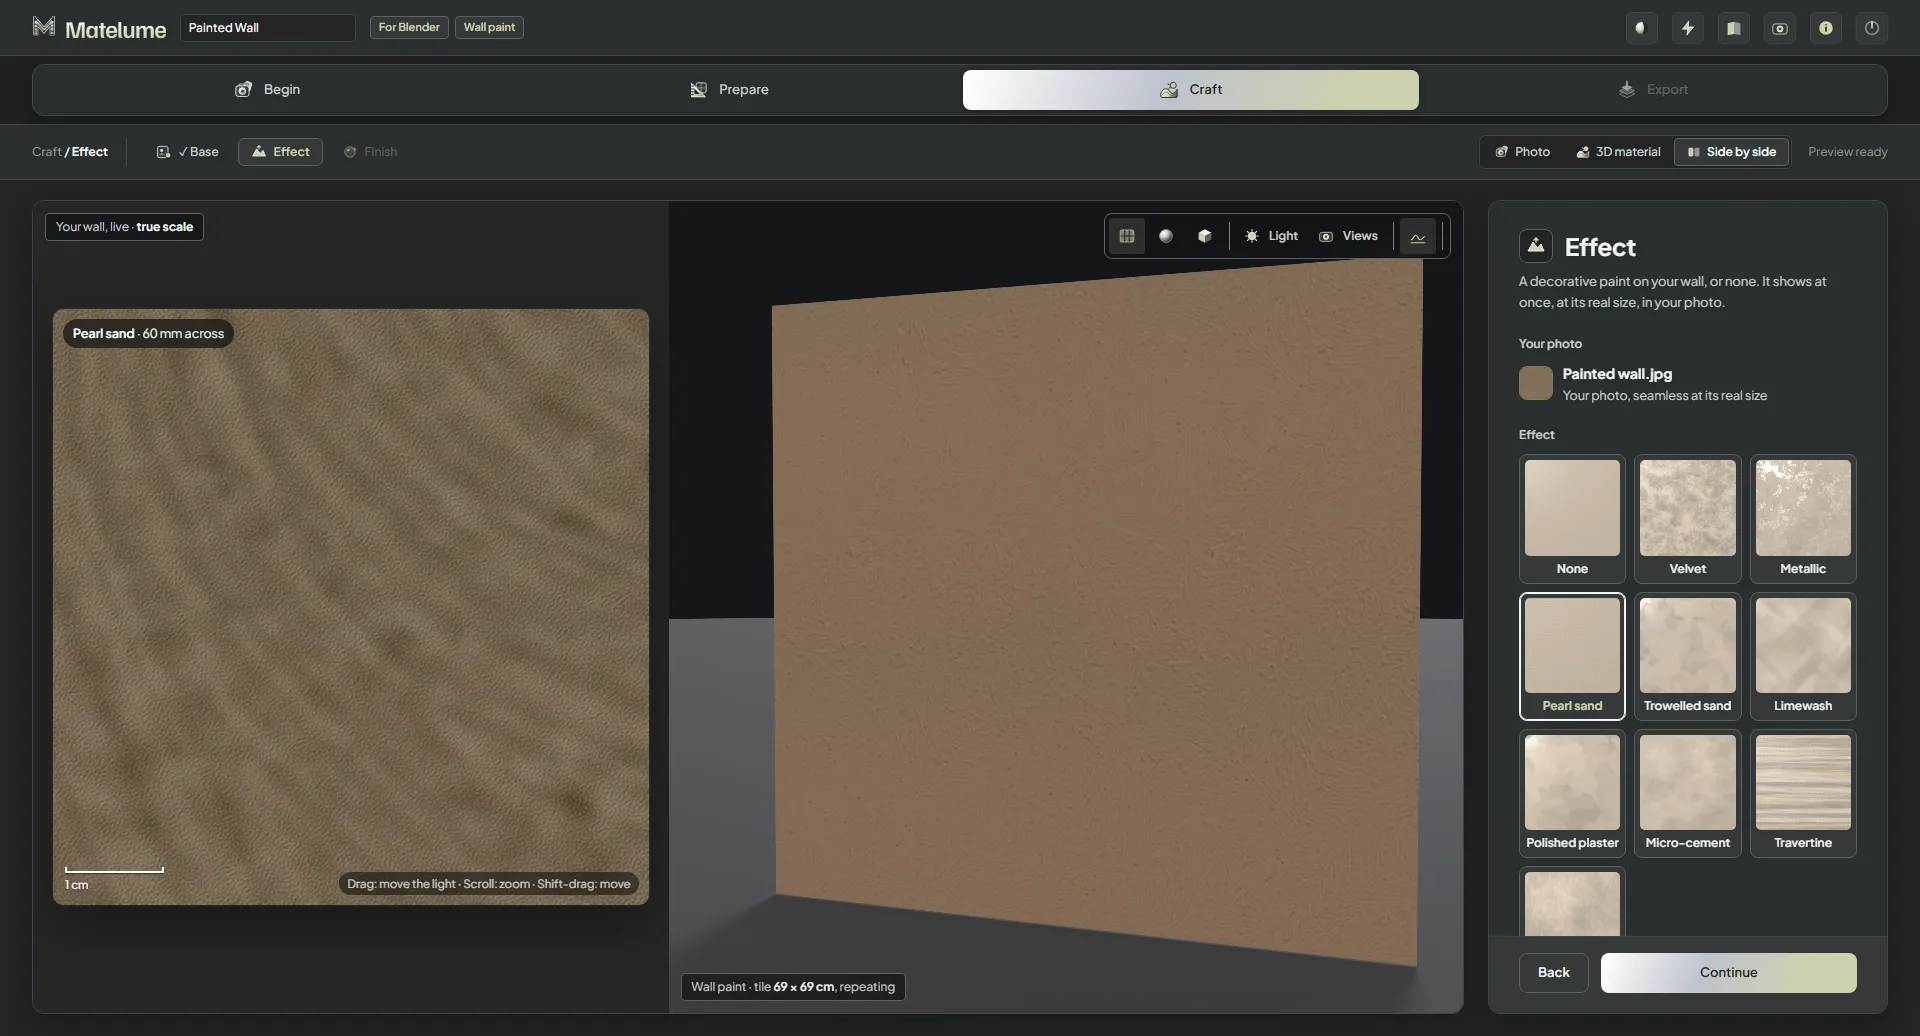
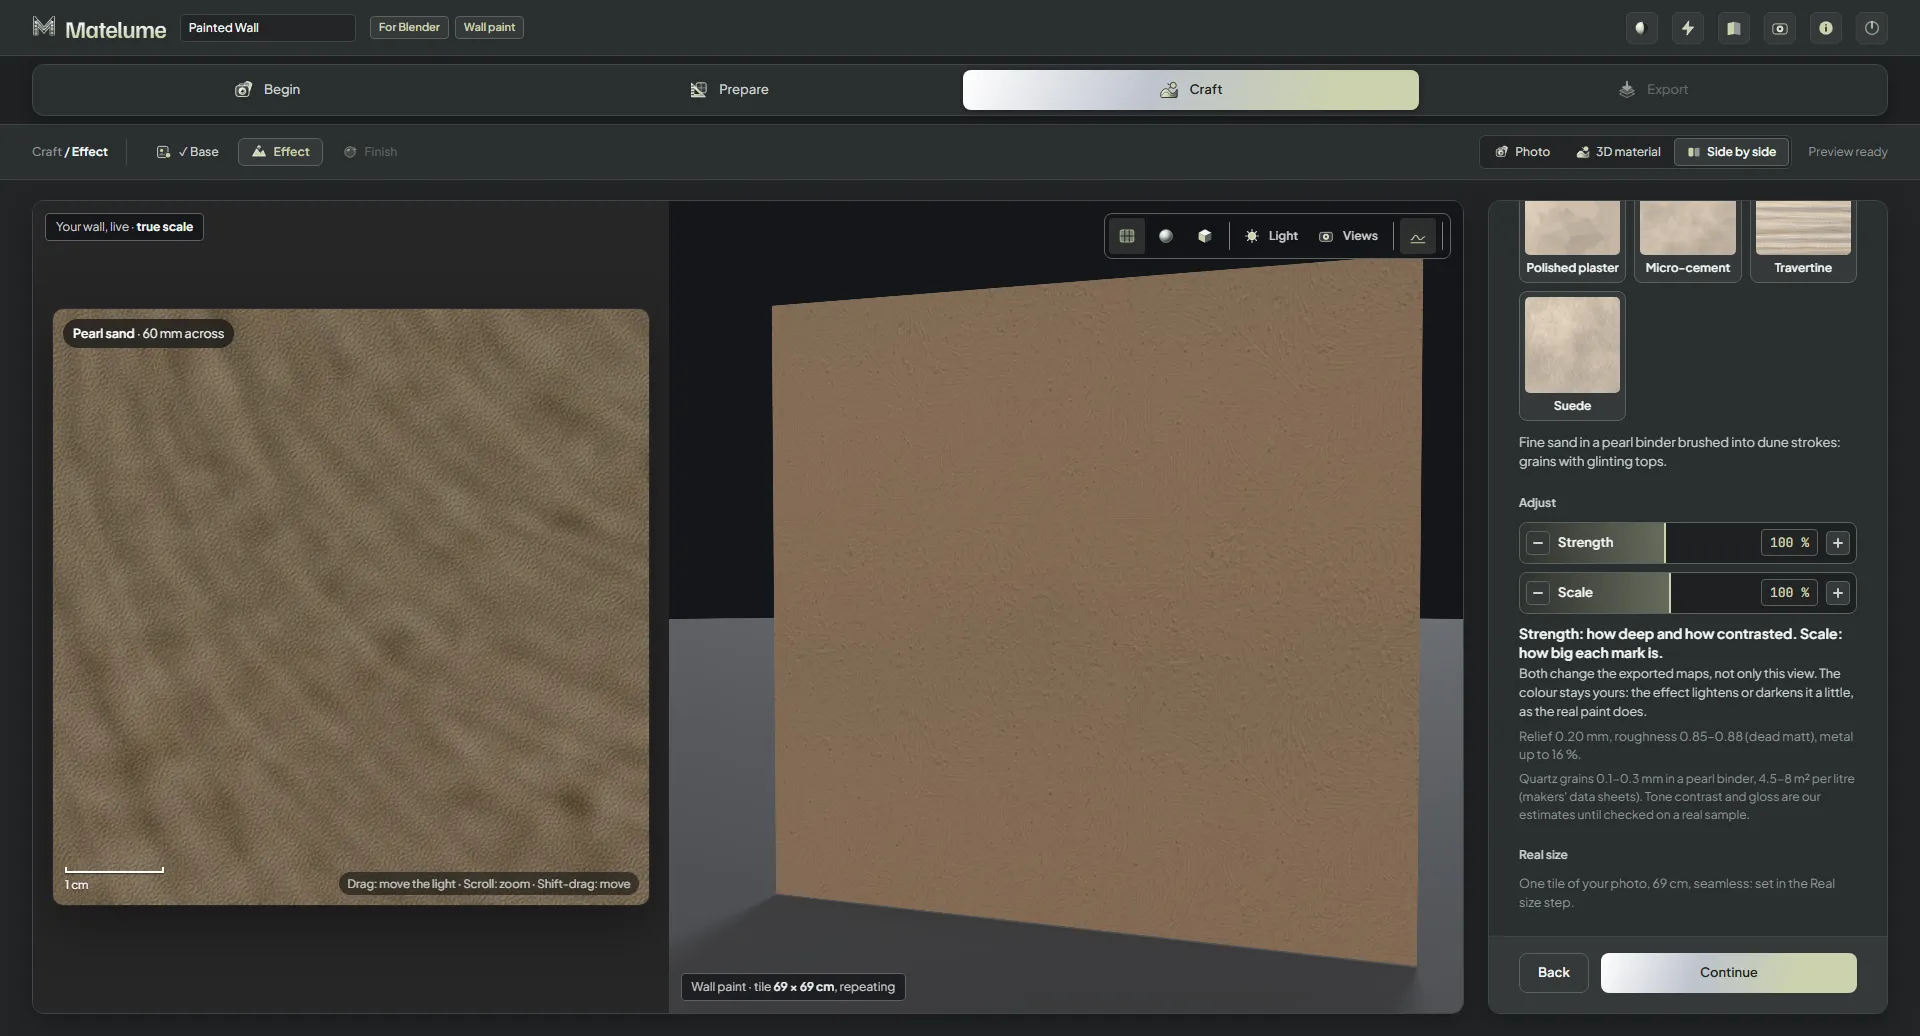
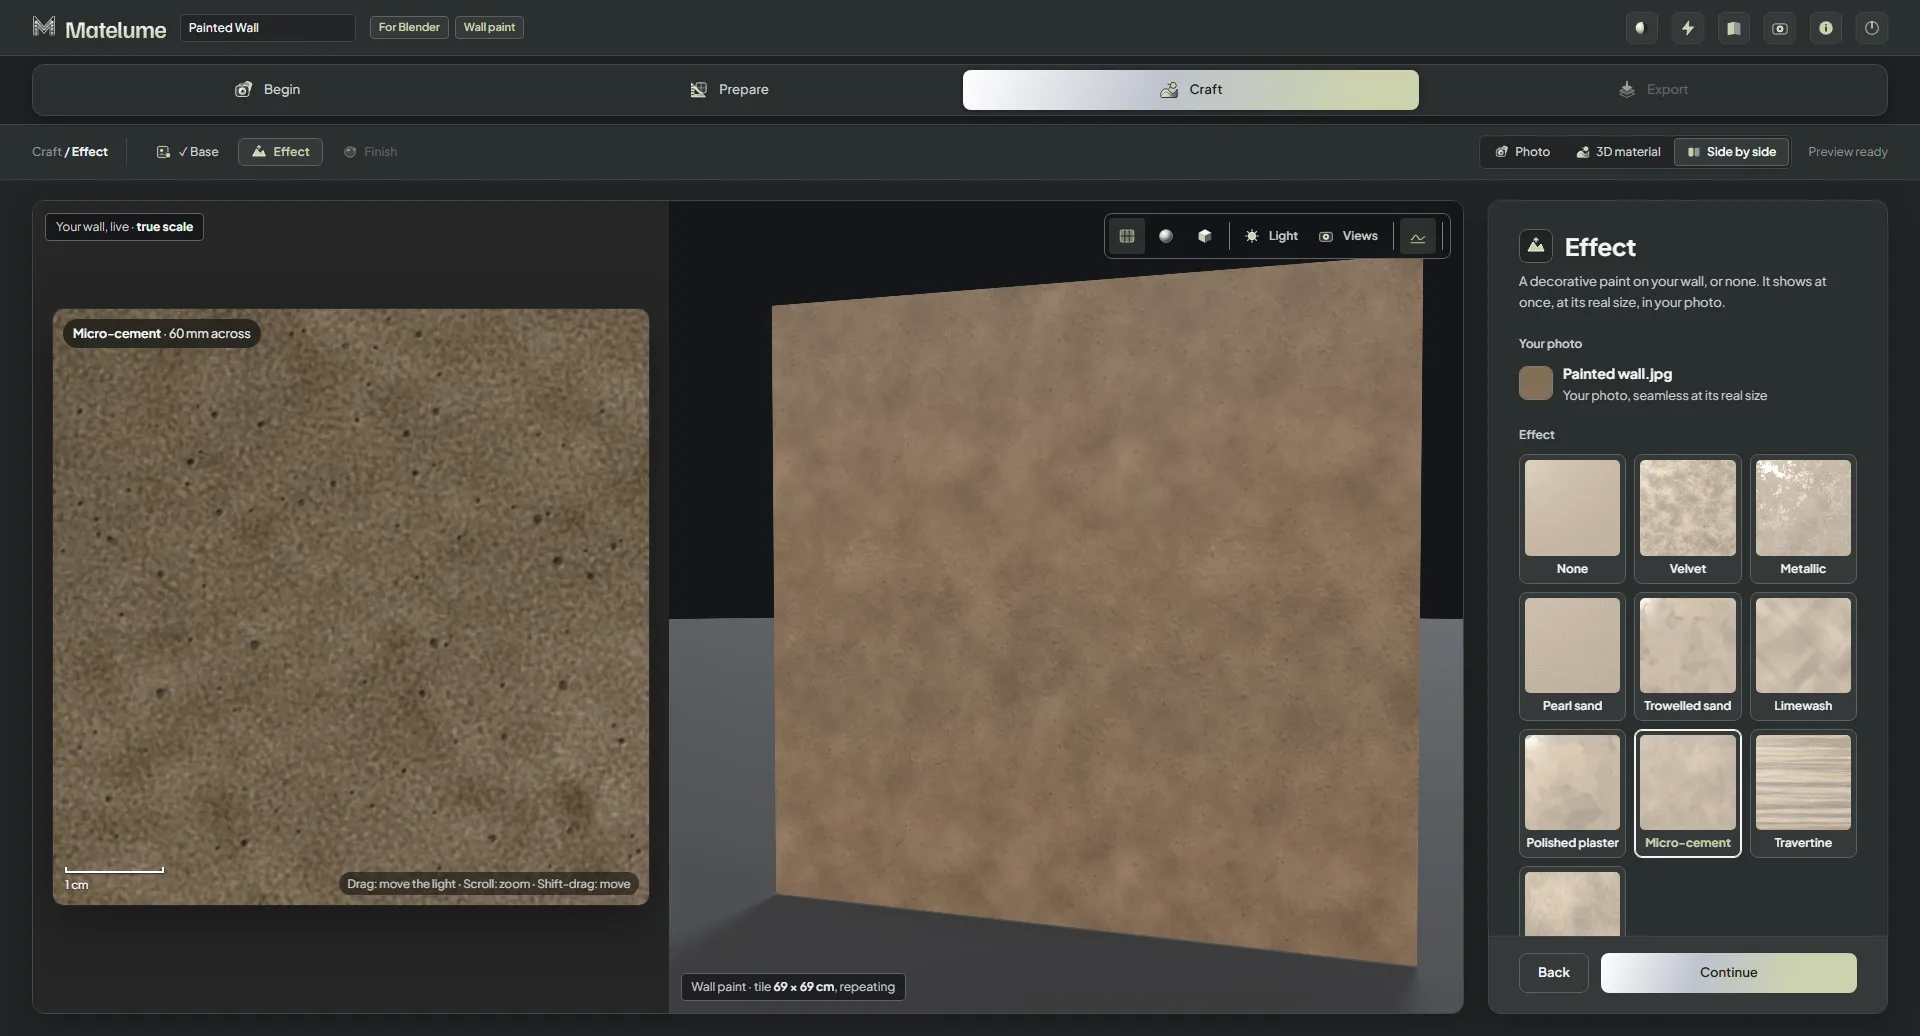
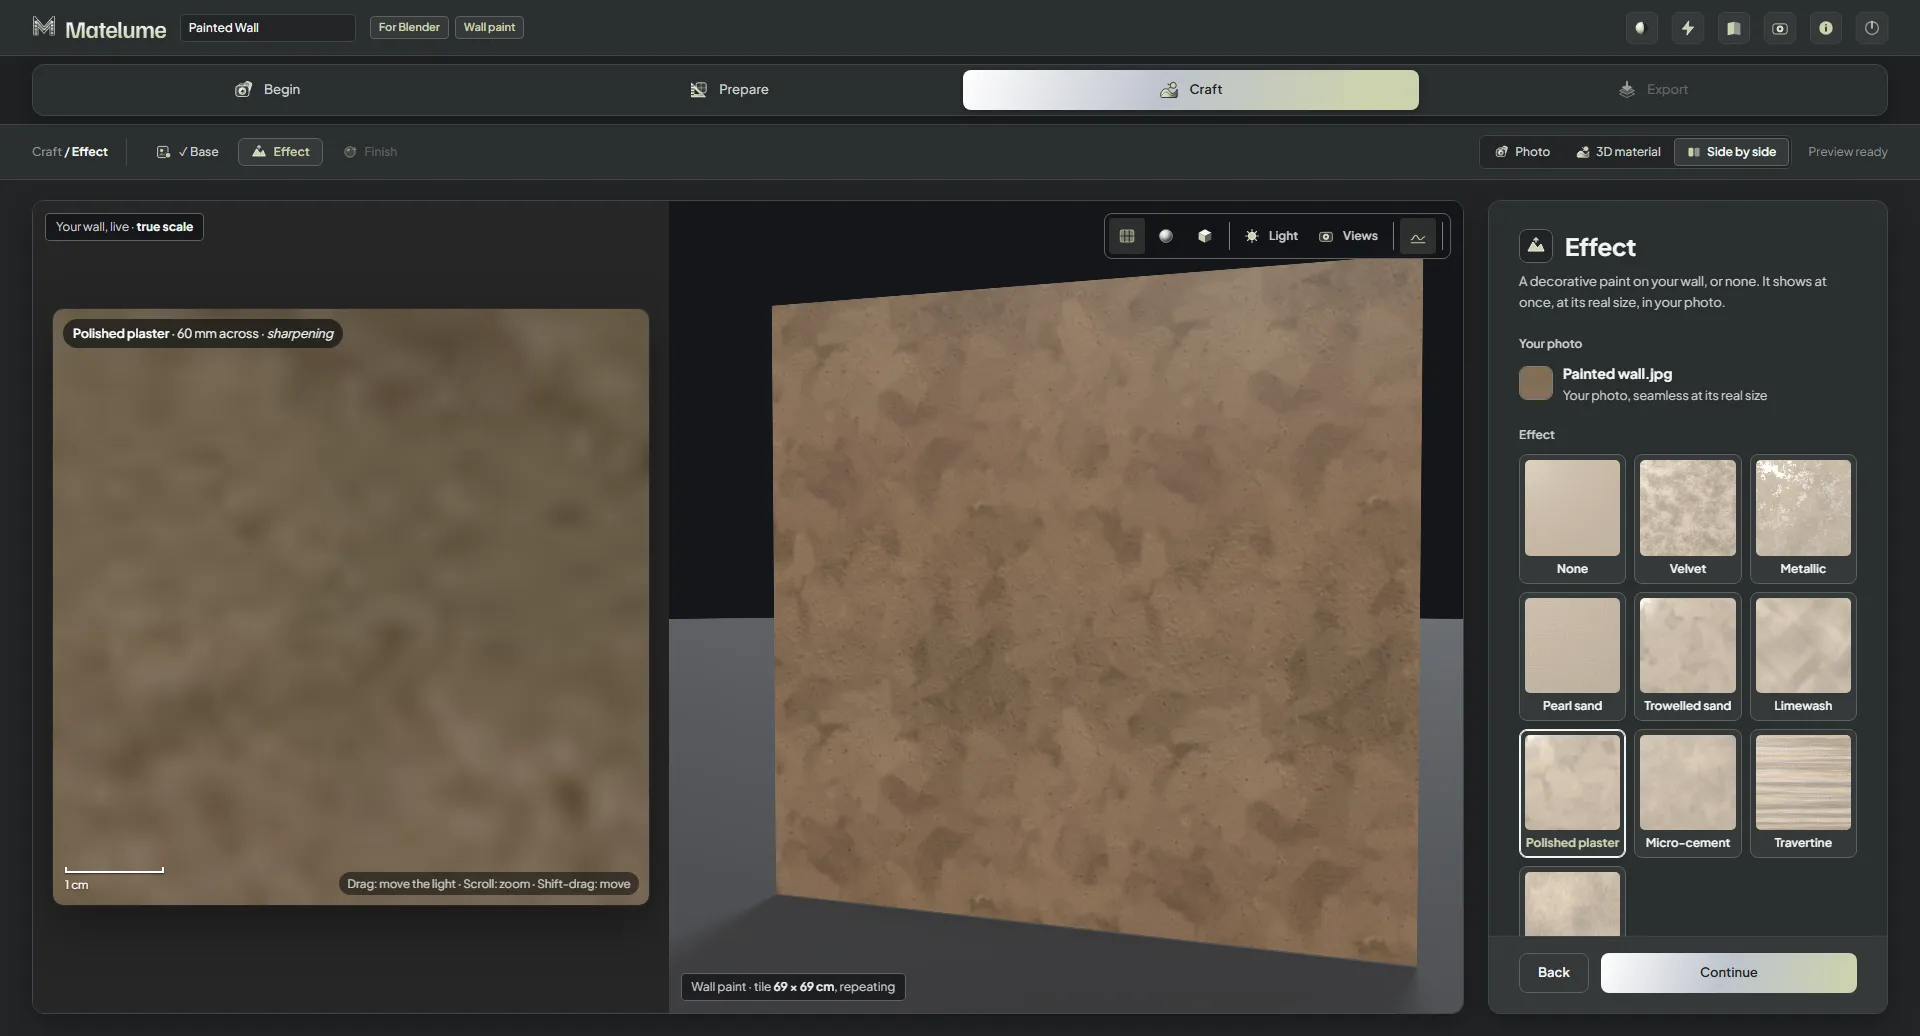
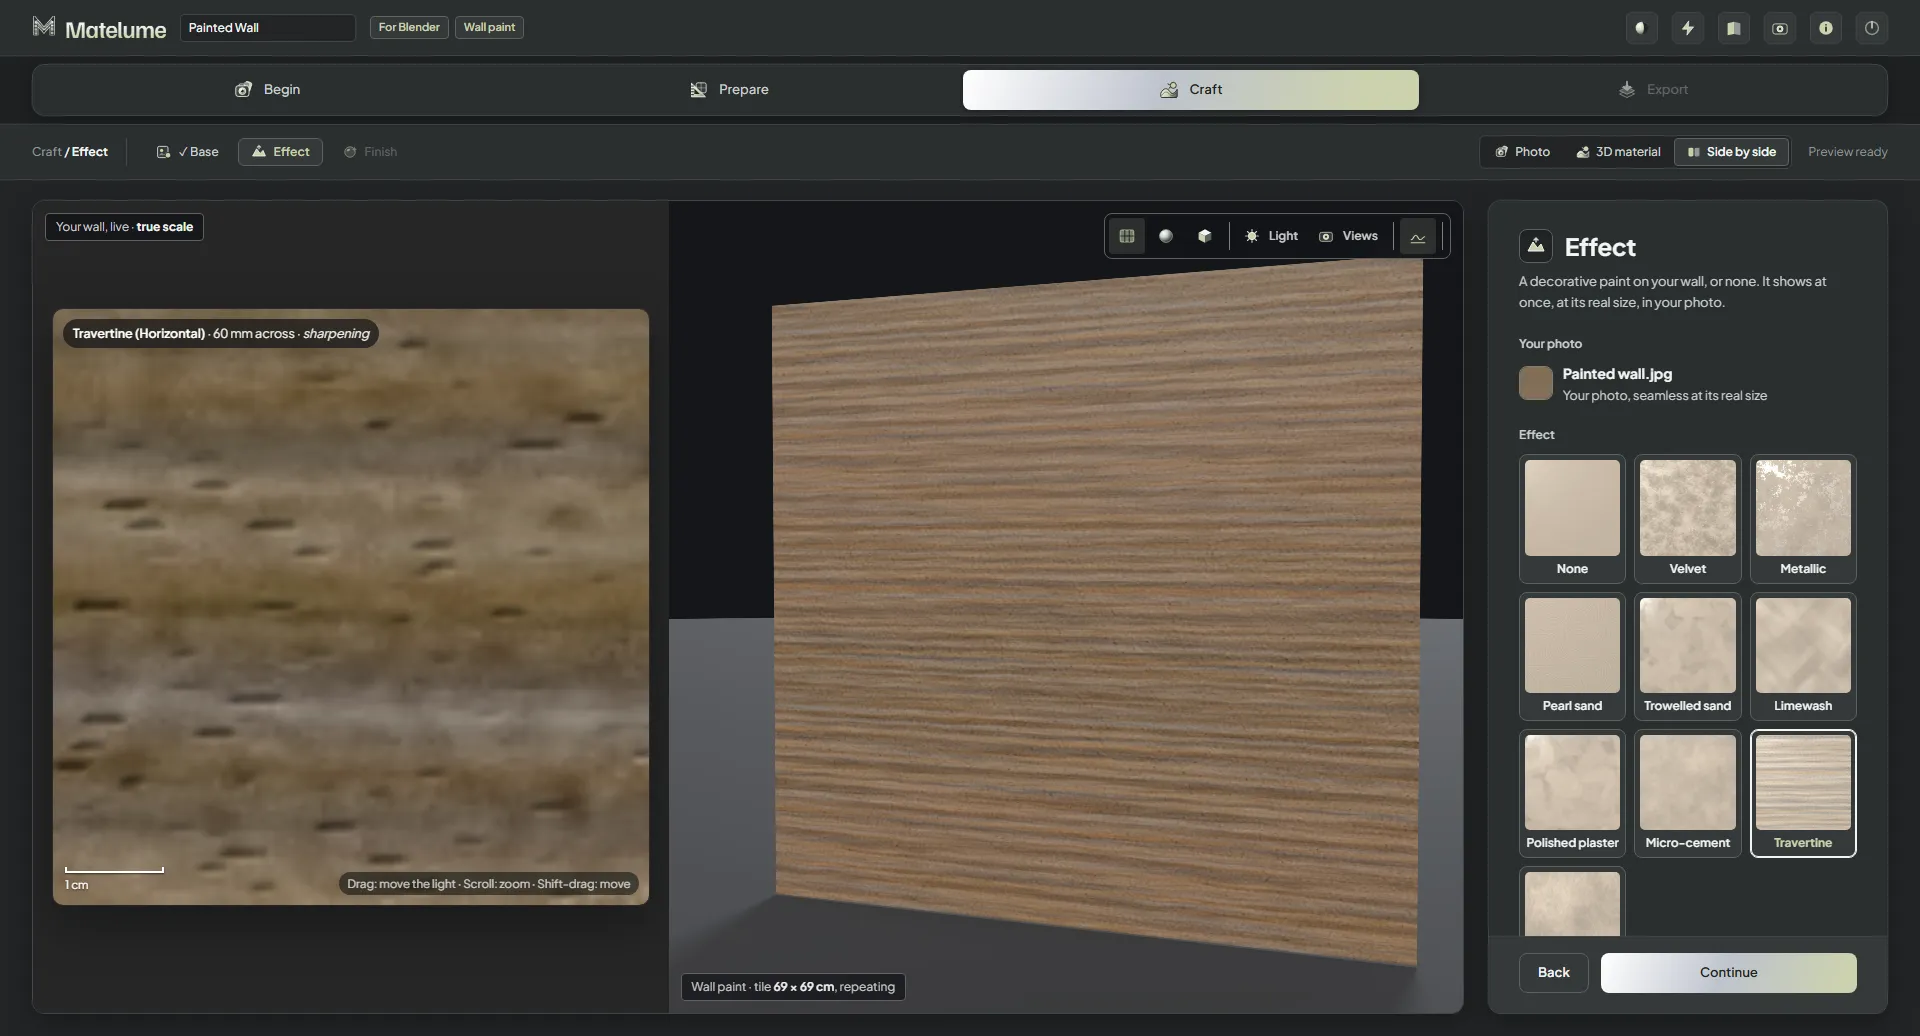
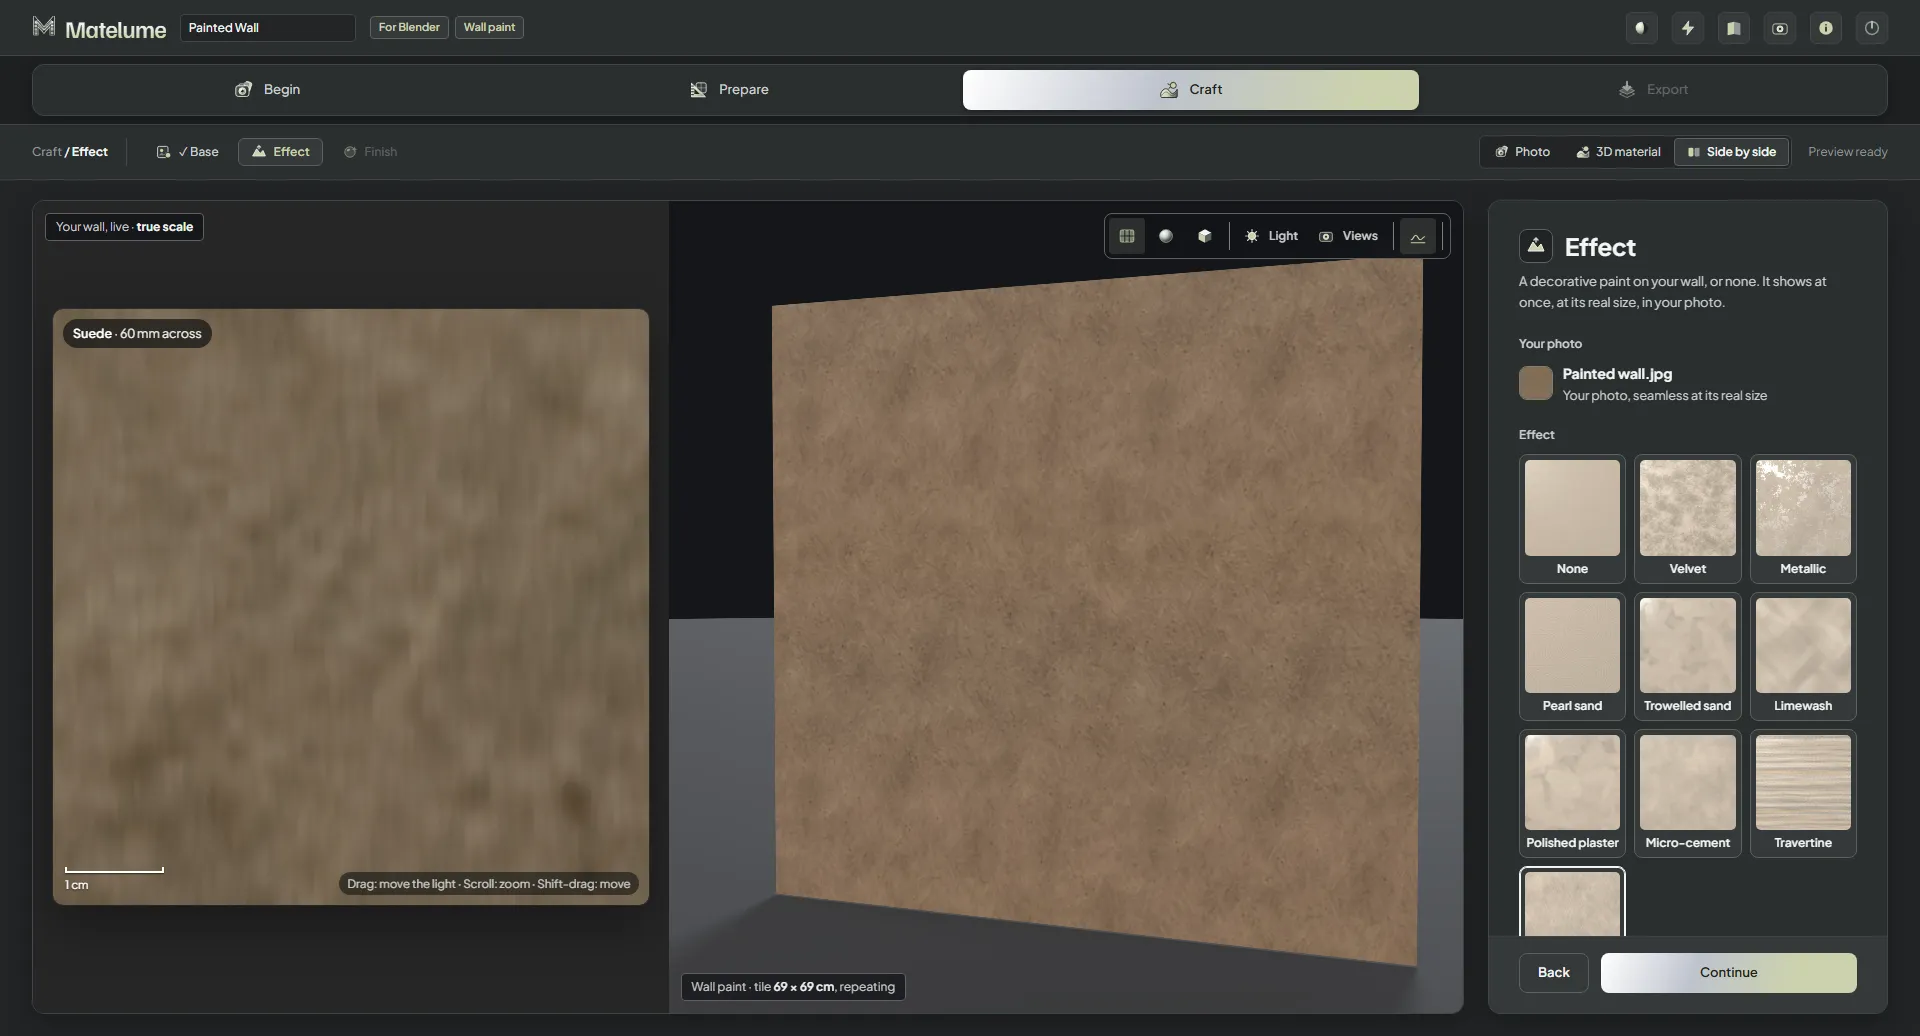
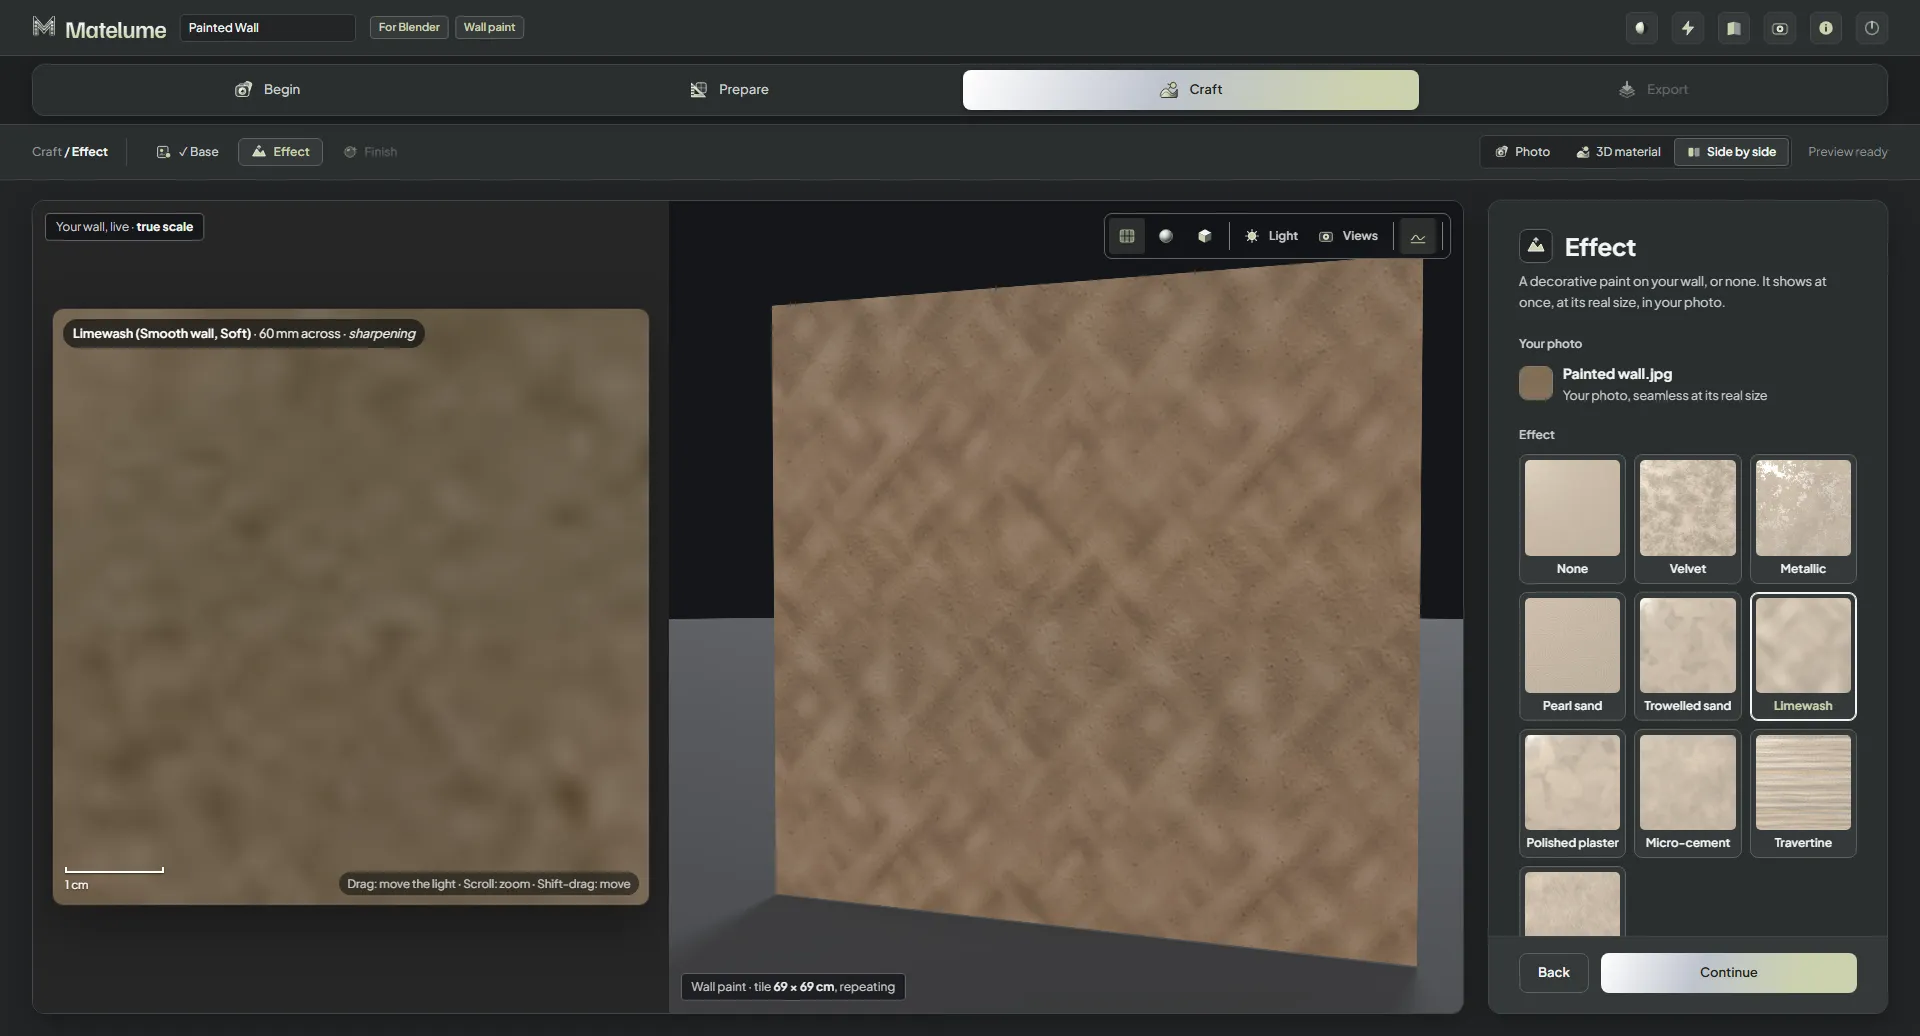
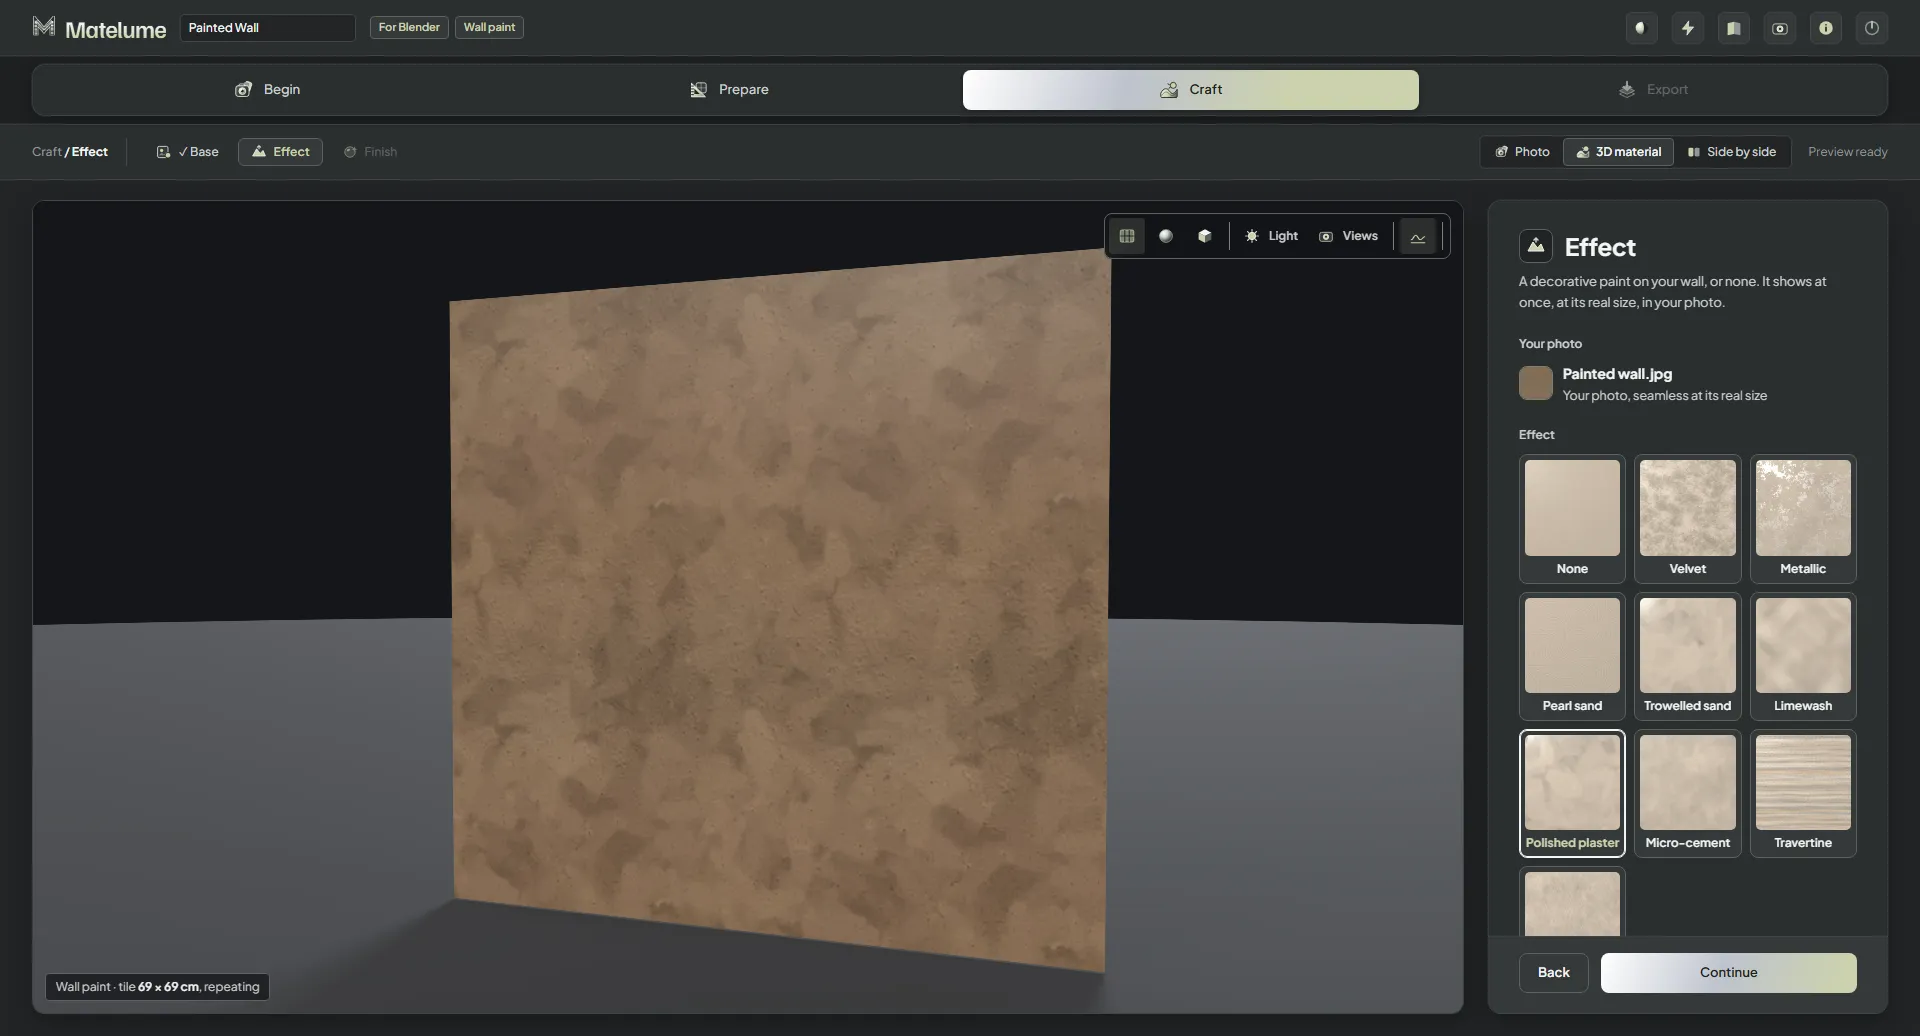
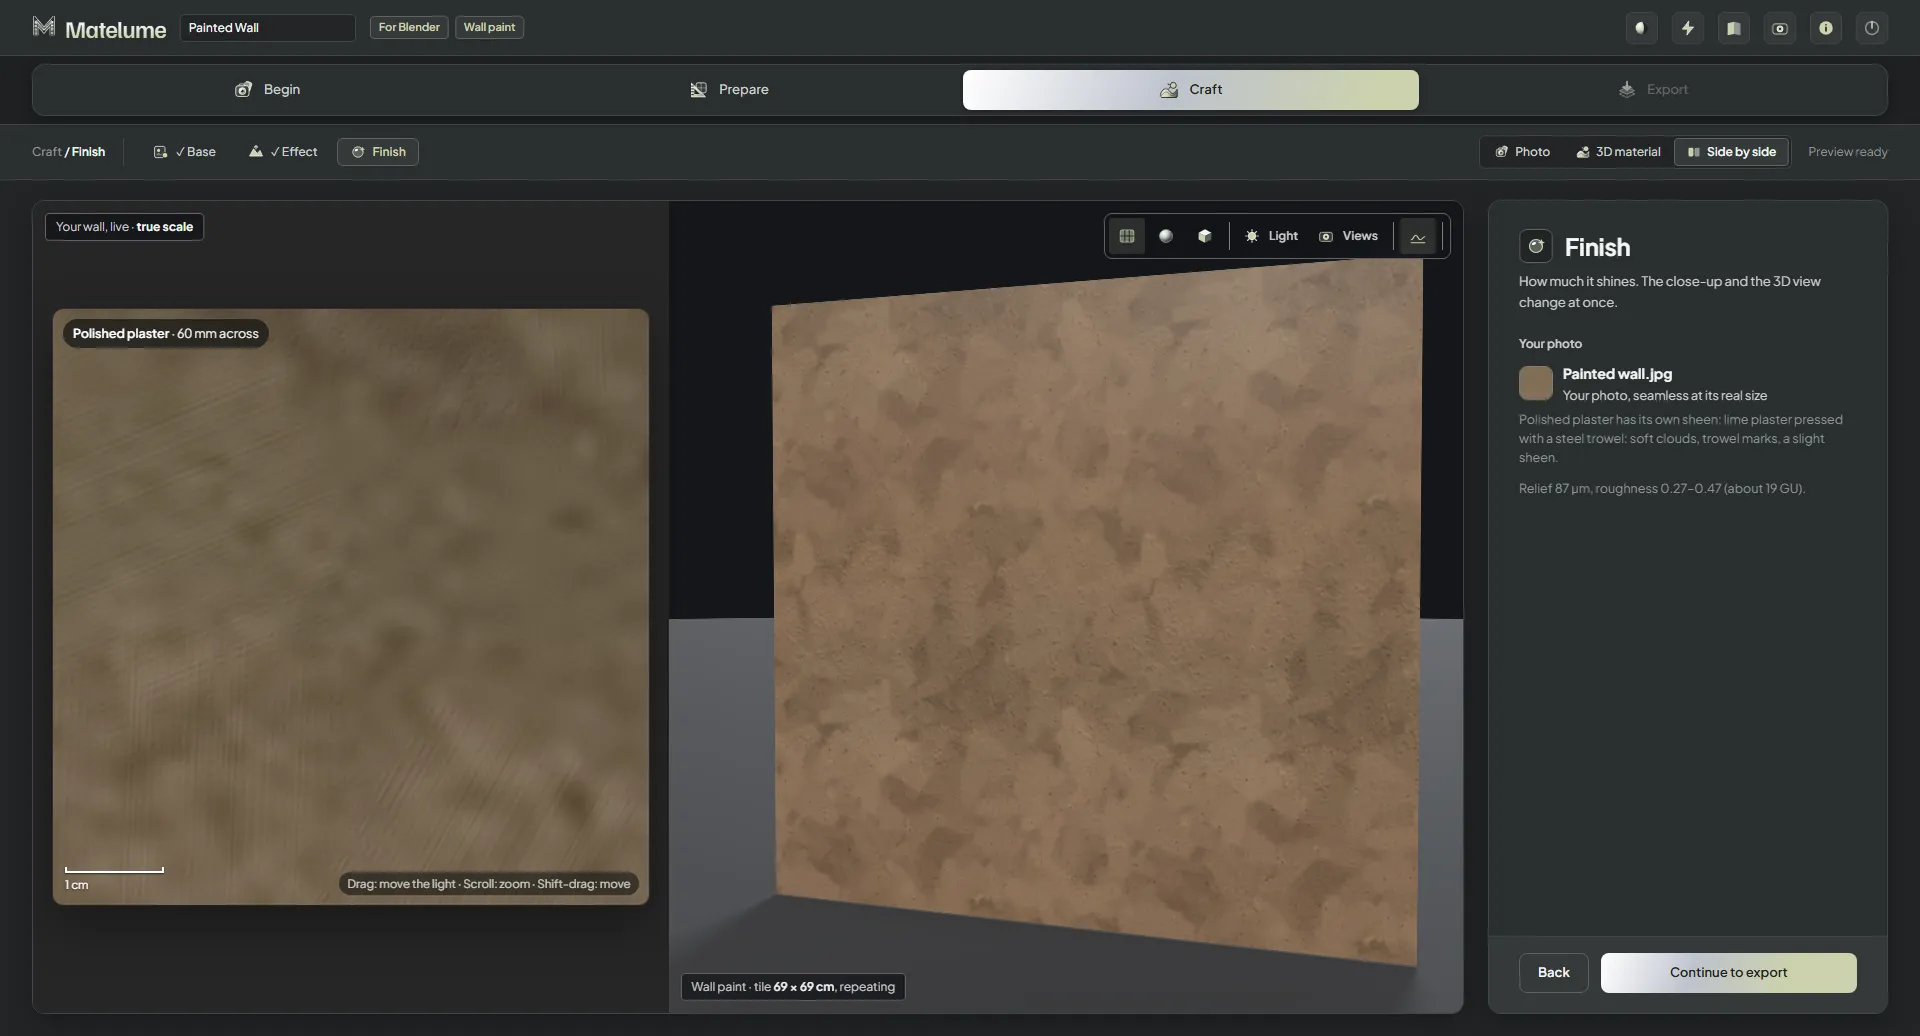
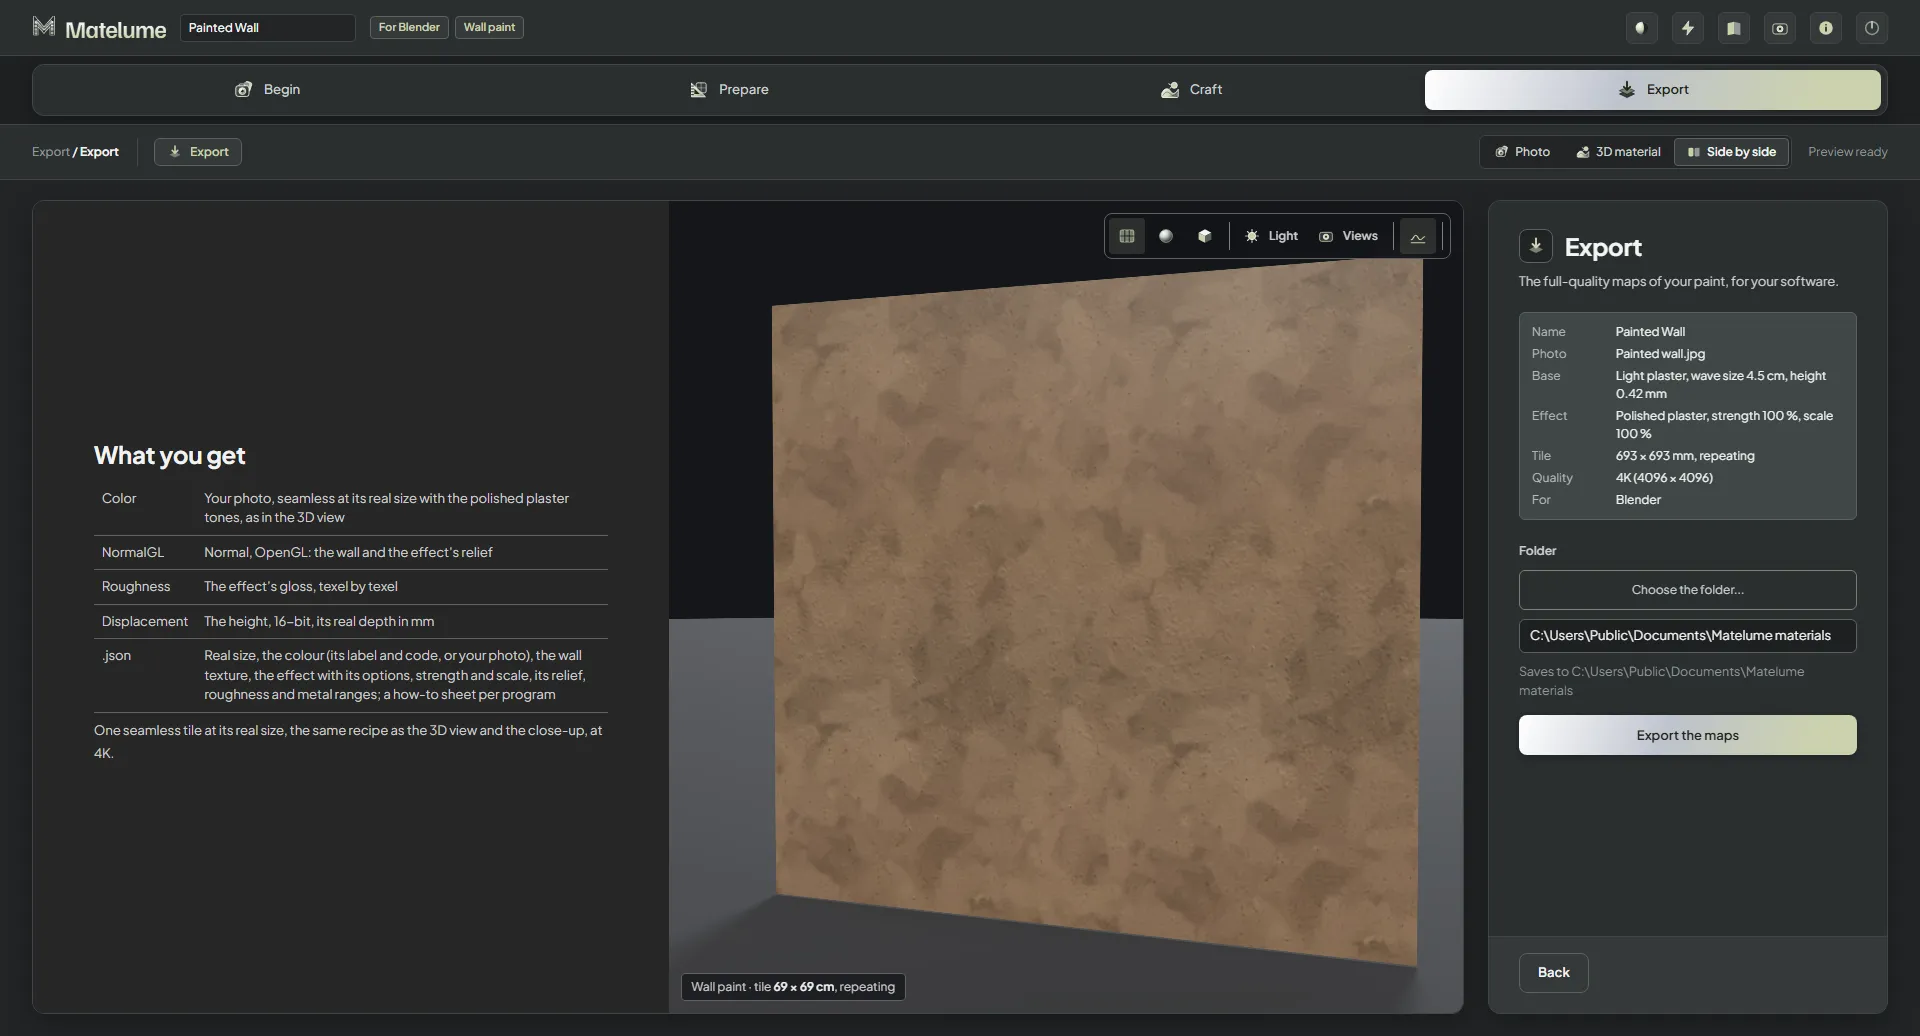
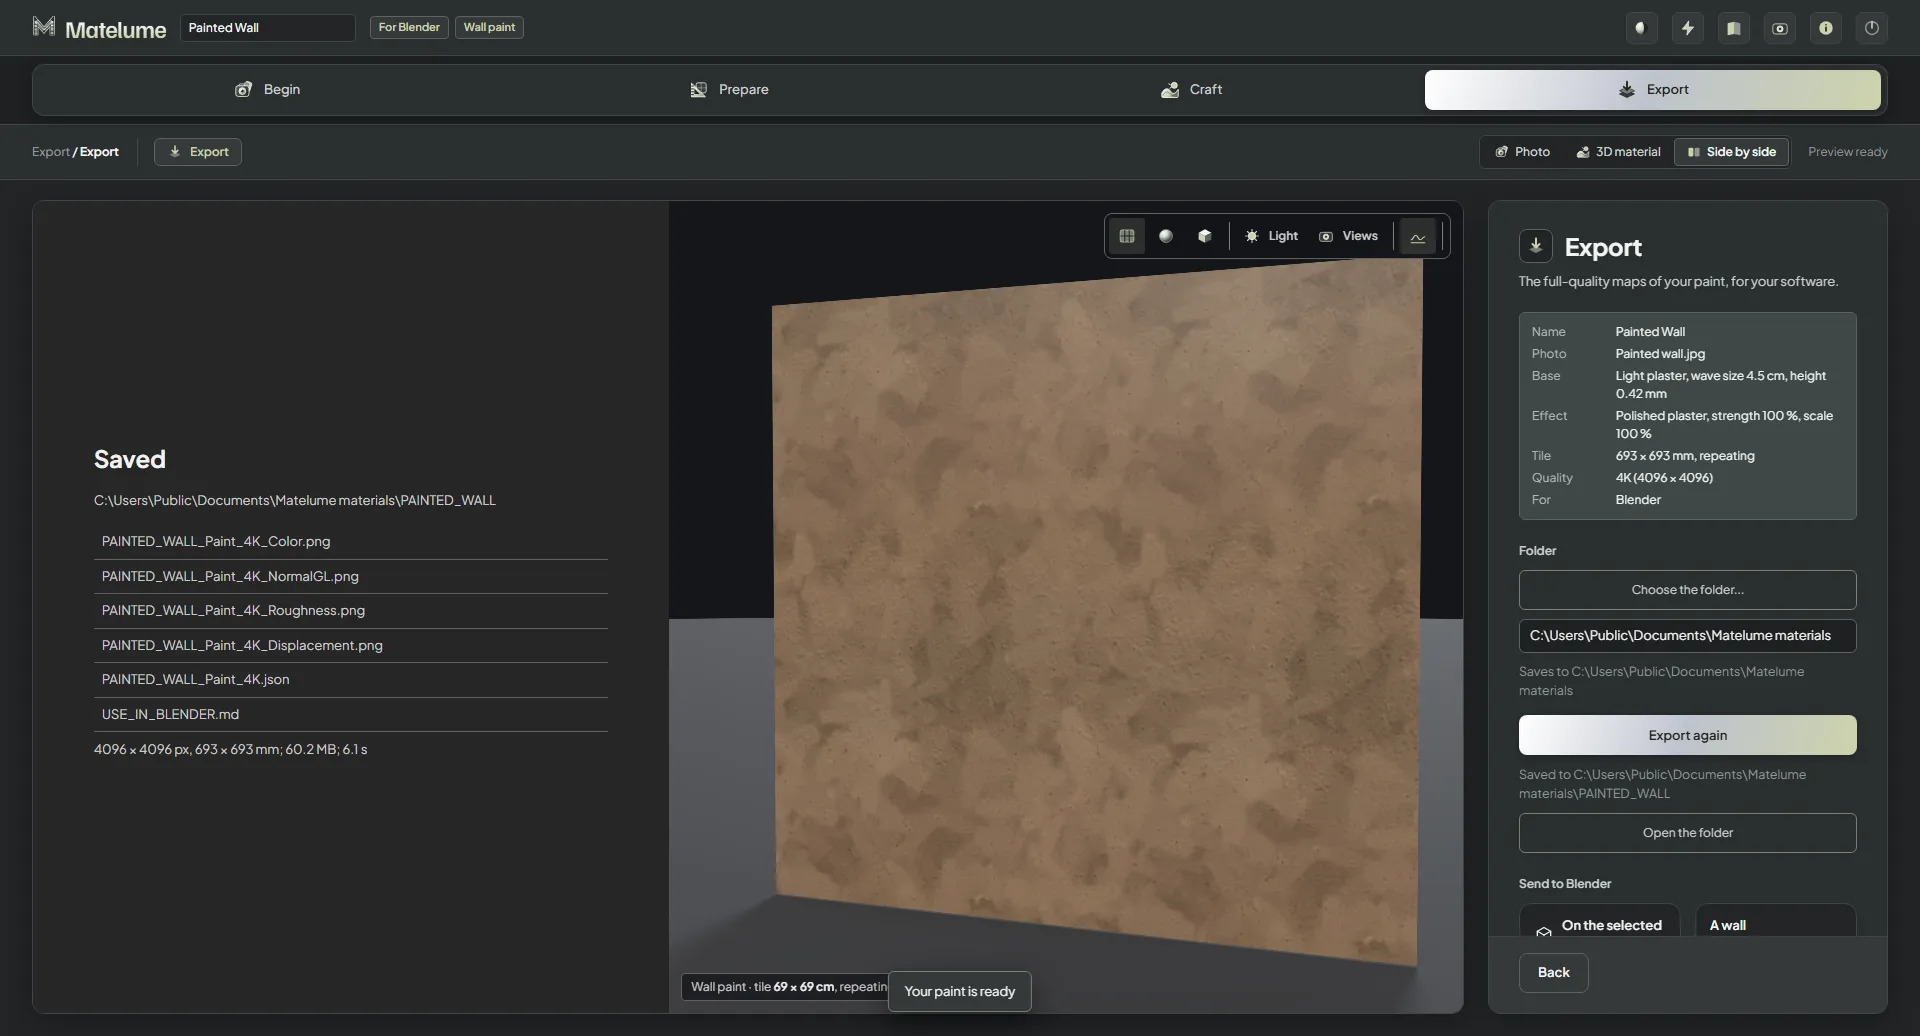
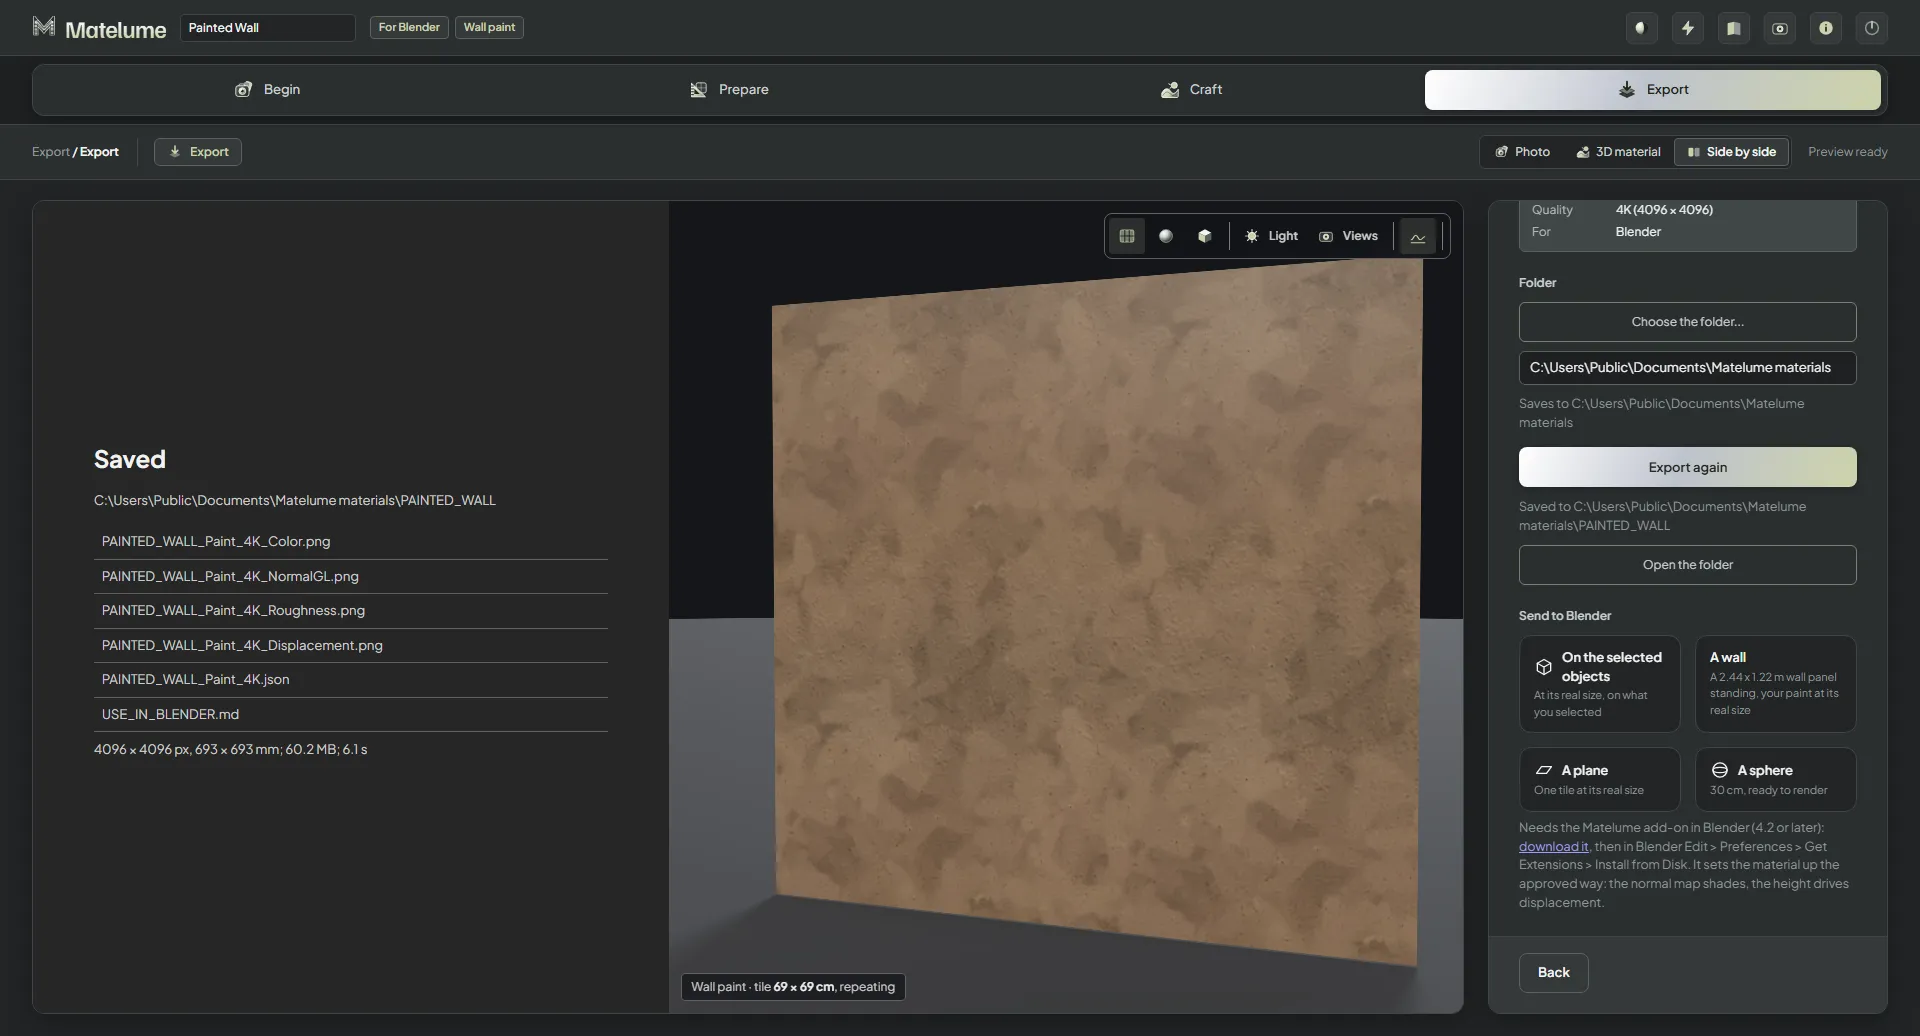
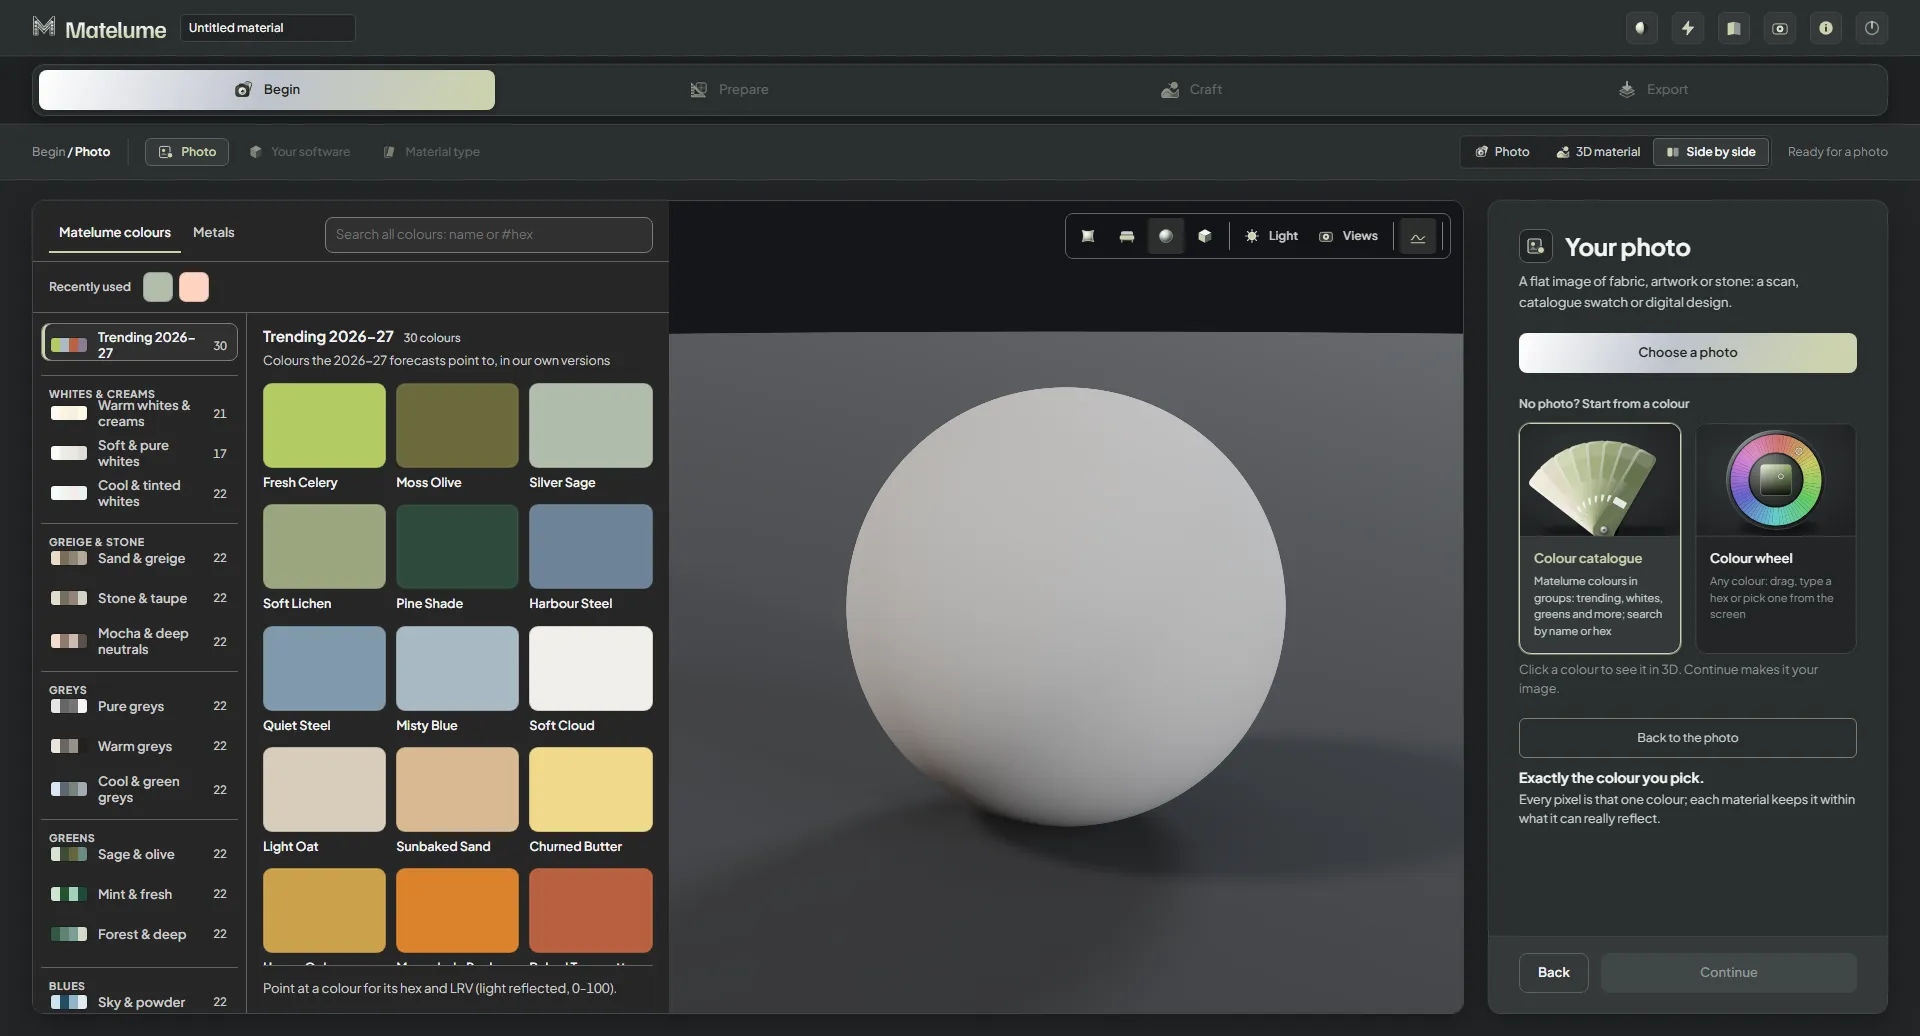
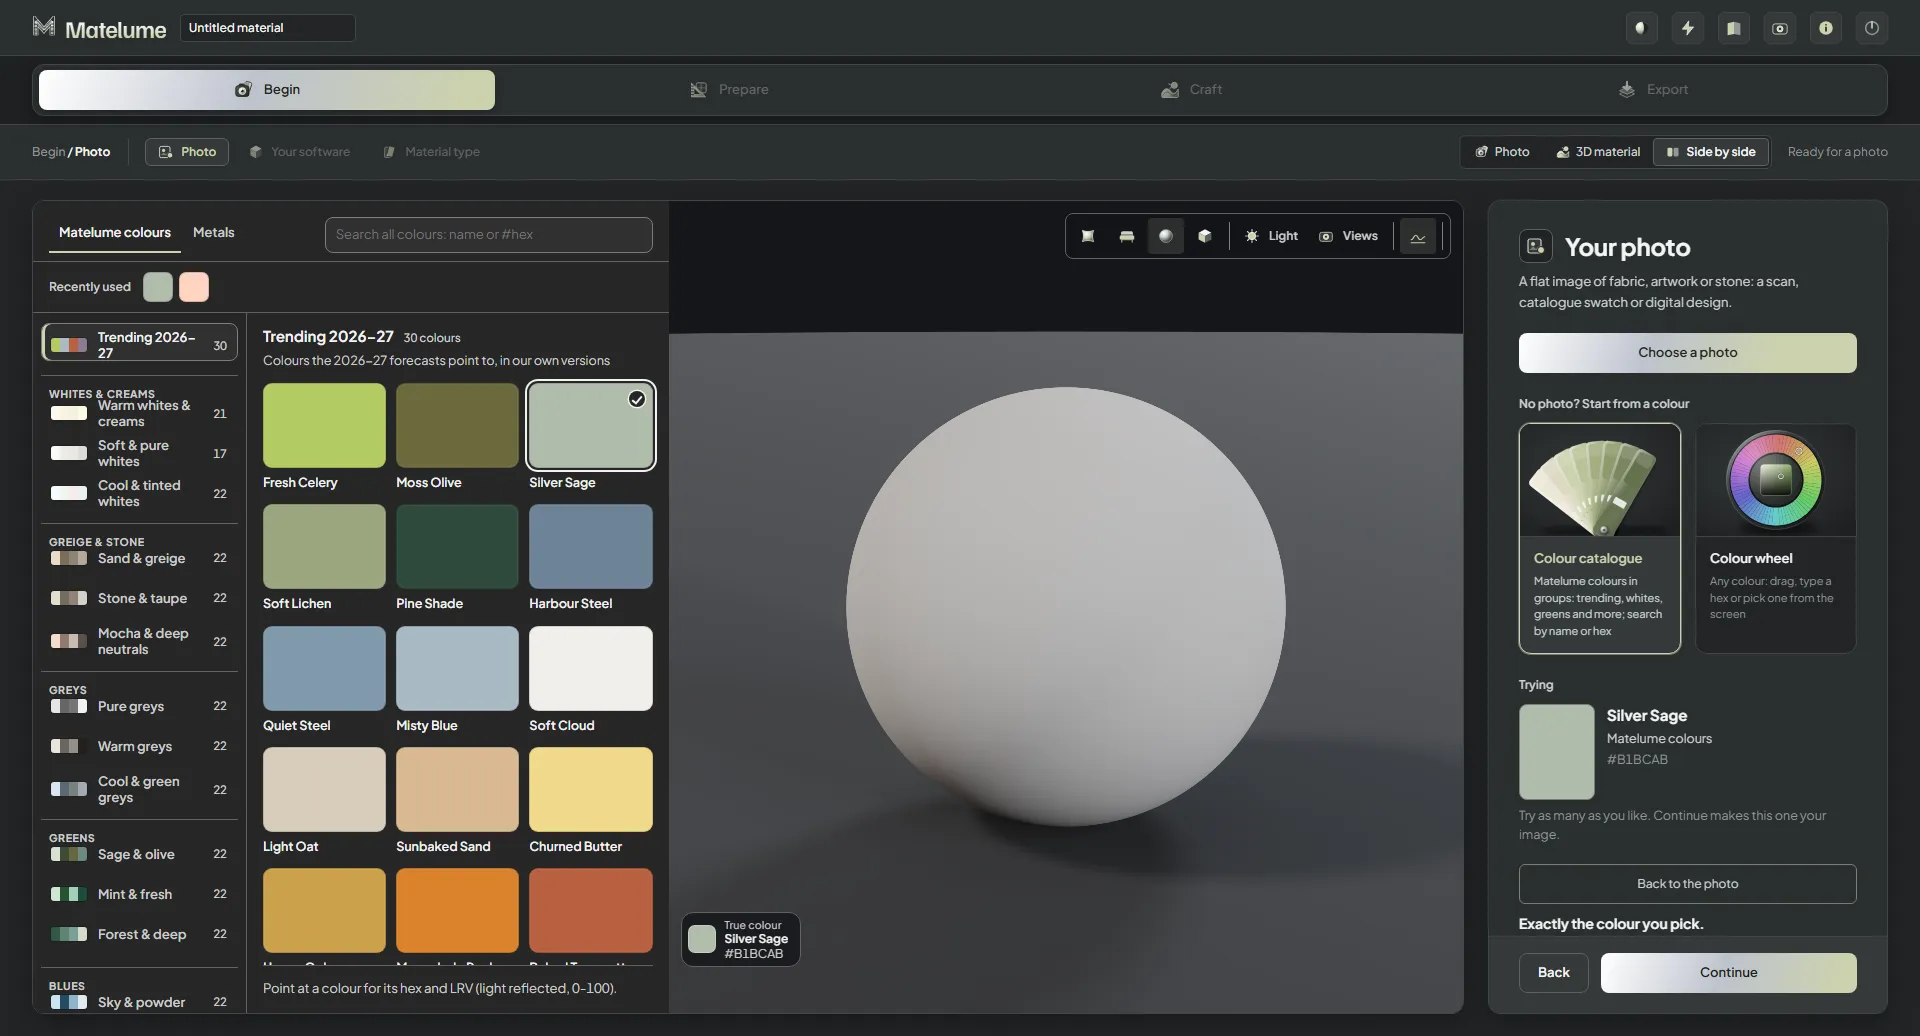
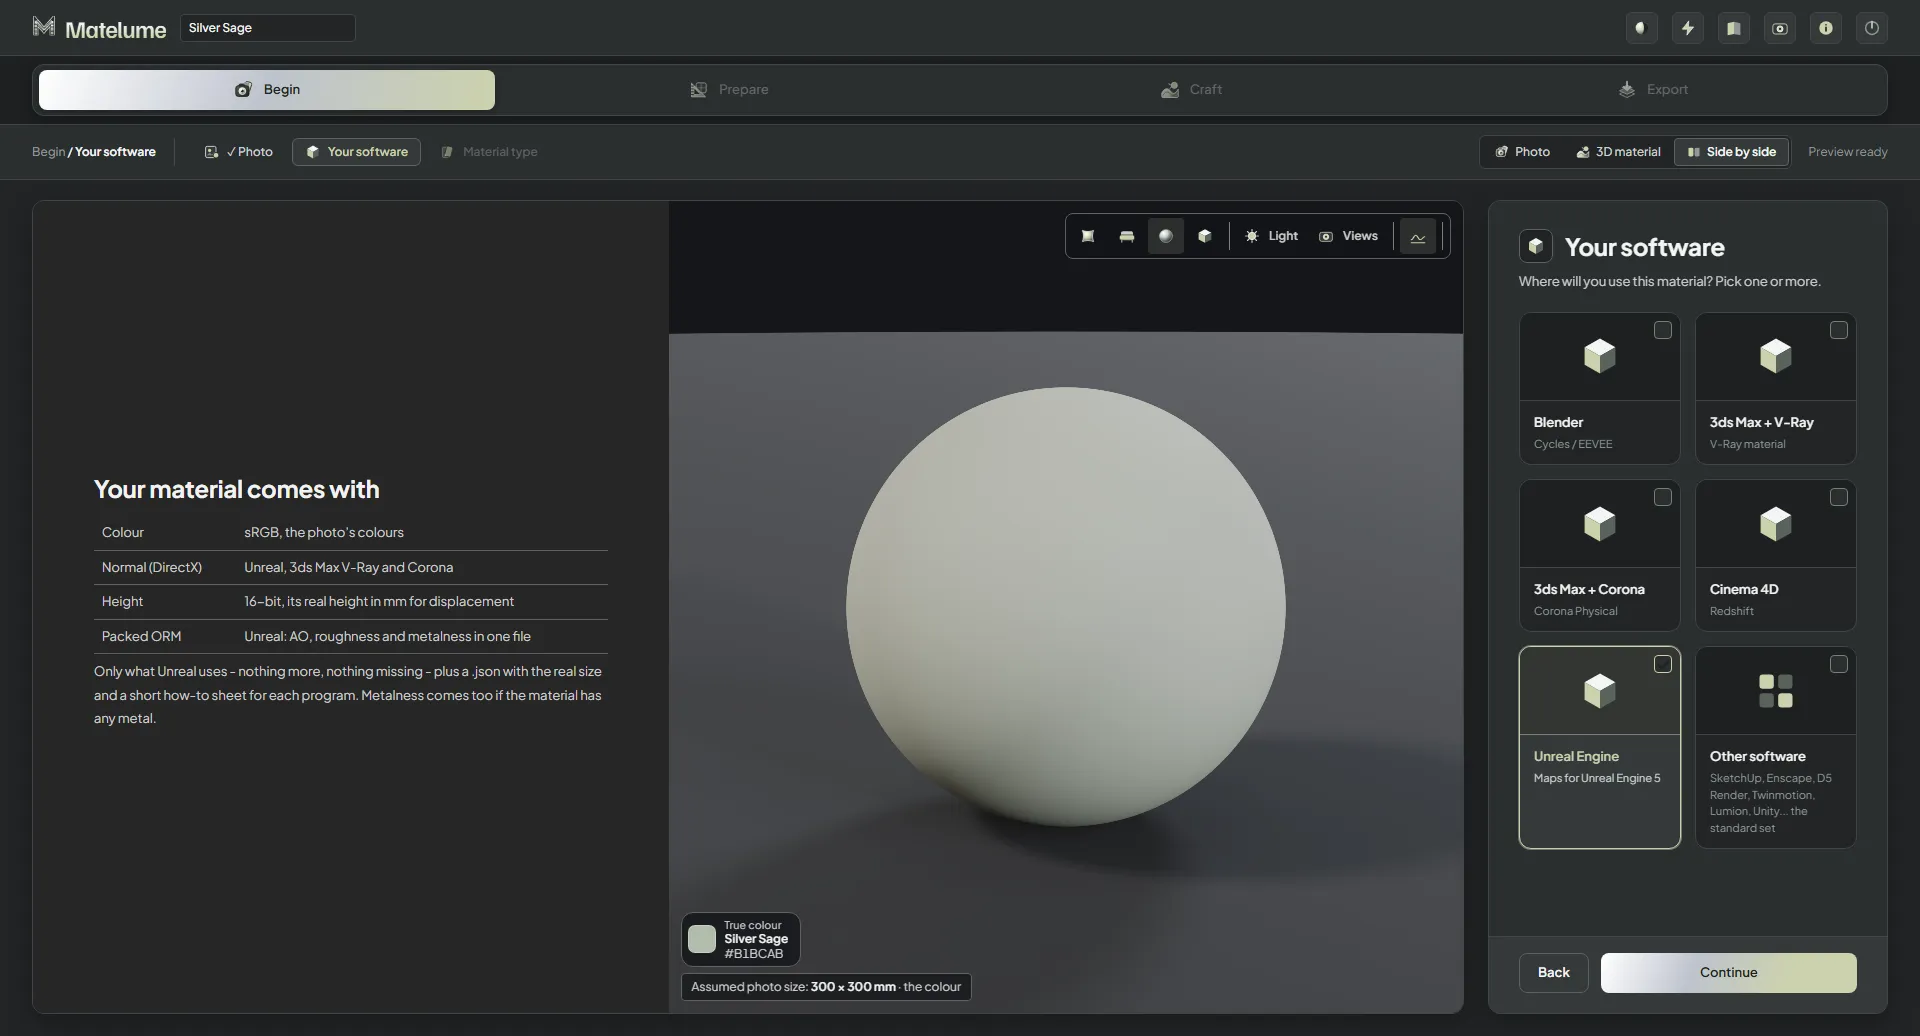
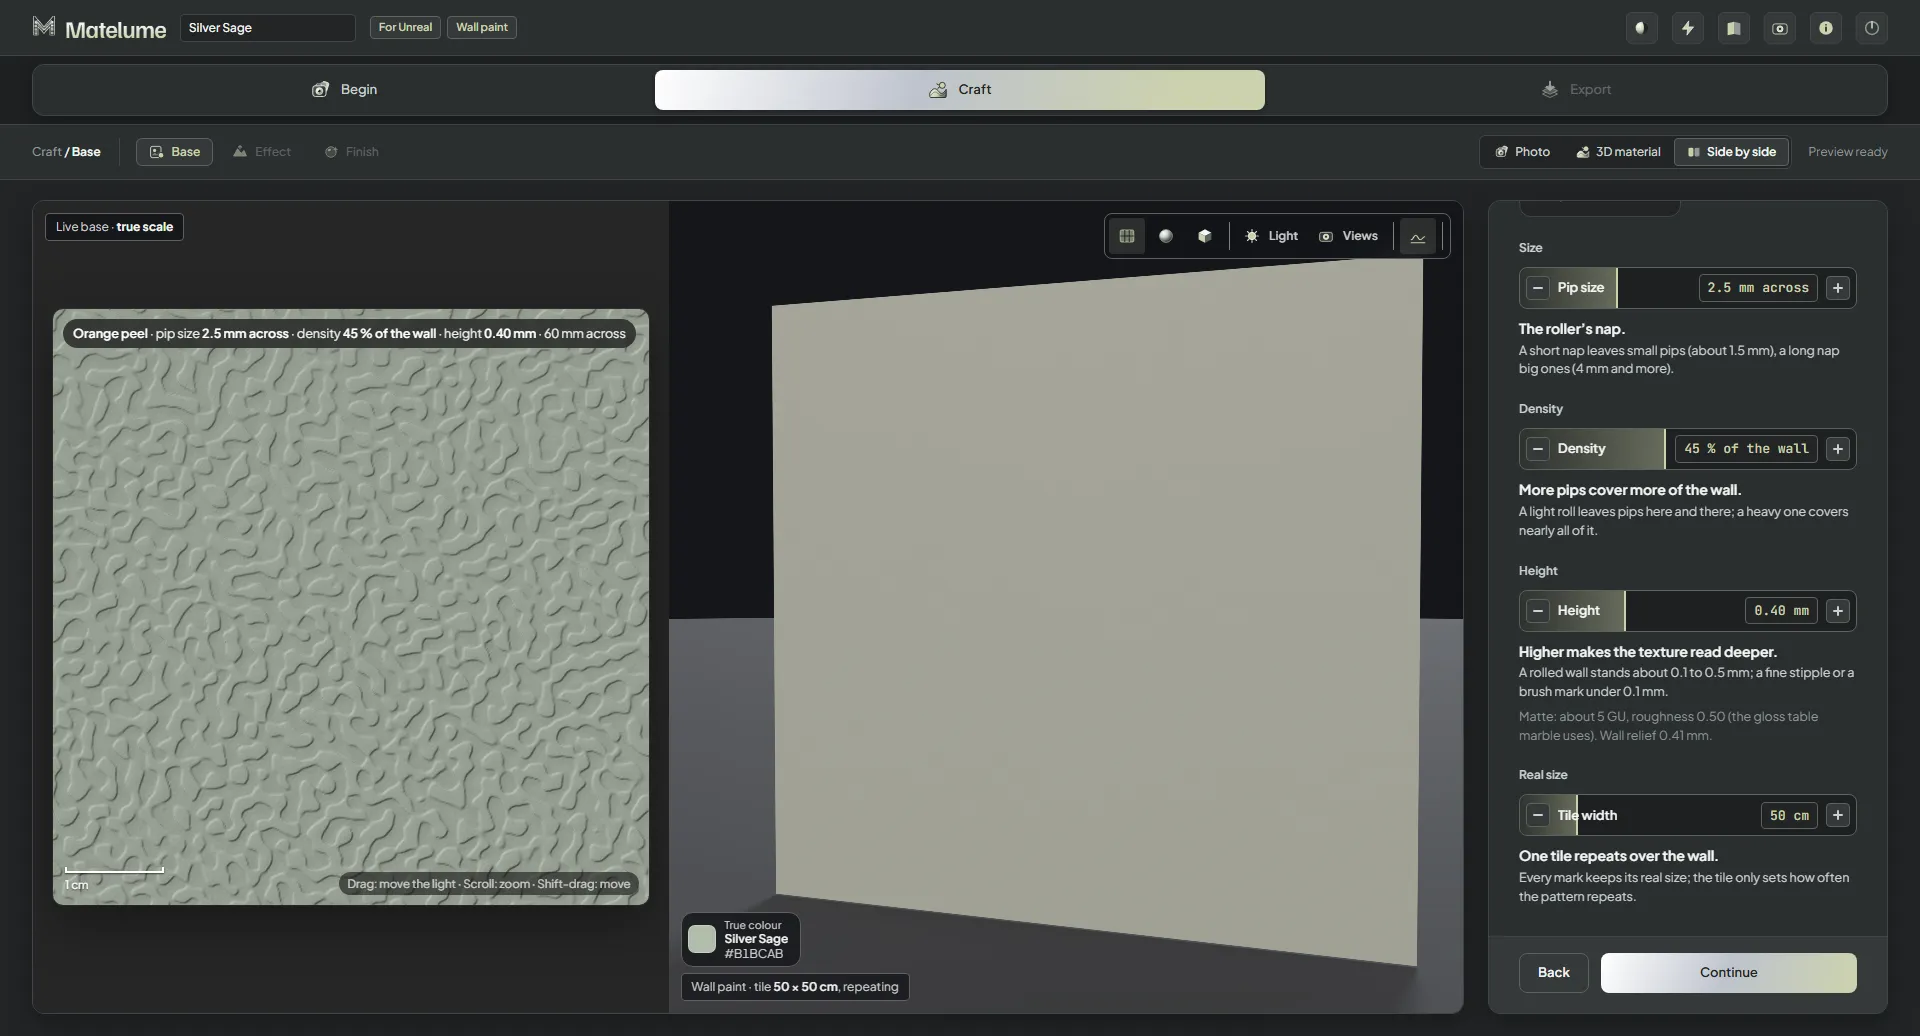
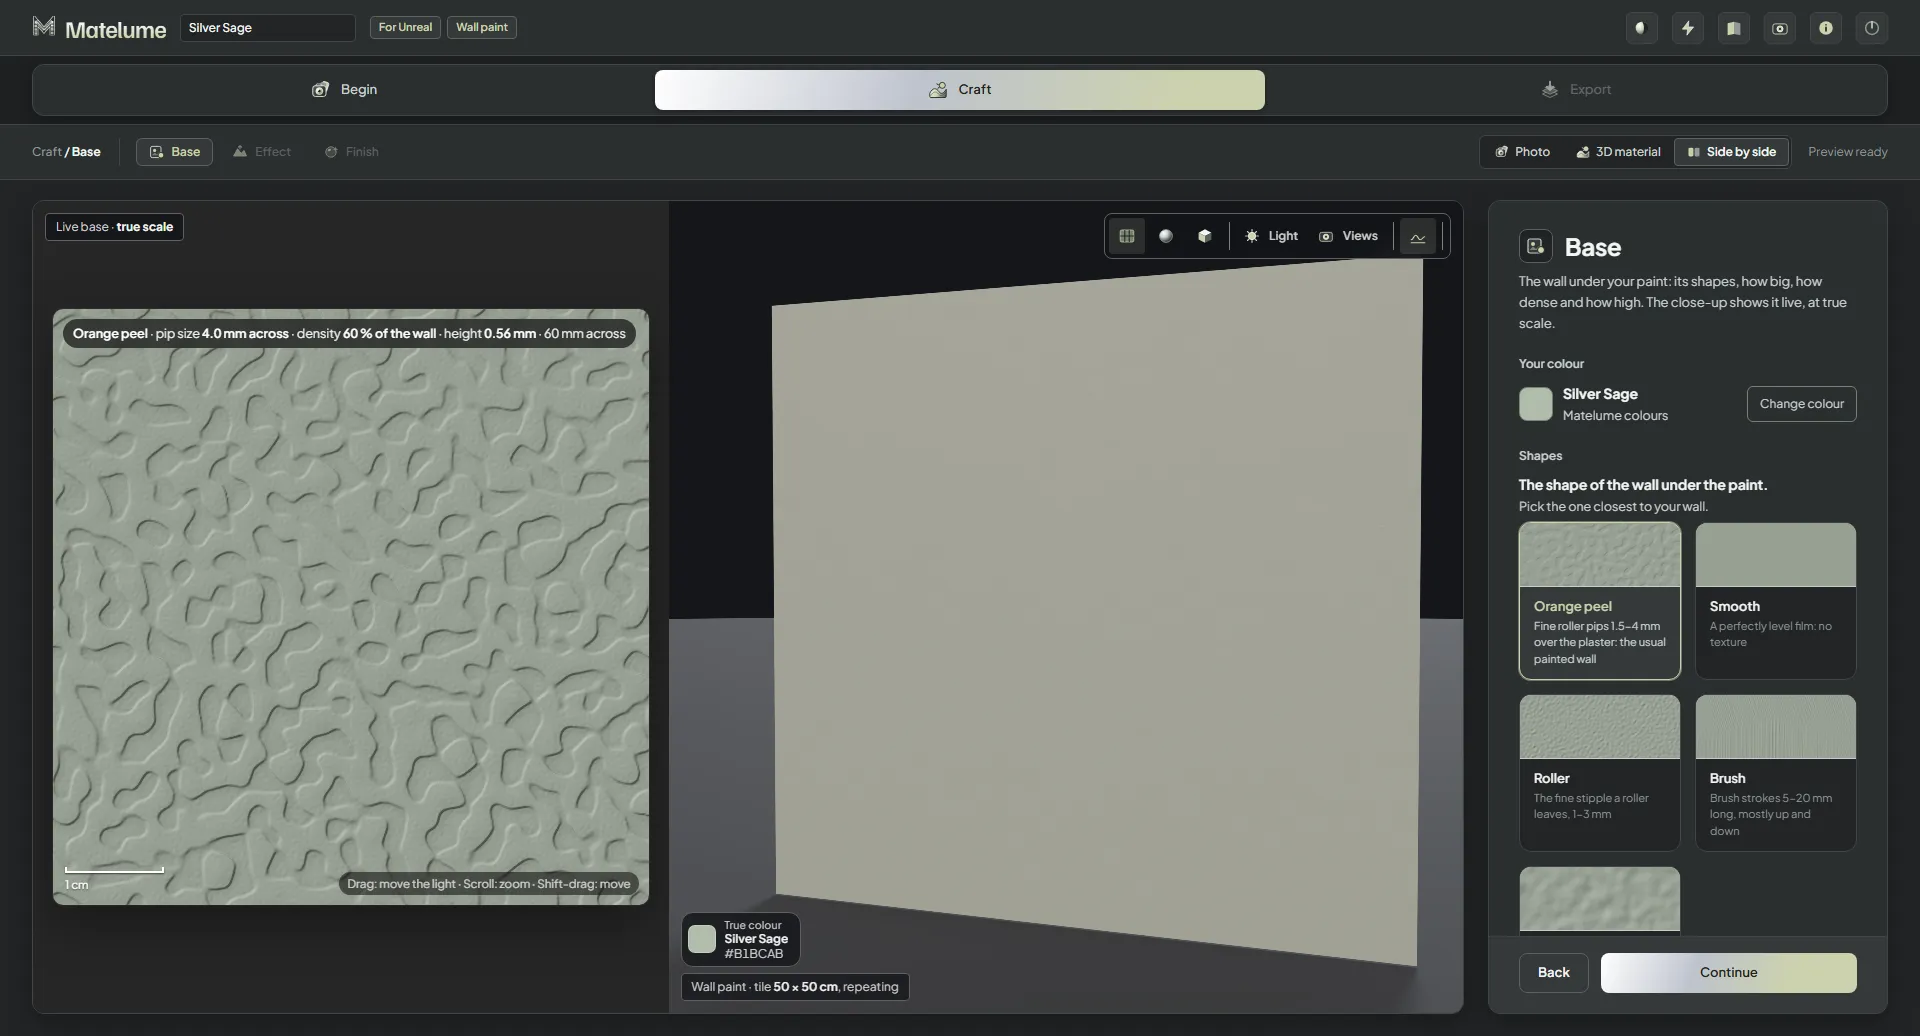
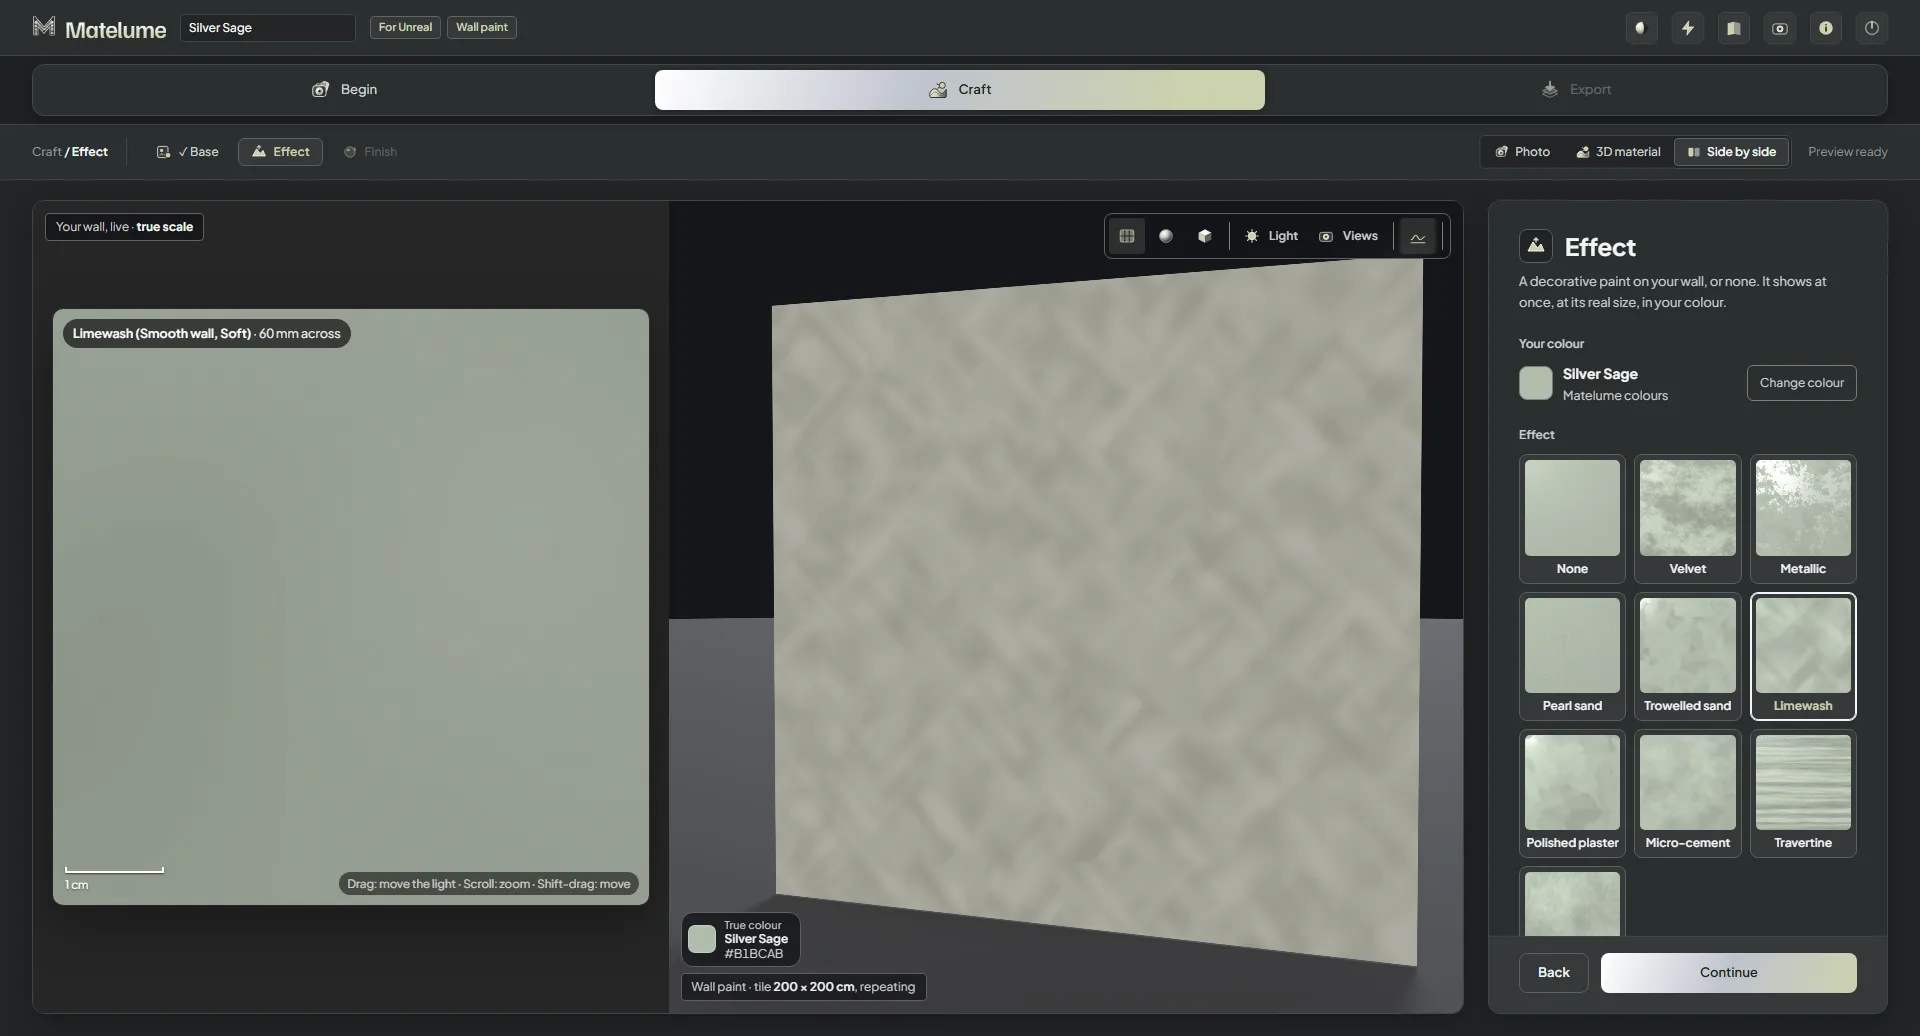
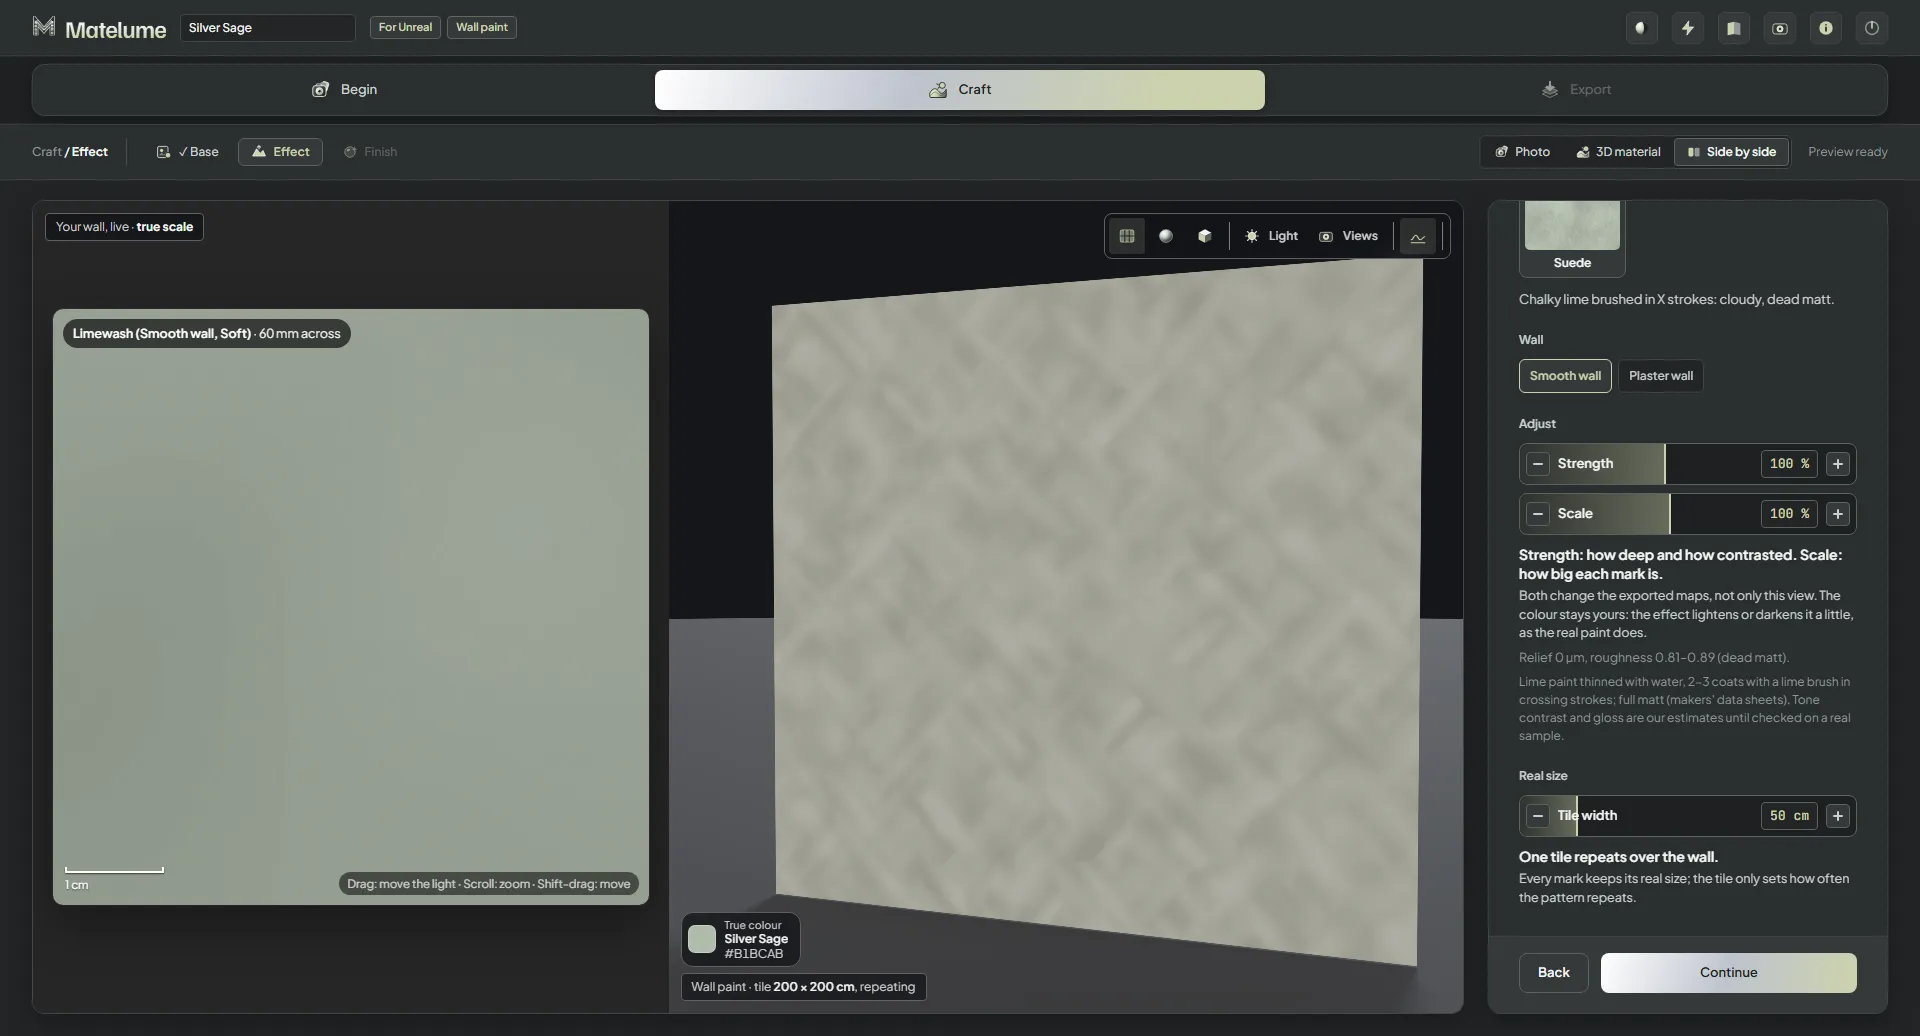
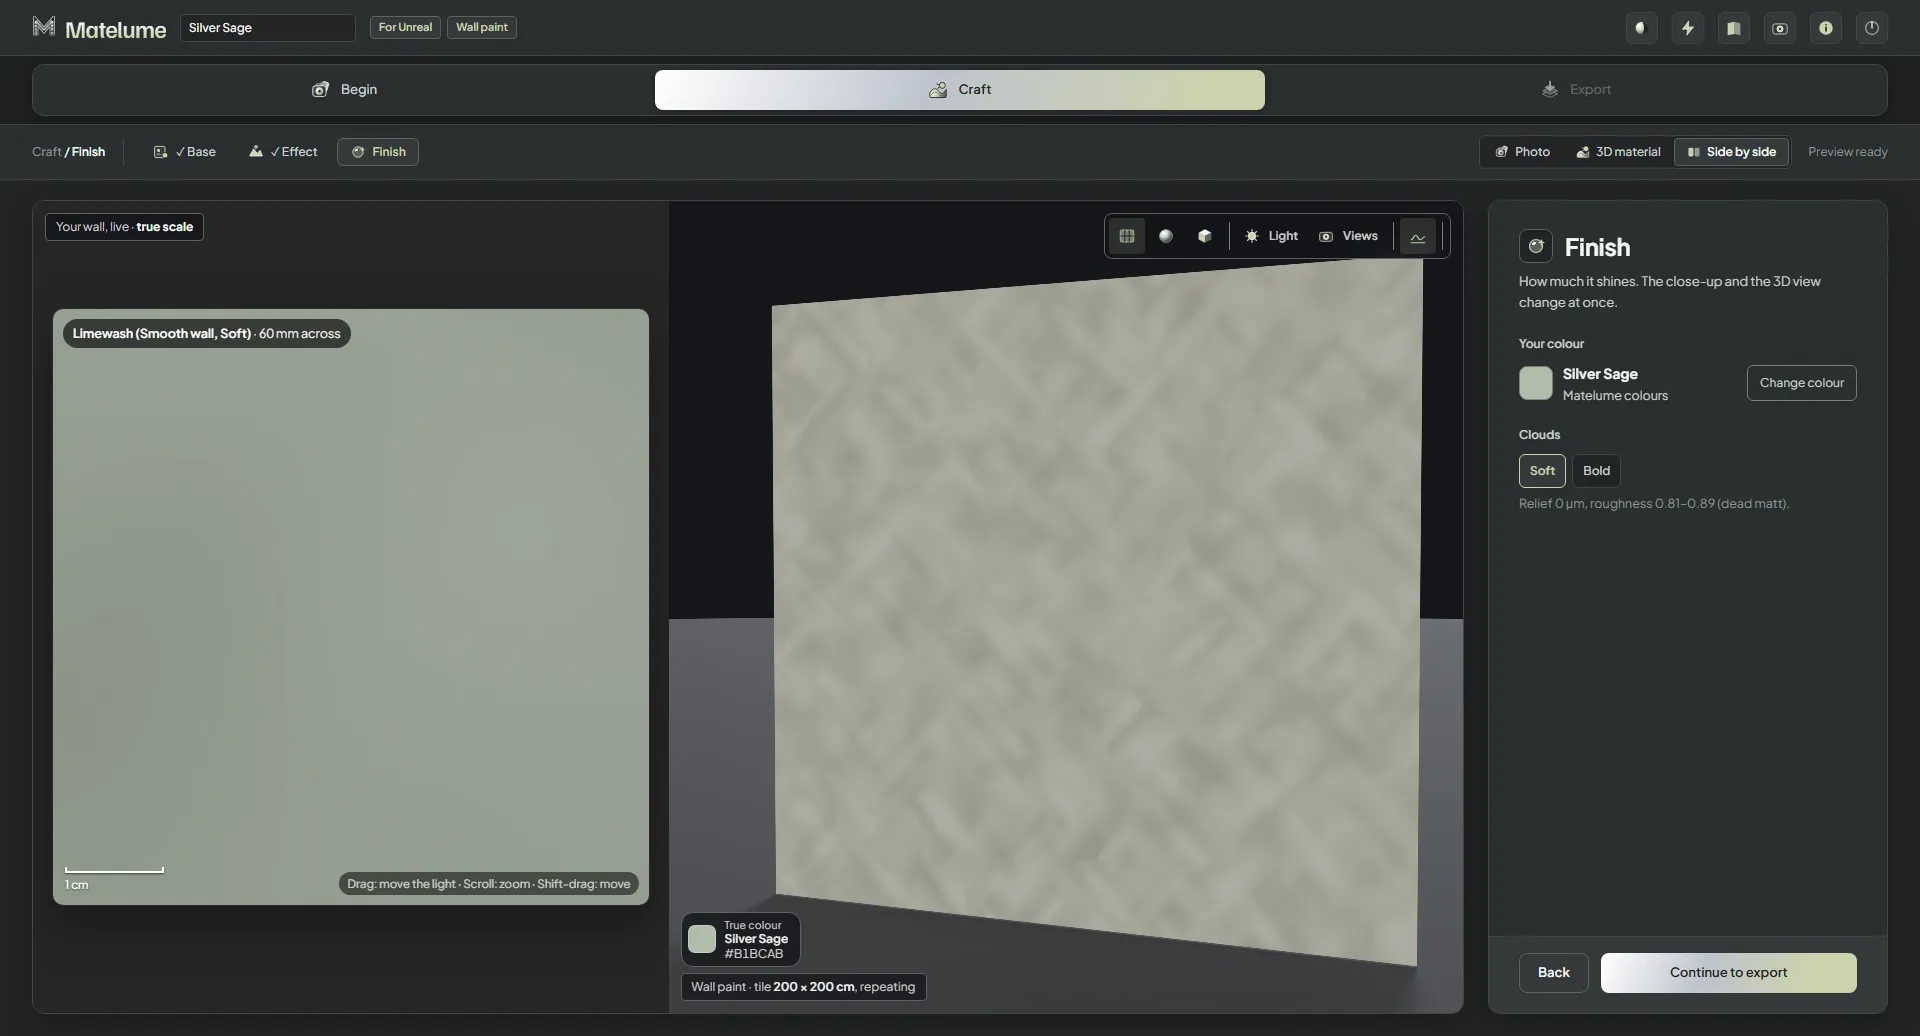
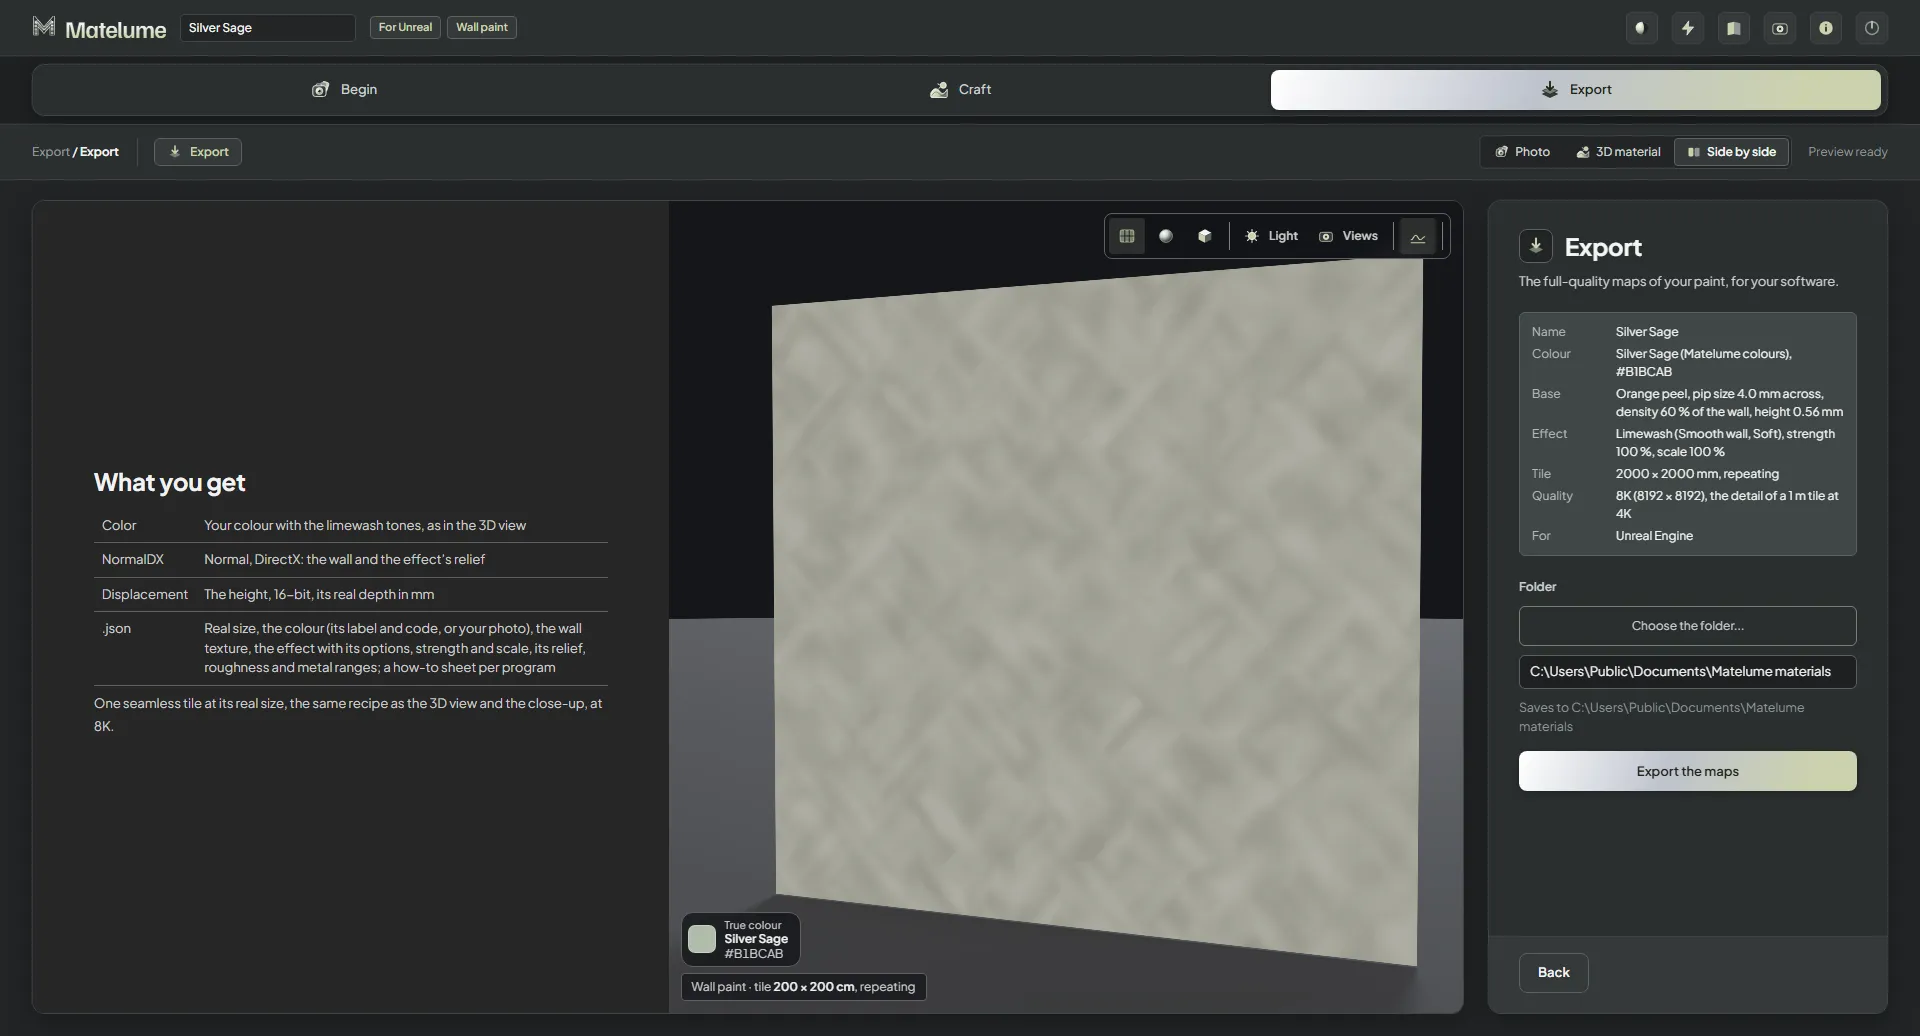
Matelume before anything is chosen: the empty start screen with a drop zone and the two ways to start from a colour.A photo of a painted wall added: the photo on the left, the light evened out, and the wall colour on the 3D sphere.The Photo step with both Even out the light and Flatten colours switched on, so the background becomes one flat colour.The Your software step: pick the program the maps are for, here Blender.The Material type step with Wall paint chosen from the six material types.The Real size step for a wall paint photo: set how wide the photo is on the wall, with four quick sizes.Real size with A close-up (10 cm of wall): the photo at true scale beside the 3D wall.Real size with A sample board (30 cm wide).Real size with A wall section (1 m wide).Real size with A whole wall (3 m wide): the photo covers the wall in the 3D view.The Seamless step: one tile of the photo that repeats over the wall, with how much of the photo is kept.The Base step: the shape of the wall under the paint as picture cards, with the live close-up.Base with Smooth: a perfectly level paint film with no texture.Base with Roller: the fine stipple a paint roller leaves.Base with Brush: brush strokes a few millimetres long.Base with Light plaster: a gentle wave in the plaster, with its Wave size and Height sliders.The Base sliders for the picked shape scrolled into view.The Effect step with None: the decorative paint looks as picture cards.The Velvet look on the wall paint: a soft, cloudy matt surface.The Metallic look: flecks of metallic paint on the wall.The Pearl sand look: a fine sandy paint with a soft sparkle.Pearl sand with its Strength and Scale sliders in view.The Micro-cement look: a thin cement skim with cloudy pores.The Polished plaster look: a smooth, burnished plaster with soft tone changes.The Travertine look: a banded stone-like surface with open pores.The Suede look: a soft brushed texture with cross strokes.The Limewash look: chalky lime brushed in crossing strokes.The Trowelled sand look: sandy plaster with trowel sweeps.Trowelled sand with its Strength, Scale and wall options in view.Pearl sand with Scale at 20 %: the marks become much finer.The Strength and Scale sliders with Scale at 20 %.The 3D view on its usual object, a wall, in the big 3D material view.The Finish step: how much the paint shines, from matte to gloss, with the live close-up.The Export step for a wall paint: the summary, the quality, the export folder and the maps the chosen program gets.After exporting a wall paint: the saved folder with Color, NormalGL, Roughness, Displacement and the .json.Send to Blender after the export: on the selected objects, a wall, a plane or a sphere.Starting a wall paint from a colour: the Colour catalogue with its groups and colour chips.Silver Sage picked in the Colour catalogue and shown on the 3D sphere.The Your software step with Unreal Engine chosen for the colour-start wall paint.The Base step of a colour start with Orange peel: its pip size, density and height shown live at true scale.The Pip size, Density and Height sliders of the Orange peel base.Orange peel with bigger pips, more density and more height: a heavier rolled wall.The Limewash look on the Silver Sage wall.Limewash with its Smooth wall or Plaster wall choice, Strength and Scale sliders.The Finish step of the Silver Sage wall paint.The Export step for Unreal Engine: the maps list with Color, NormalDX and Displacement.
Metal
Choose the metal, shine and surface.
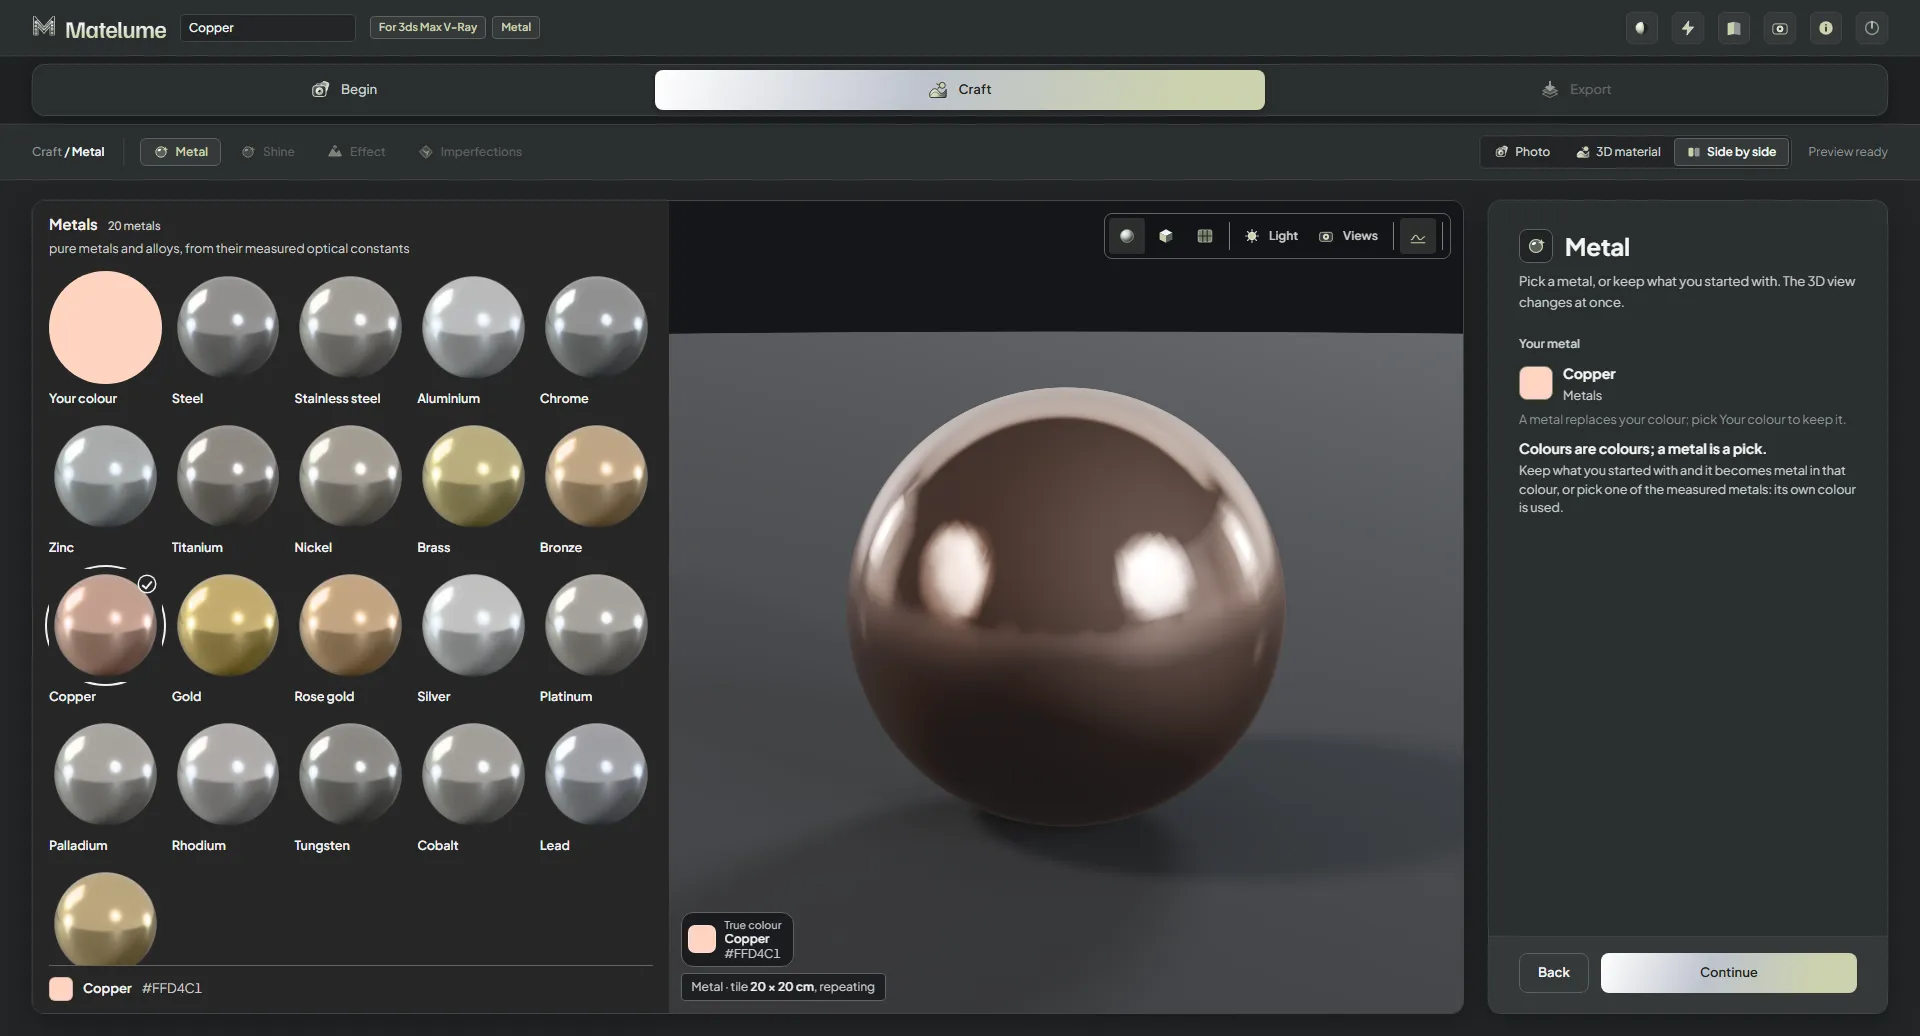
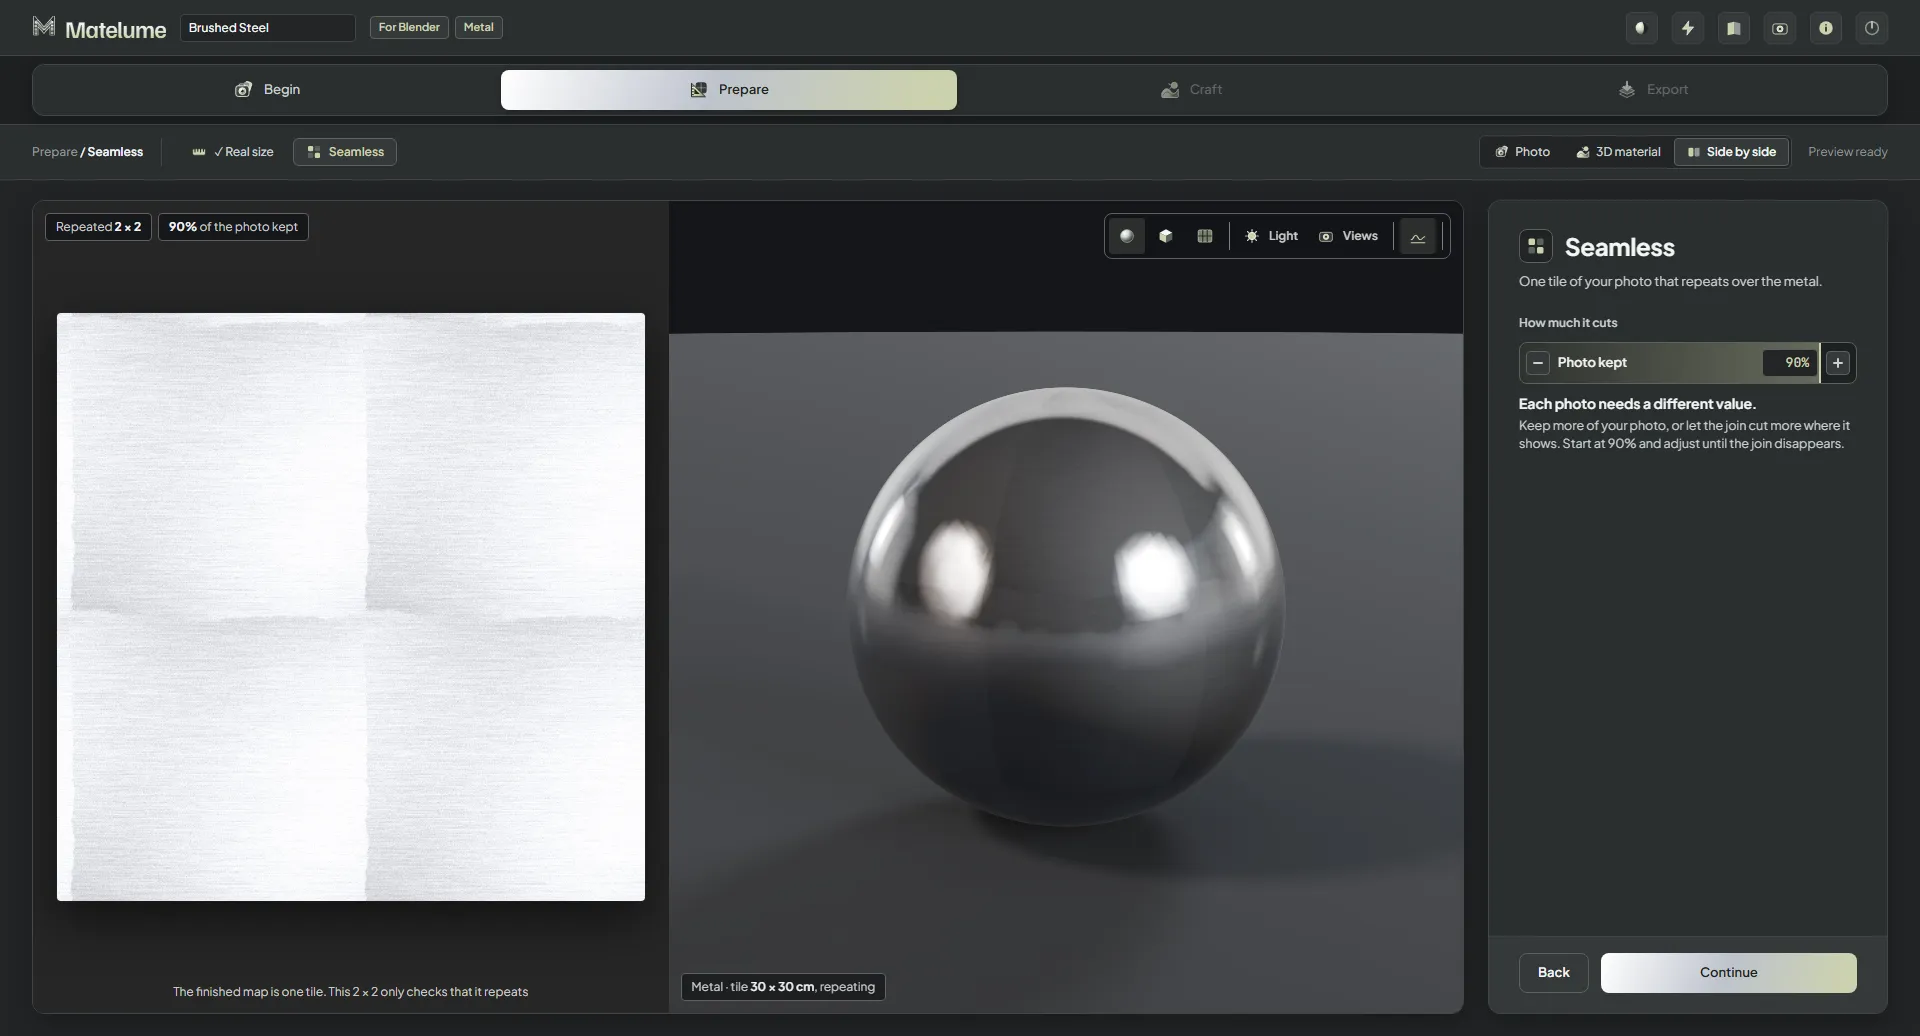
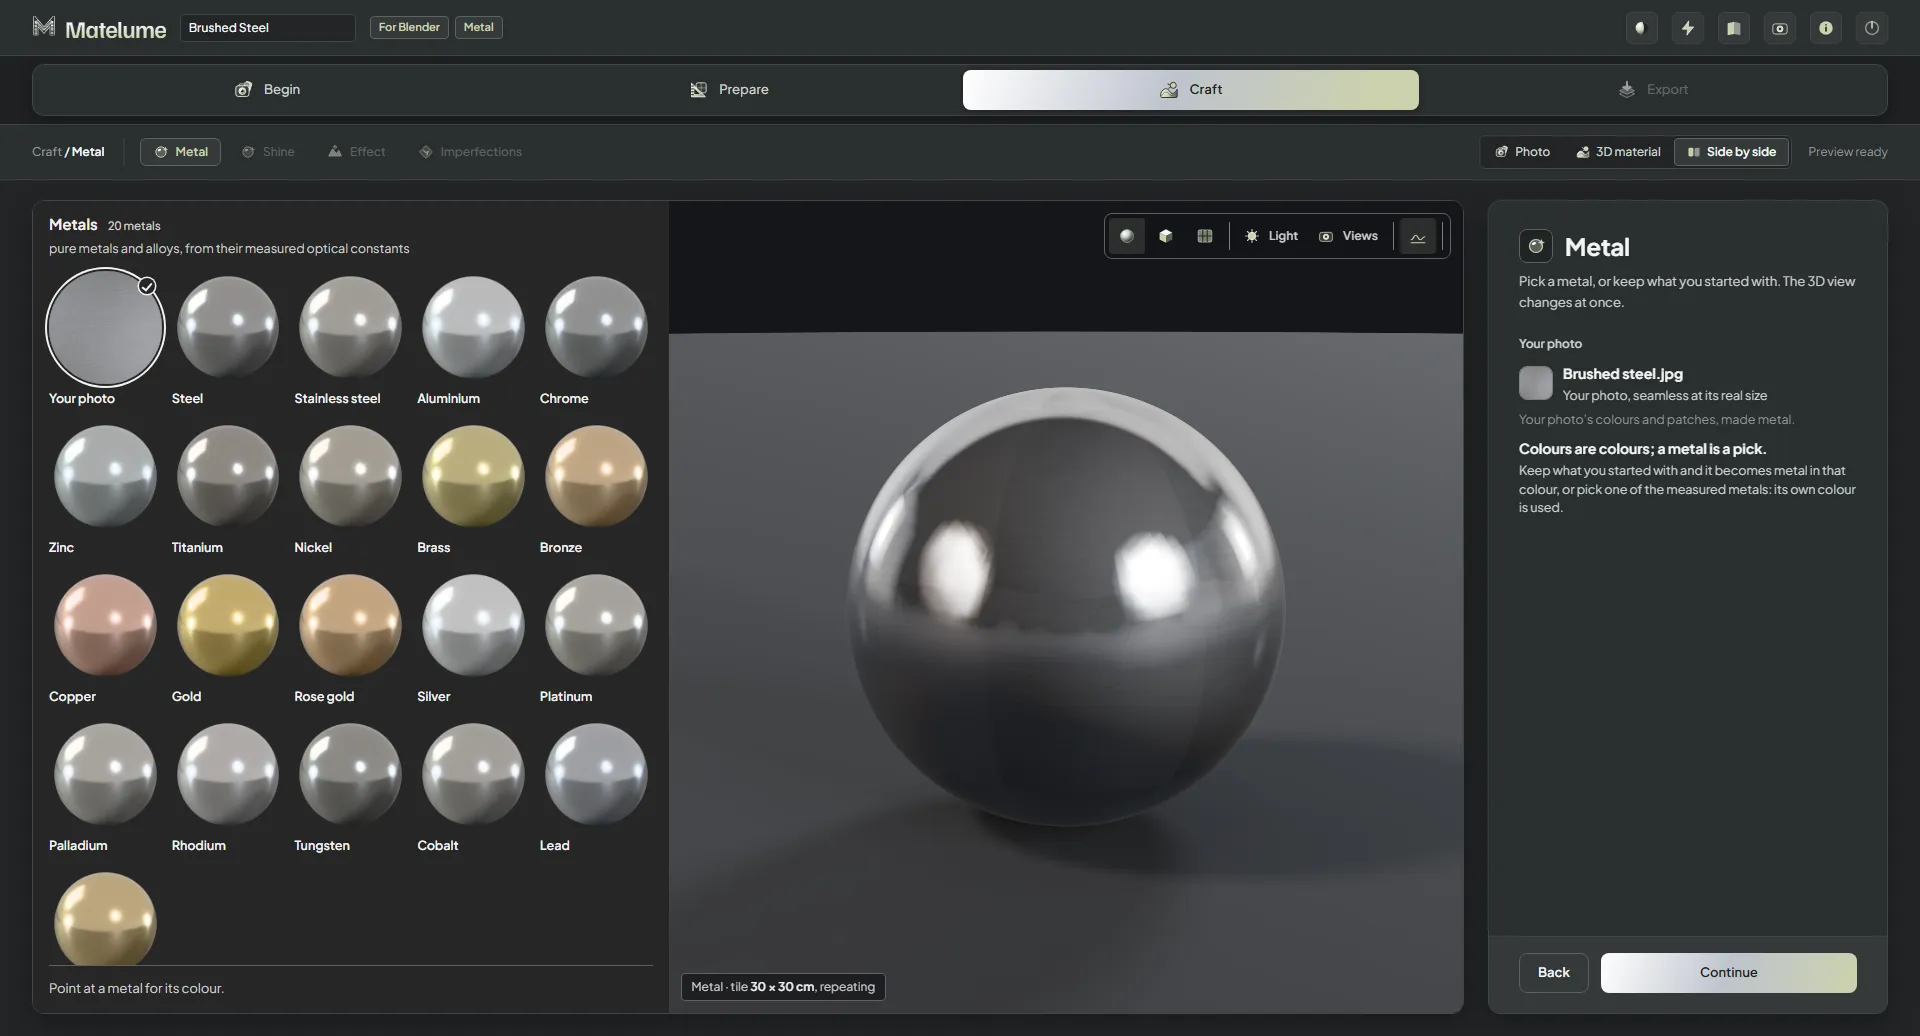
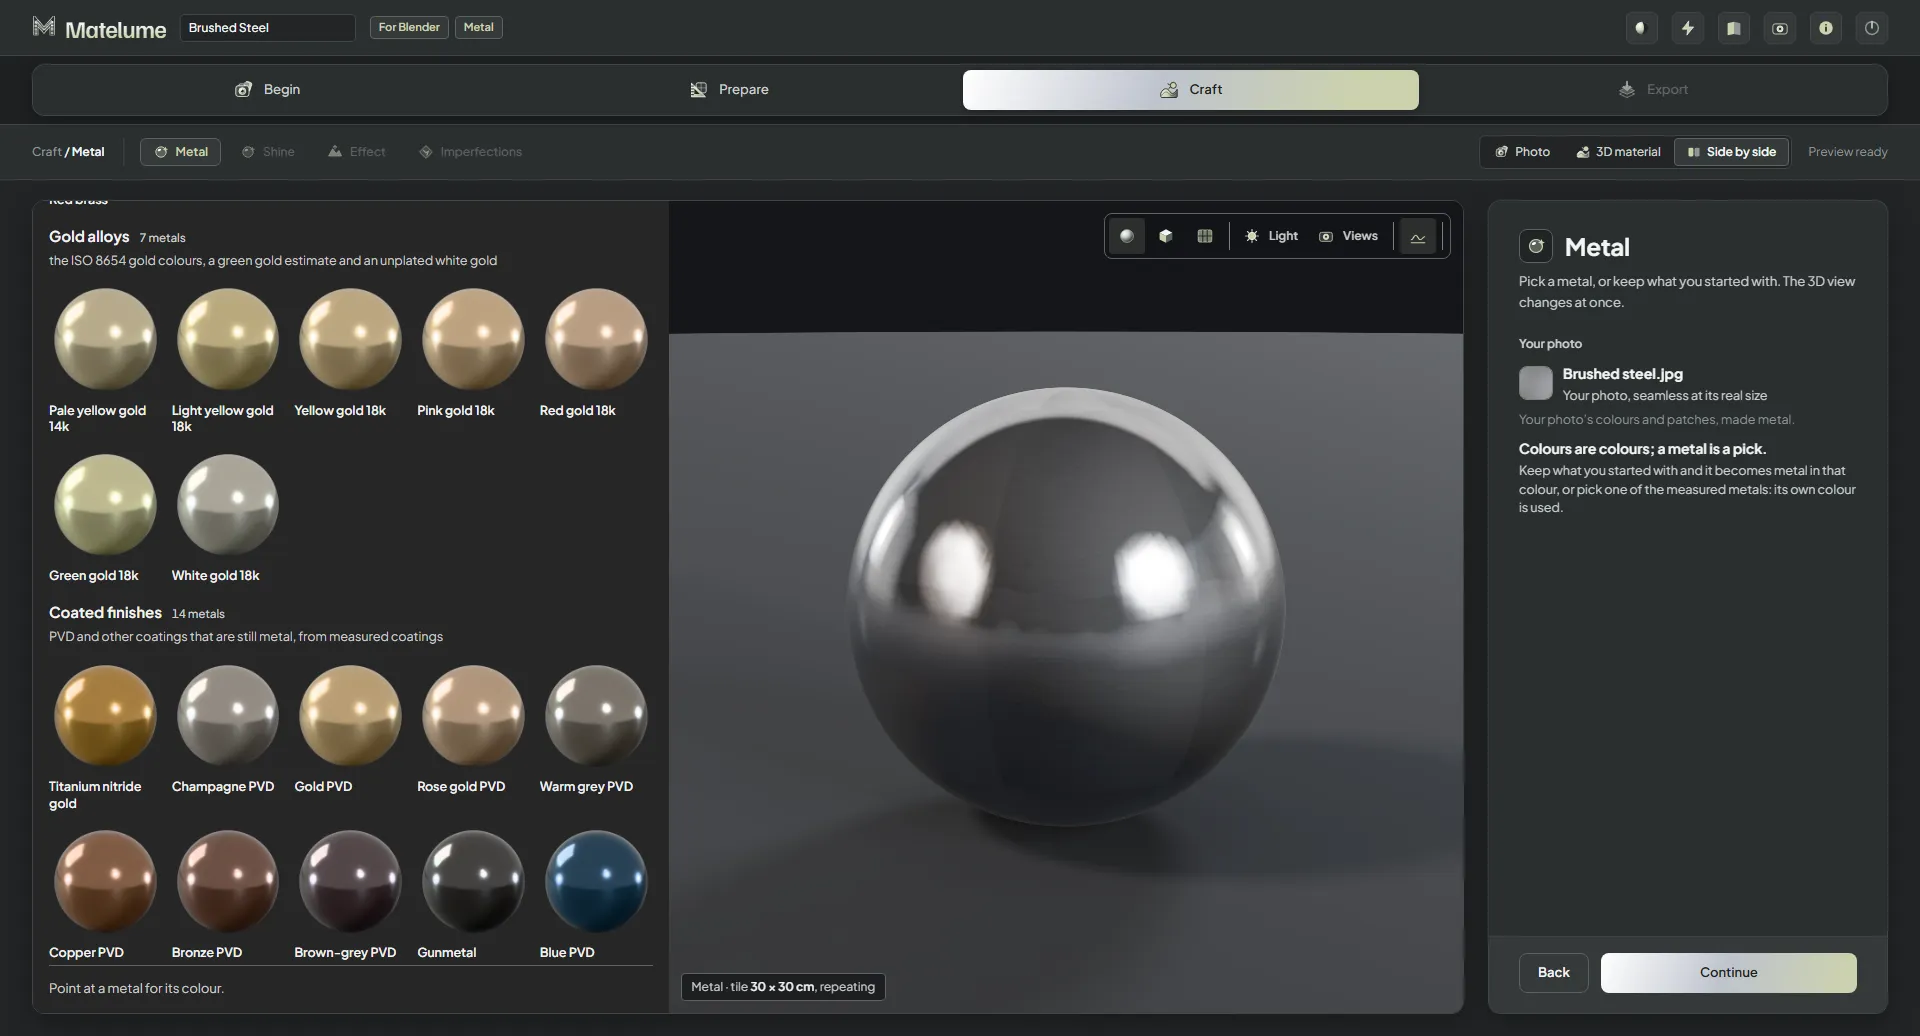
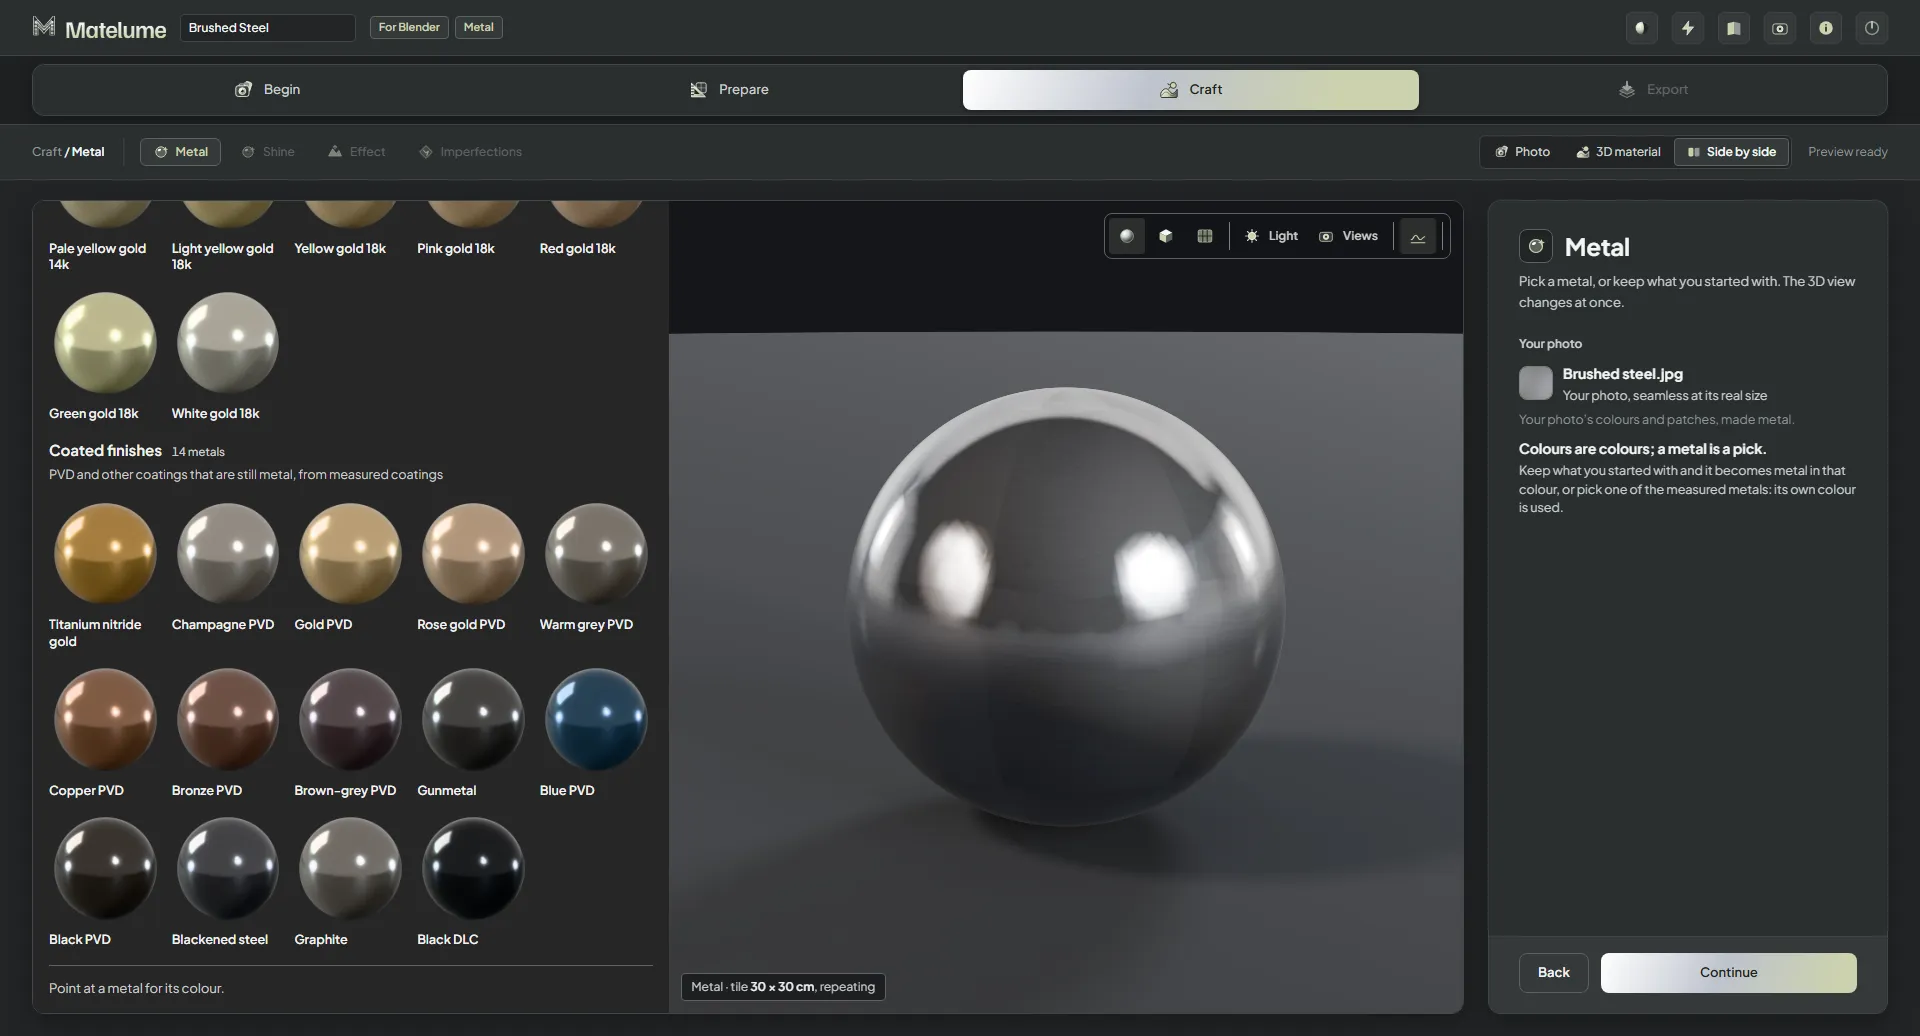
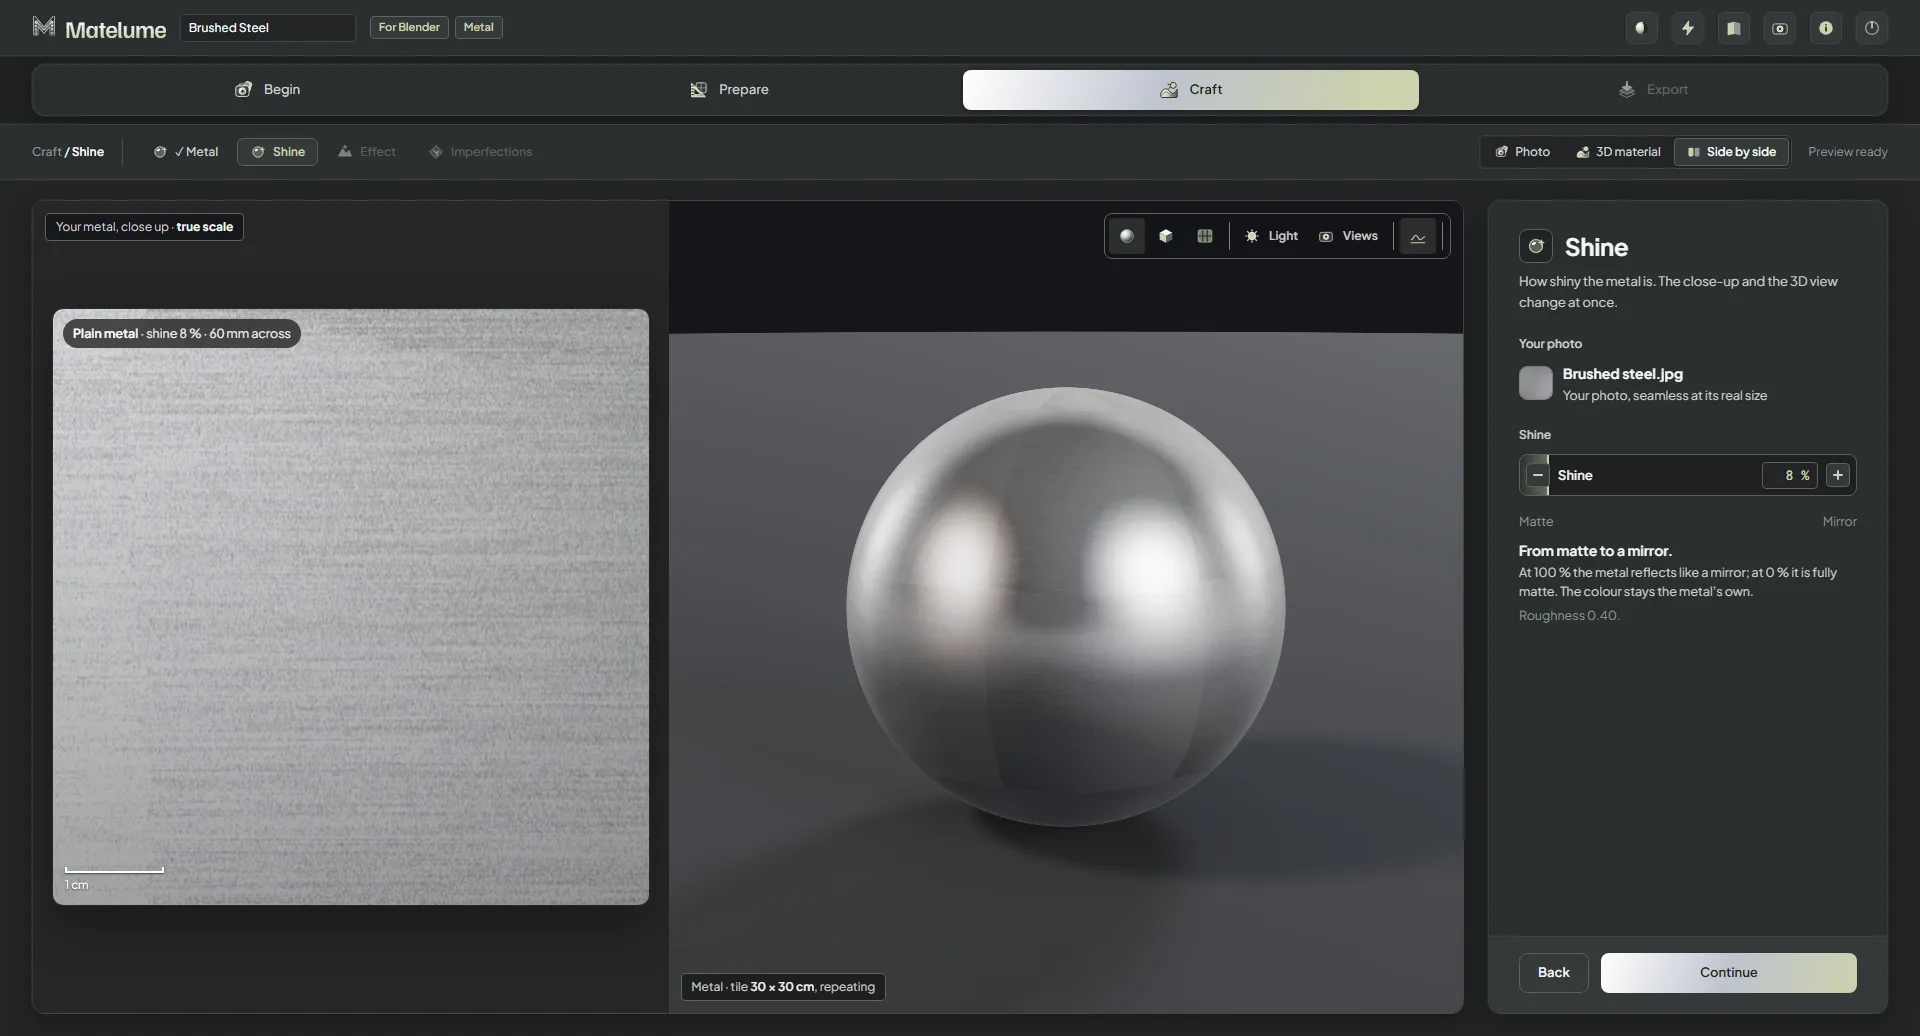
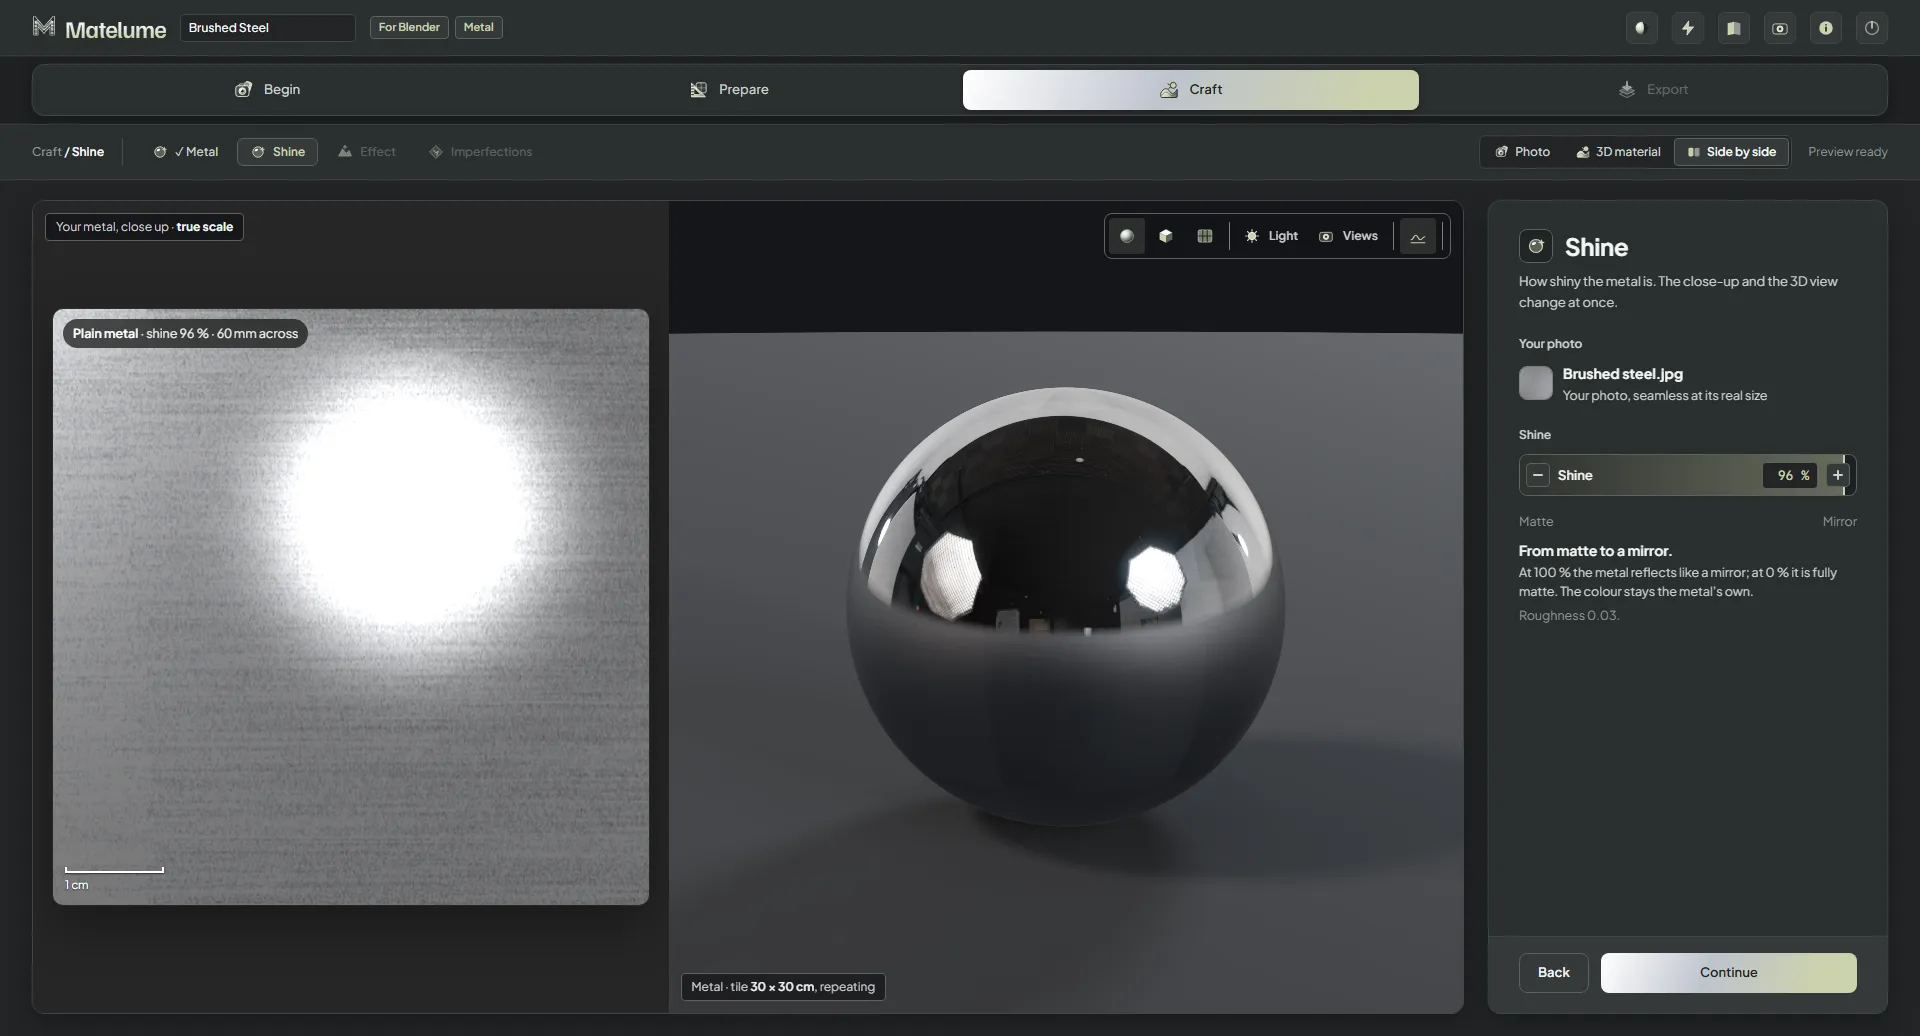
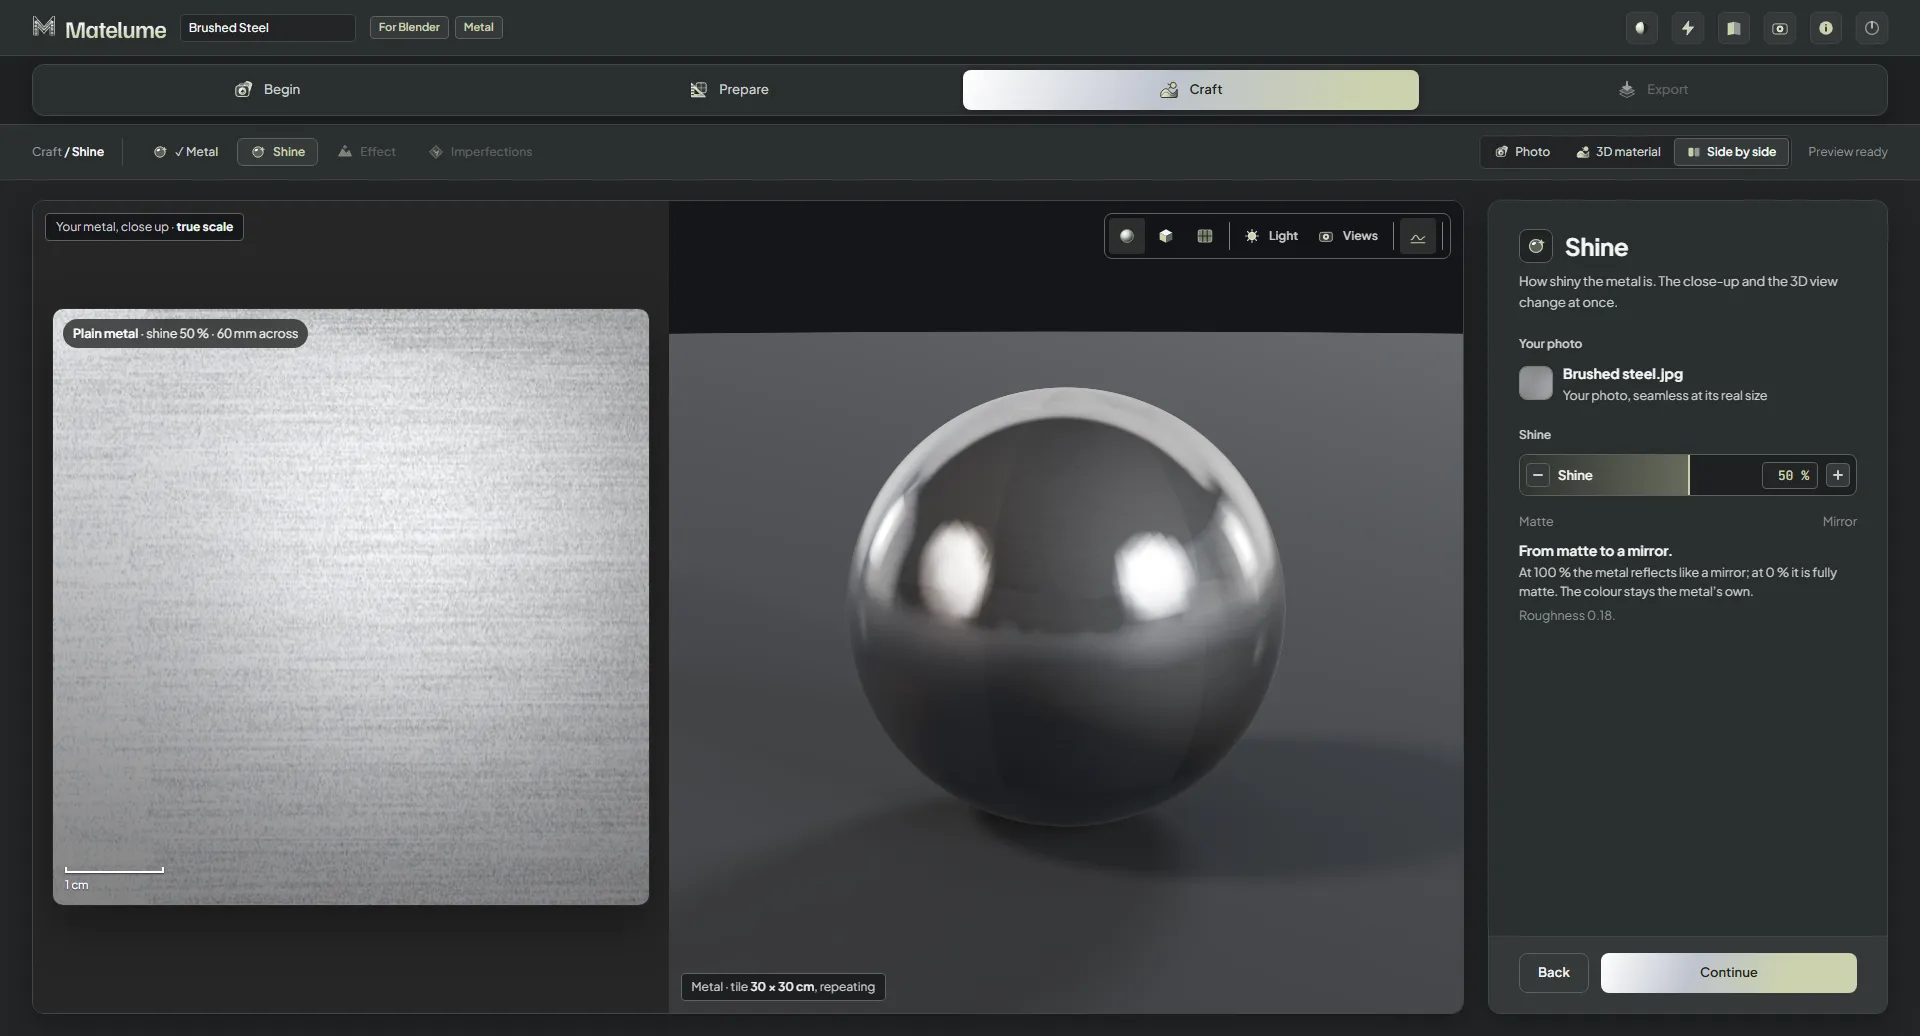
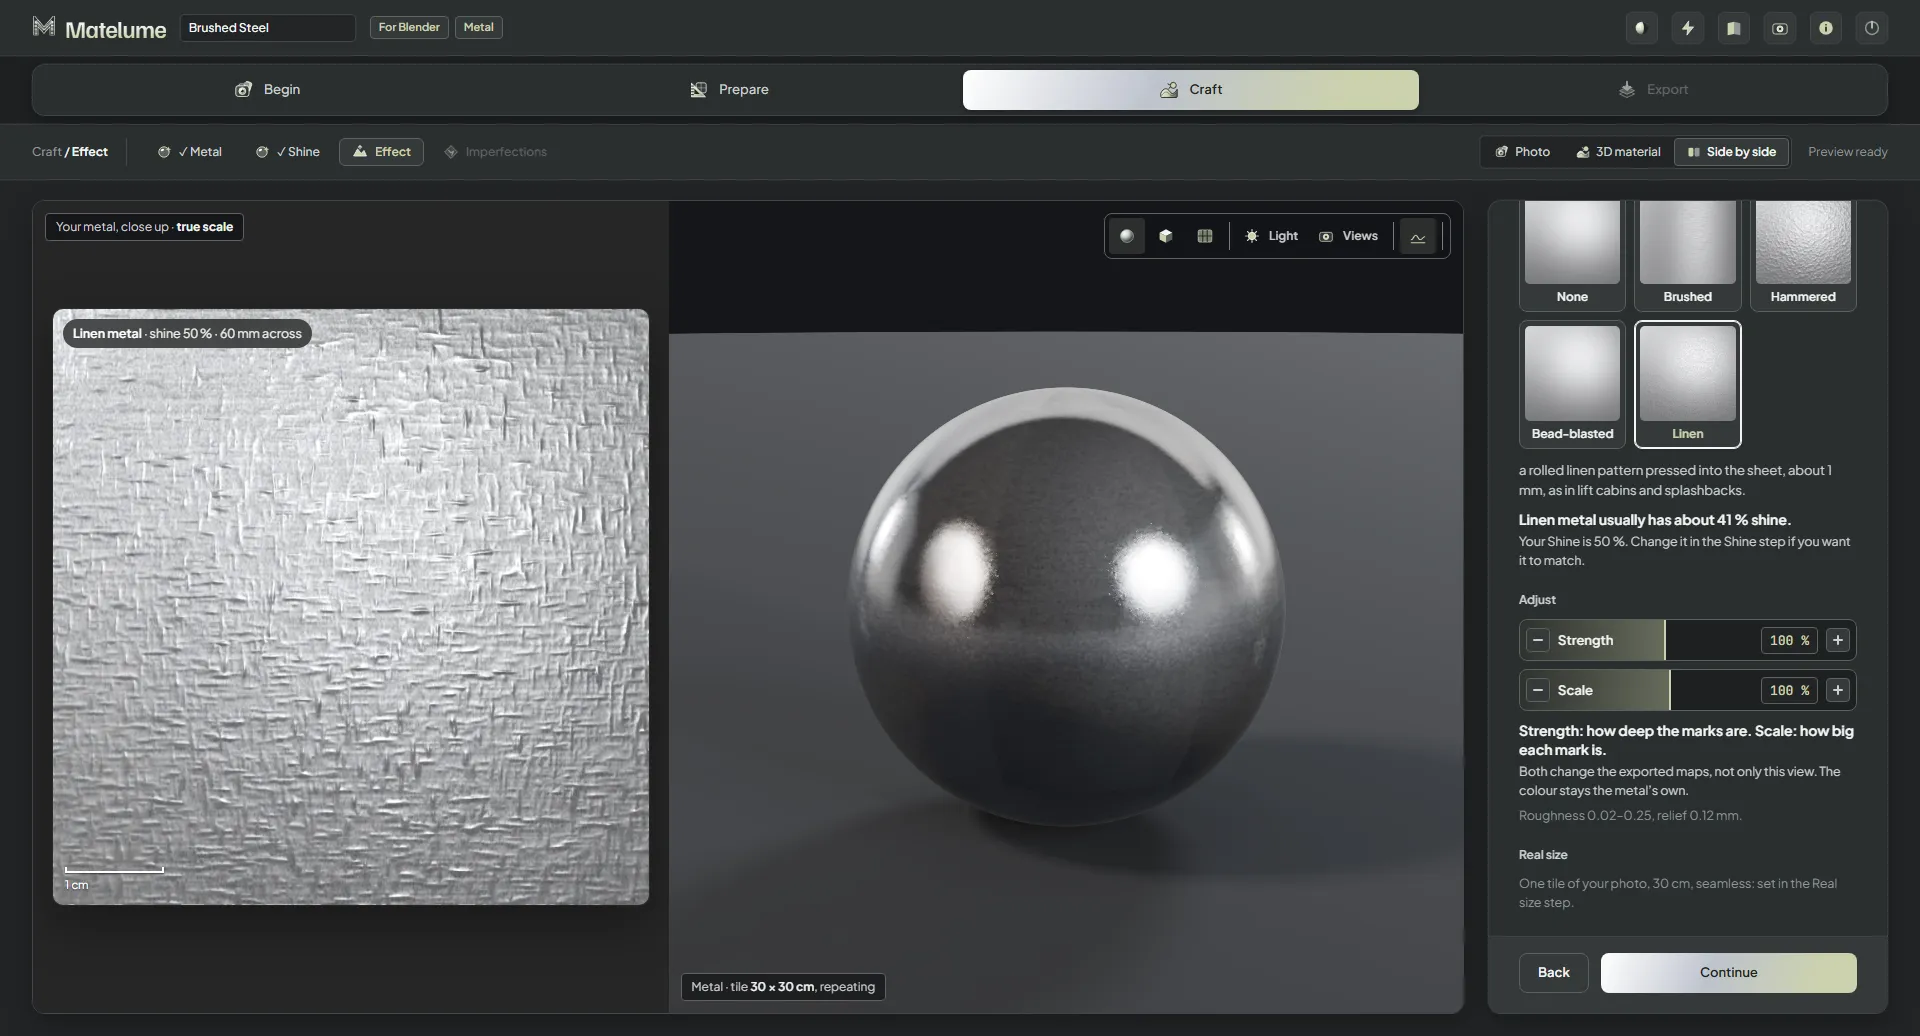
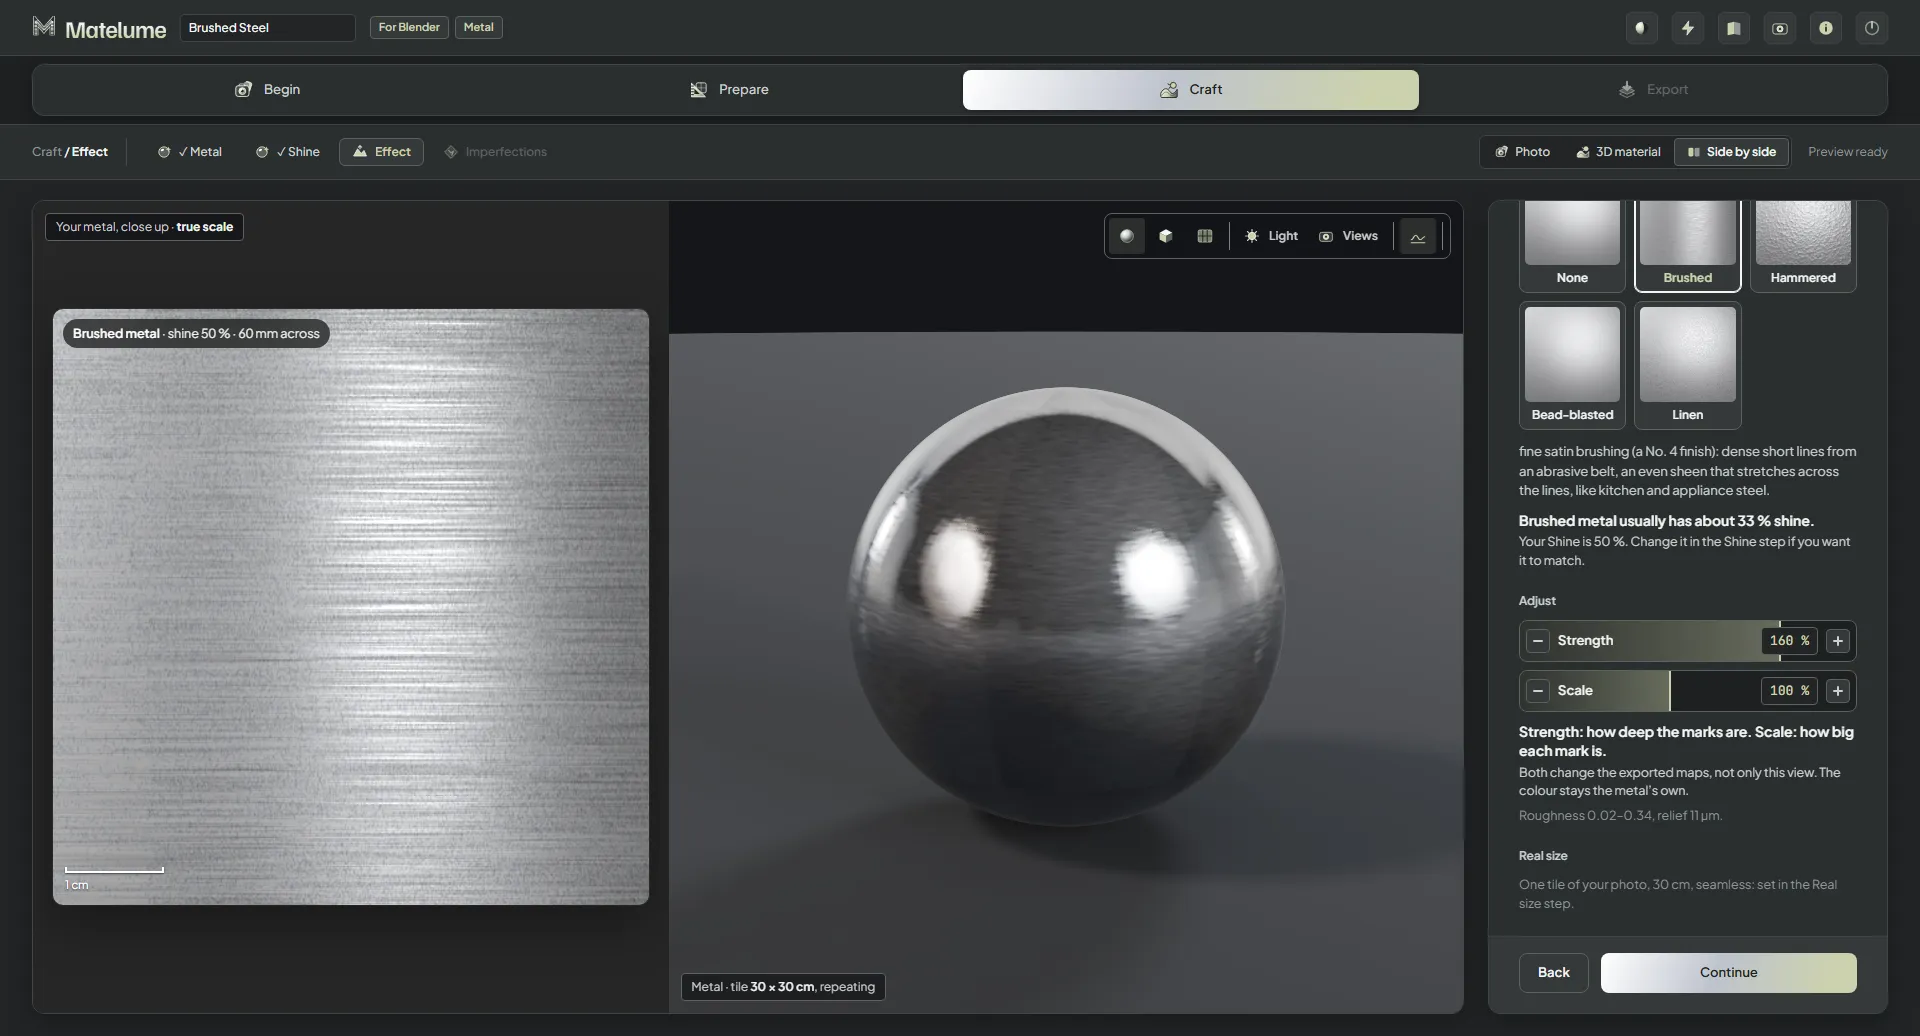
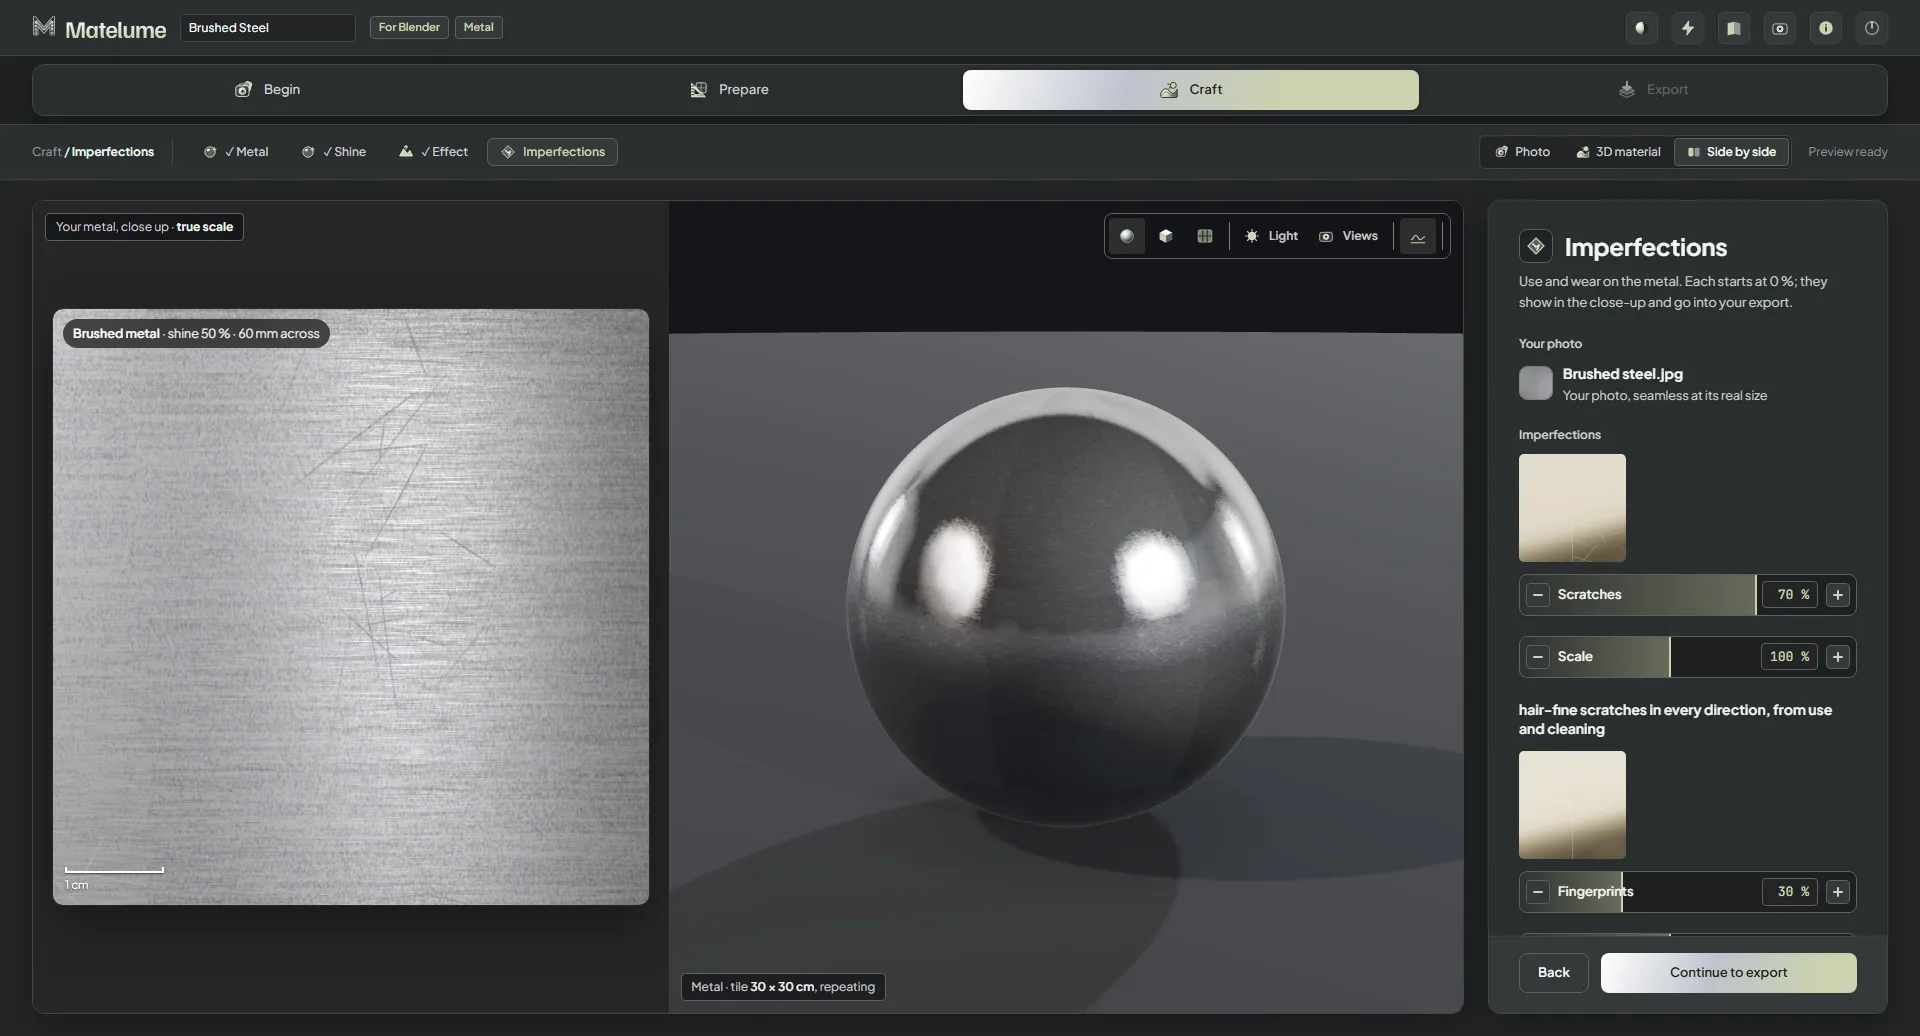
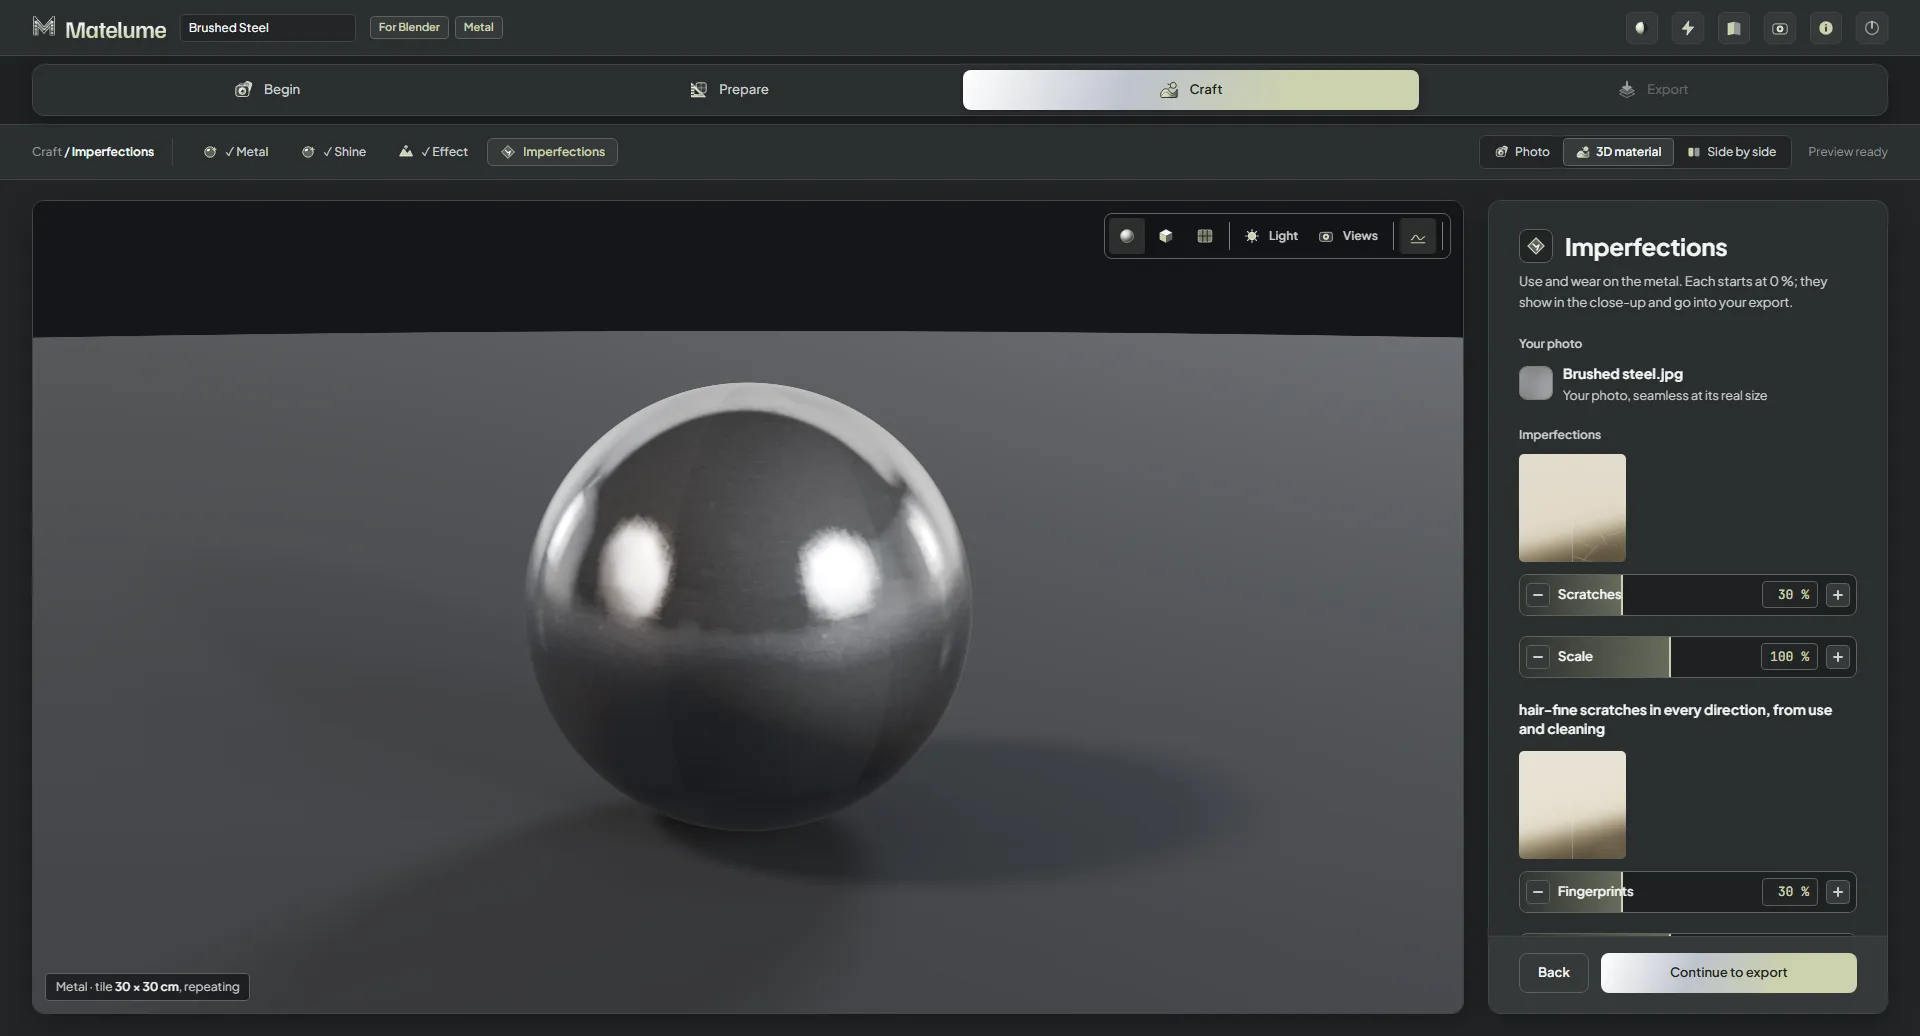
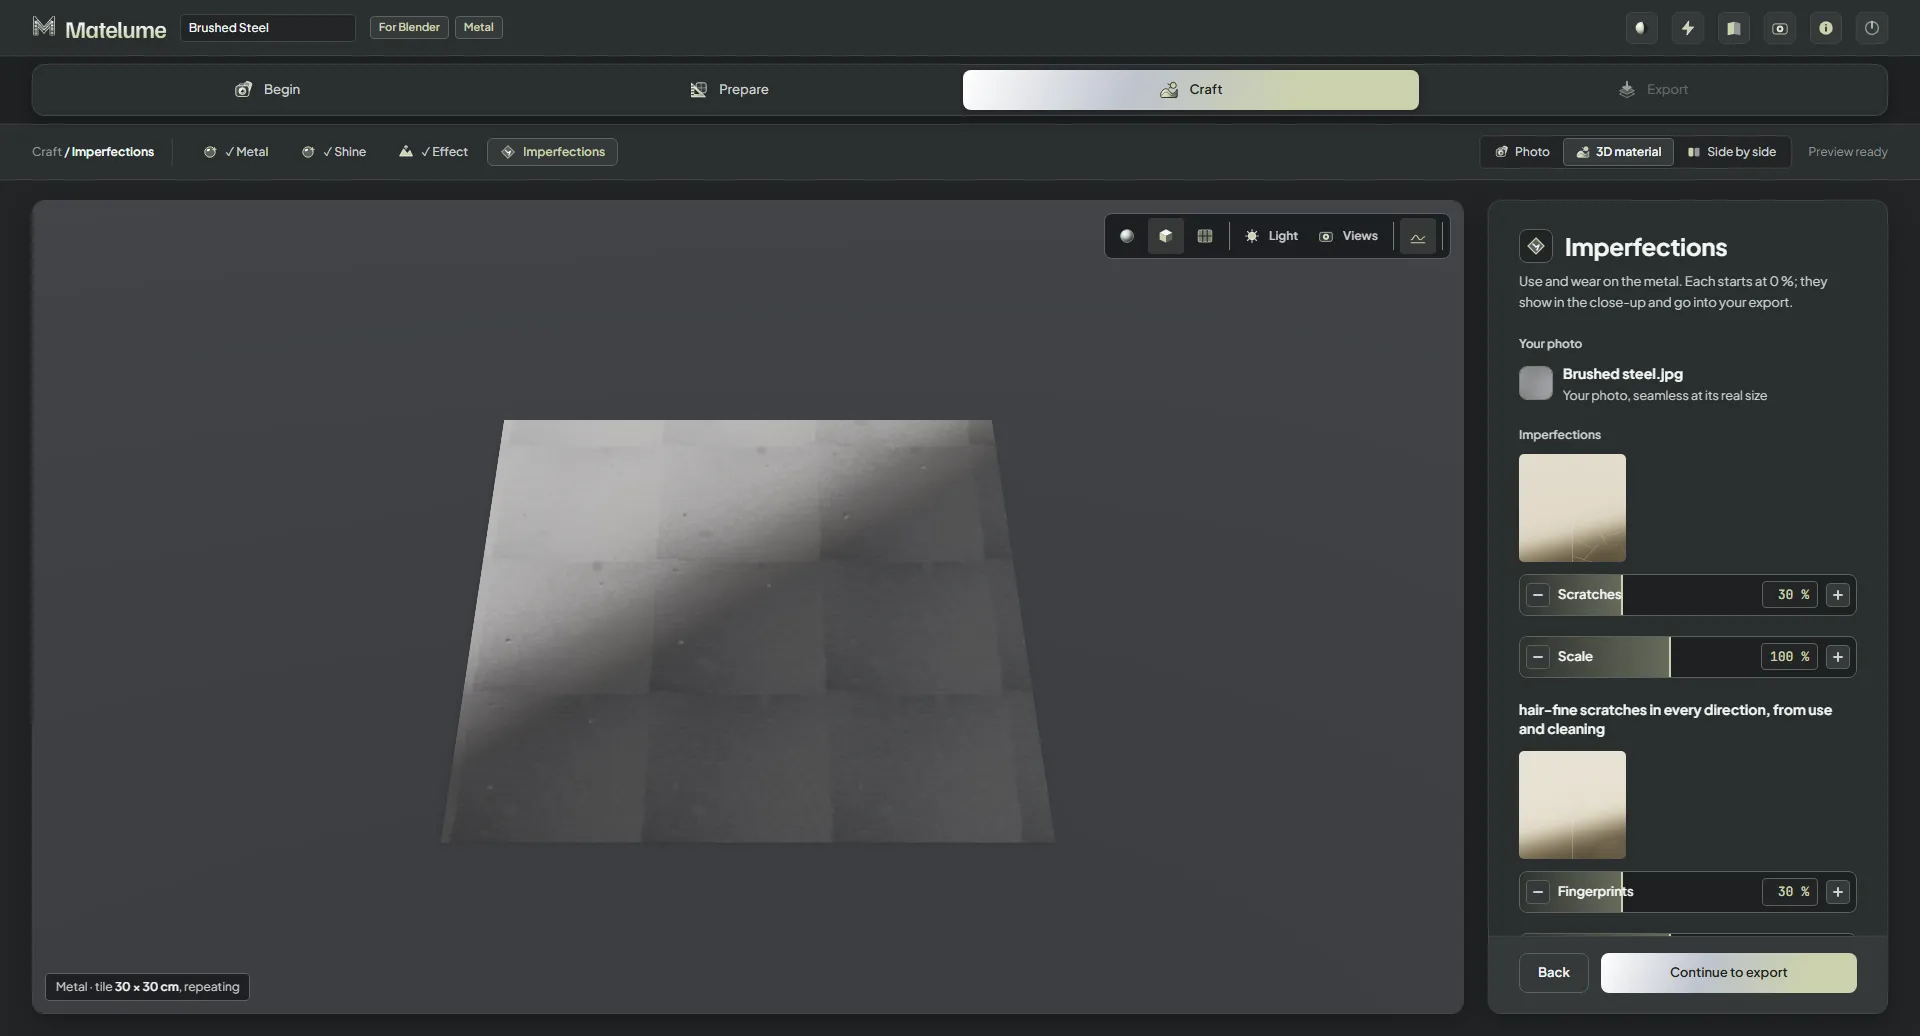
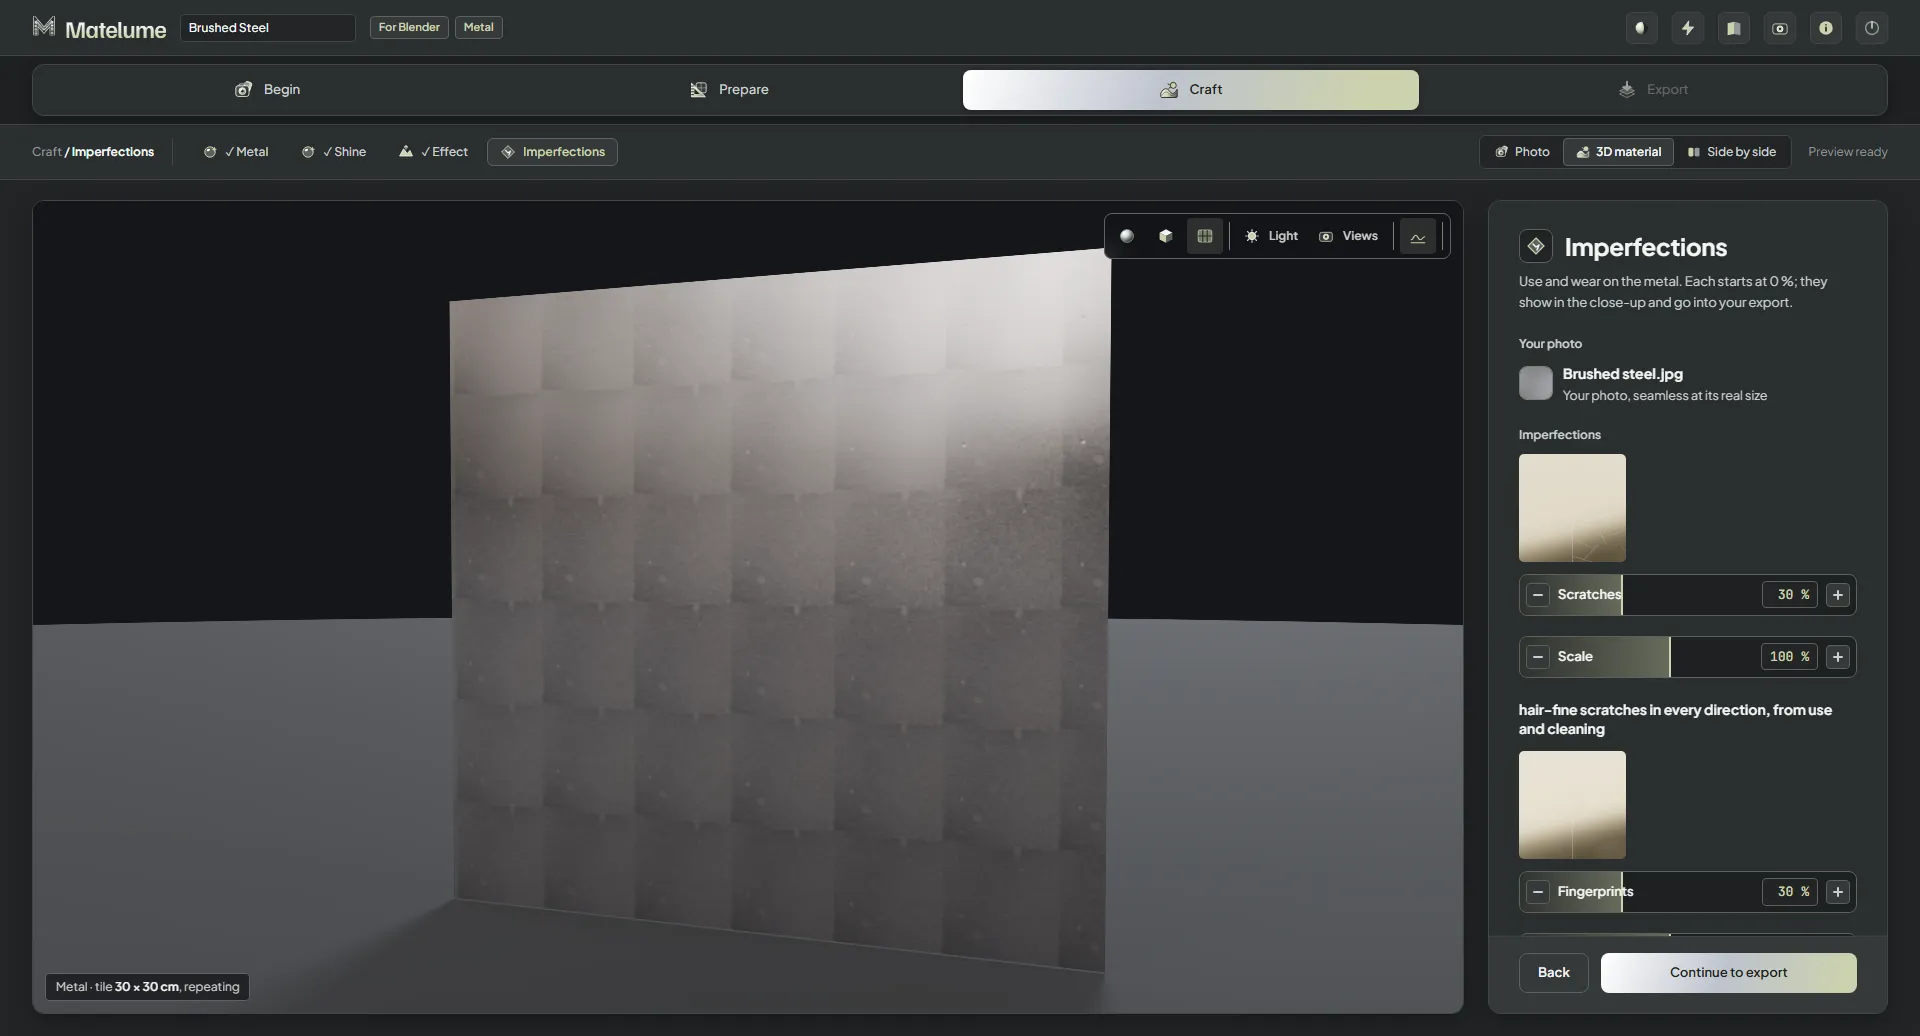
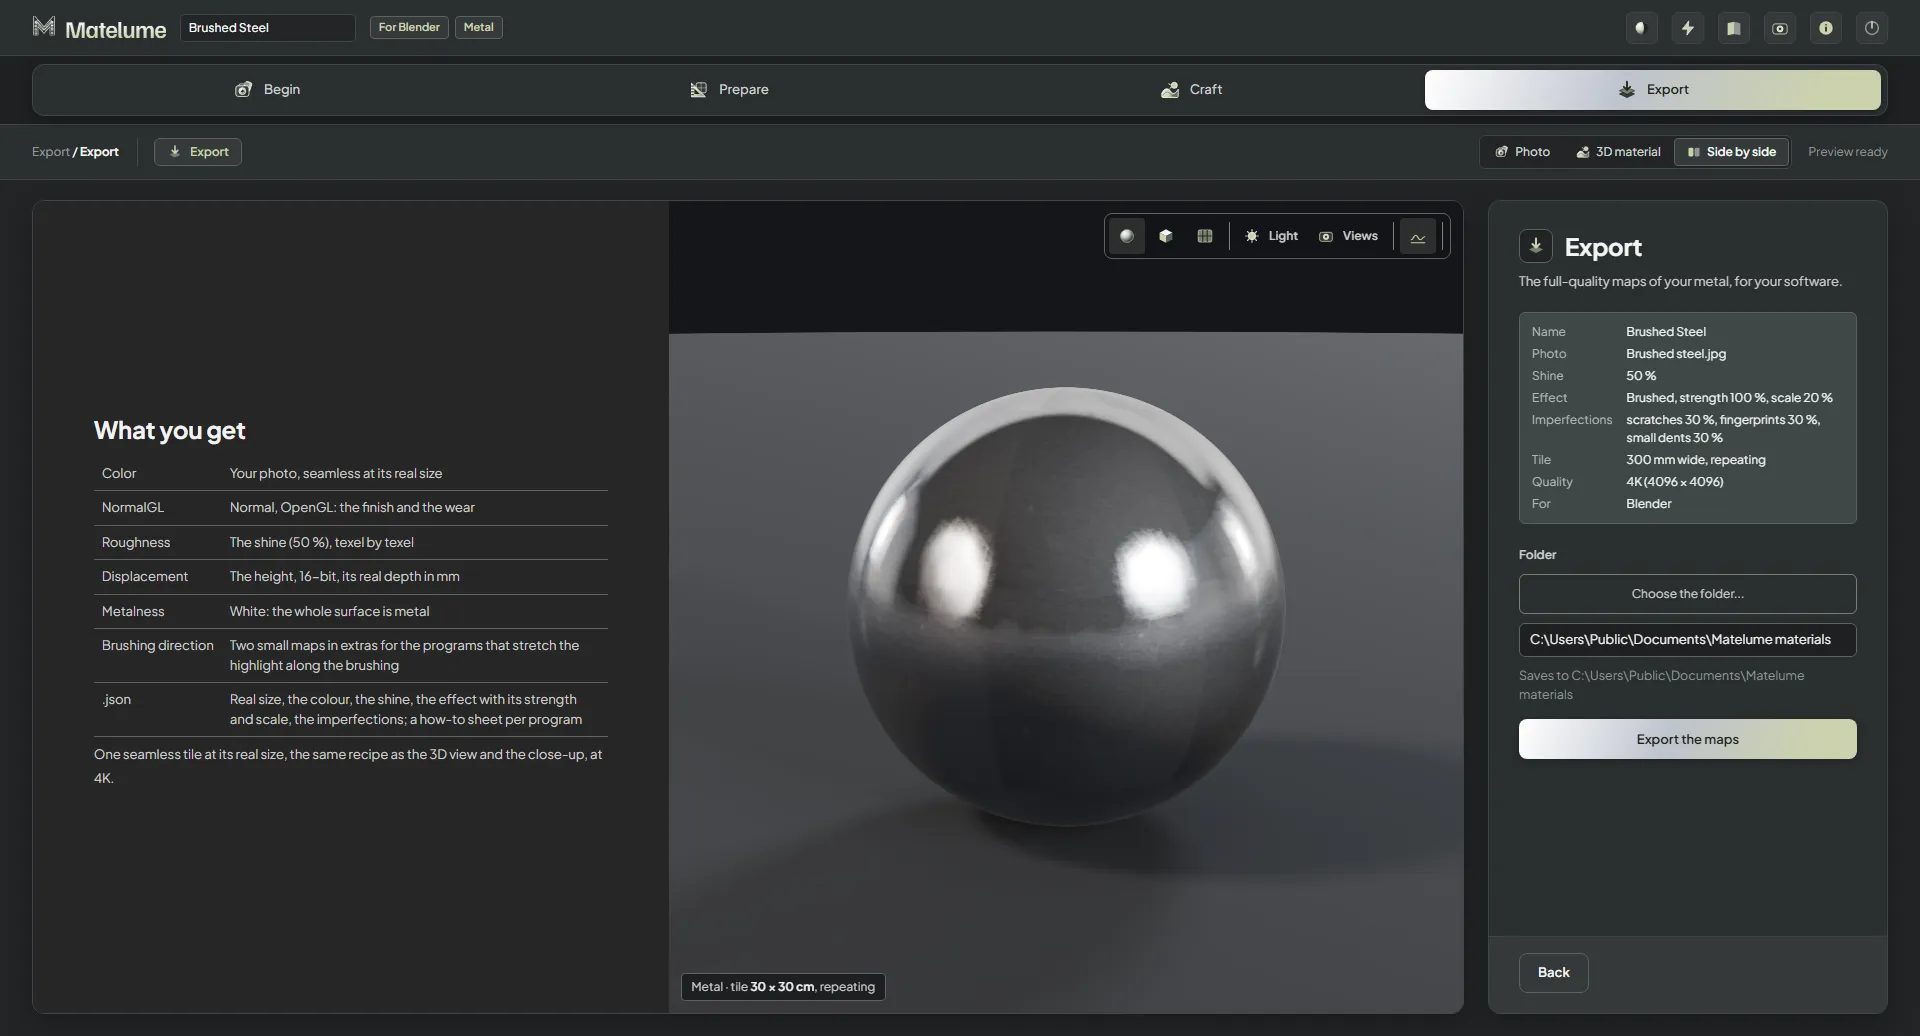
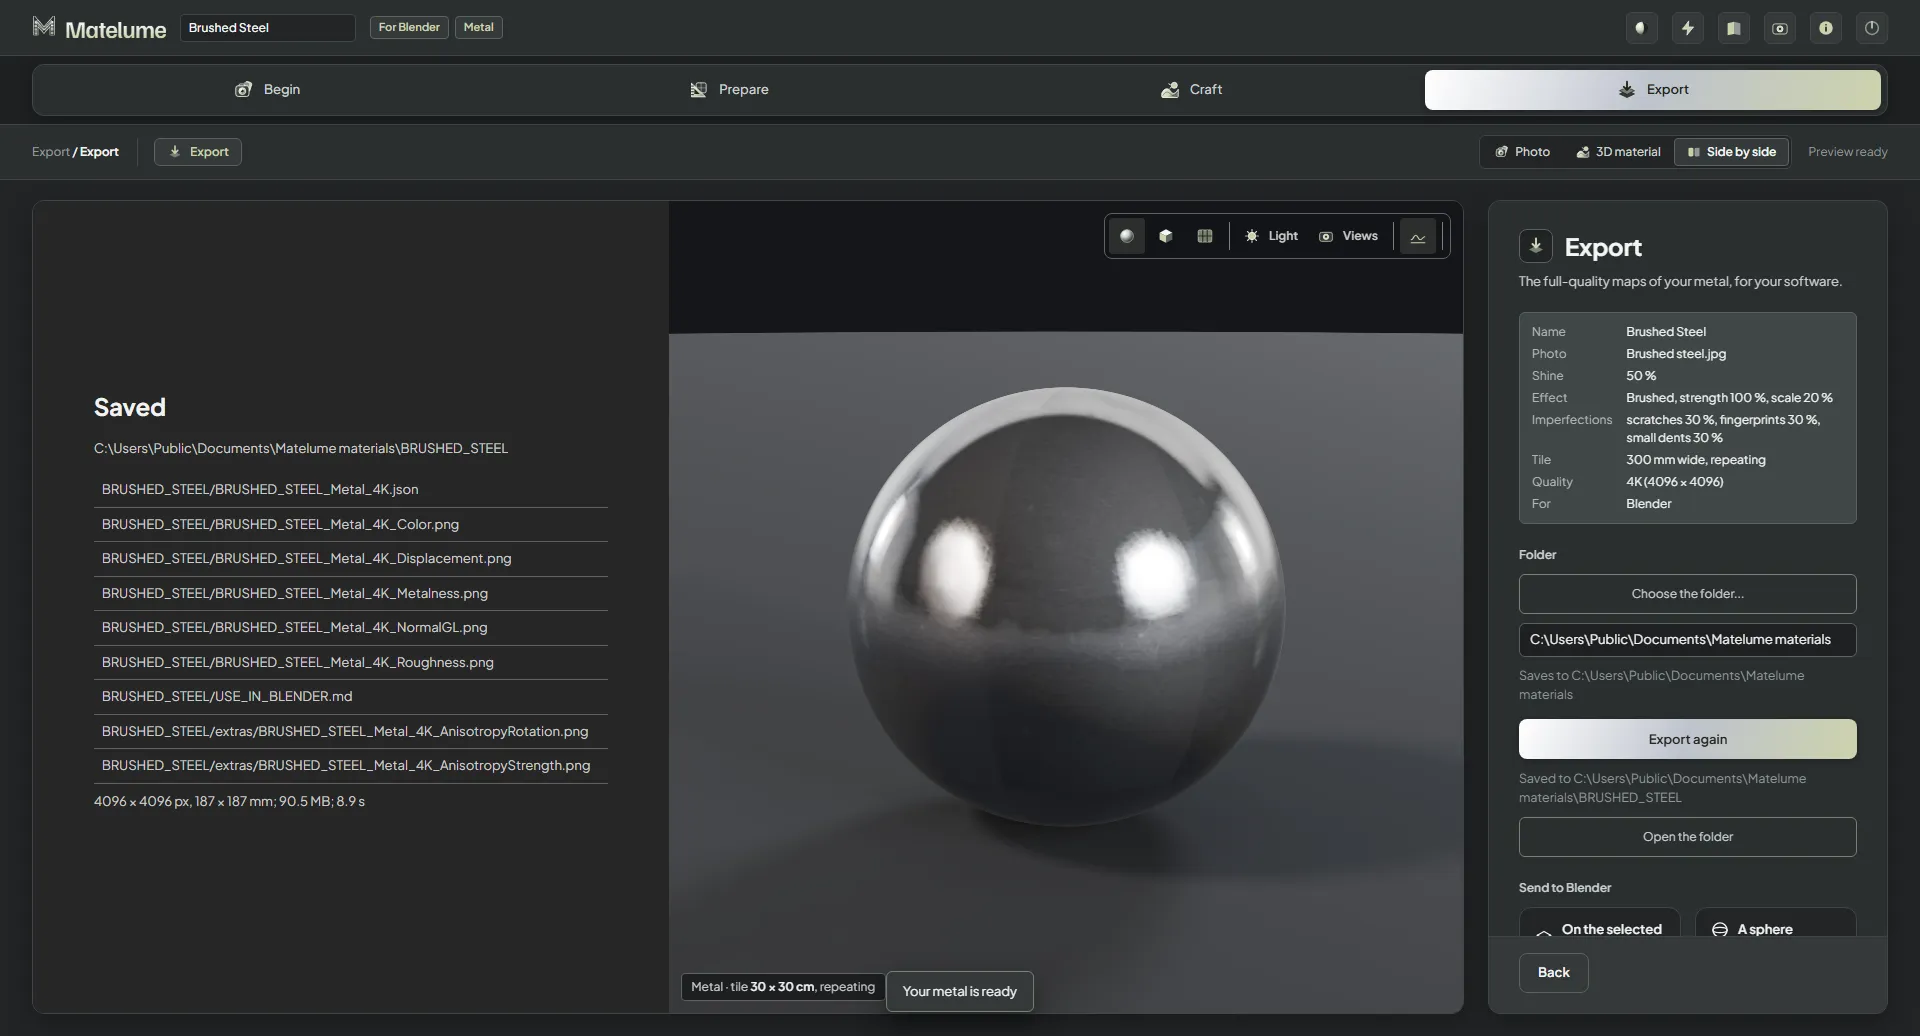
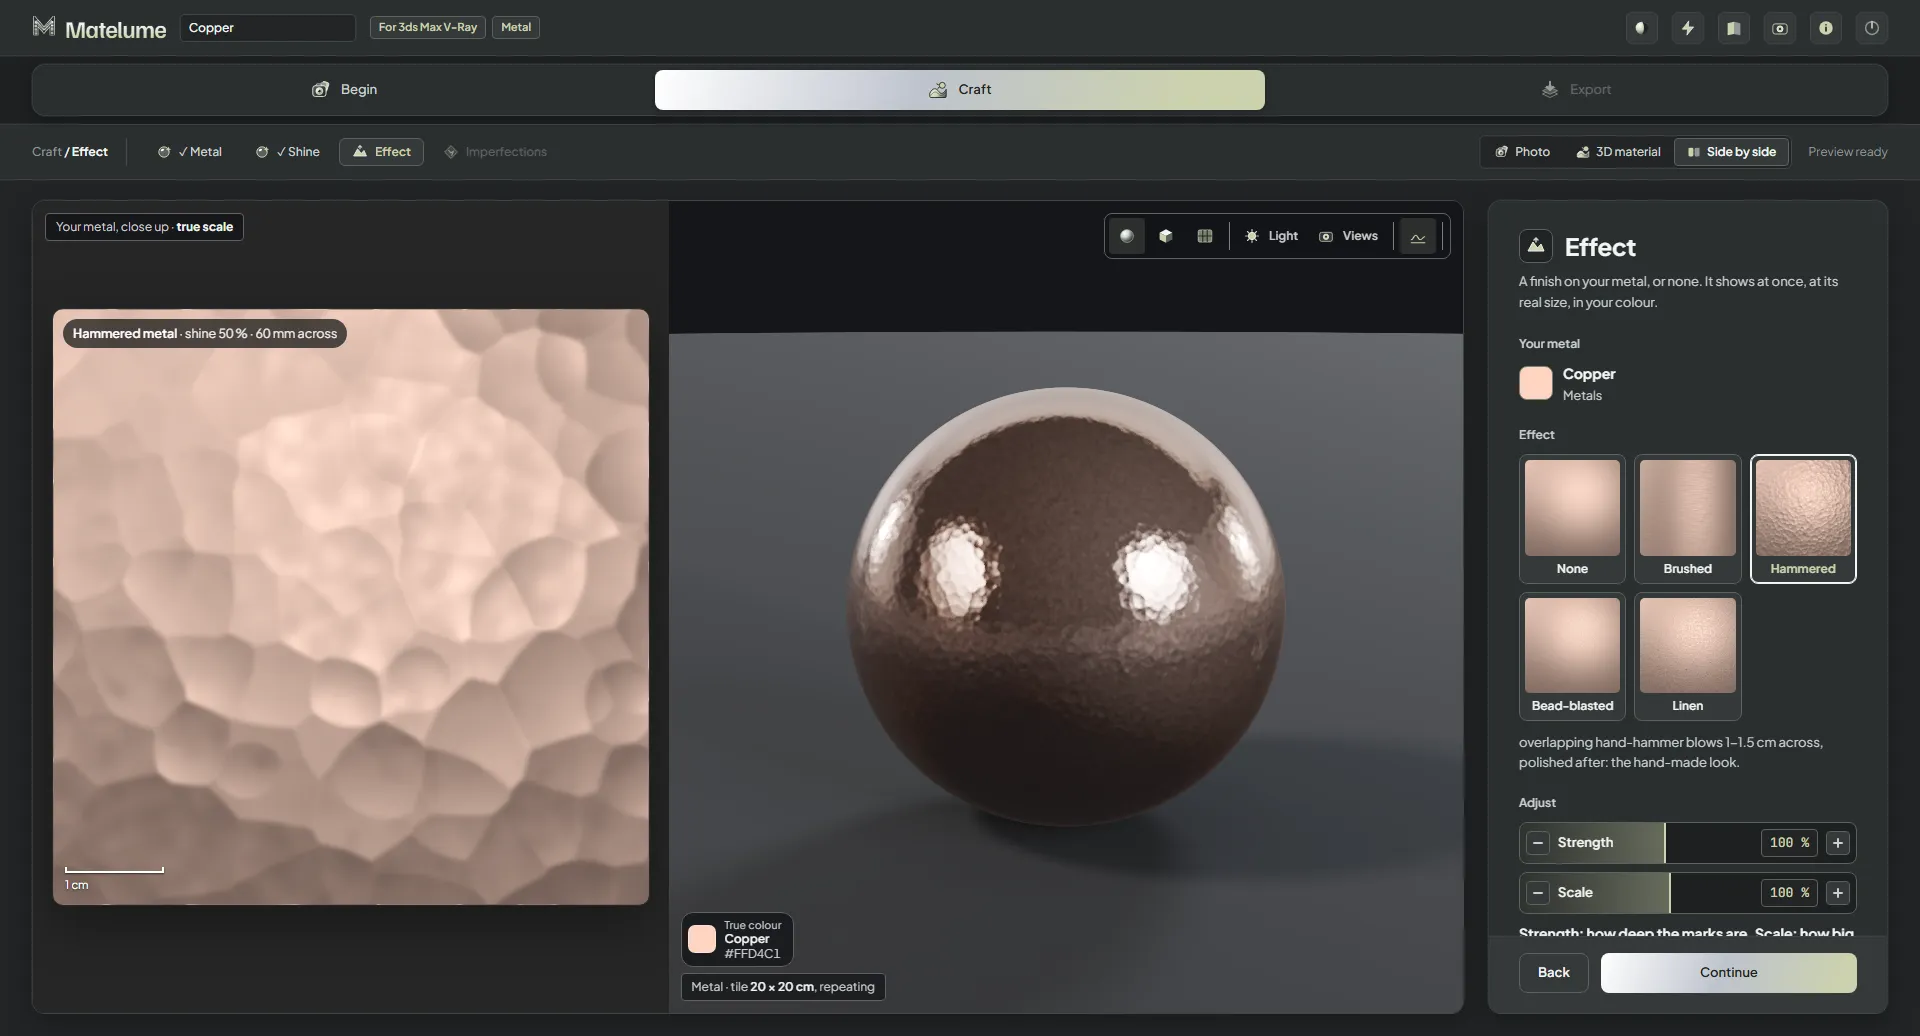
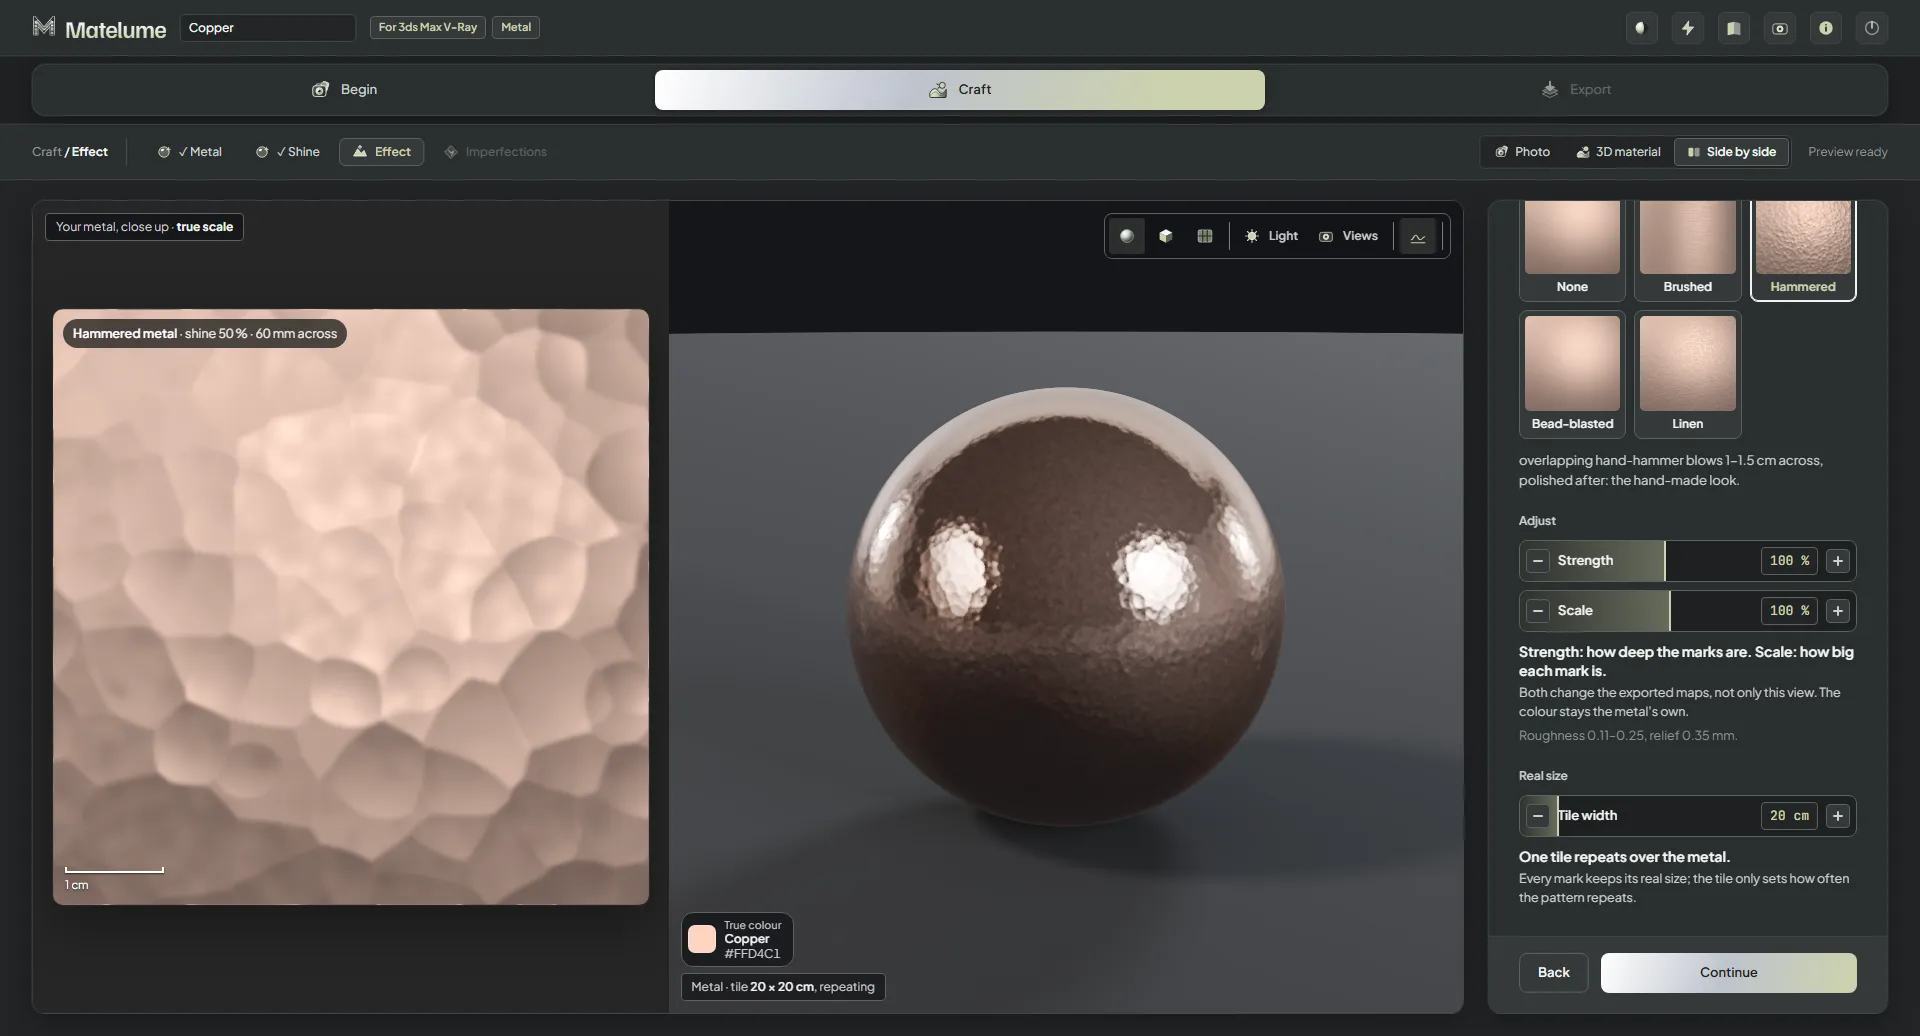
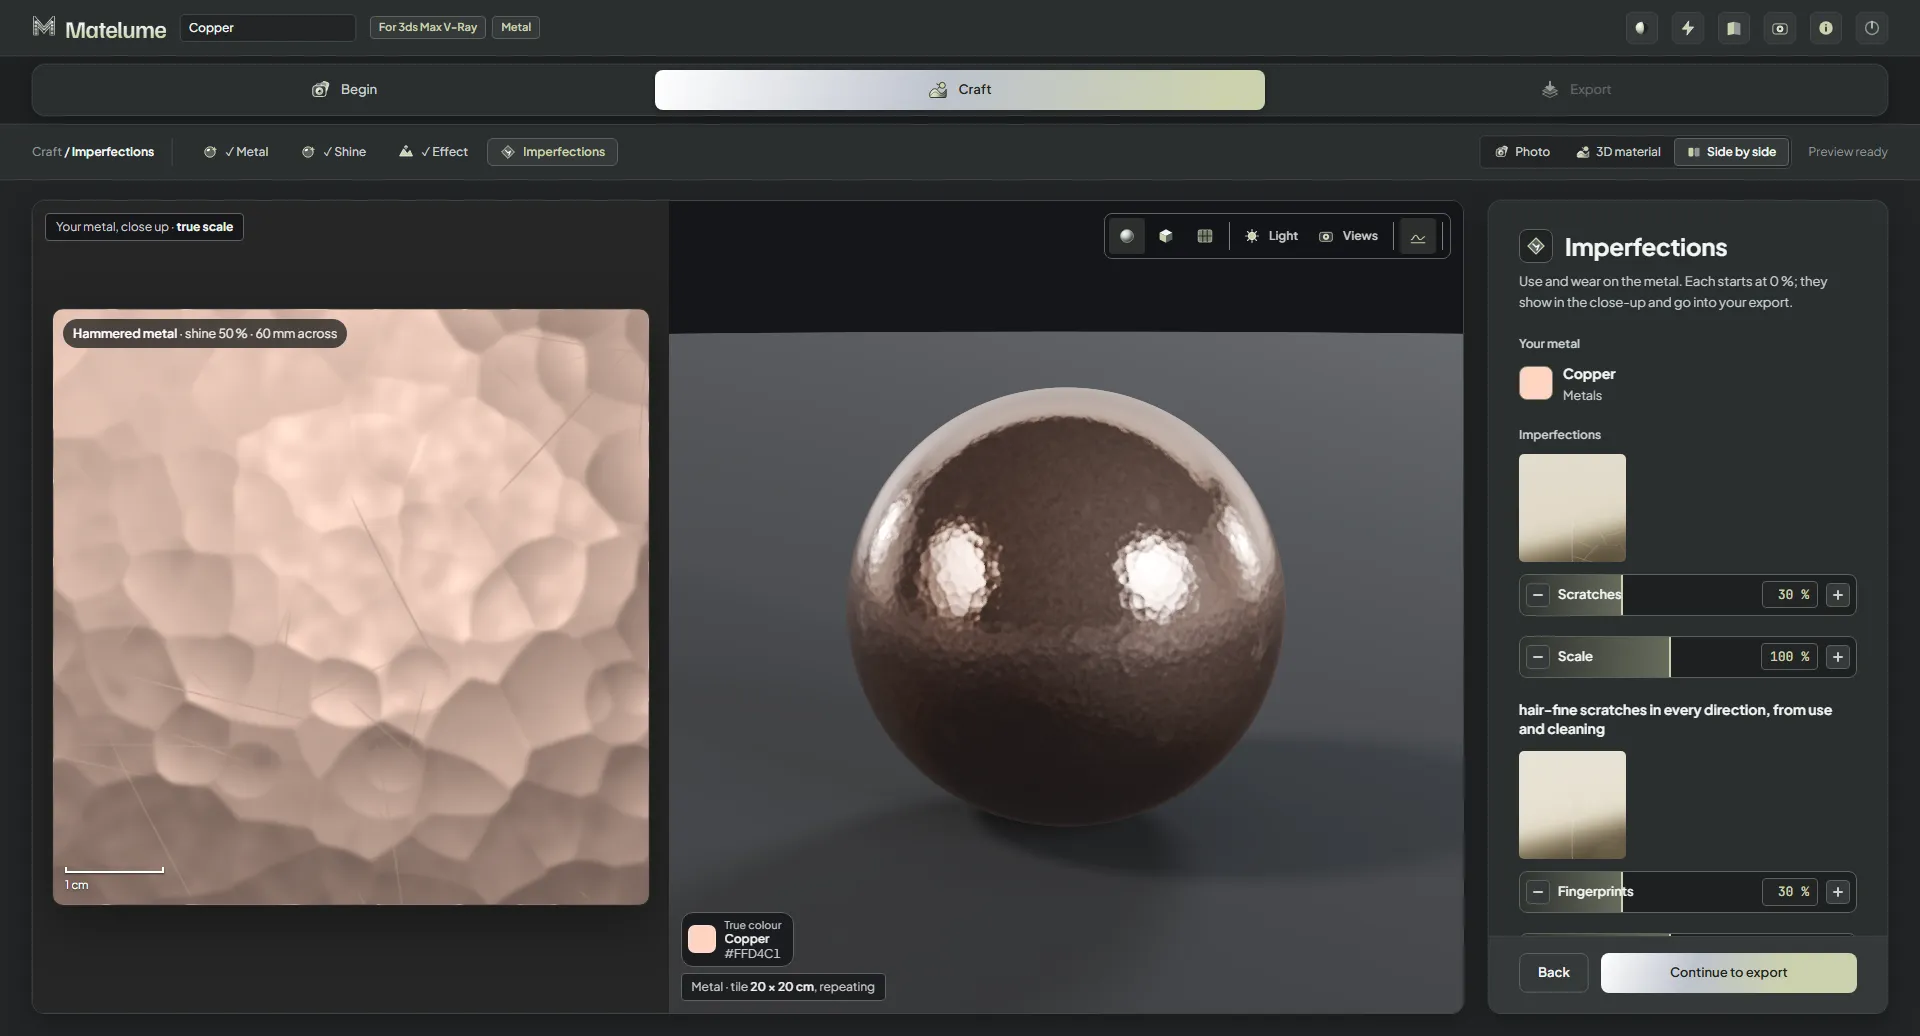
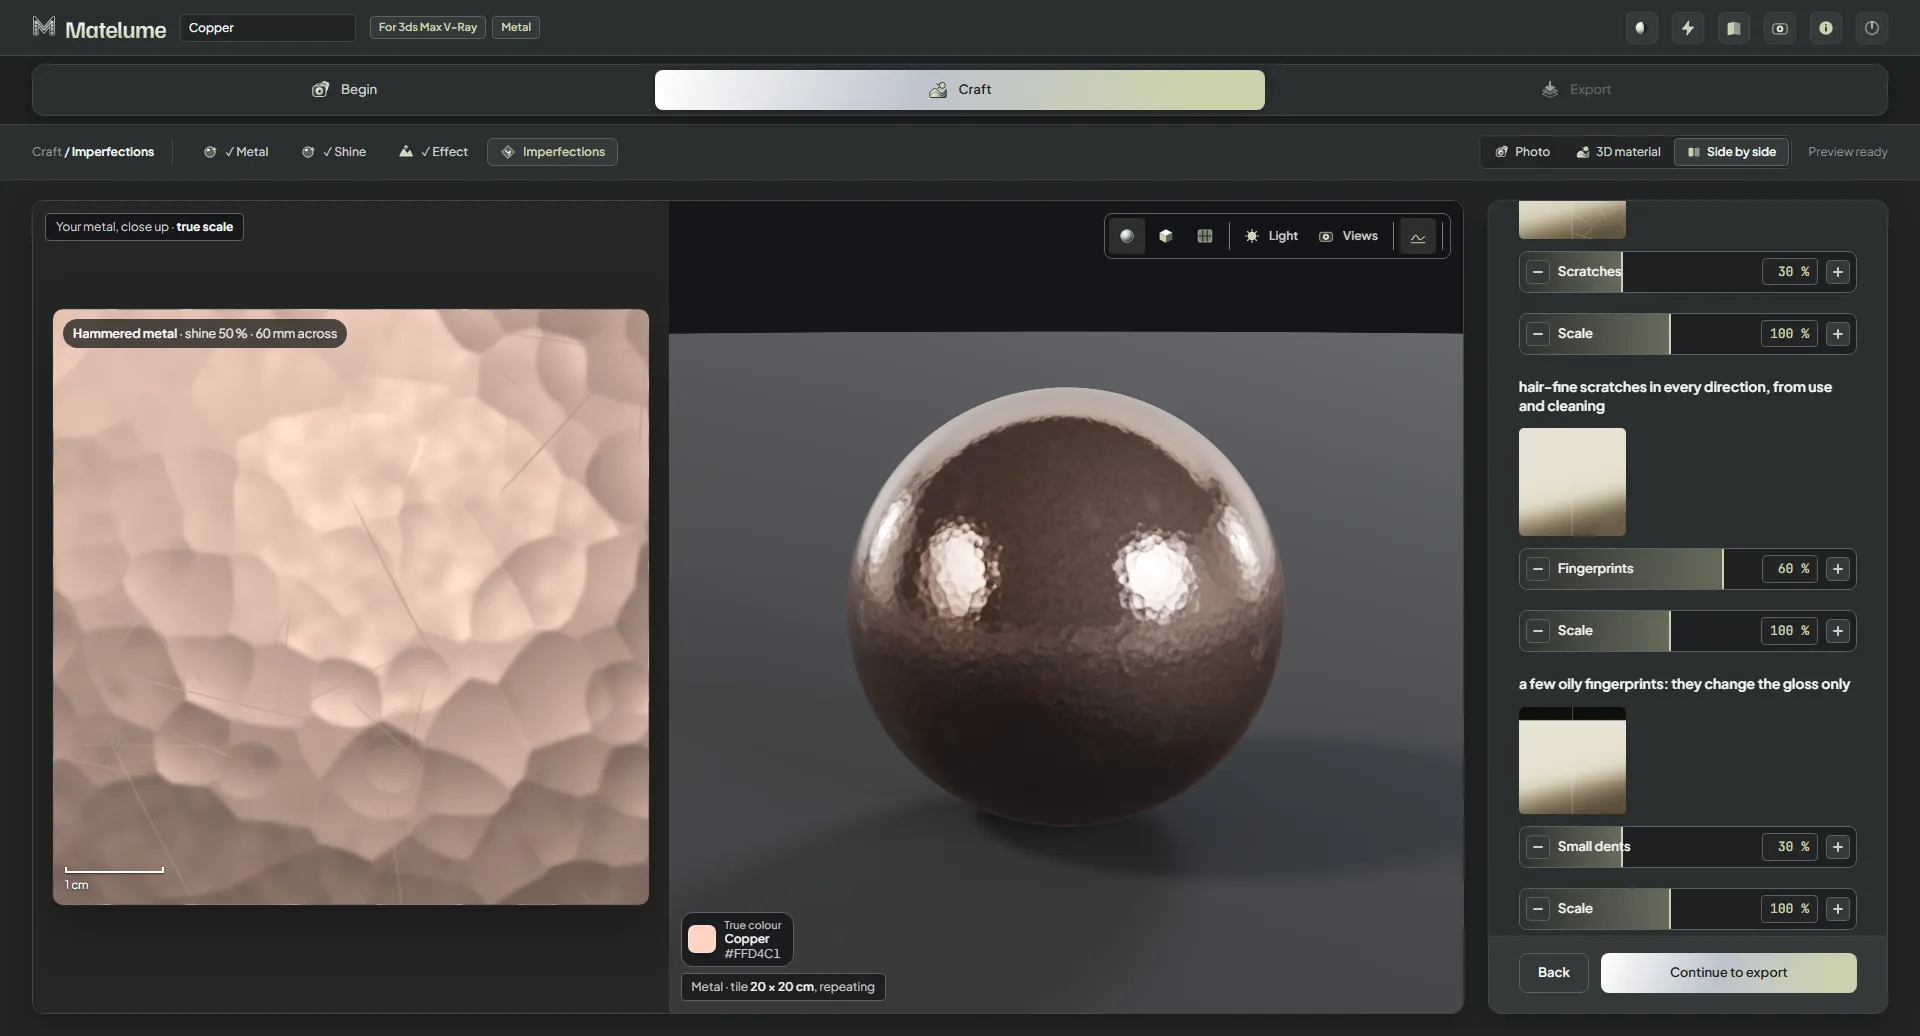
Follow the metal workflow · 40 app views
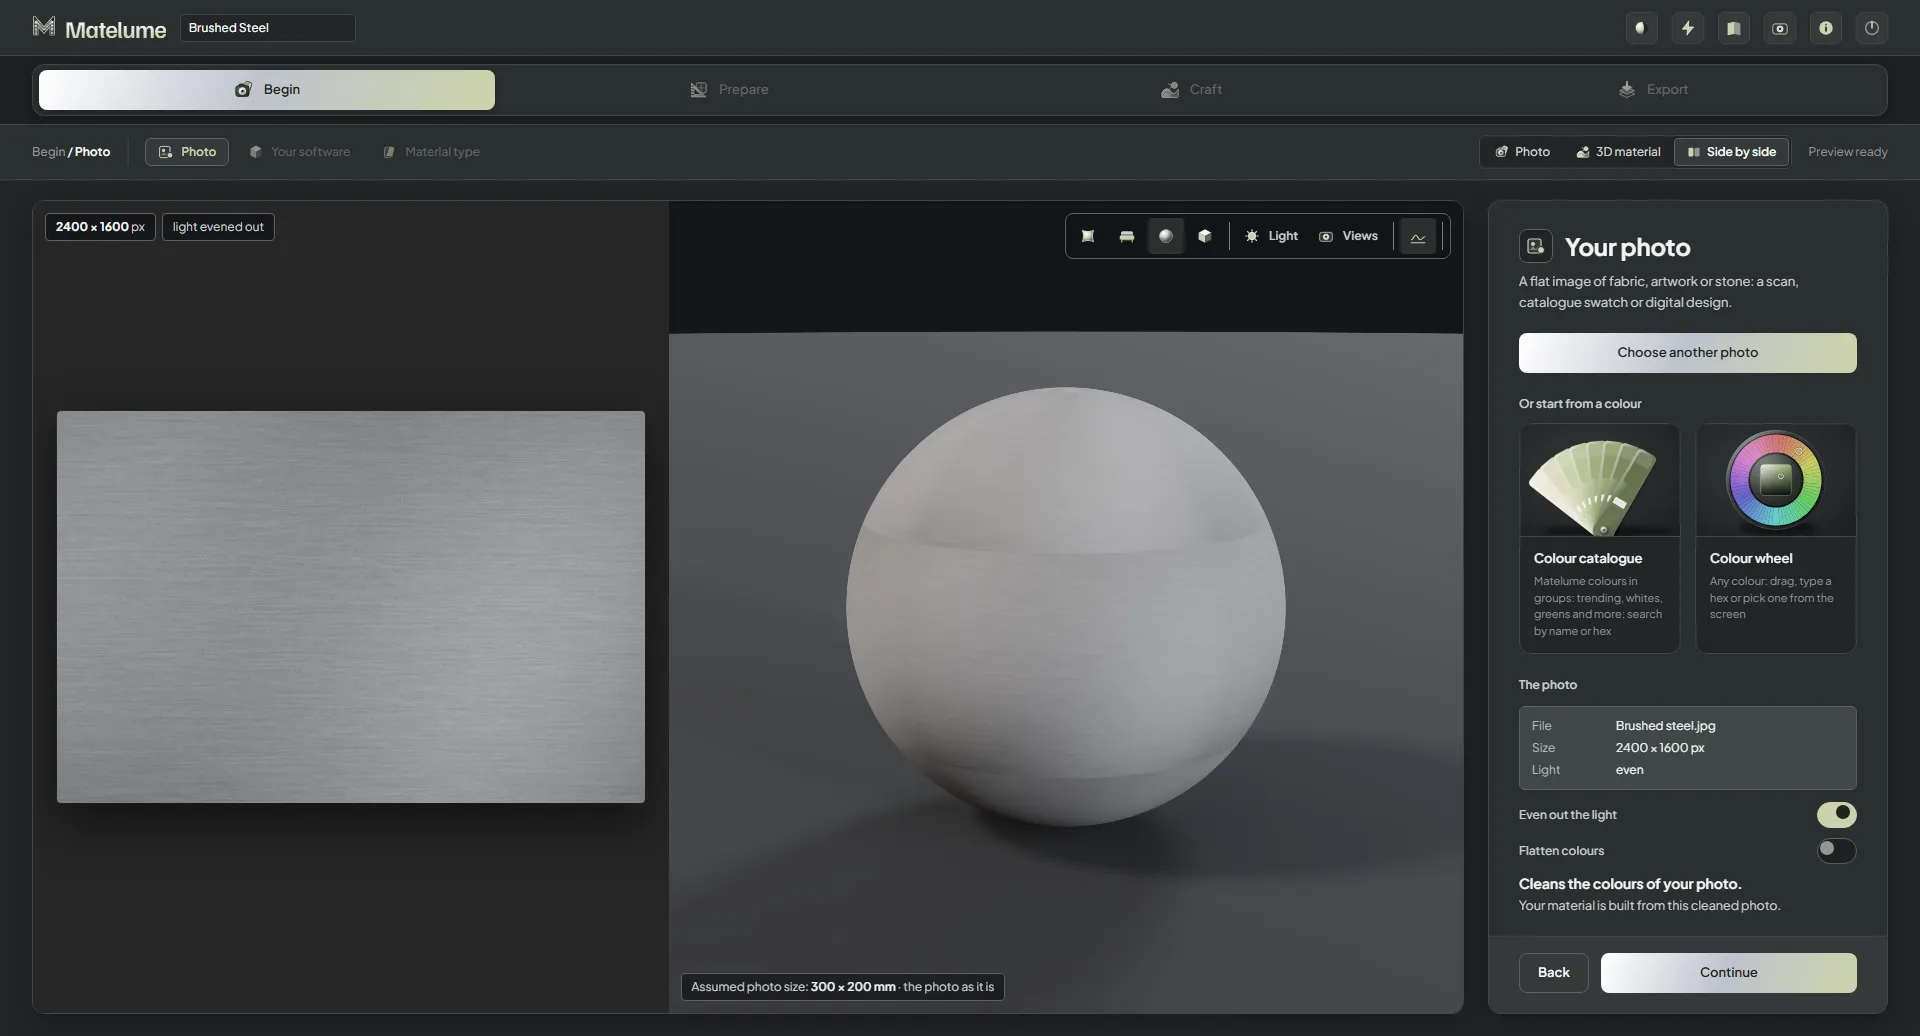
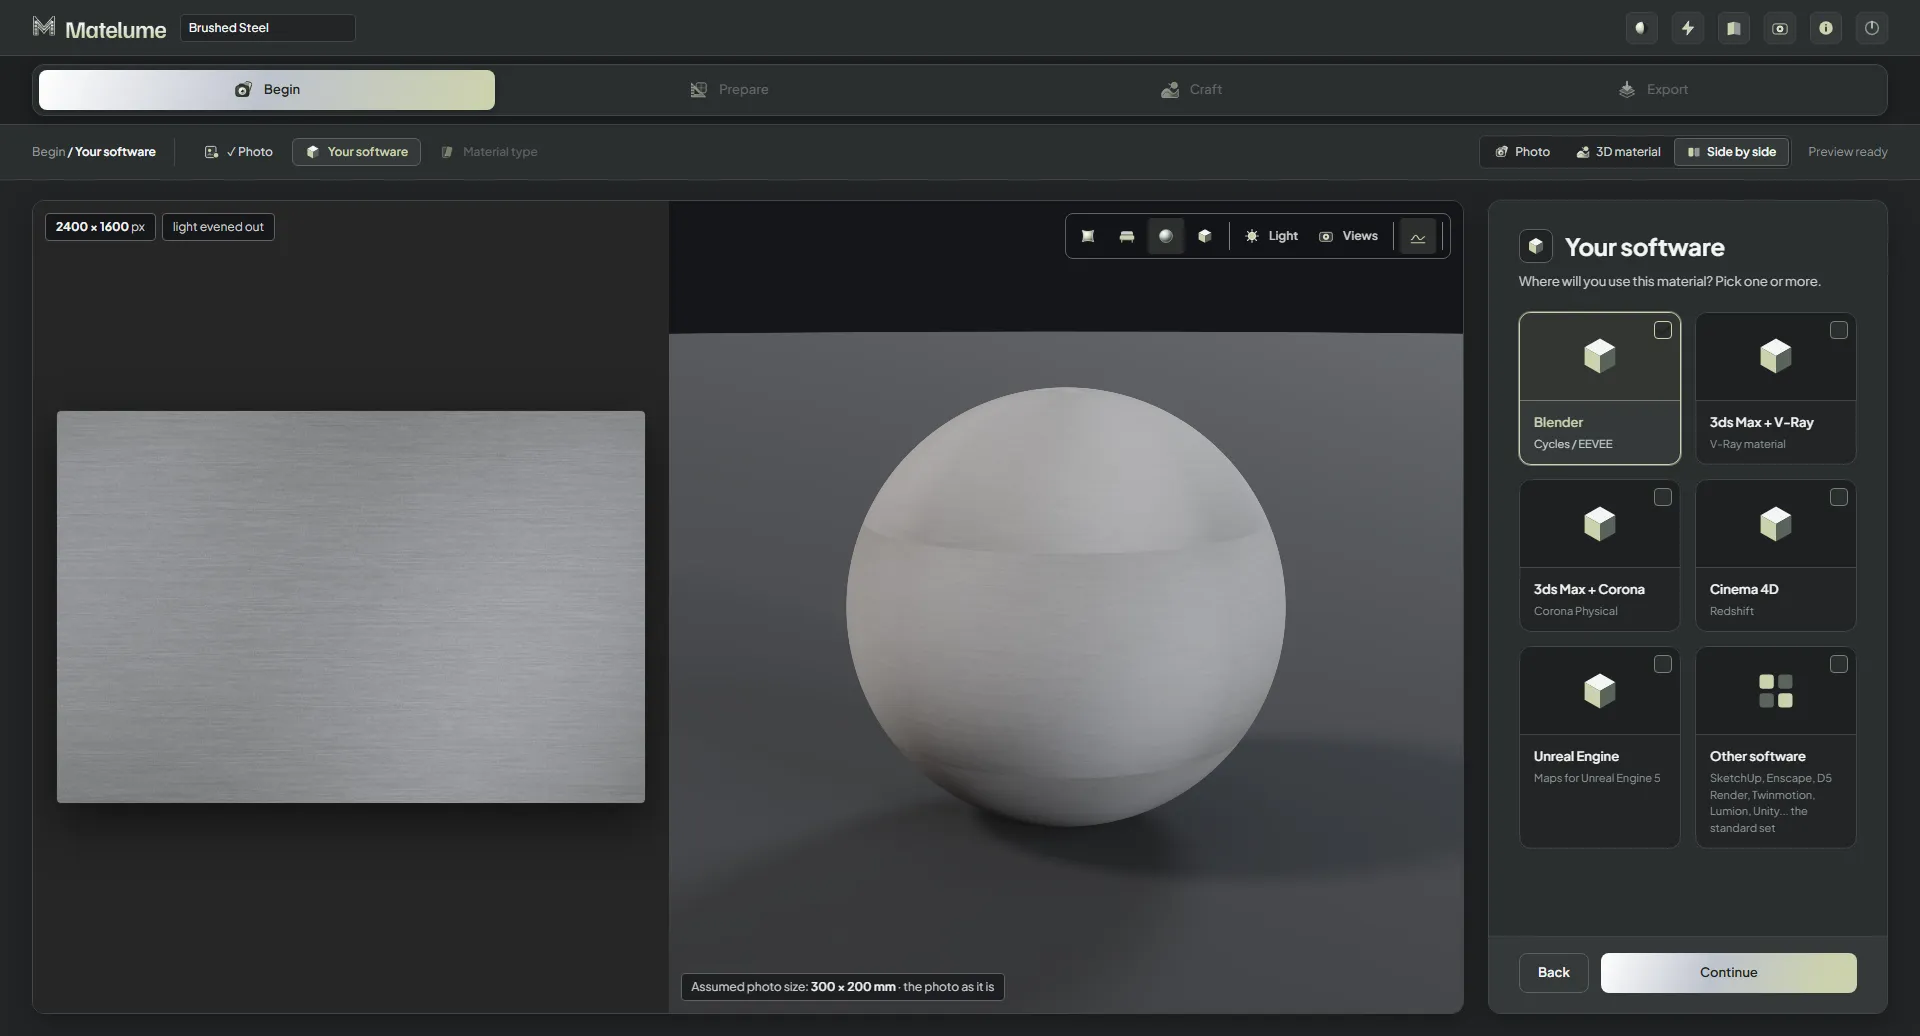
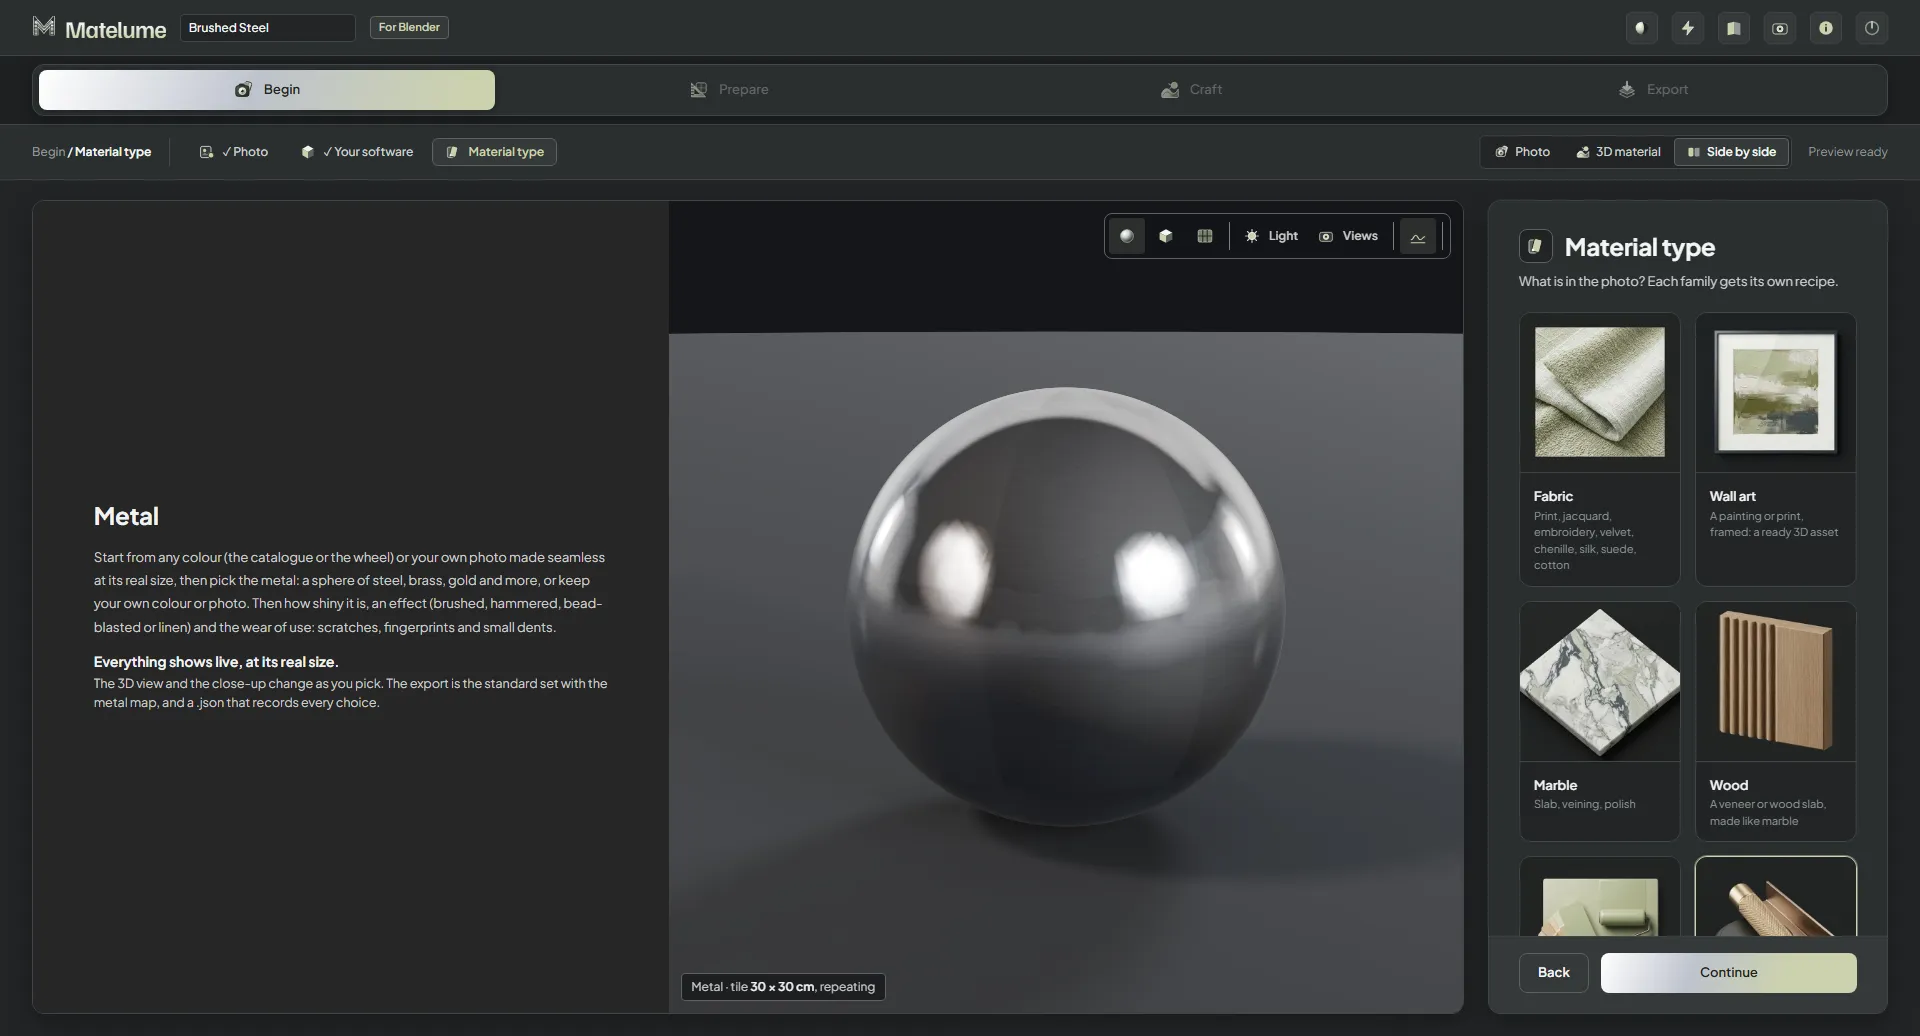
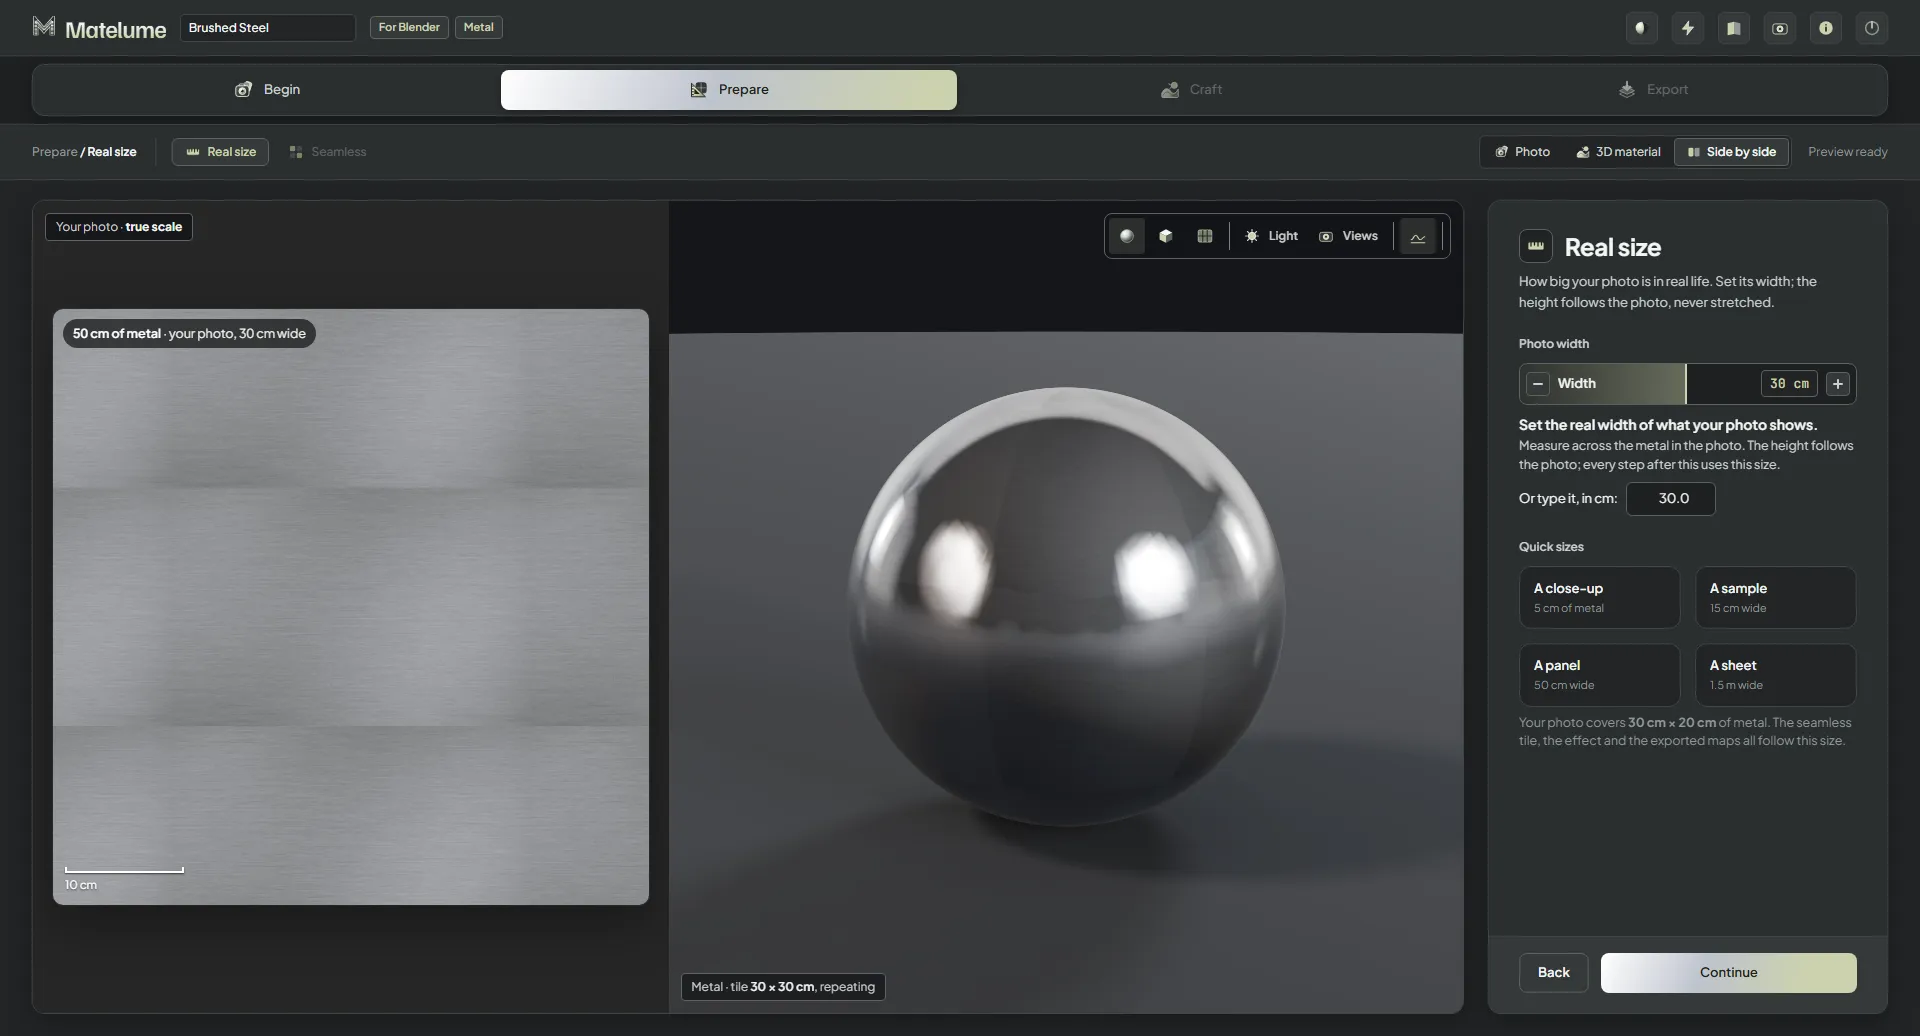
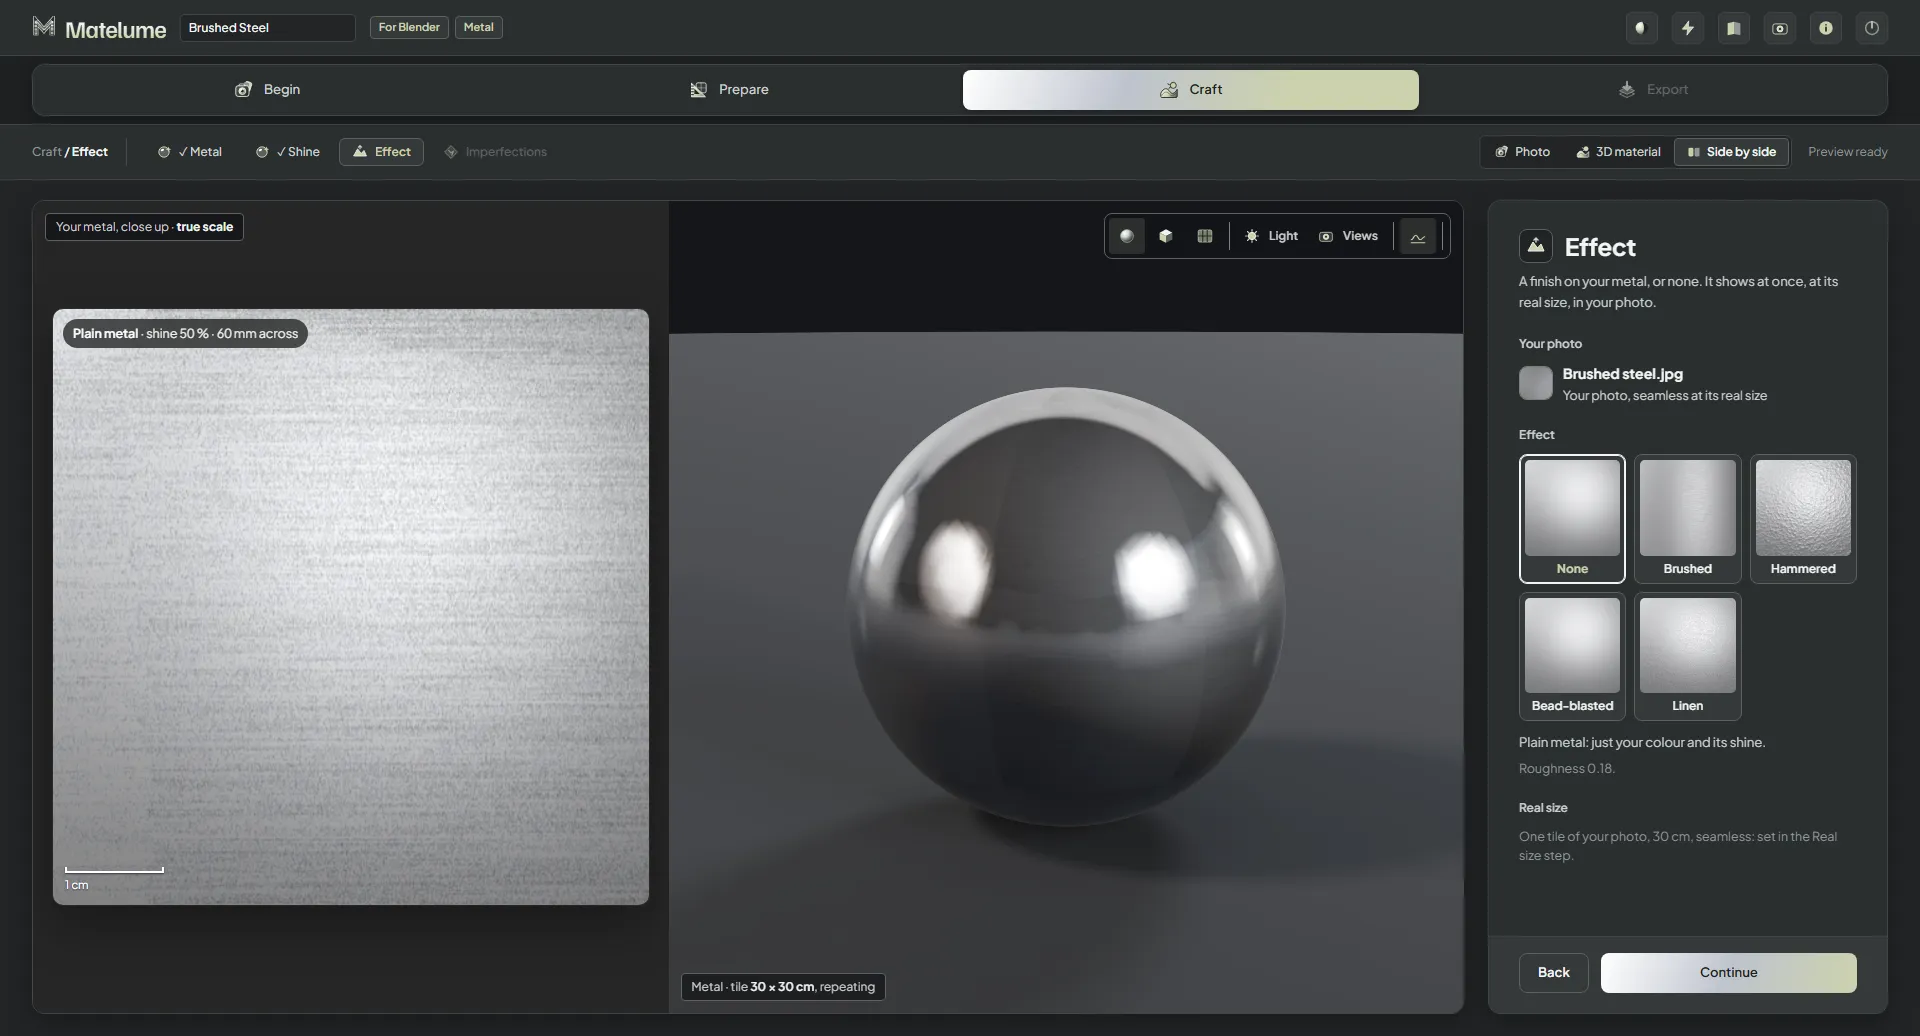
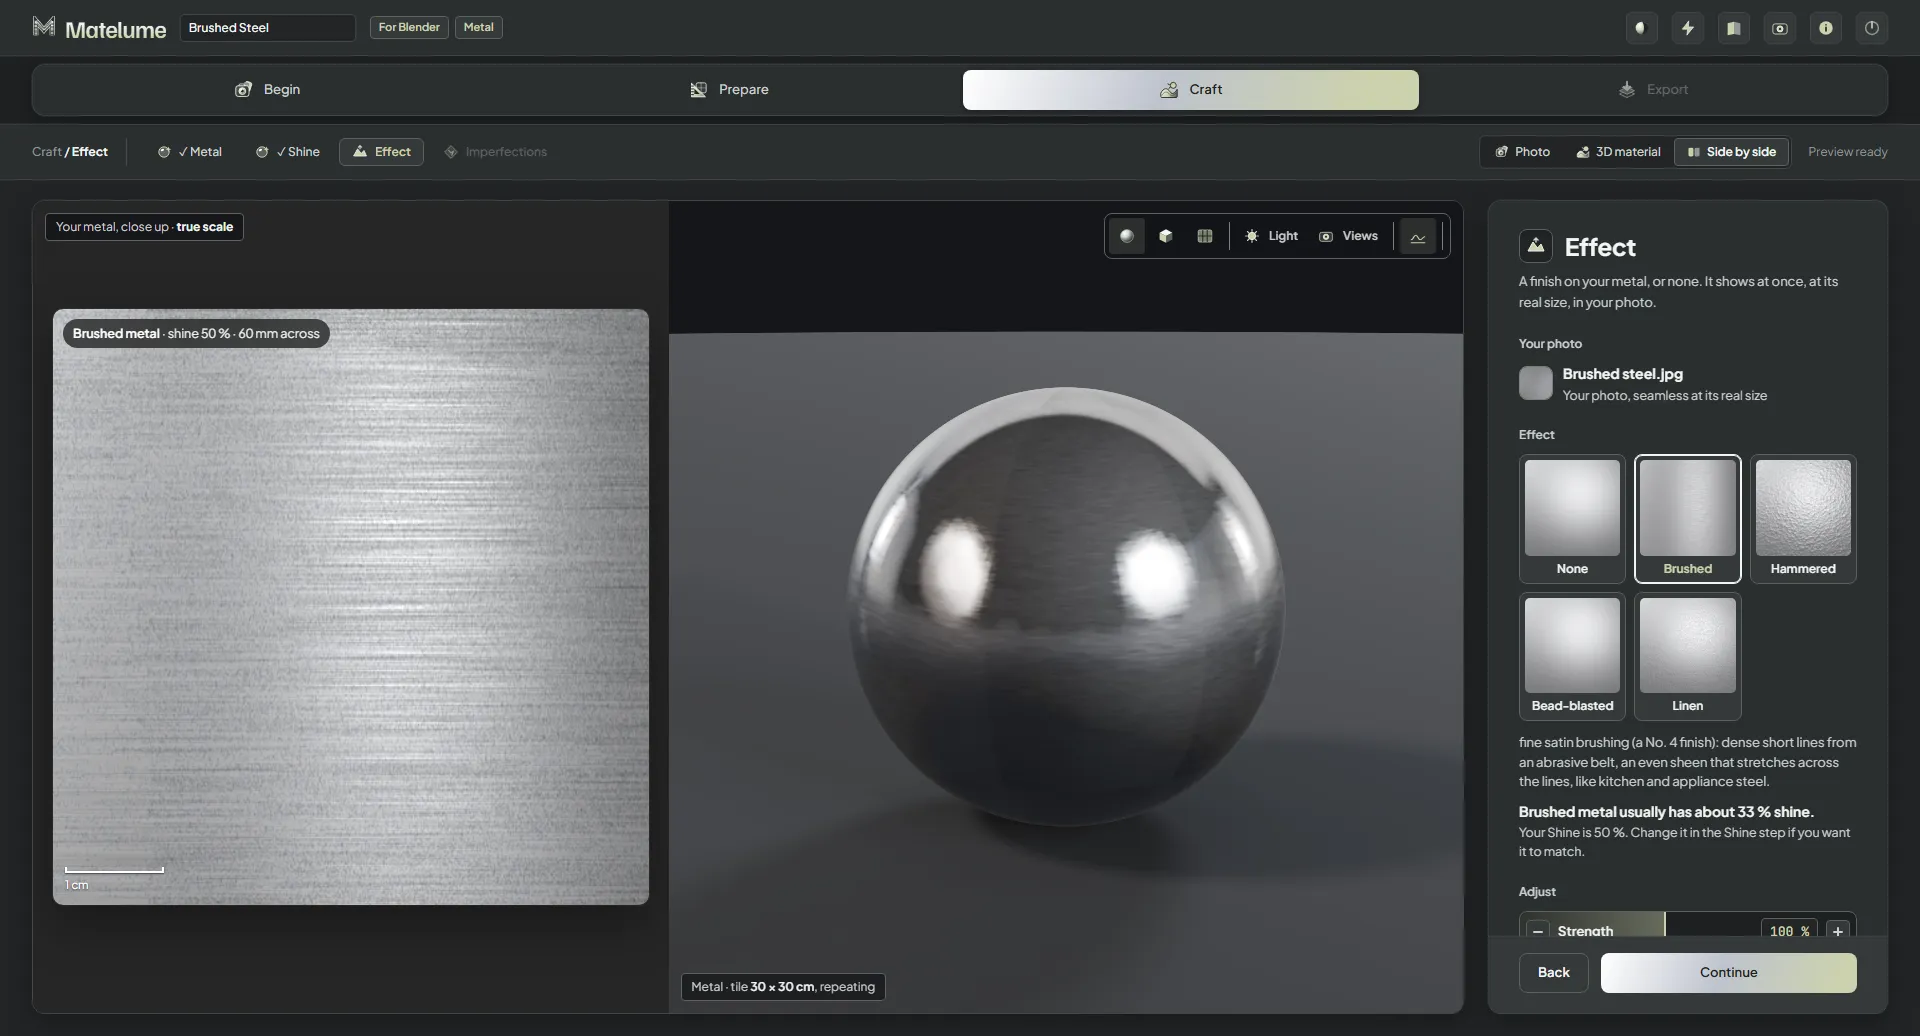
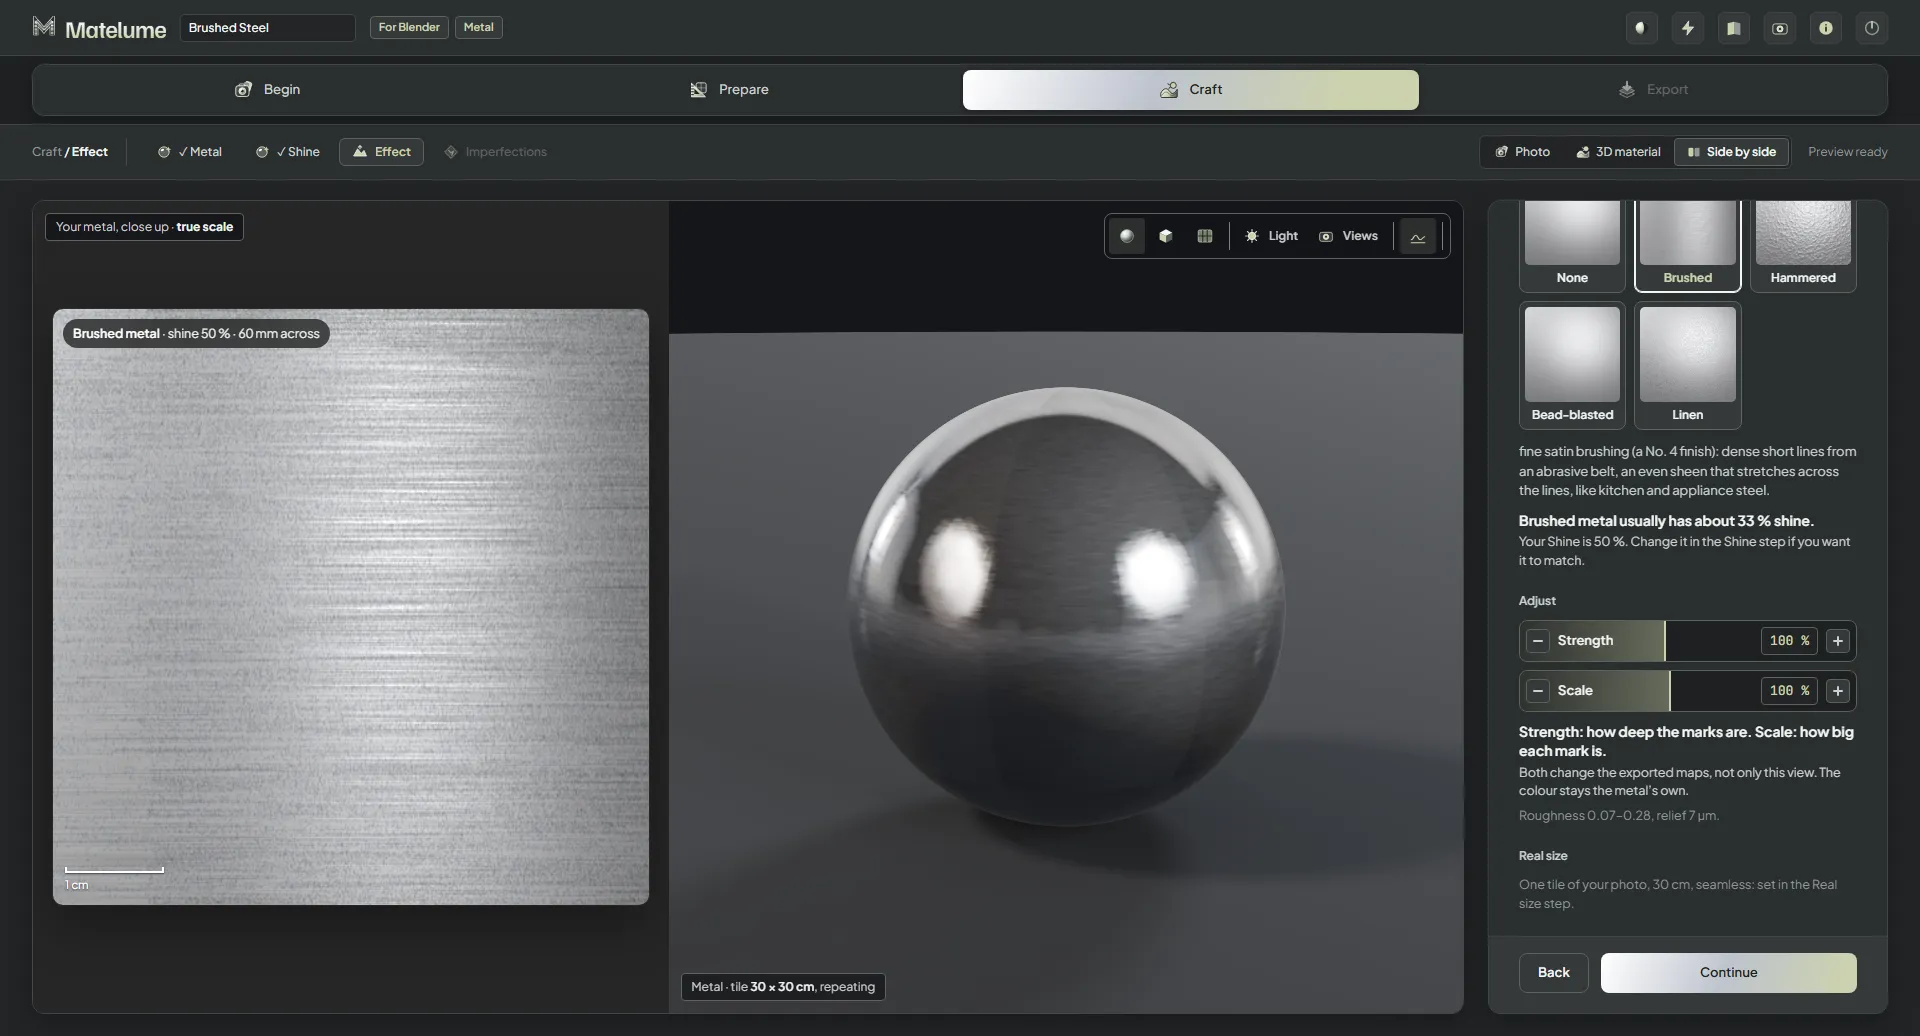
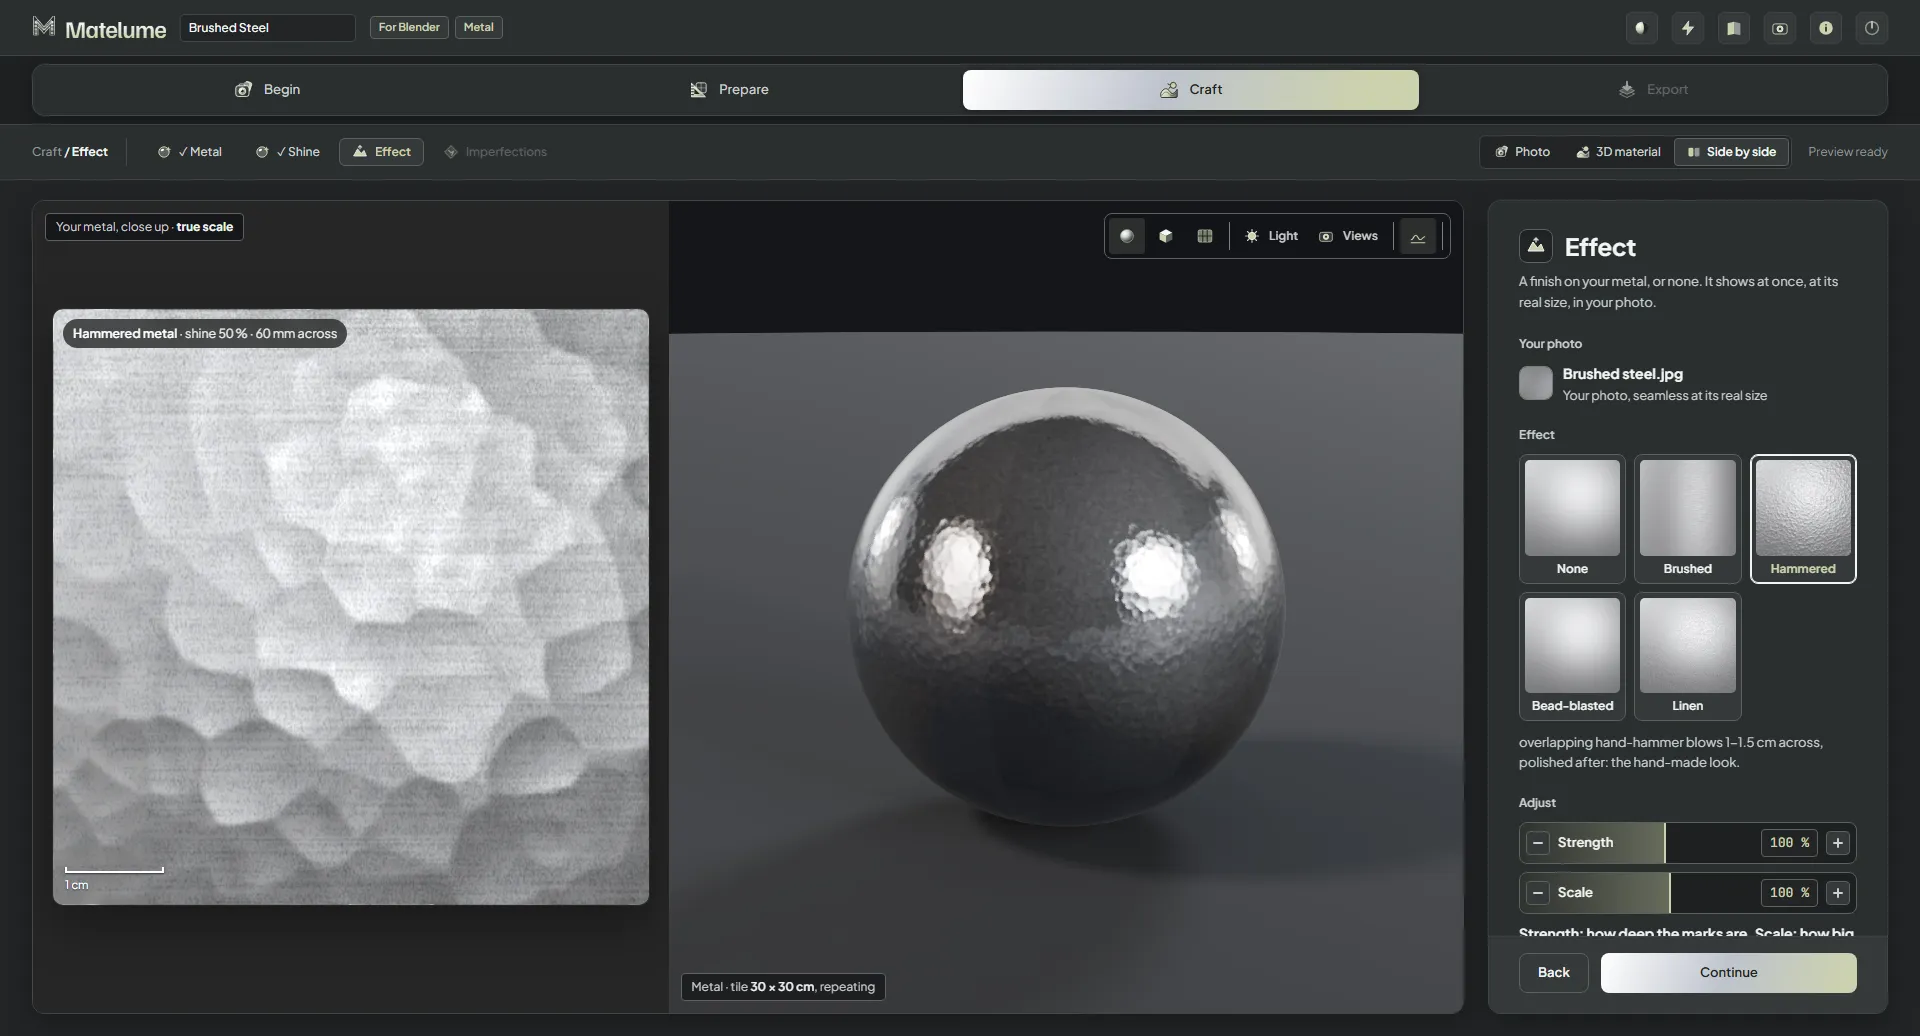
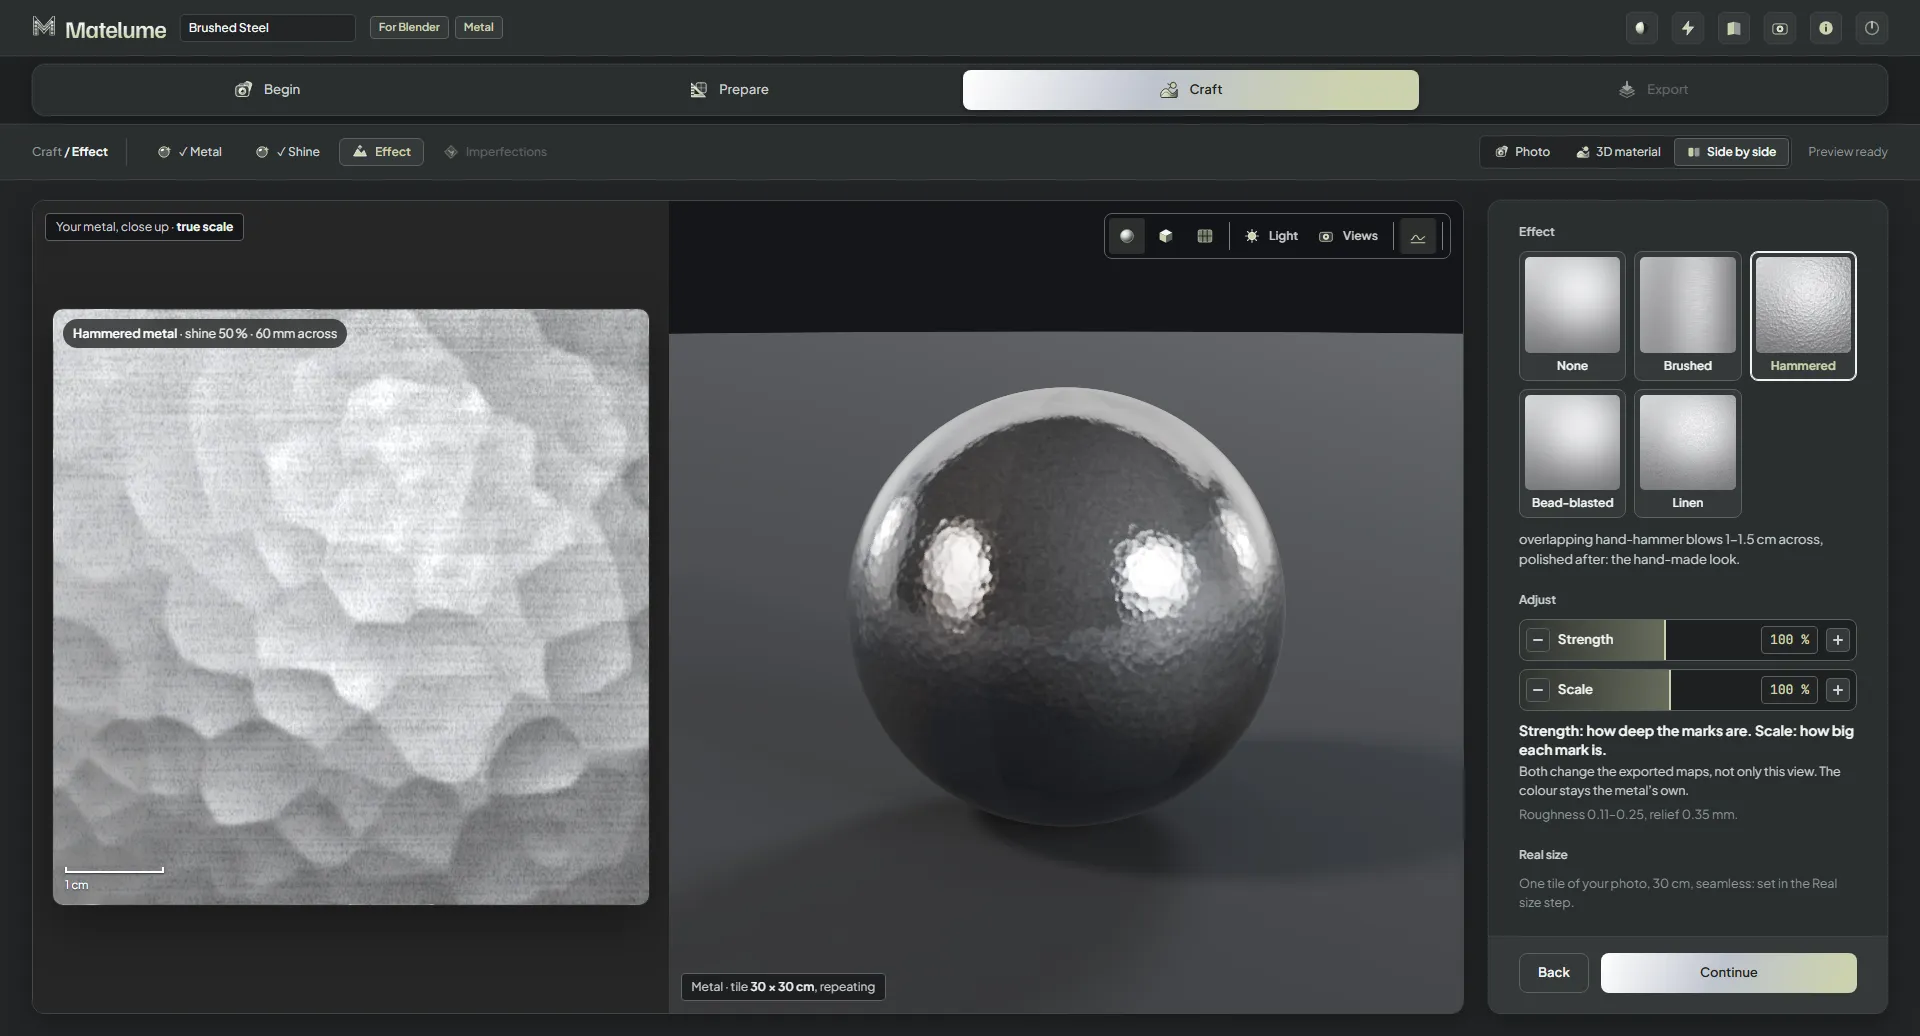
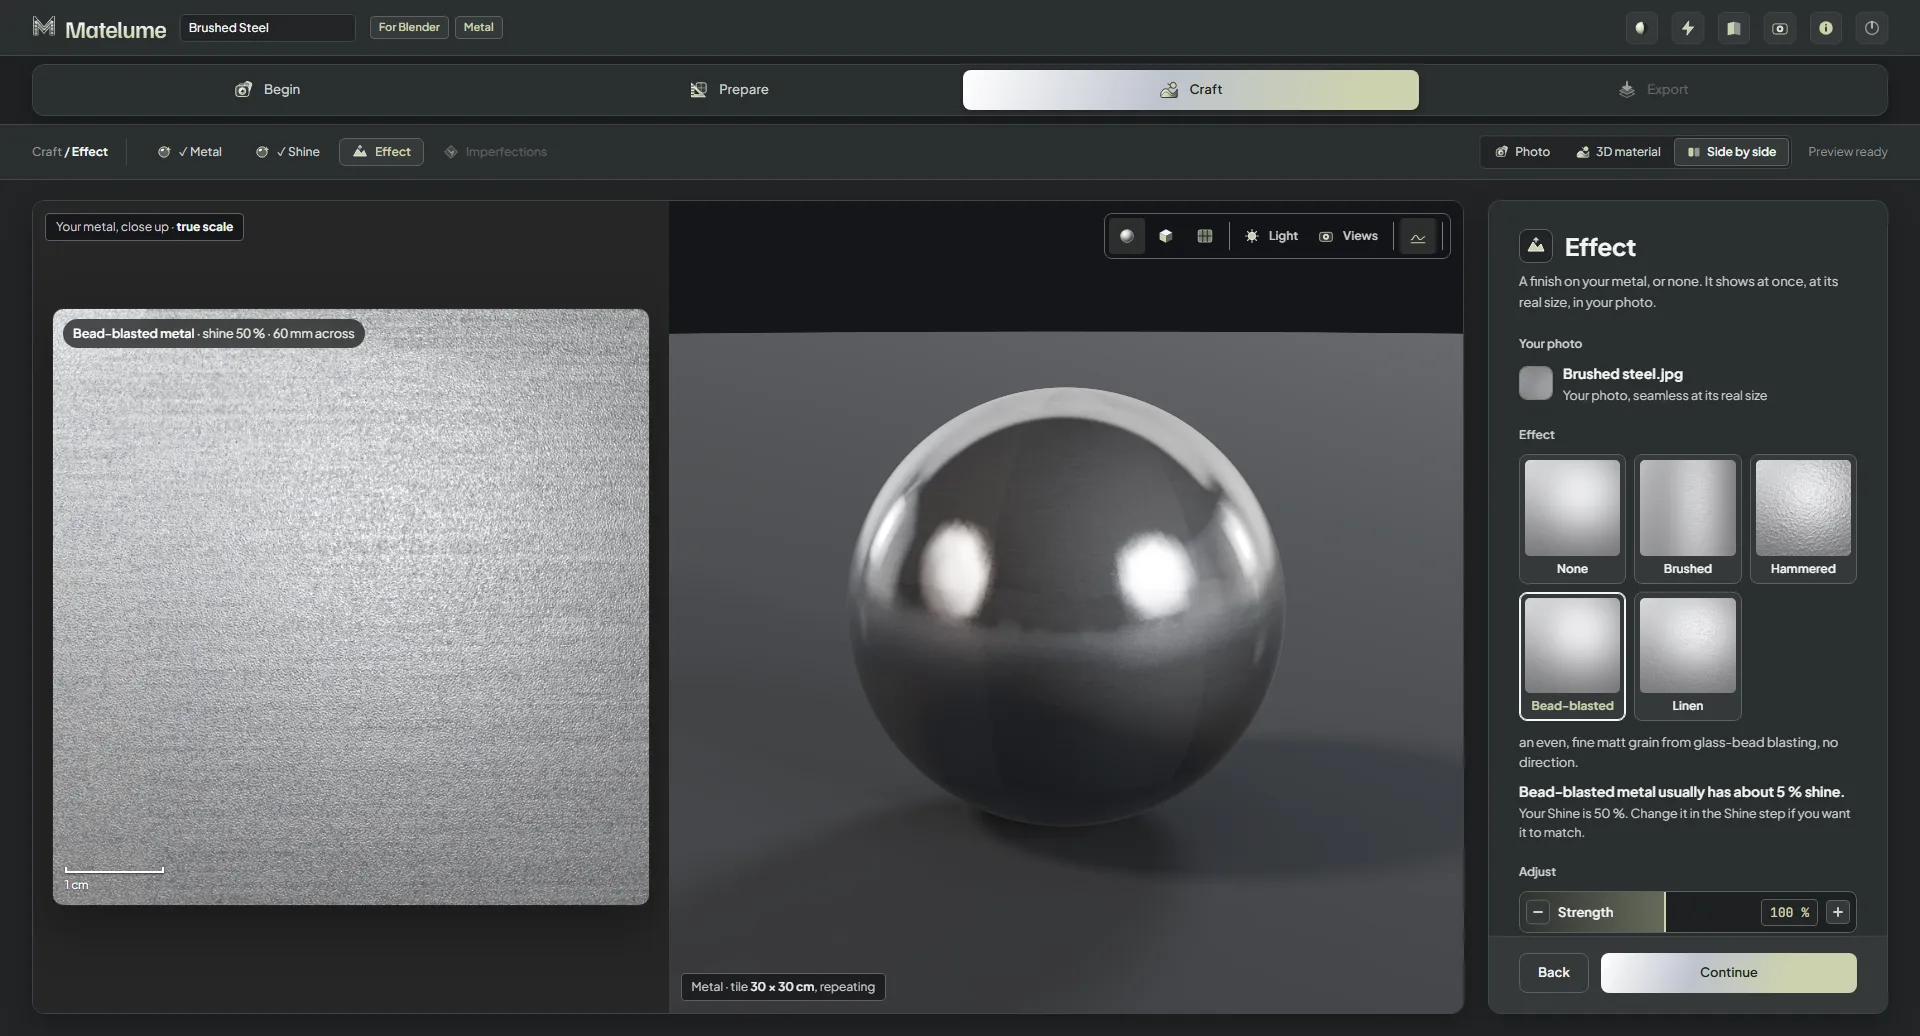
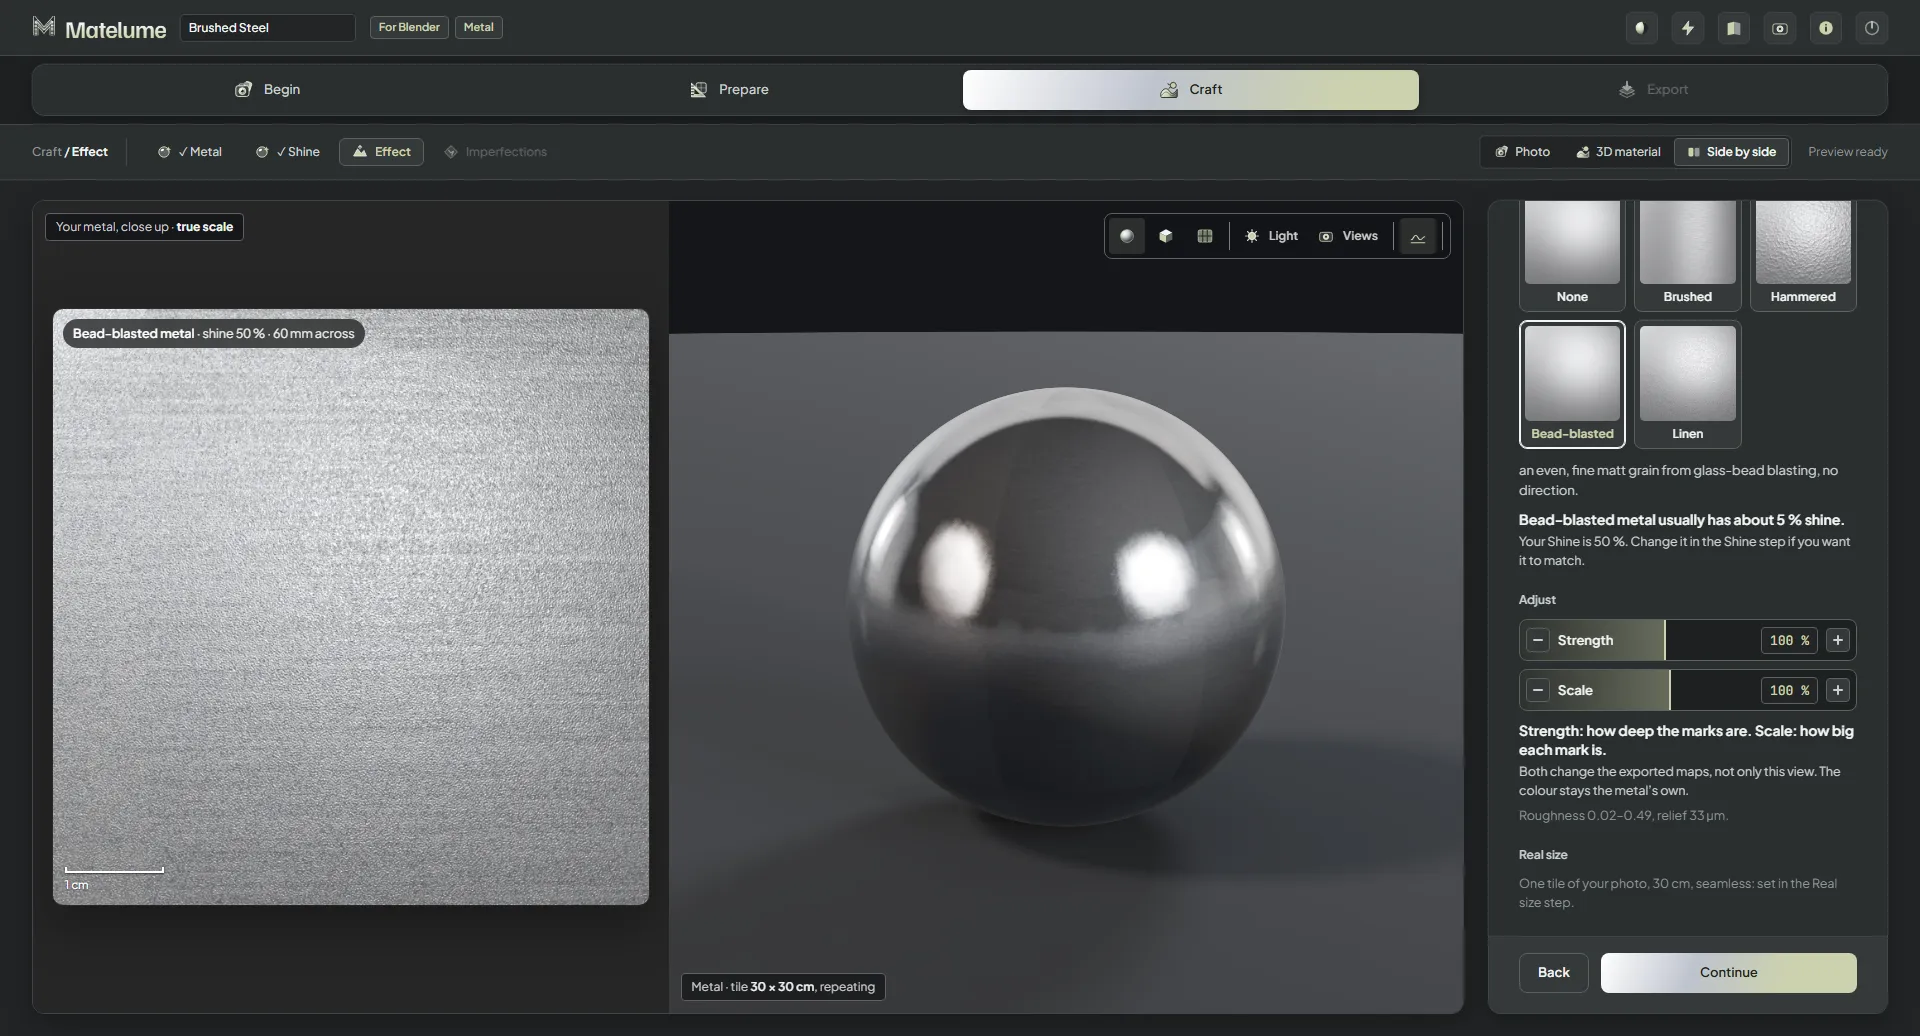
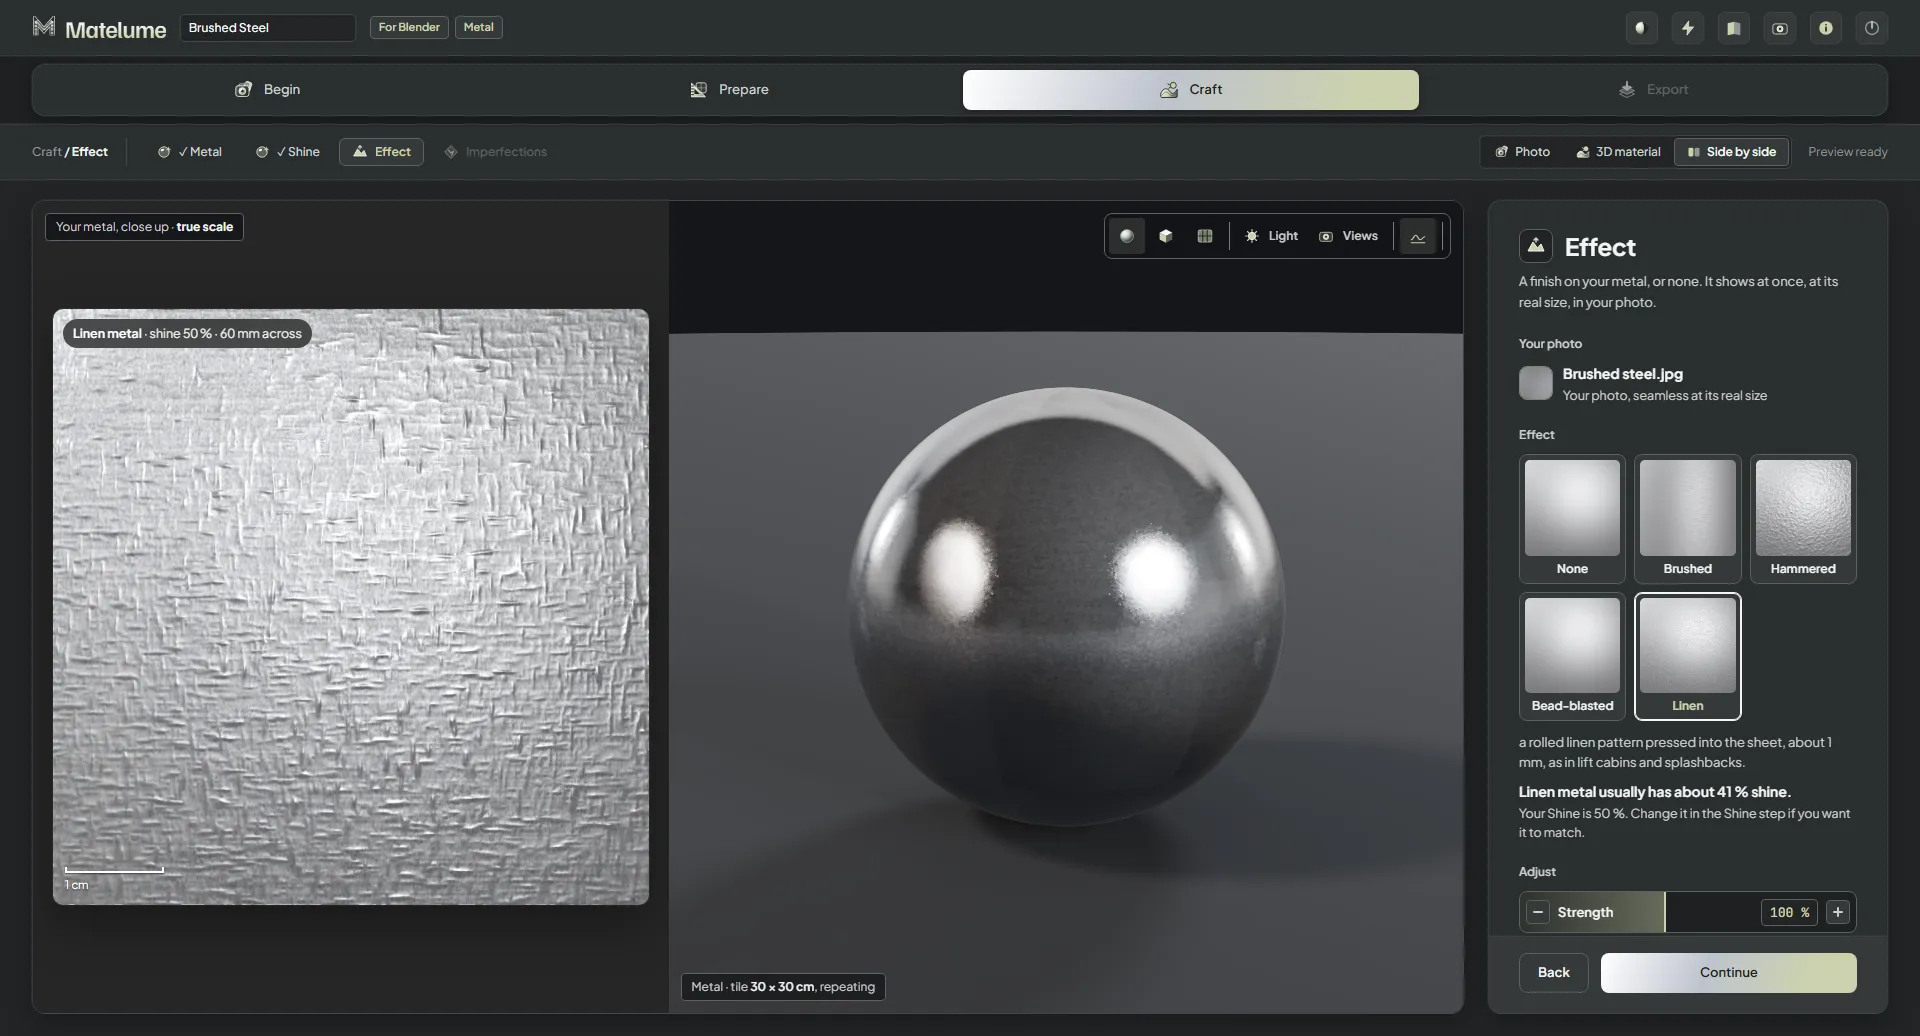
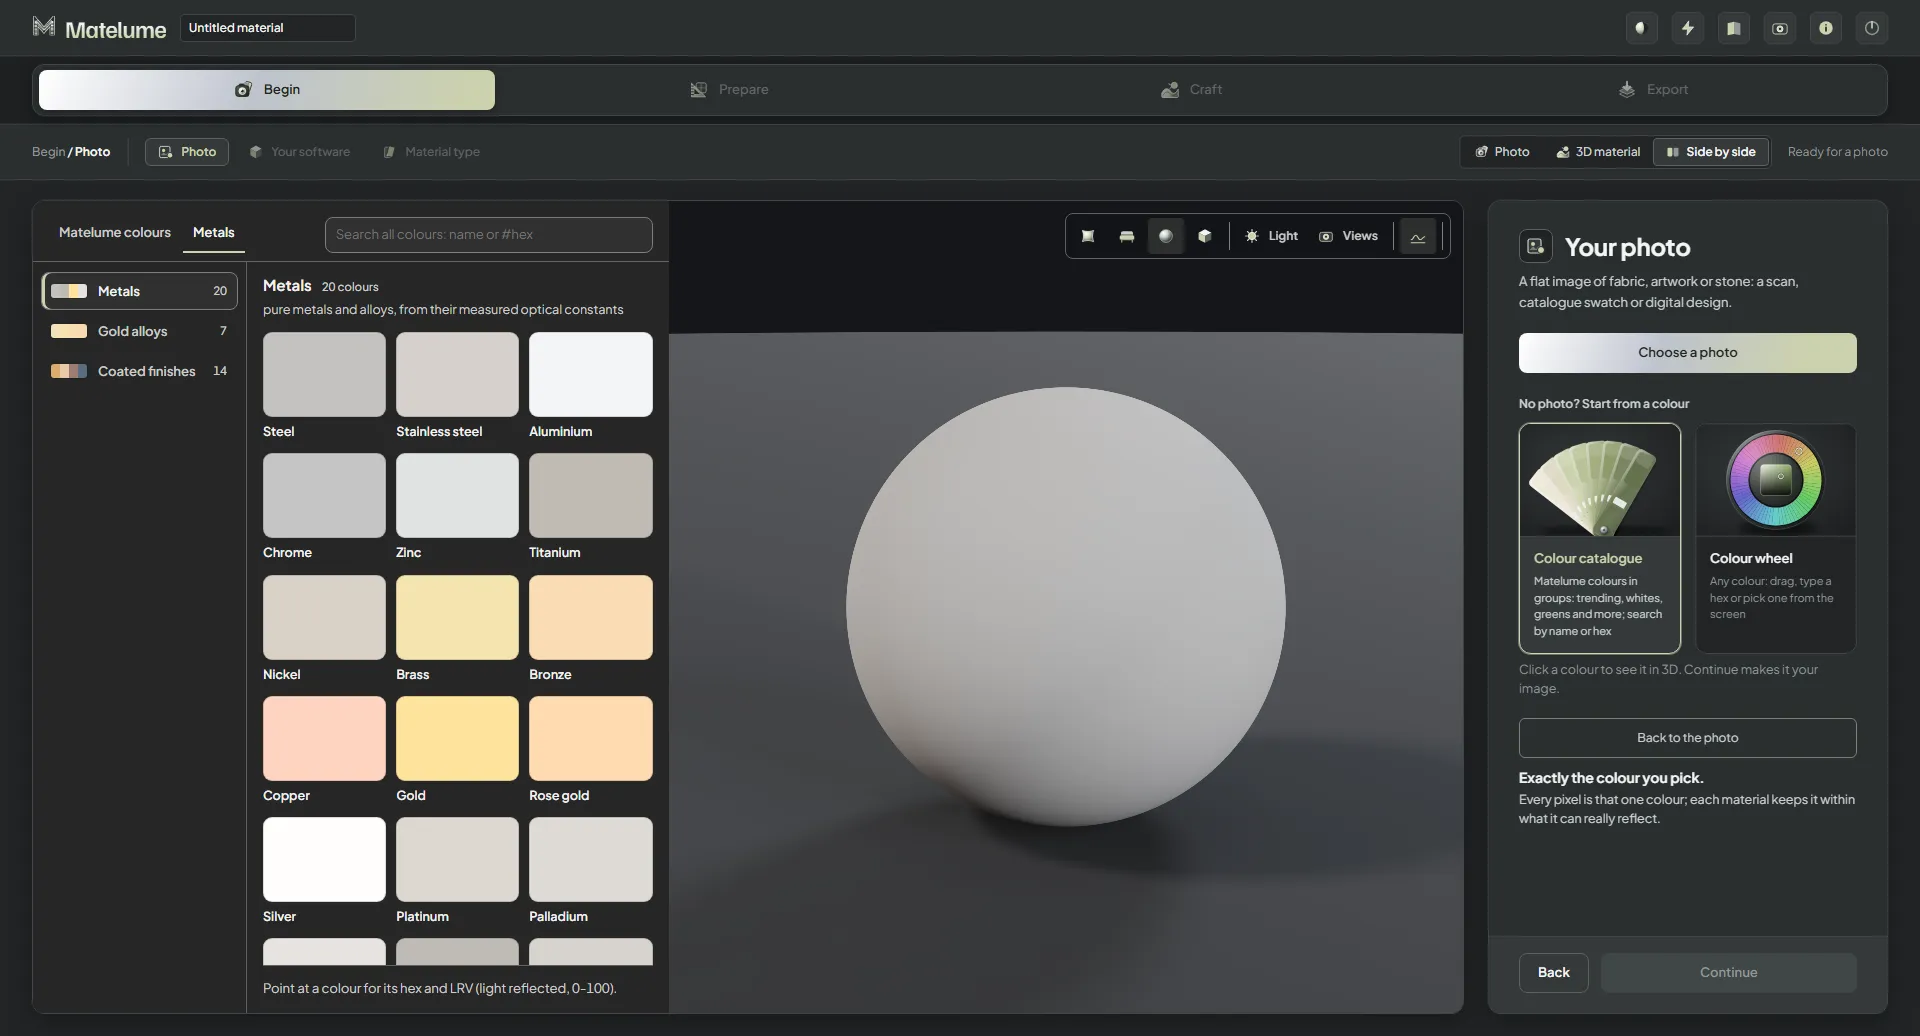
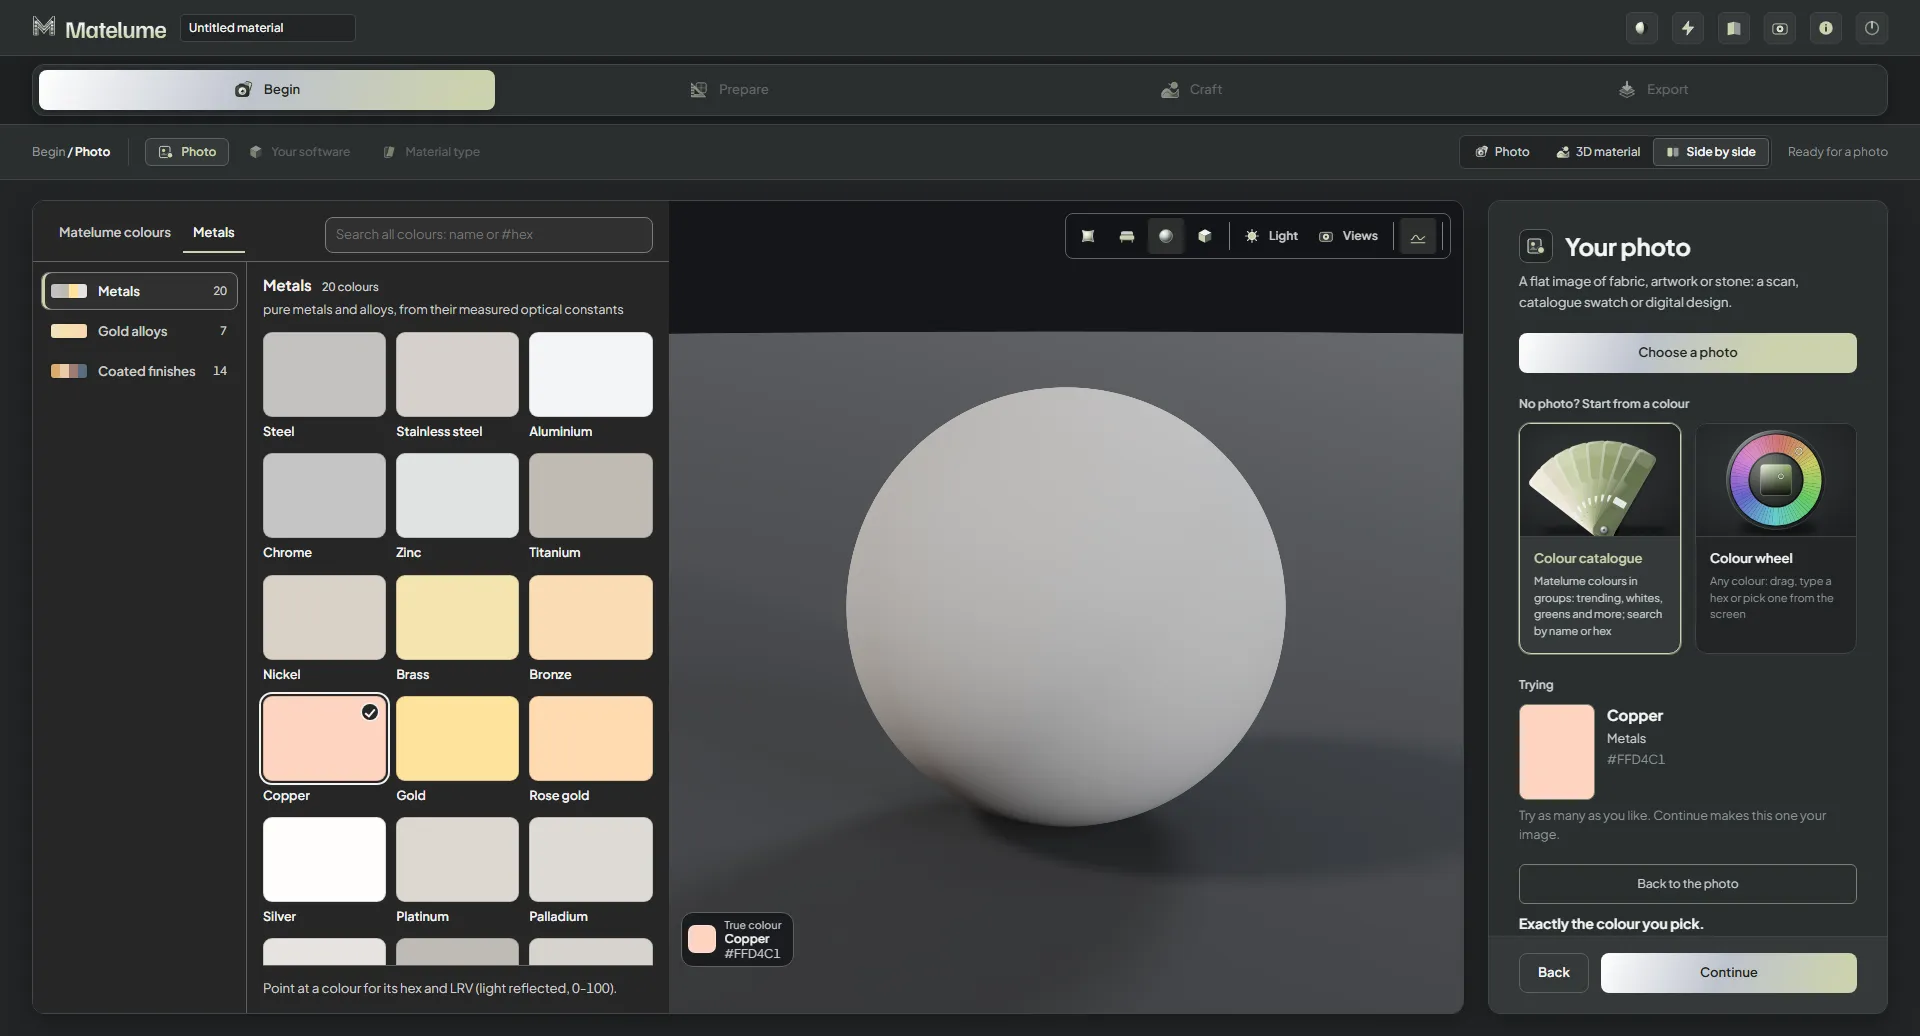
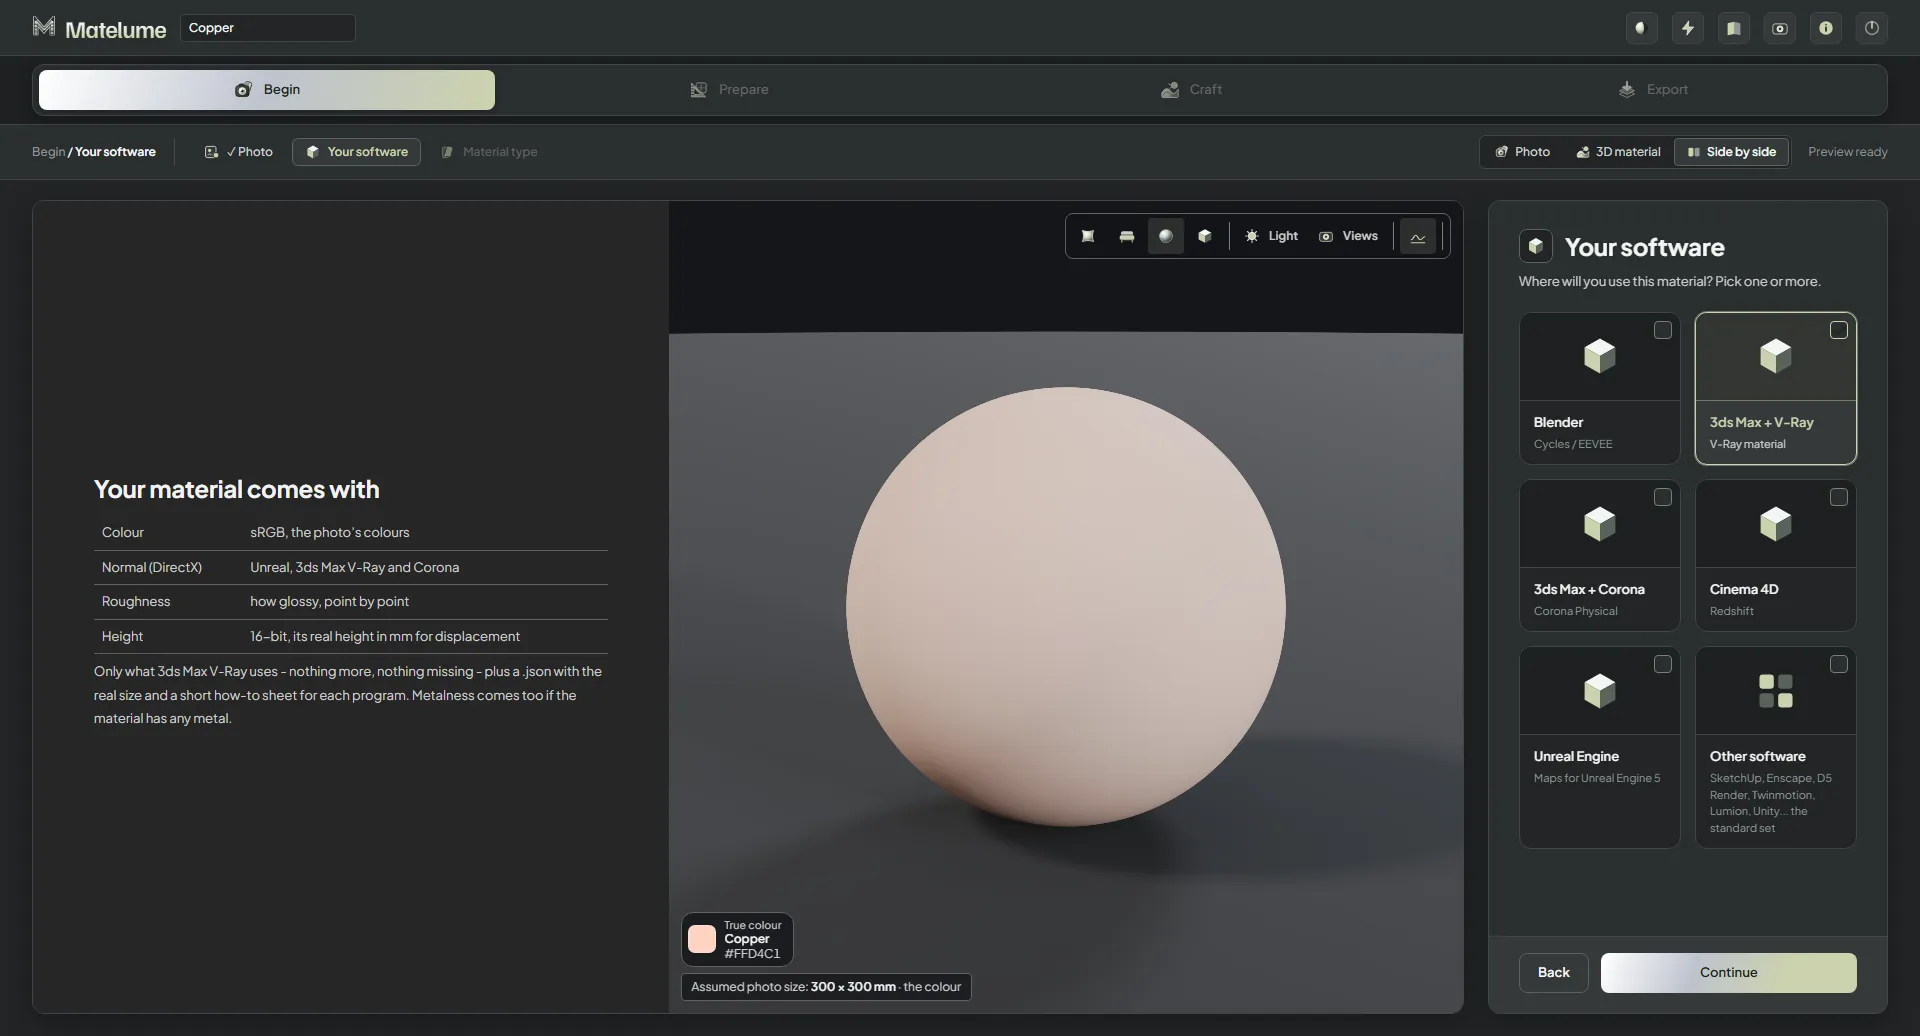
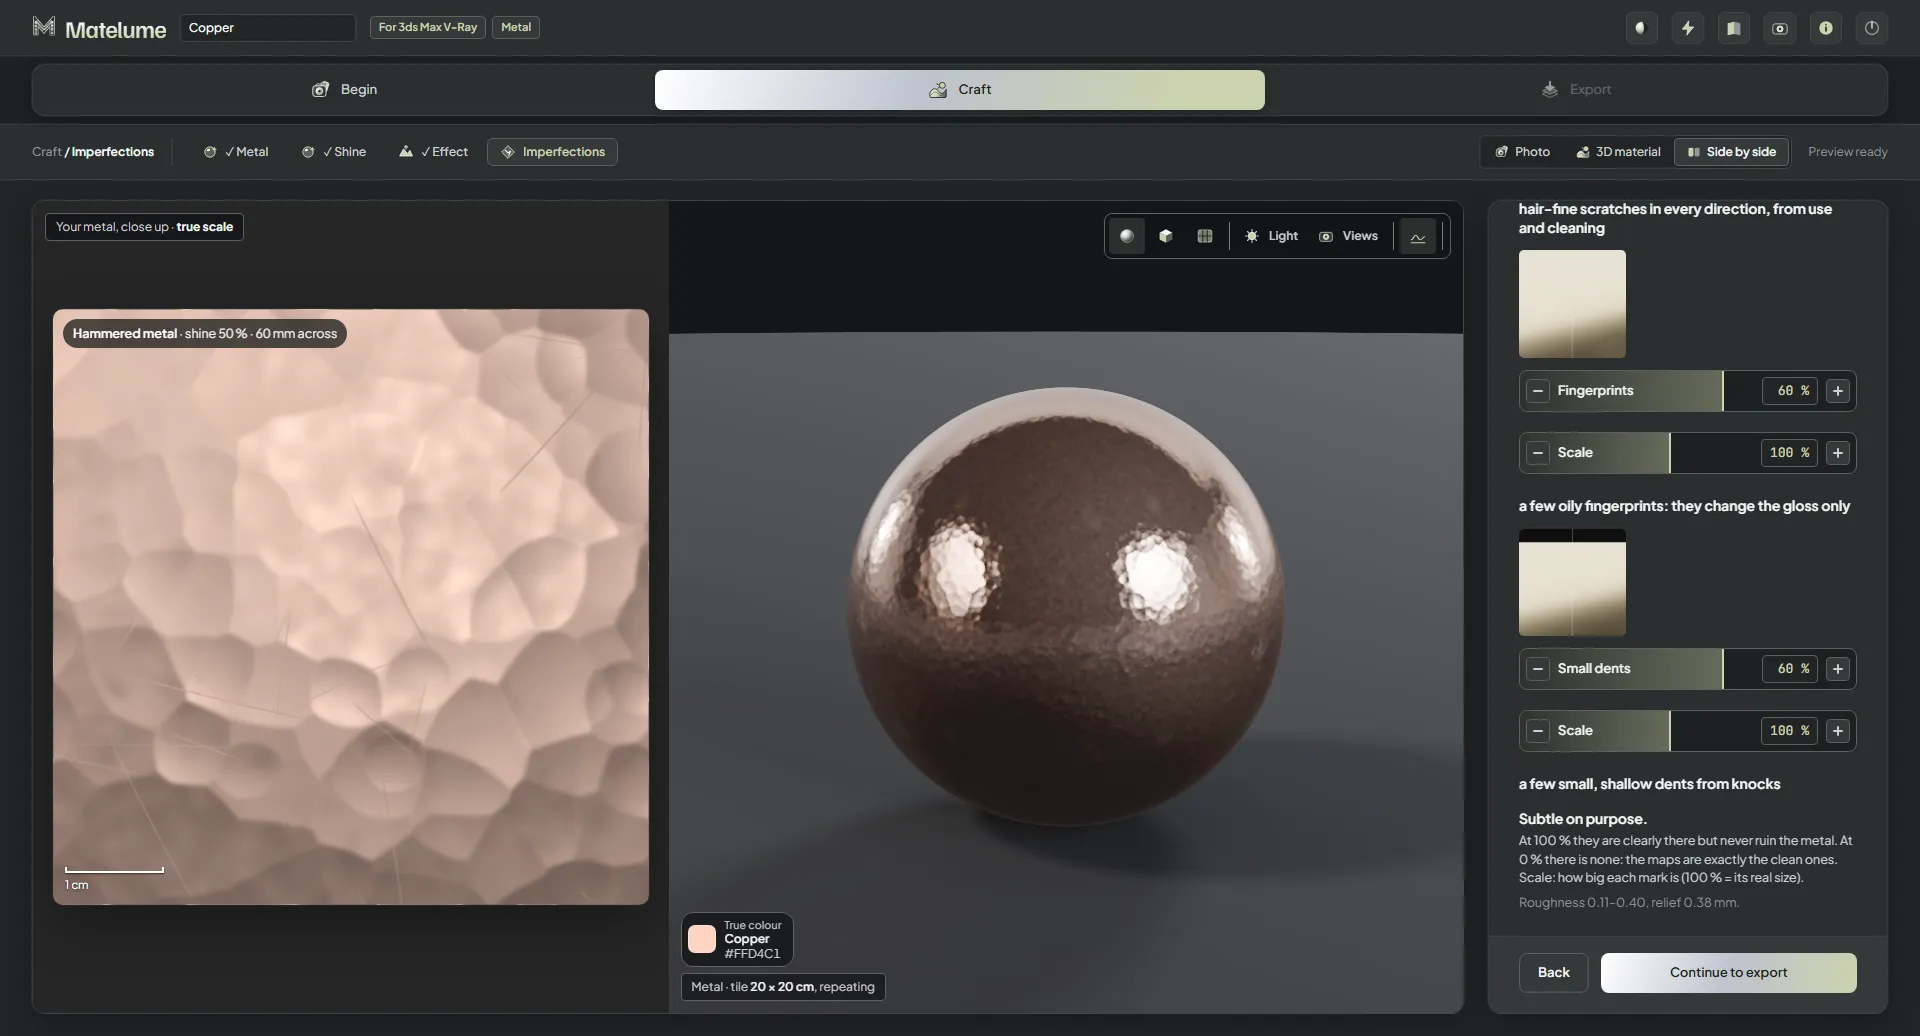
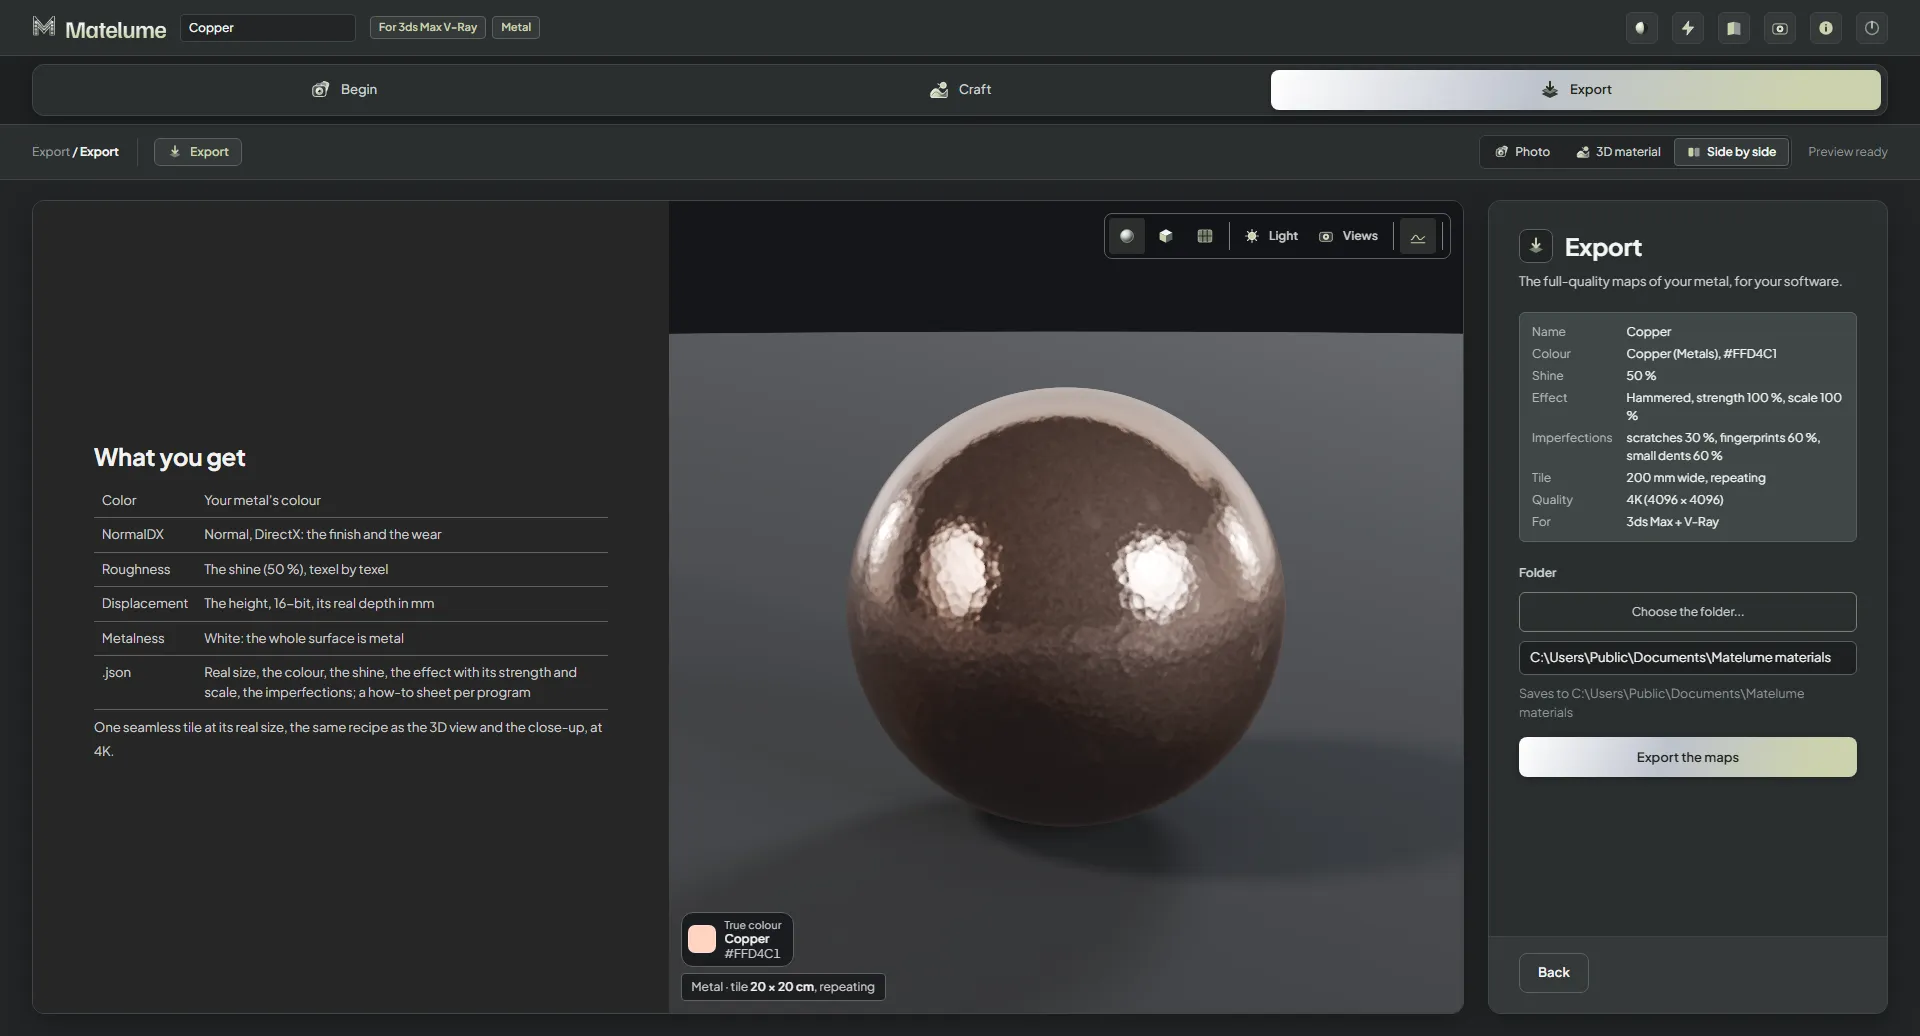
Matelume before anything is chosen: the empty start screen with a drop zone for a flat image.An image of brushed steel added: the photo on the left, the light evened out, and the steel on the 3D sphere.The Your software step: pick the program the maps are for, here Blender.The Material type step with Metal chosen from the six material types.The Real size step for a metal photo: set how wide the photo is in real life, with quick sizes.The Seamless step: one tile of the photo that repeats, shown as a 2 x 2 test with the Photo kept slider.The Metal step: your photo first, then the pure metals as small shiny spheres.The Metal step scrolled to the Gold alloys group: yellow, rose and white golds as spheres.The Metal step scrolled to the Coated finishes group: titanium nitride, PVD coatings, black and gunmetal finishes.Gold picked on the Metal step; the 3D sphere turns to gold at once.The Shine step with the slider near matte: the close-up and the 3D sphere turn soft and dull.The Shine step with the slider near mirror: the sphere reflects like a mirror.The Shine step at 50 %, the default shine of a brushed metal.The Effect step with None: five effect cards (None, Brushed, Hammered, Bead-blasted, Linen) and the plain metal.The Brushed effect on the steel: fine lines along one direction, with its close-up.The Brushed effect with its Strength and Scale sliders in view.The Hammered effect: overlapping hammer blows in the close-up and on the sphere.The Hammered effect with its Strength and Scale sliders in view.The Bead-blasted effect: a fine, even matt grain.The Bead-blasted effect with its Strength slider in view.The Linen effect: a pressed, fabric-like pattern in the metal.The Linen effect with its Strength slider in view.Brushed at a higher Strength: the brushing lines become deeper and clearer.The Imperfections step with Scratches at 70 %: fine scratches in every direction on the close-up.The 3D view on its usual object, a sphere of brushed steel, in the big 3D material view.The same steel on a flat panel in the 3D view.The same steel on a wall panel in the 3D view.The Export step of a brushed metal: what you get includes Color, NormalGL, Roughness, Displacement, Metalness and the two brushing-direction maps.After exporting a brushed metal: the saved folder with the maps and the extras folder holding the two anisotropy maps.Send to Blender after the export: on the selected objects, a sphere or a plane.Starting a metal from a colour: the Colour catalogue with its Metals tab and the metal colour chips in groups.Copper picked in the Colour catalogue; the colour is shown on the sphere before it becomes metal.The Your software step with 3ds Max + V-Ray chosen for the colour-start metal.The Metal step of a colour start: Your colour first, then the metals as spheres with copper picked.Hammered copper: the Hammered effect on copper, with the close-up and the 3D sphere.The Hammered effect on copper with its Strength and Scale sliders in view.The Imperfections step with Scratches, Fingerprints and Small dents each switched on lightly.Fingerprints at 60 % with its Scale slider: oily marks that change the gloss only.Small dents at 60 % with its Scale slider: a few shallow dents from knocks.The Export step for 3ds Max + V-Ray: the maps list with NormalDX, Roughness, Displacement and Metalness.