
The Studio
Begin: image, software and material type
The first three steps of every material, choosing and cleaning up a good photo, picking your 3D programs, and saying what the photo shows.
Updated for Matelume 2.0. Current release: Matelume 2.0 · 30 October 2026
Six materials, one place to begin
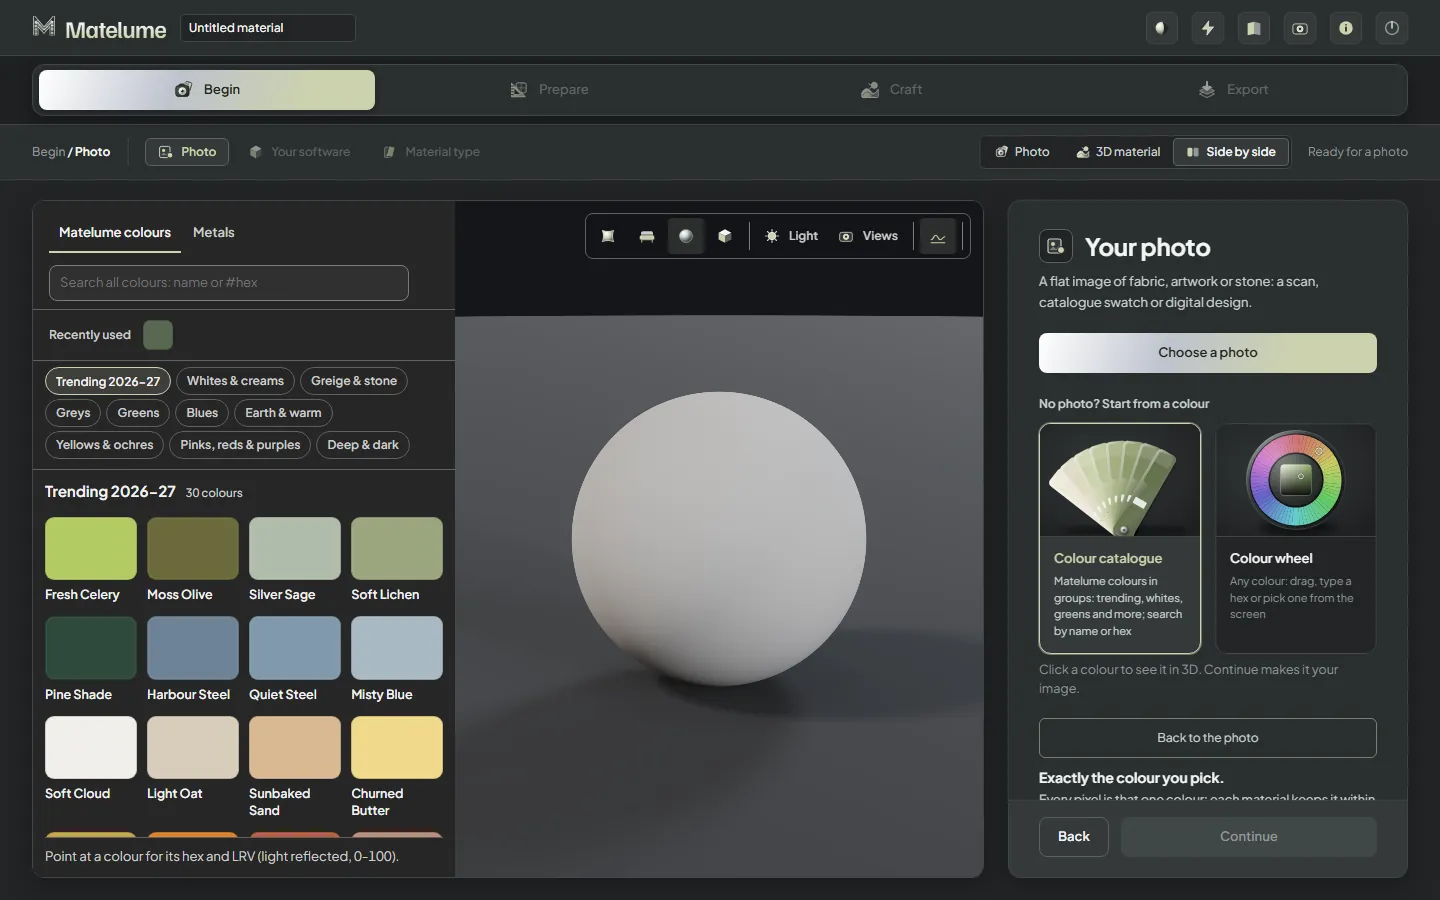
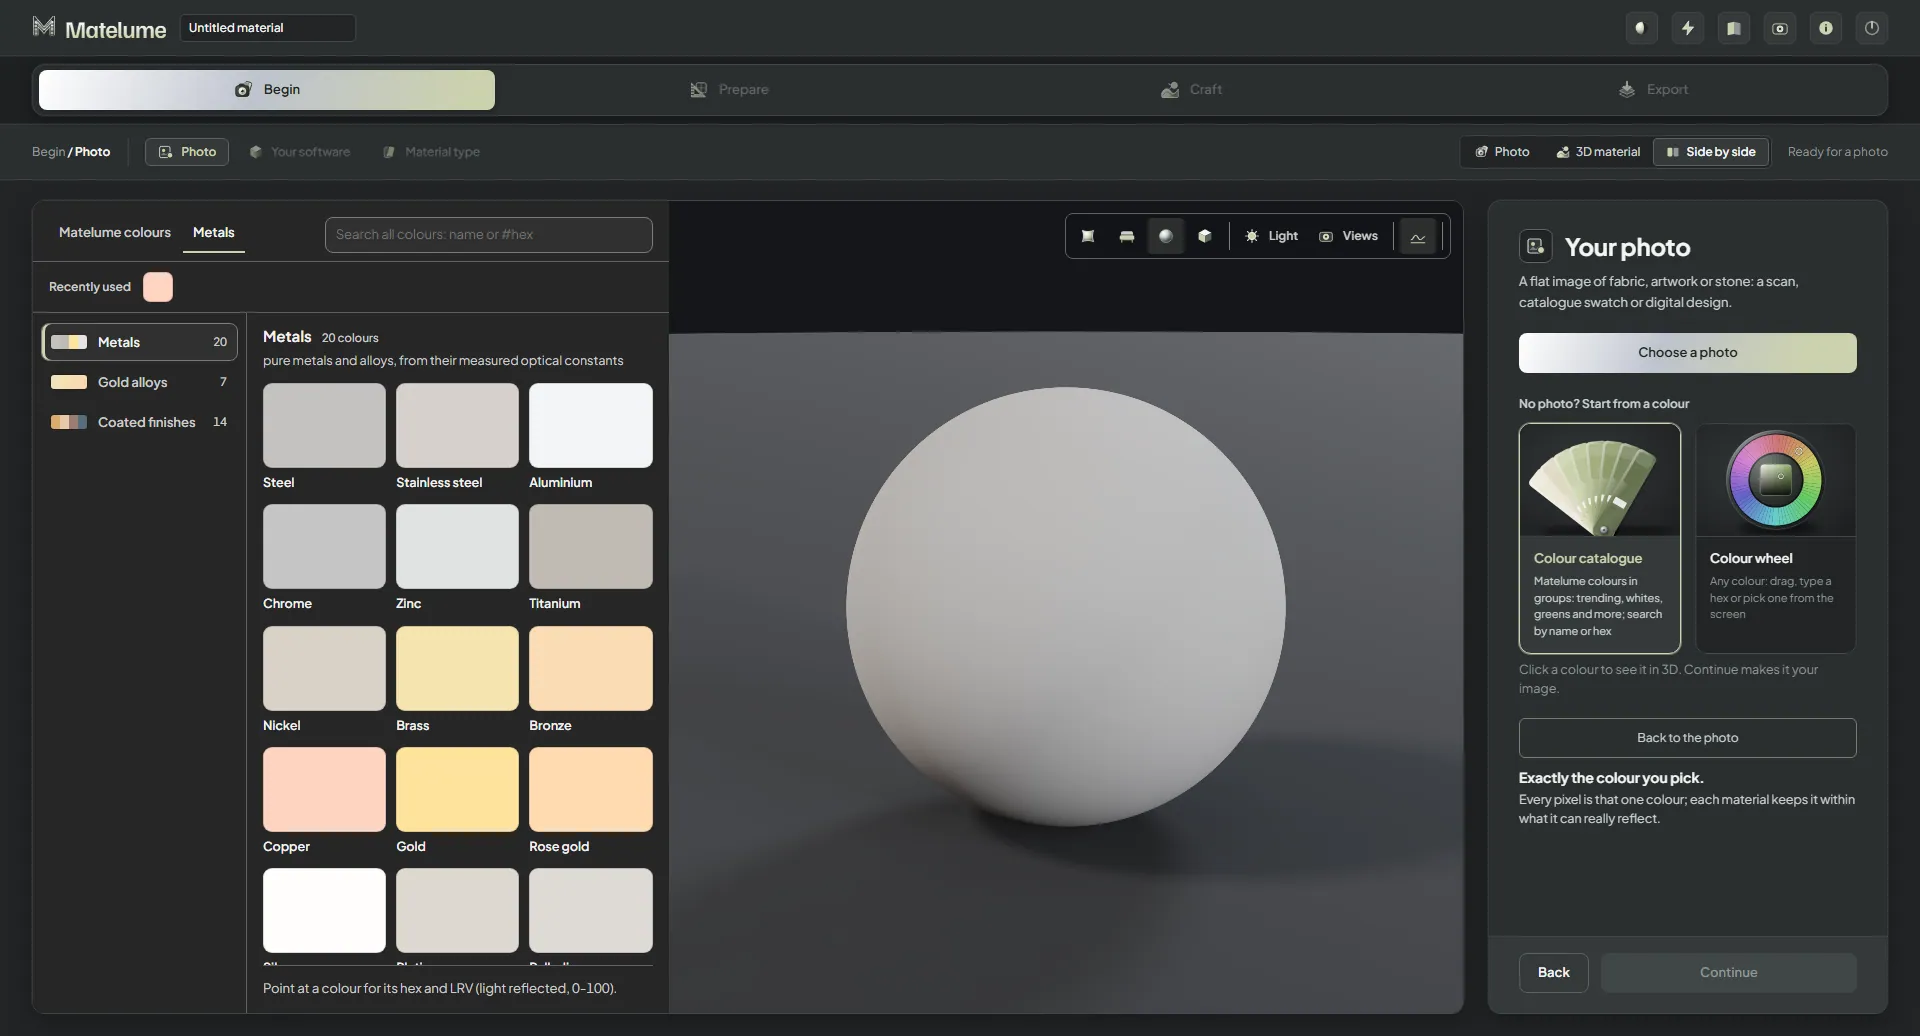
Choose Fabric, Marble, Wood, Wall art, Wall paint or Metal. Begin with an image you have the right to use, or choose a colour. The Colour catalogue has a Metals tab with 41 metals: 20 metals, 7 gold alloys and 14 coated finishes. You can use those colours with any material. For Wall paint, Even out the light and Flatten colours carry through to the export.
Photo
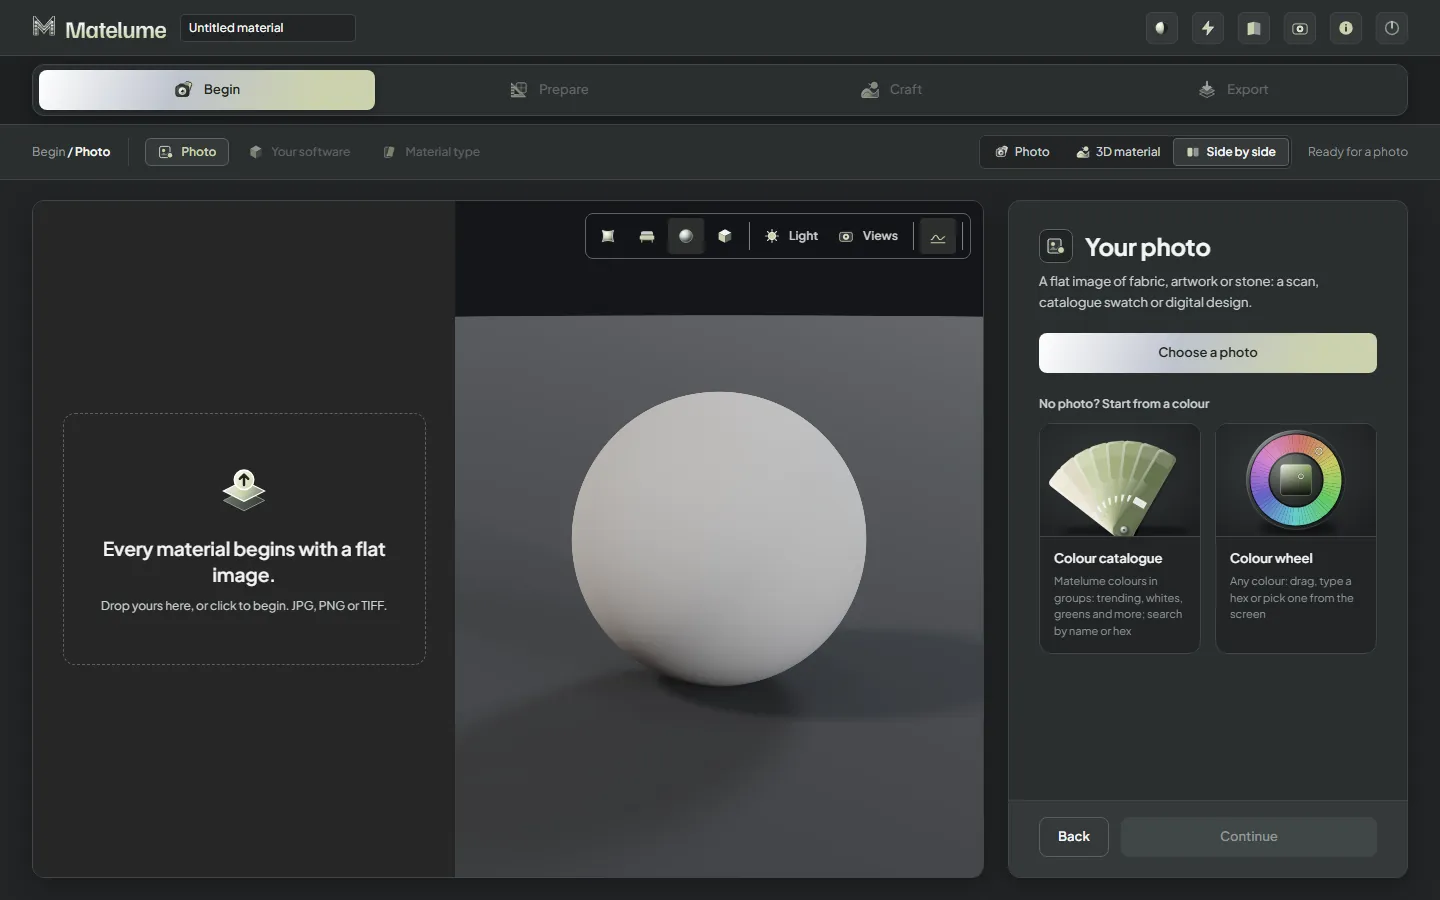
Click Choose a photo, or drag a photo onto the picture side. Matelume reads JPG, PNG and TIFF files.
What makes a good photo
- Straight on. Use a flat scan, catalogue swatch or digital design, with no perspective. This release is for flat images, not camera capture.
- Flat. No folds, creases or curves.
- Evenly lit. No hotspots, strong shadows or light falling from one side.
- The whole design, at least once. For a pattern, include at least one full repeat.
- As big as you have. A bigger photo gives more real detail. Matelume can enlarge a small photo, but enlarging only estimates detail.
After you add a photo, the panel shows its File, Size and Light: "even", or "varied" with how much the light changes across it, in percent. The step guide warns you when the photo is small for a 4K material. A new photo starts the later steps again, and the material name fills in from its file name.
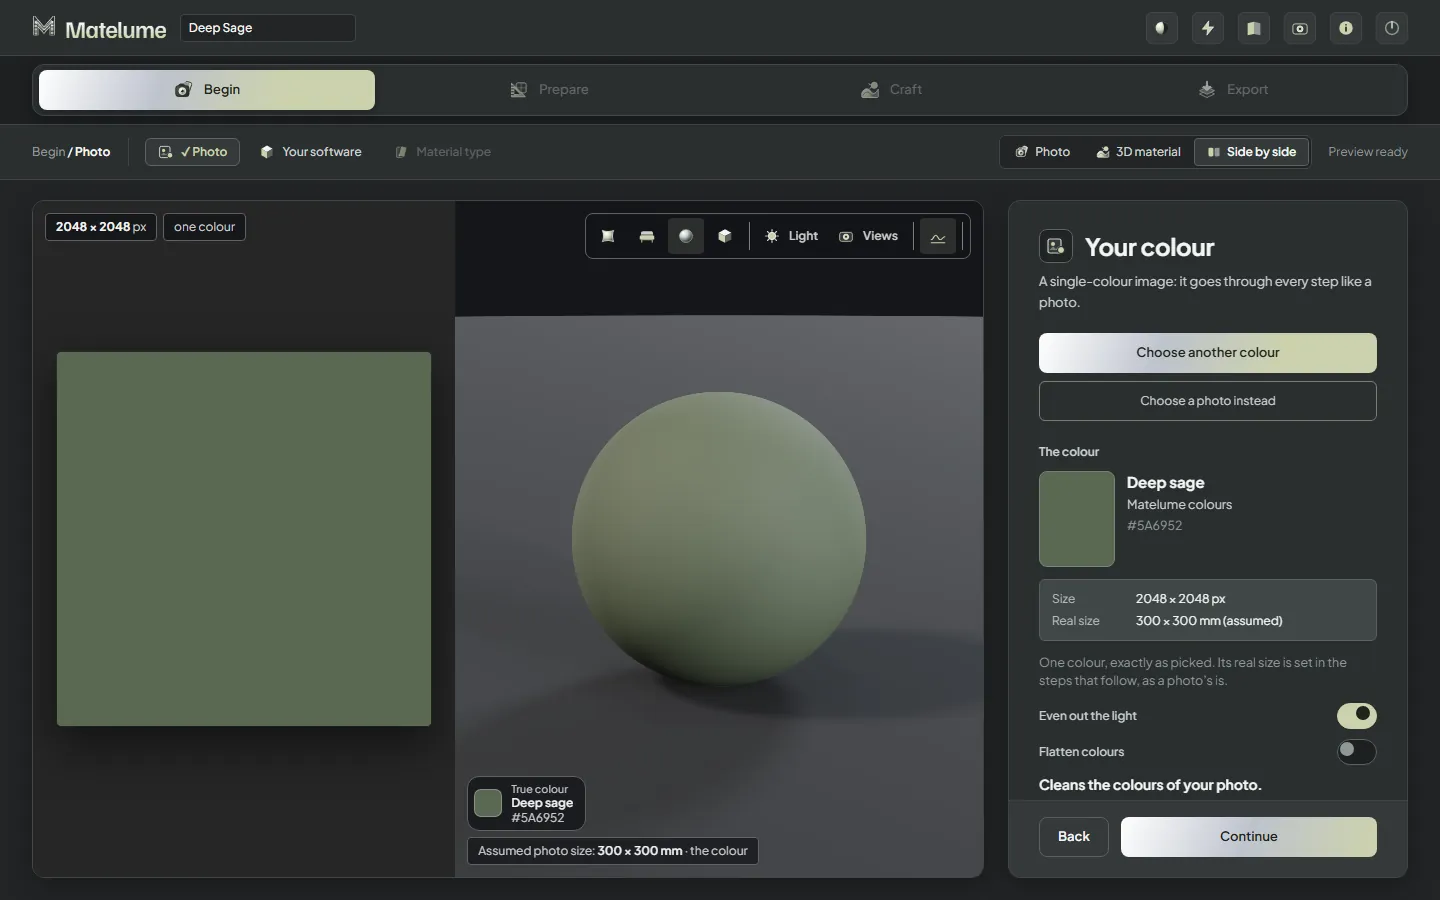
Even out the light
Even out the light is on by default. It removes the gradual change of brightness across the photo, such as one side lit more than the other. Switch it off when the shading is part of the design.
Flatten colours
Flatten colours cleans your fabric image. It is off by default. The Cleans choice determines what is cleaned; later steps use that result.
With it on, Cleans picks what gets cleaned: The background makes the background one flat colour and keeps every shape exactly as photographed. The threads removes threads from the whole image while colours and shading stay, for a design woven all over.
Leave Flatten colours off to keep your photo's own colour texture. Wall art and marble never flatten colours: every detail of a painting or a stone is kept.
Your software
Pick every program you'll use the material in: Blender, 3ds Max + V-Ray, 3ds Max + Corona, Cinema 4D, Unreal Engine or Other software (SketchUp, Enscape, D5 Render, Twinmotion, Lumion, Unity and the rest). Click a card to switch it on or off. Blender starts selected, and you need at least one.
Your pick decides:
- which maps the export writes: each program gets the maps it uses;
- which how-to sheets come with the export;
- which Send to buttons appear after the export.
The picture side lists the maps under Your material comes with. V-Ray and Corona are separate choices: each gets a material made for it, never a mix. The full list is on Export your material.
Material type
Pick what the photo shows:
- Fabric: its card lists "Print, jacquard, embroidery, velvet, chenille, silk, suede, cotton".
- Wall art: a painting or print, framed, exported as a ready 3D asset. Then pick What it is: Painting on canvas, Print on paper or Print on canvas. A print on paper is flat ink, so the steps for raised paint are left out.
- Wood: one veneer sheet, with surface relief and finish. Wood overview.
- Marble: a slab, with its veins and polish.
Choose Fabric, Wall art, Marble, Wood, Wall paint or Metal. Flooring and Wall panel are listed under Coming soon.
The material type sets the craft steps and the 3D preview. Wood has its own veneer workflow. If you change the type later, choose the quality again.
Each material has its own guide: Fabric, Wall art, Marble, Wood veneer, Wall paint and Metal.
Tip: Not sure your photo is good enough? Add it and read the step guide. It tells you how even the light is and whether the photo is small for the quality you want.
Start from a colour
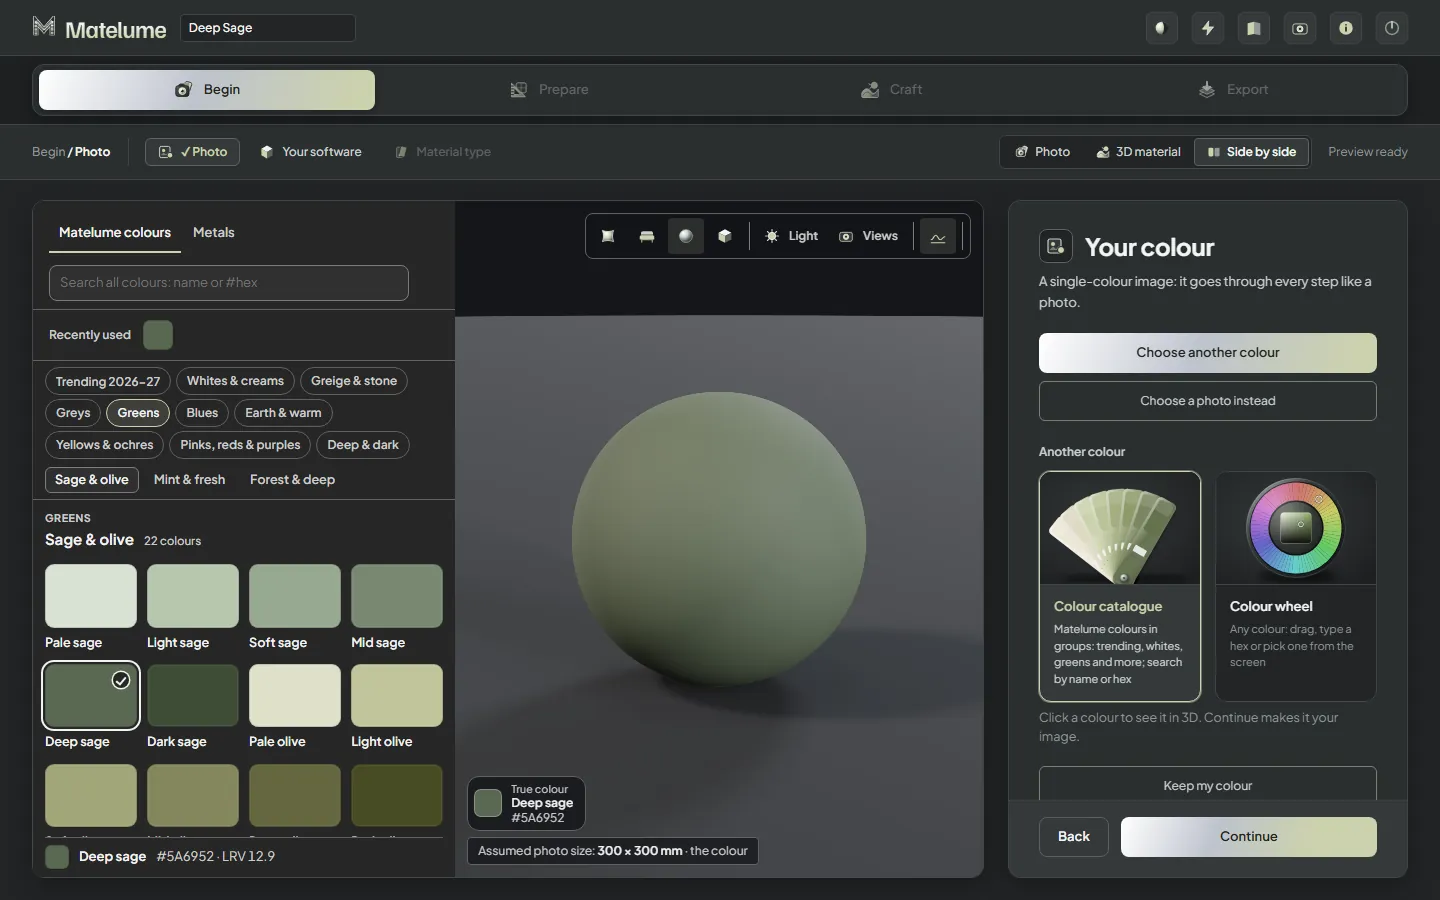
Choose Start from a colour instead of importing a photo. Use the wheel or the built-in colour catalogue. Matelume makes a single-colour image, which follows the same material steps.
Quality enlarges a single colour exactly, without AI upscaling. Fabric can add a woven ground after Nothing stands up. Wood and marble retain the chosen colour; finish, gloss and optional imperfections do not create absent grain or veins.
Begin in Matelume 2.0
Actual app screens showing the choices along the way. Open any image for a closer look.