

Metal
Metal overview
Make a metal material from a photo of a metal or from a colour: pick the metal, set its shine, add an effect and a little wear, then export it for your programs.
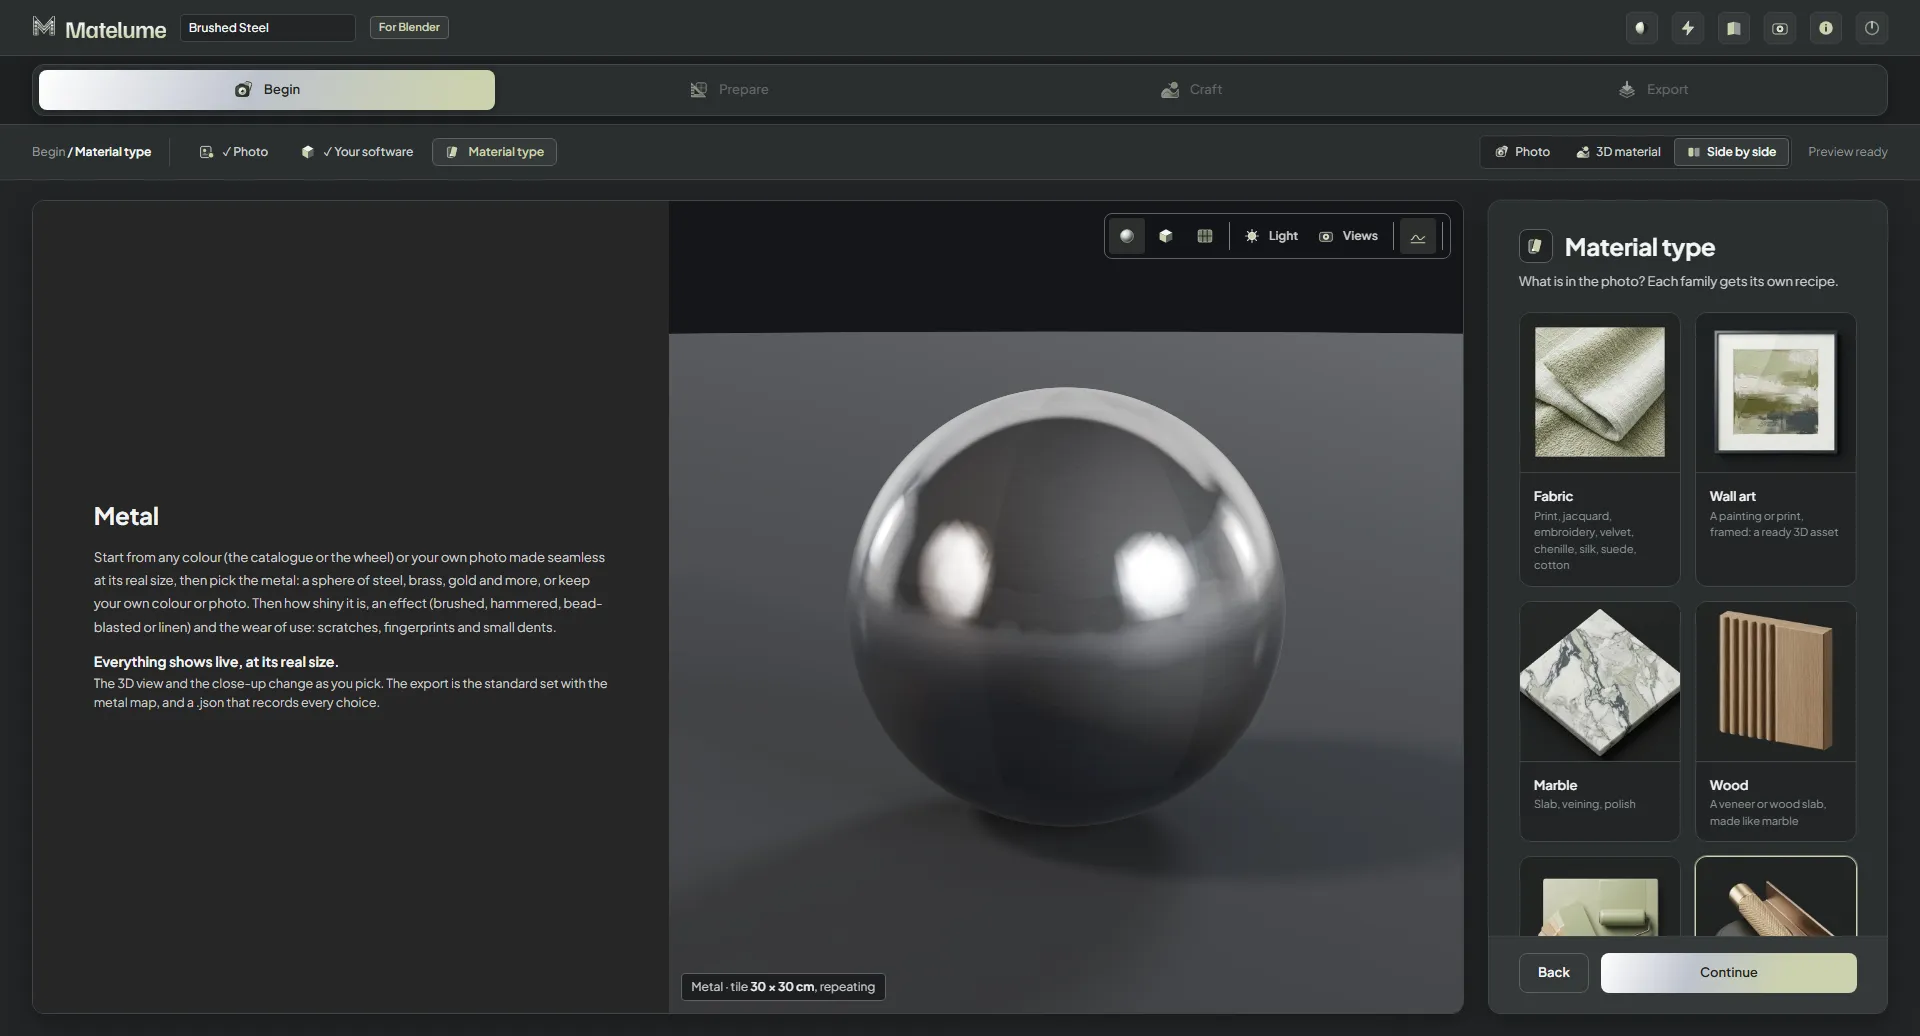
The steps
- Begin: on the Photo step, add a photo of a metal, or start from a colour with the Colour catalogue or the Colour wheel. Pick your programs under Your software, then choose Metal under Material type.
- Prepare, for a photo only: set its Real size, then make it Seamless.
- Metal: pick one of the 41 metals, or keep your own colour or photo. Colour and shine
- Shine: set how shiny it is, from matte to a mirror.
- Effect: None, Brushed, Hammered, Bead-blasted or Linen. Effects
- Imperfections: Scratches, Fingerprints and Small dents, each starting at 0 %. Imperfections
- Export: the maps for your programs. Exporting metal
From a photo
On the Photo step, click Choose a photo and pick a flat photo of the metal. After Material type, two Prepare steps fit it to the real world.
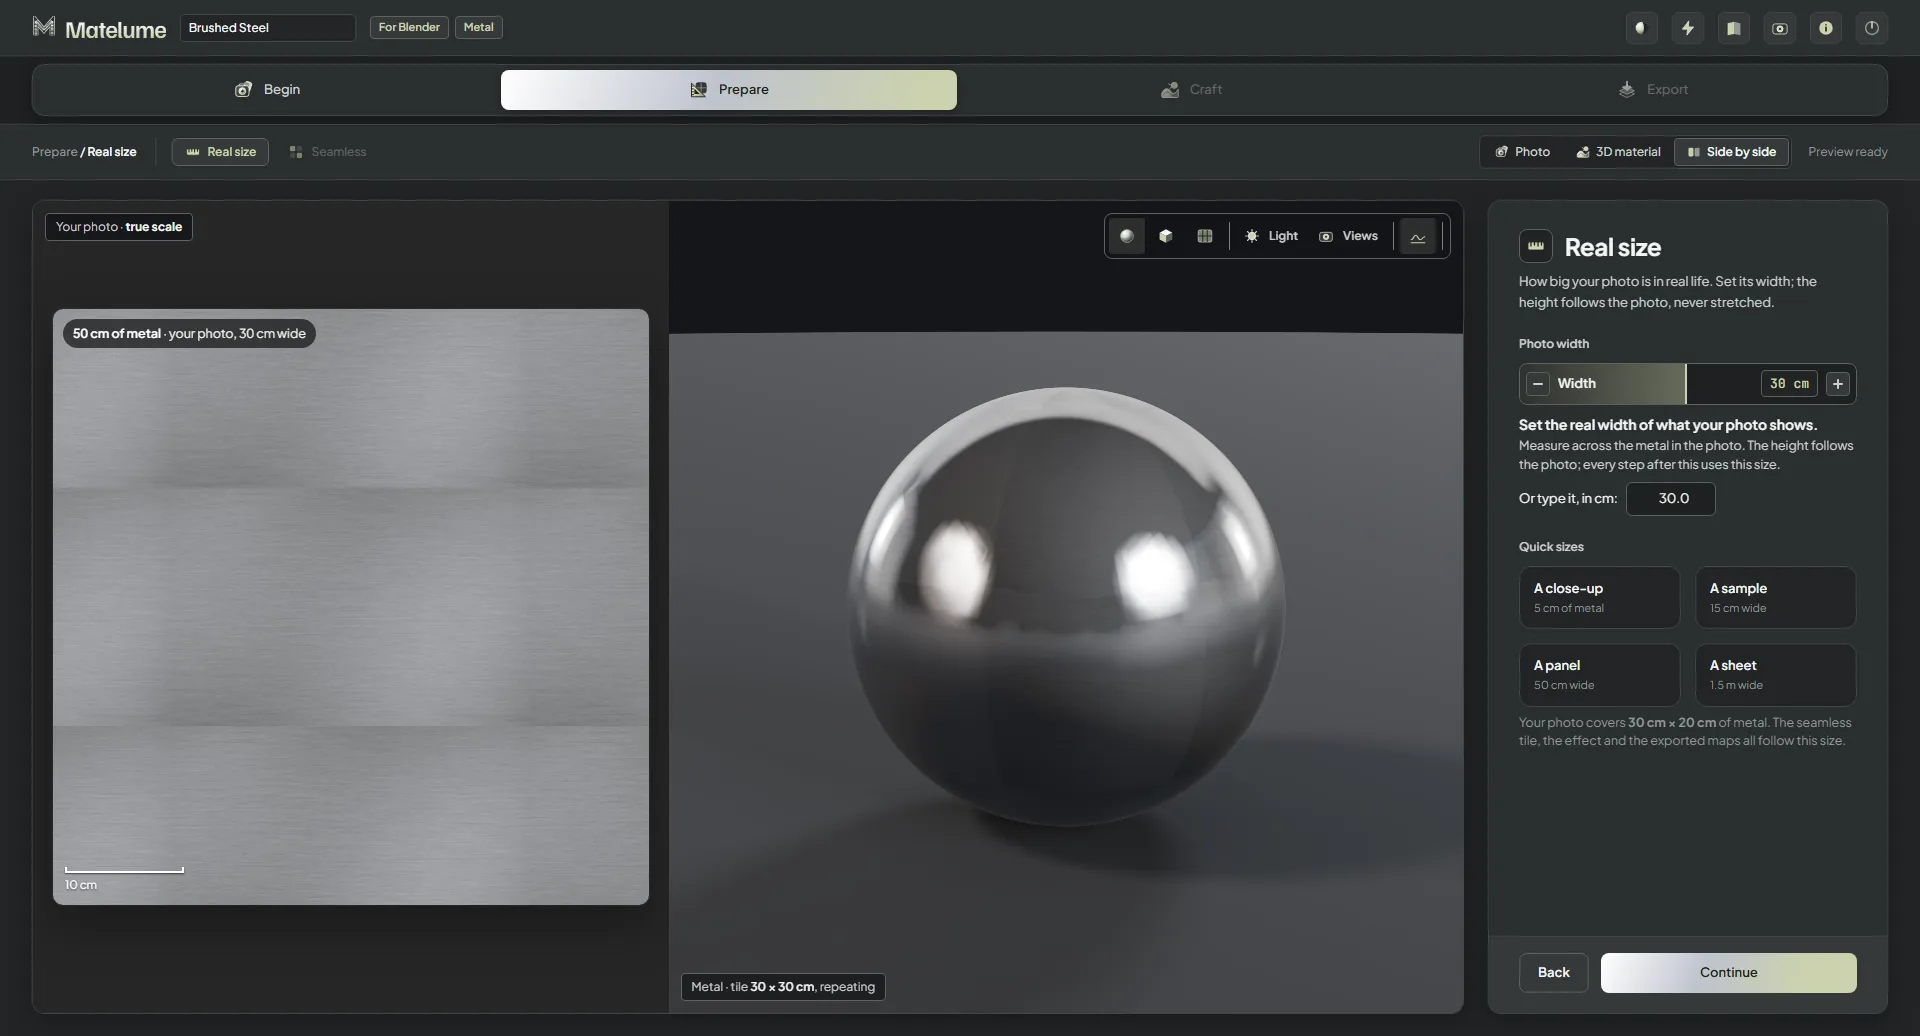
- On the Real size step, set the real width of what your photo shows: drag Width, or type it next to Or type it, in cm:. Measure across the metal in the photo.
- Or pick one of the Quick sizes: A close-up (5 cm of metal), A sample (15 cm wide), A panel (50 cm wide) or A sheet (1.5 m wide).
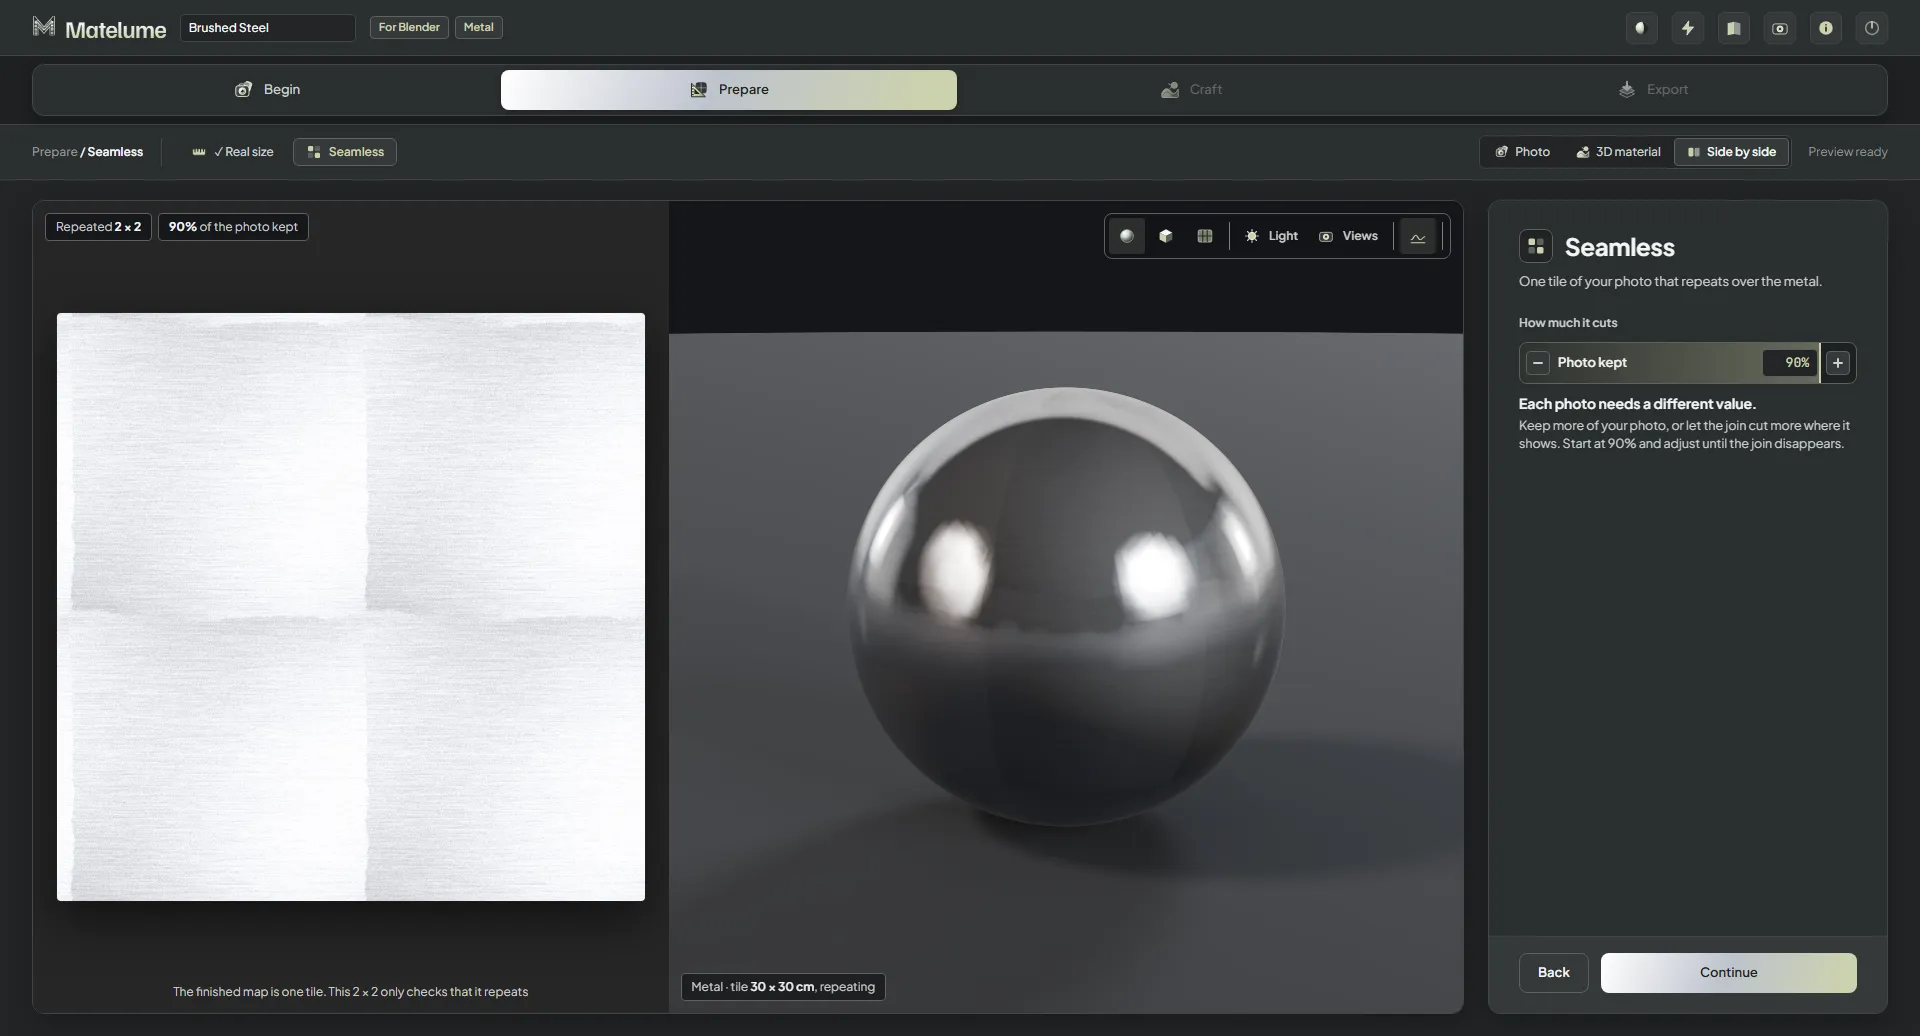
- On the Seamless step, adjust Photo kept until the join disappears.
The height follows the photo and is never stretched. The seamless tile, the effect and the exported maps all follow this size. The finished map is one tile; the 2 × 2 view only checks that it repeats.
From a colour
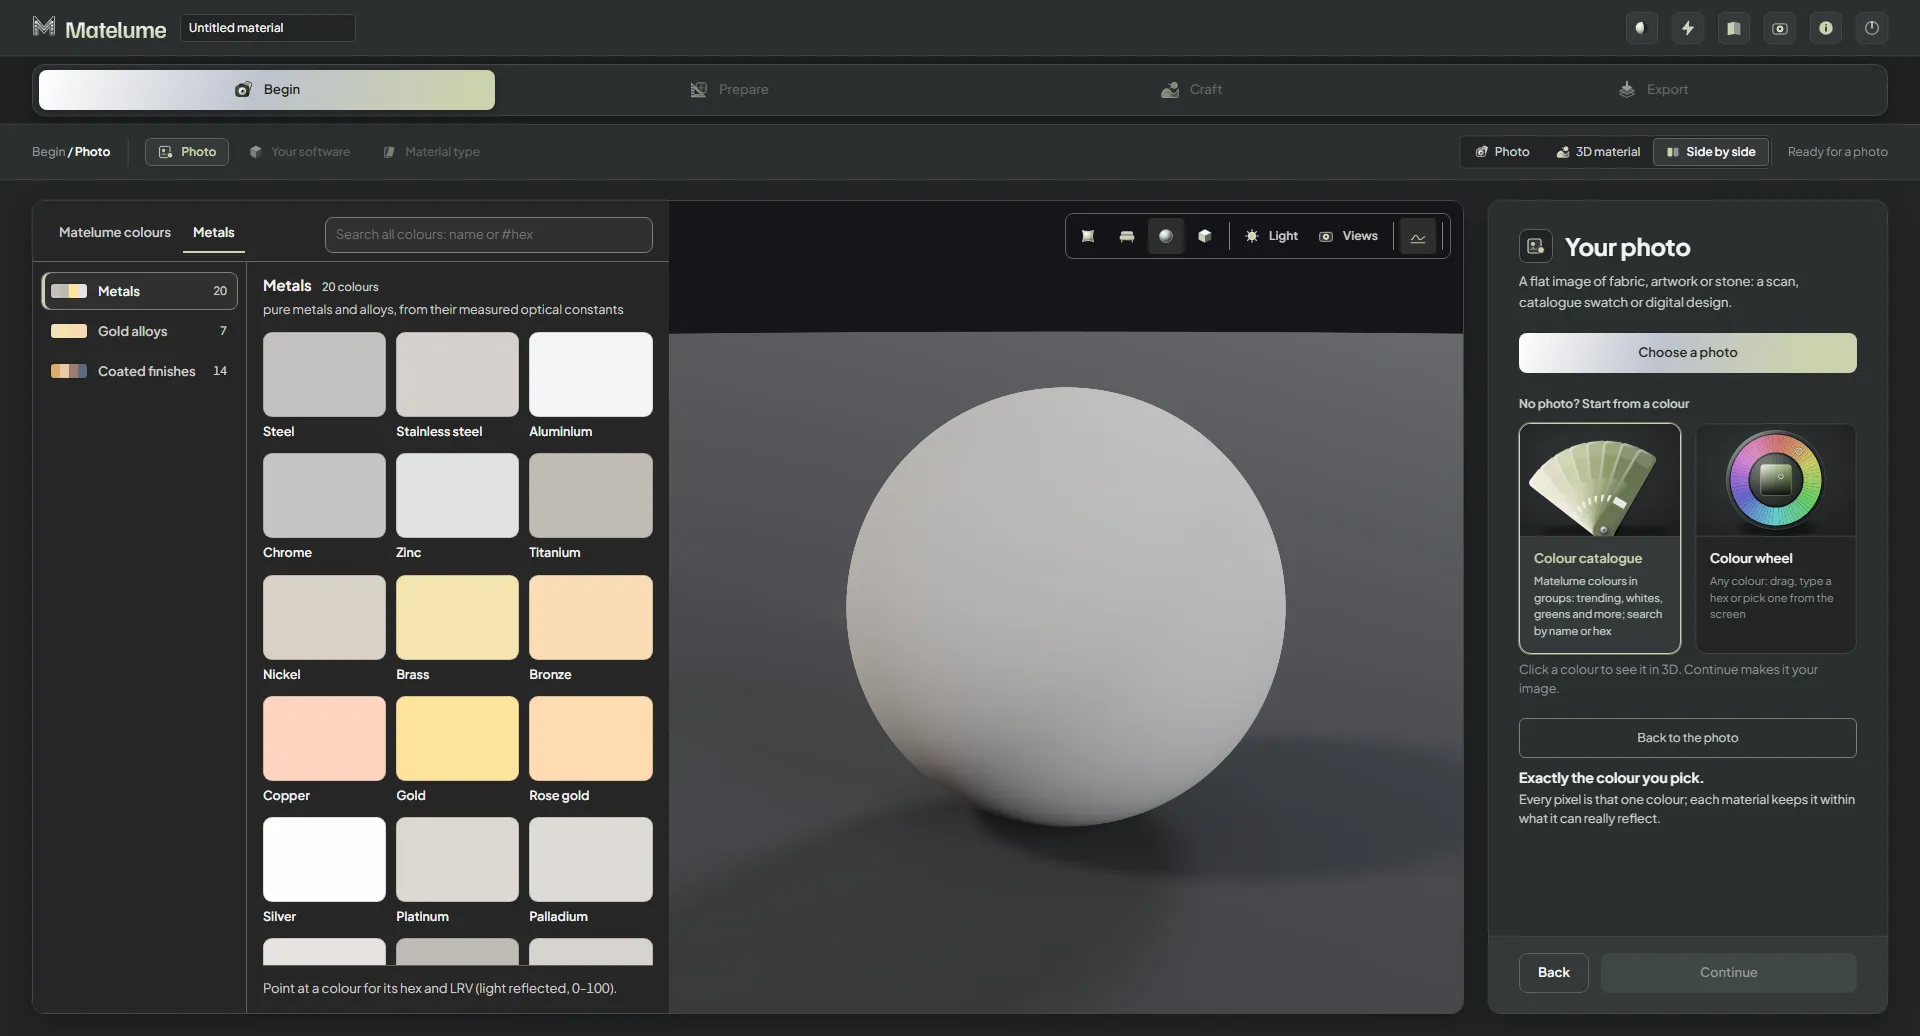
No photo? On the Photo step, open the Colour catalogue or the Colour wheel. The catalogue's Metals tab has the metal colours. Click a colour to see it in 3D; Continue makes it your image. A colour start has no Real size or Seamless step.
The 3D view
Metal opens on a sphere, its usual object. With the object buttons at the top of the 3D view, you can also show it on a flat panel or a wall panel. The 3D view and the close-up change as you pick, at the real size.
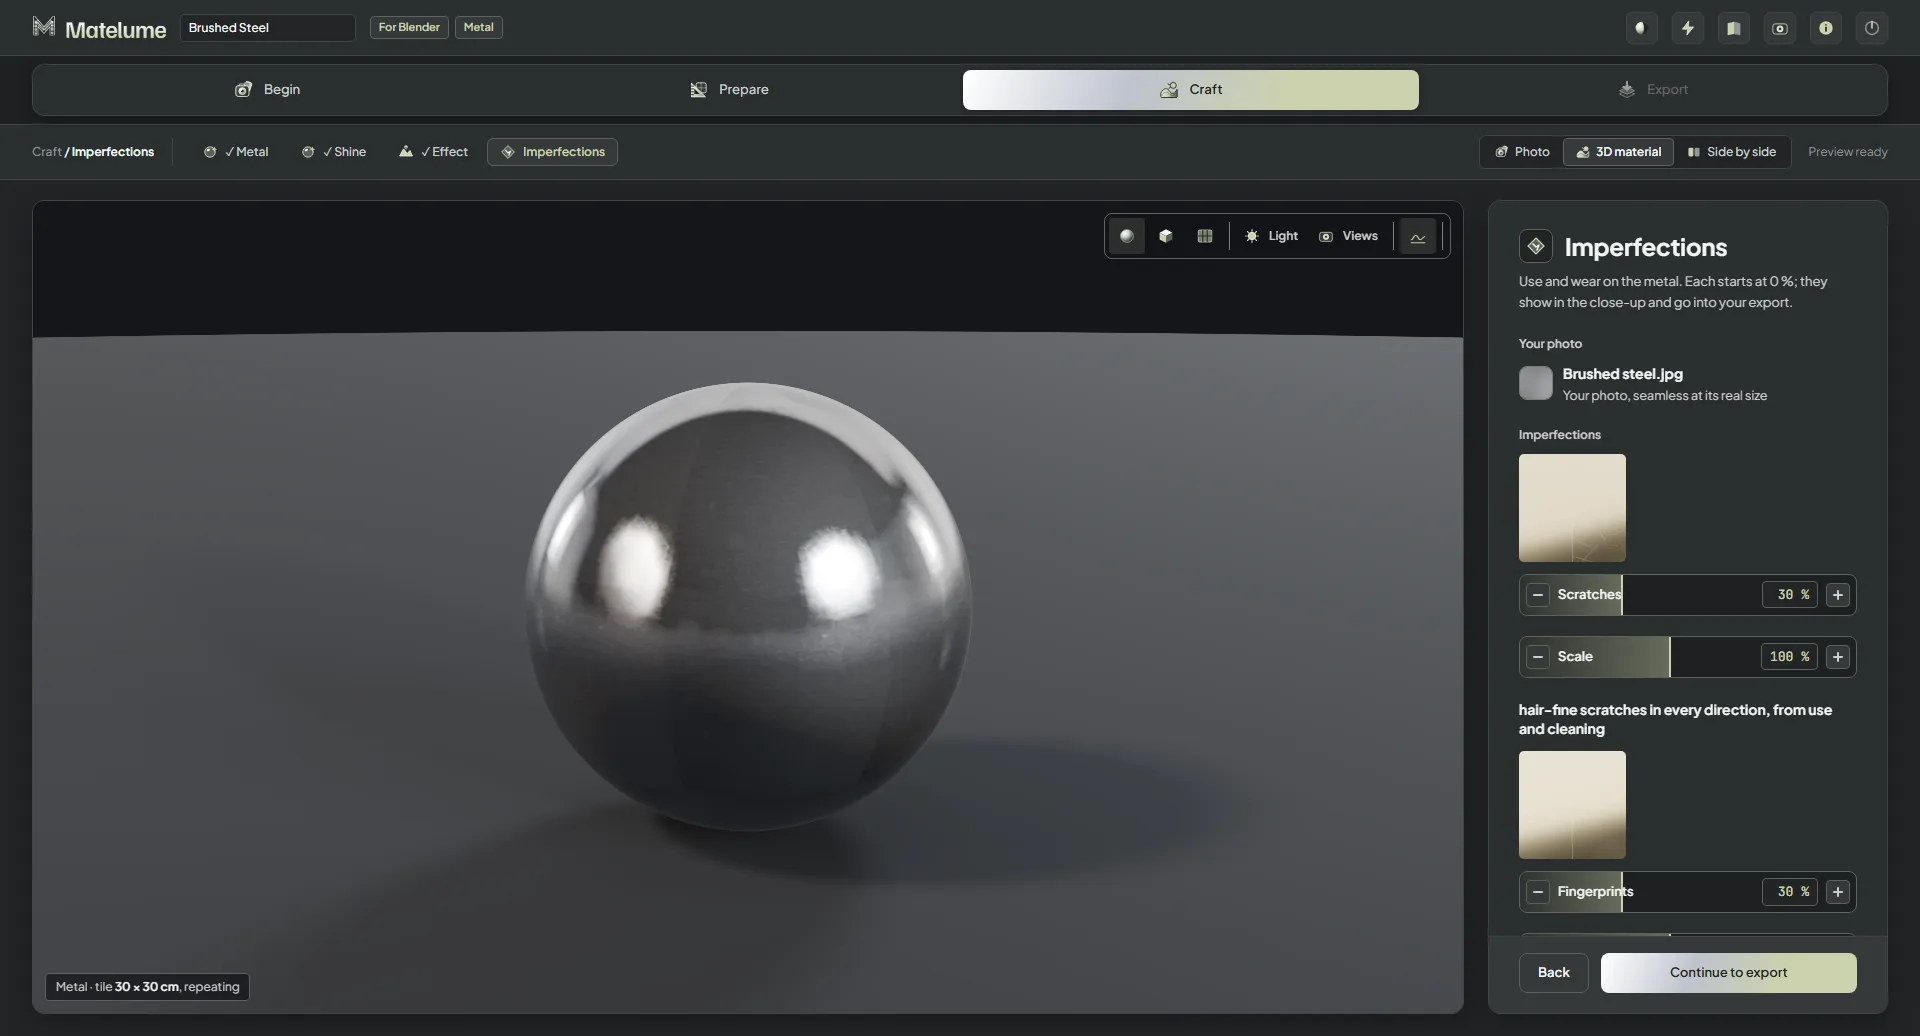
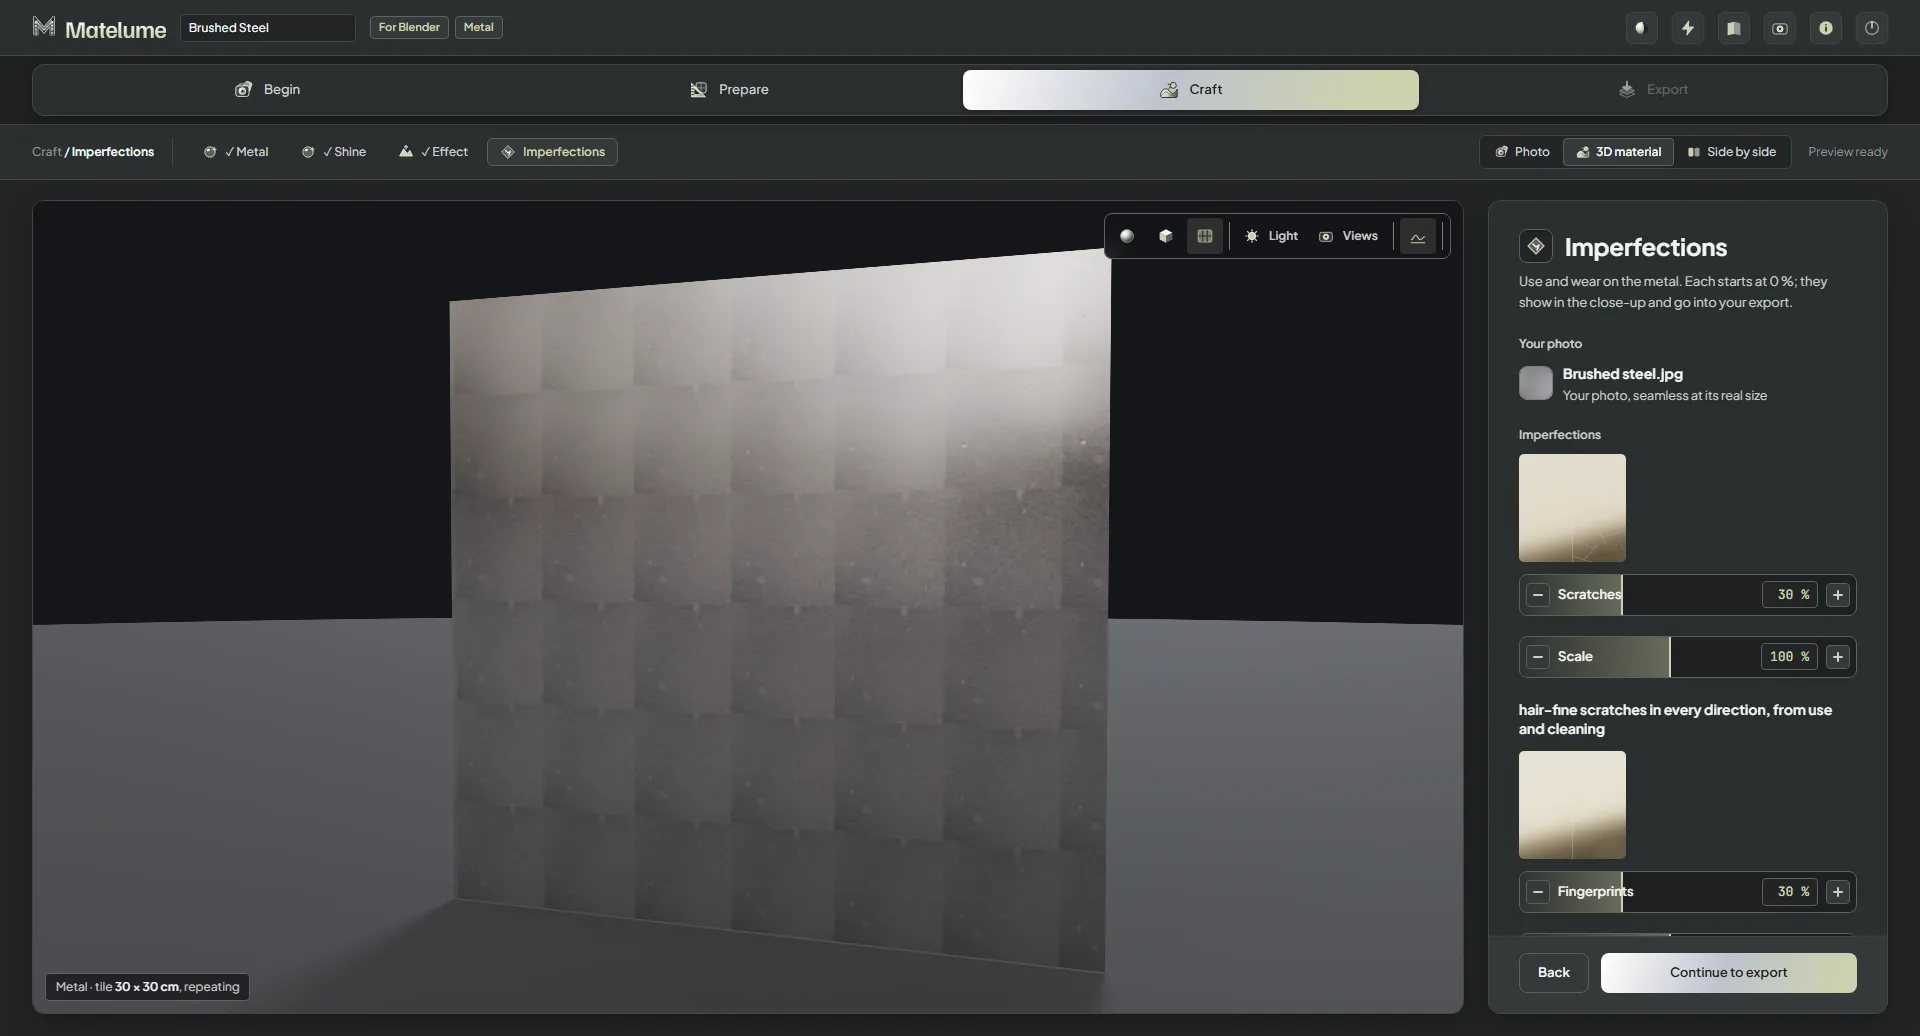
Under Views, Close-up 30 cm, Furniture 1.5 m and Room 4 m show your metal from those true distances. They change the preview only; the maps stay the same.