

How do I turn a wood veneer photo or scan into a PBR material?
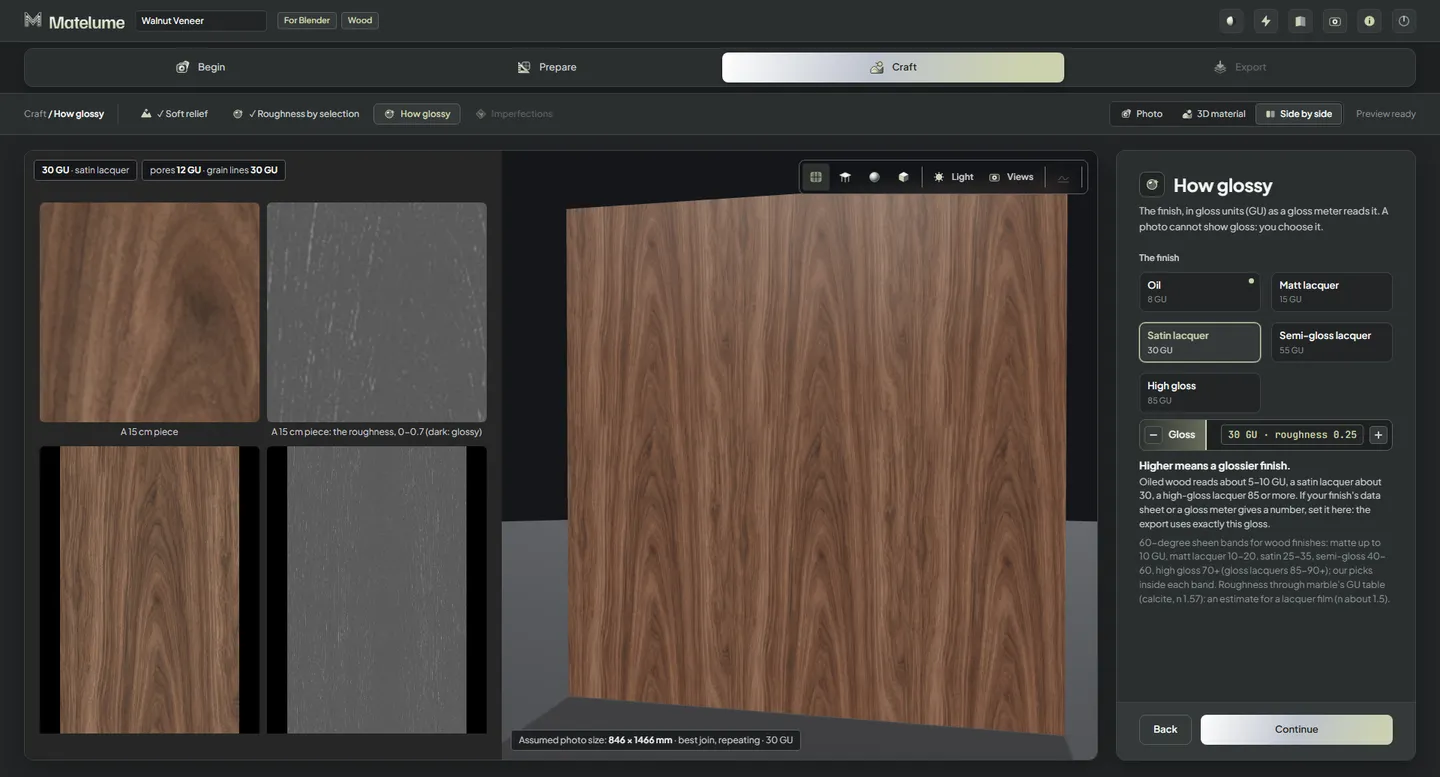
Use Matelume, a Windows app. Start with a flat photo, scan or catalogue image of one veneer sheet, set its real width, keep the sheet as it is or use Best join along the grain, then choose the relief, the finish and the gloss. The image gives you the grain. Matelume does not reconstruct a wooden object from a photograph.
Wood represents one veneer sheet, not a floor or plank layout.
Use the grain you chose
A veneer sheet has a direction and a character. Begin with a flat image of the sheet you want, not a room photo with perspective and reflections. Keep a known measurement so the grain reads at the right scale.
Match the sheet to the object
Set the real width and look at the seamless options. Check how the repeat reads along a wall panel or table top: repeated knots and abrupt changes in grain can distract even when the join is hidden.
A plank layout, parquet pattern, end grain or joinery needs its own source or geometry. Matelume does not make these from a veneer image.
Judge the finish in the scene
Choose the relief and how different areas respond to light, set the gloss and any imperfections, then export the maps for your programs. With Blender add-on 0.2.2, Send to Blender places the wood on a wall panel, a table top or your selected object at real size.
Very dark wood photos keep their own darkness in 2.0; earlier versions lifted the darkest pixels, which could flatten a dark veneer. Check the exported Color map as well as the lit preview: lighting can make a surface look lighter without changing that map.
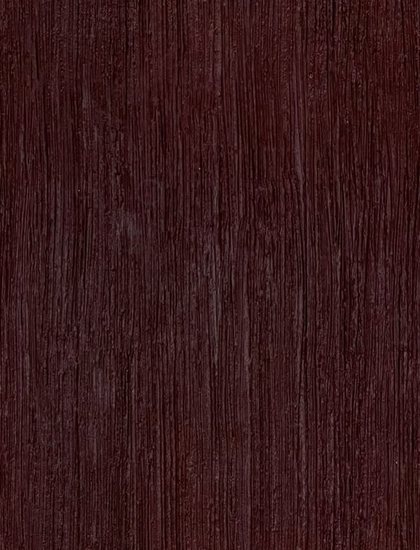

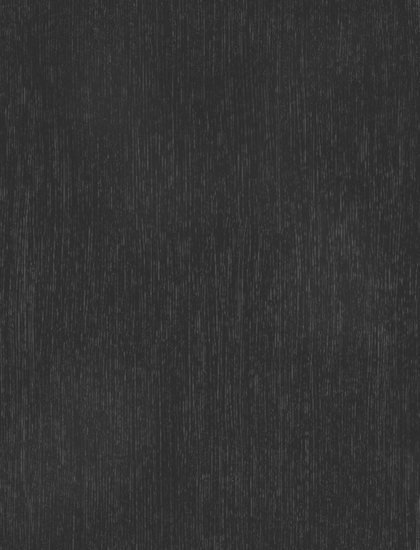
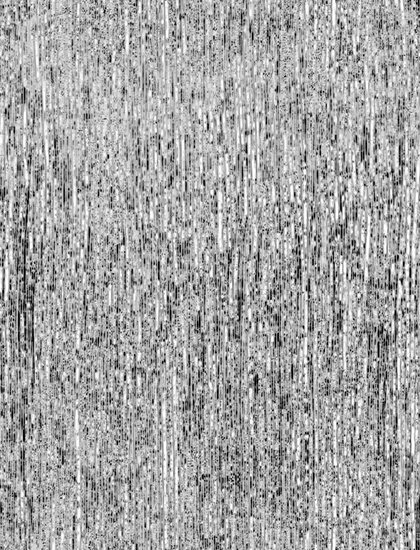
The maps of the Red-stained wood from our room: one tile, 673 × 882 mm, 4K.
Know the limits
- Wood import in 3ds Max, V-Ray and Corona has not been verified for this release. Wood transfer to Blender is verified.
- The app does not infer a complete wooden object, hidden grain or measured physical geometry from one view.
- A colour start makes a single-colour image: finish, gloss and imperfections do not invent grain.
- Use images you have the right to use. Matelume’s licence doesn’t give you rights to someone else’s fabric design, artwork or photograph.
Related questions
What does real size mean?
Real size is the physical width of the area your image shows. You set it in centimetres and the height follows the image; the exported .json records it in millimetres. It is separate from pixel resolution. Check the size on the object in your 3D program.
Can I send a material to Blender?
Yes. With the Matelume add-on installed in Blender 4.2 or later, Send to Blender puts the material on your selected objects at real size, or on a ready sphere, cushion or plane. The add-on builds the material nodes for you.
Try it with your own image
Matelume runs on Windows 10 and 11, 64-bit. The 14-day free trial includes every Pro tool, full-size exports and no watermark, and it does not start a paid subscription. An account and an internet connection are required.