Marble

Shape the finish around the veins.

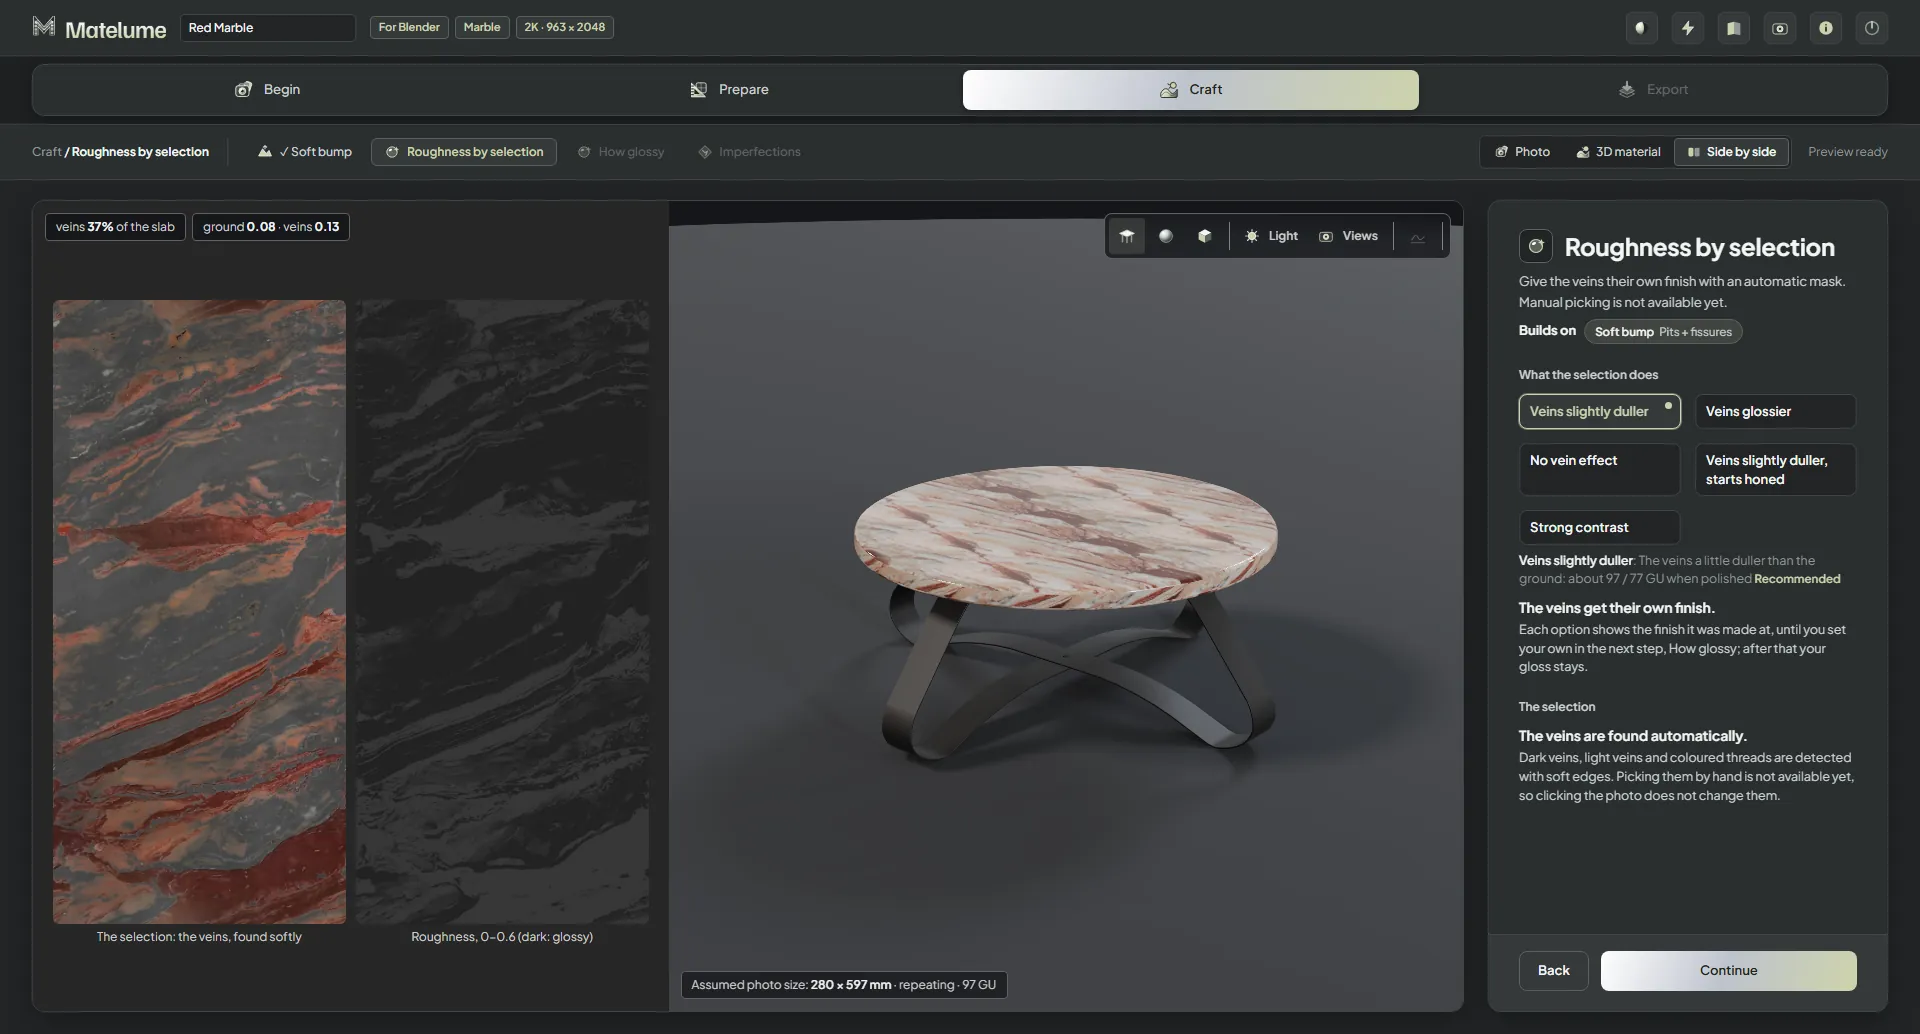
The Roughness by selection step: the veins found in the photo and the roughness map.
Follow the marble workflow · 8 app views
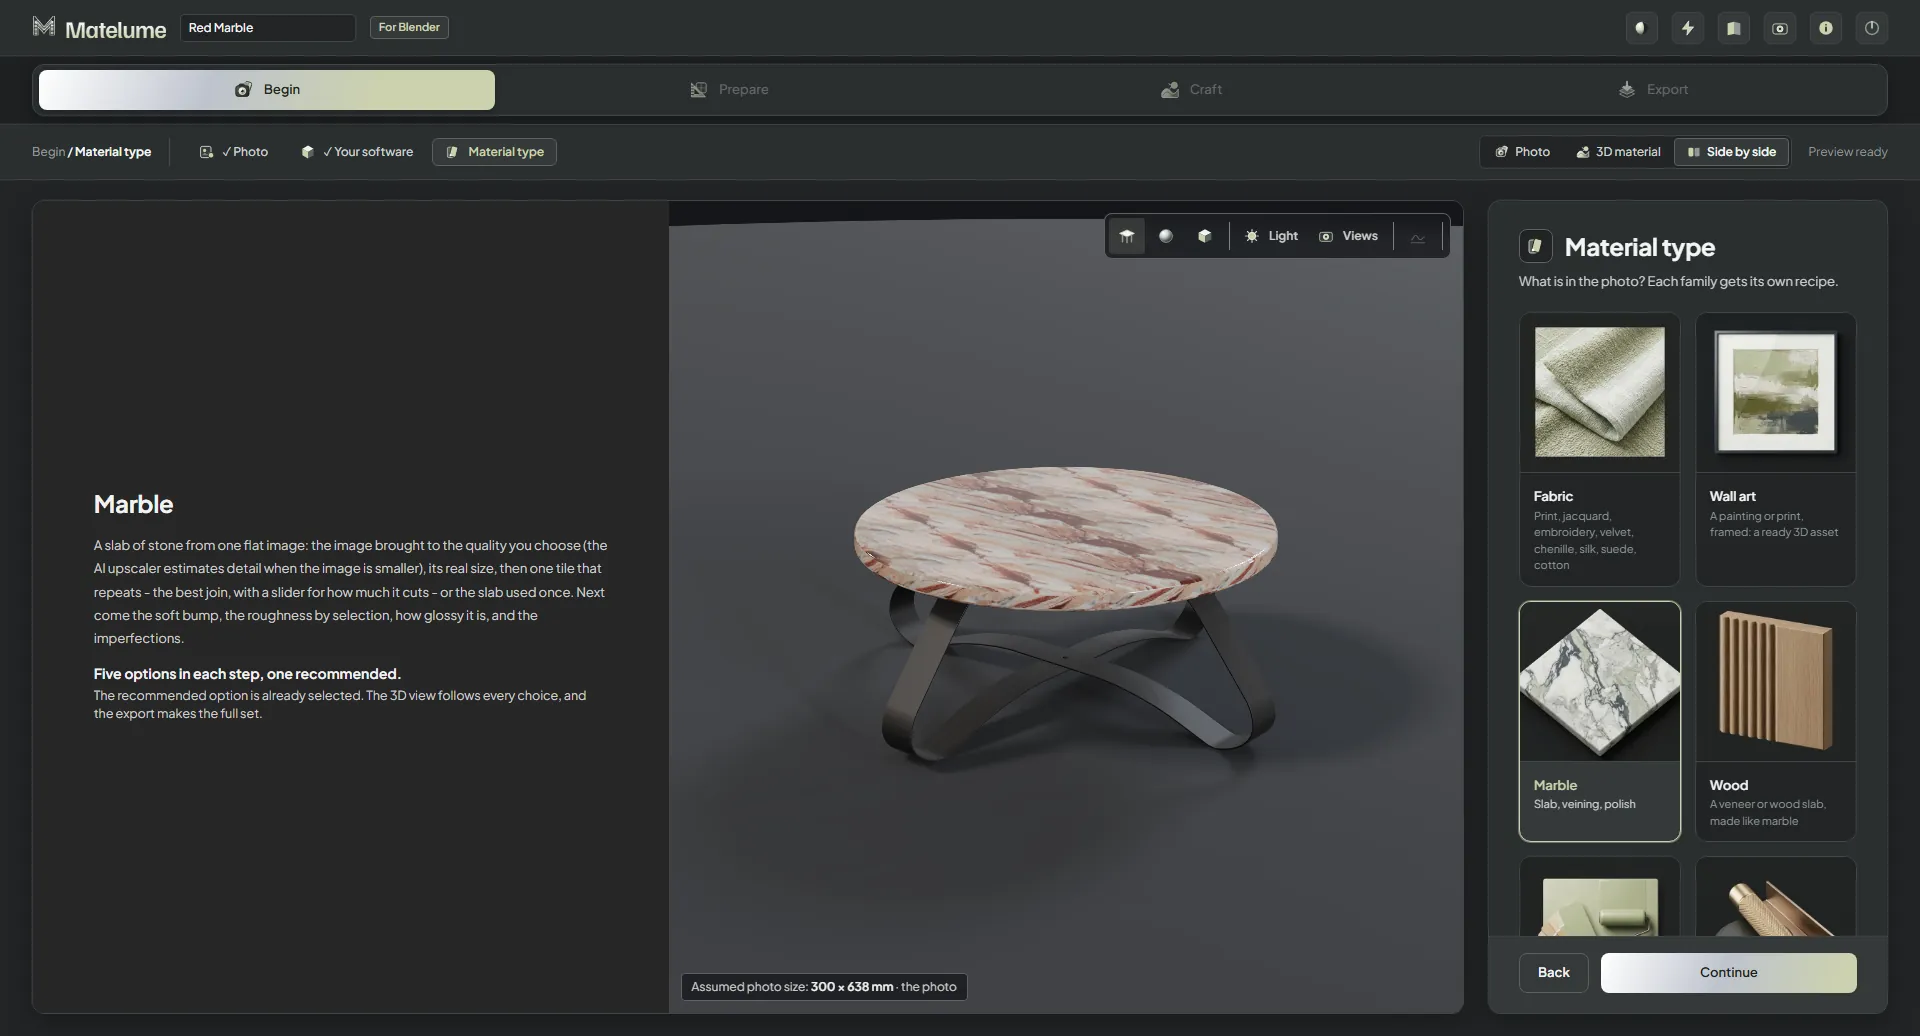
The Material type step with Marble chosen, the red marble table shown in the 3D view.
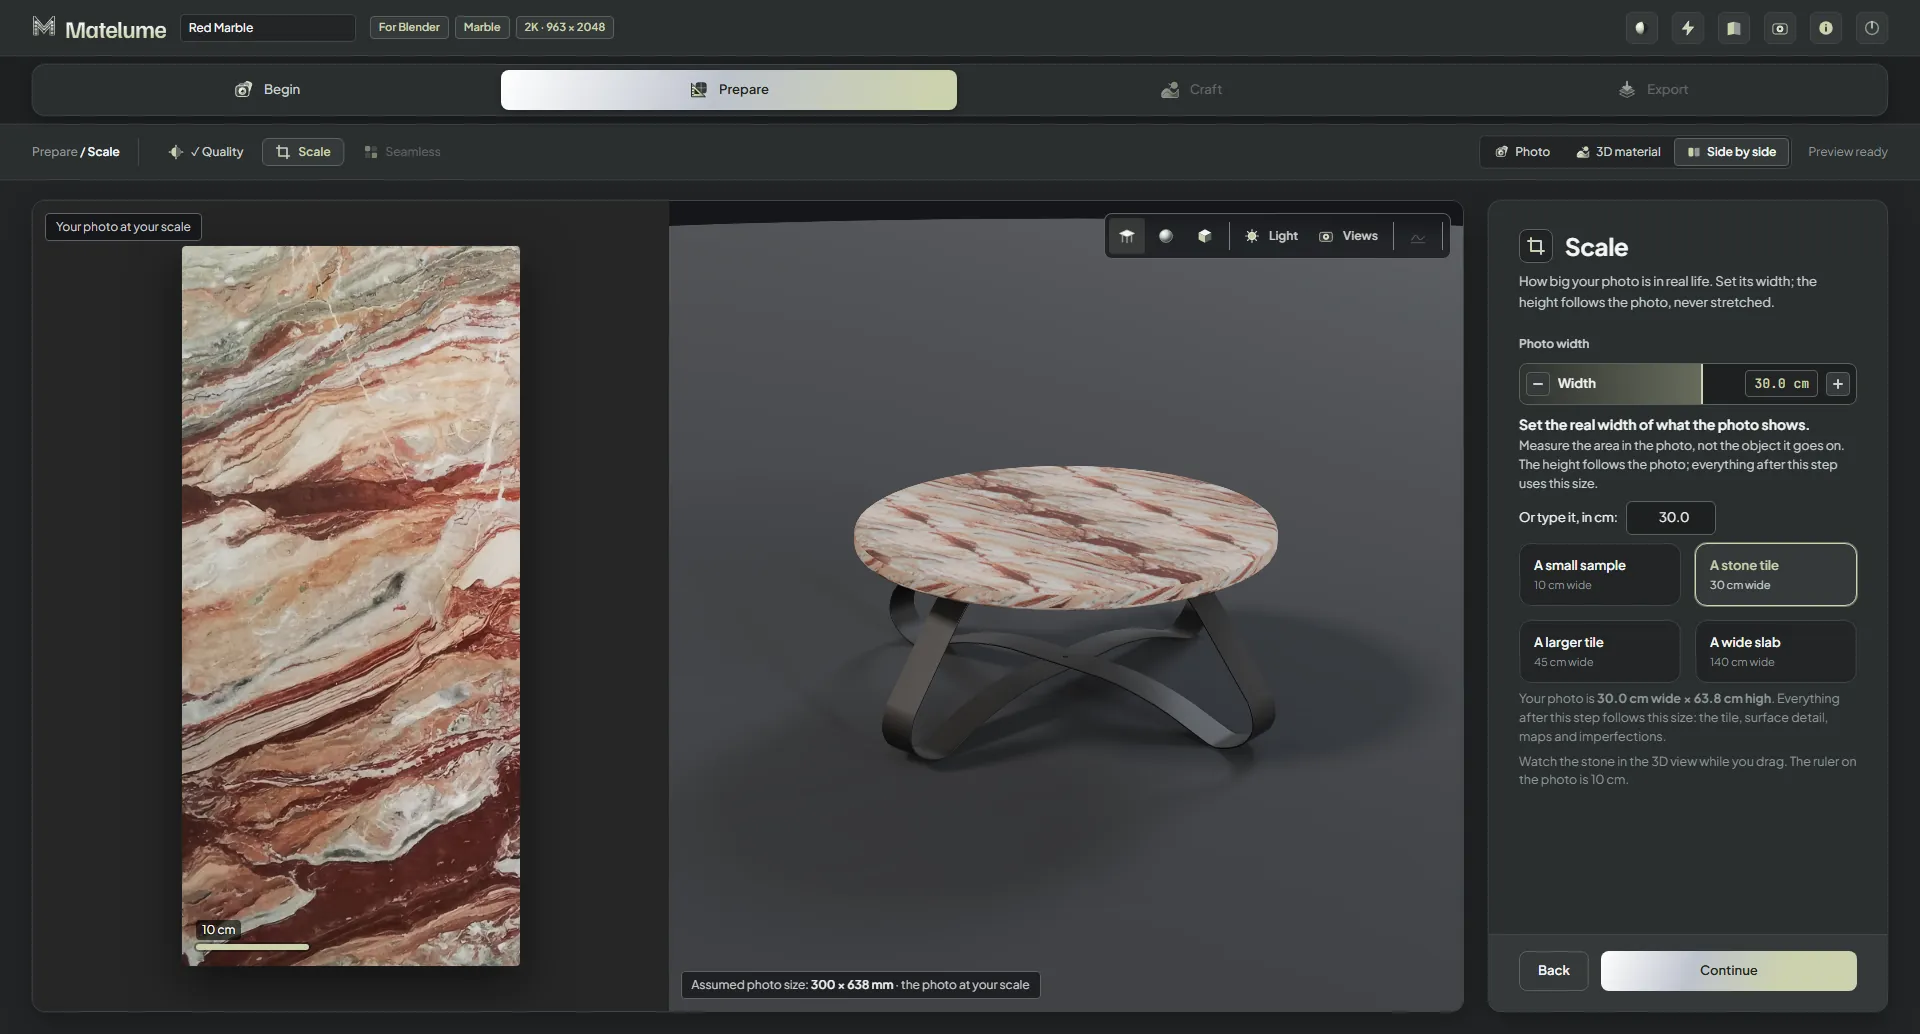
The Scale step: the real width of the marble photo is set and the table follows.
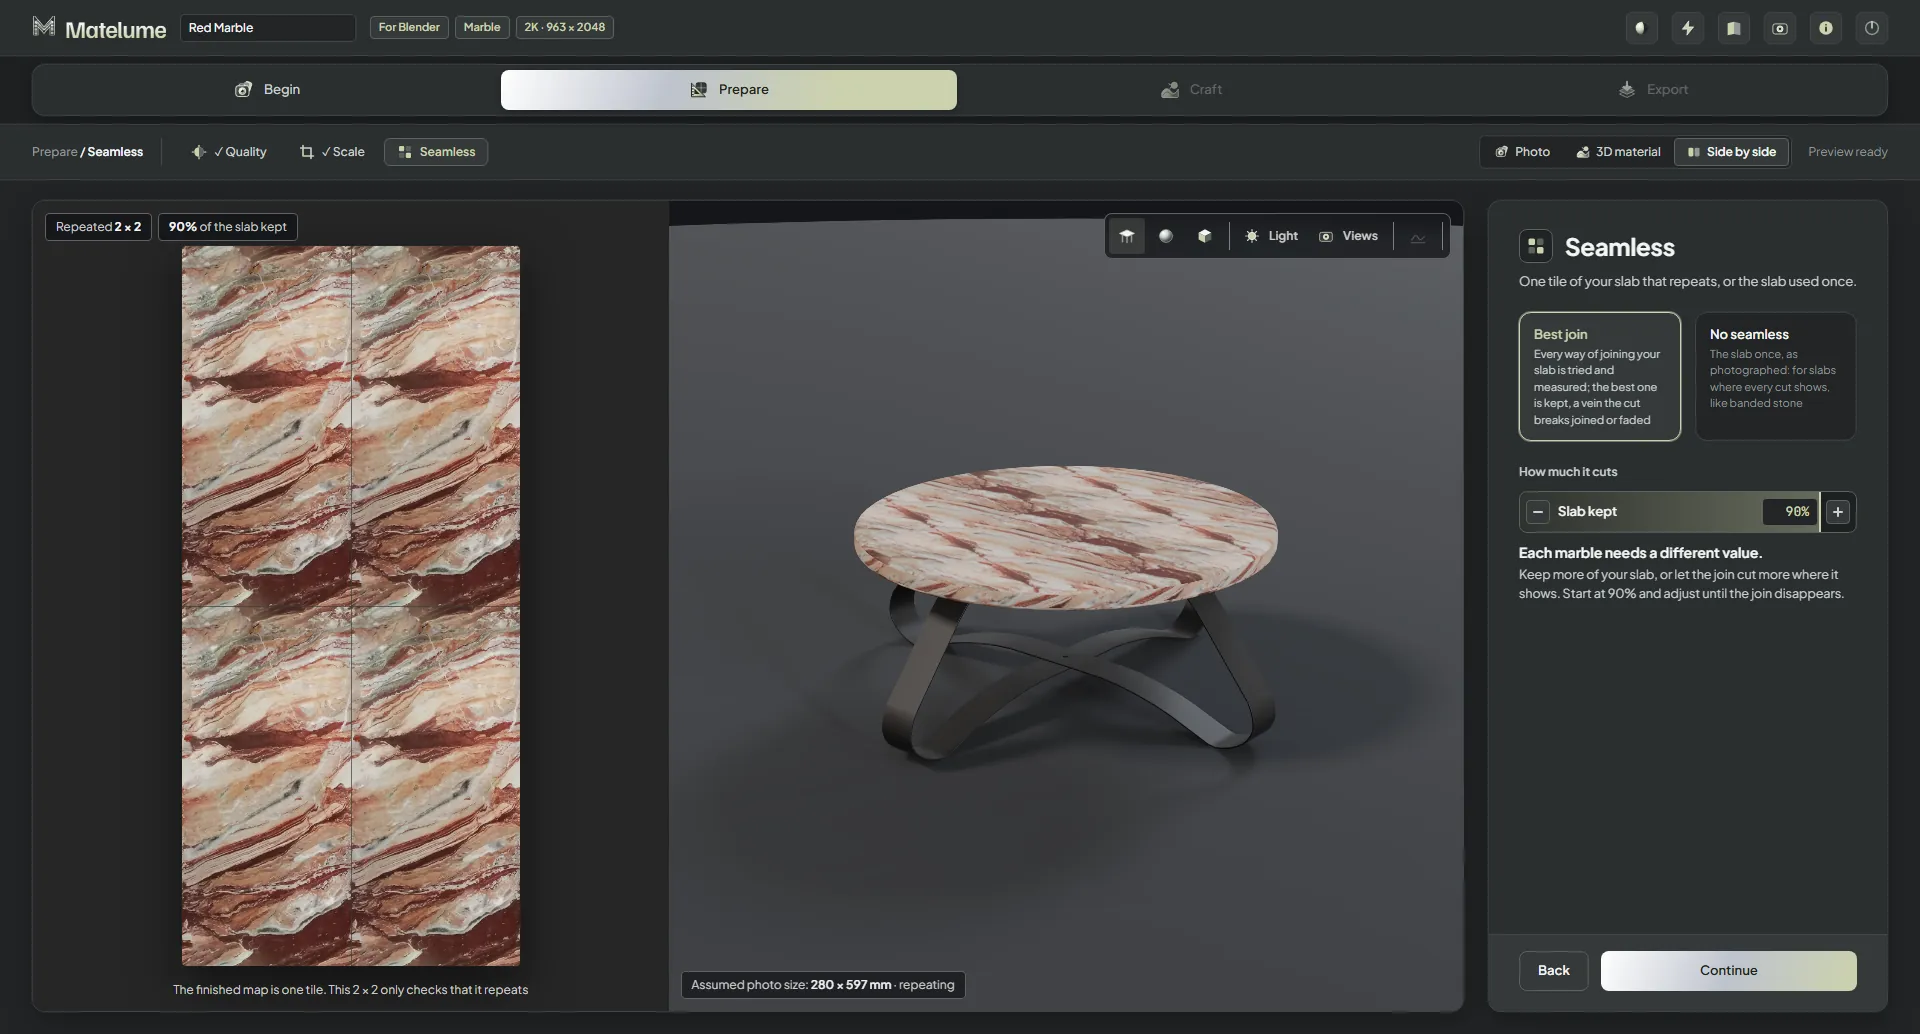
The Seamless step: best join of the slab, shown repeated 2 x 2 beside the table.
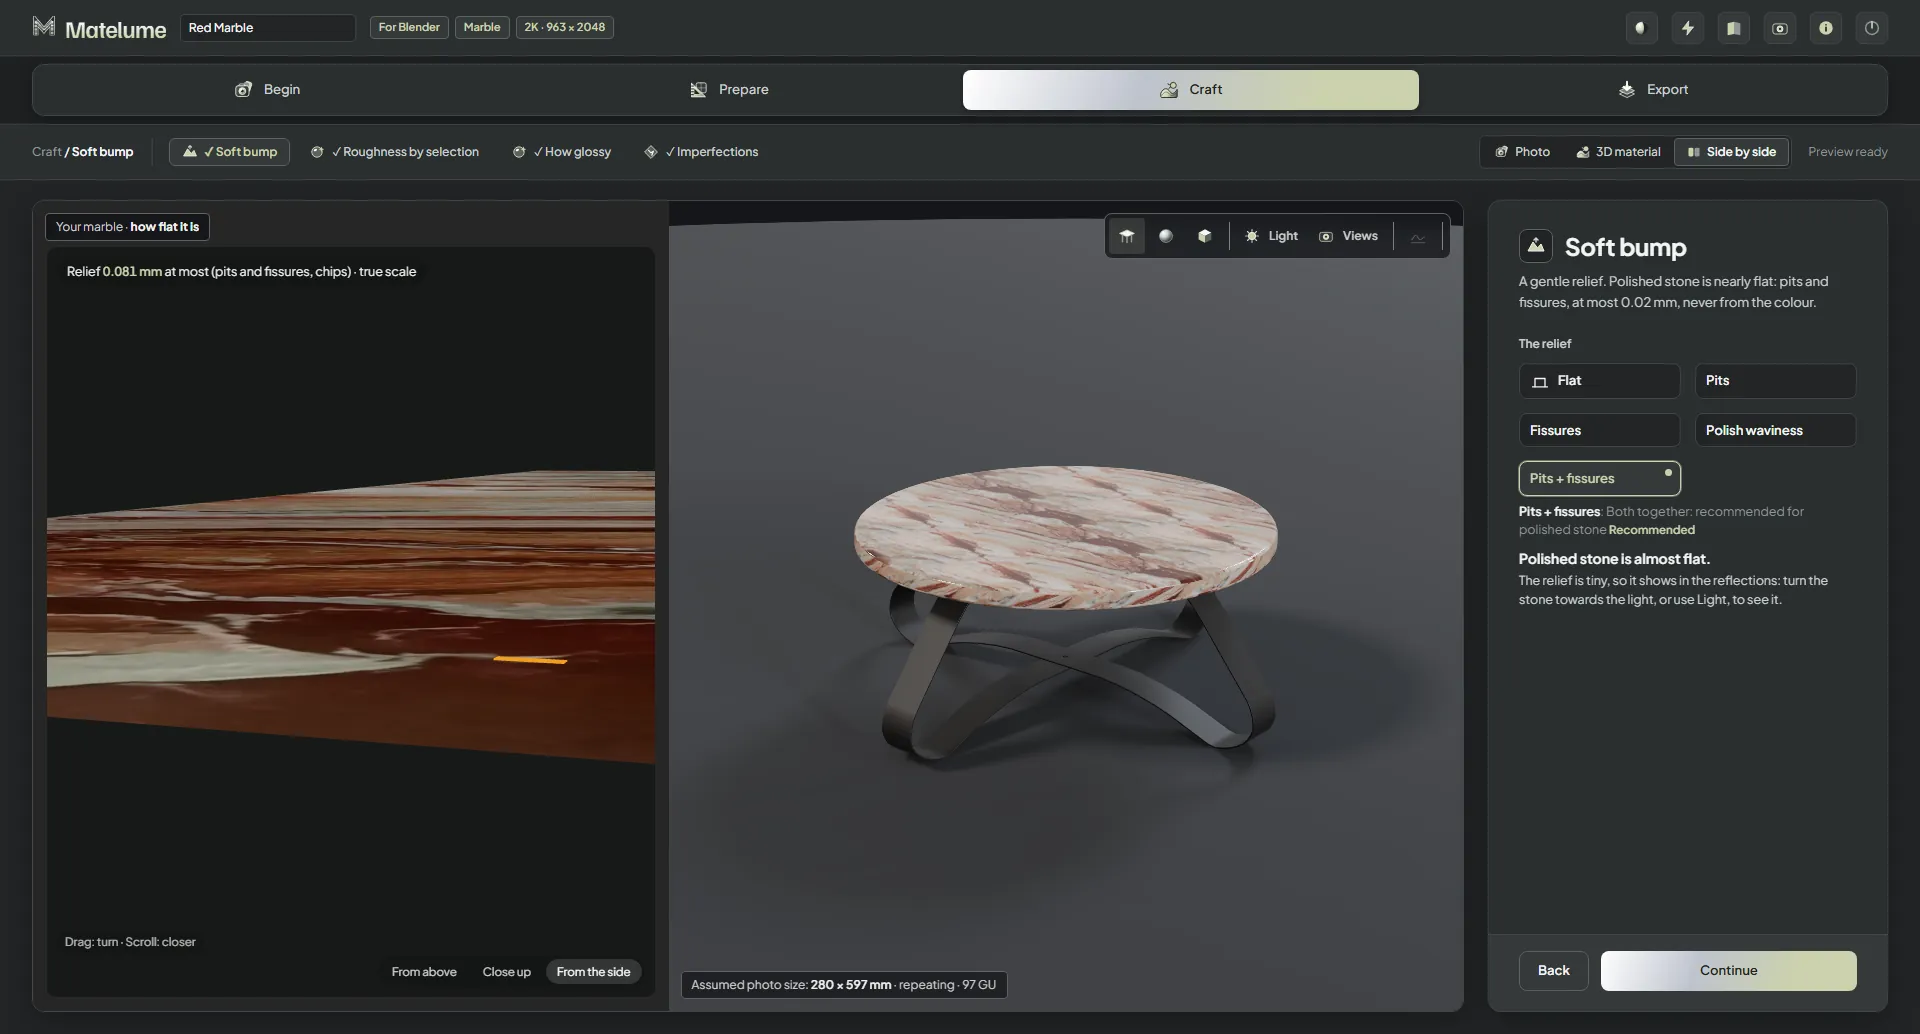
The Soft bump step: the relief options beside a side-on view of the slab.
The Roughness by selection step: the veins found in the photo and the roughness map.
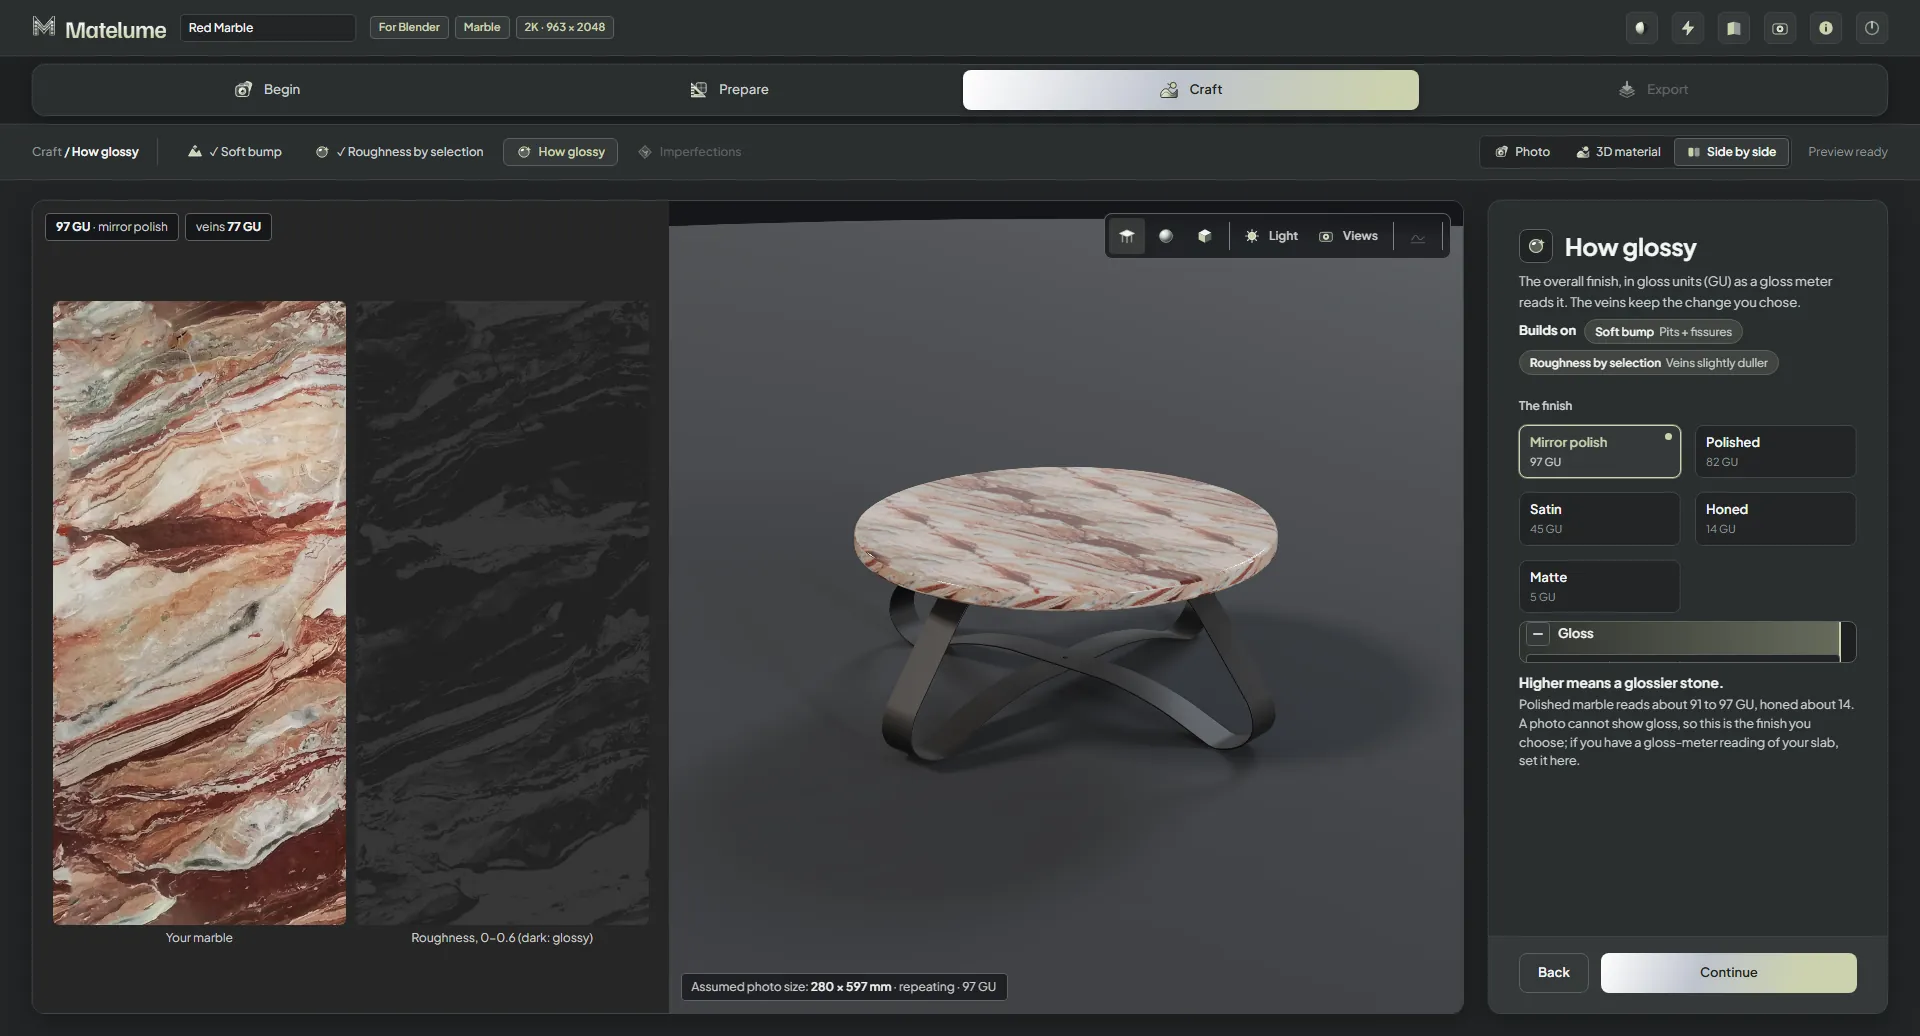
The How glossy step: five finishes from mirror polish to matte, with the gloss slider.
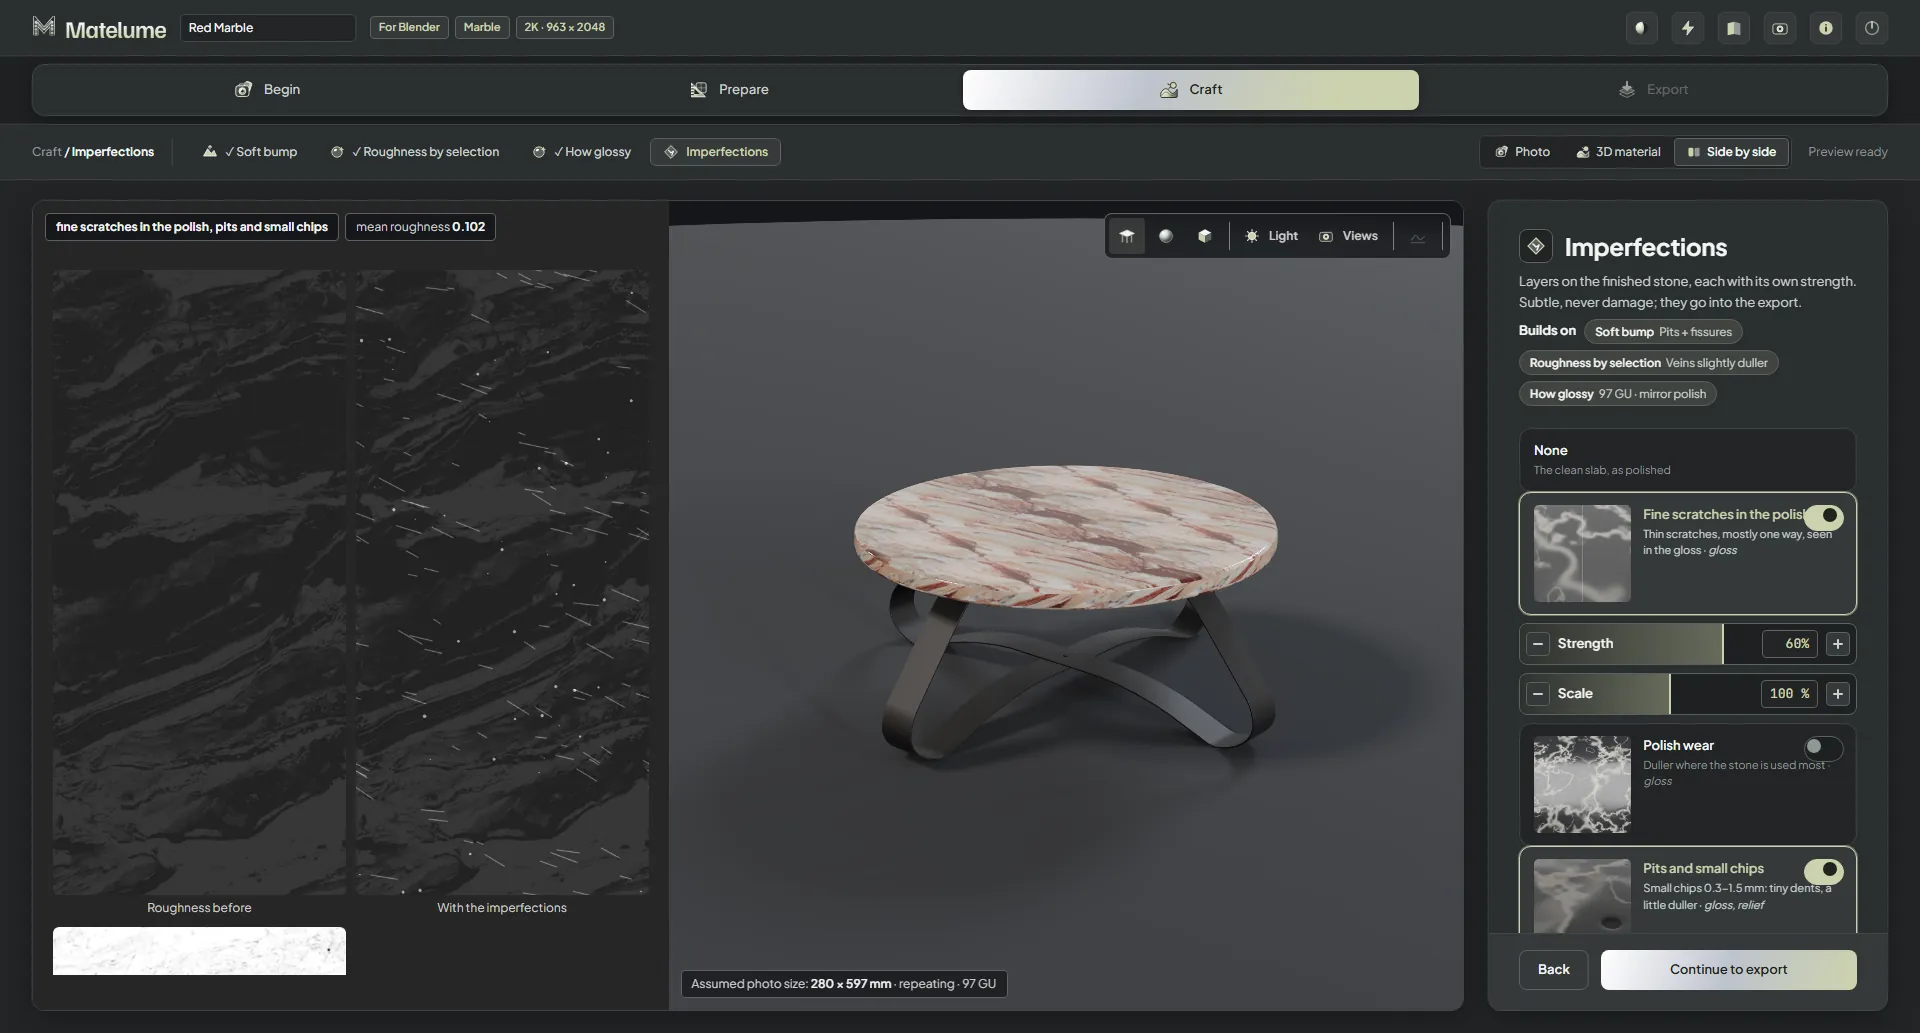
The Imperfections step: fine scratches and small chips switched on, with the roughness before and after.
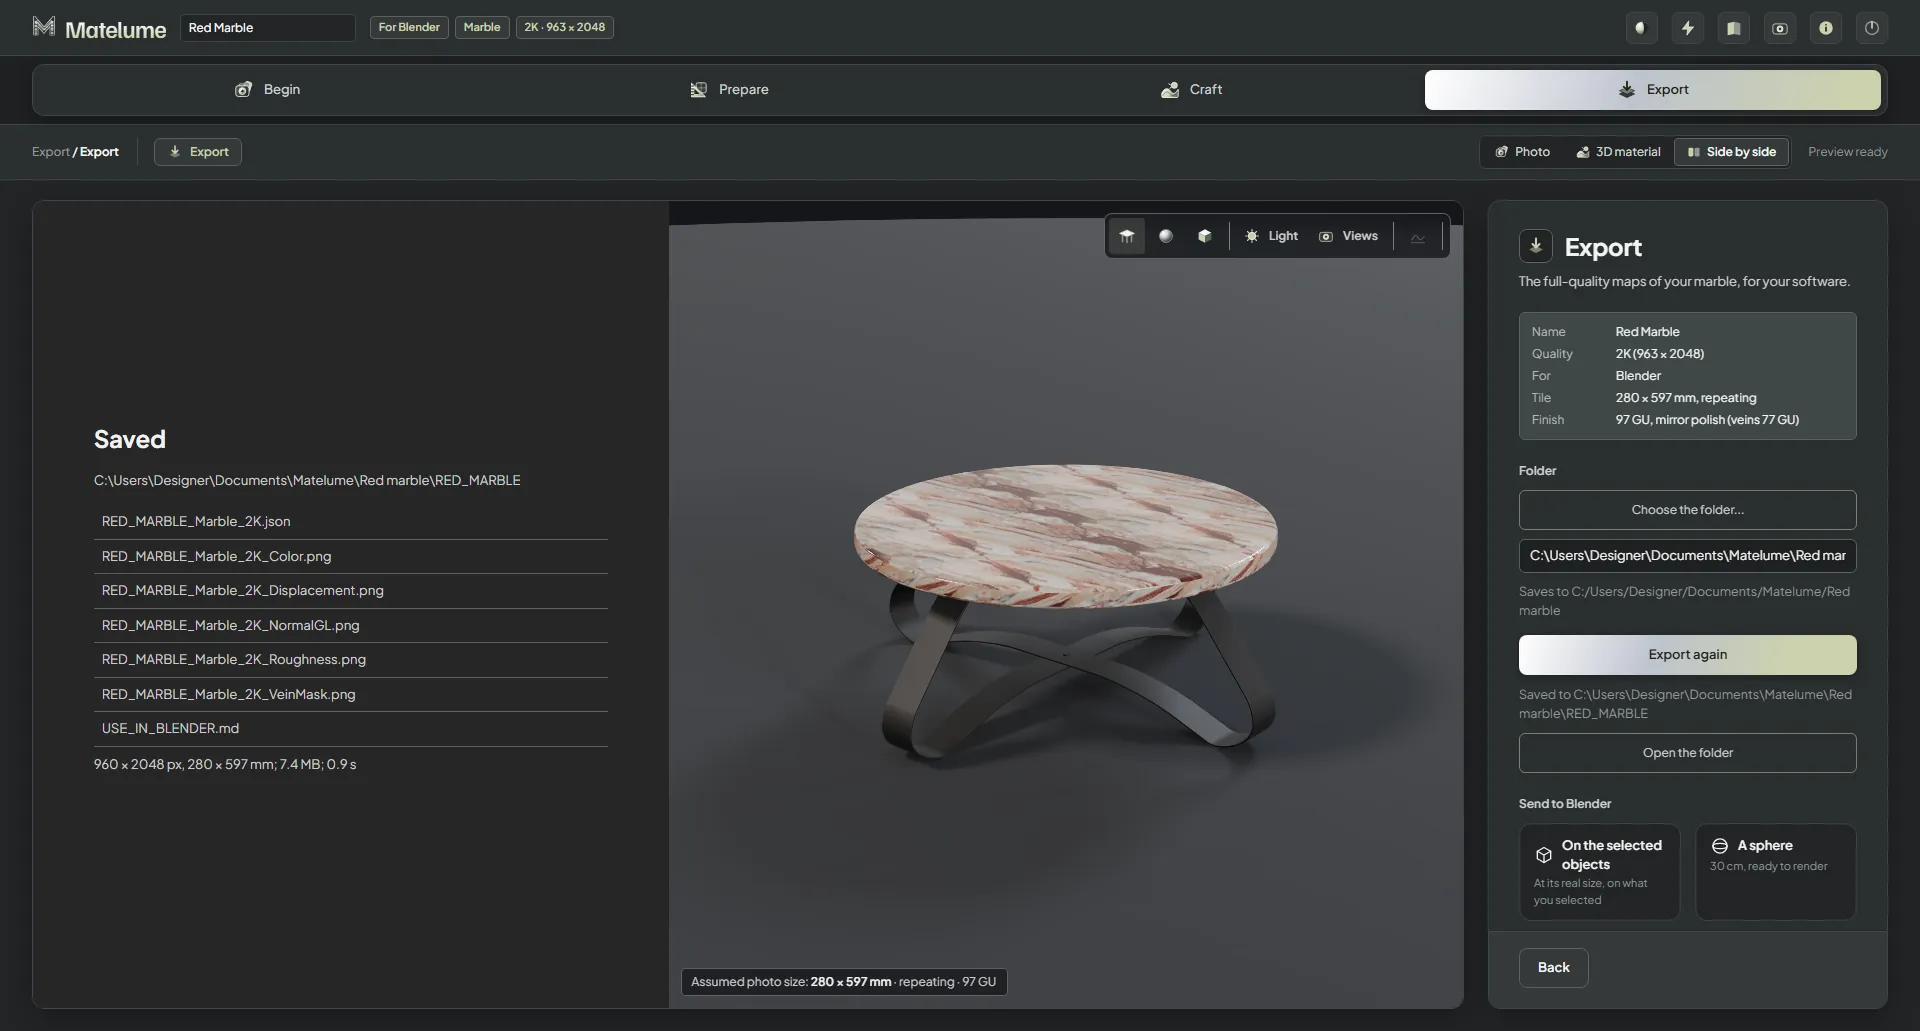
The Export step after saving: the folder and the list of saved map files.