Metal

Choose the metal, shine and surface.

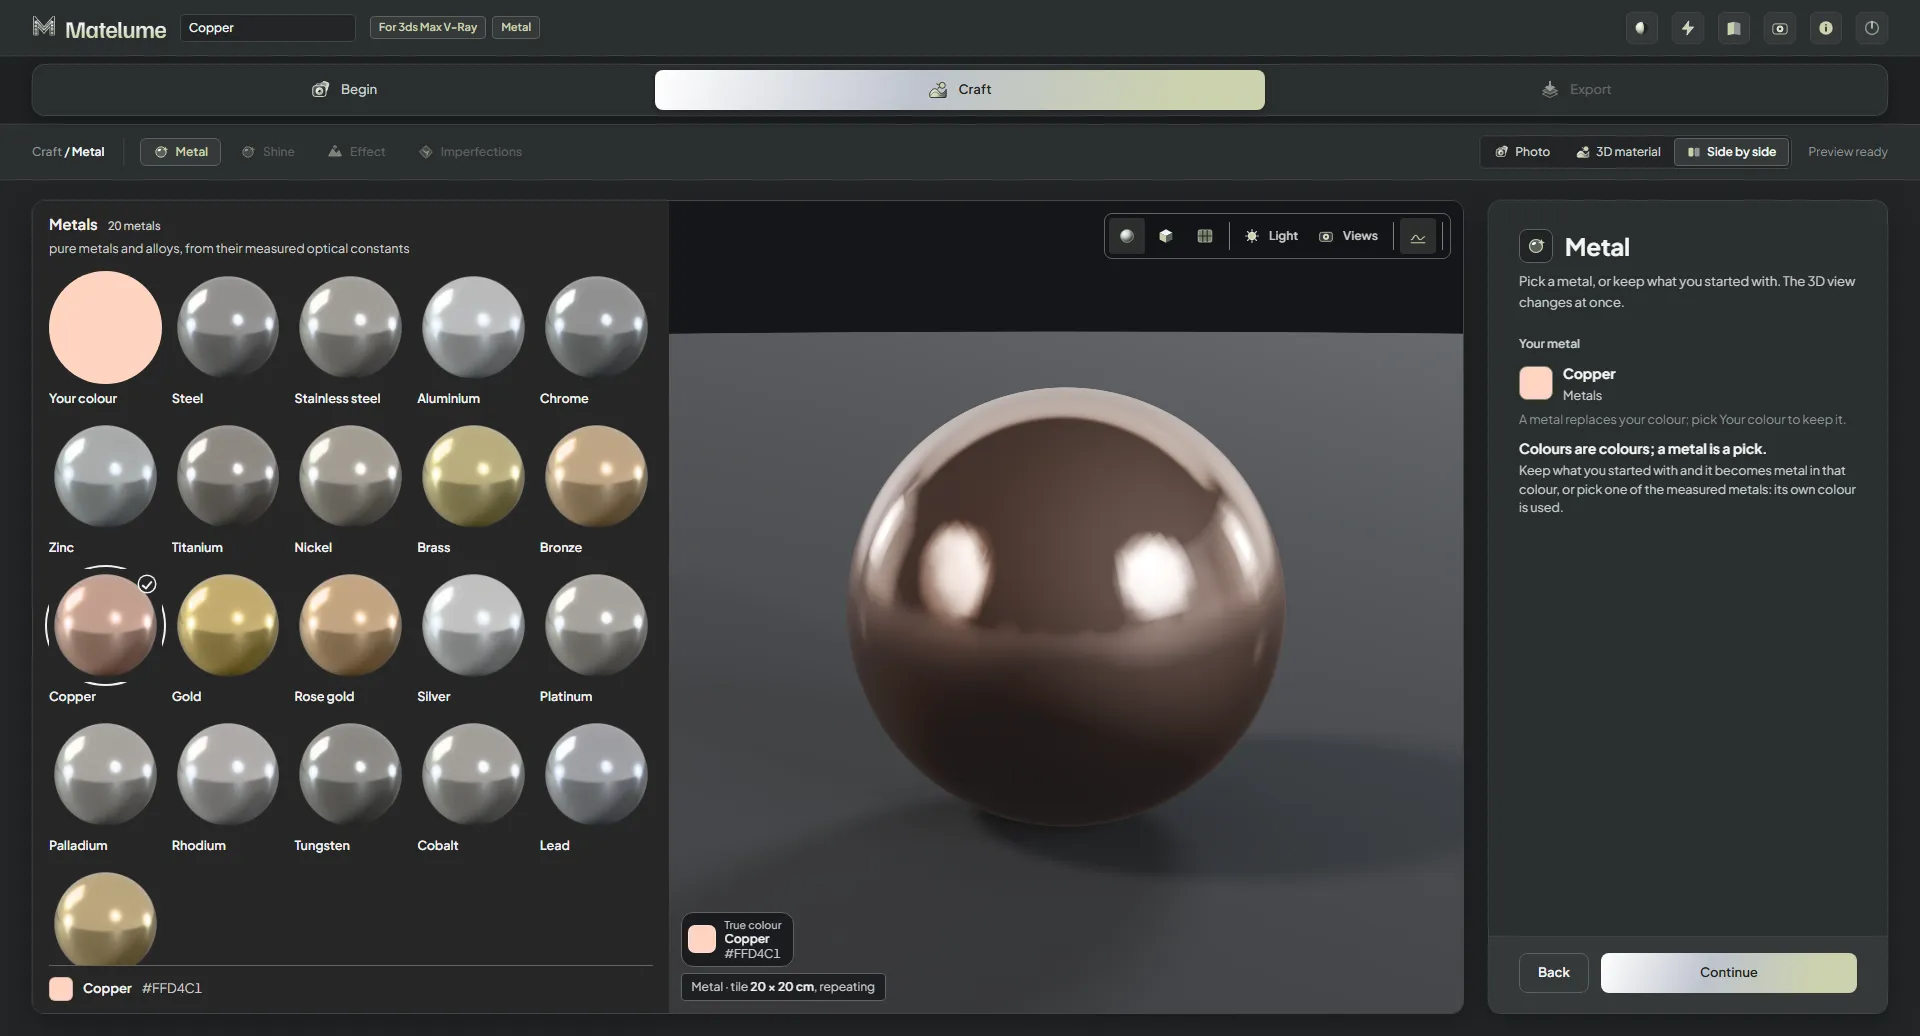
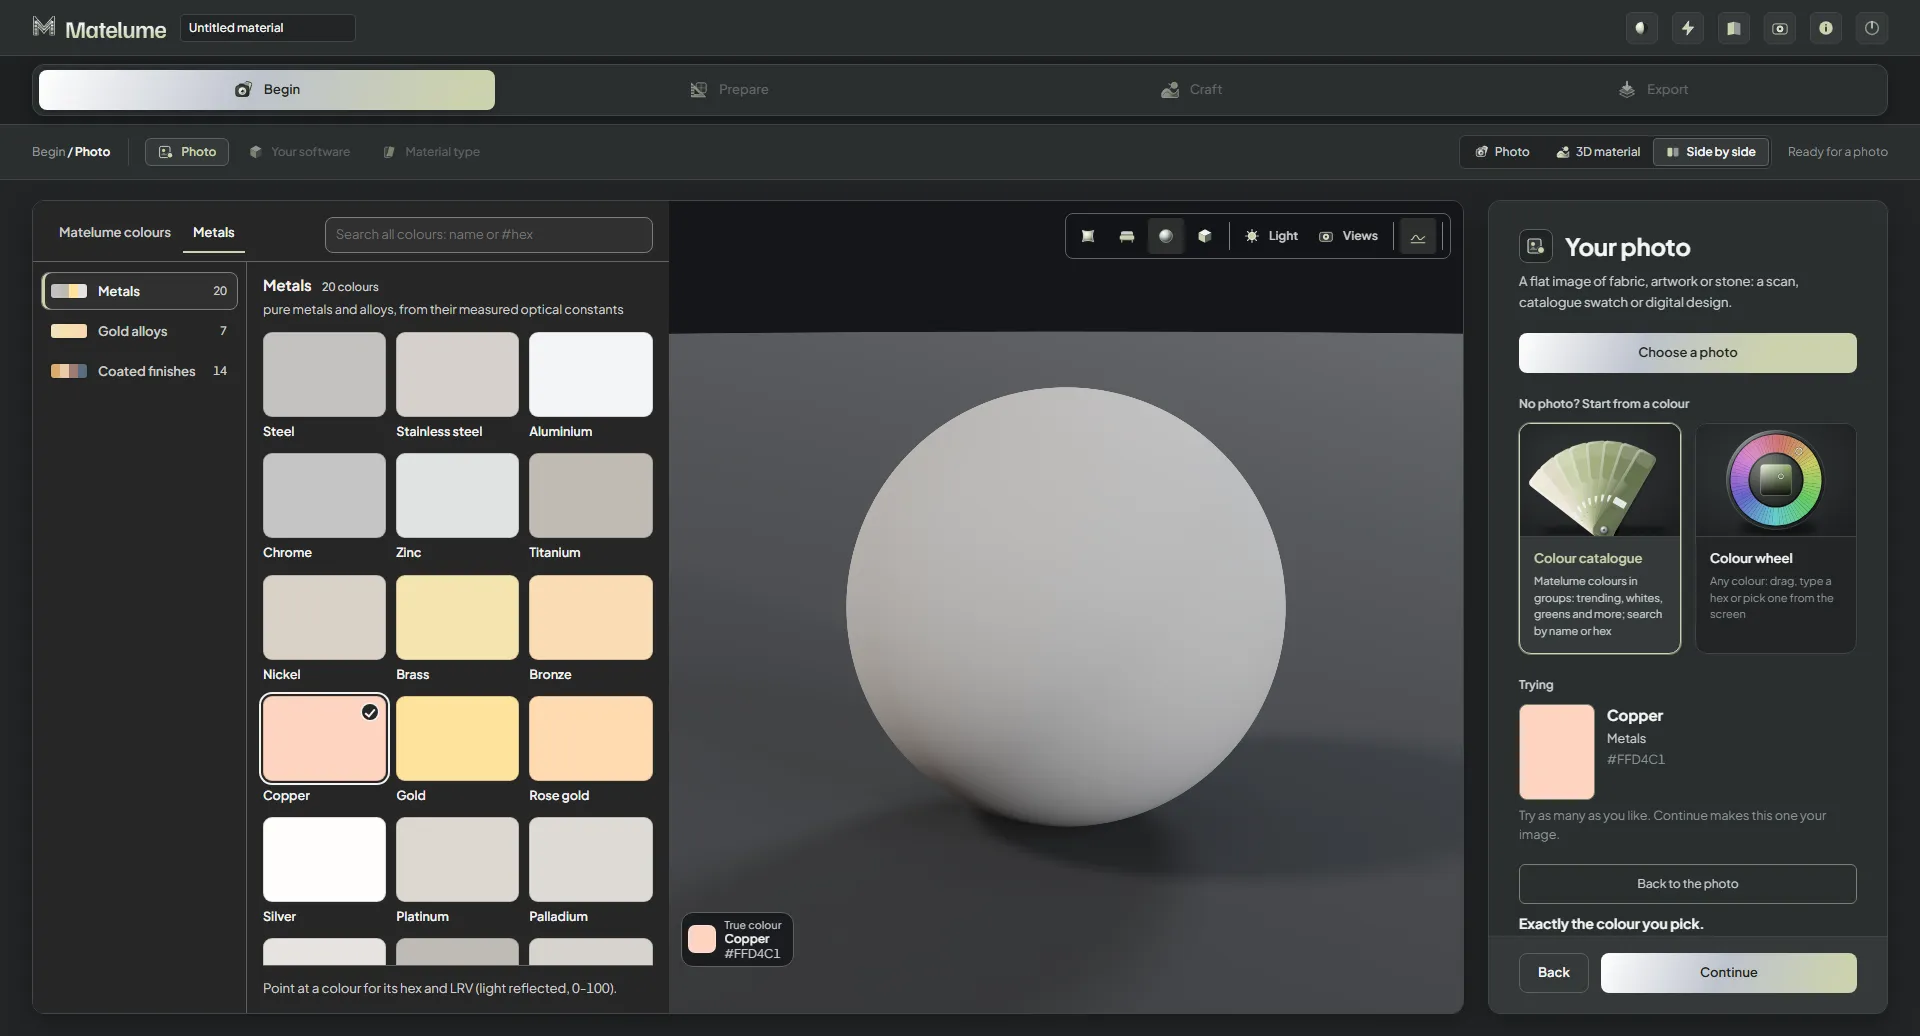
The Metal step of a colour start: Your colour first, then the metals as spheres with copper picked.
Follow the metal workflow · 40 app views
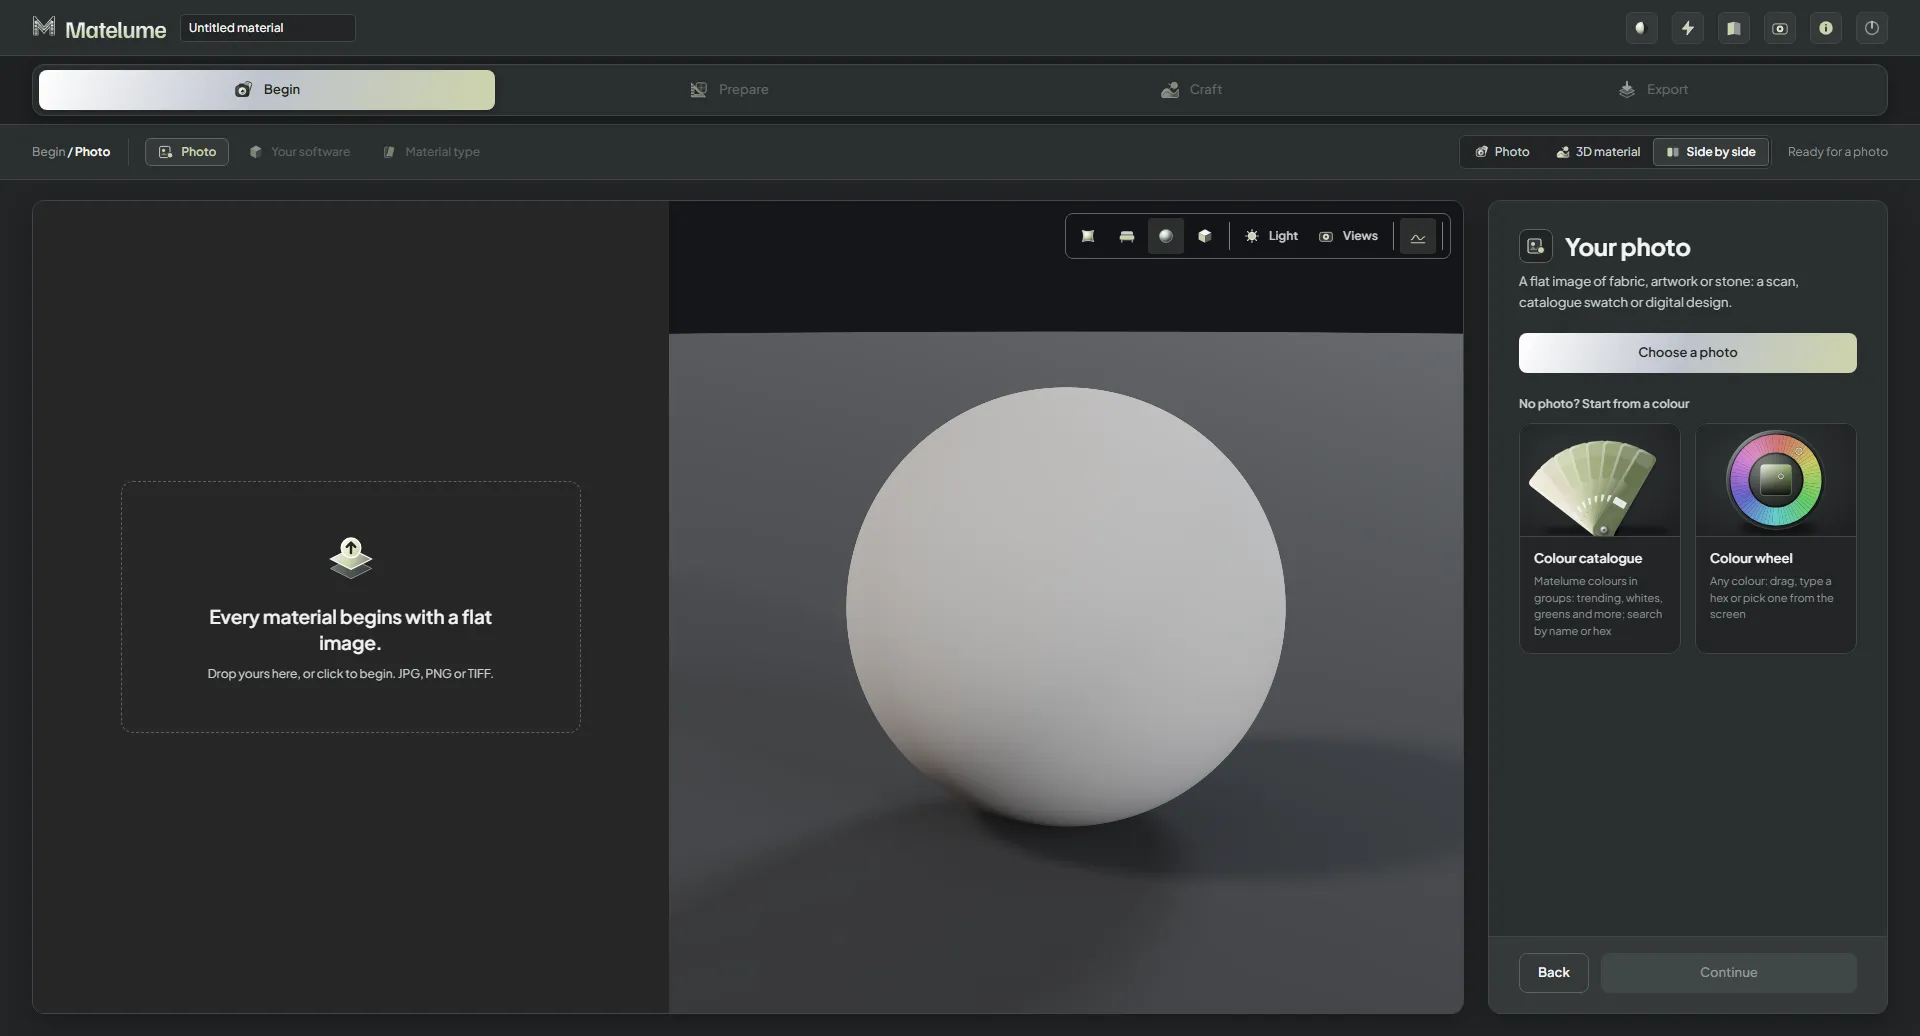
Matelume before anything is chosen: the empty start screen with a drop zone for a flat image.
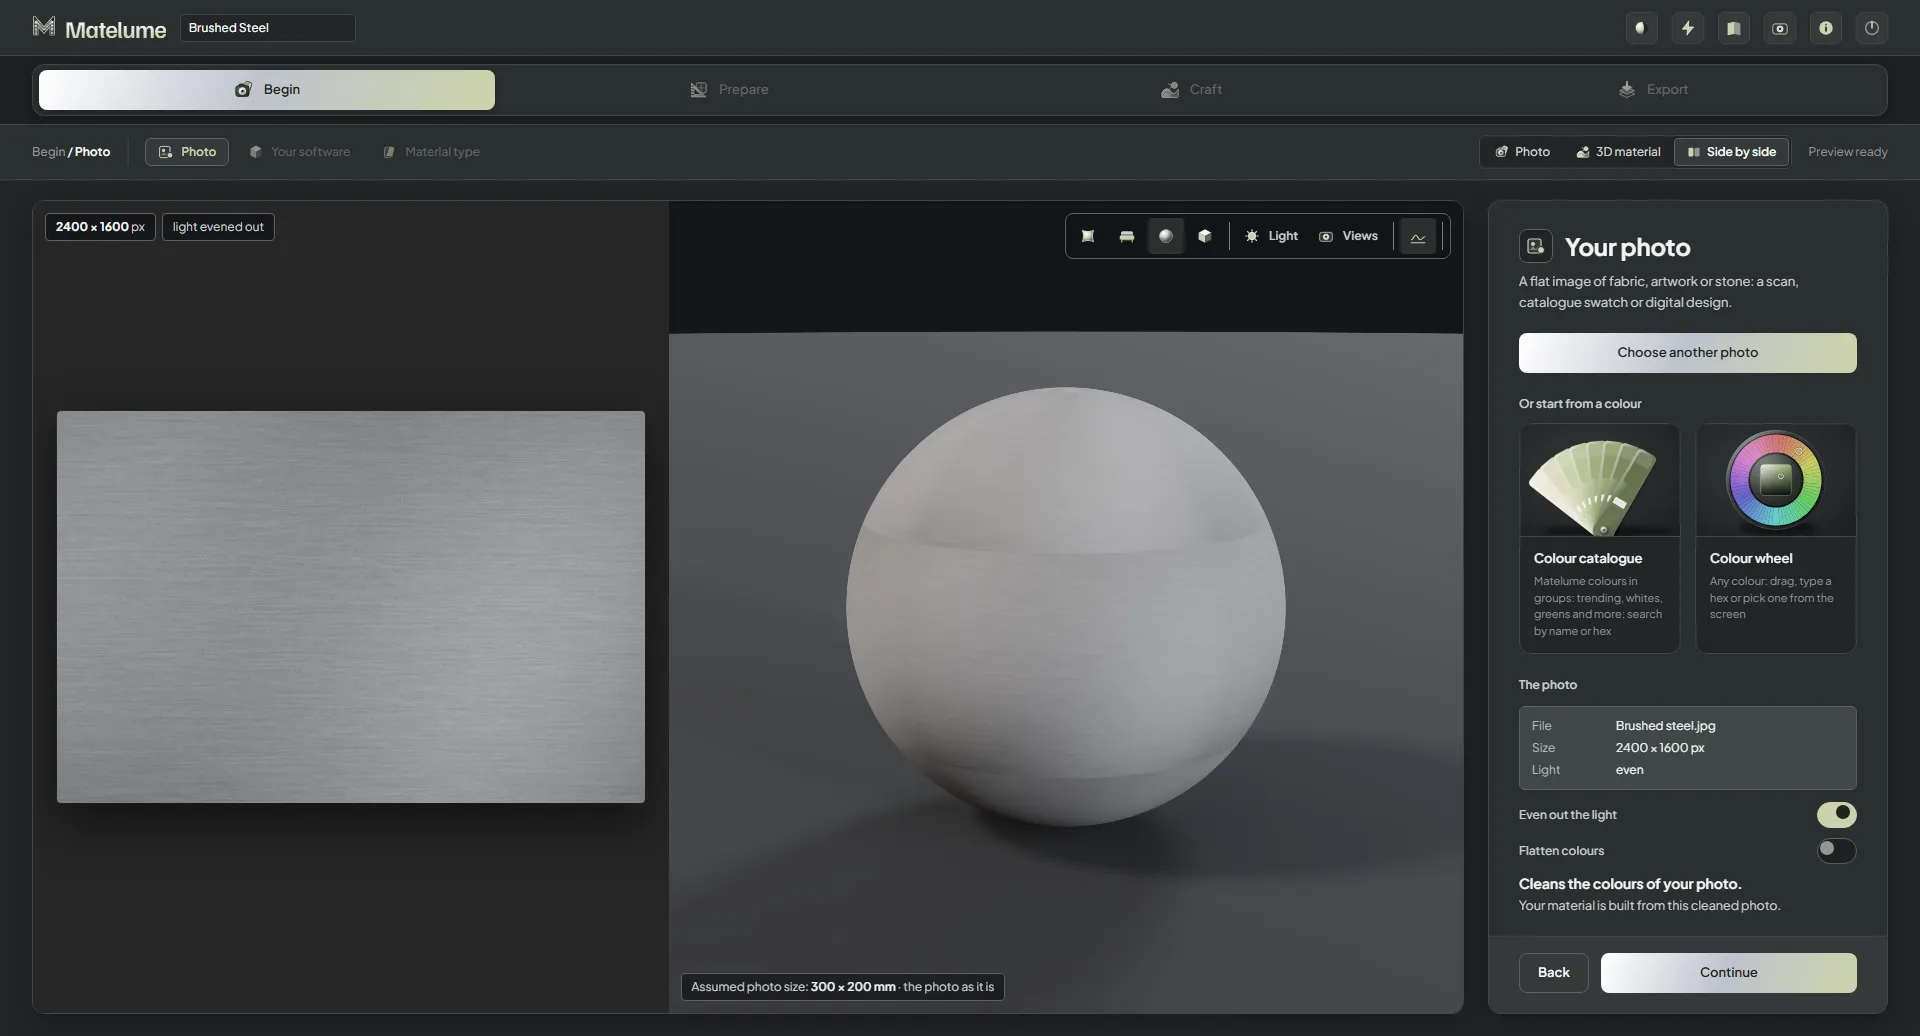
An image of brushed steel added: the photo on the left, the light evened out, and the steel on the 3D sphere.
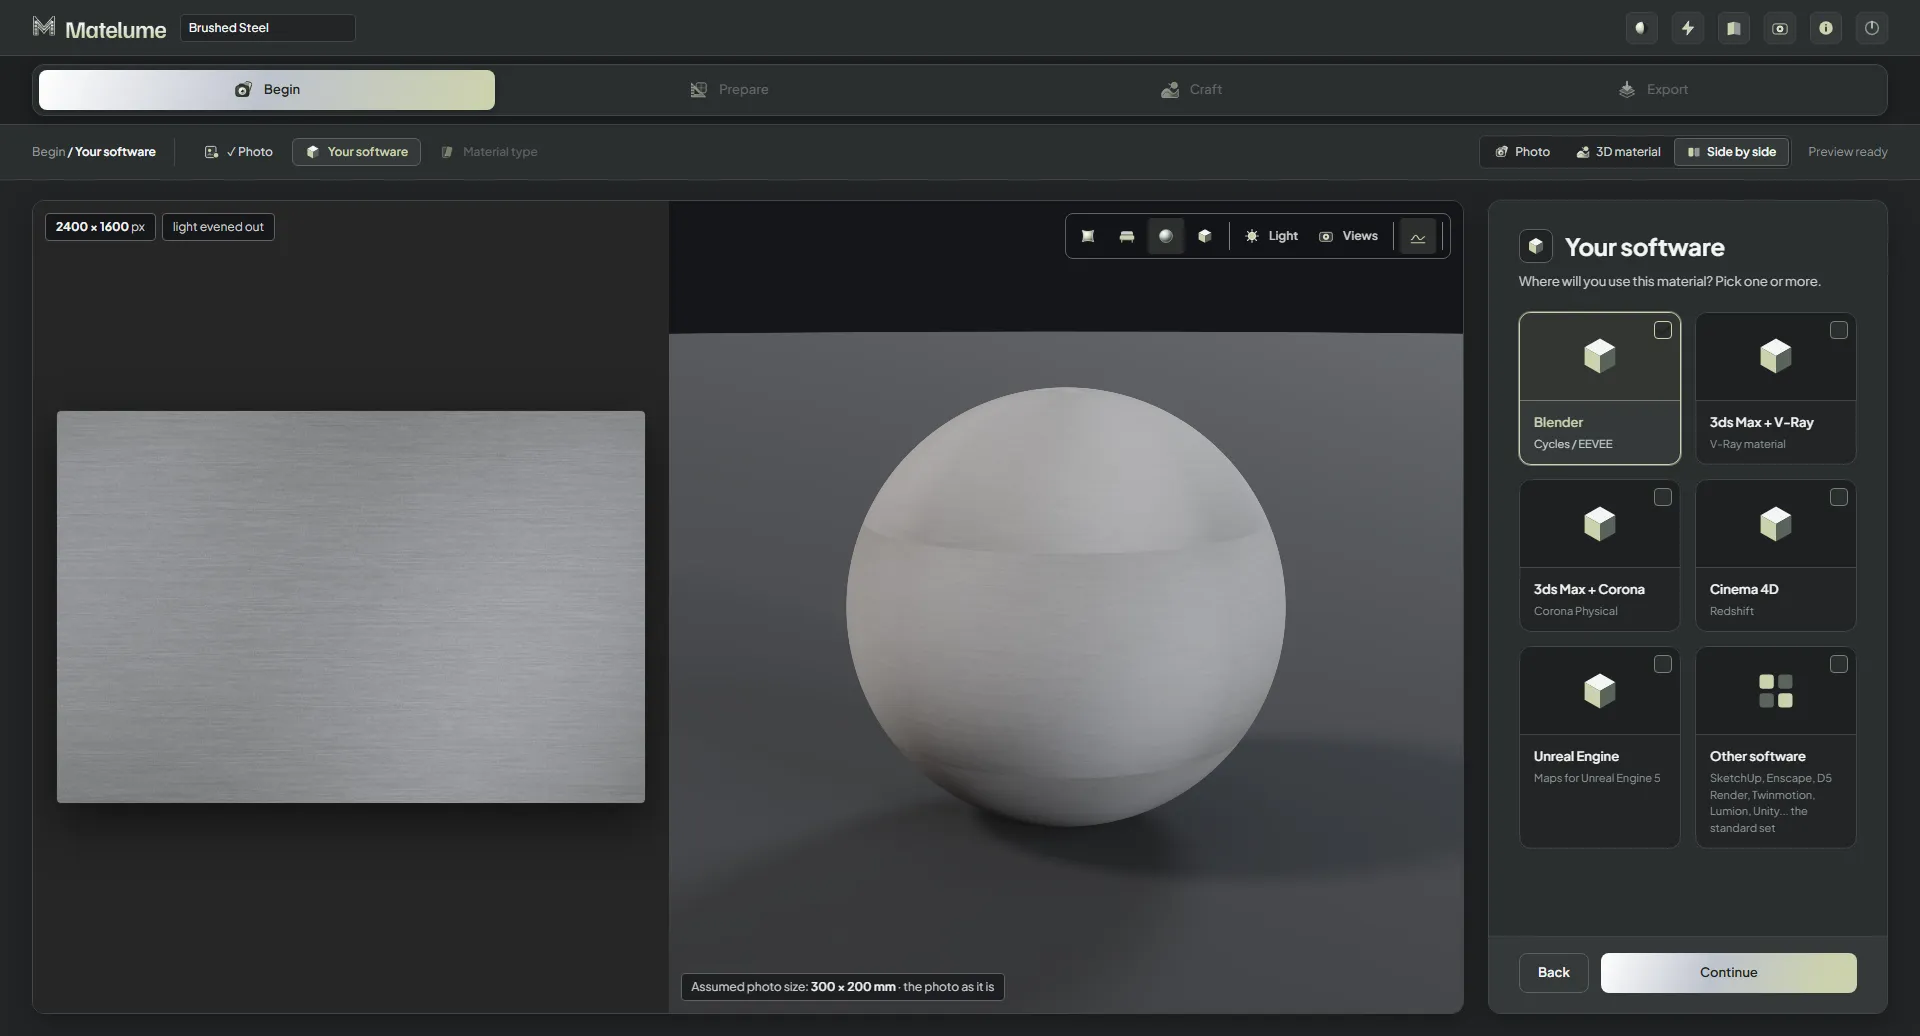
The Your software step: pick the program the maps are for, here Blender.
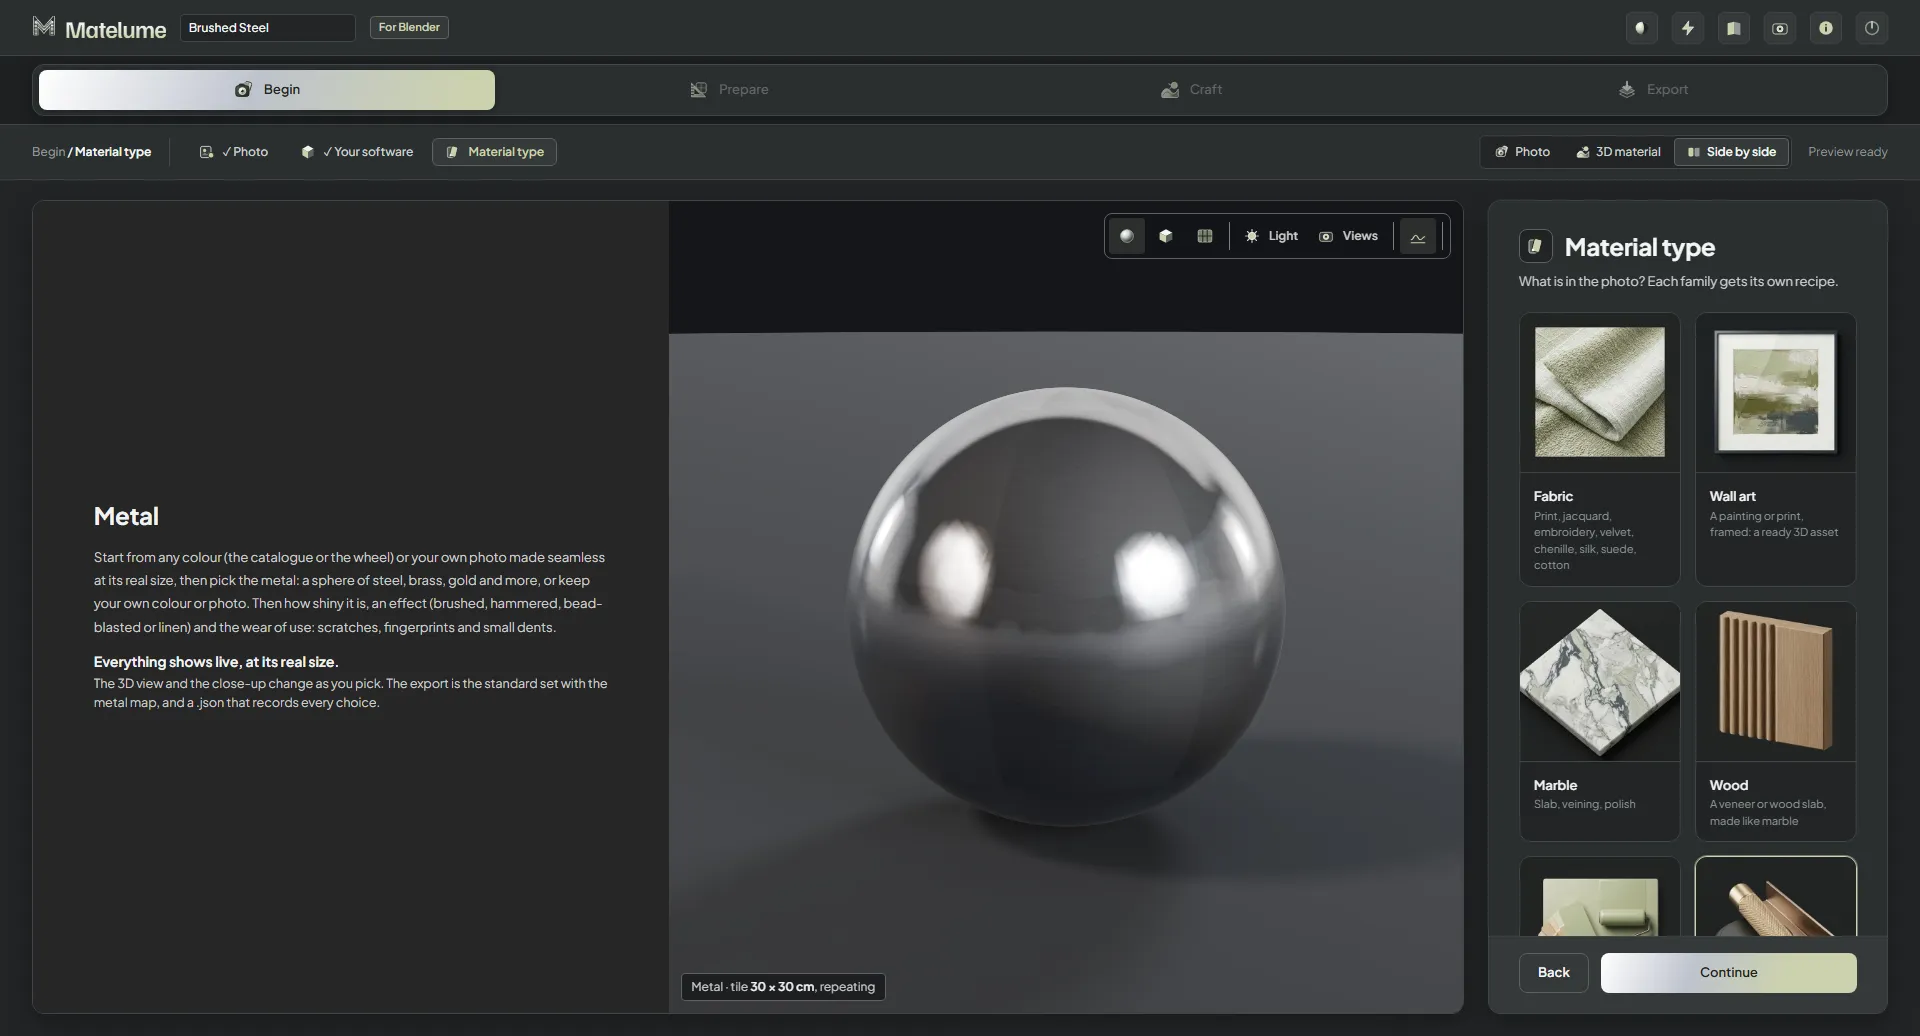
The Material type step with Metal chosen from the six material types.
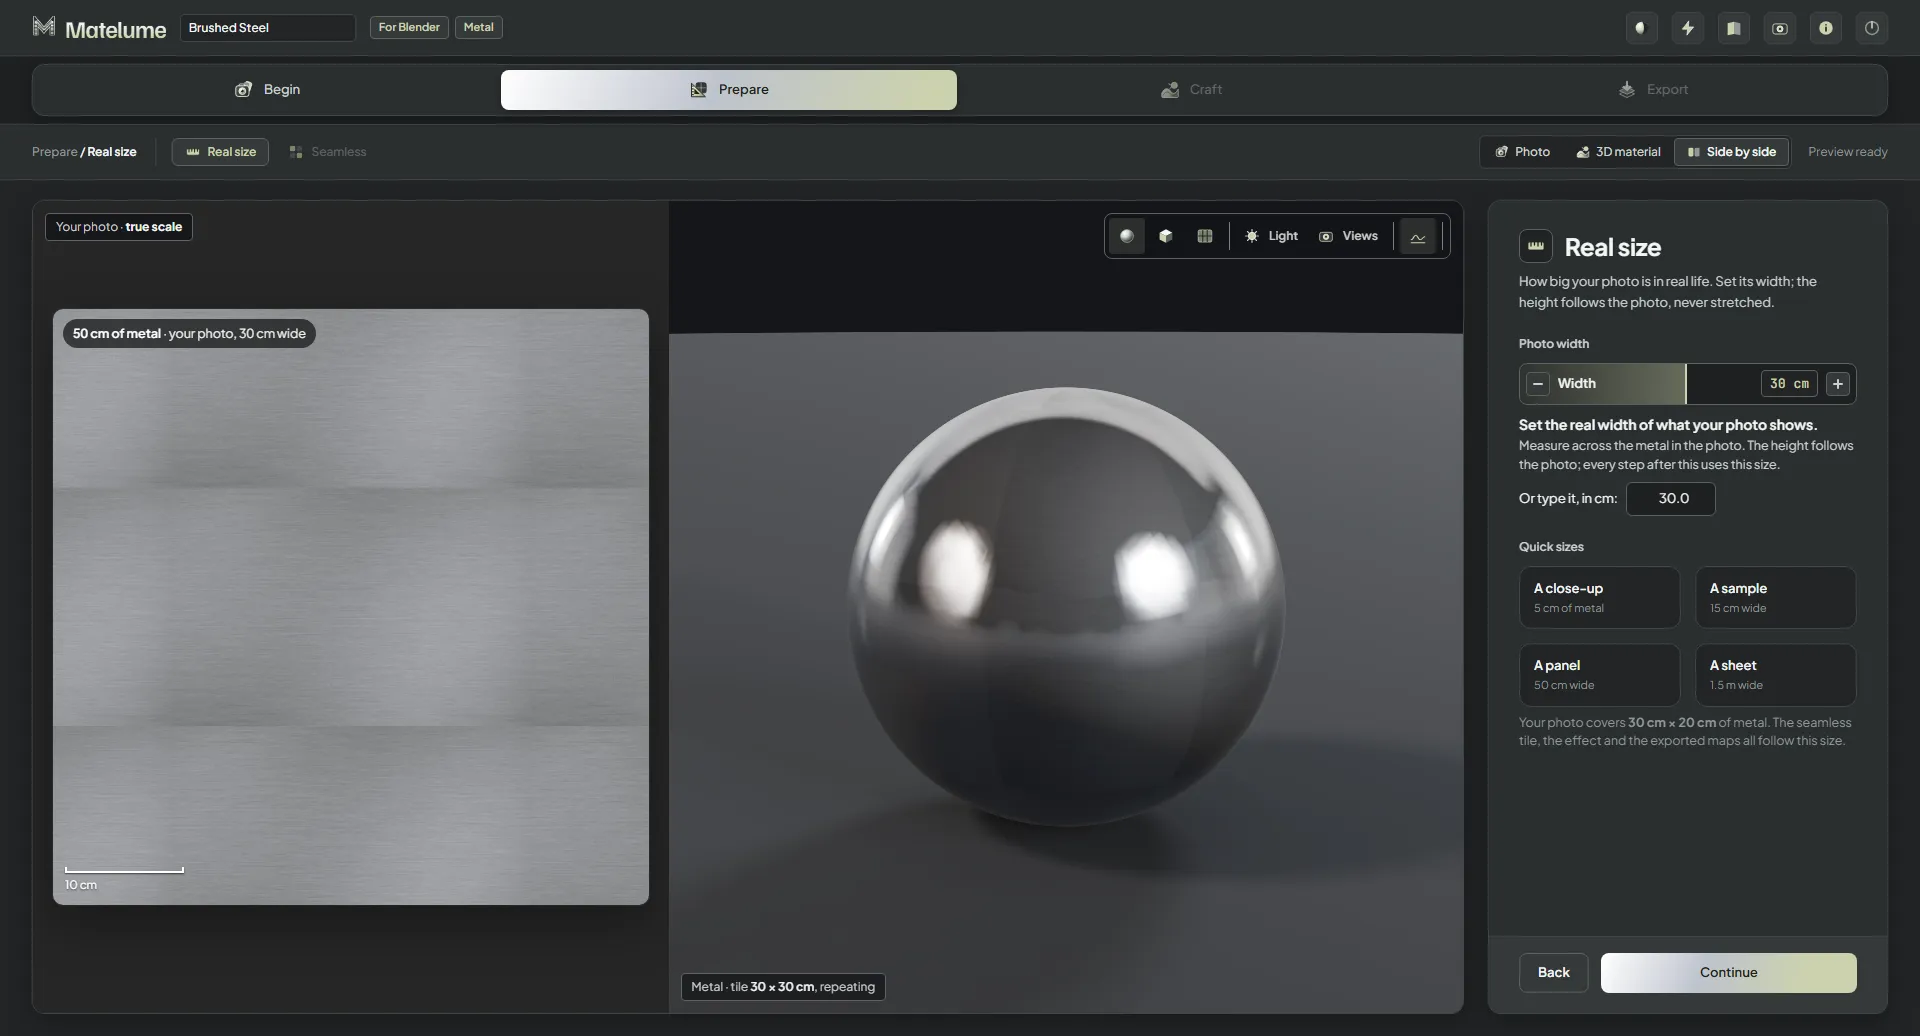
The Real size step for a metal photo: set how wide the photo is in real life, with quick sizes.
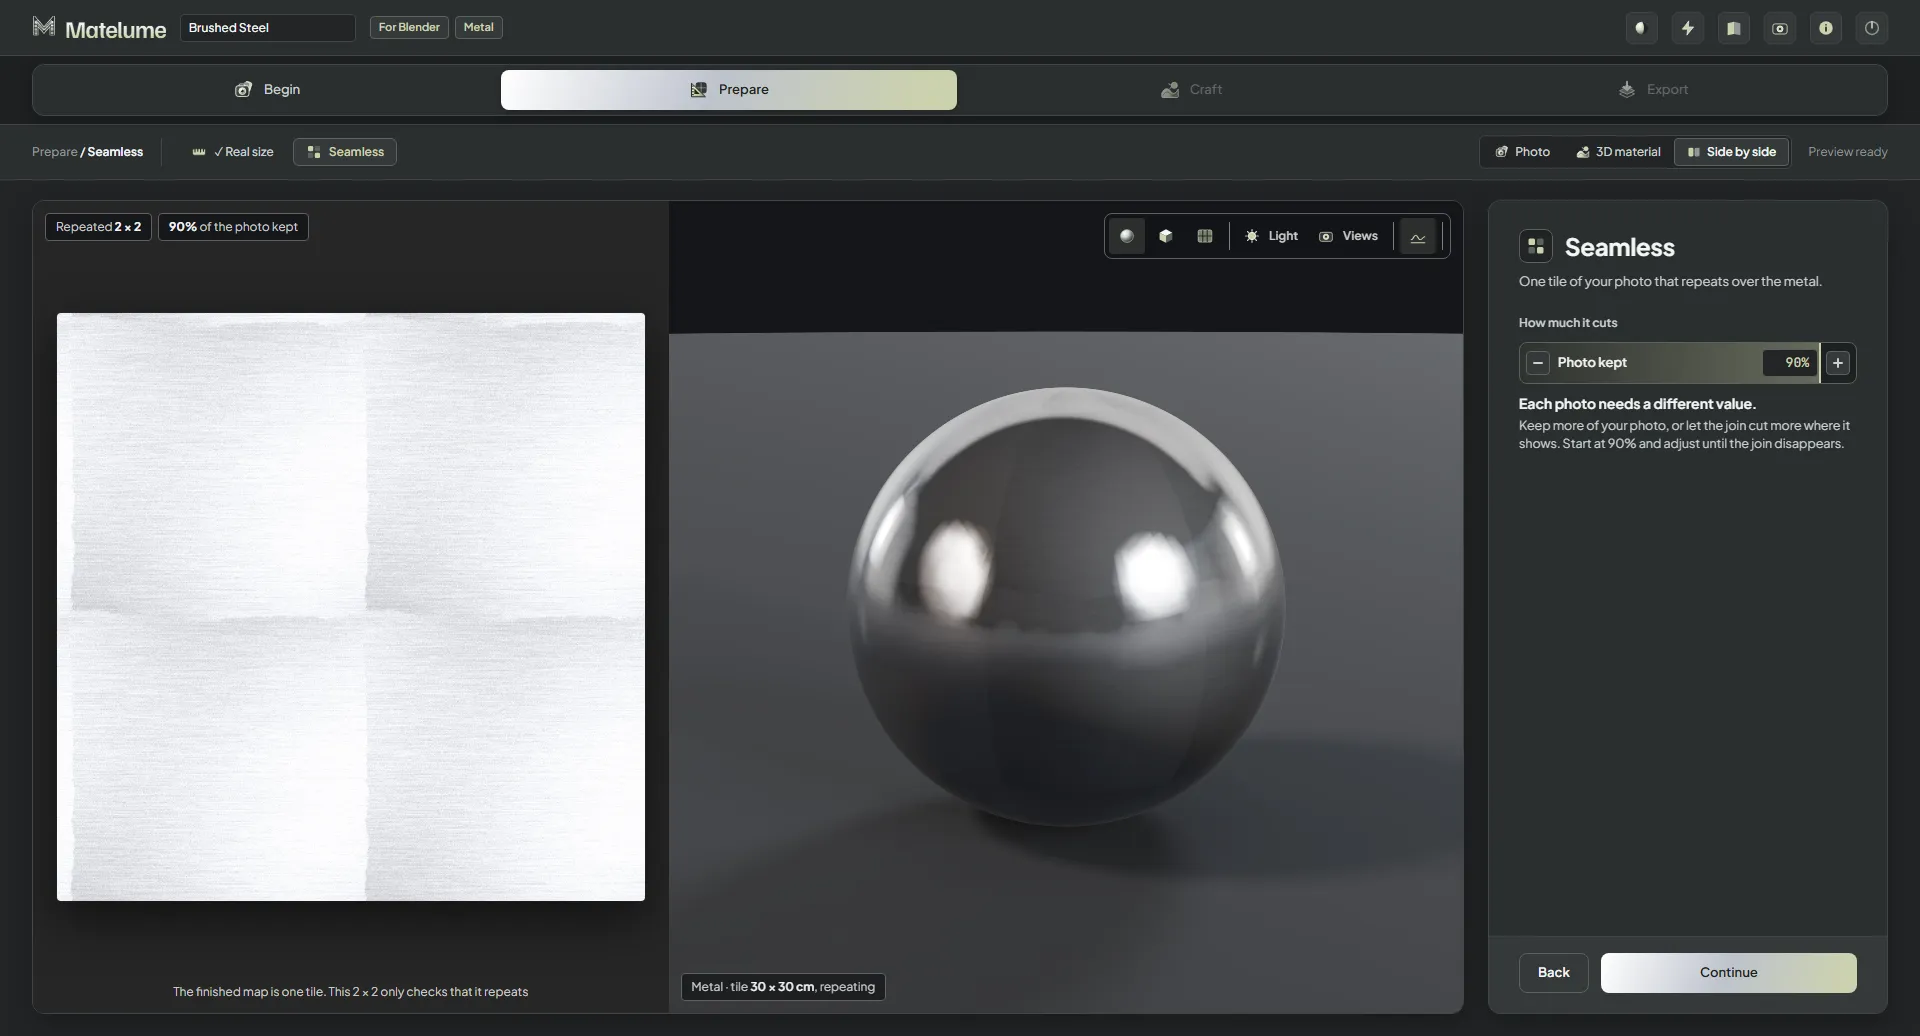
The Seamless step: one tile of the photo that repeats, shown as a 2 x 2 test with the Photo kept slider.
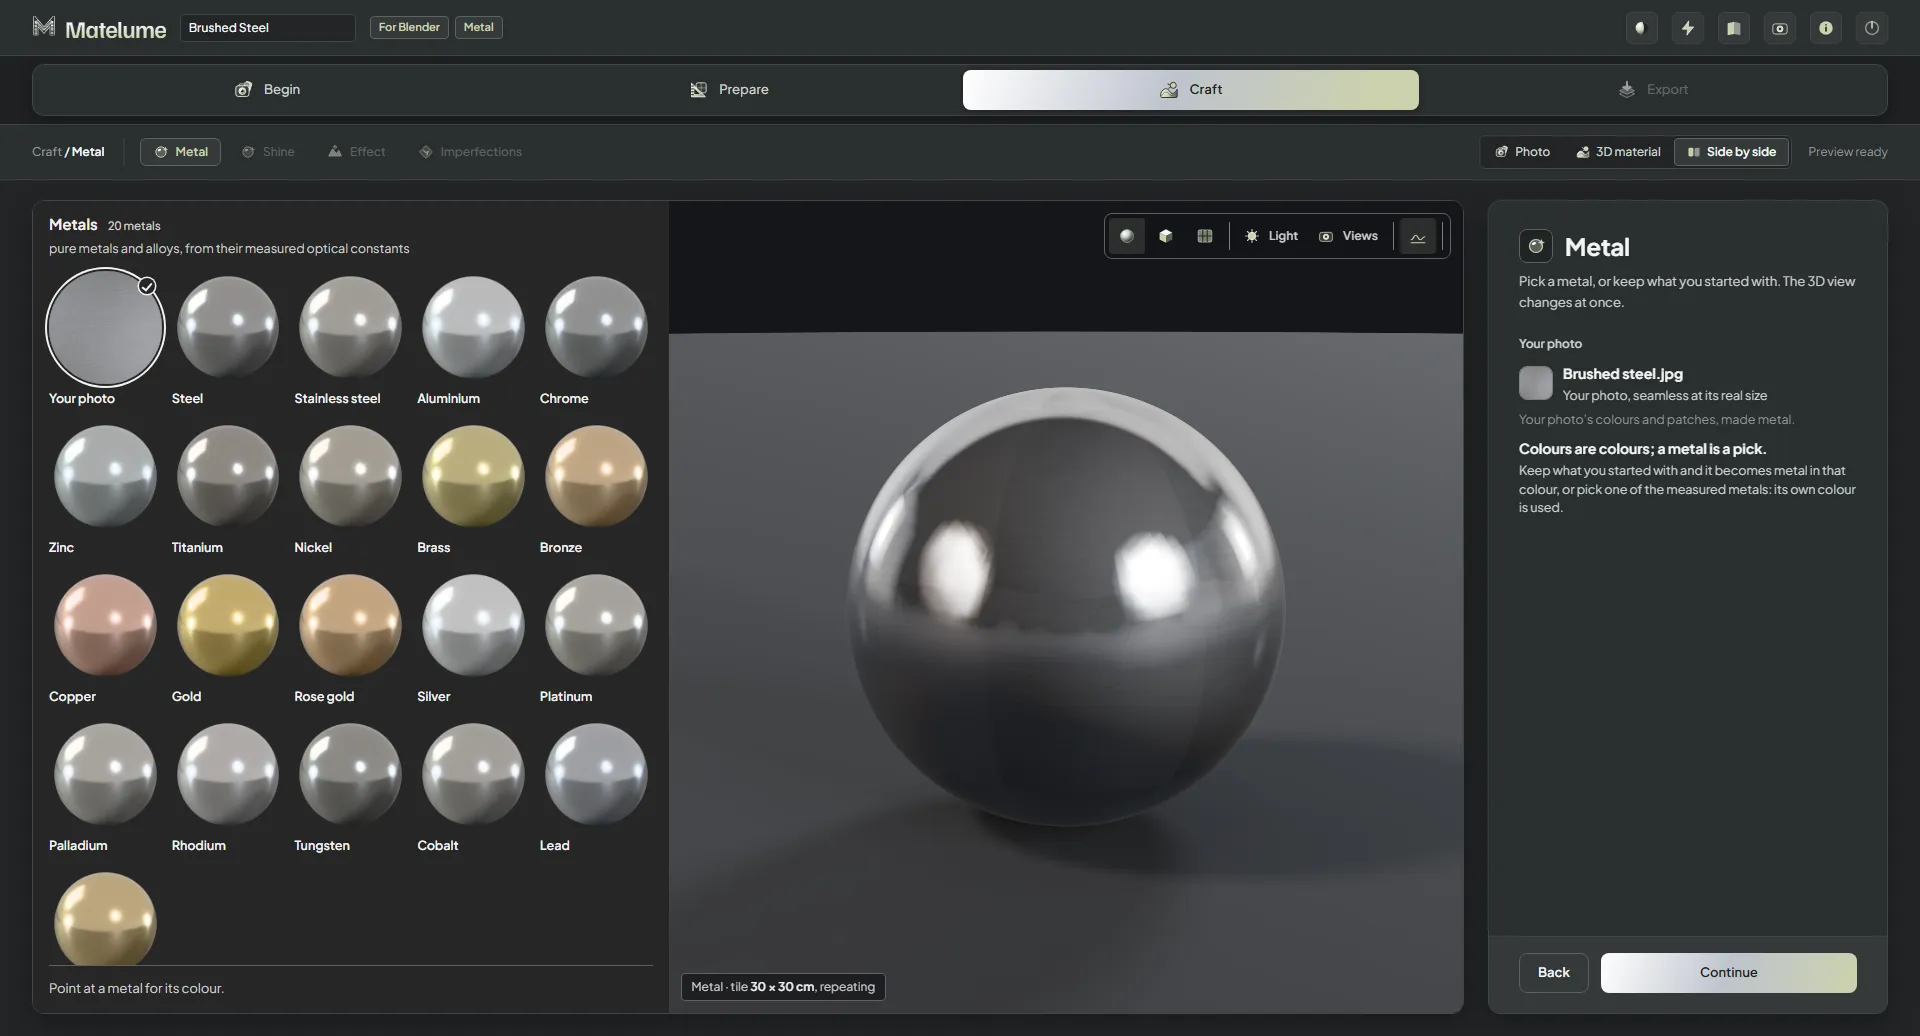
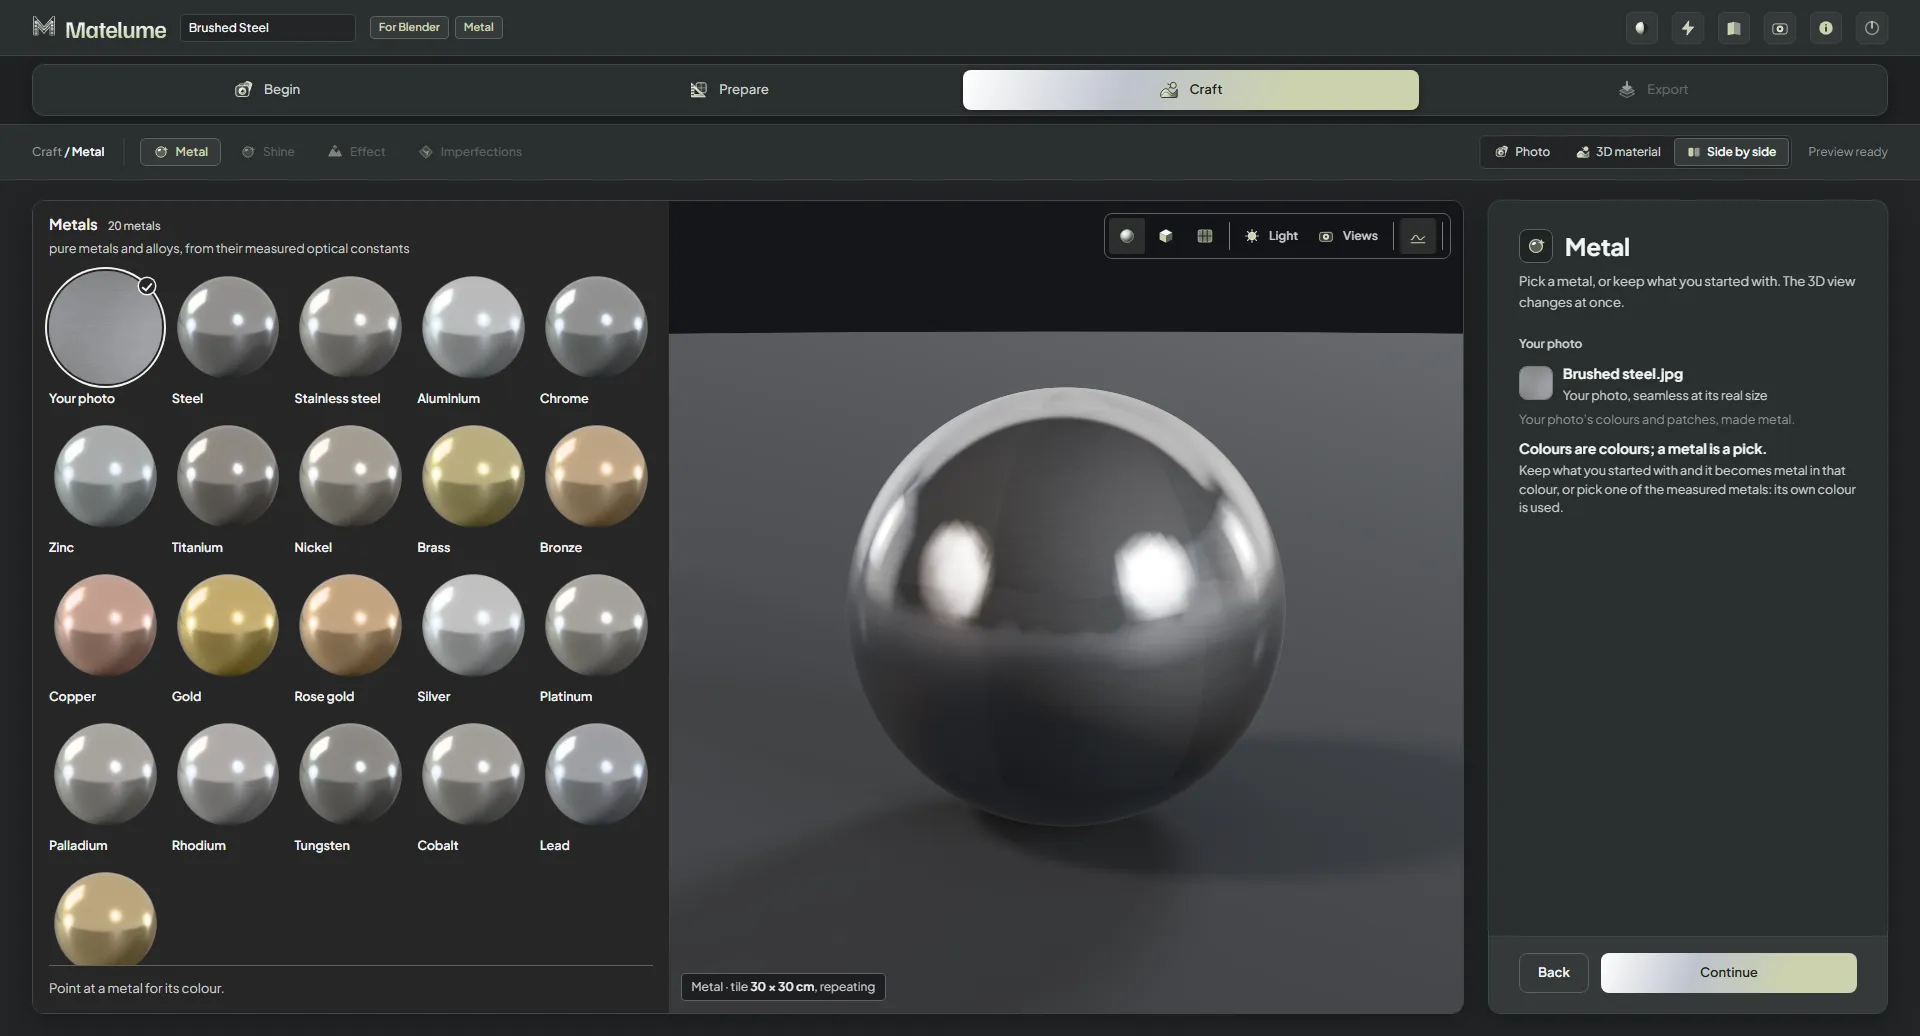
The Metal step: your photo first, then the pure metals as small shiny spheres.
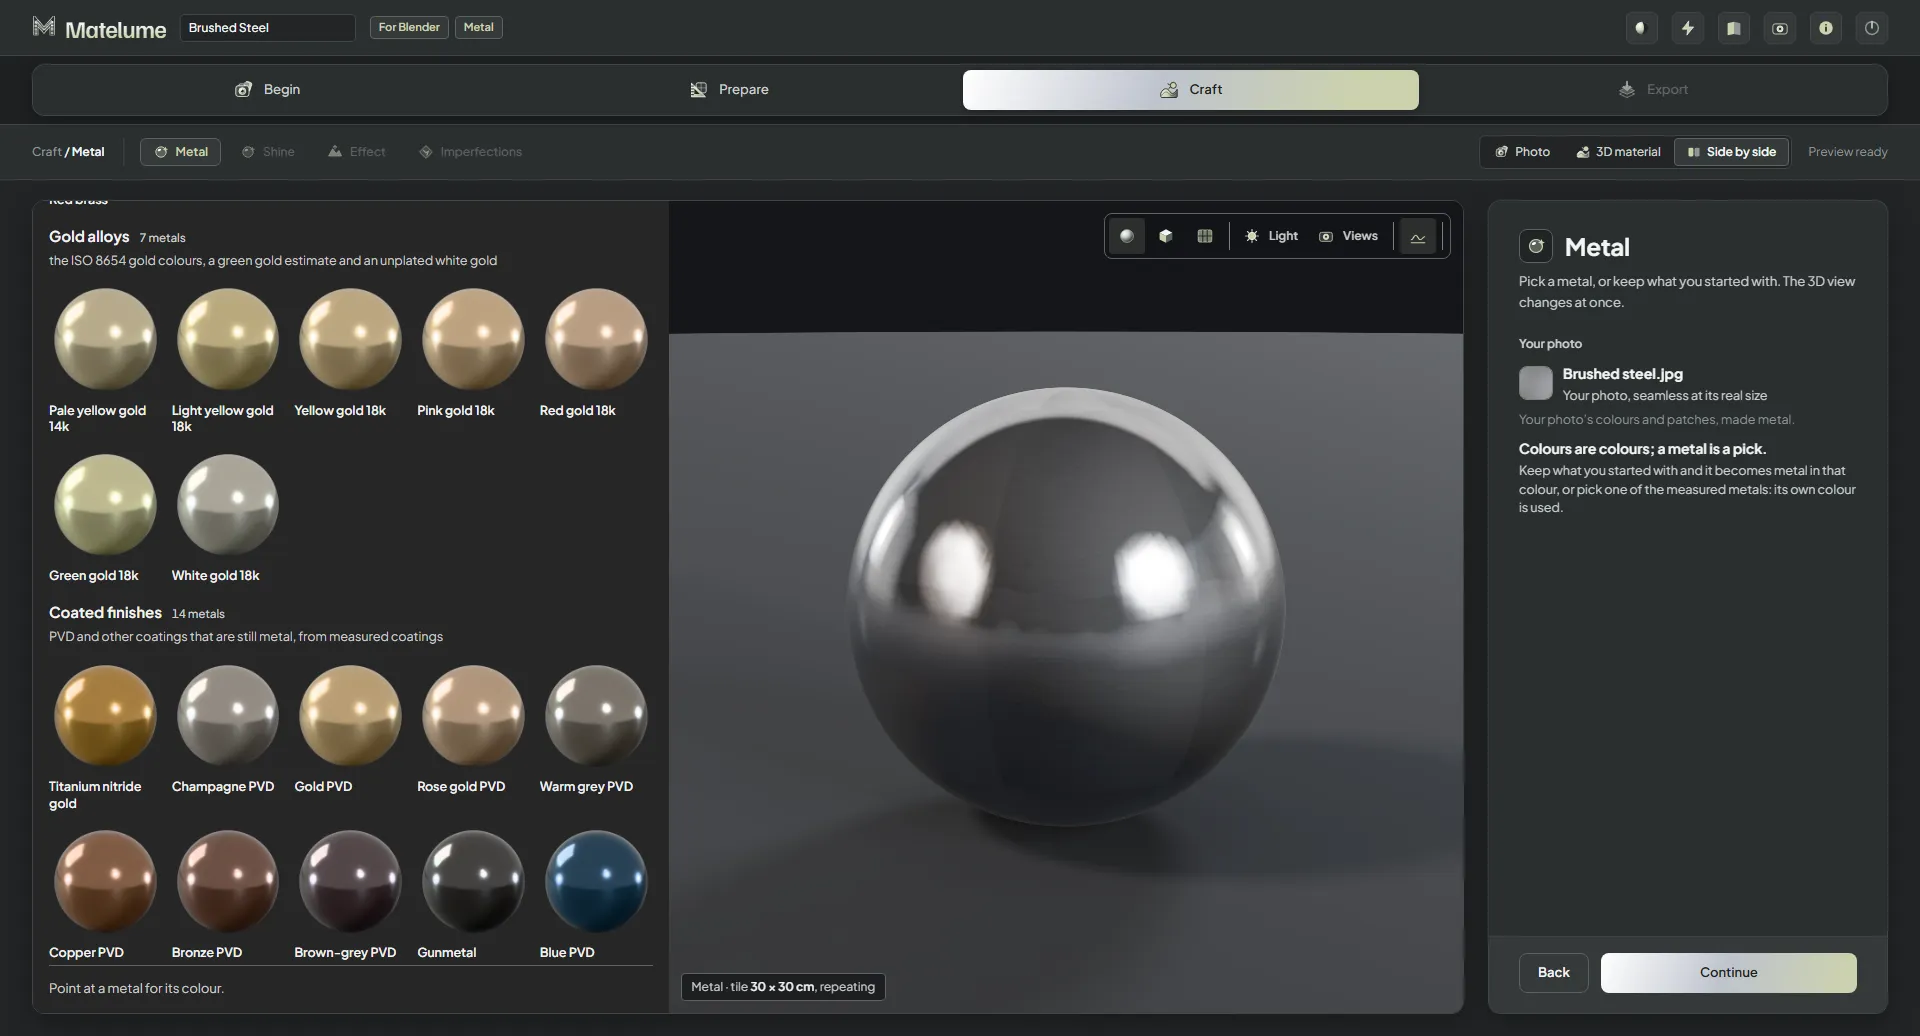
The Metal step scrolled to the Gold alloys group: yellow, rose and white golds as spheres.
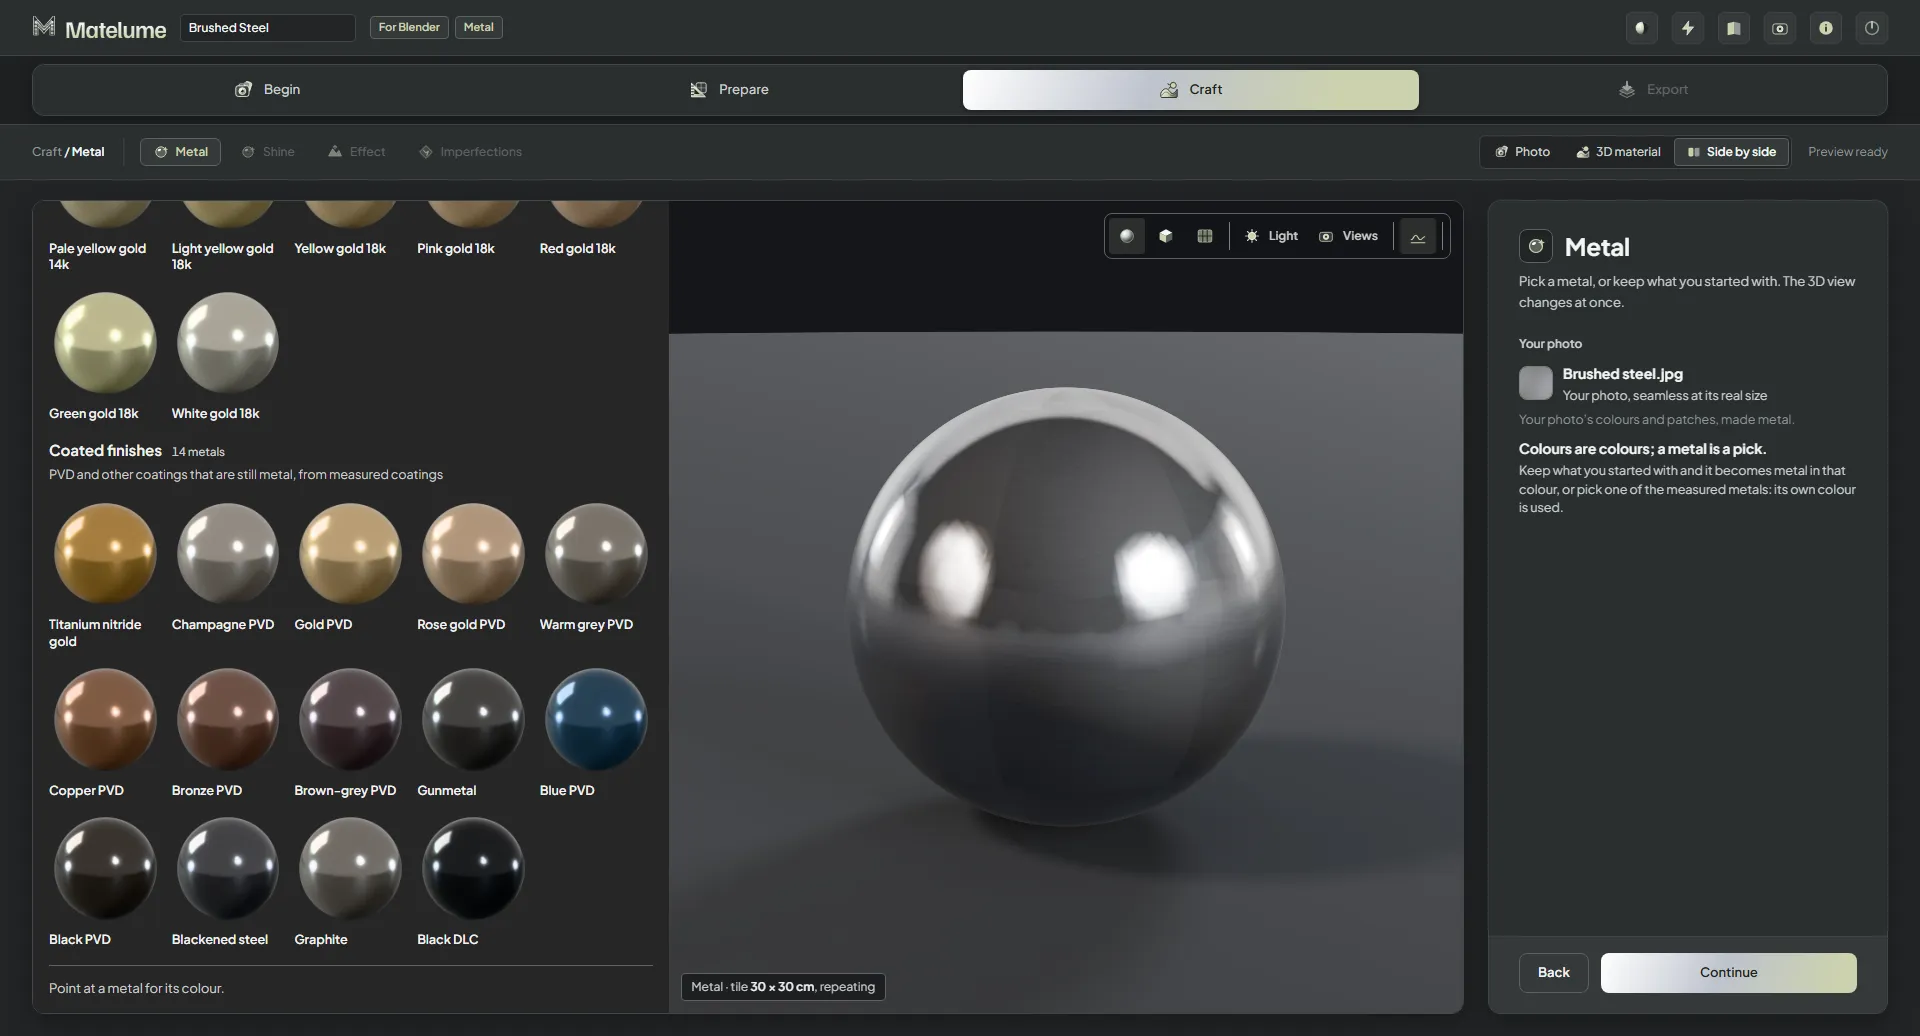
The Metal step scrolled to the Coated finishes group: titanium nitride, PVD coatings, black and gunmetal finishes.
Gold picked on the Metal step; the 3D sphere turns to gold at once.
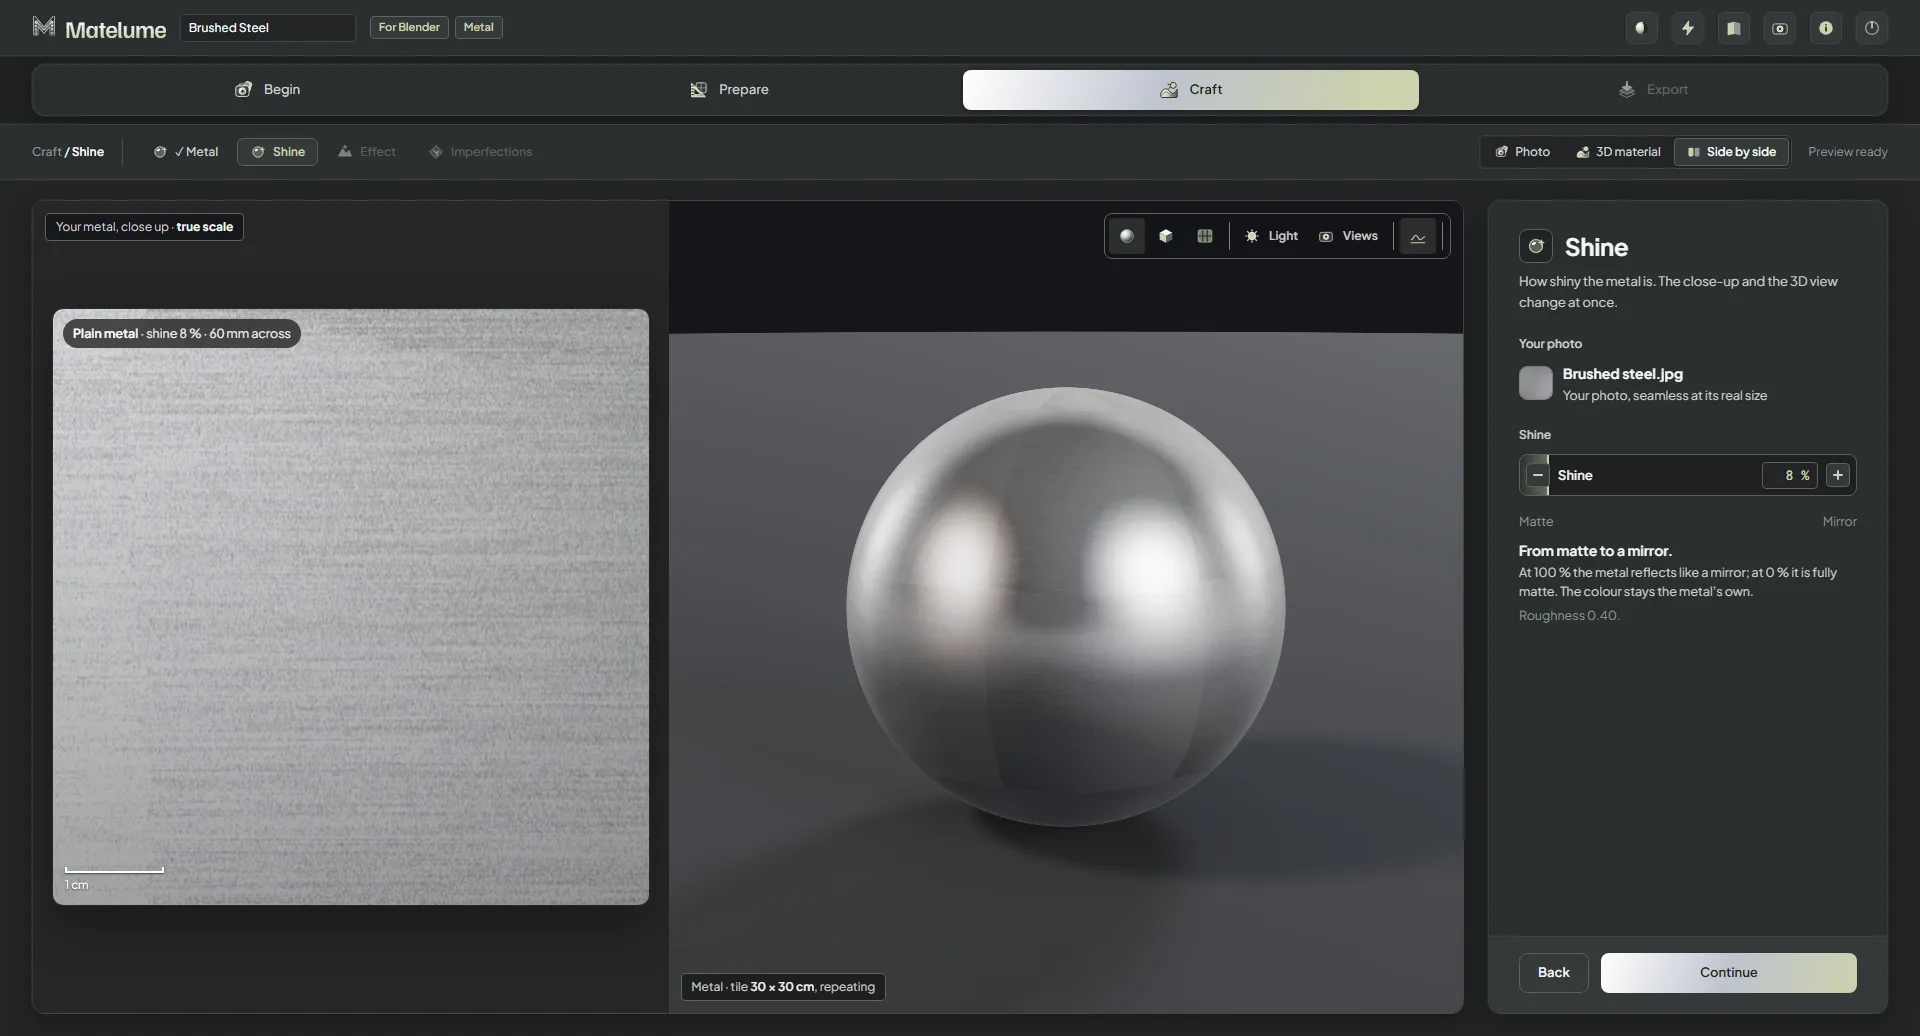
The Shine step with the slider near matte: the close-up and the 3D sphere turn soft and dull.
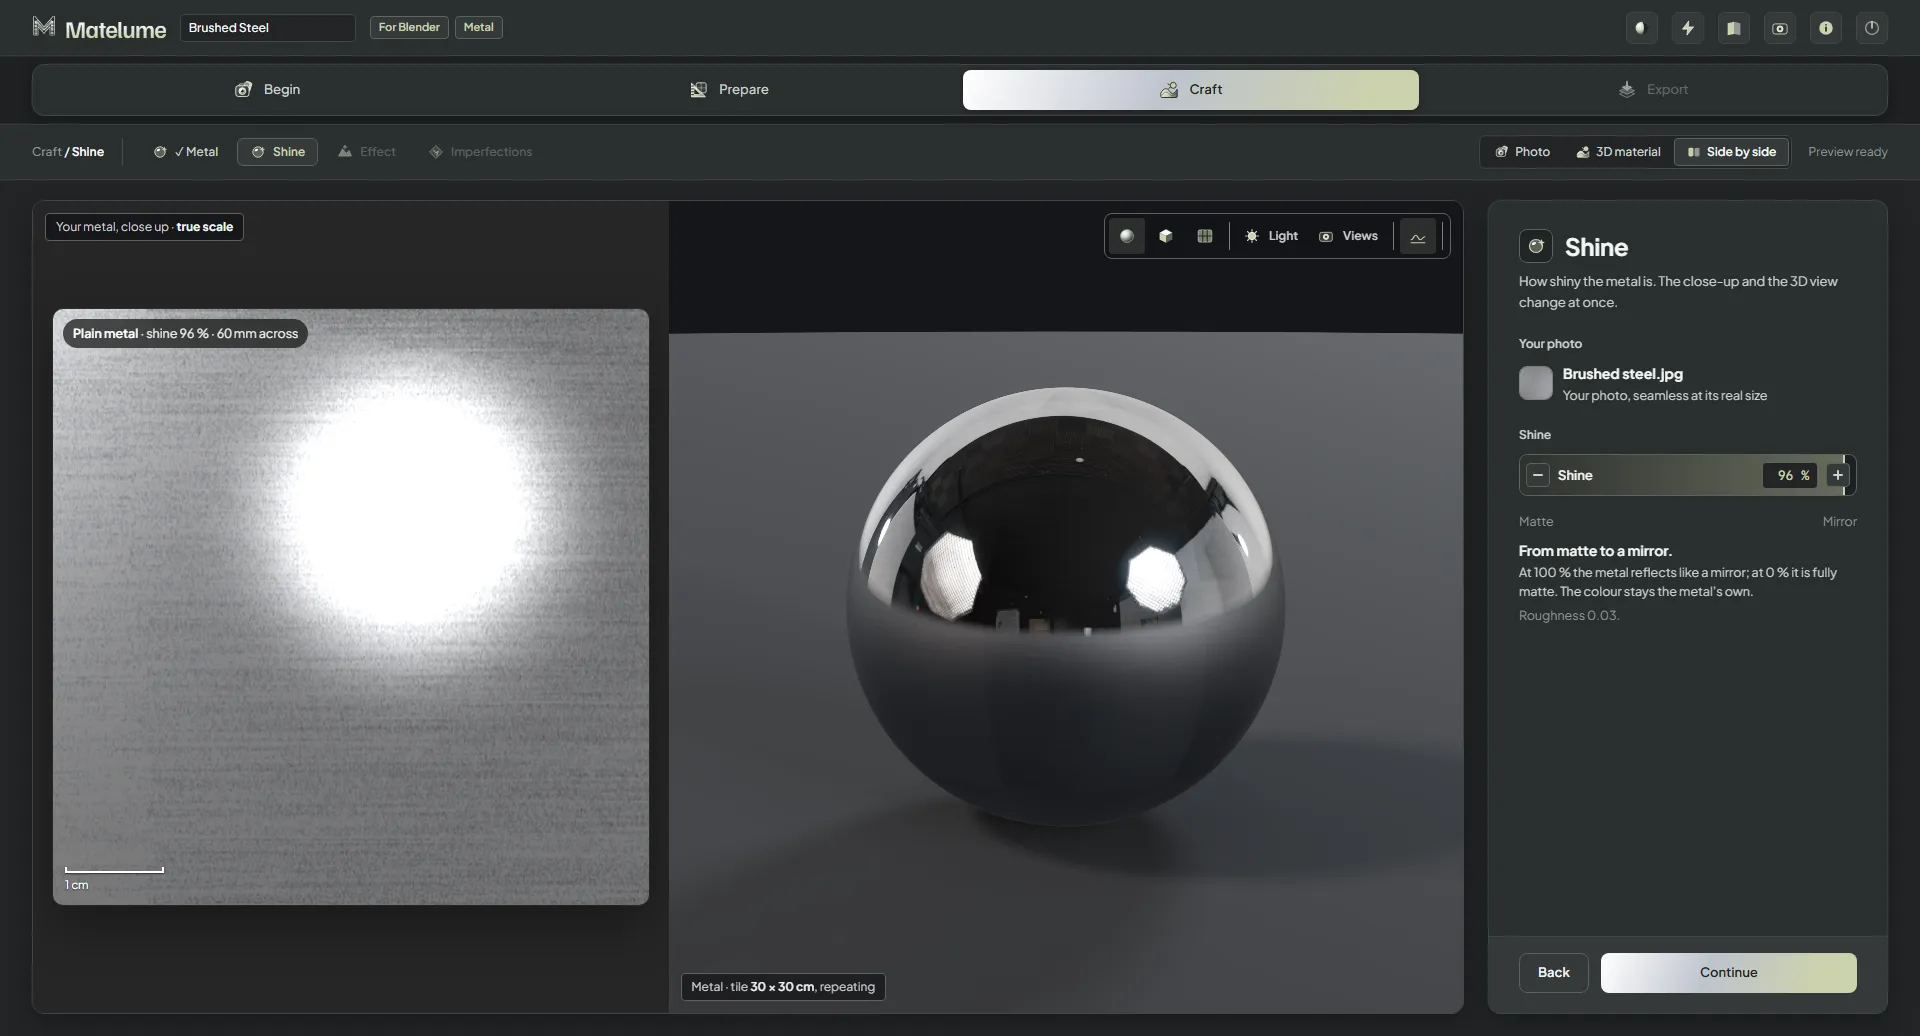
The Shine step with the slider near mirror: the sphere reflects like a mirror.
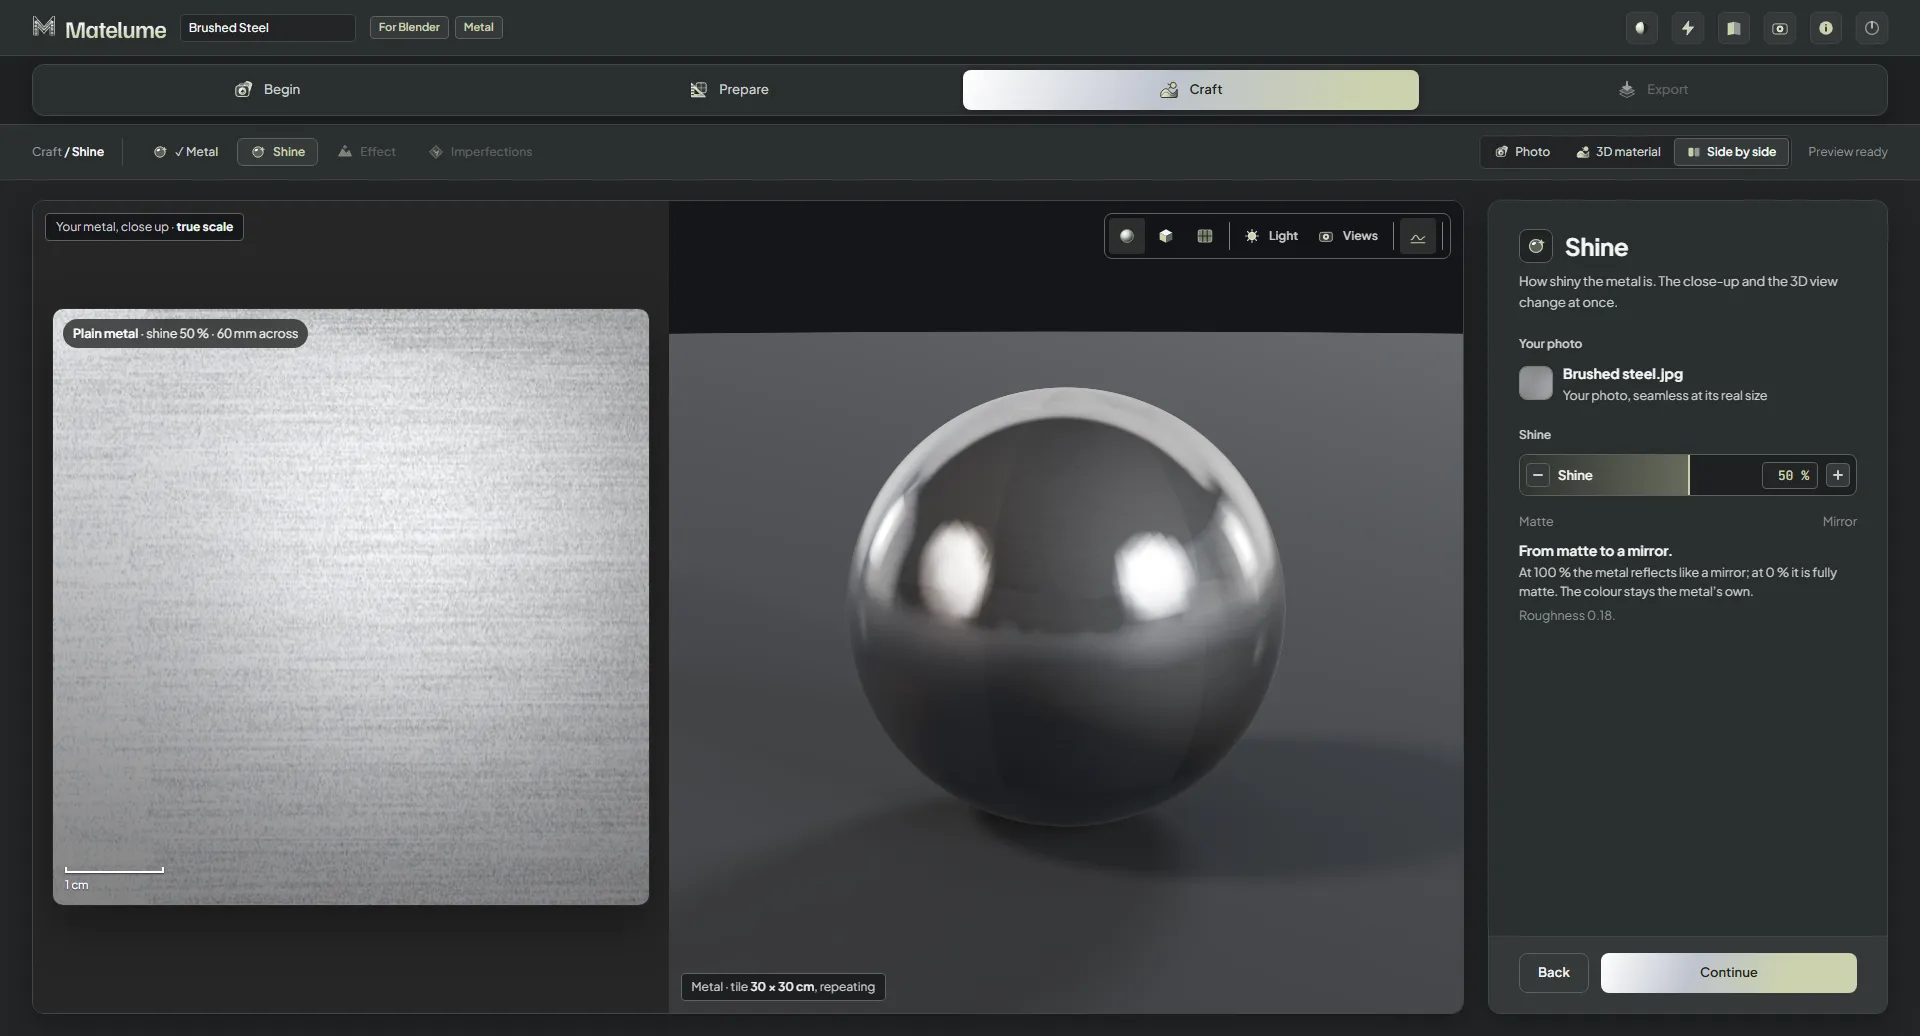
The Shine step at 50 %, the default shine of a brushed metal.
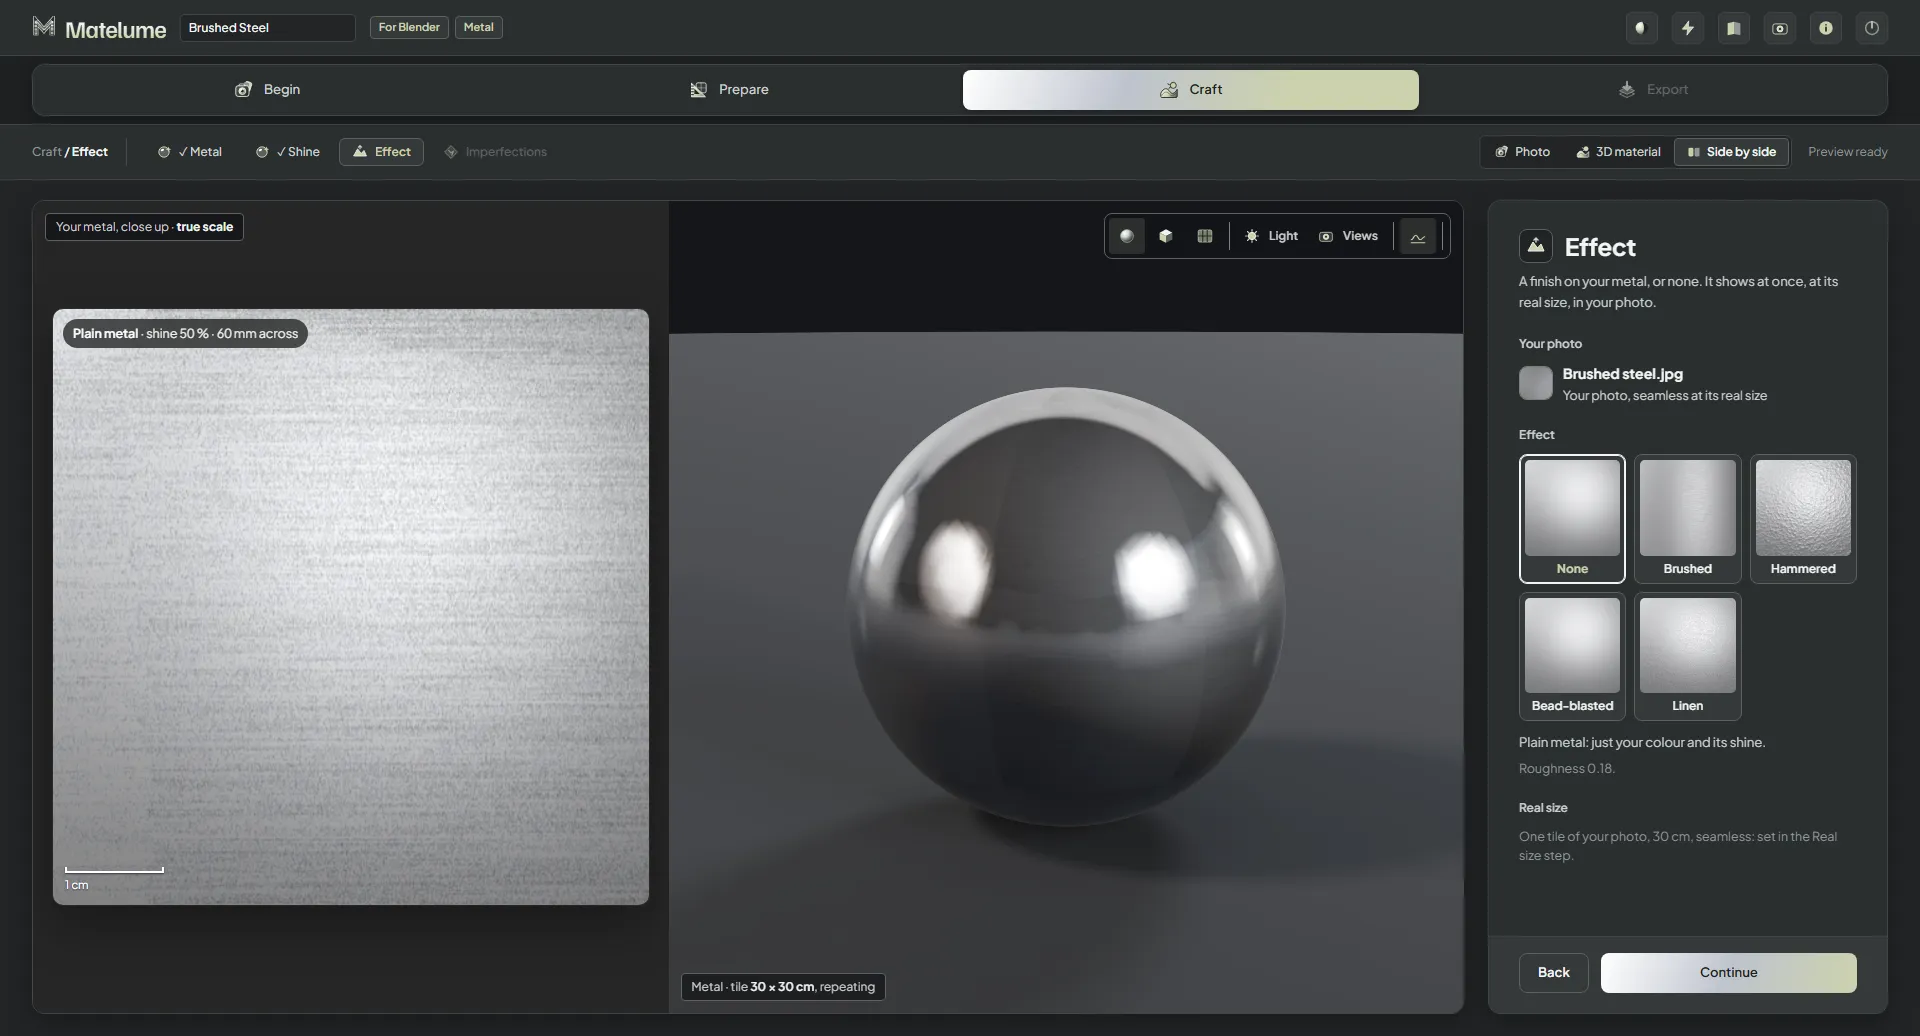
The Effect step with None: five effect cards (None, Brushed, Hammered, Bead-blasted, Linen) and the plain metal.
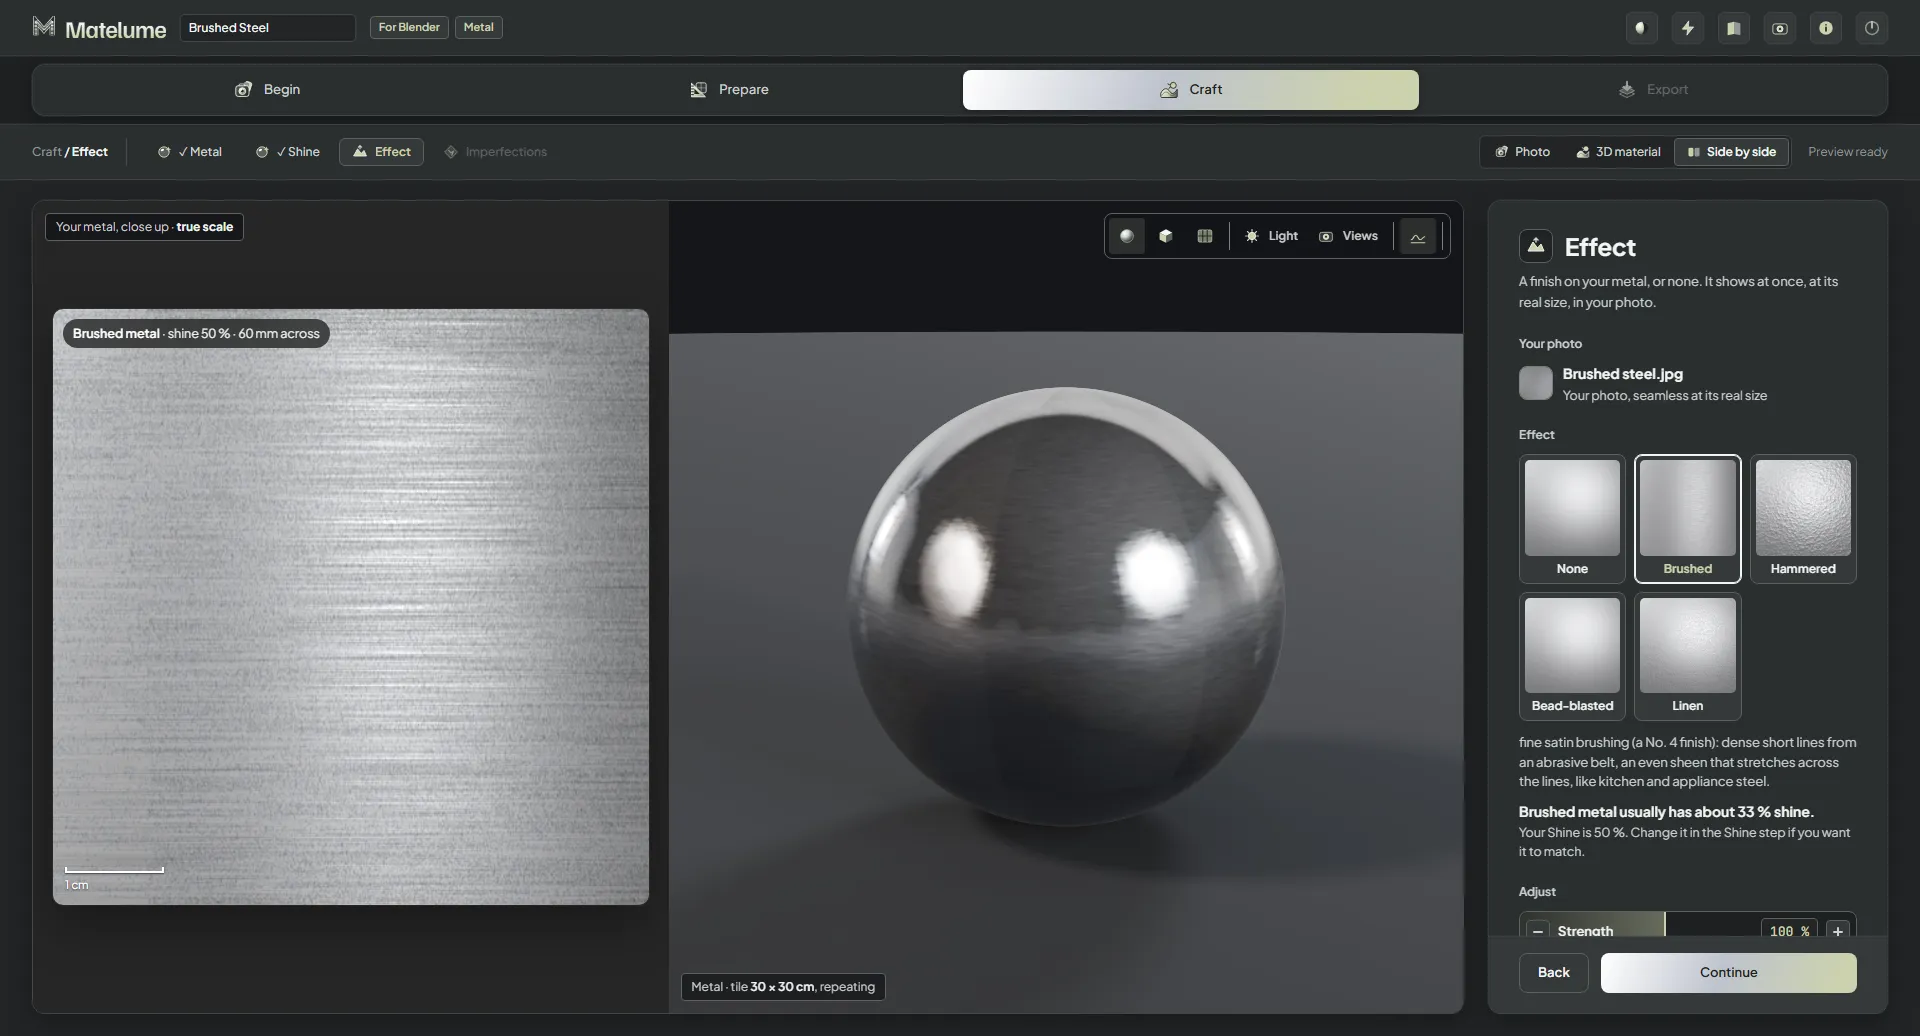
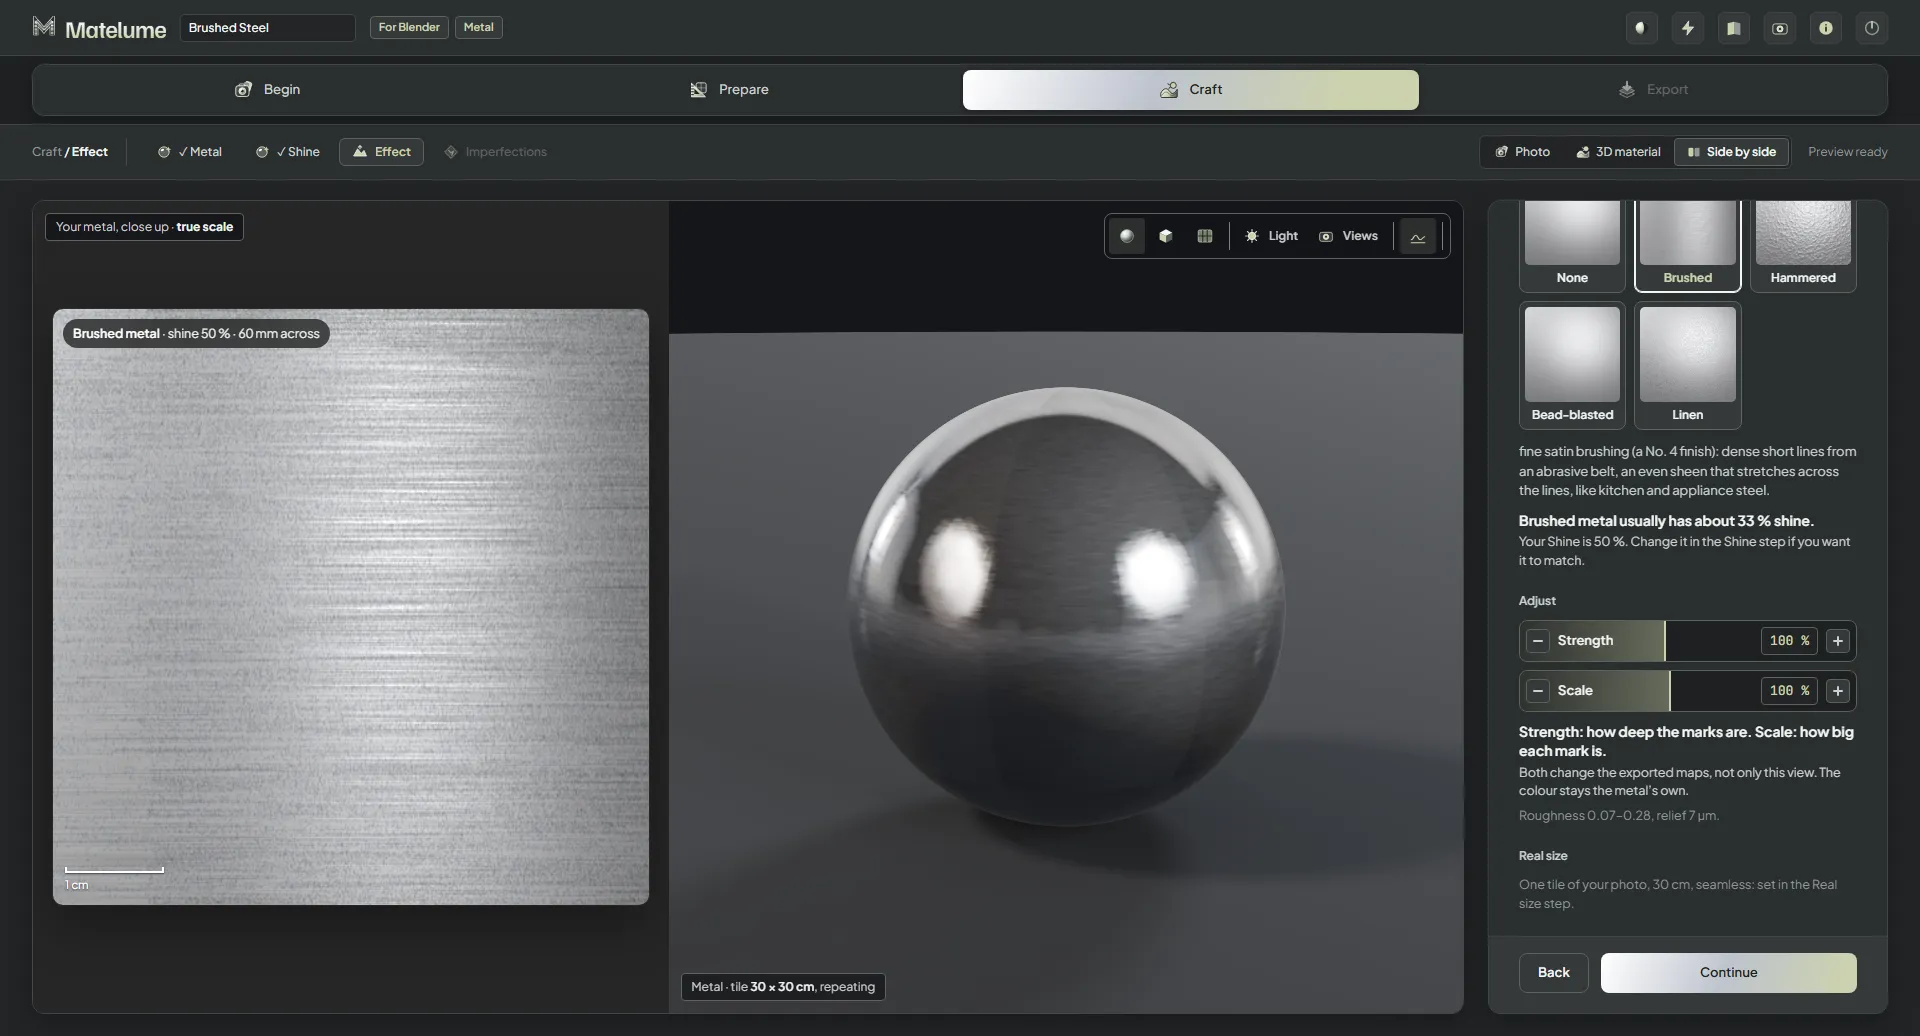
The Brushed effect on the steel: fine lines along one direction, with its close-up.
The Brushed effect with its Strength and Scale sliders in view.
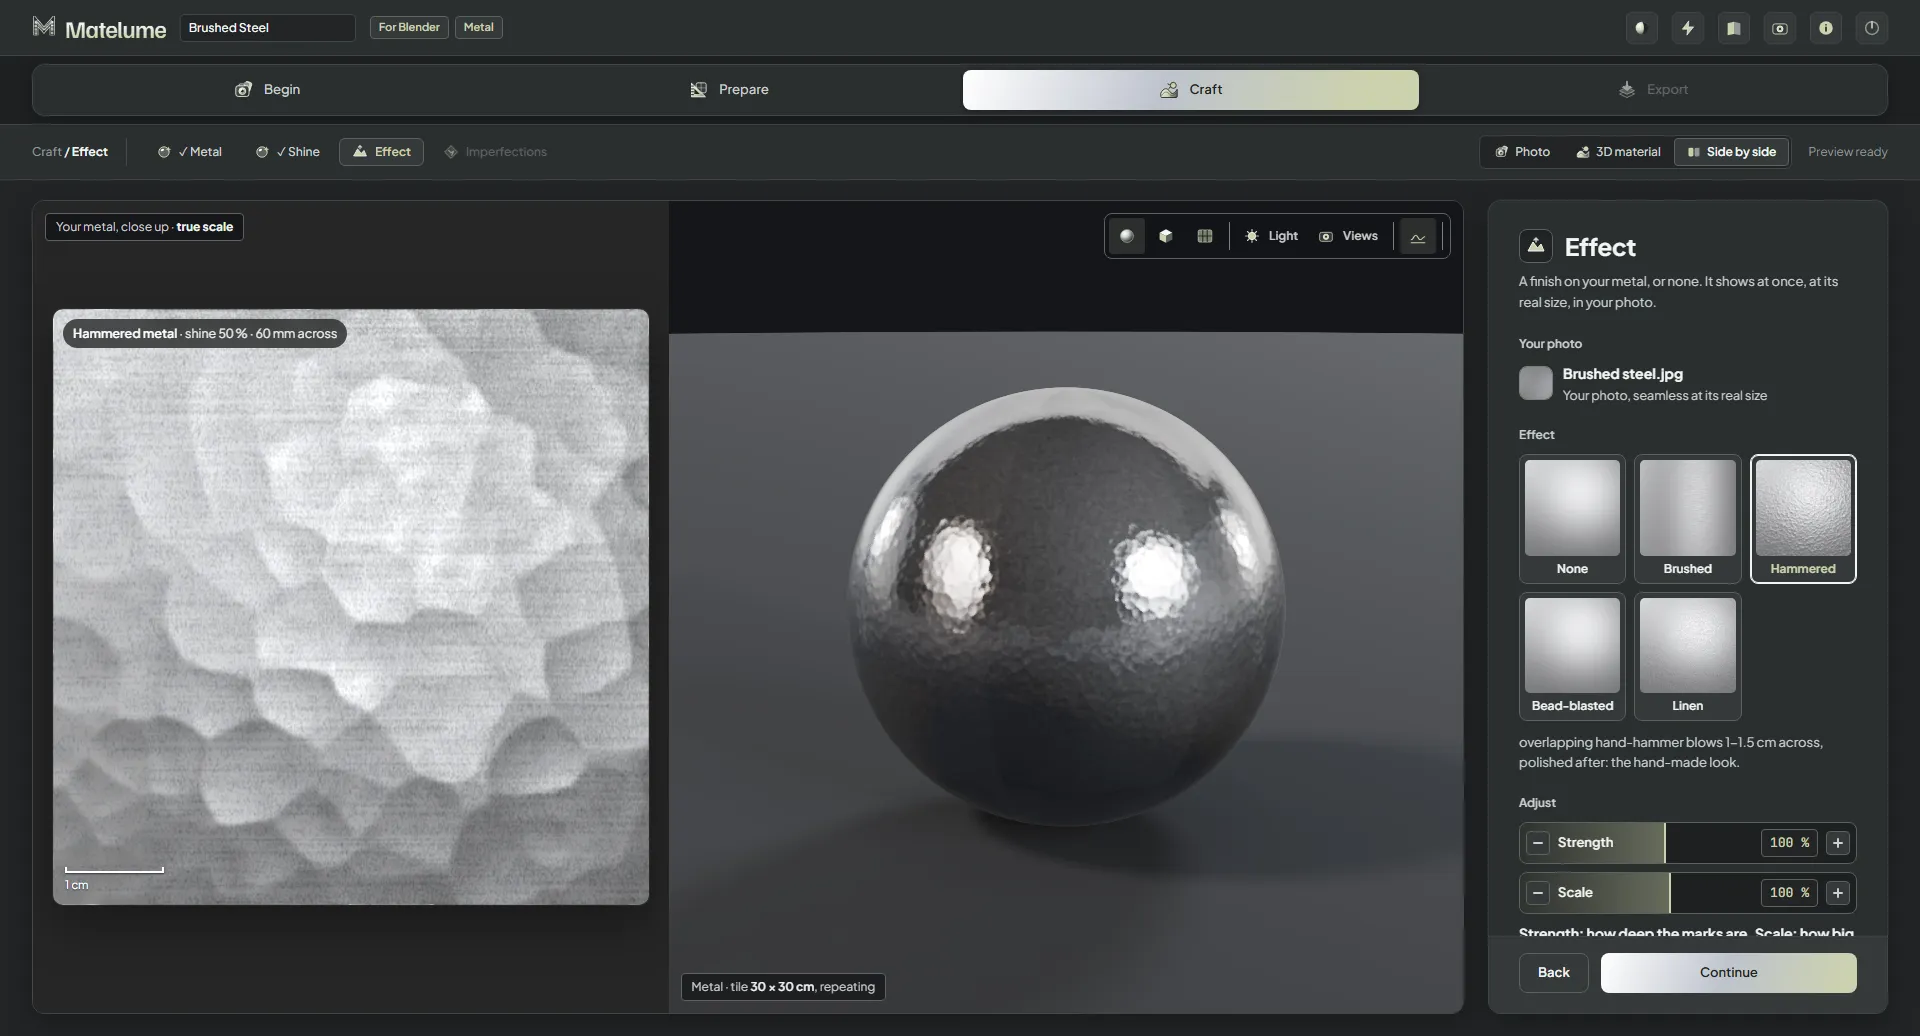
The Hammered effect: overlapping hammer blows in the close-up and on the sphere.
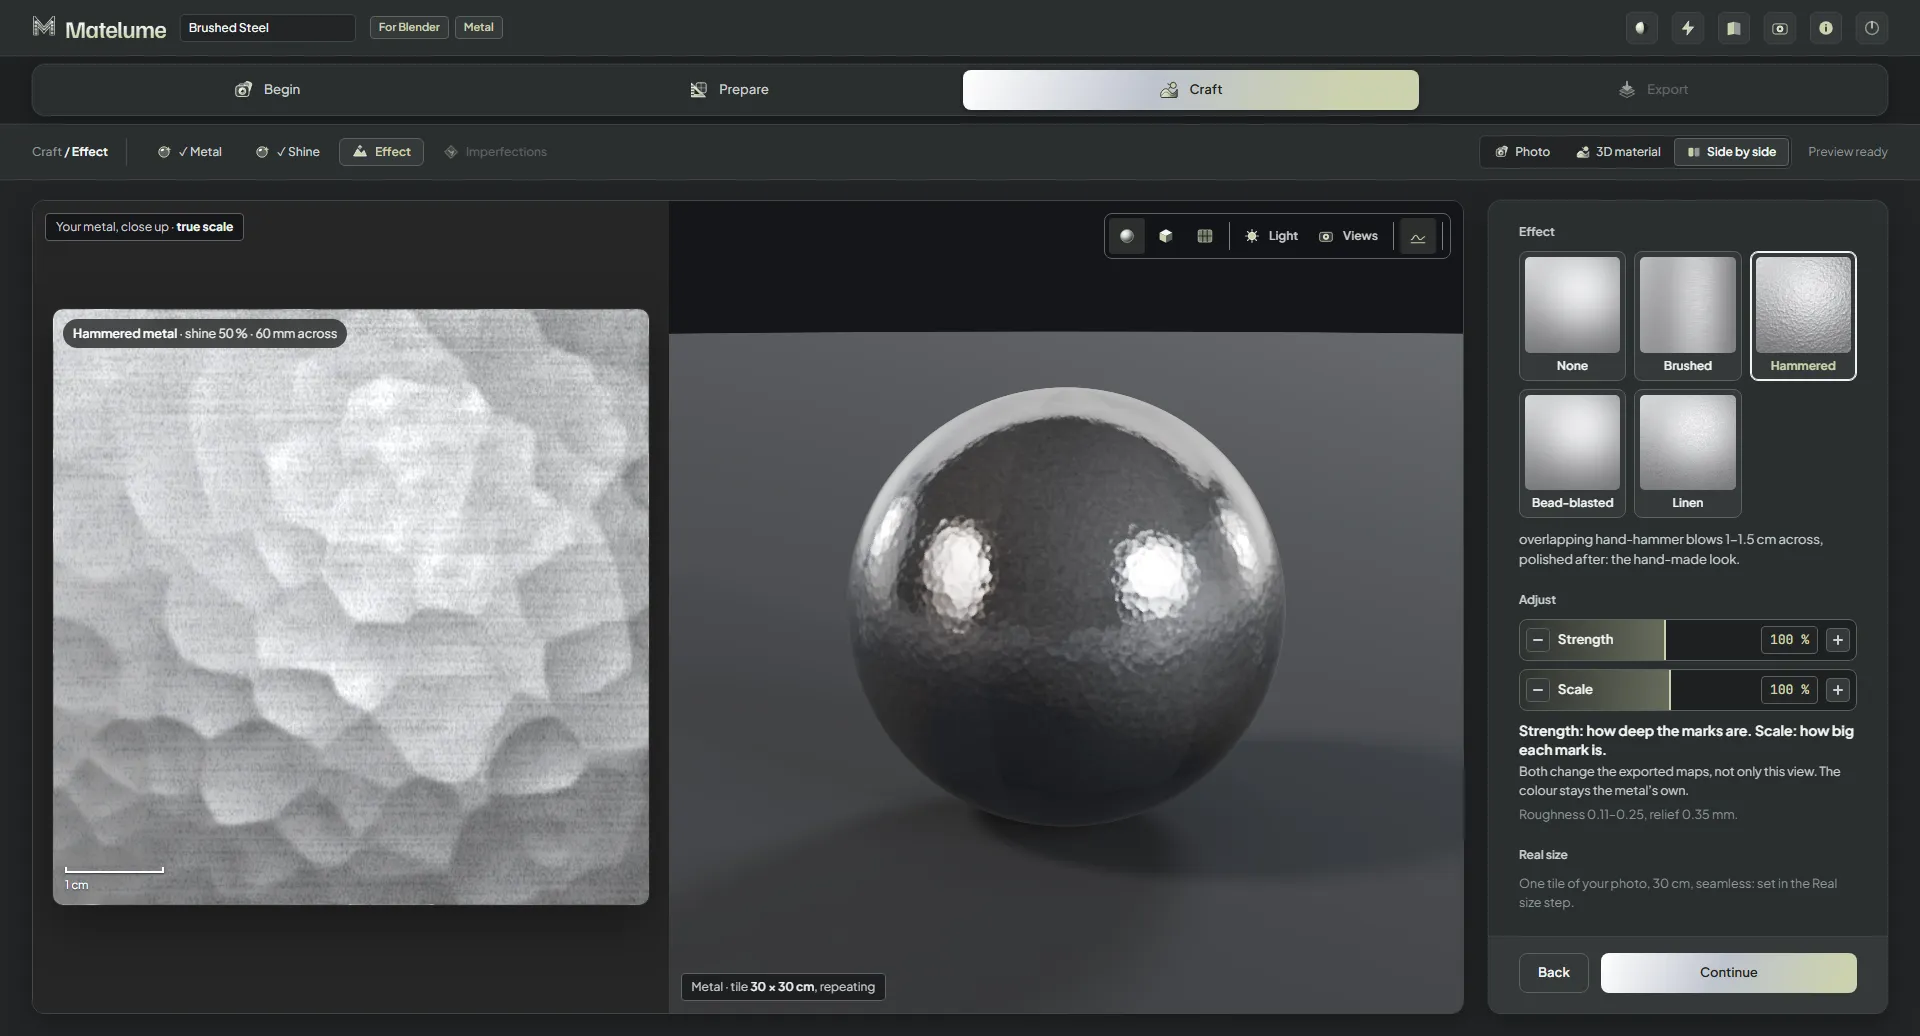
The Hammered effect with its Strength and Scale sliders in view.
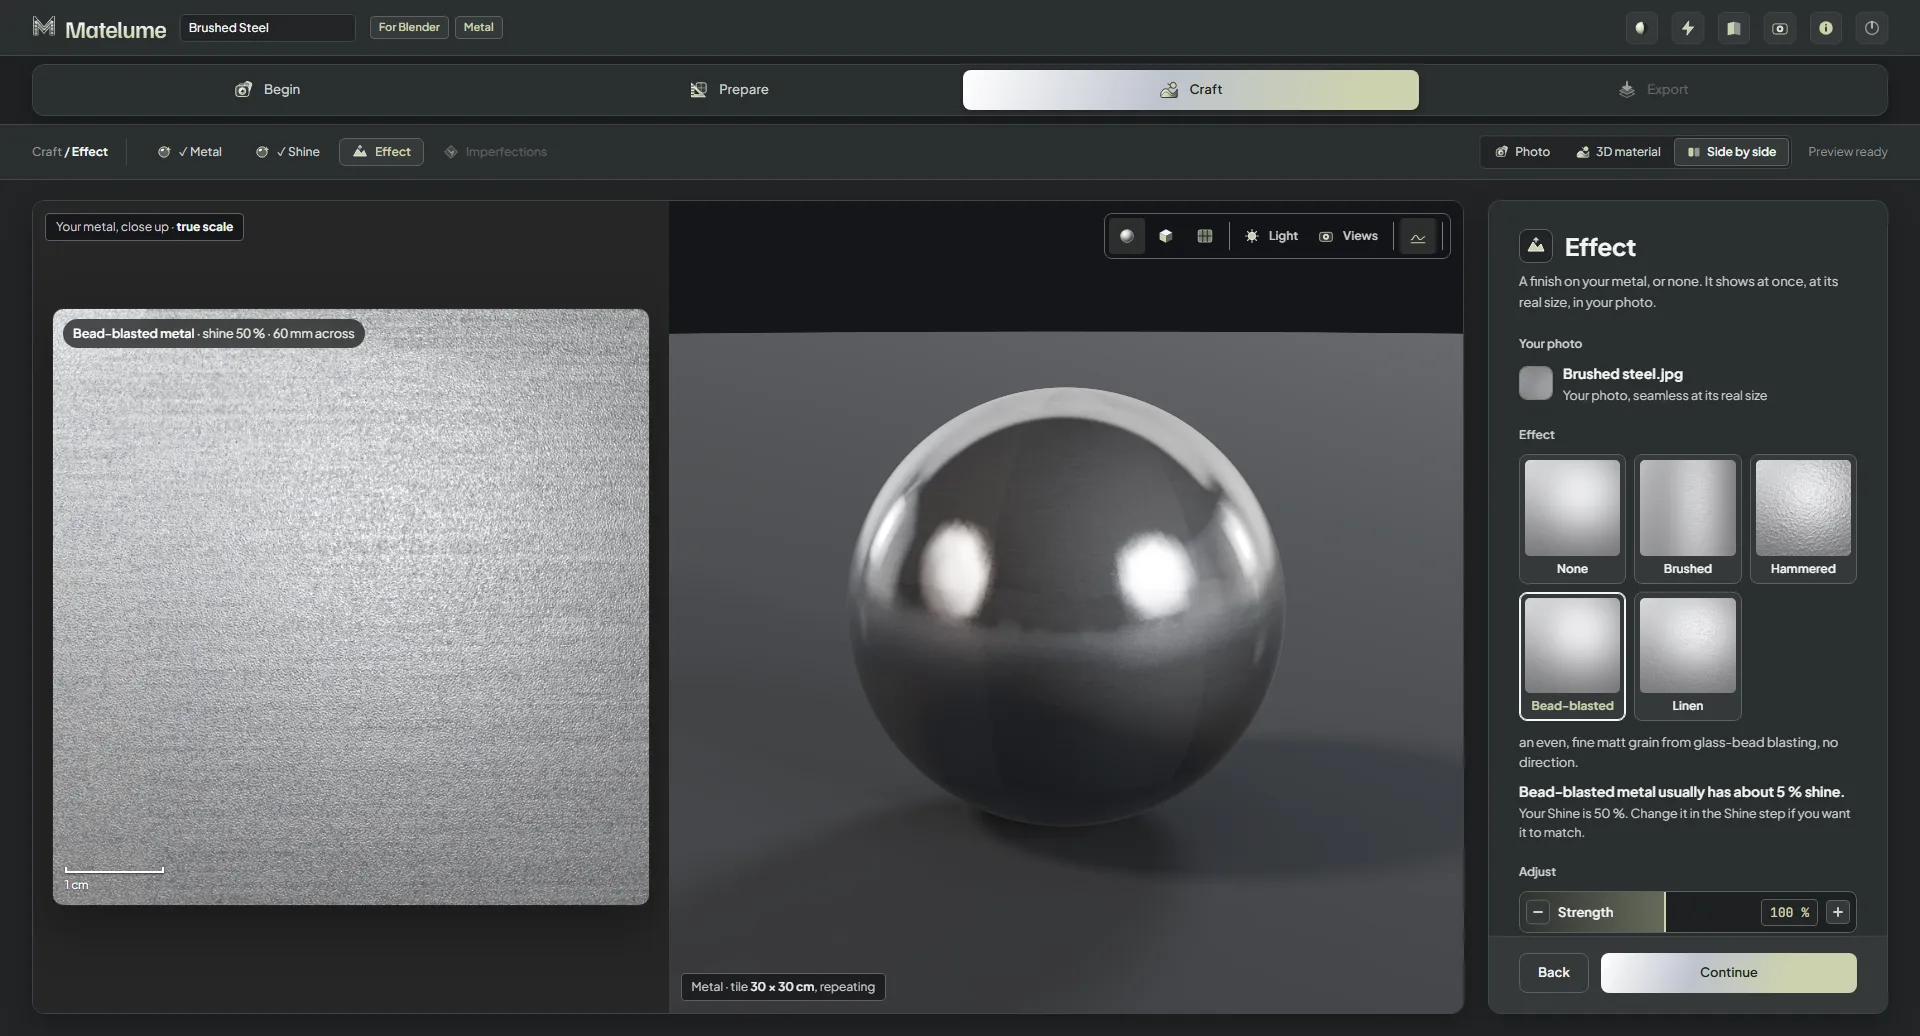
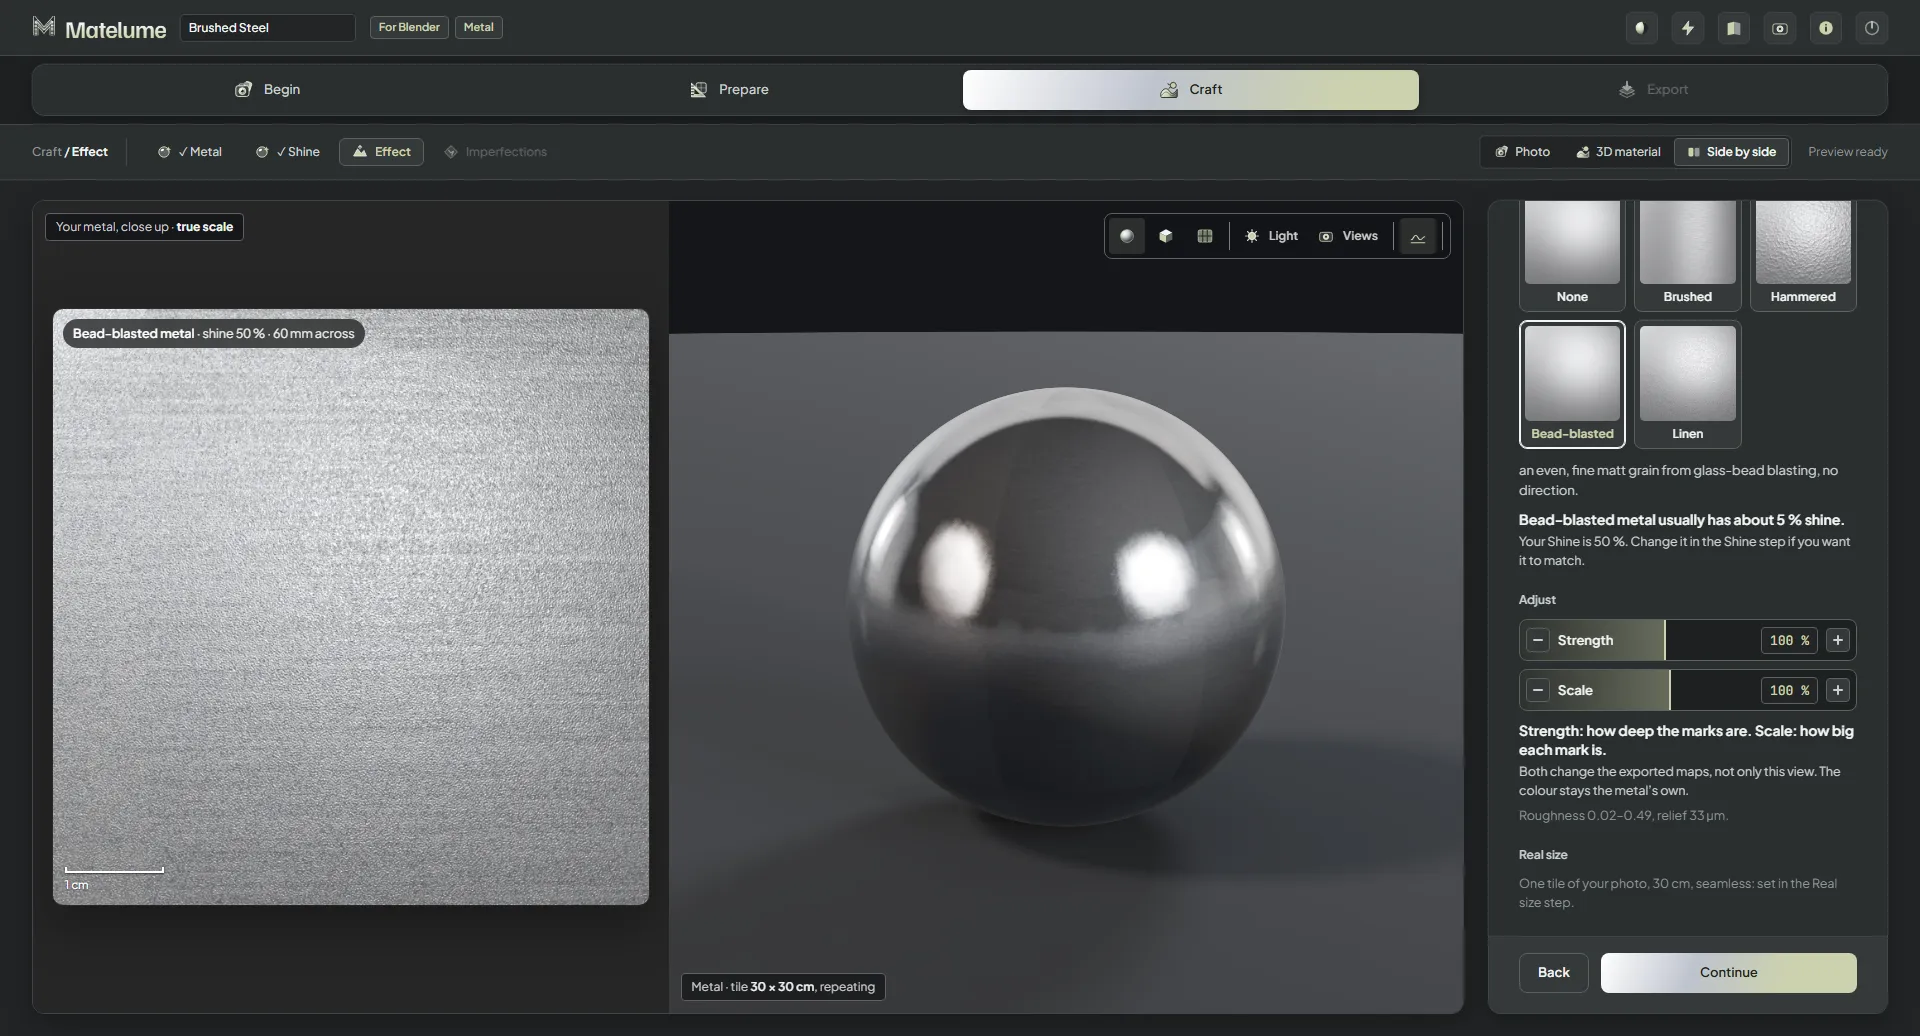
The Bead-blasted effect: a fine, even matt grain.
The Bead-blasted effect with its Strength slider in view.
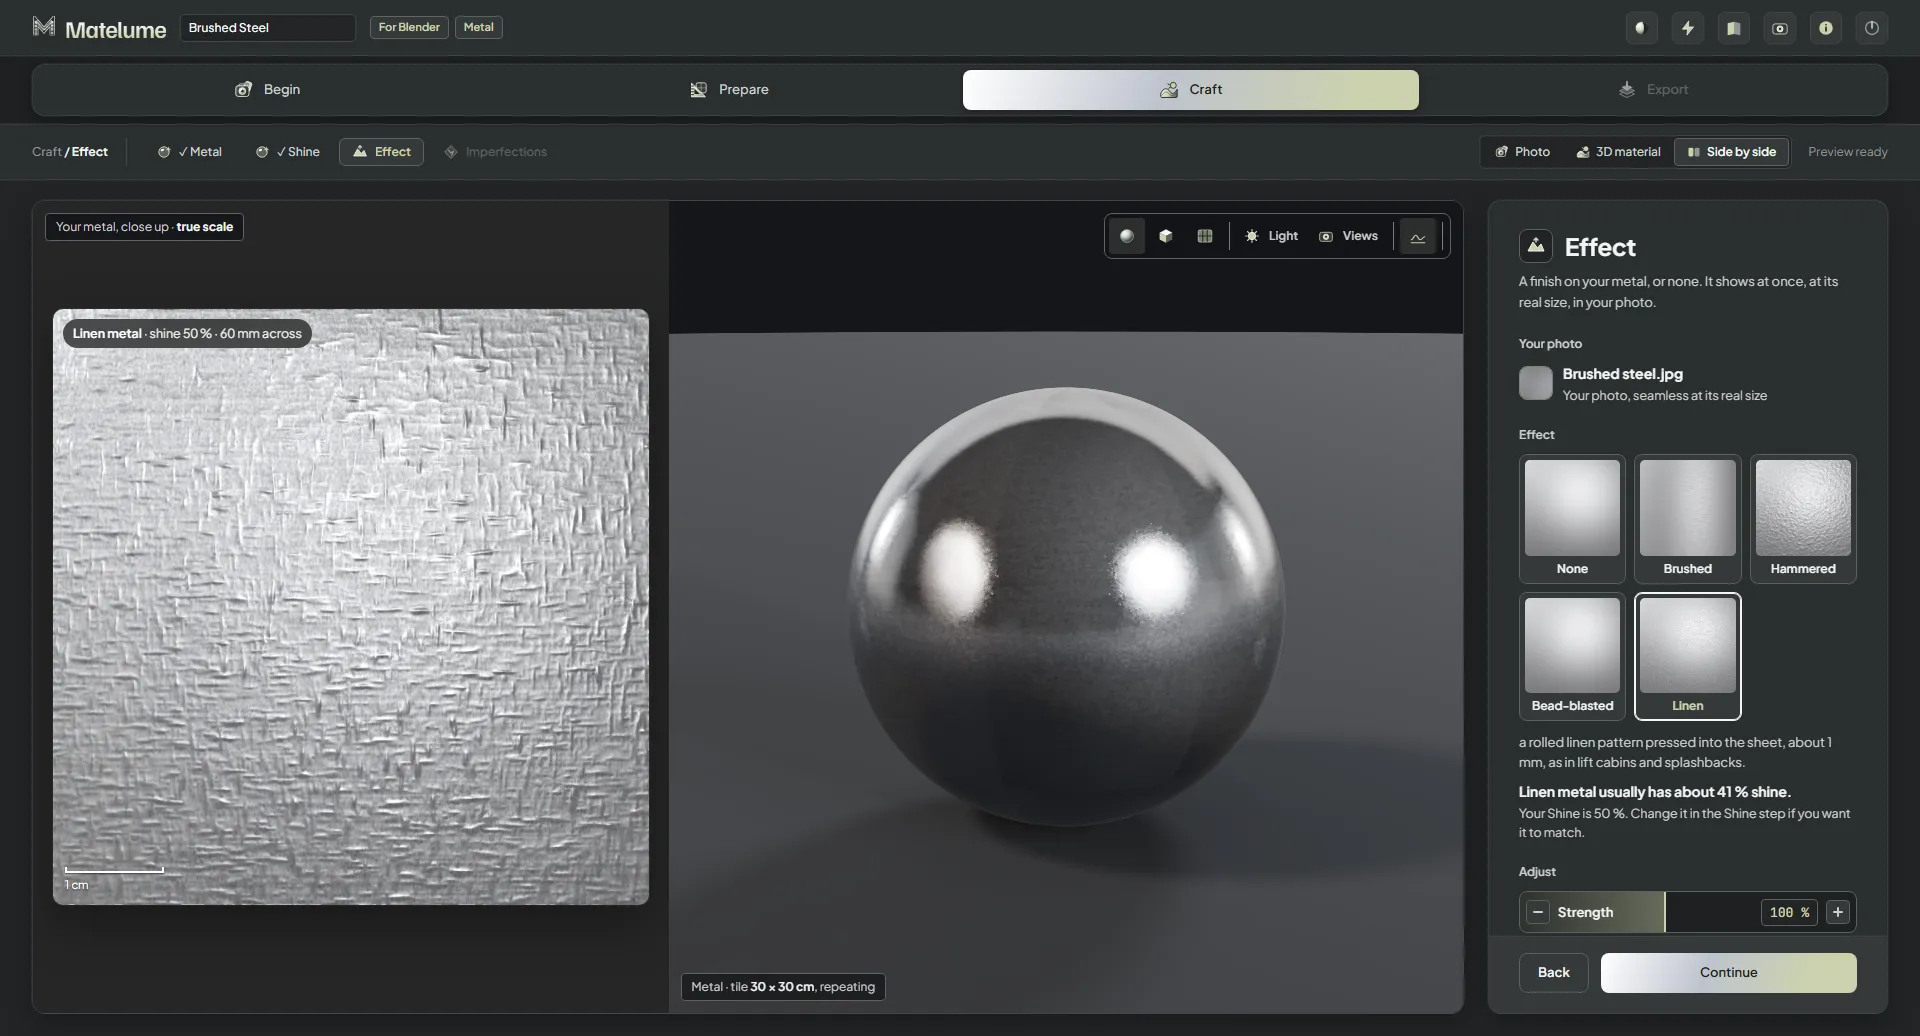
The Linen effect: a pressed, fabric-like pattern in the metal.
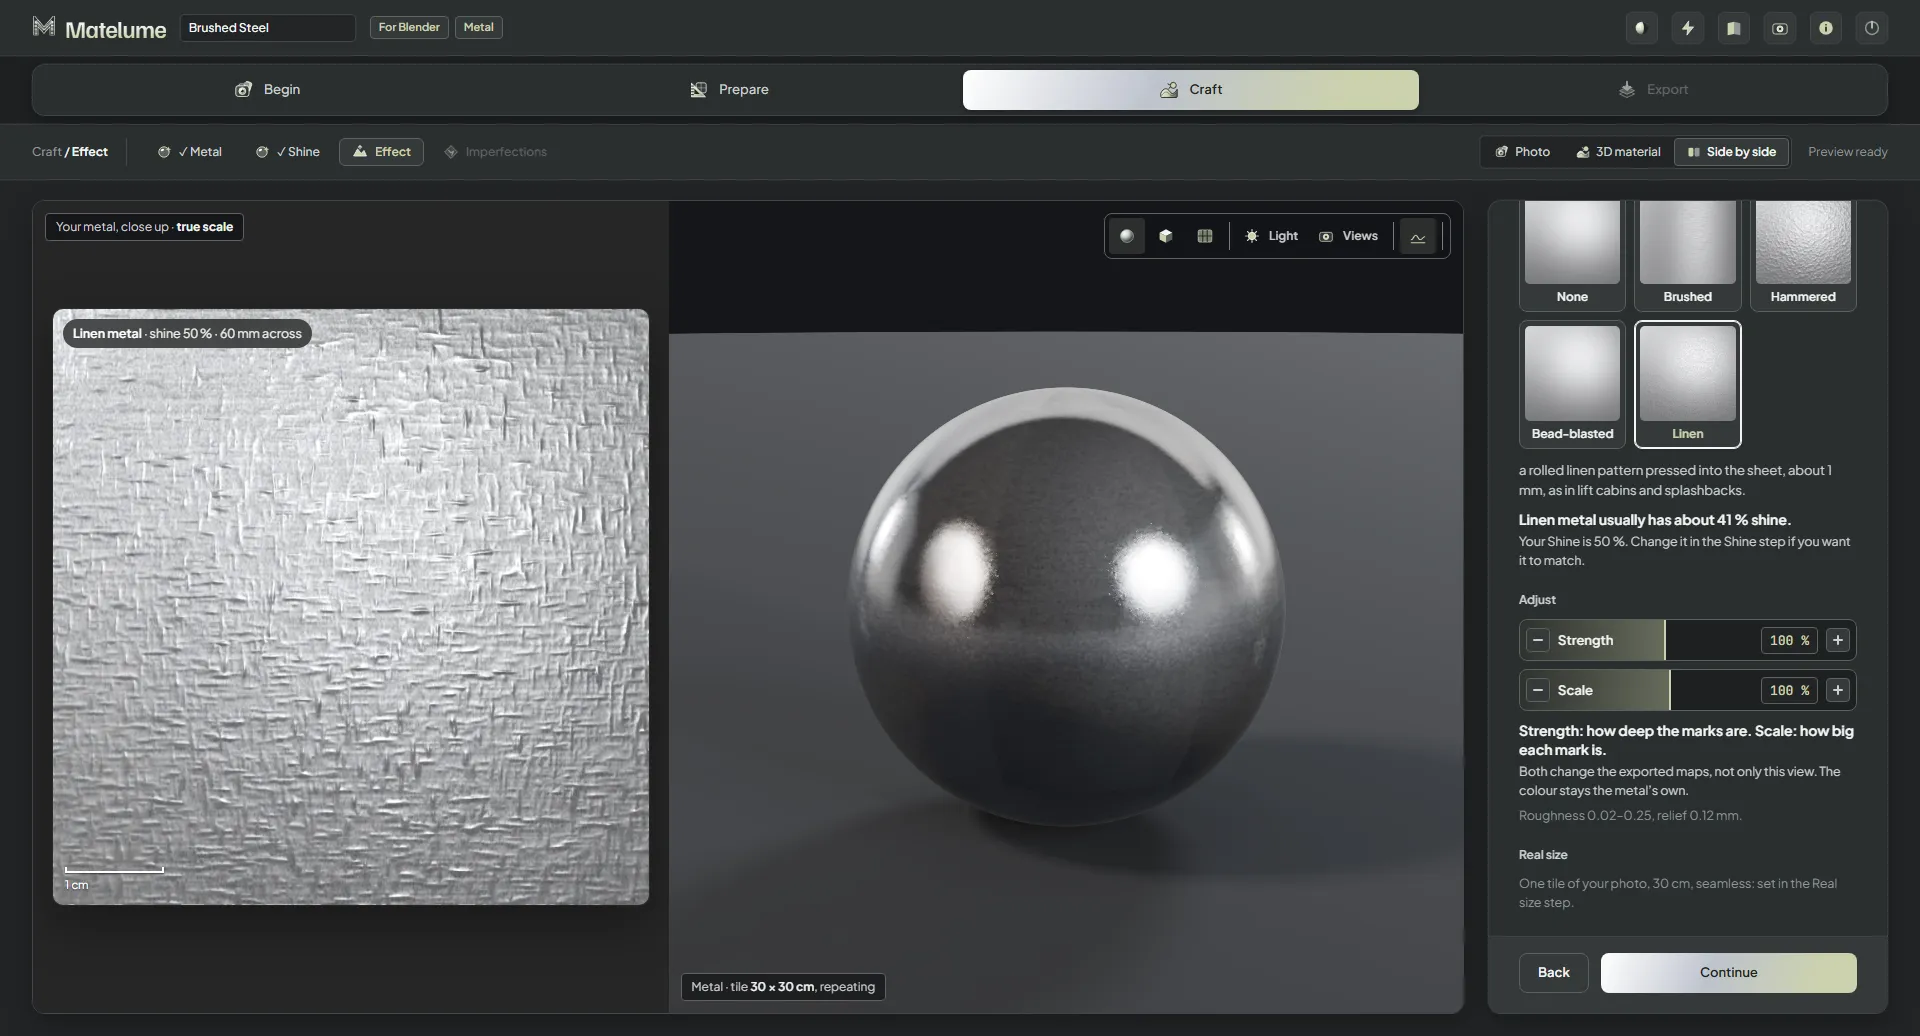
The Linen effect with its Strength slider in view.
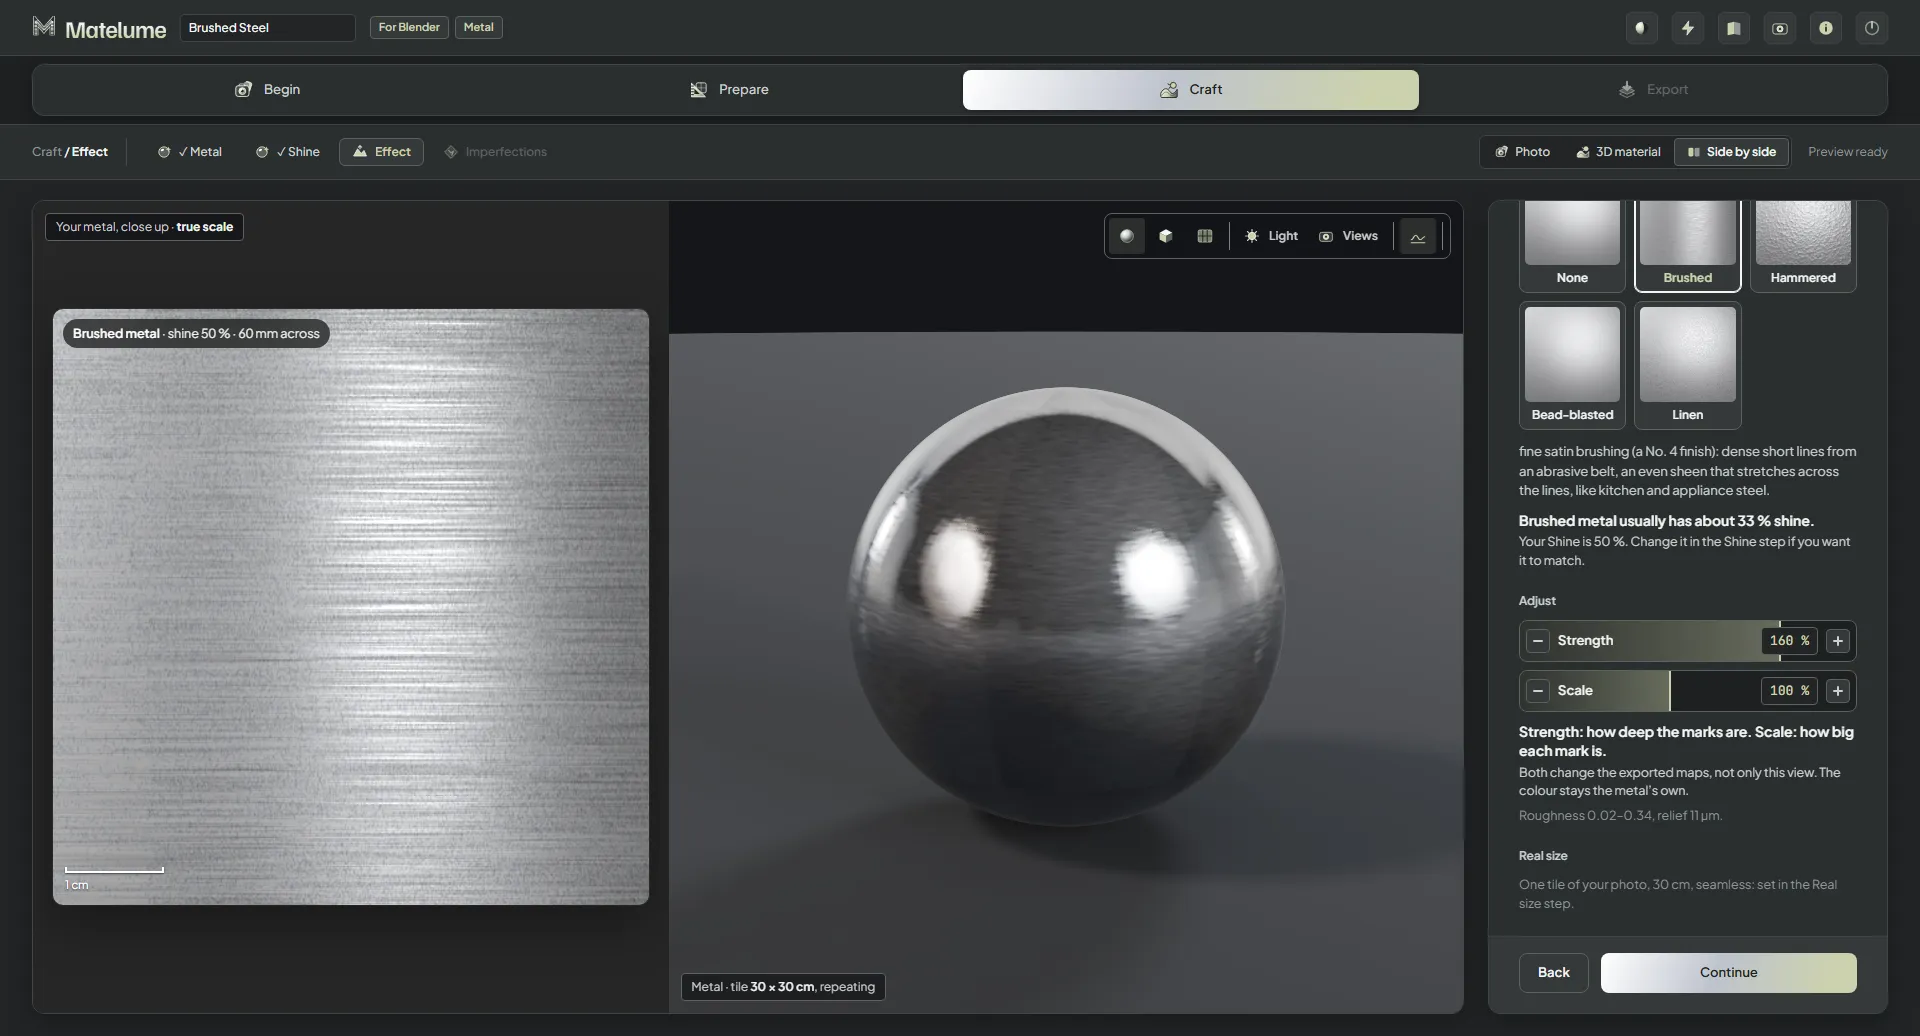
Brushed at a higher Strength: the brushing lines become deeper and clearer.
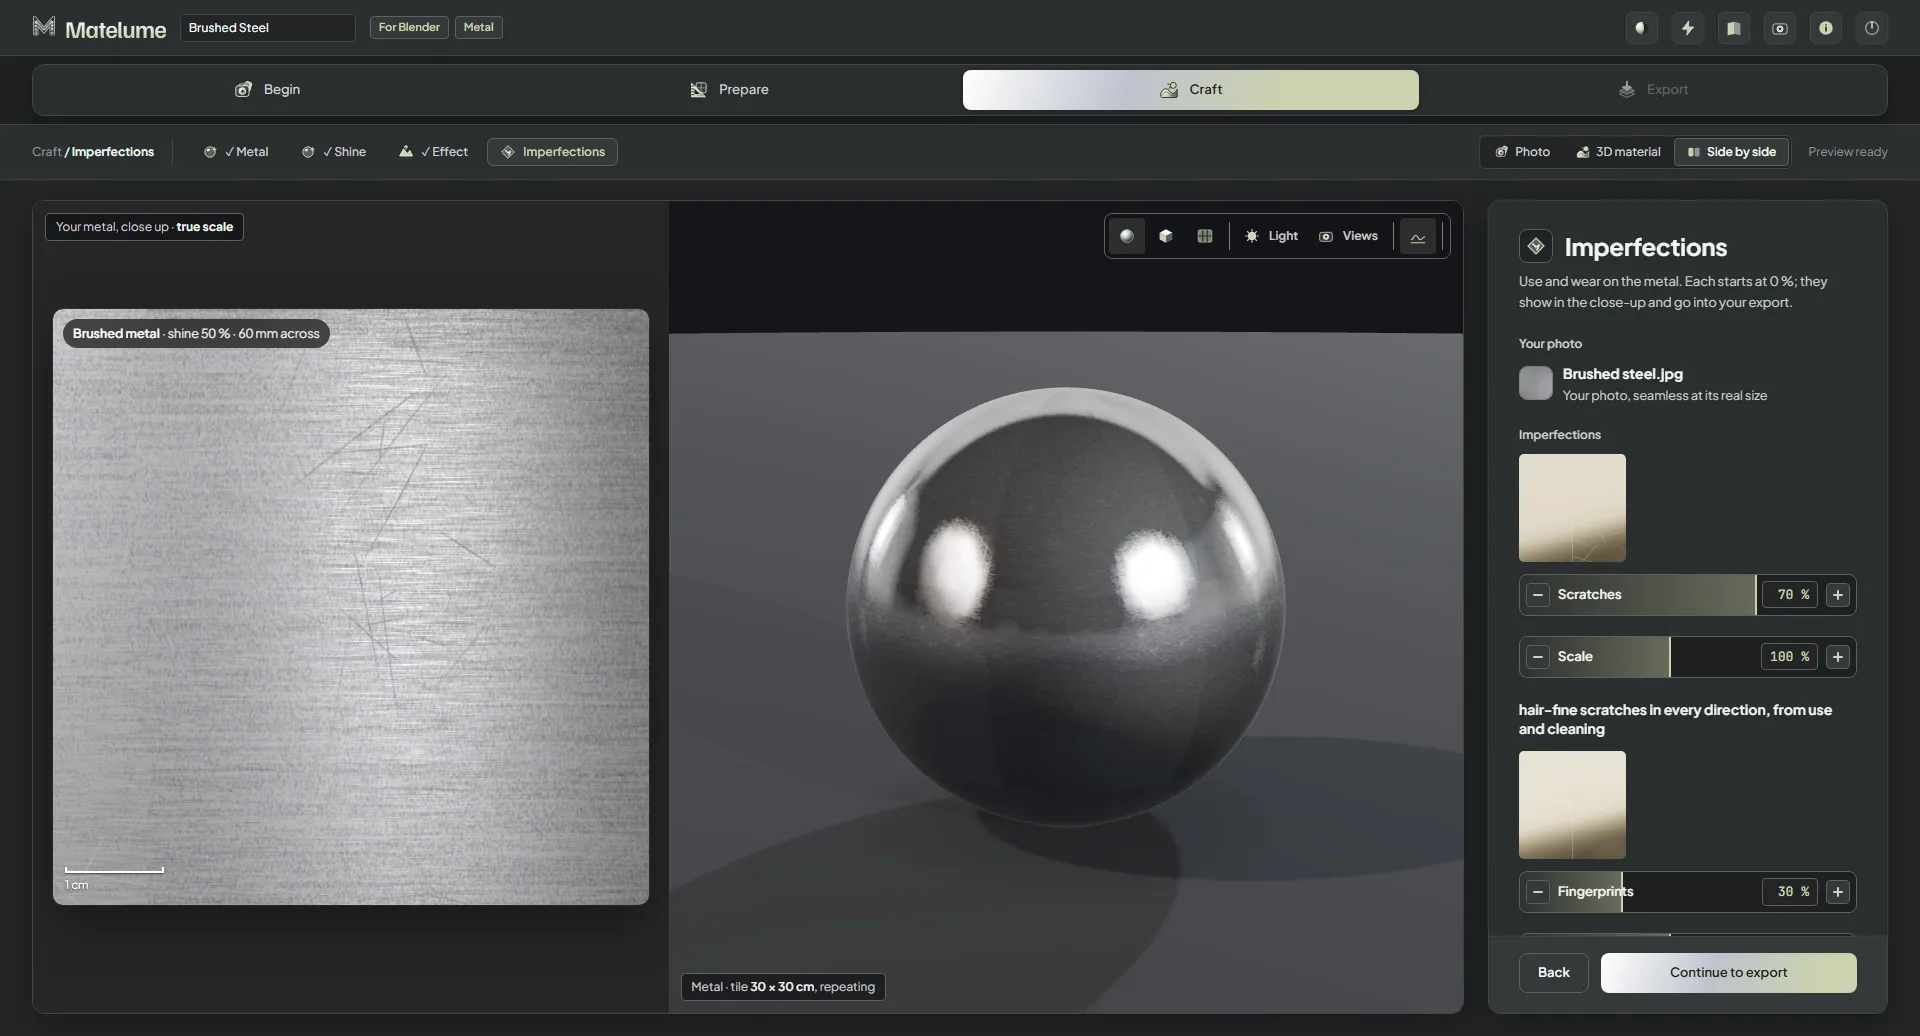
The Imperfections step with Scratches at 70 %: fine scratches in every direction on the close-up.
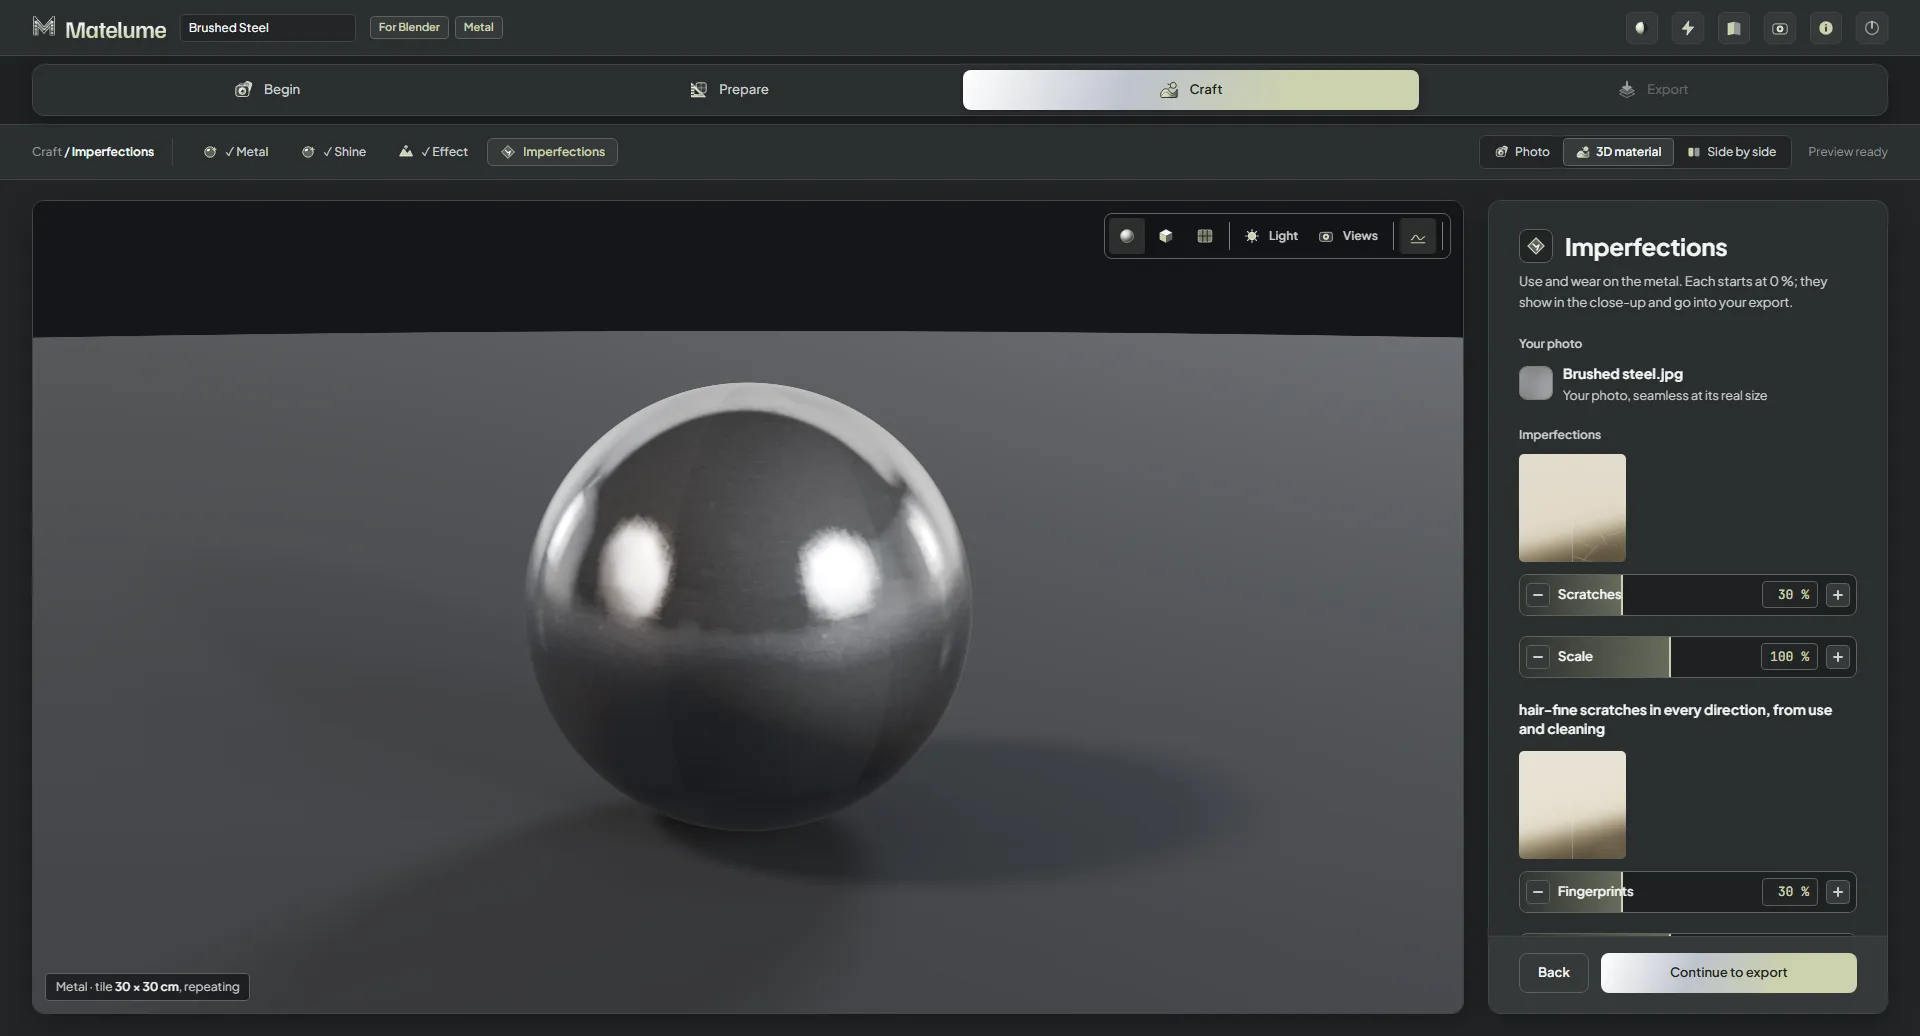
The 3D view on its usual object, a sphere of brushed steel, in the big 3D material view.
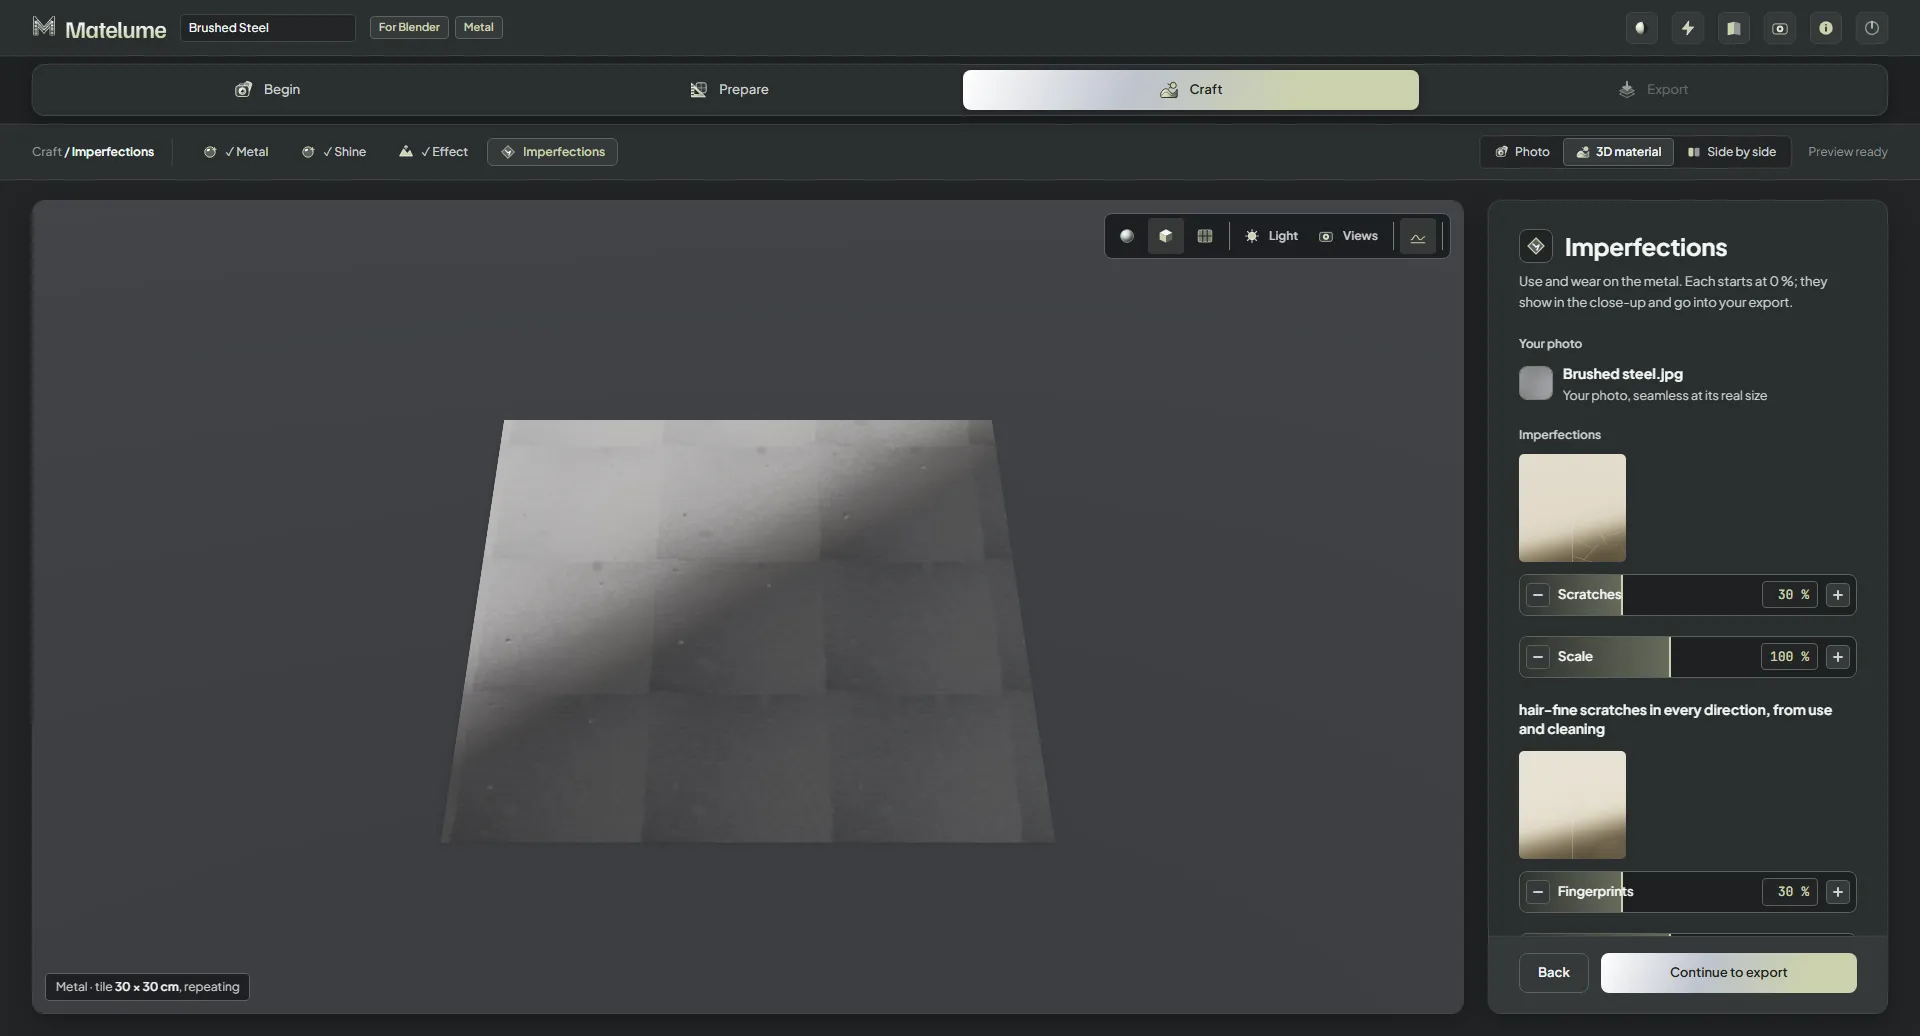
The same steel on a flat panel in the 3D view.
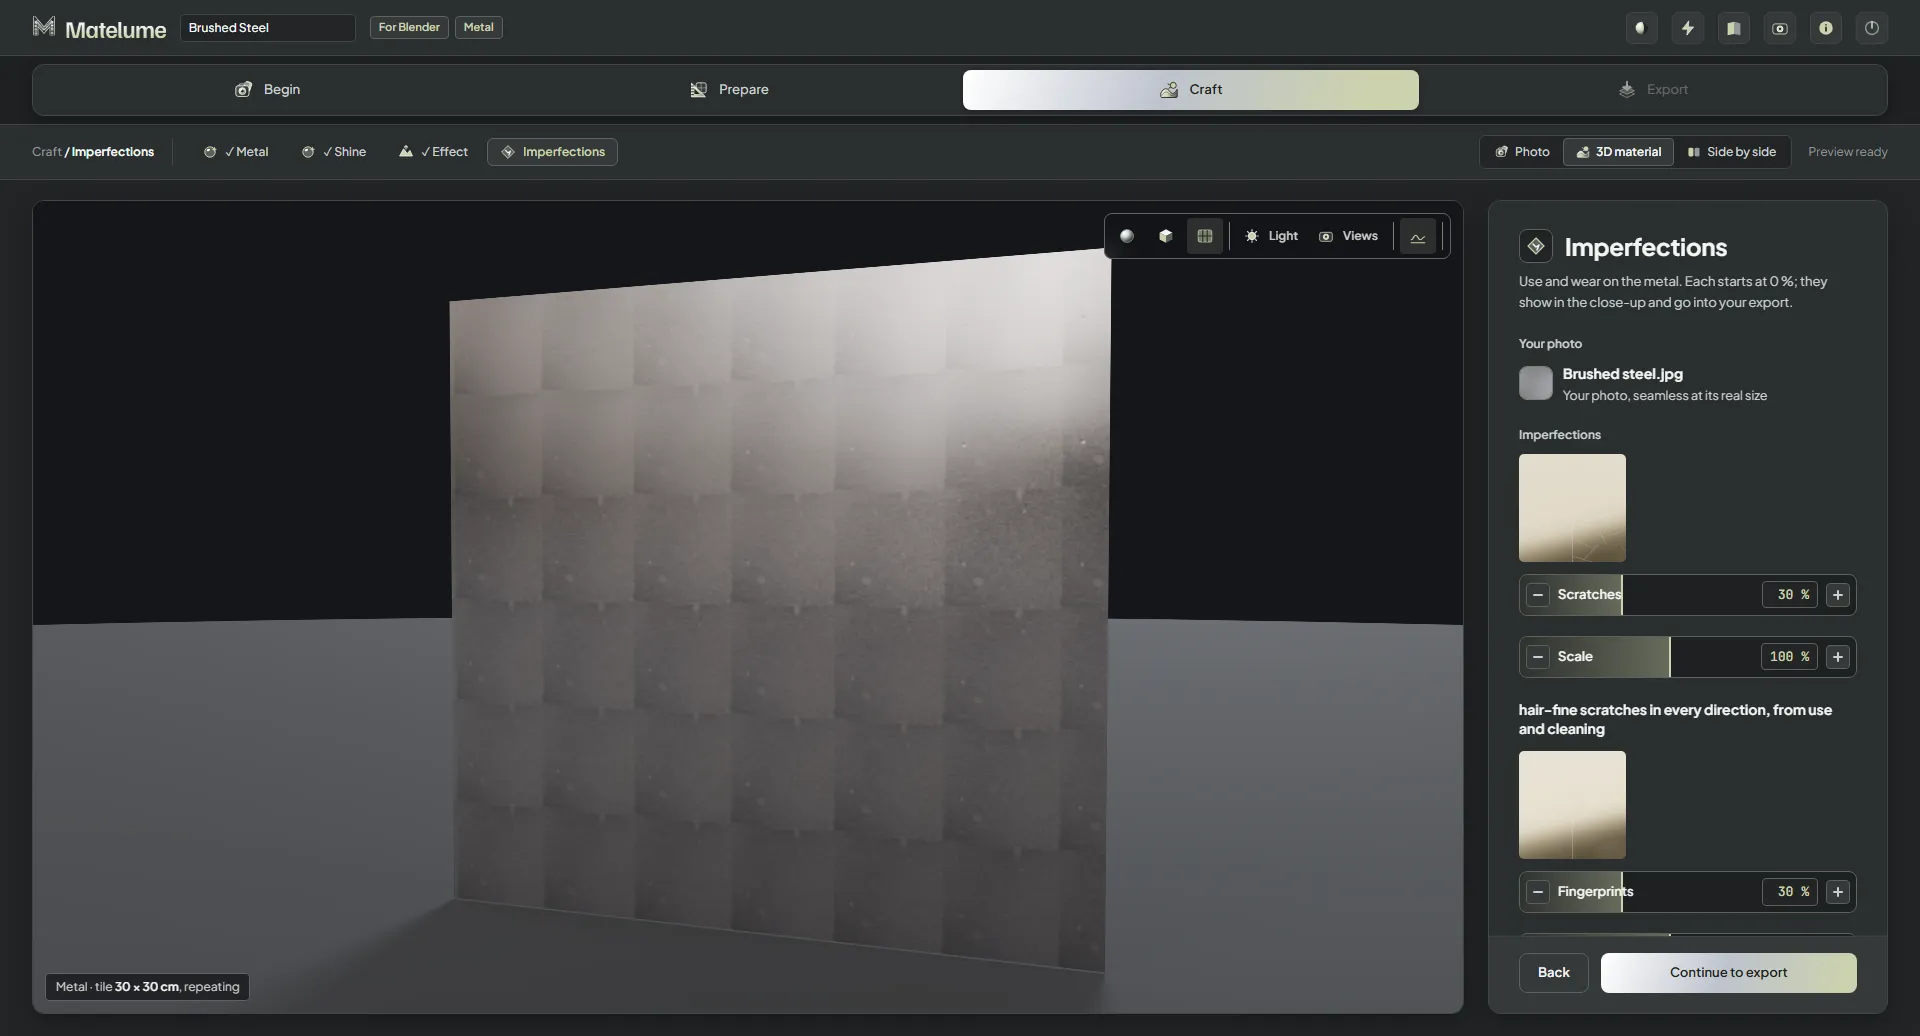
The same steel on a wall panel in the 3D view.
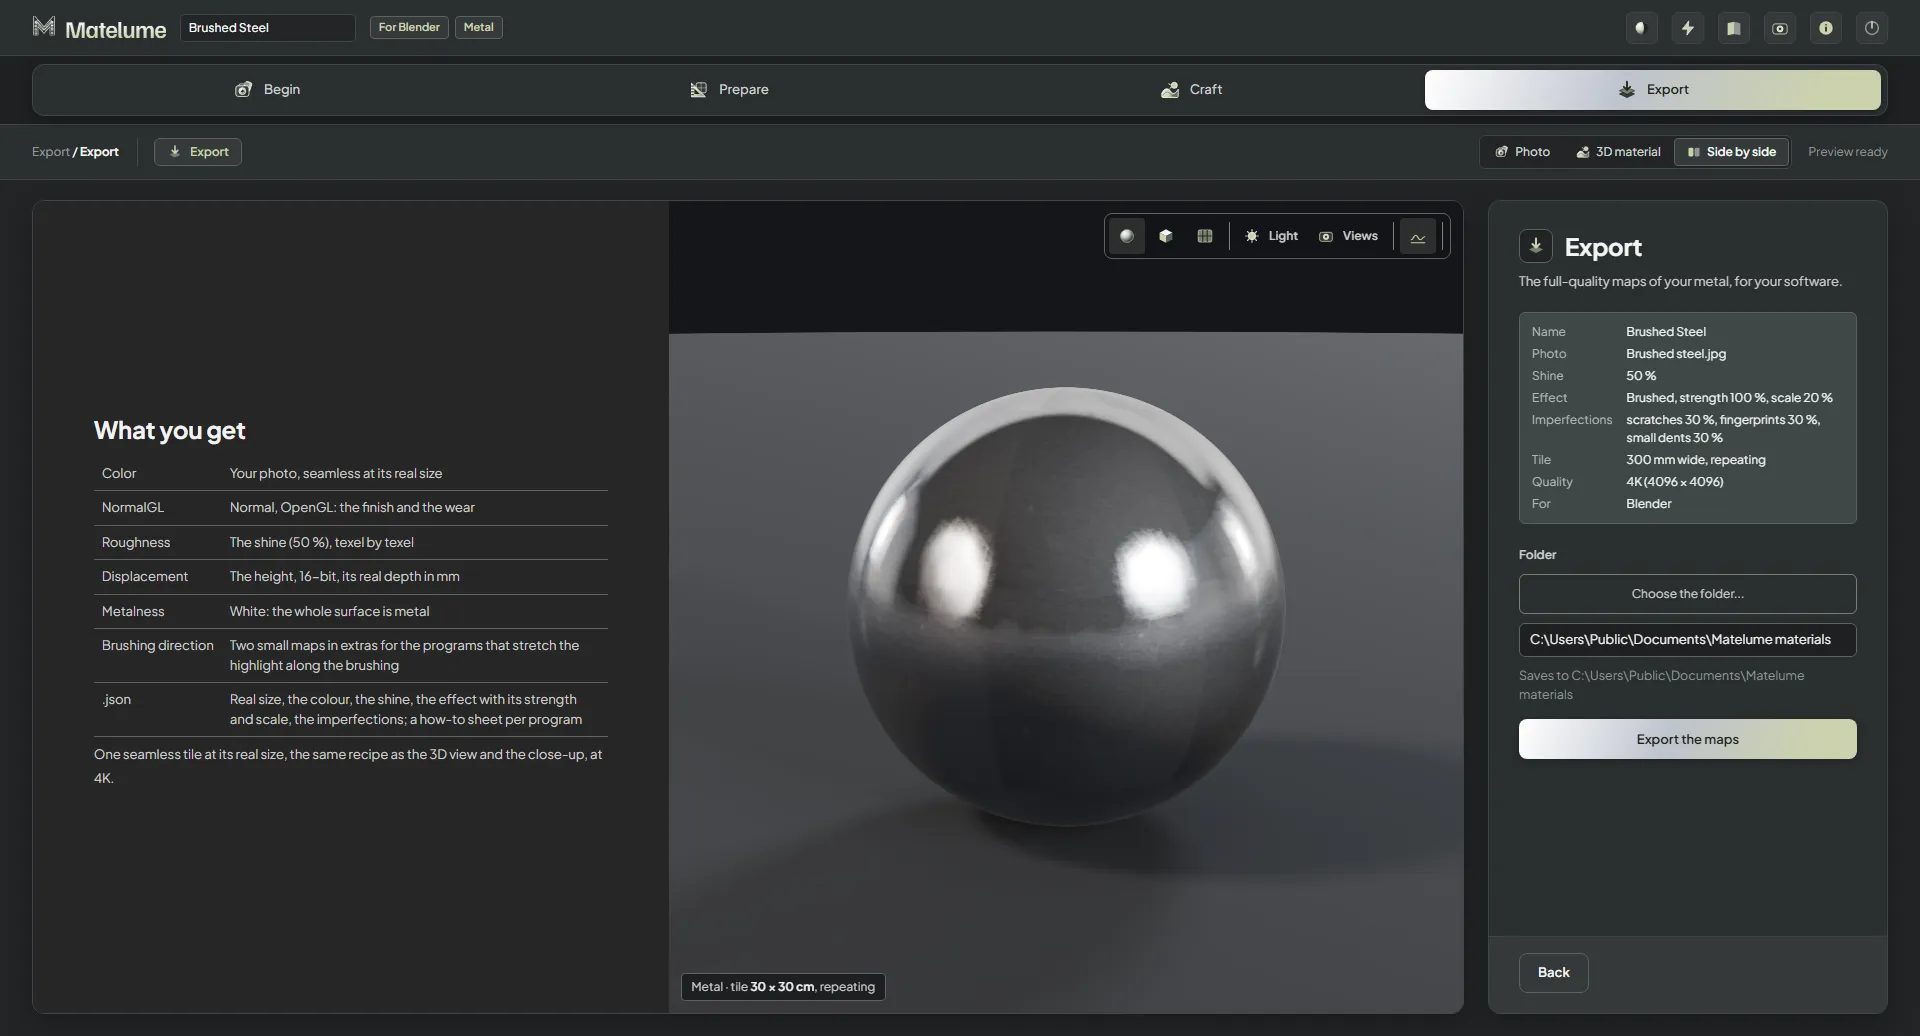
The Export step of a brushed metal: what you get includes Color, NormalGL, Roughness, Displacement, Metalness and the two brushing-direction maps.
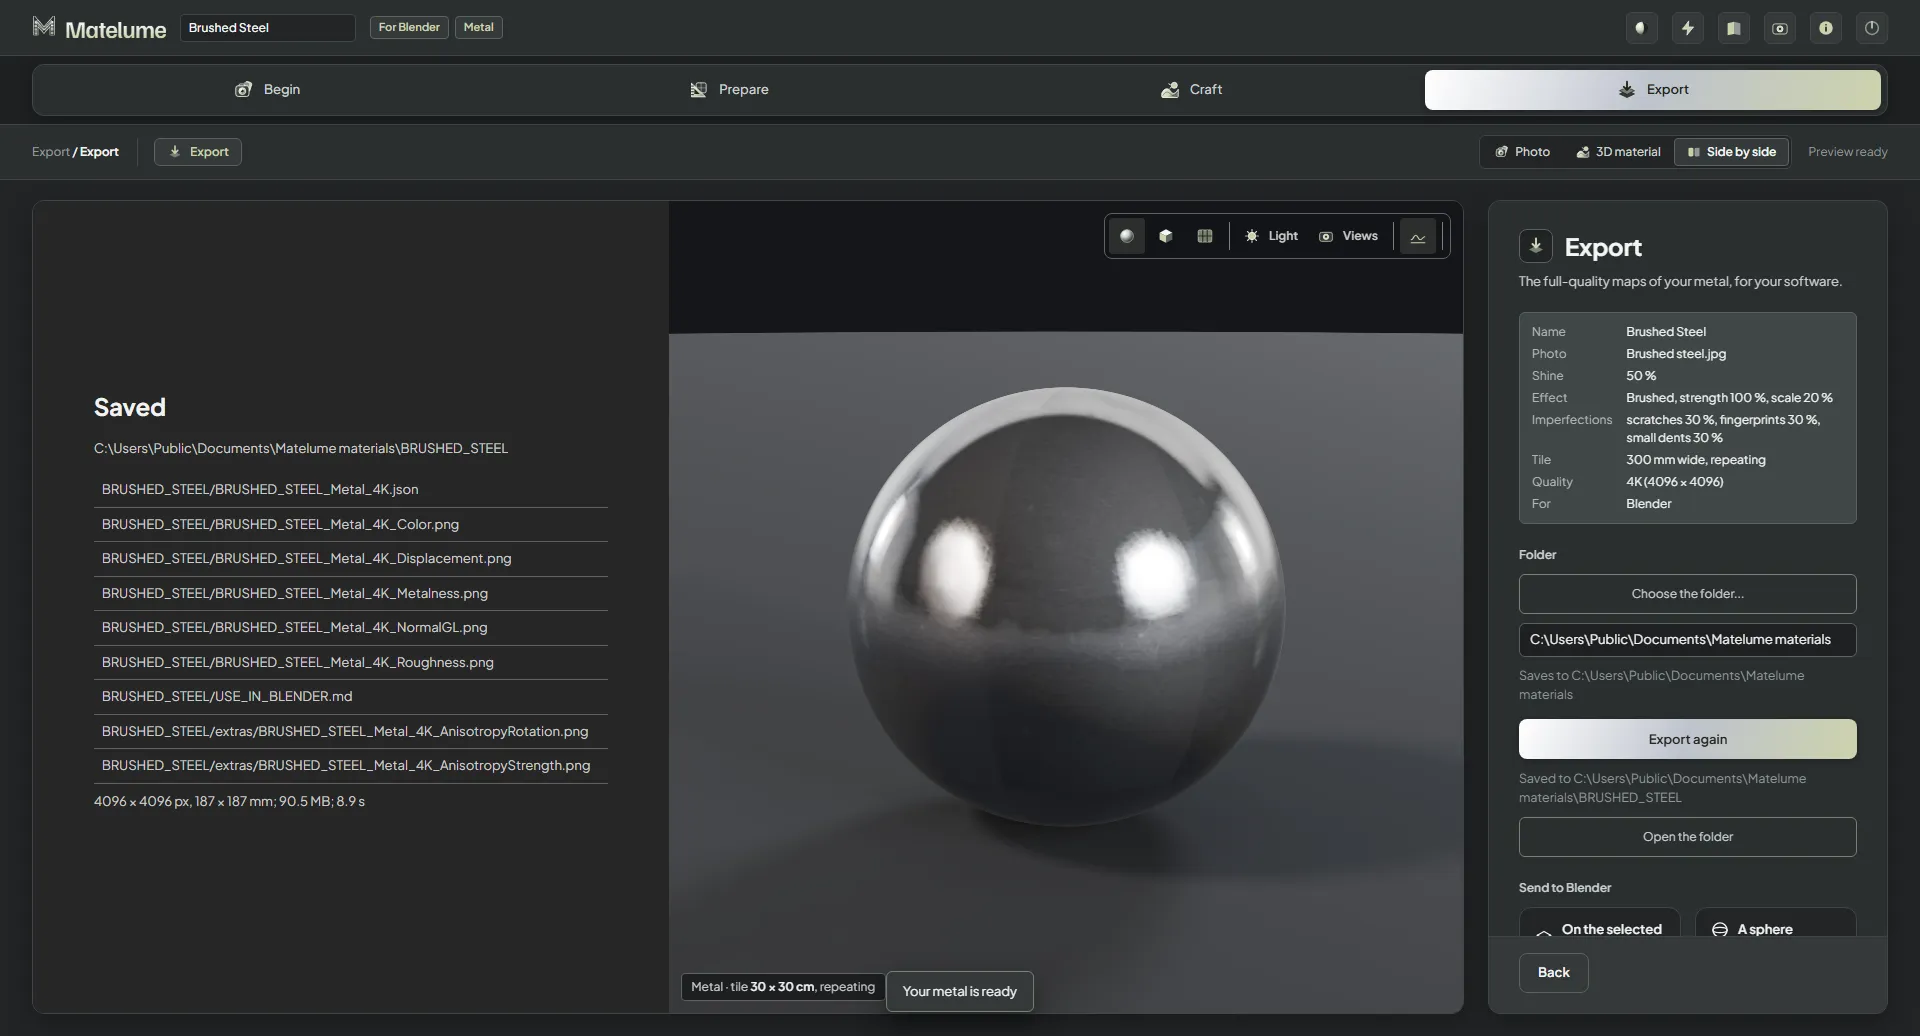
After exporting a brushed metal: the saved folder with the maps and the extras folder holding the two anisotropy maps.
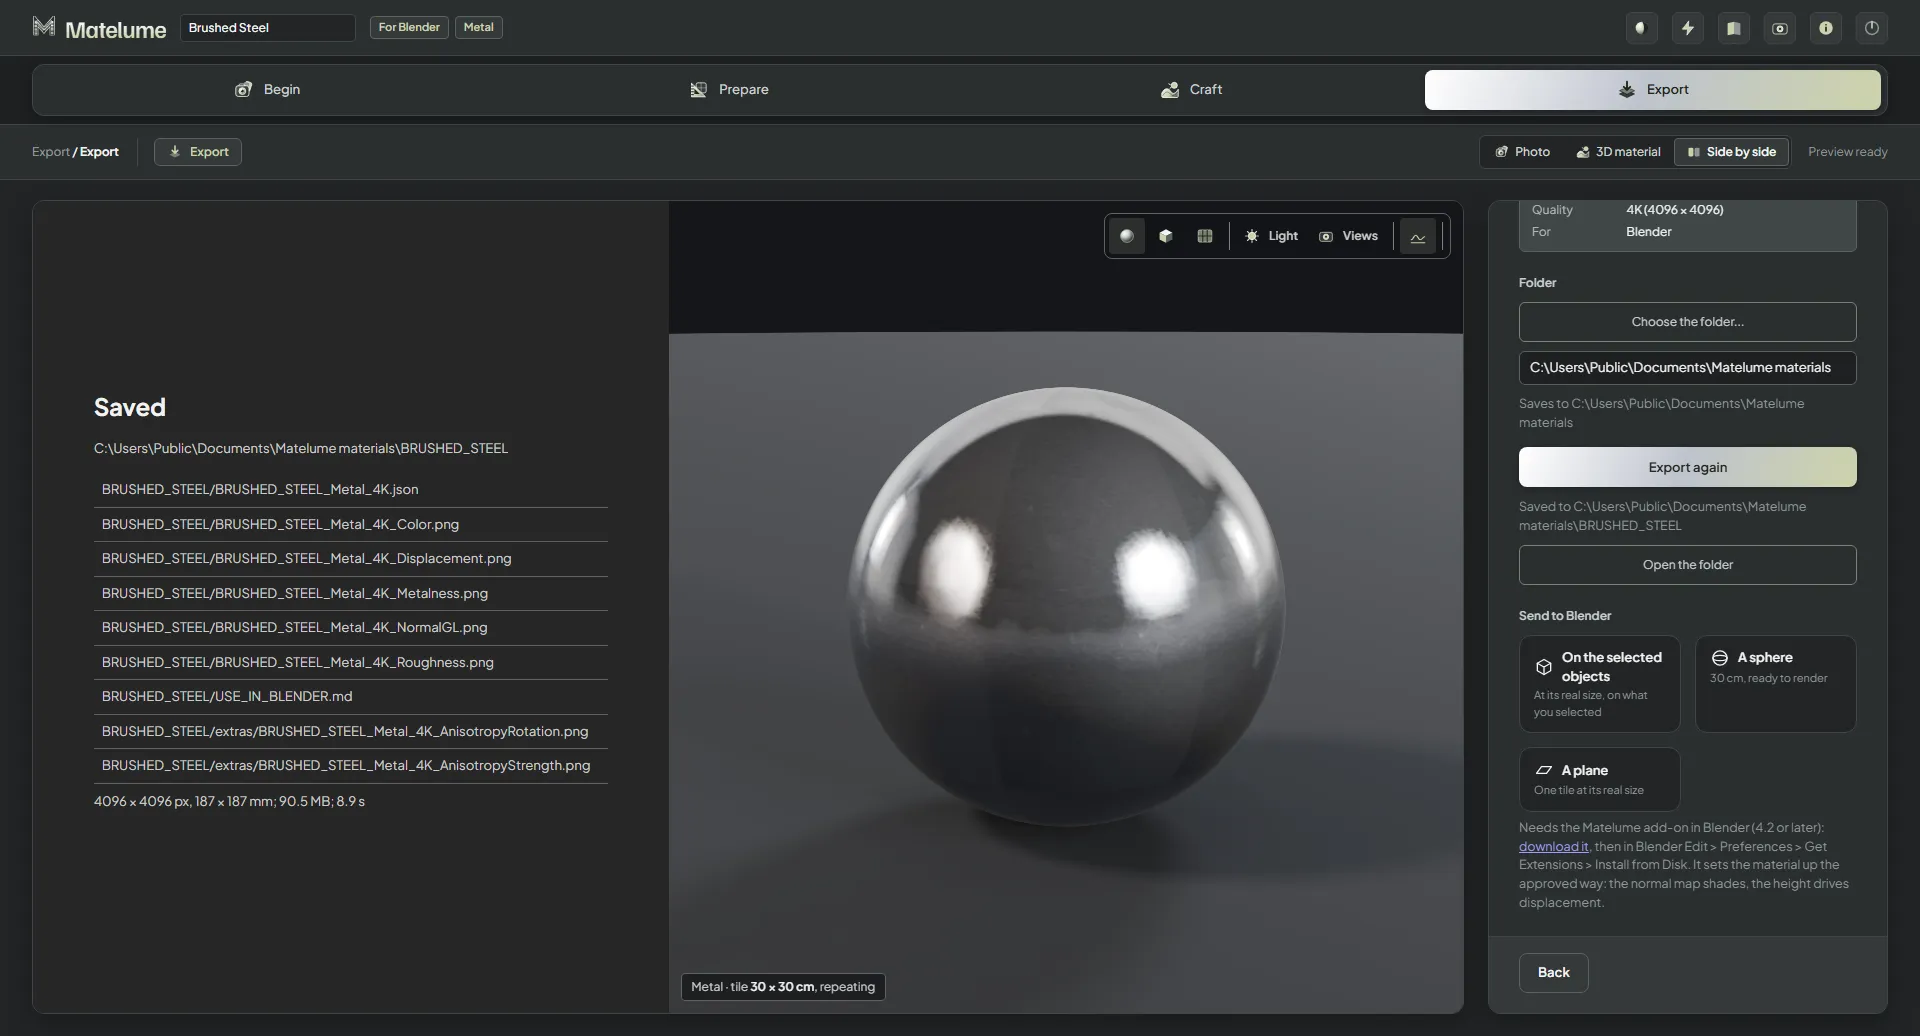
Send to Blender after the export: on the selected objects, a sphere or a plane.
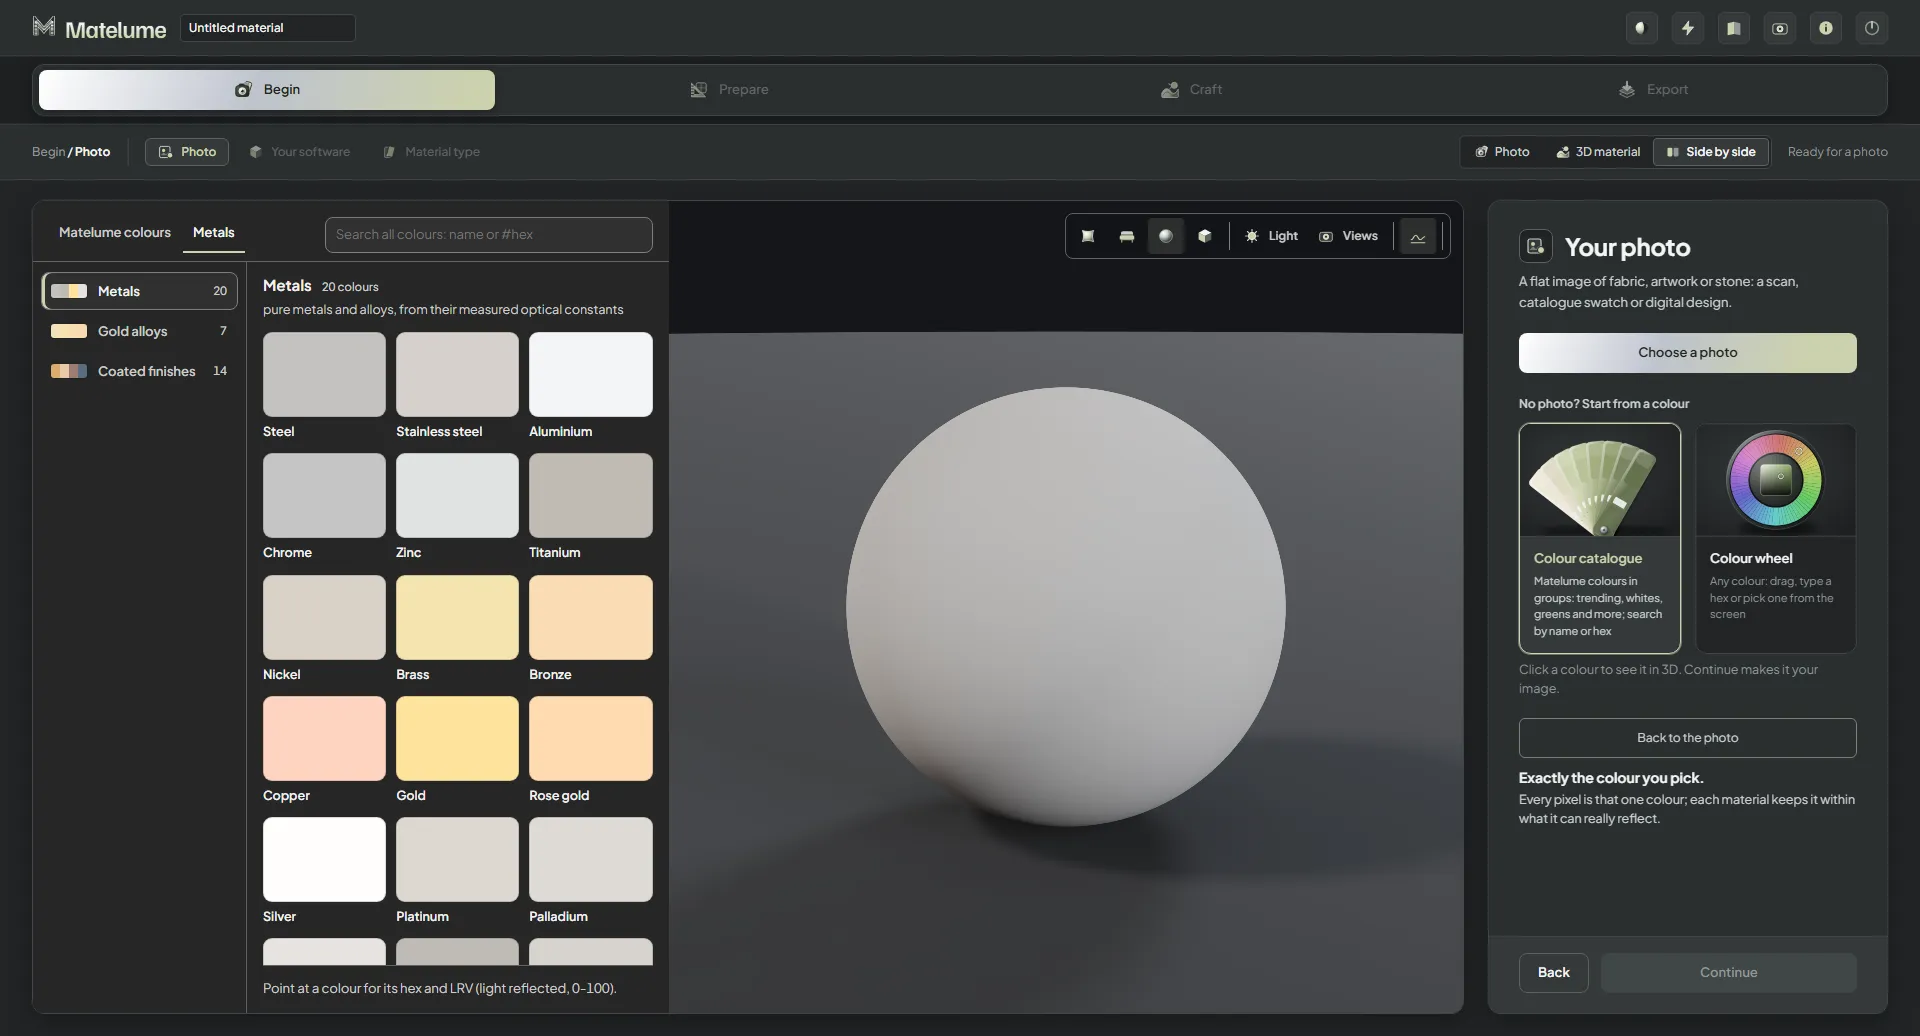
Starting a metal from a colour: the Colour catalogue with its Metals tab and the metal colour chips in groups.
Copper picked in the Colour catalogue; the colour is shown on the sphere before it becomes metal.
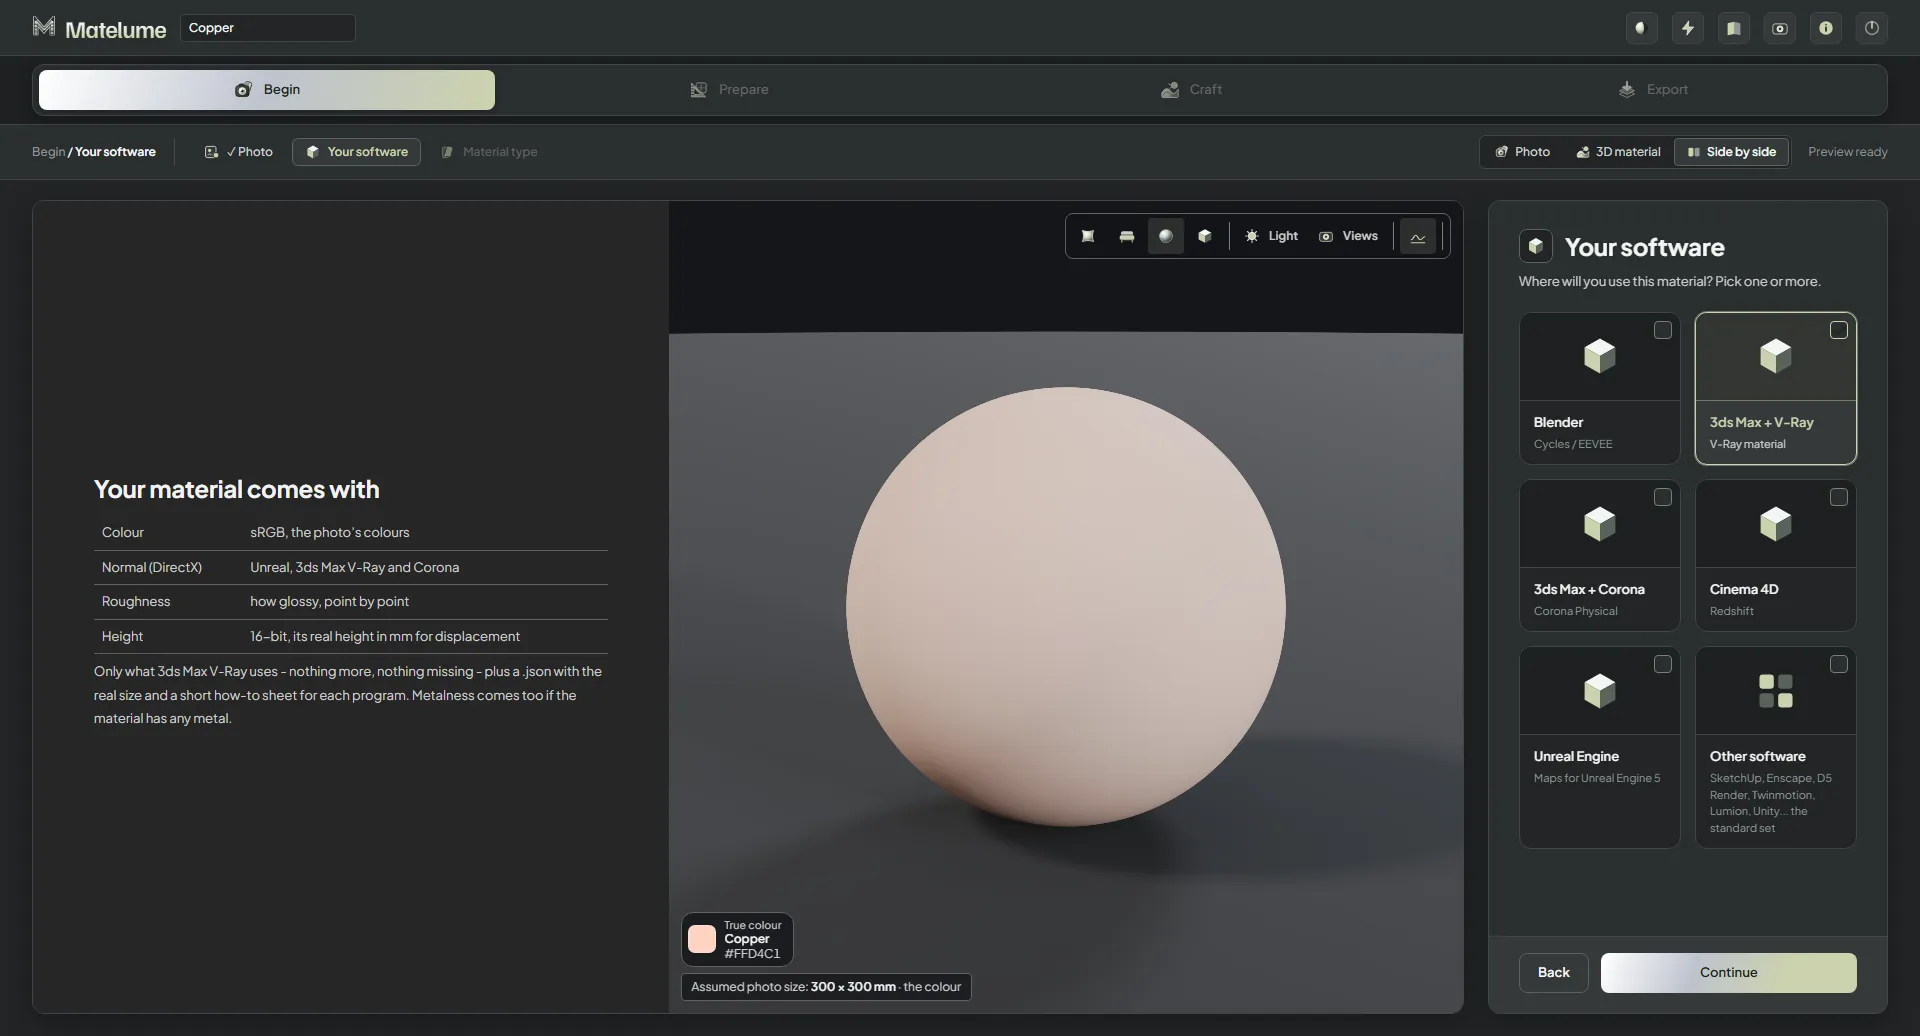
The Your software step with 3ds Max + V-Ray chosen for the colour-start metal.
The Metal step of a colour start: Your colour first, then the metals as spheres with copper picked.
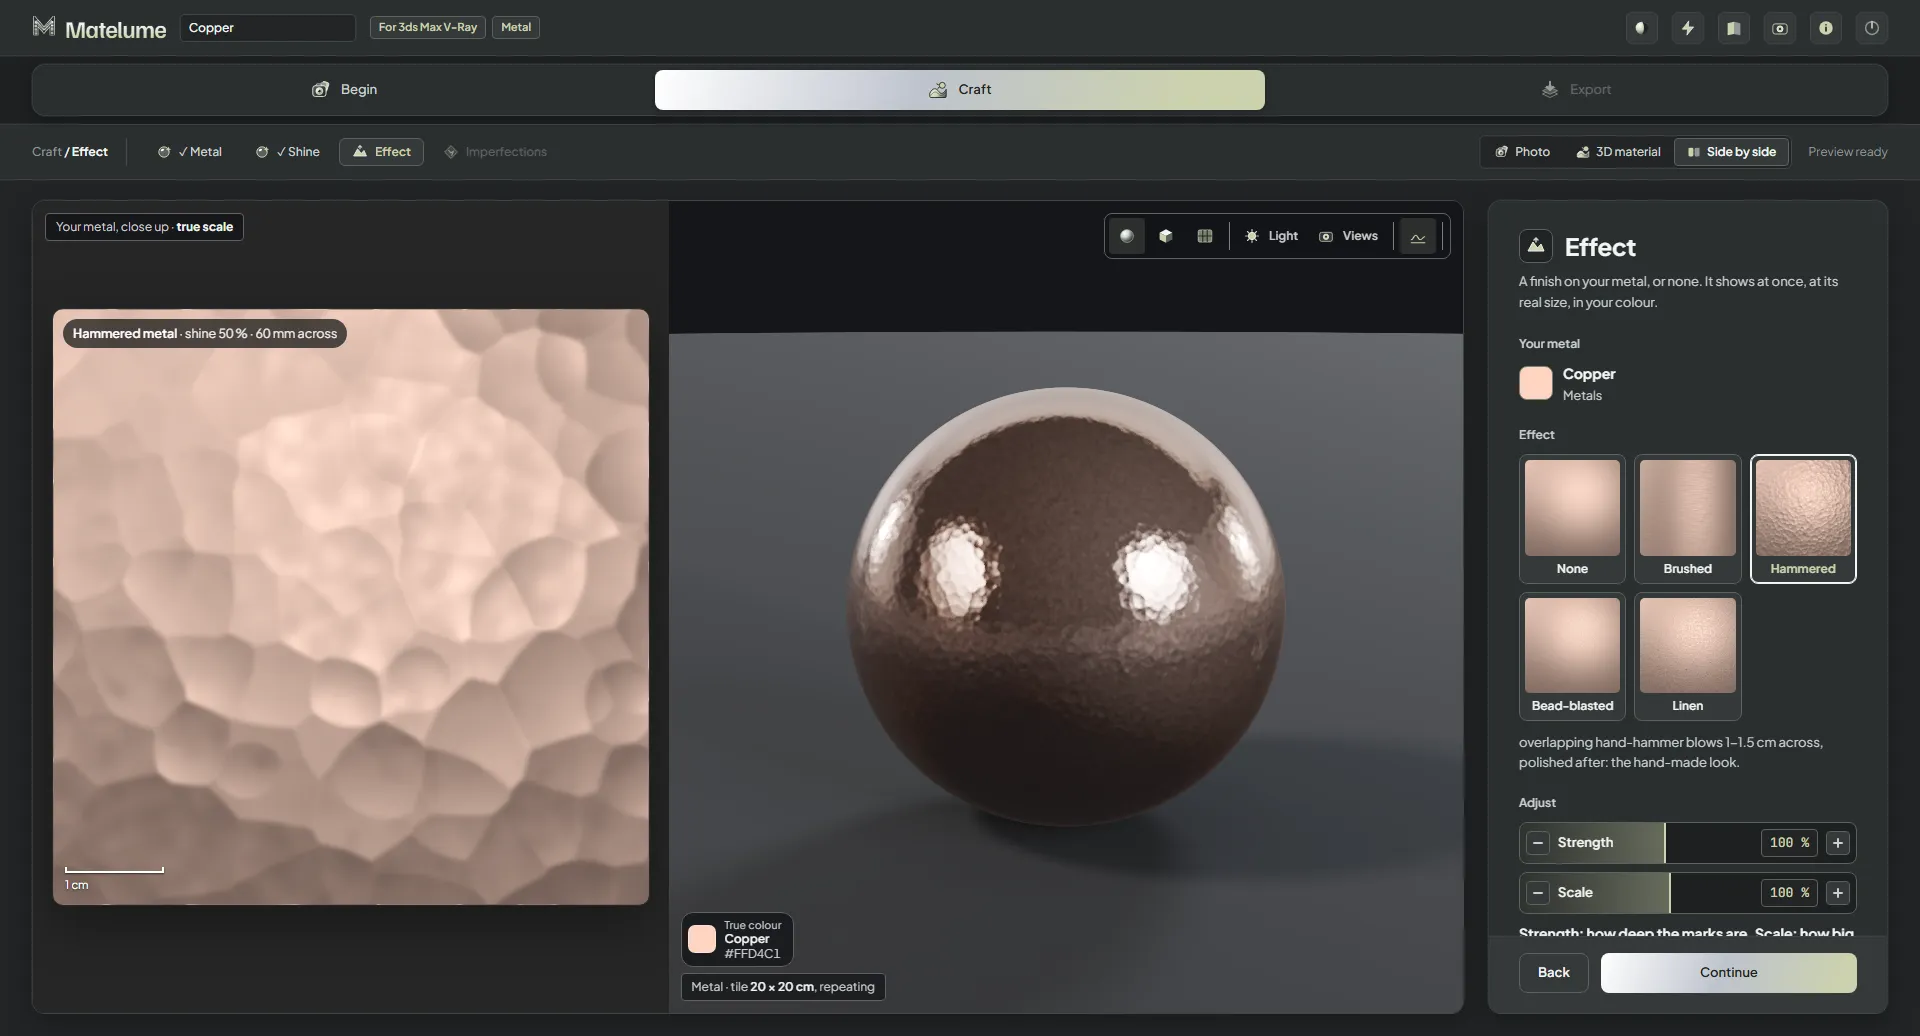
Hammered copper: the Hammered effect on copper, with the close-up and the 3D sphere.
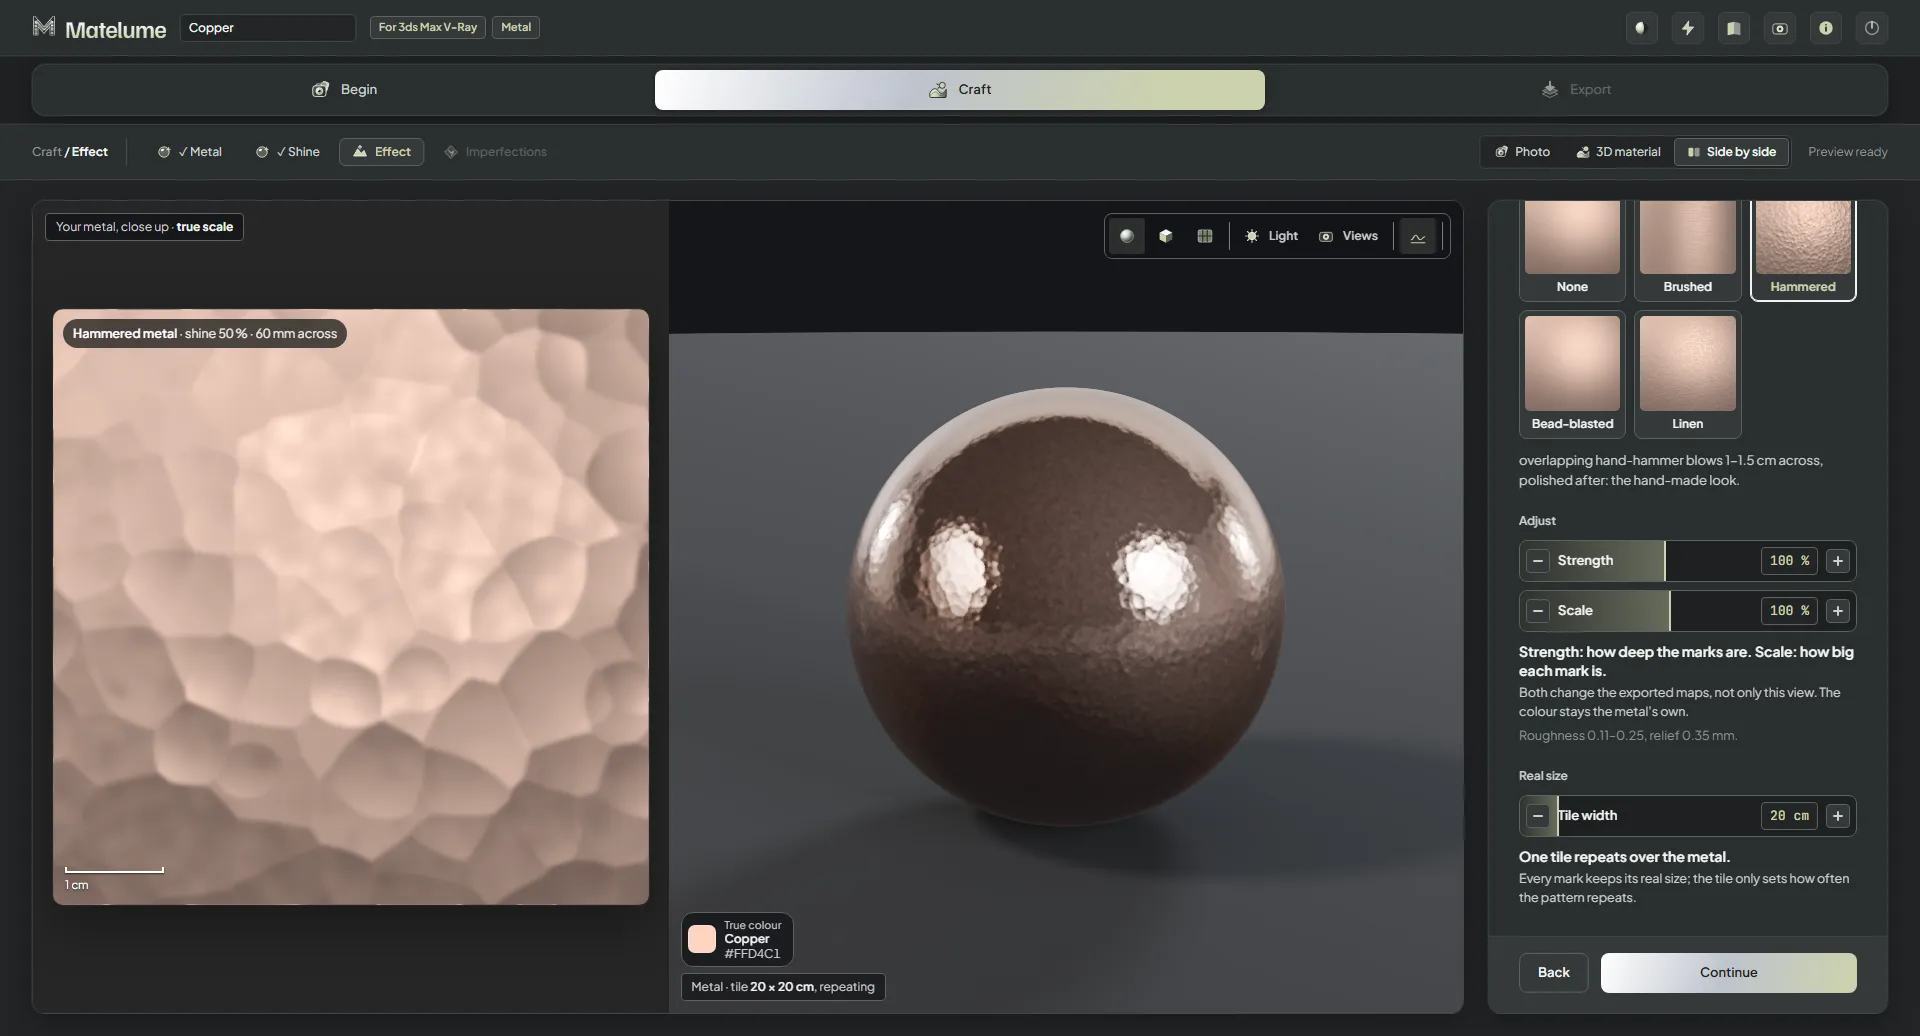
The Hammered effect on copper with its Strength and Scale sliders in view.
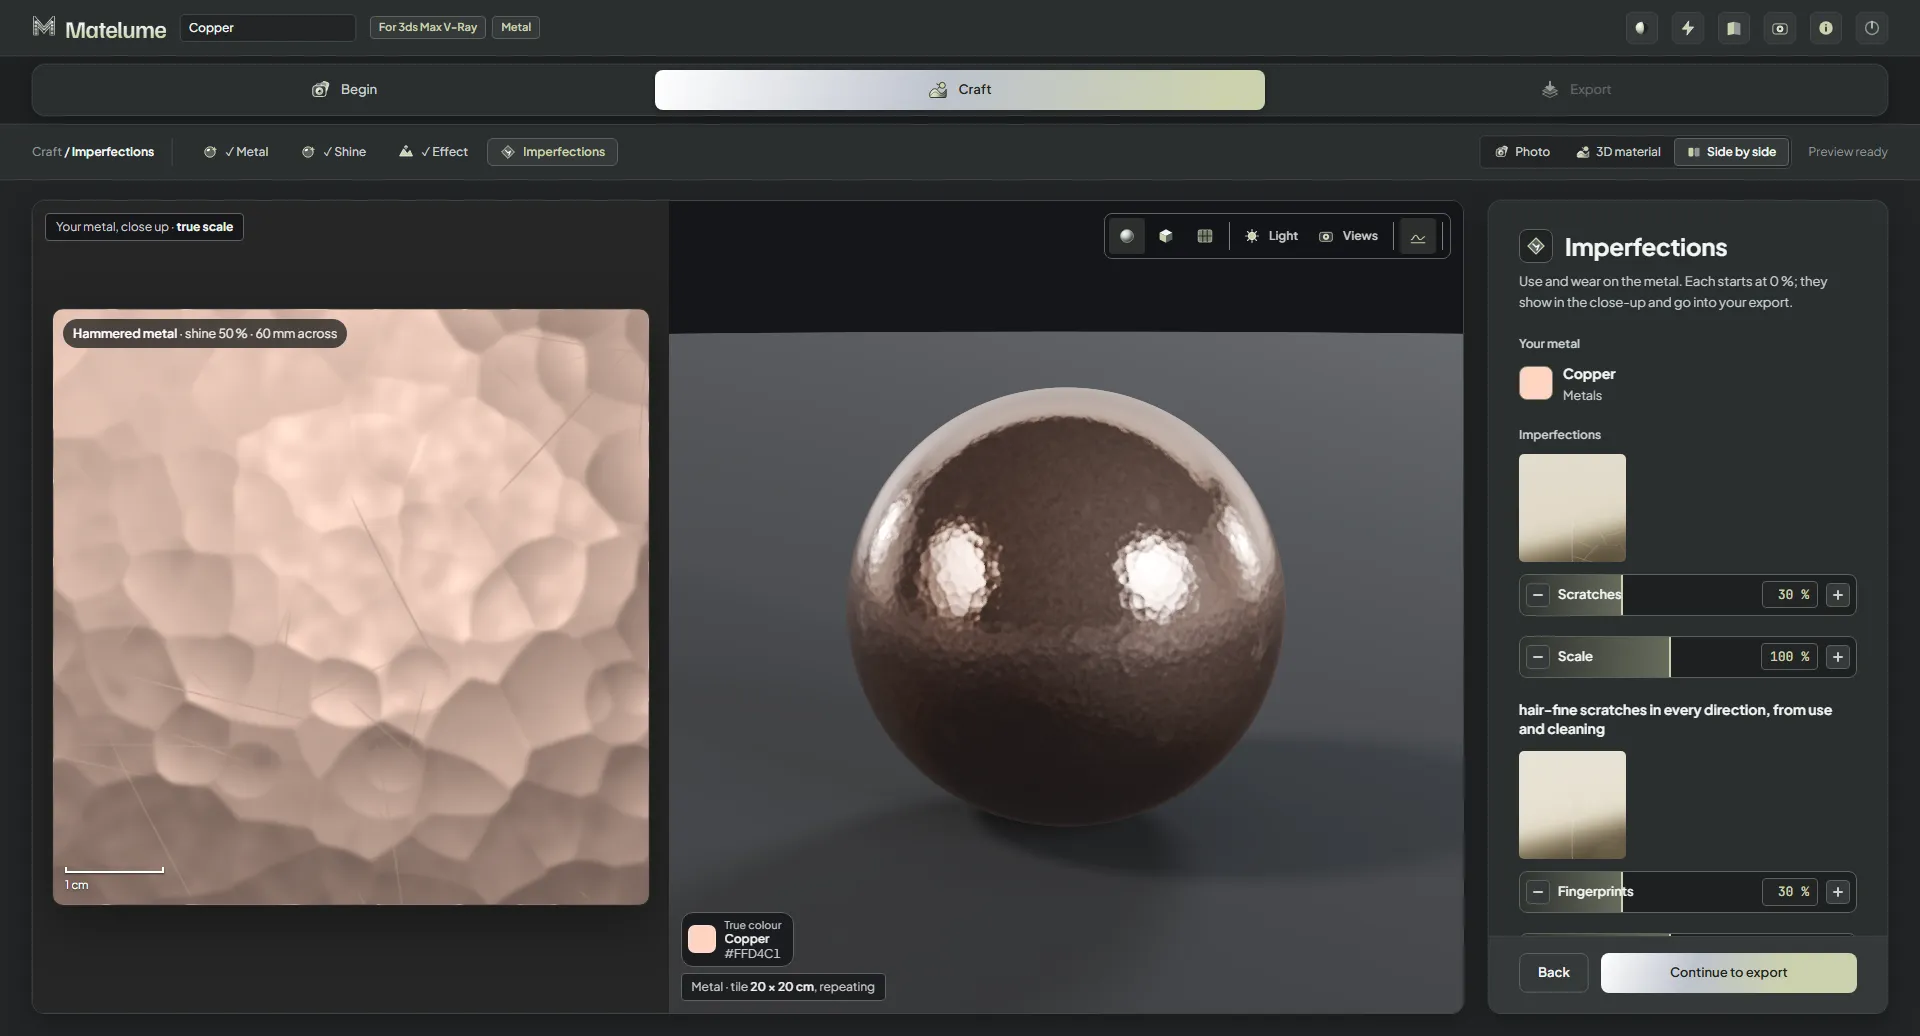
The Imperfections step with Scratches, Fingerprints and Small dents each switched on lightly.
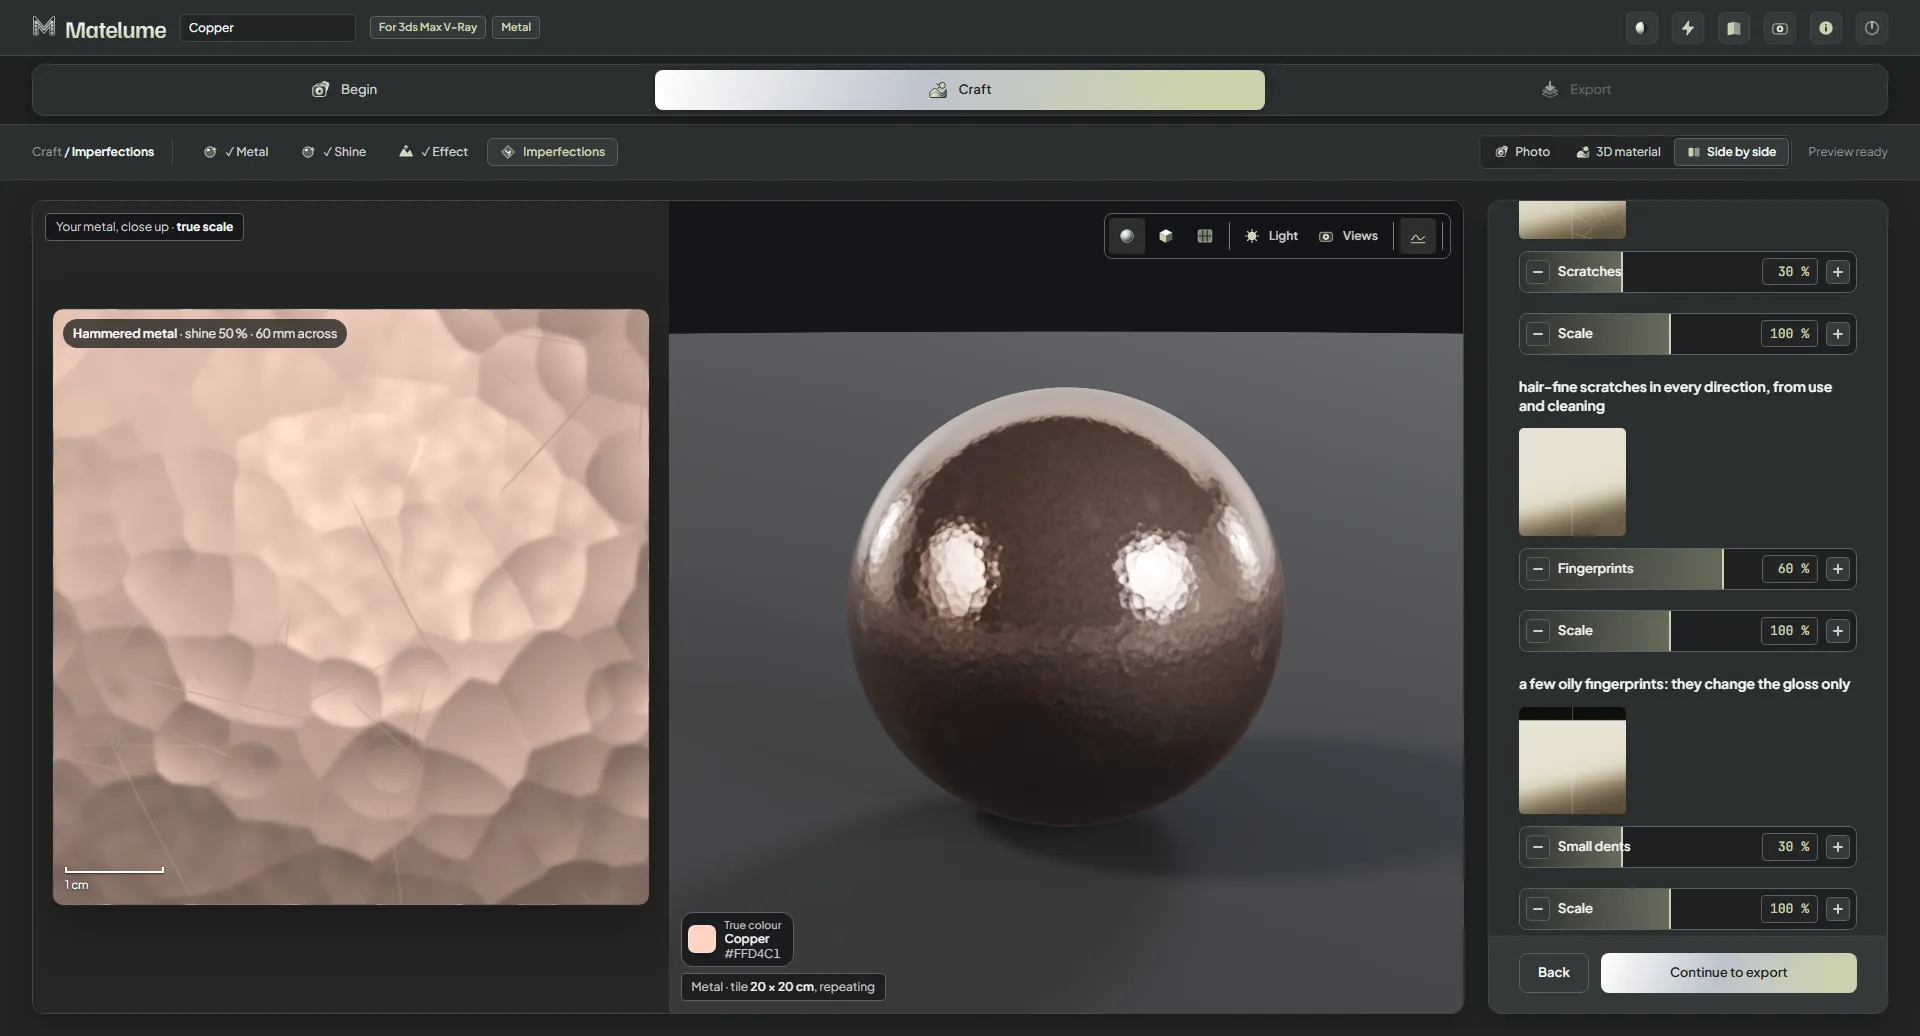
Fingerprints at 60 % with its Scale slider: oily marks that change the gloss only.
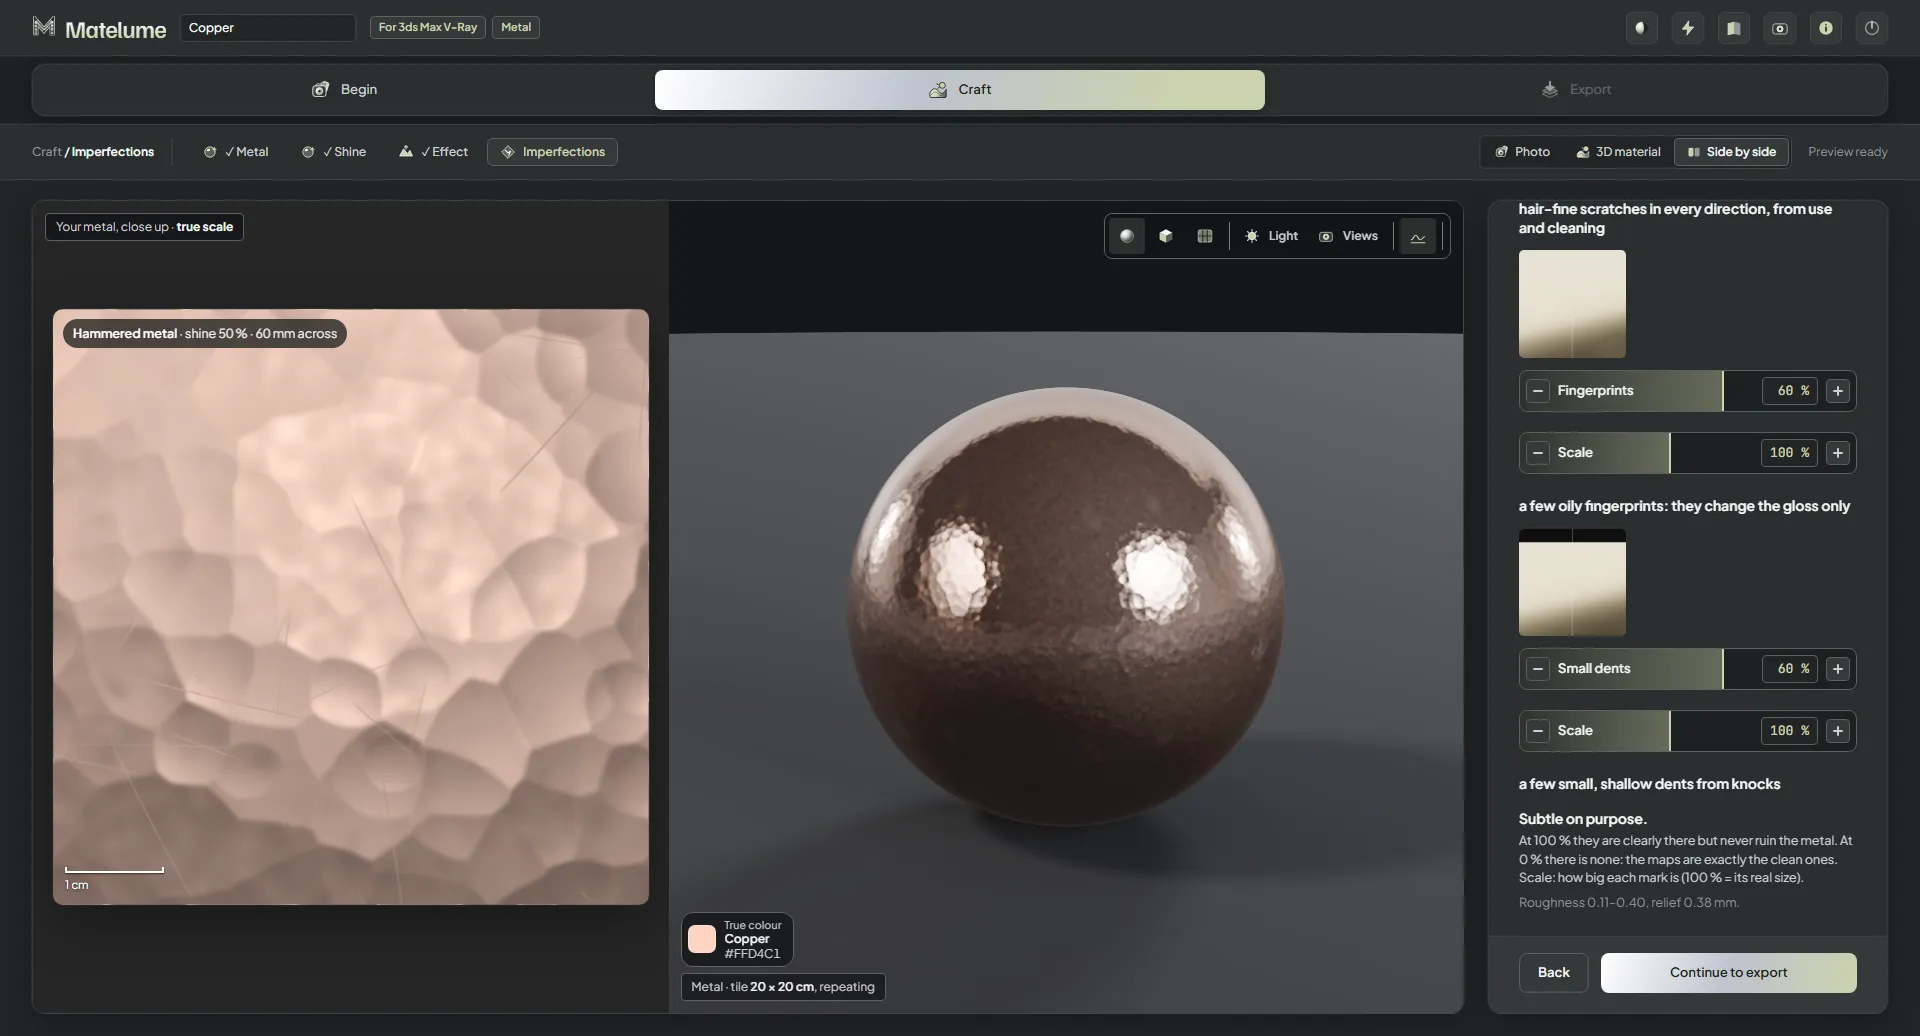
Small dents at 60 % with its Scale slider: a few shallow dents from knocks.
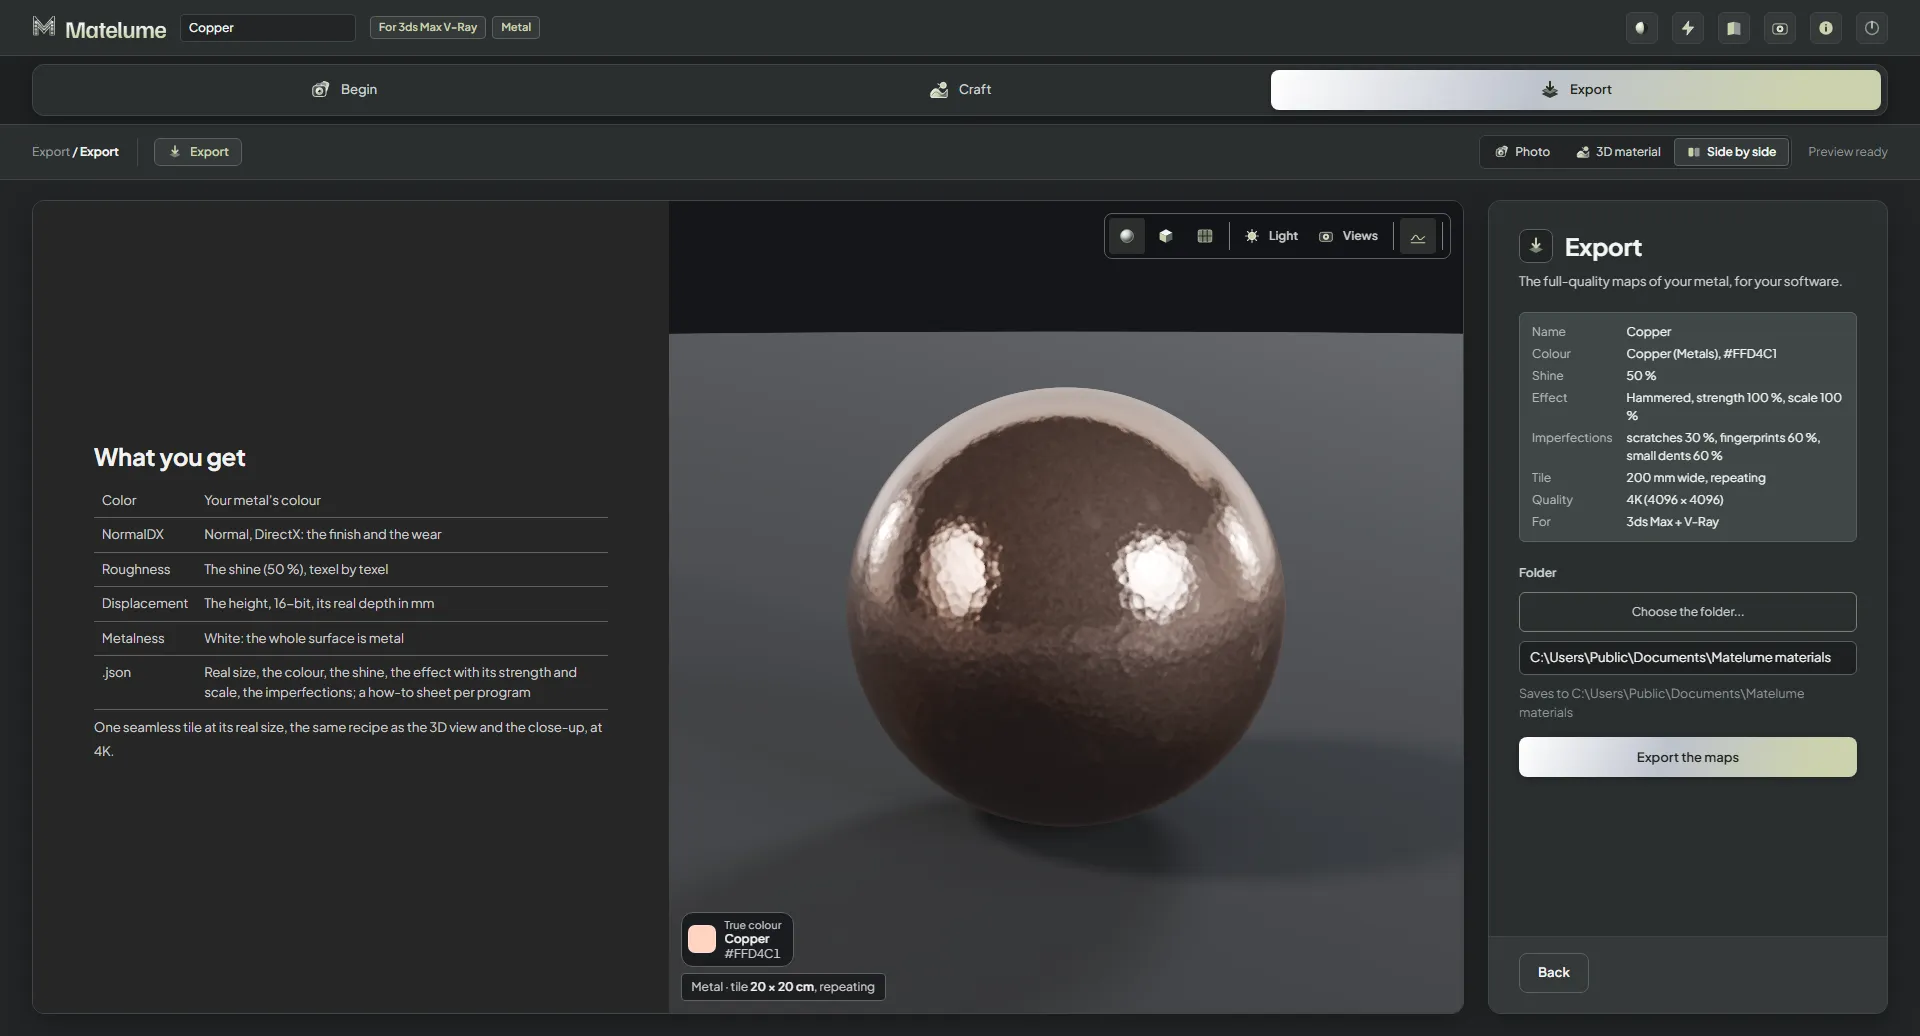
The Export step for 3ds Max + V-Ray: the maps list with NormalDX, Roughness, Displacement and Metalness.