Wood

Make a veneer at its real size.

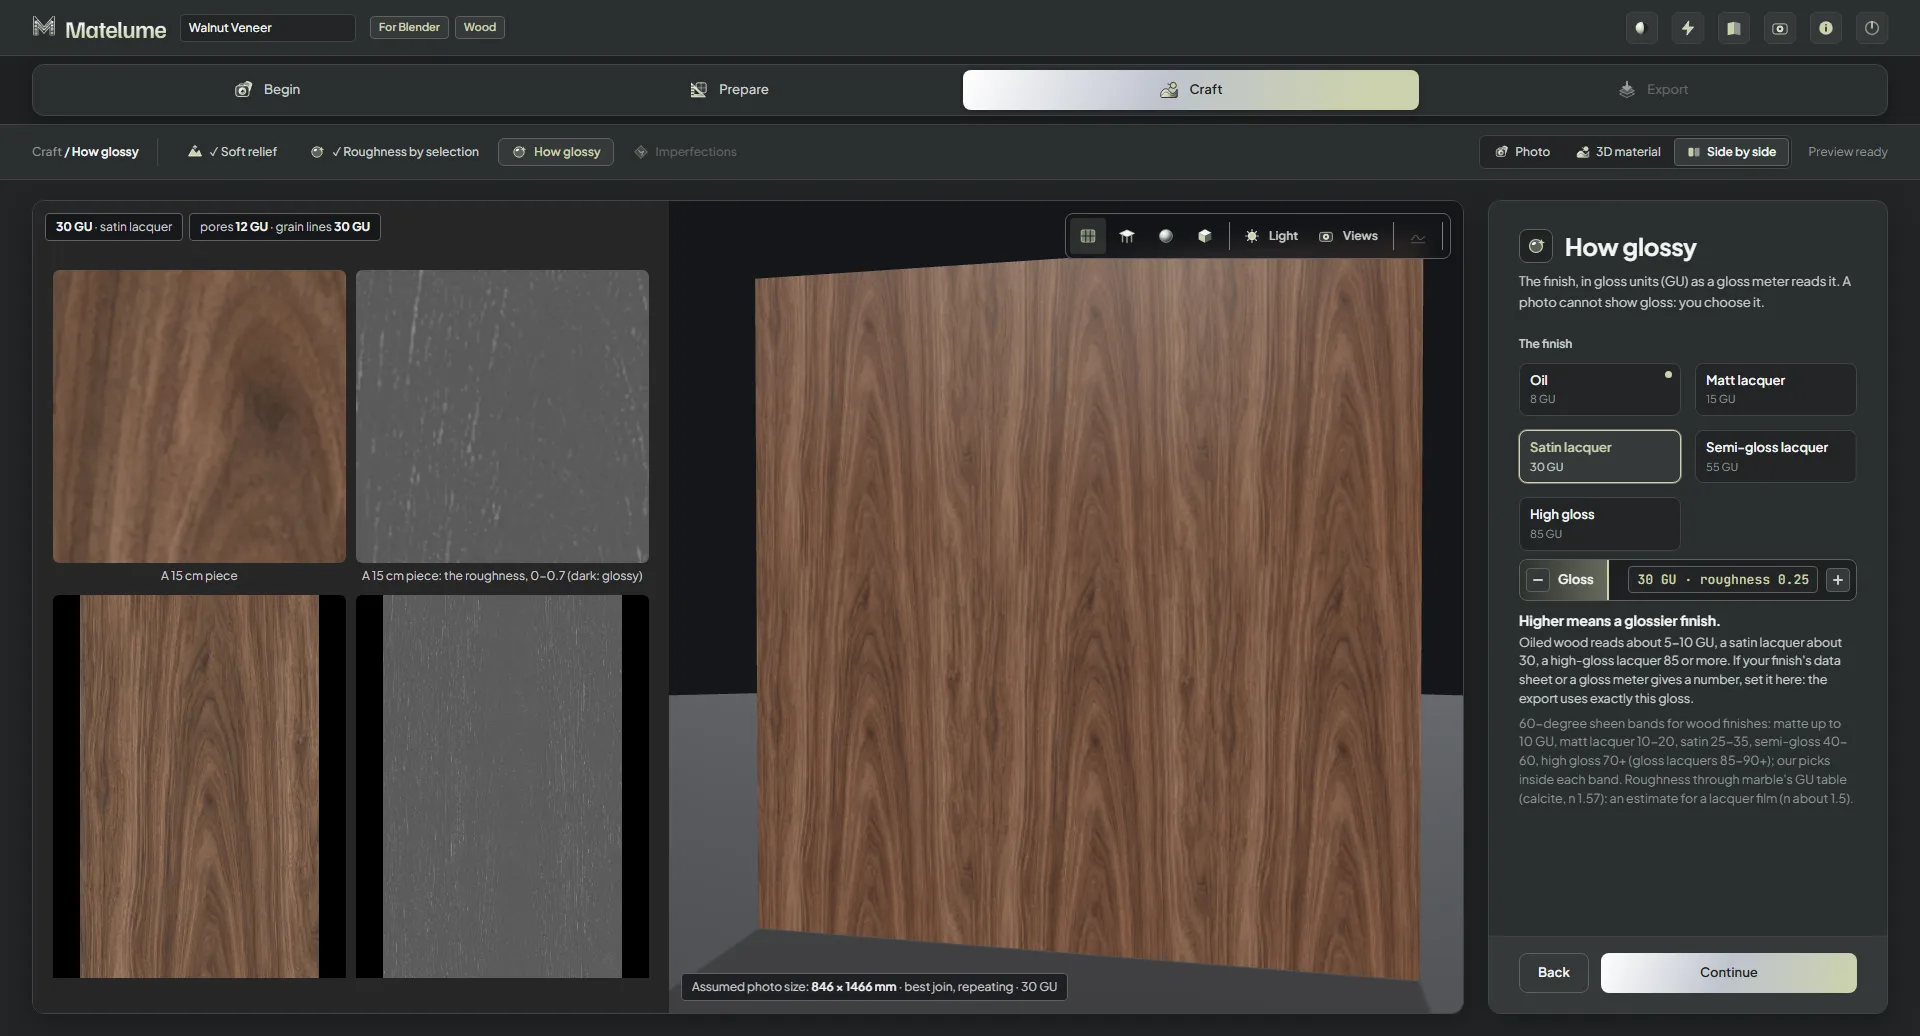
How glossy with Satin lacquer, 30 gloss units, and the 3D wall showing a soft sheen.
Follow the wood workflow · 26 app views
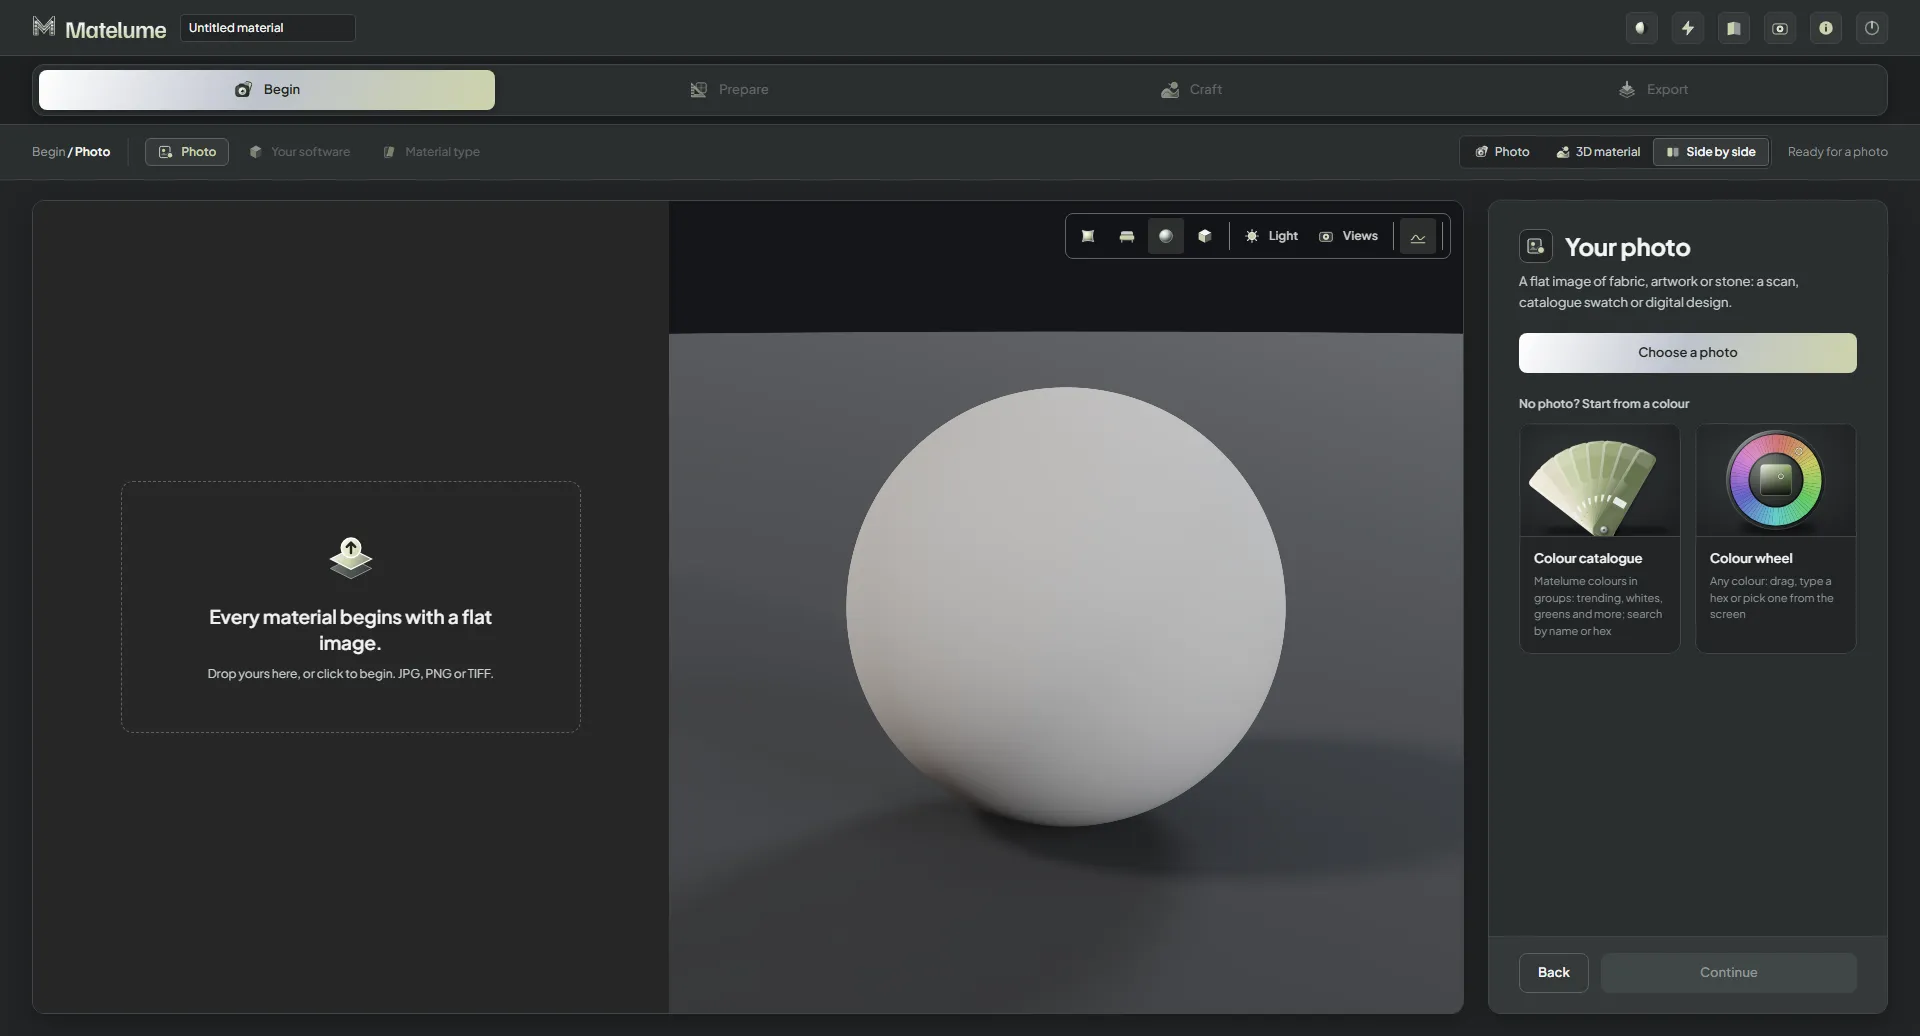
Matelume before anything is chosen: the empty start screen with a drop zone for a flat image and the 3D sphere waiting.
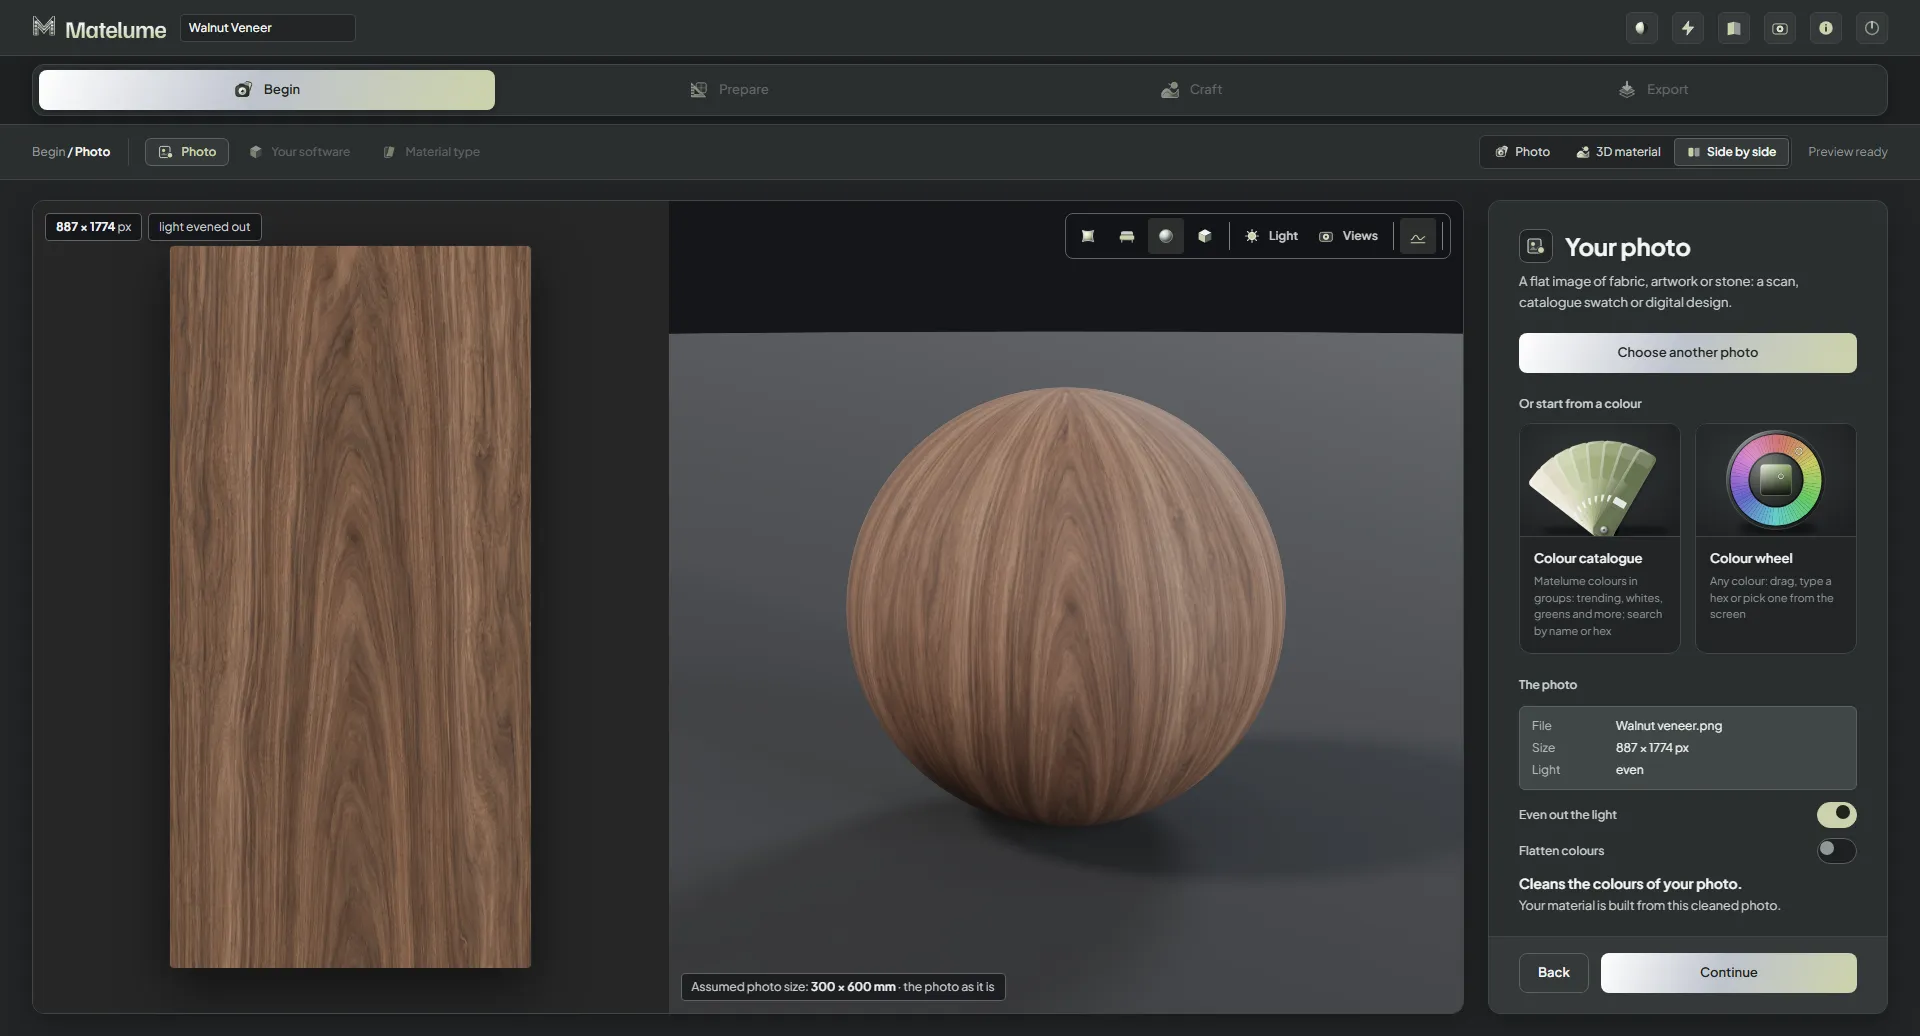
The photo step with "Walnut veneer.png" added: the photo on the left and the walnut on the 3D sphere on the right.
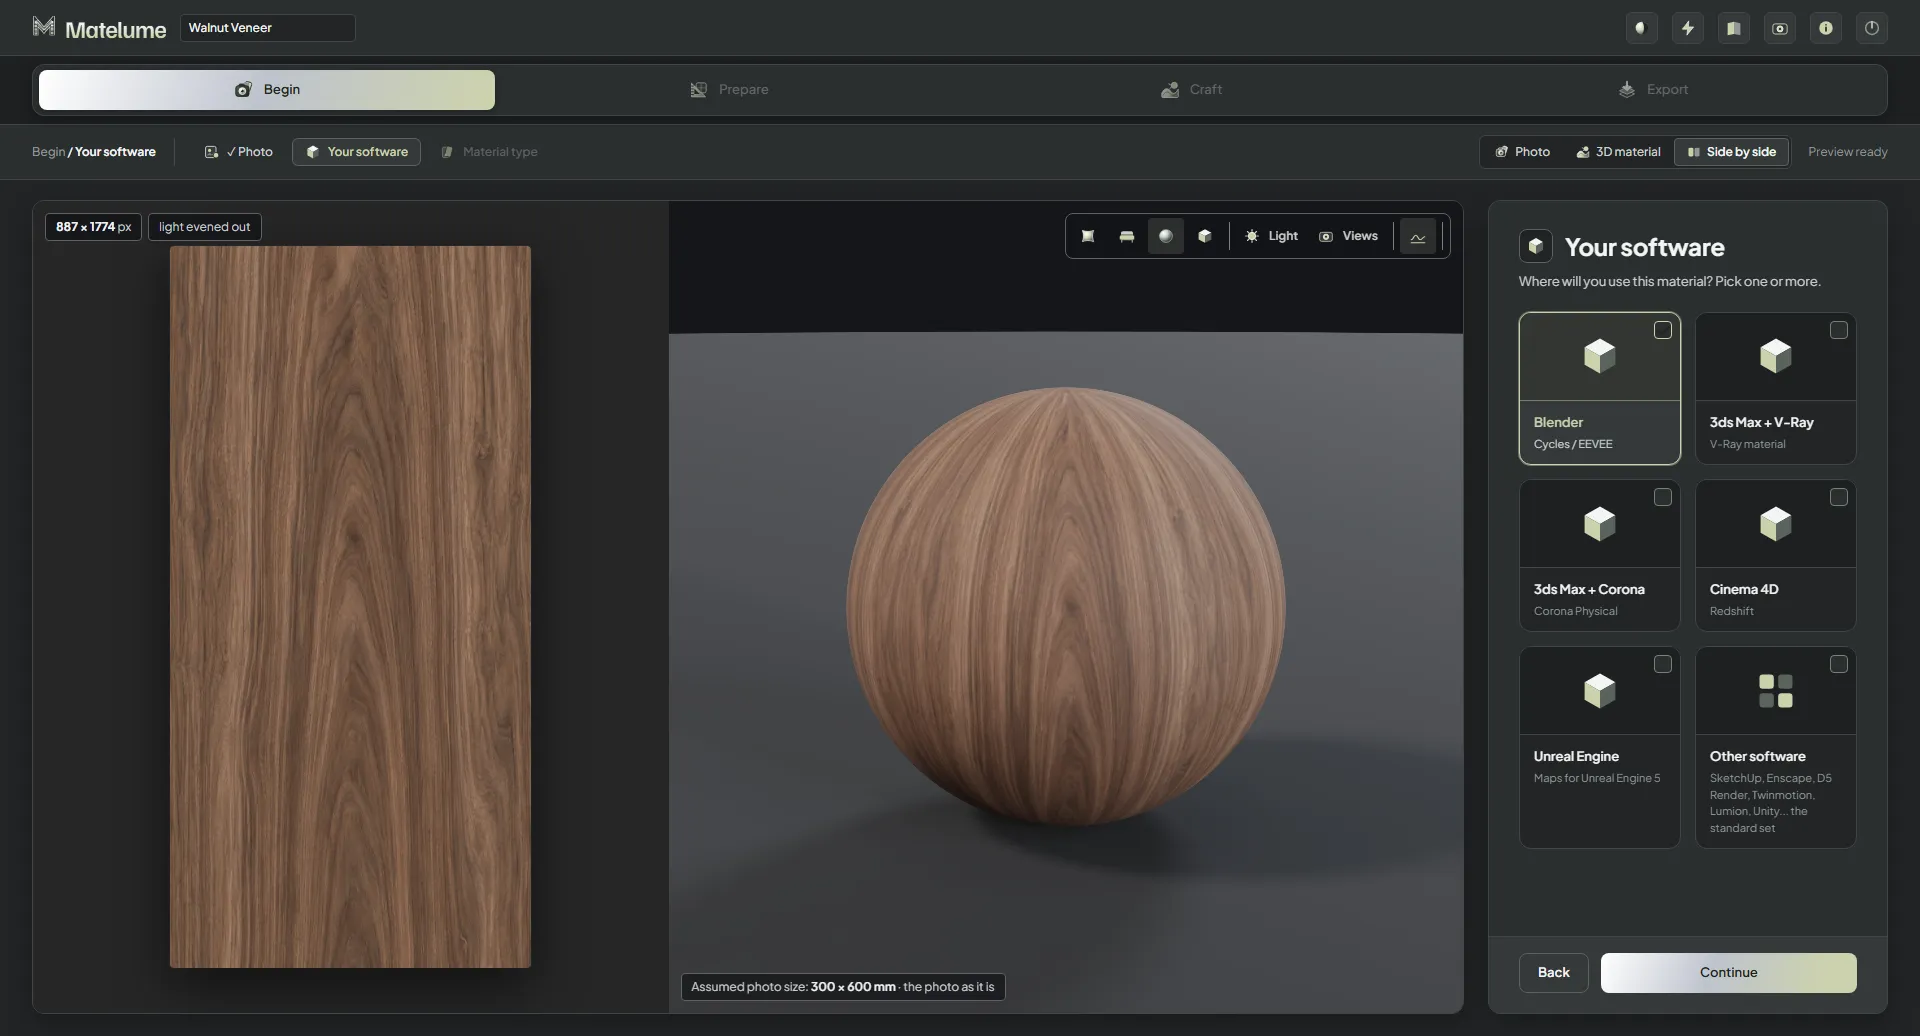
The Your software step: pick the program the maps are for, here Blender.
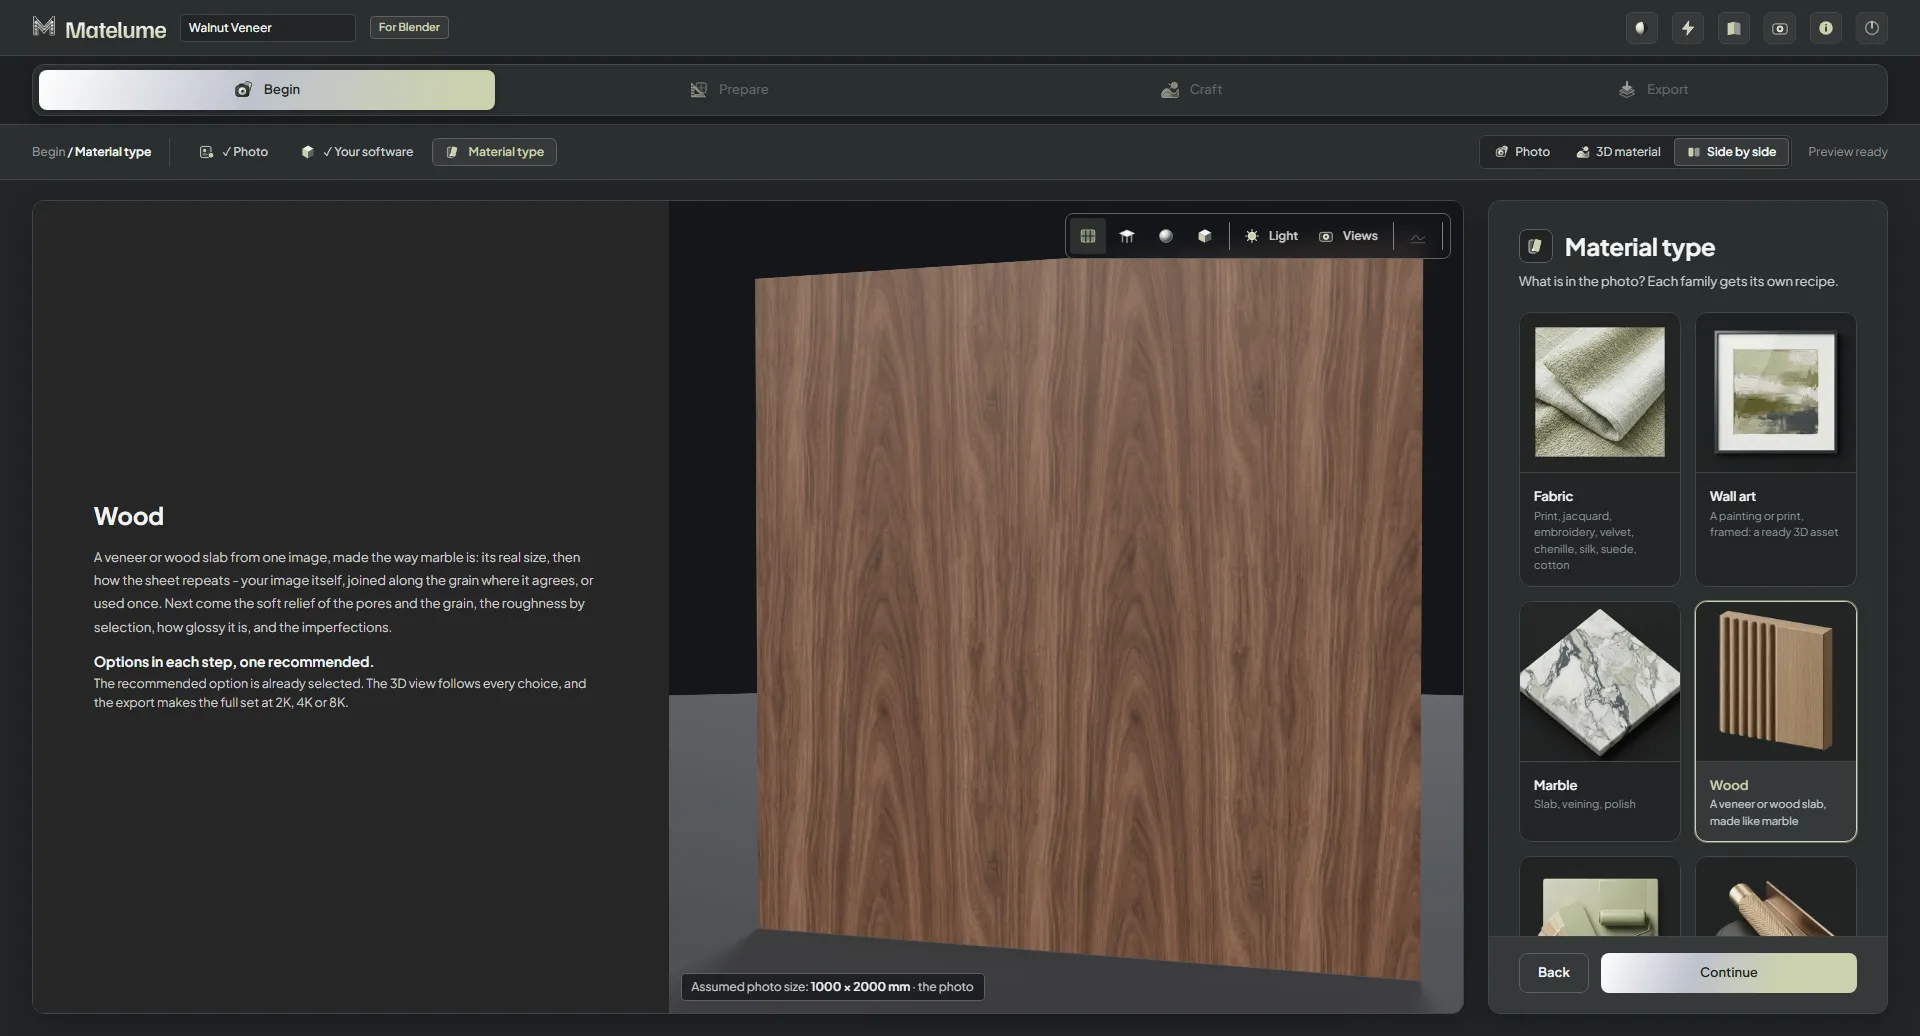
The Material type step with Wood chosen; the 3D view shows a veneered wall.
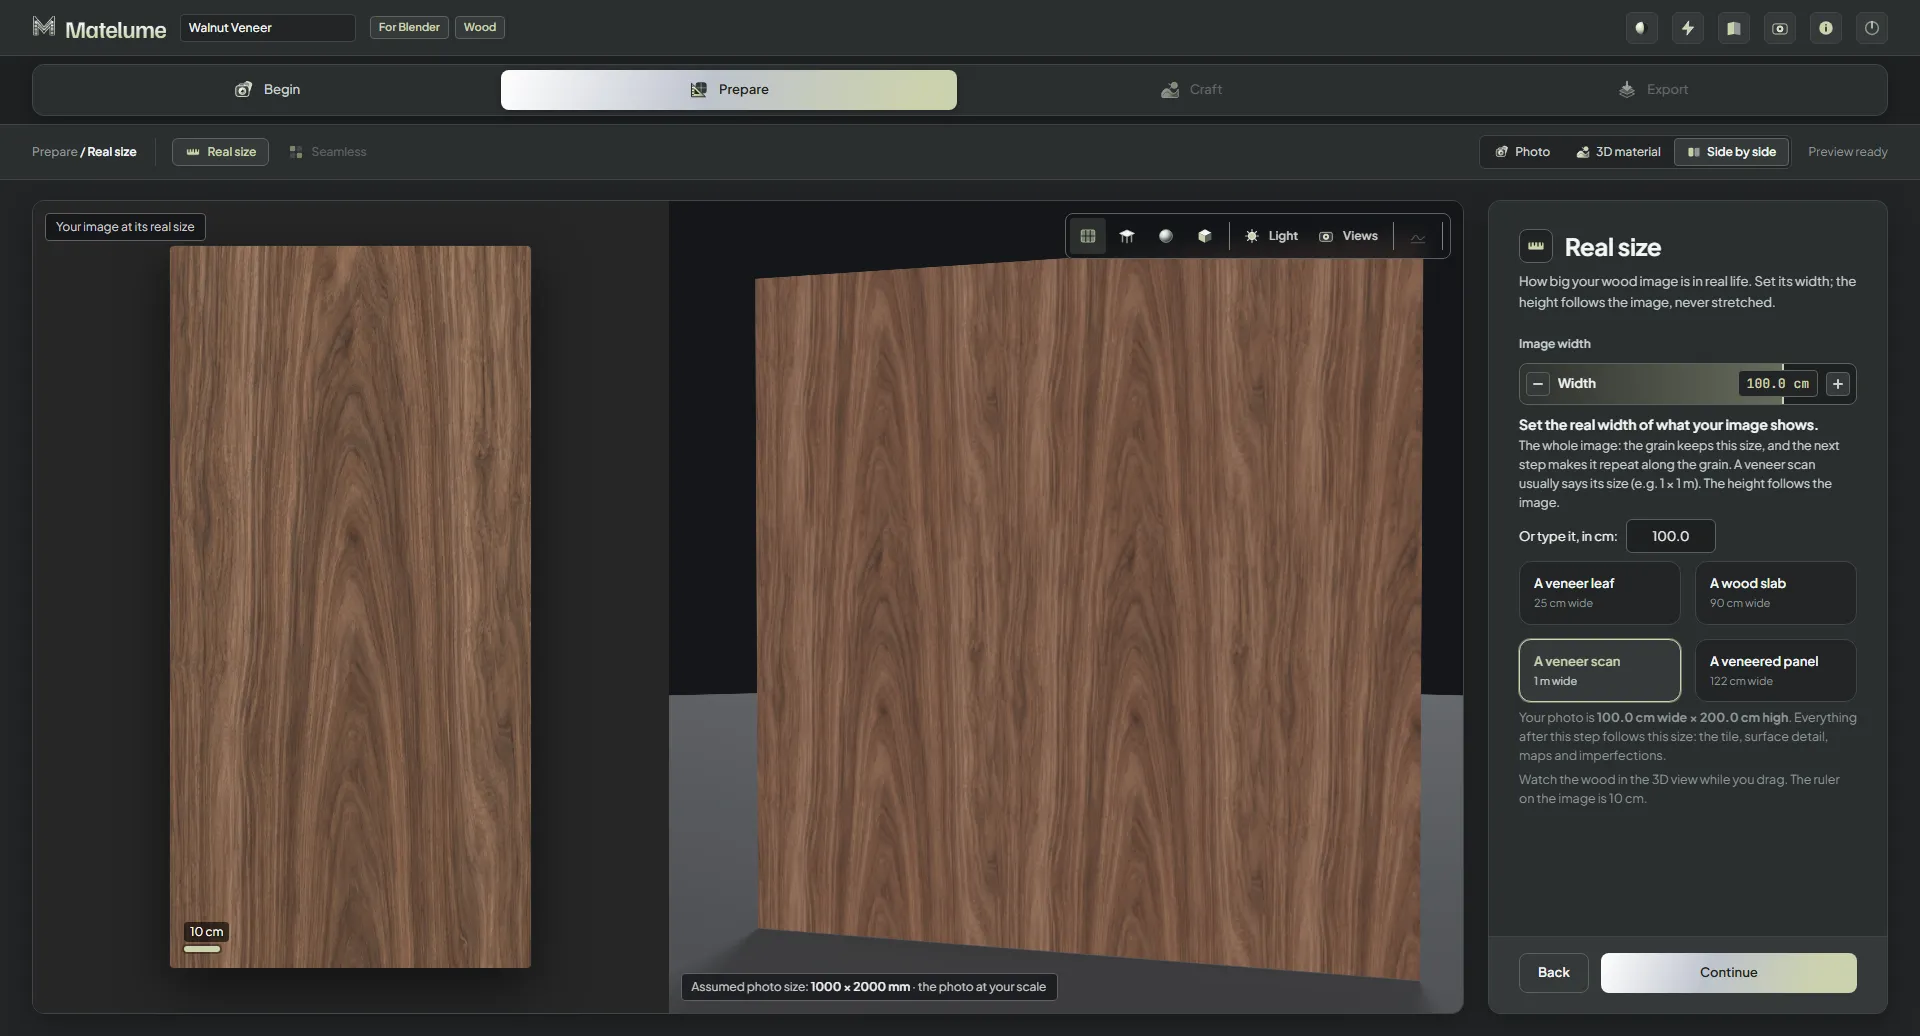
The Real size step: how wide the veneer really is, with quick size cards and the photo shown at true scale.
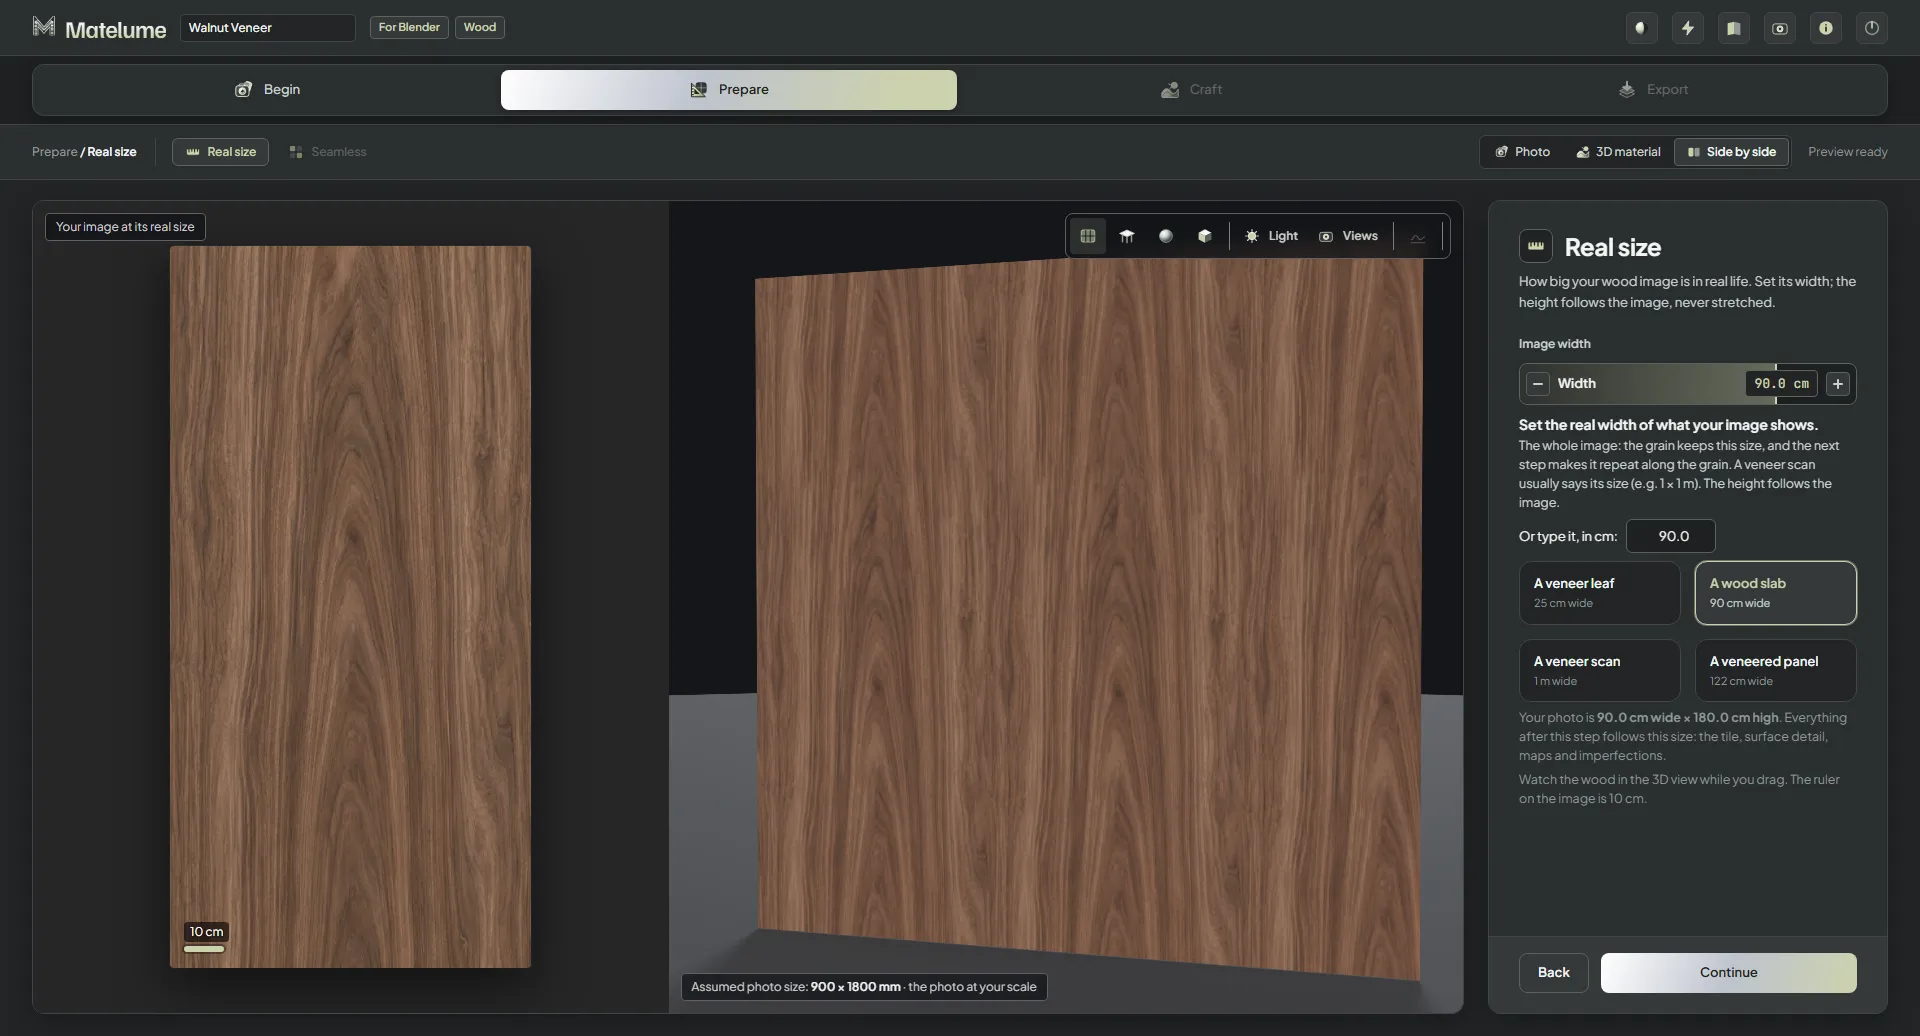
Real size with "A wood slab, 90 cm wide" picked; the wall in the 3D view follows the new size.
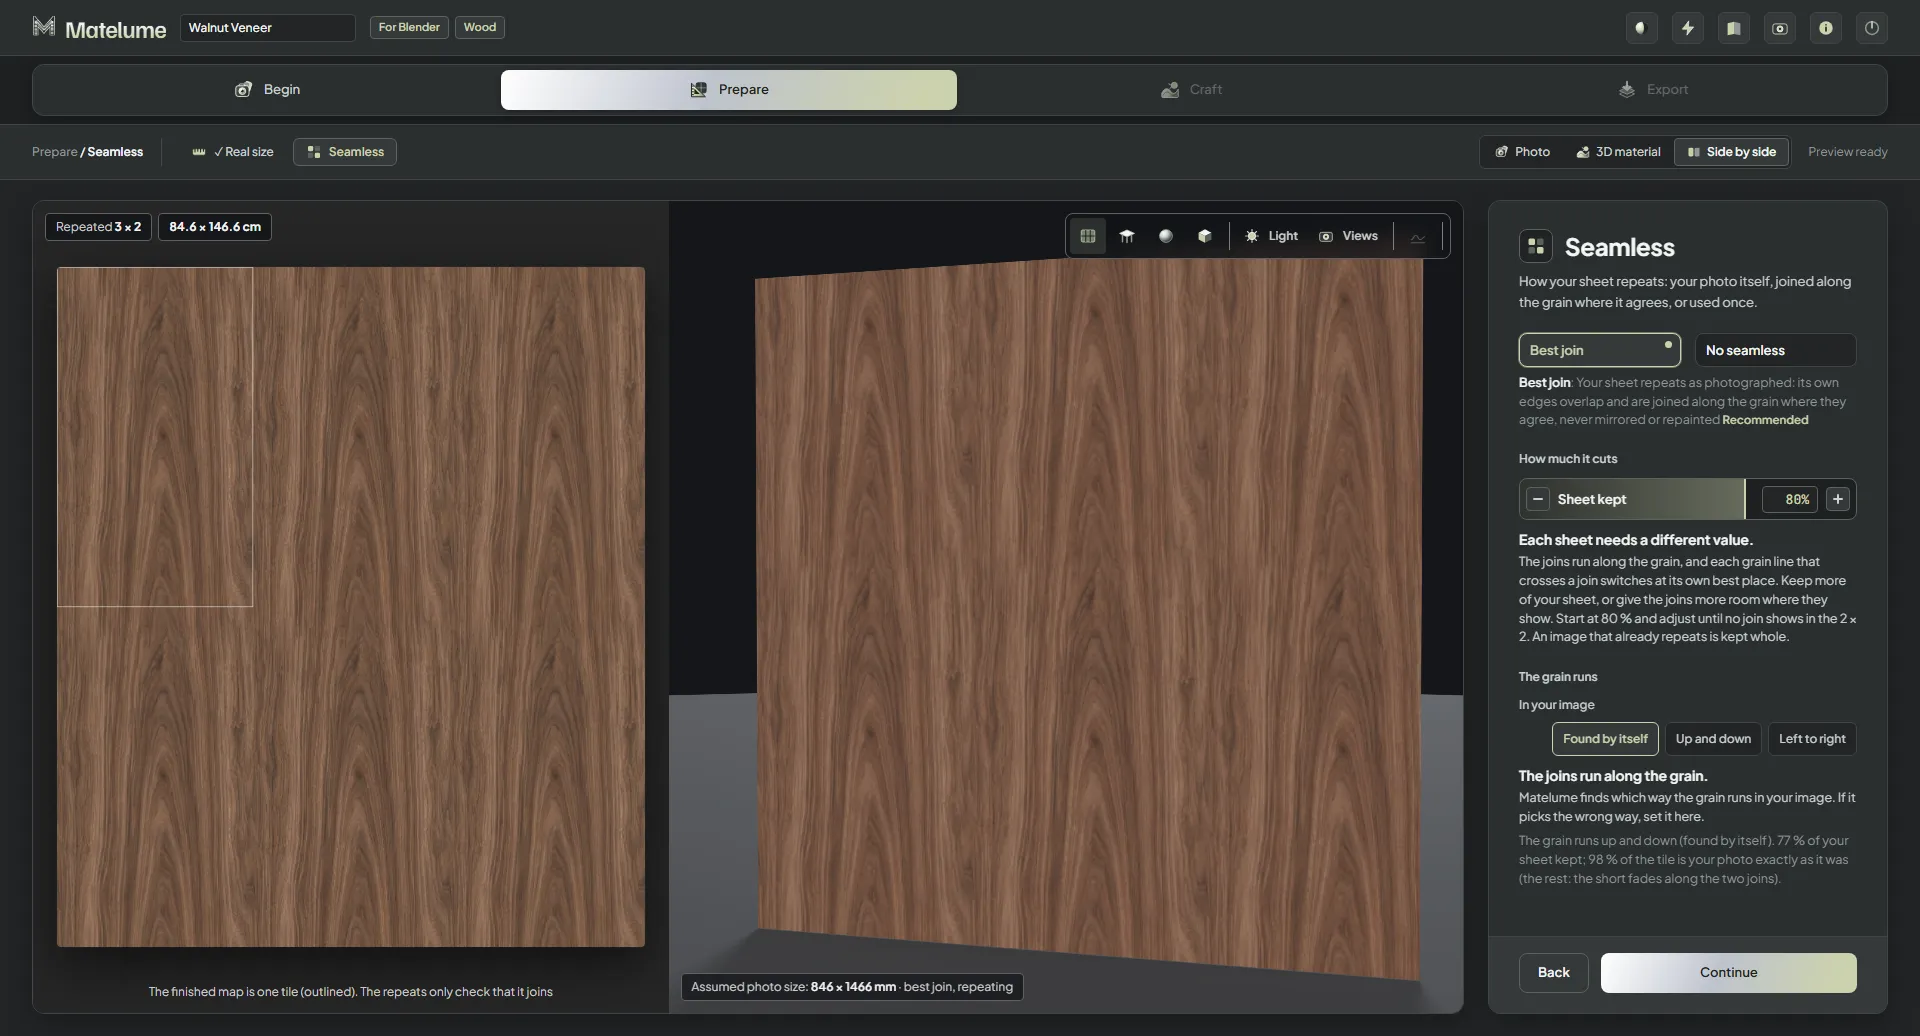
The Seamless step with Best join: the sheet kept slider and the 2 x 2 test where the joins follow the grain.
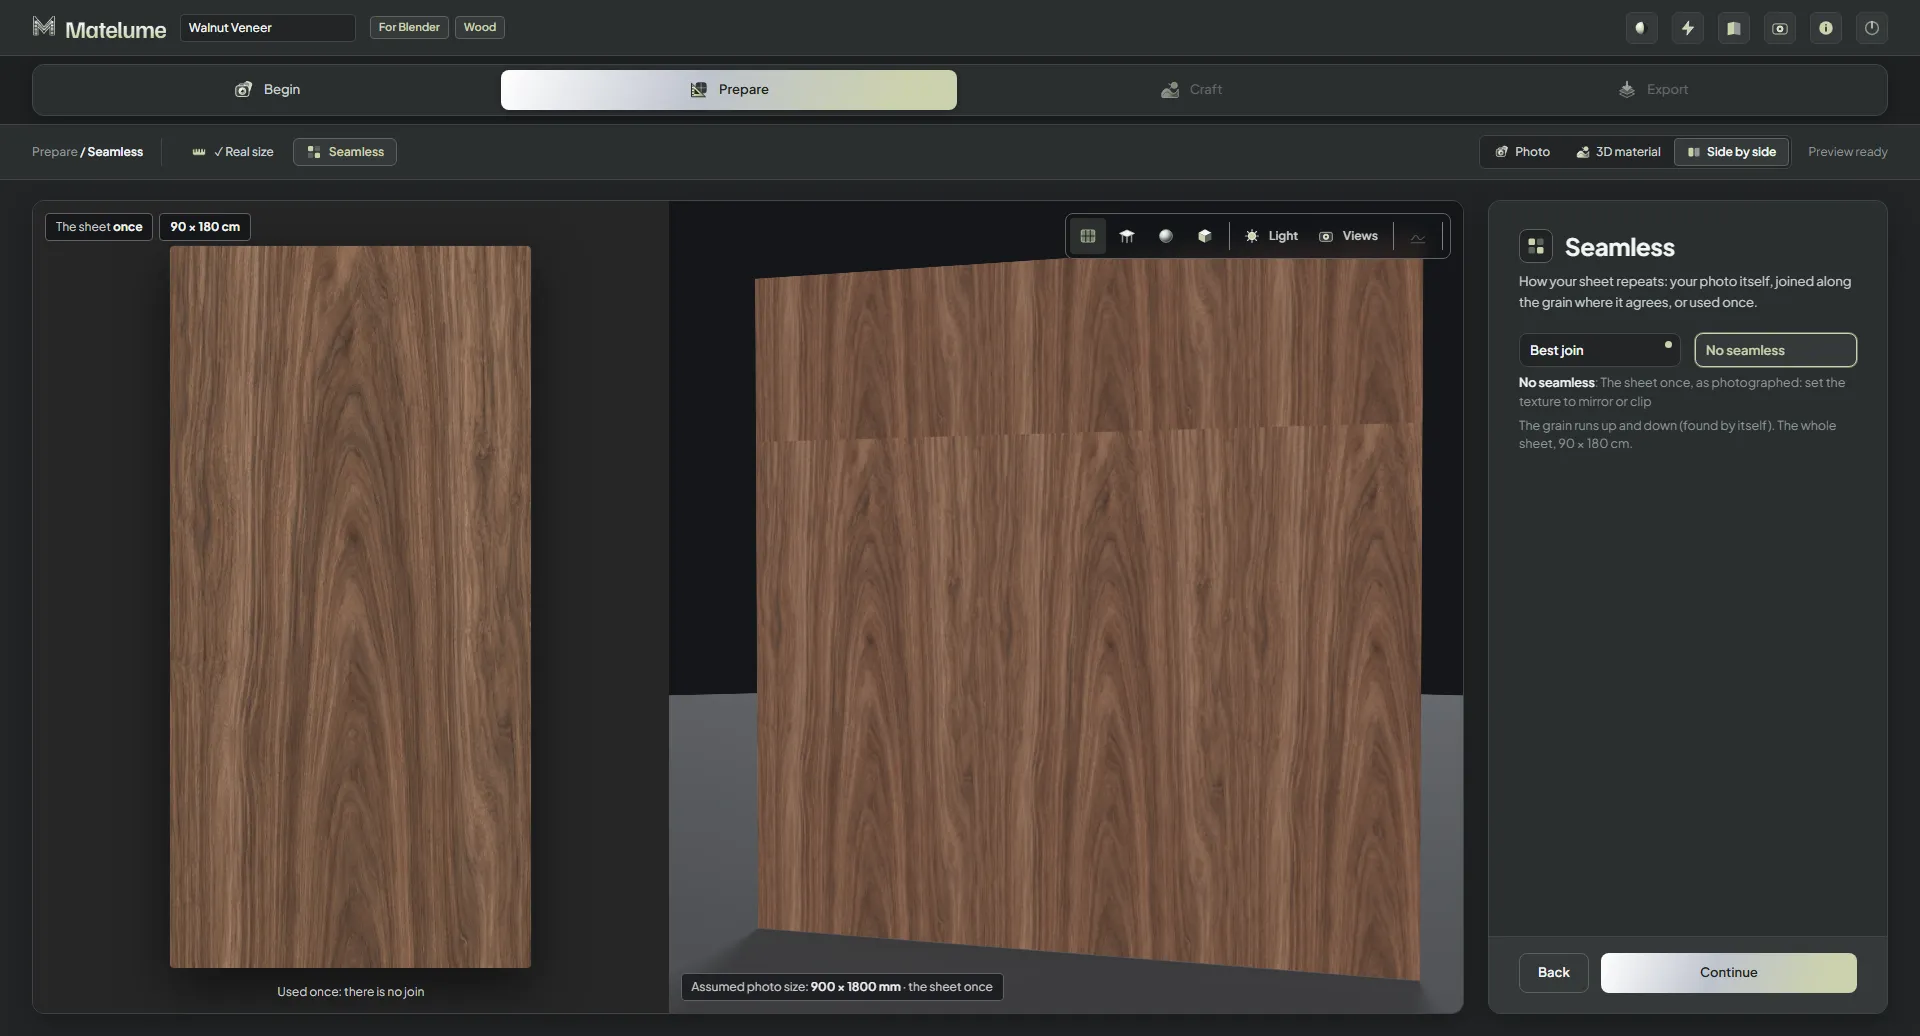
Seamless set to No seamless, so the sheet is used once without any join.
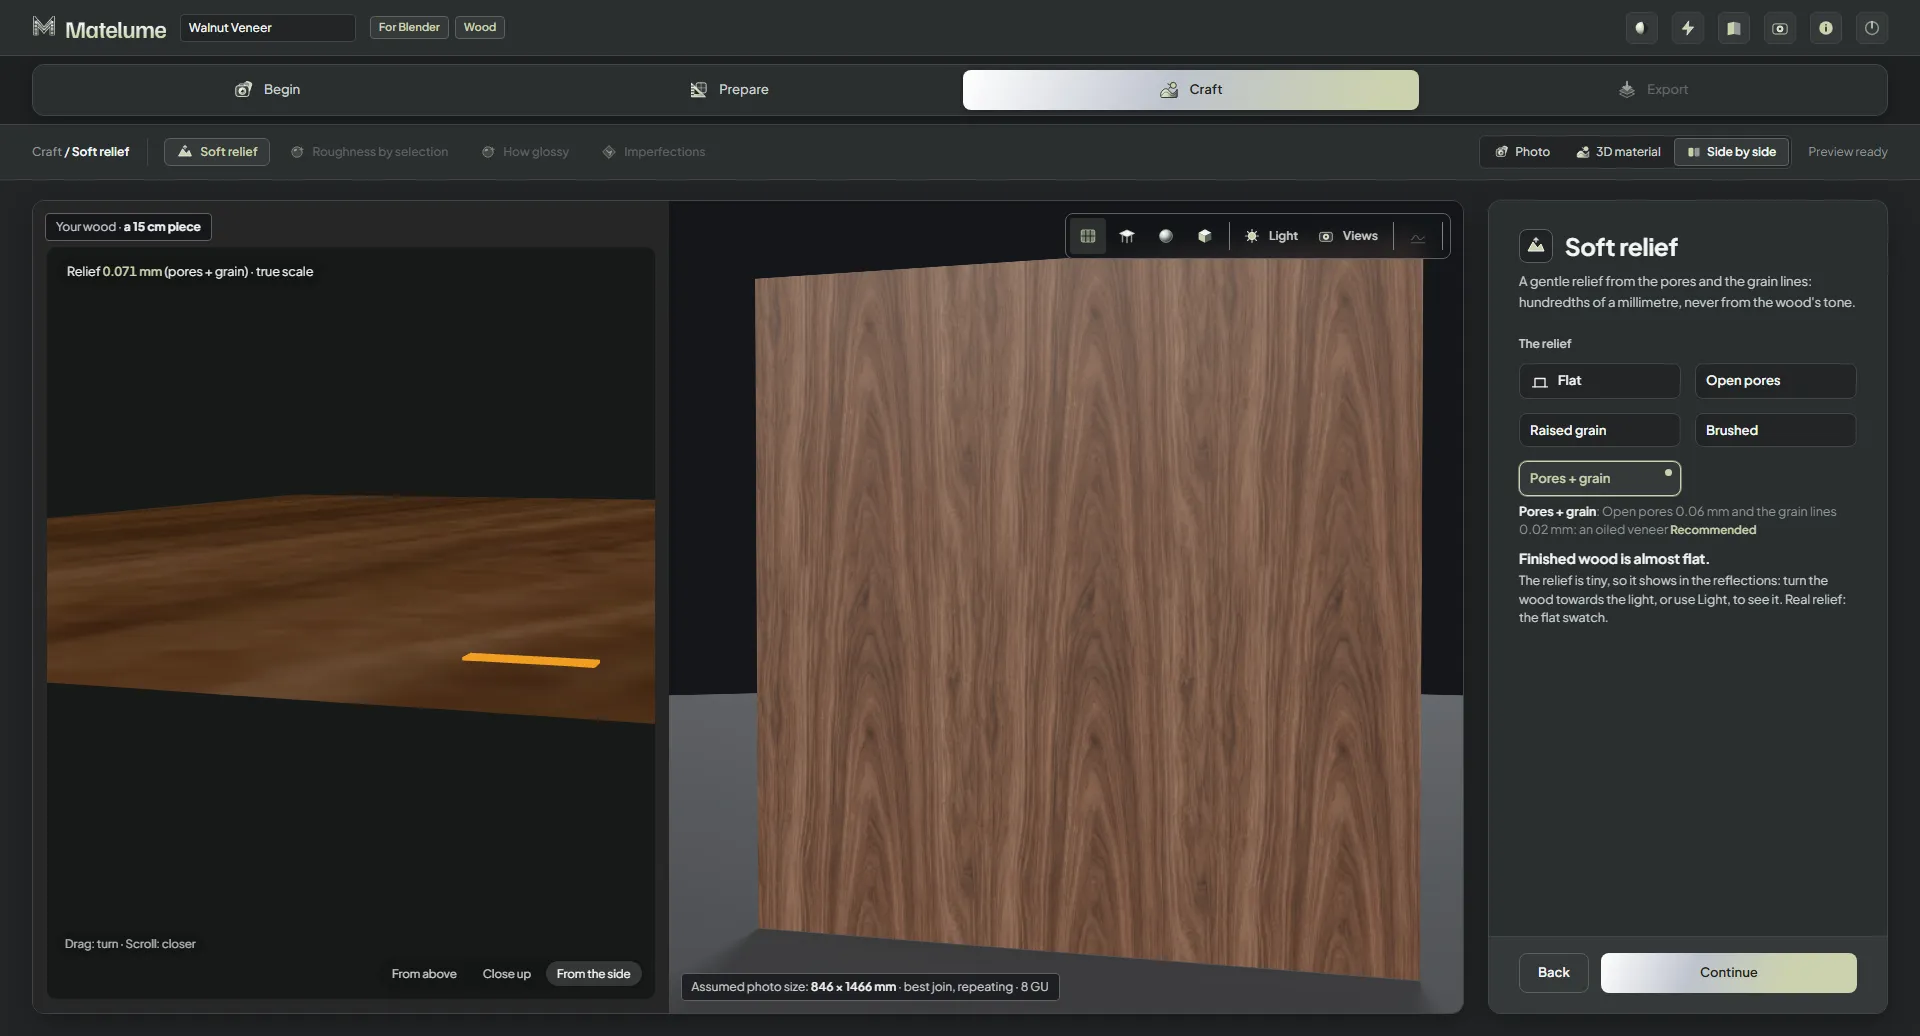
The Soft relief step with Pores + grain: a gentle relief seen in a raking light on the left.
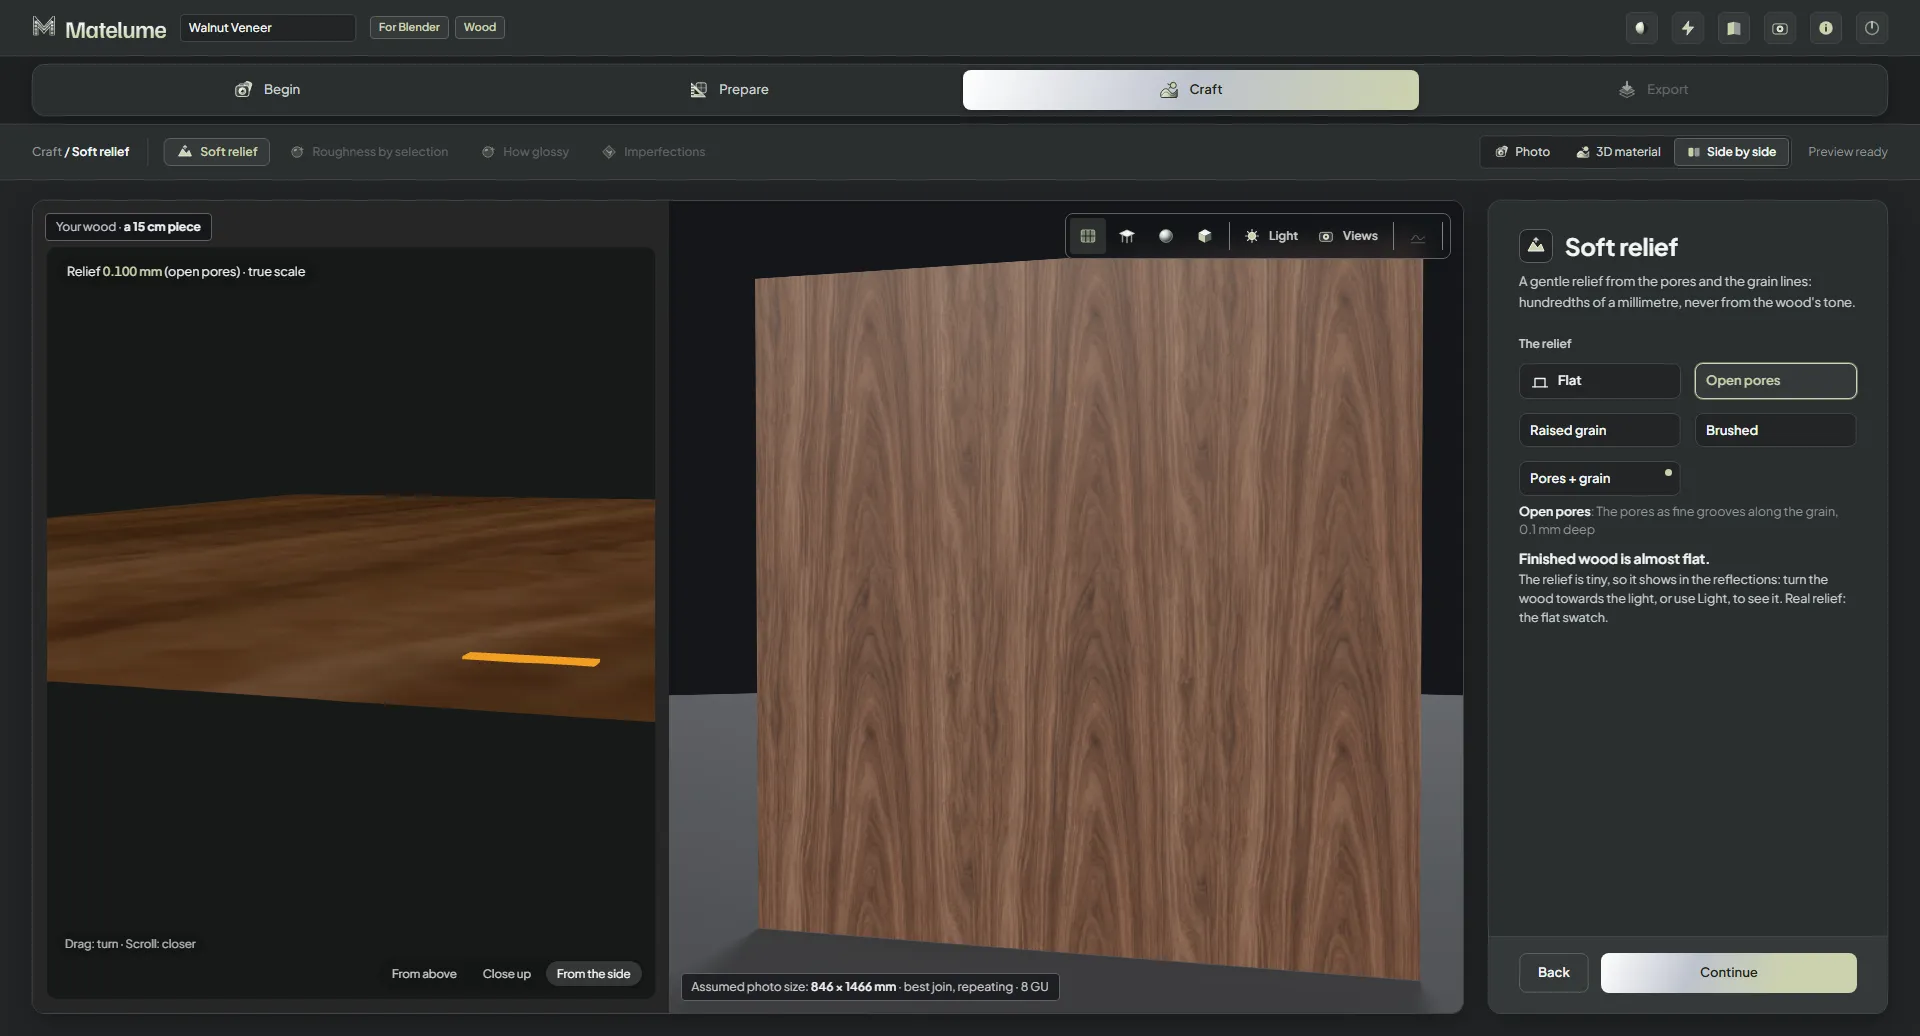
Soft relief changed to Open pores only; the close-up shows the pores and the wall stays unchanged.
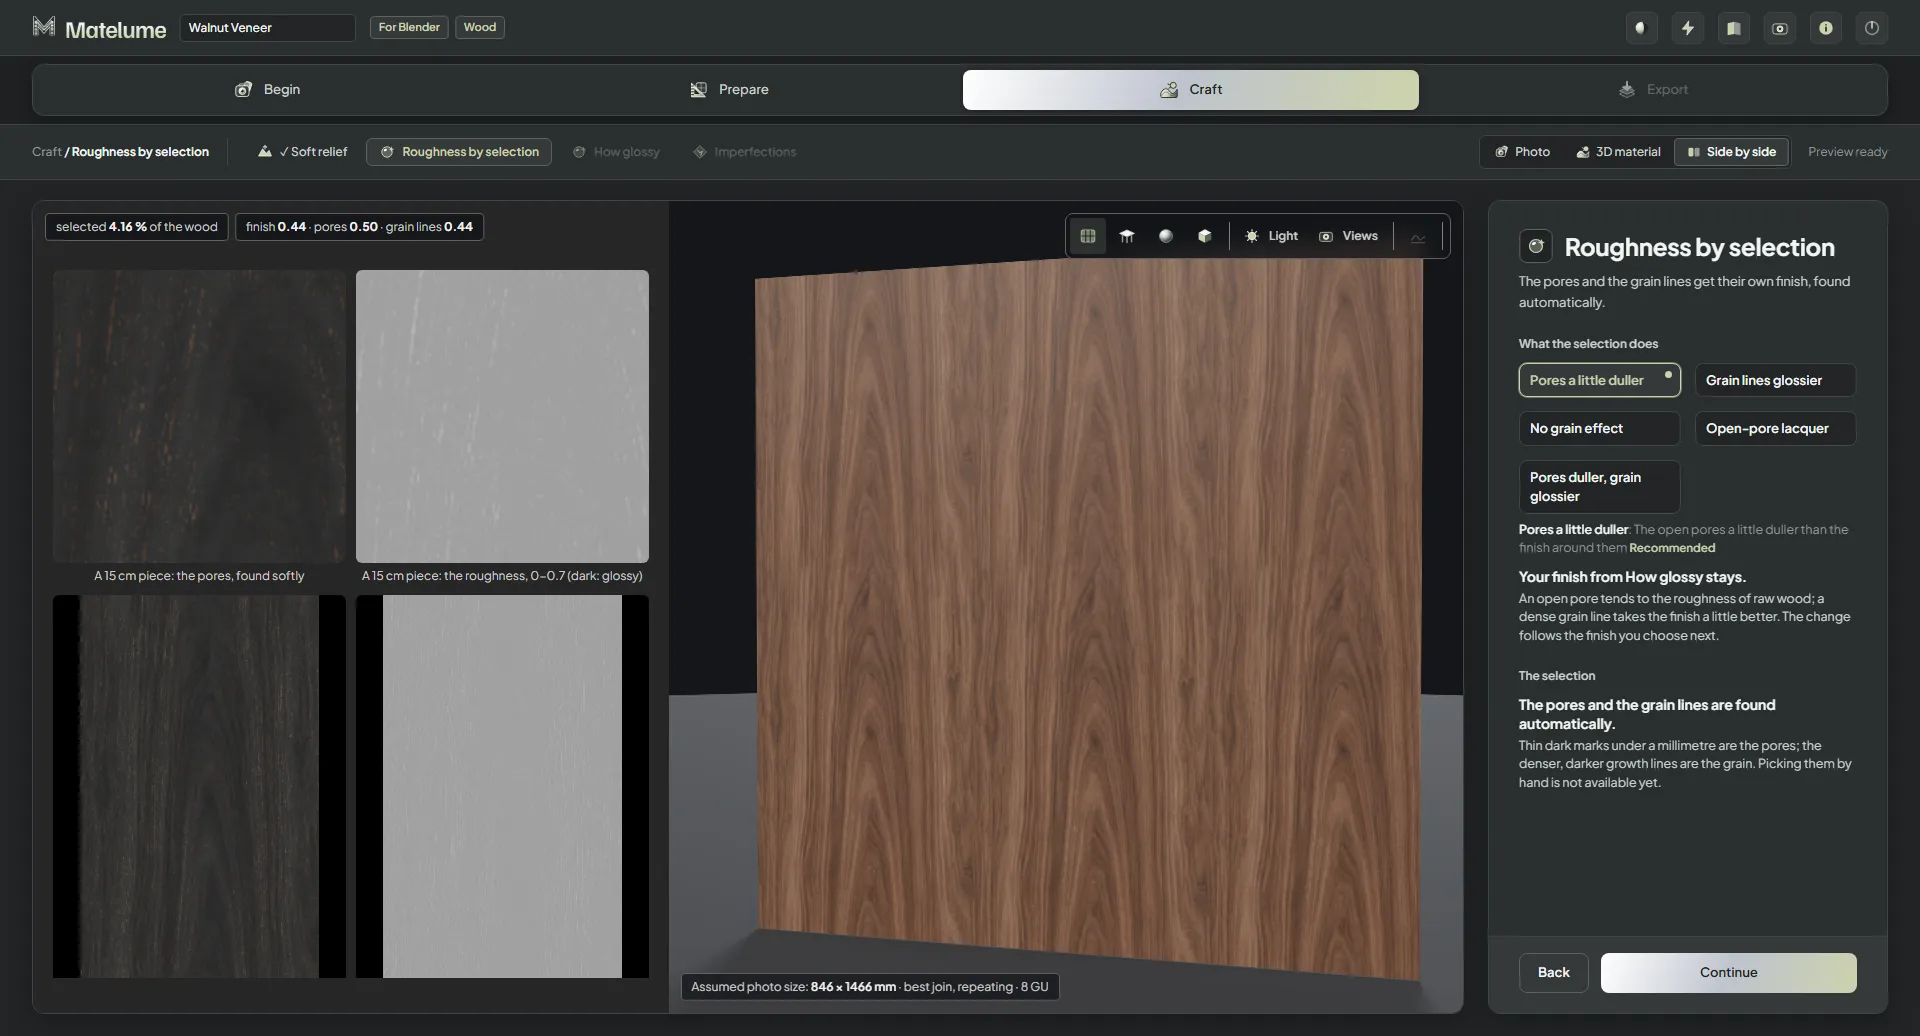
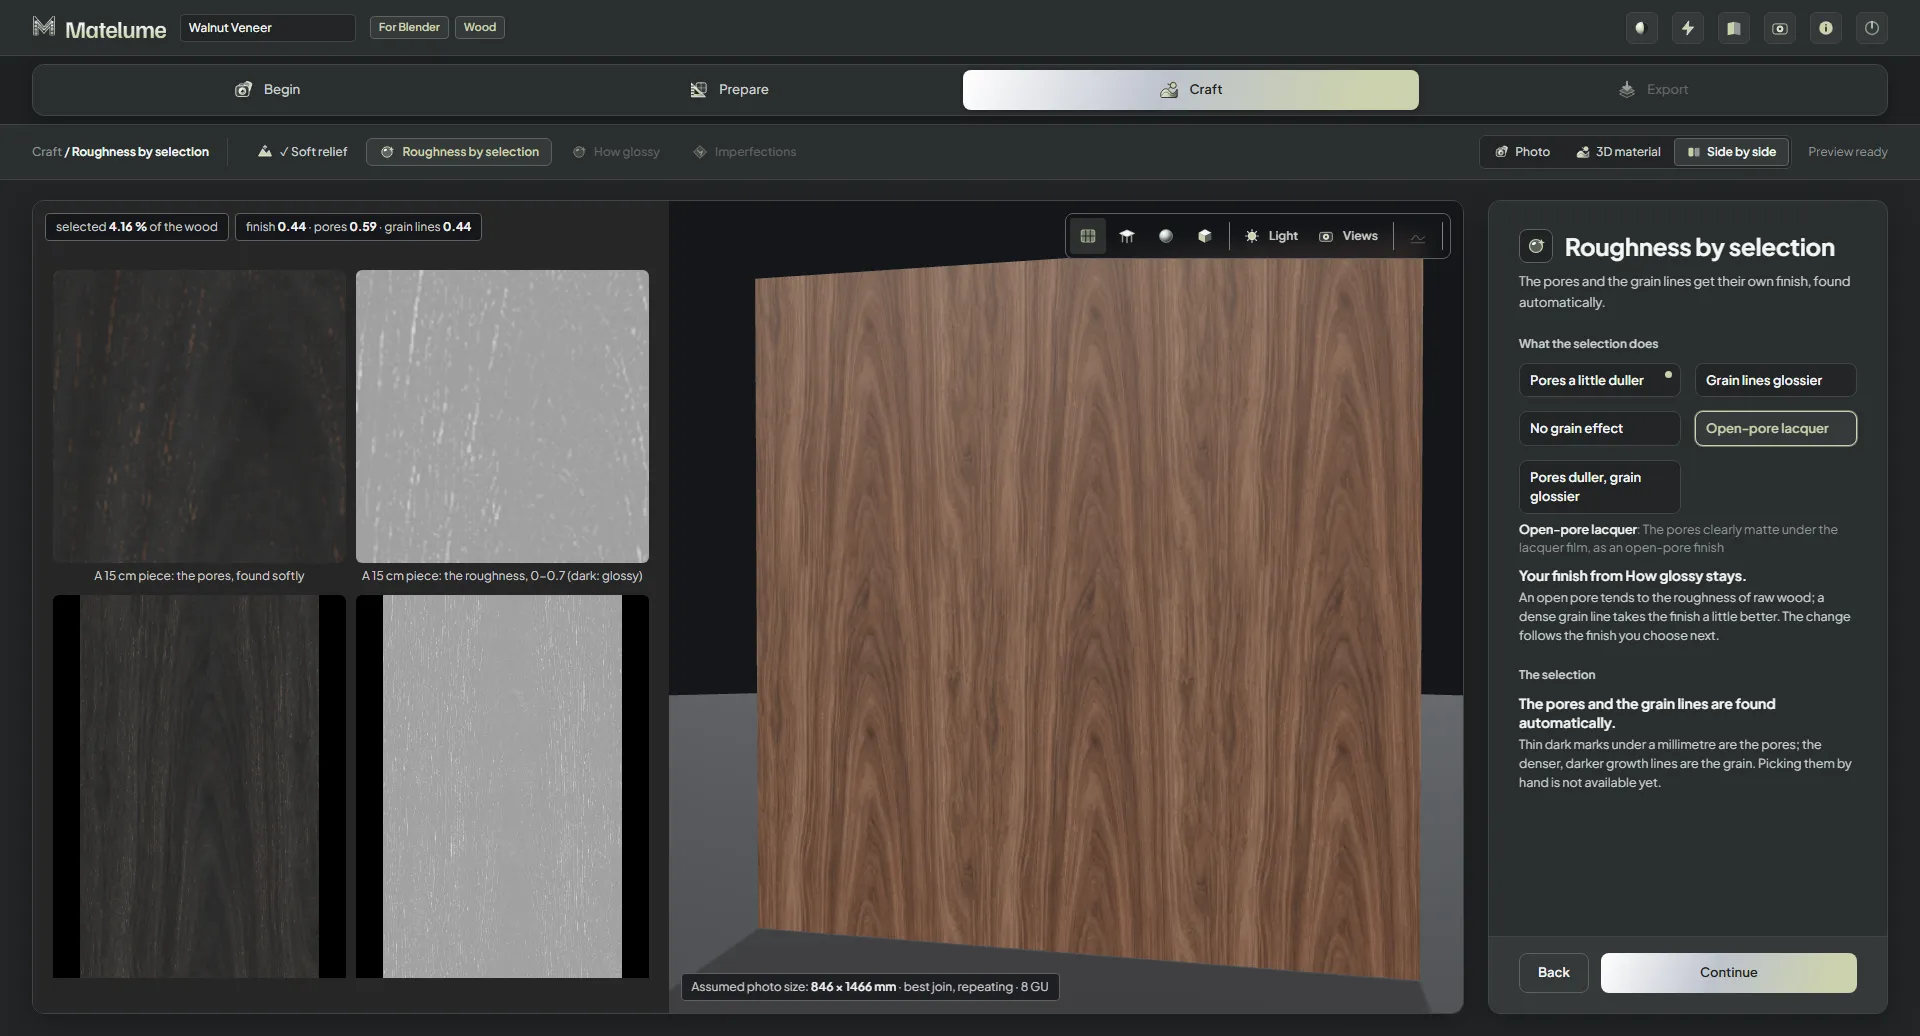
Roughness by selection: the pores and the grain lines can be duller or glossier; the colour and roughness pictures sit side by side.
Roughness by selection set to Open-pore lacquer, shown with the roughness picture.
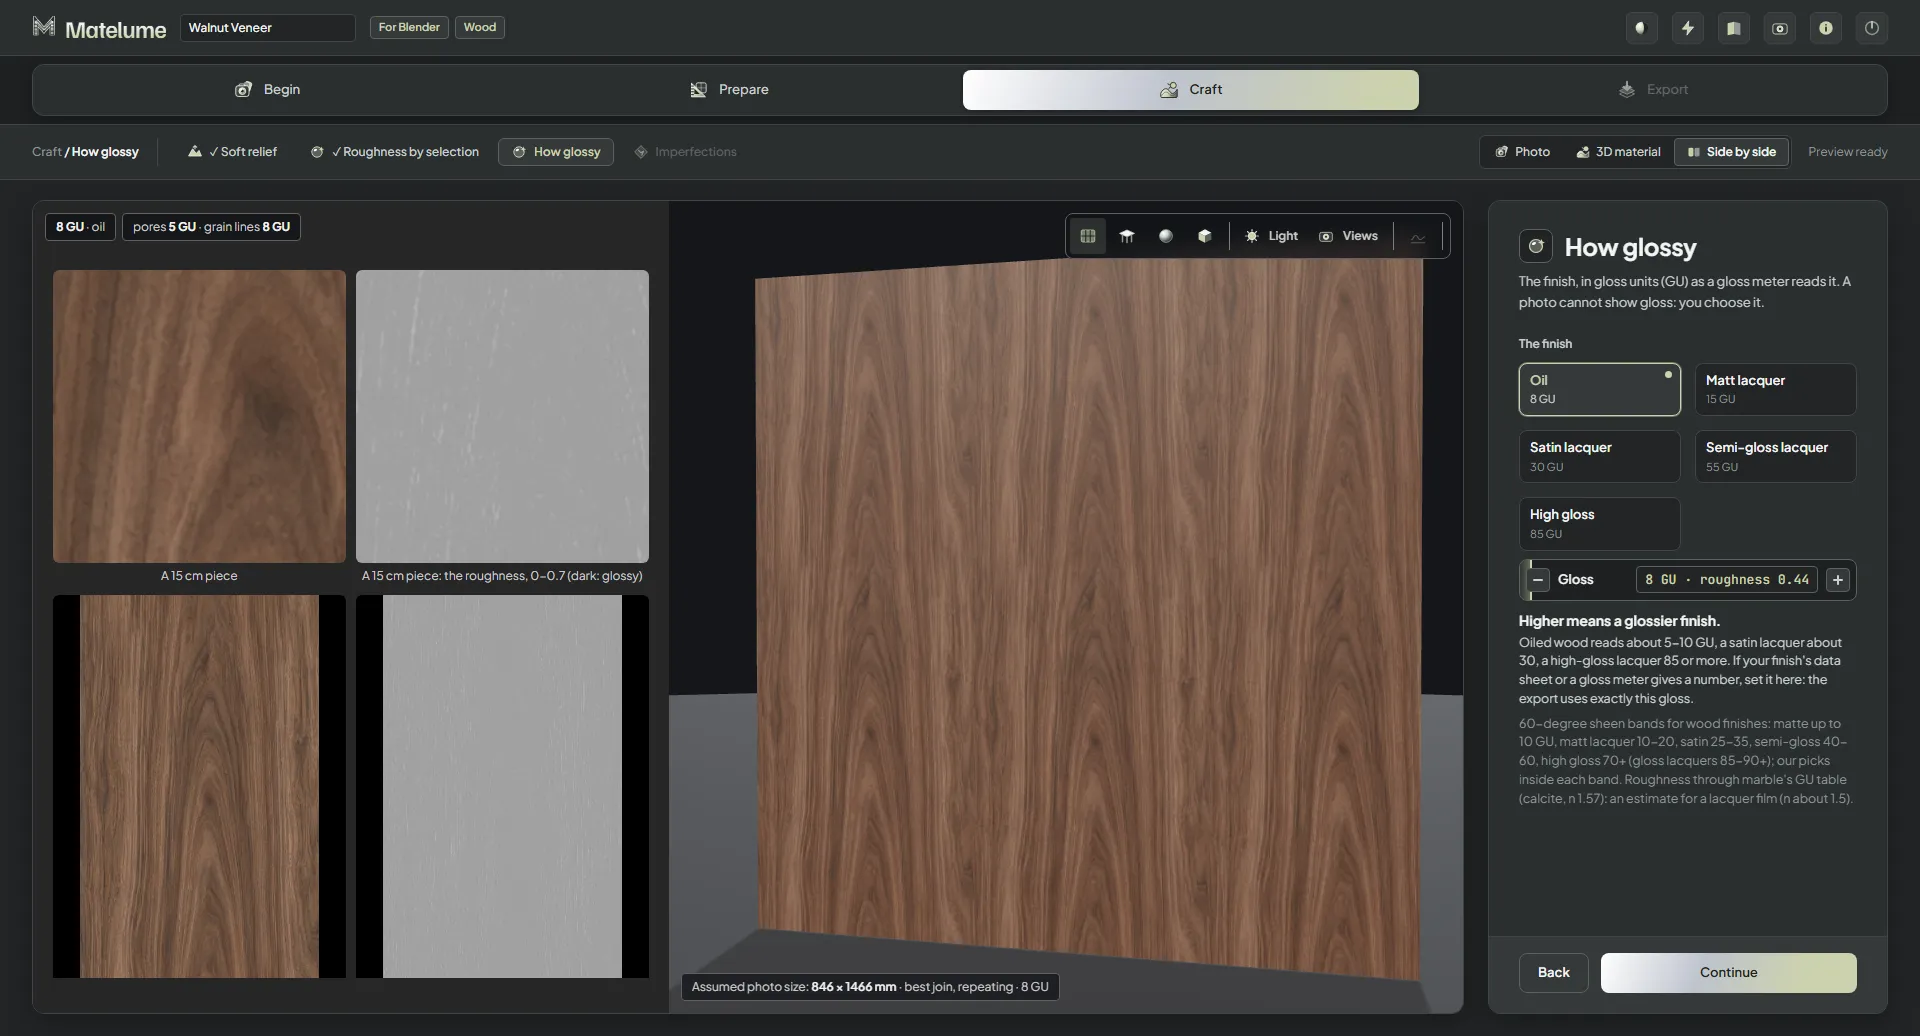
How glossy with Oil, 8 gloss units: a natural, almost matt wood.
How glossy with Satin lacquer, 30 gloss units, and the 3D wall showing a soft sheen.
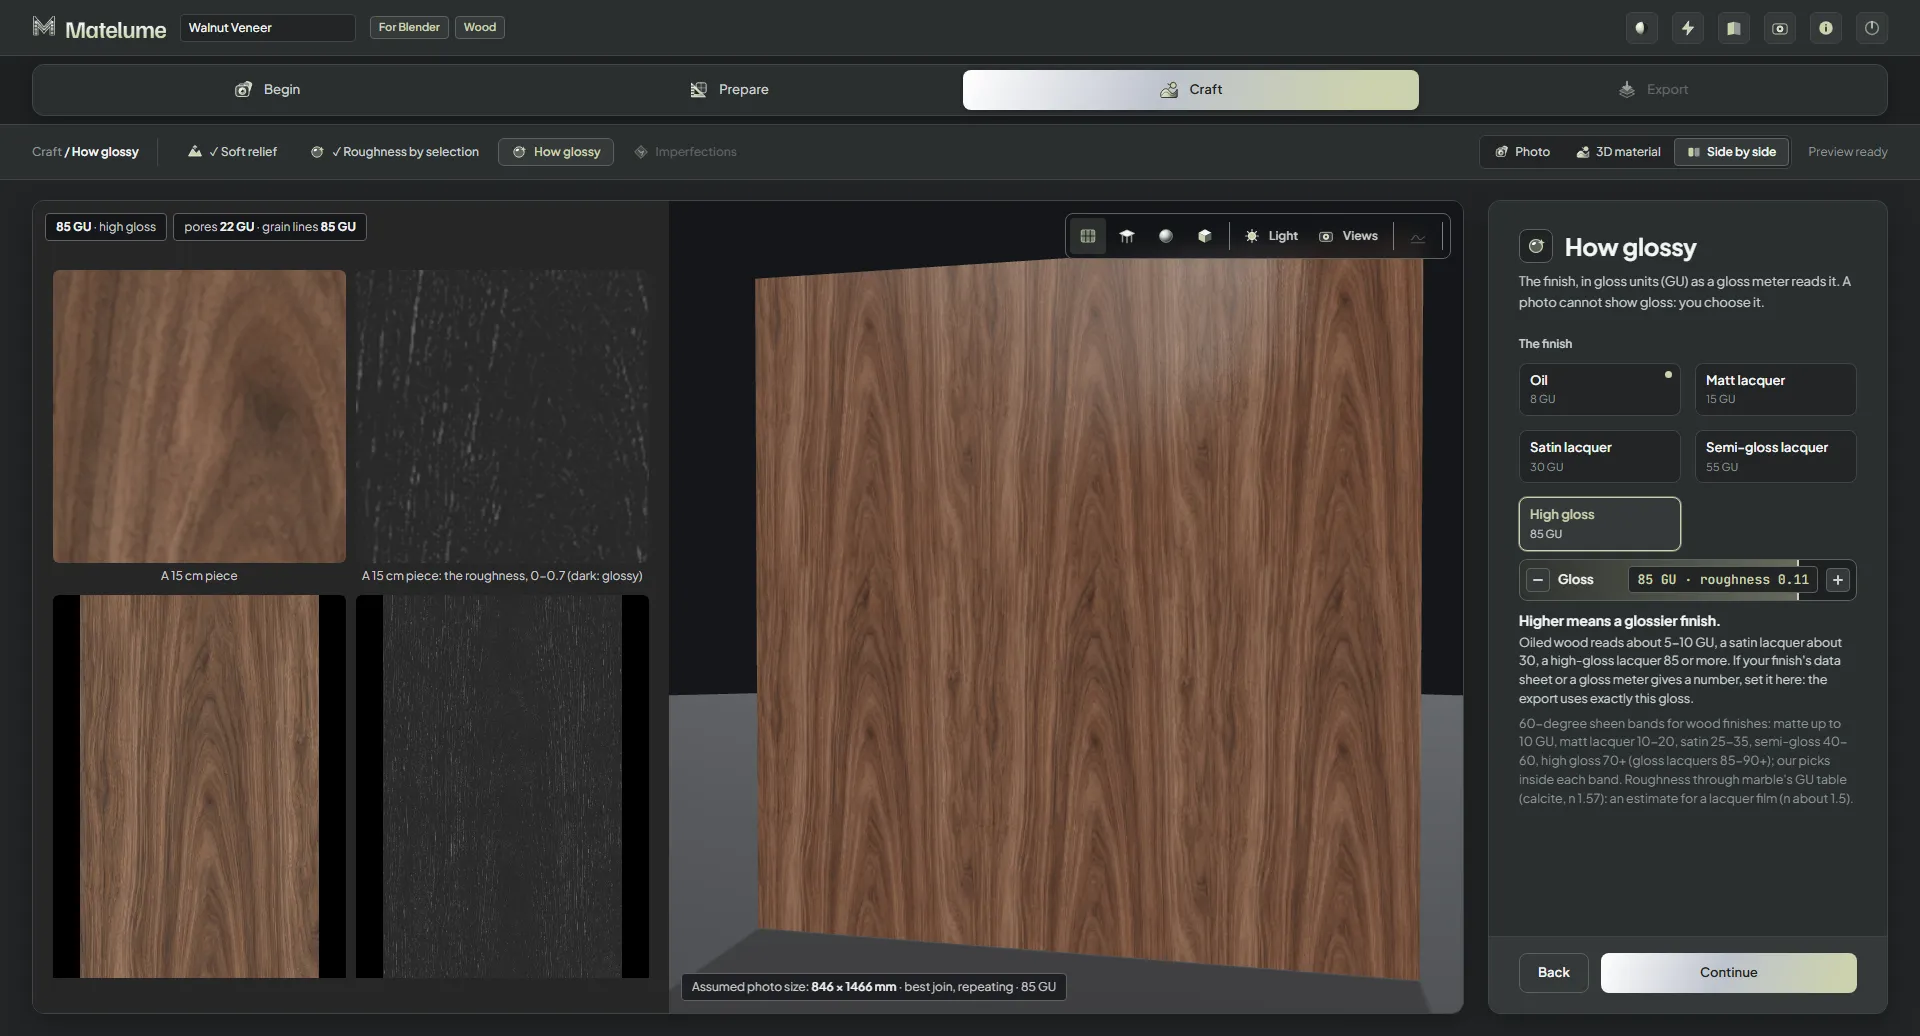
How glossy with High gloss, 85 gloss units: the wall in the 3D view reflects the room.
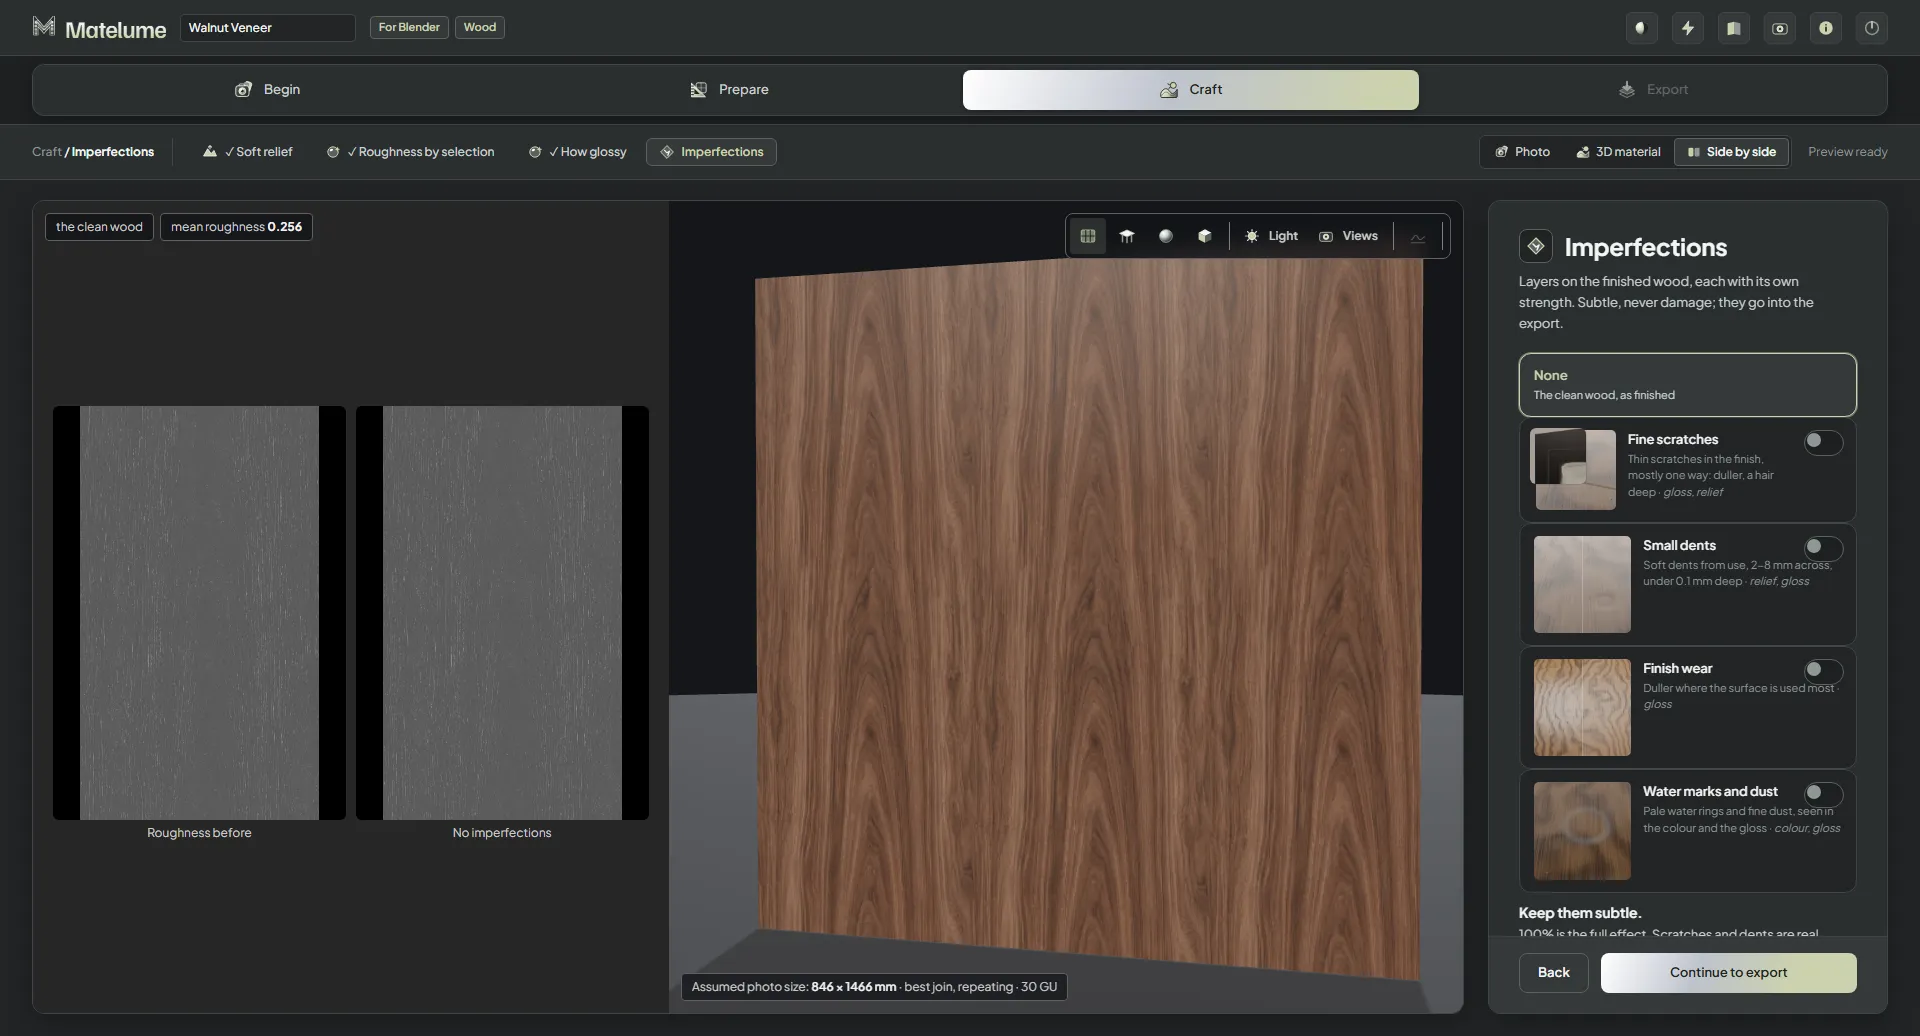
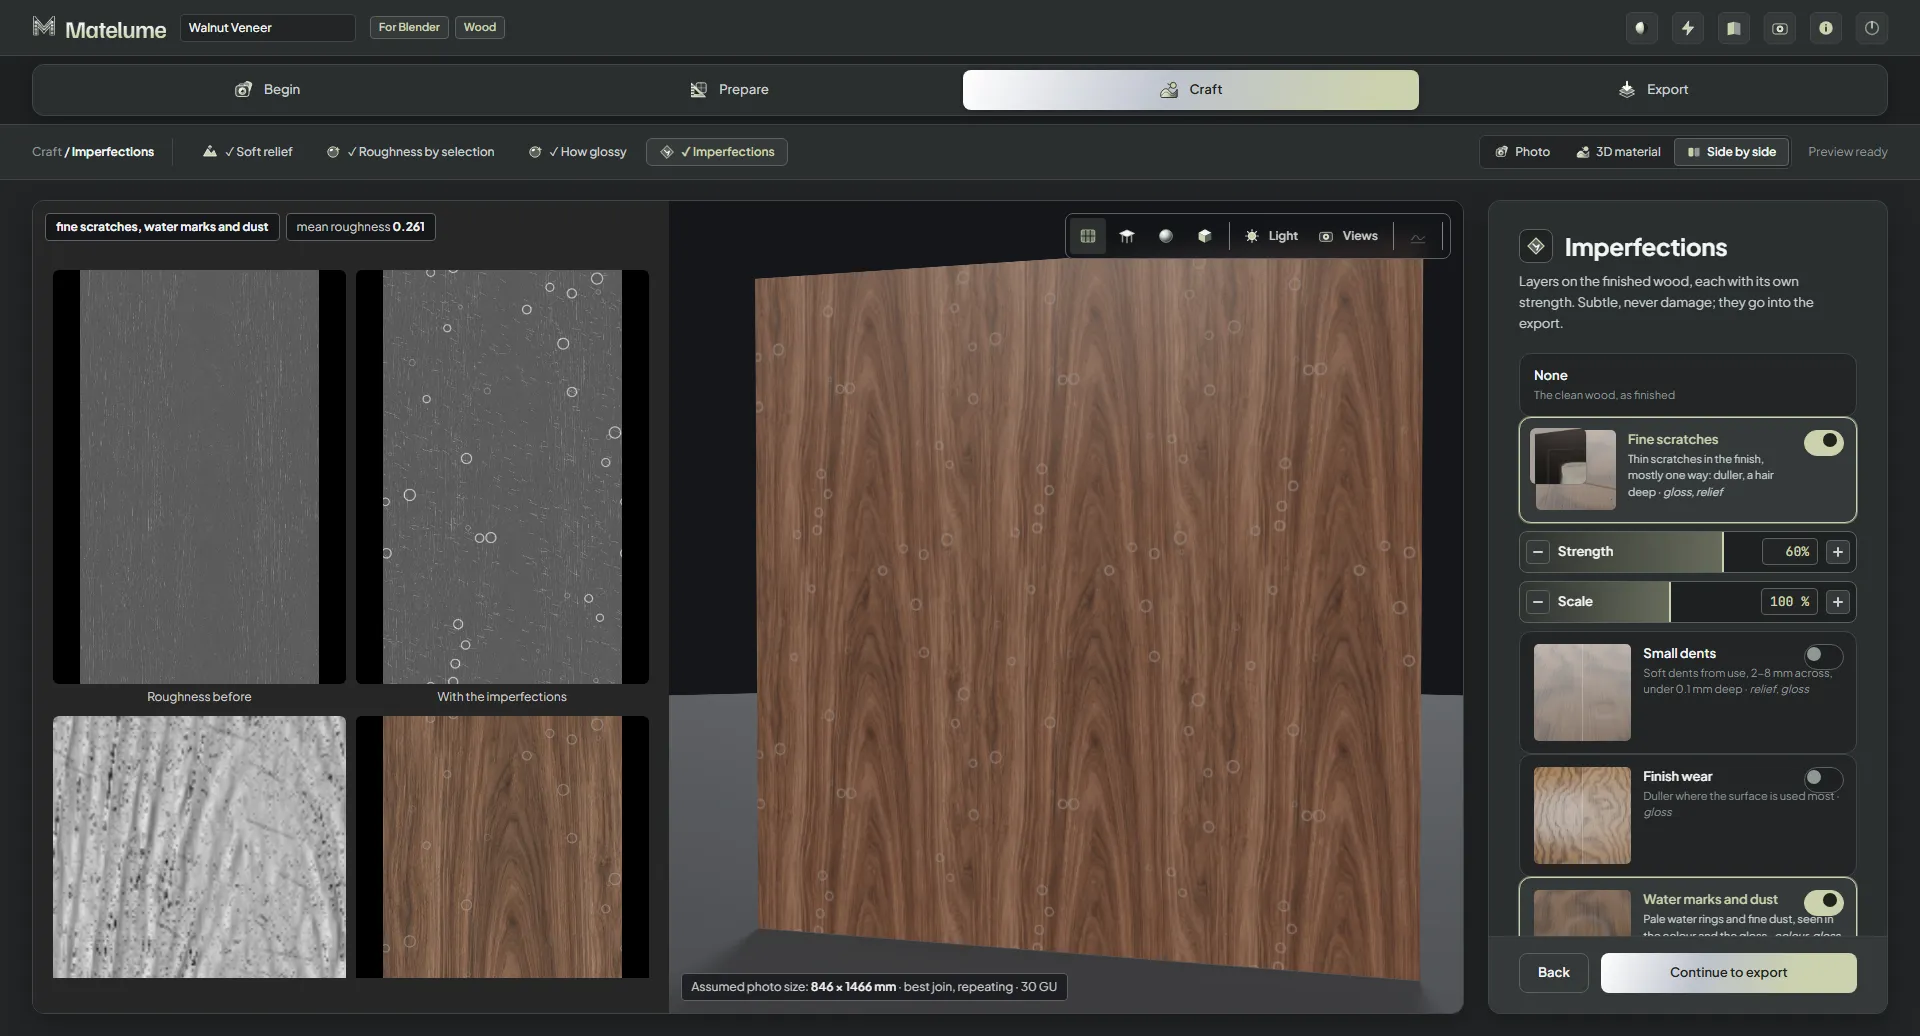
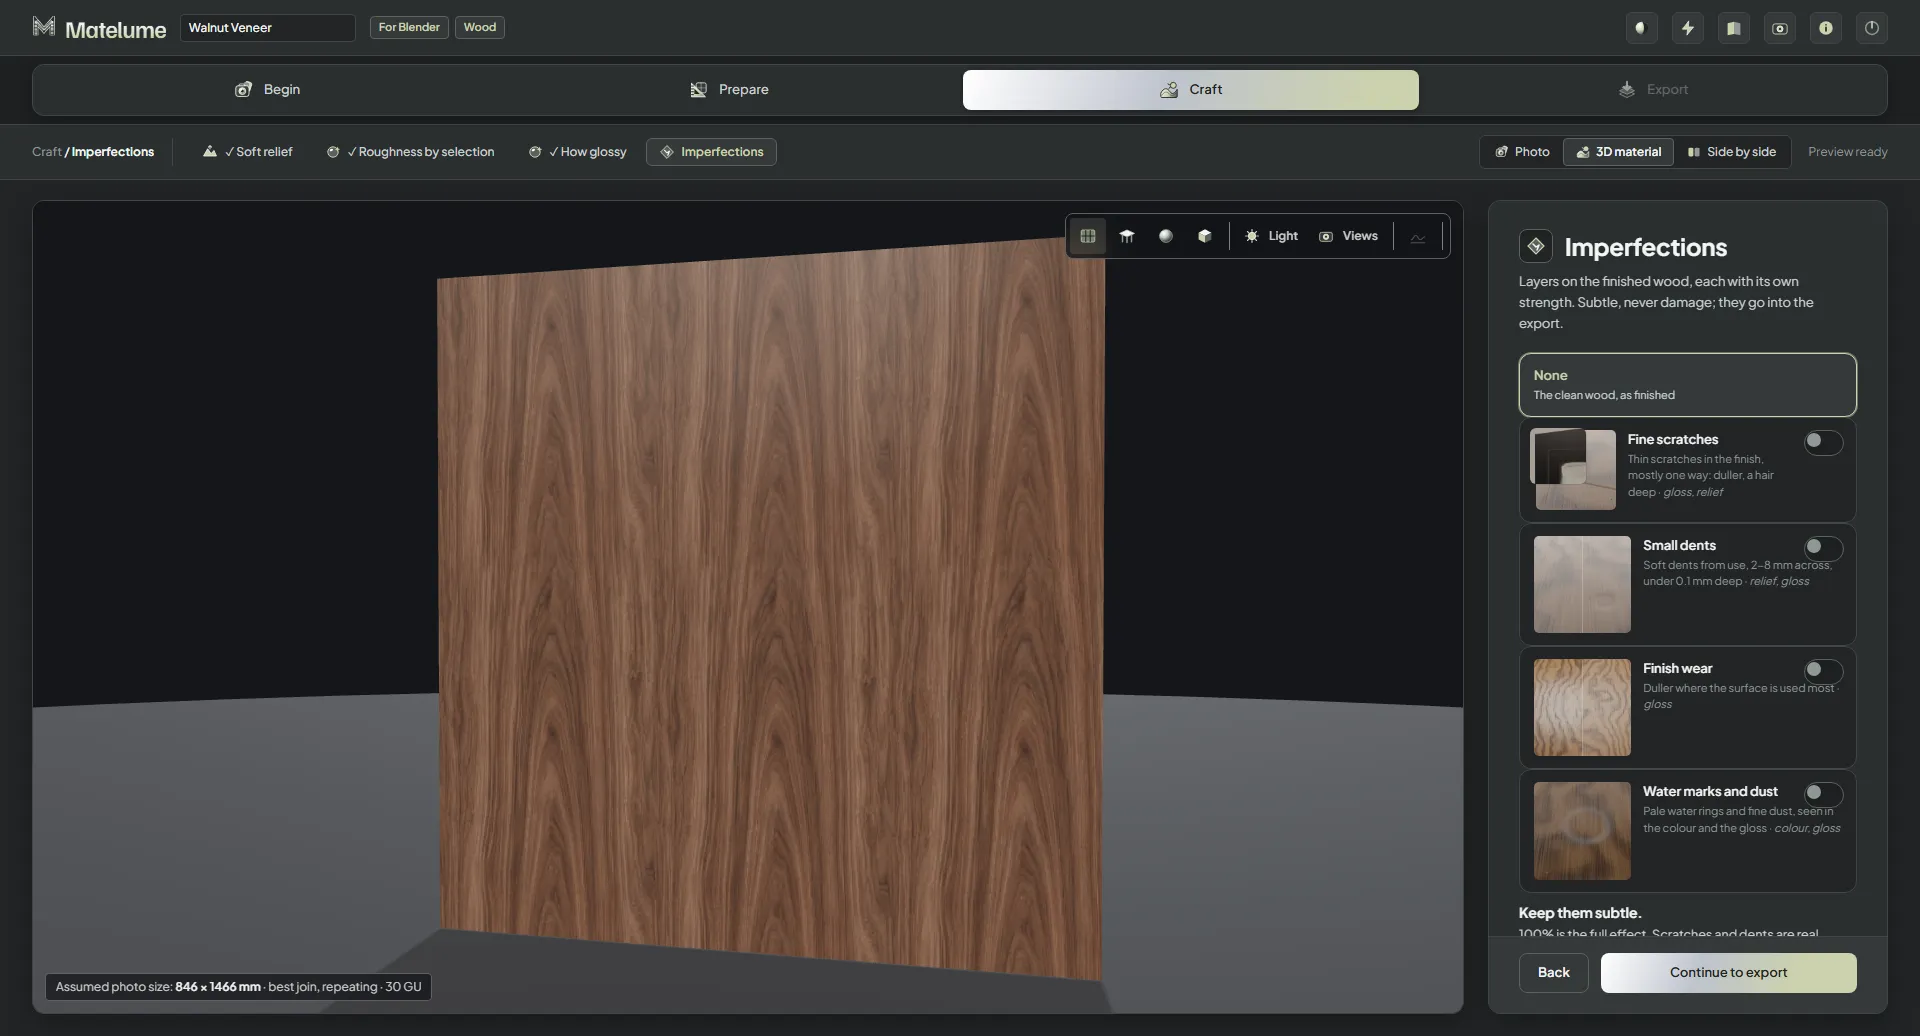
The Imperfections step: None, Fine scratches, Small dents, Finish wear and Water marks and dust, each with a picture and a switch.
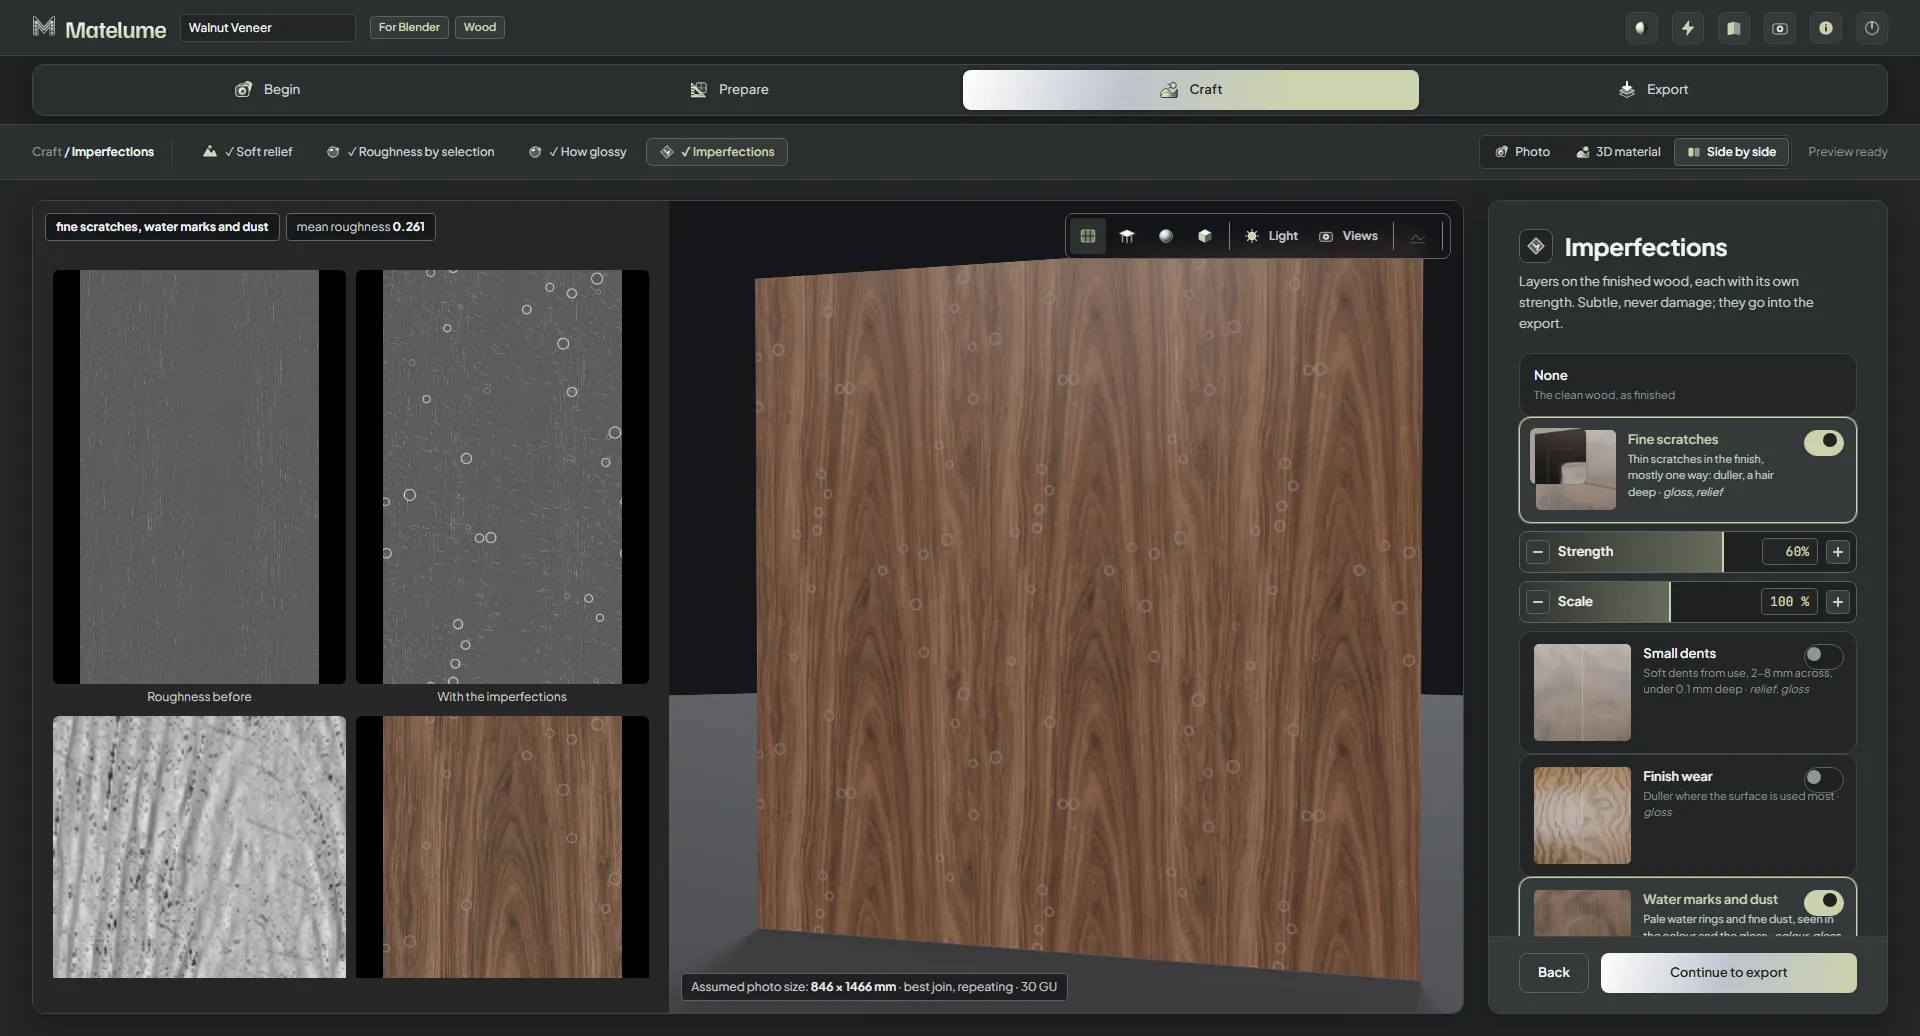
Fine scratches switched on at 60 %: thin scratches in the finish appear in the close-up.
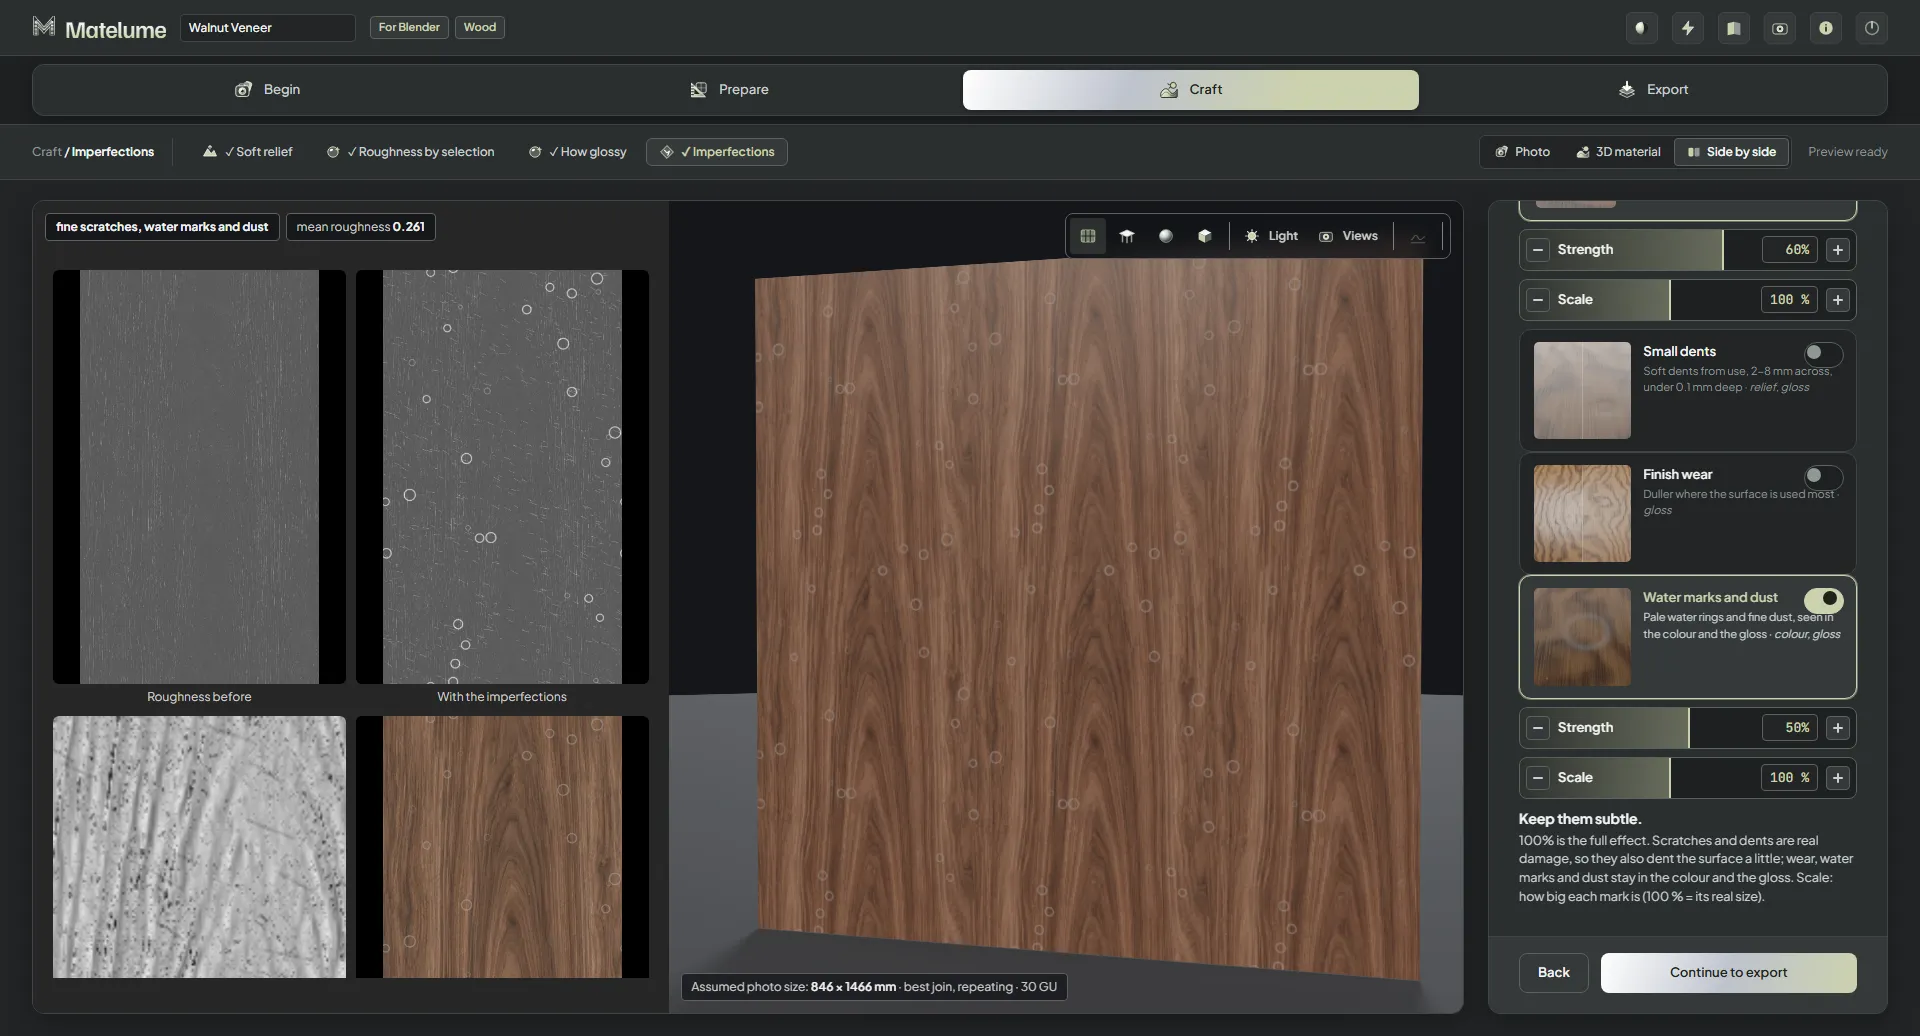
Fine scratches and Water marks and dust both switched on, each with its own Strength and Scale.
The Strength and Scale sliders under Water marks and dust, scrolled into view.
The 3D view on its usual object, a veneered wall of walnut.
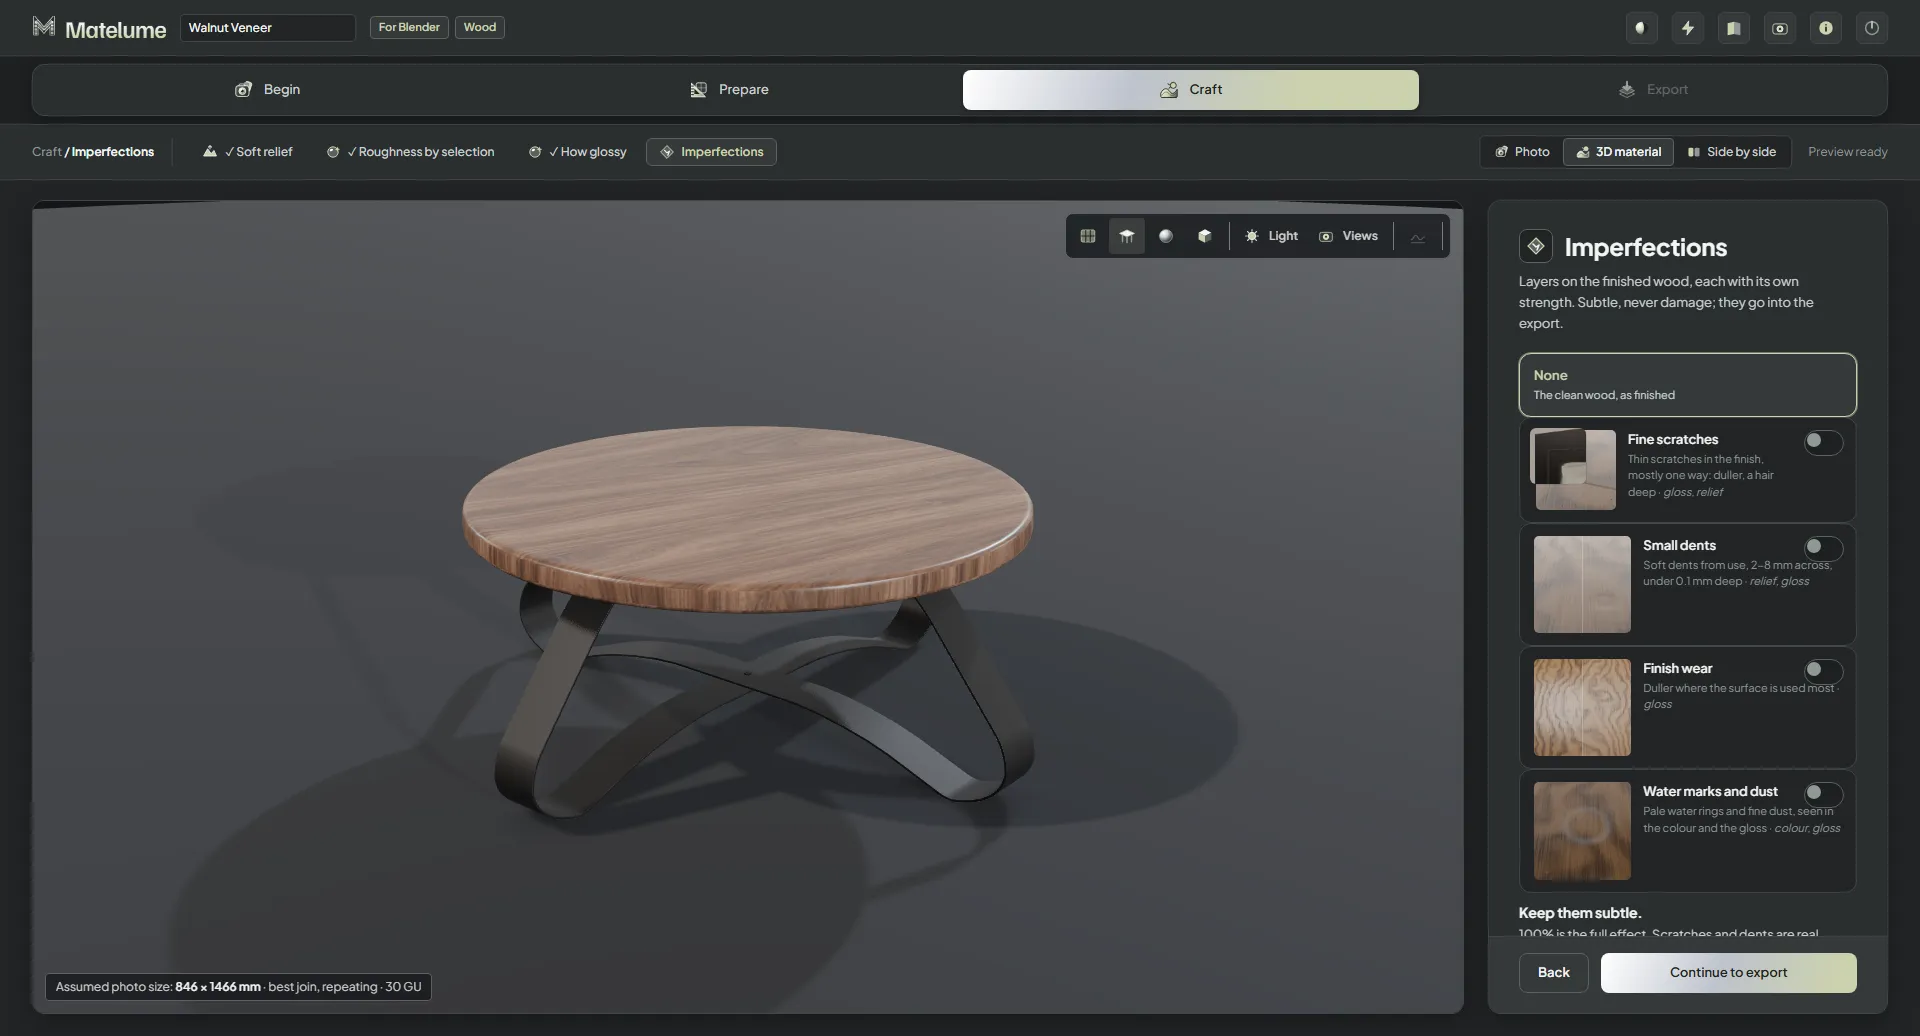
The same walnut on a round table top with steel legs.
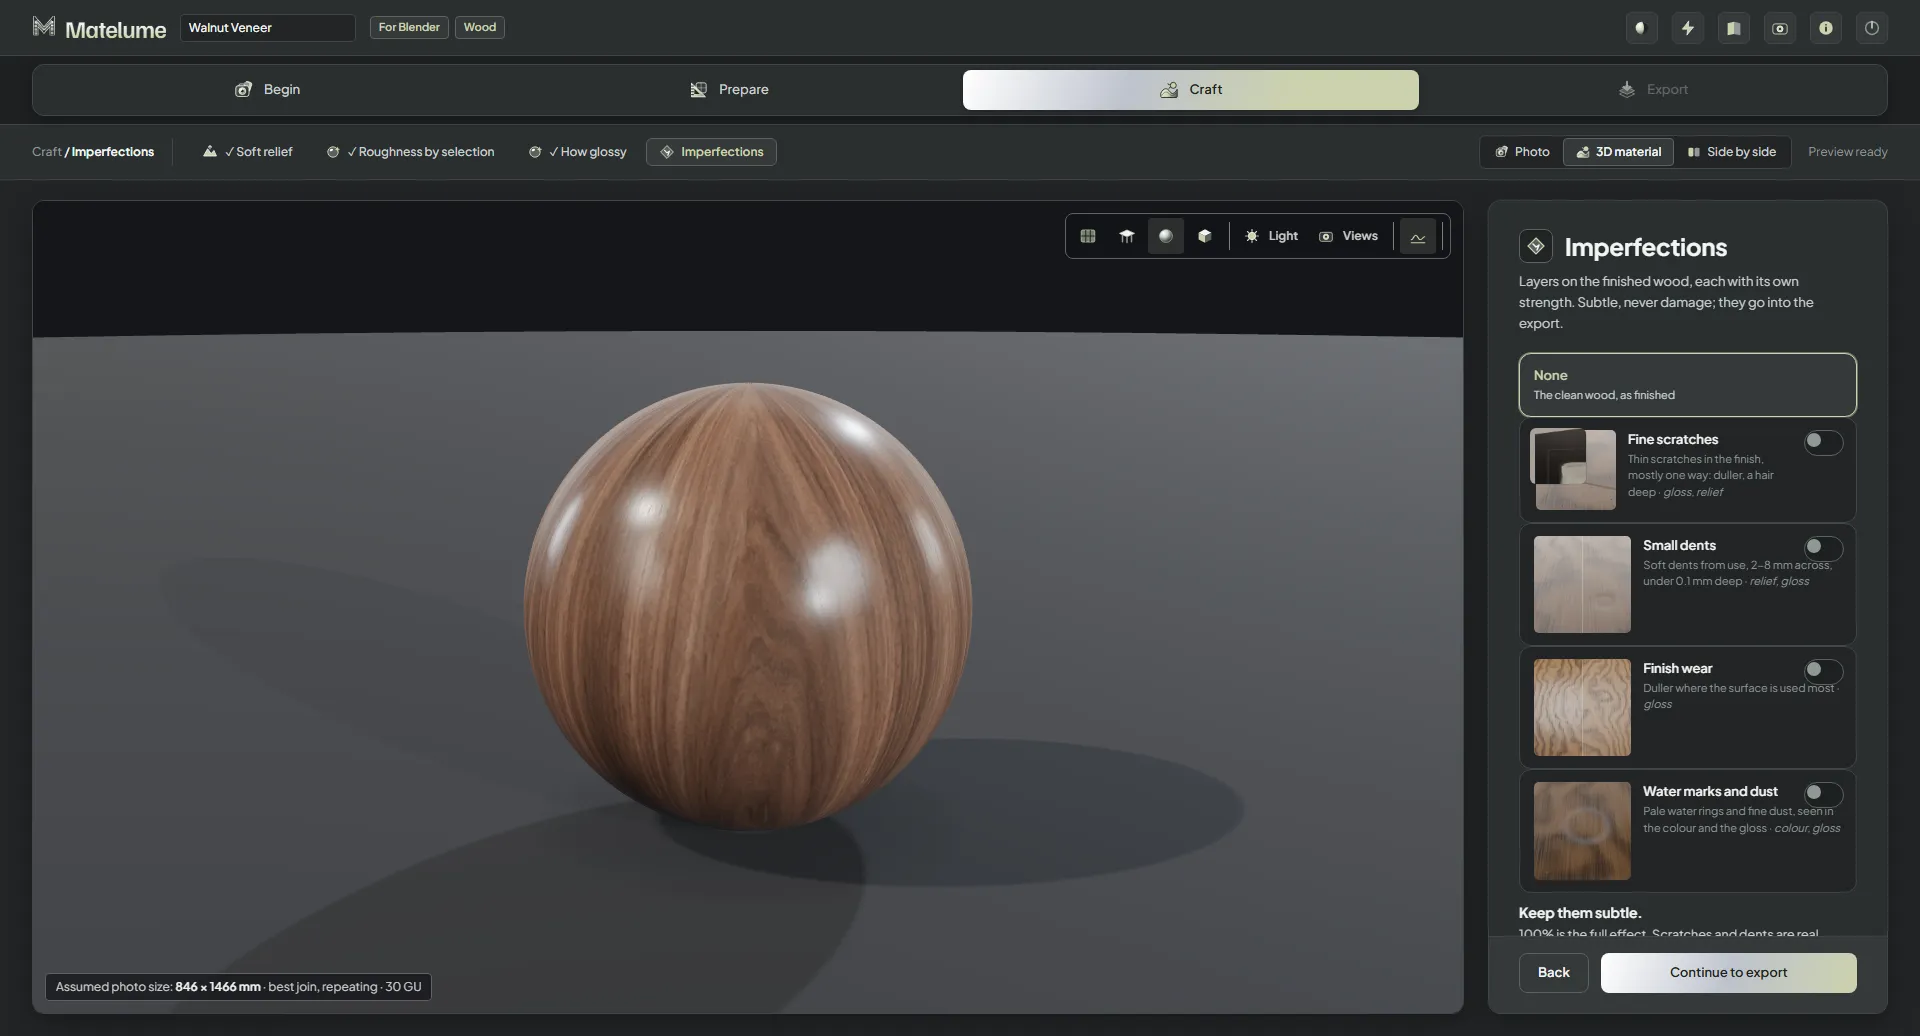
The same walnut on a sphere in the 3D view.
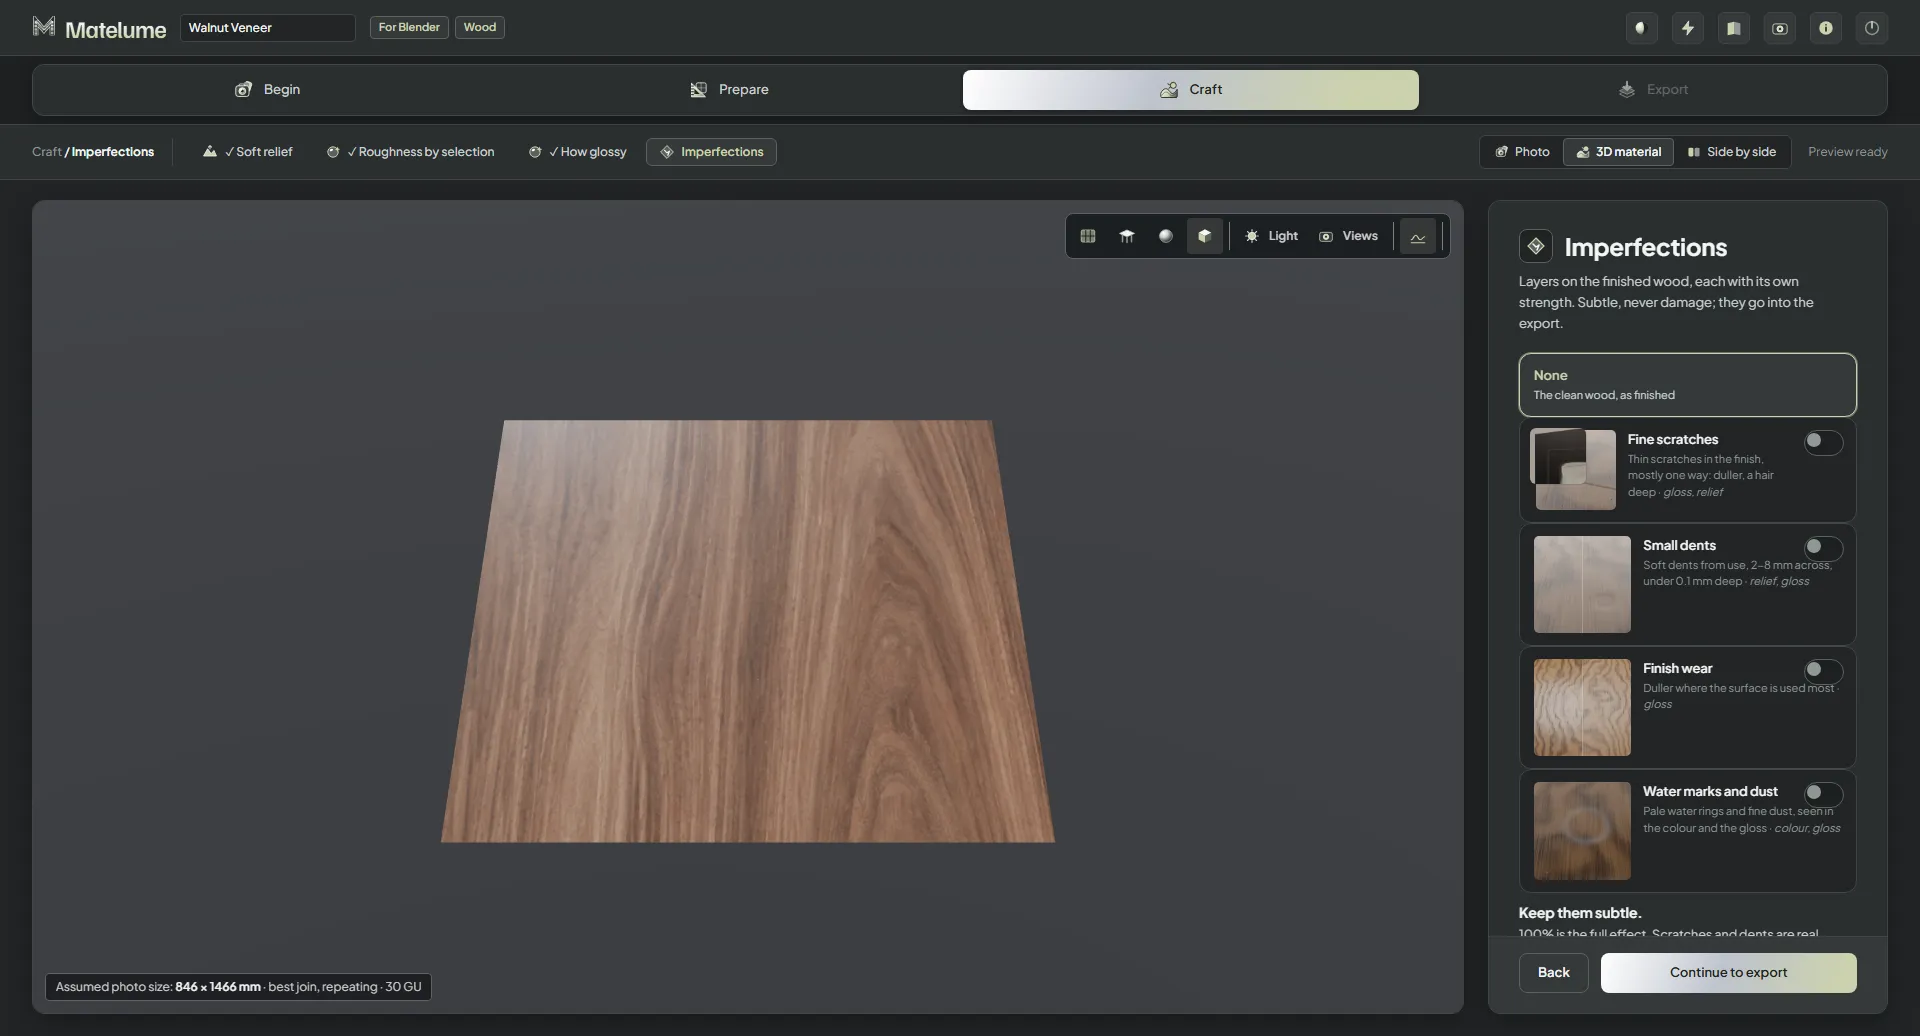
The same walnut on a flat swatch in the 3D view.
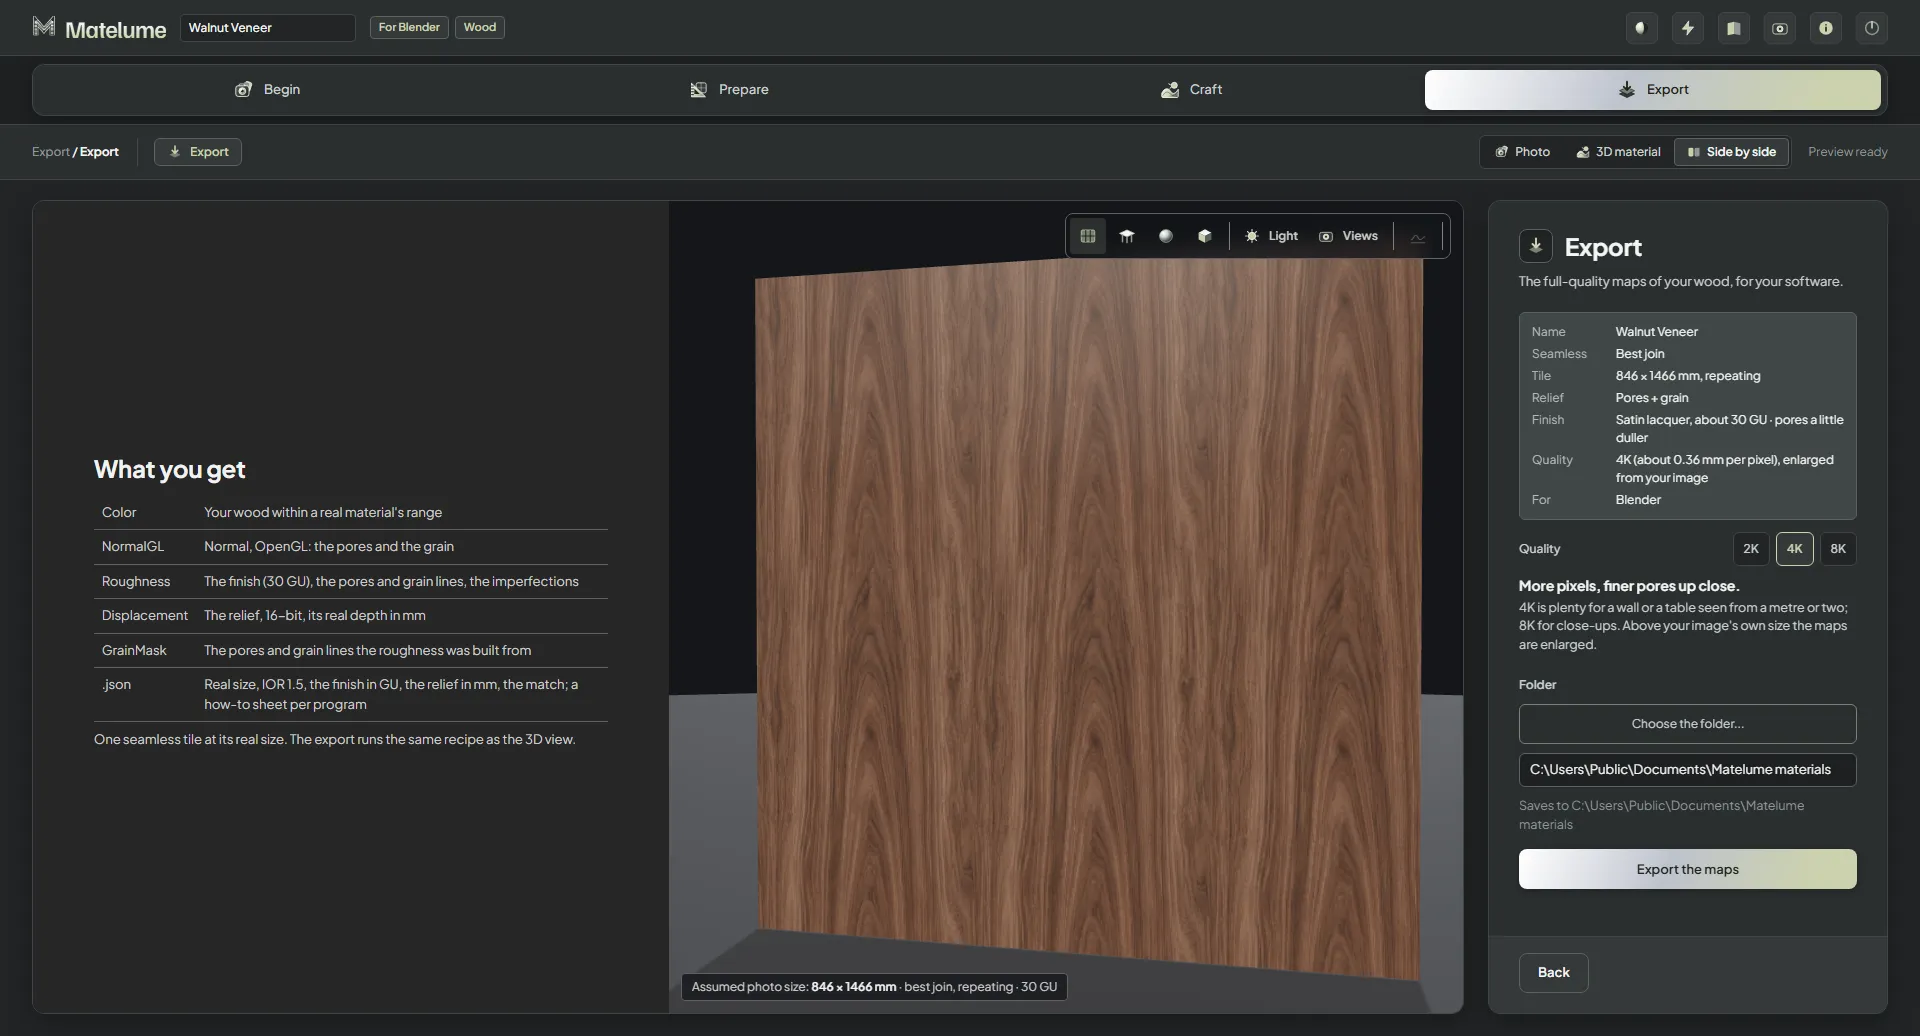
The Export step: the summary of your choices, the quality 2K, 4K or 8K, the folder and the Export the maps button.
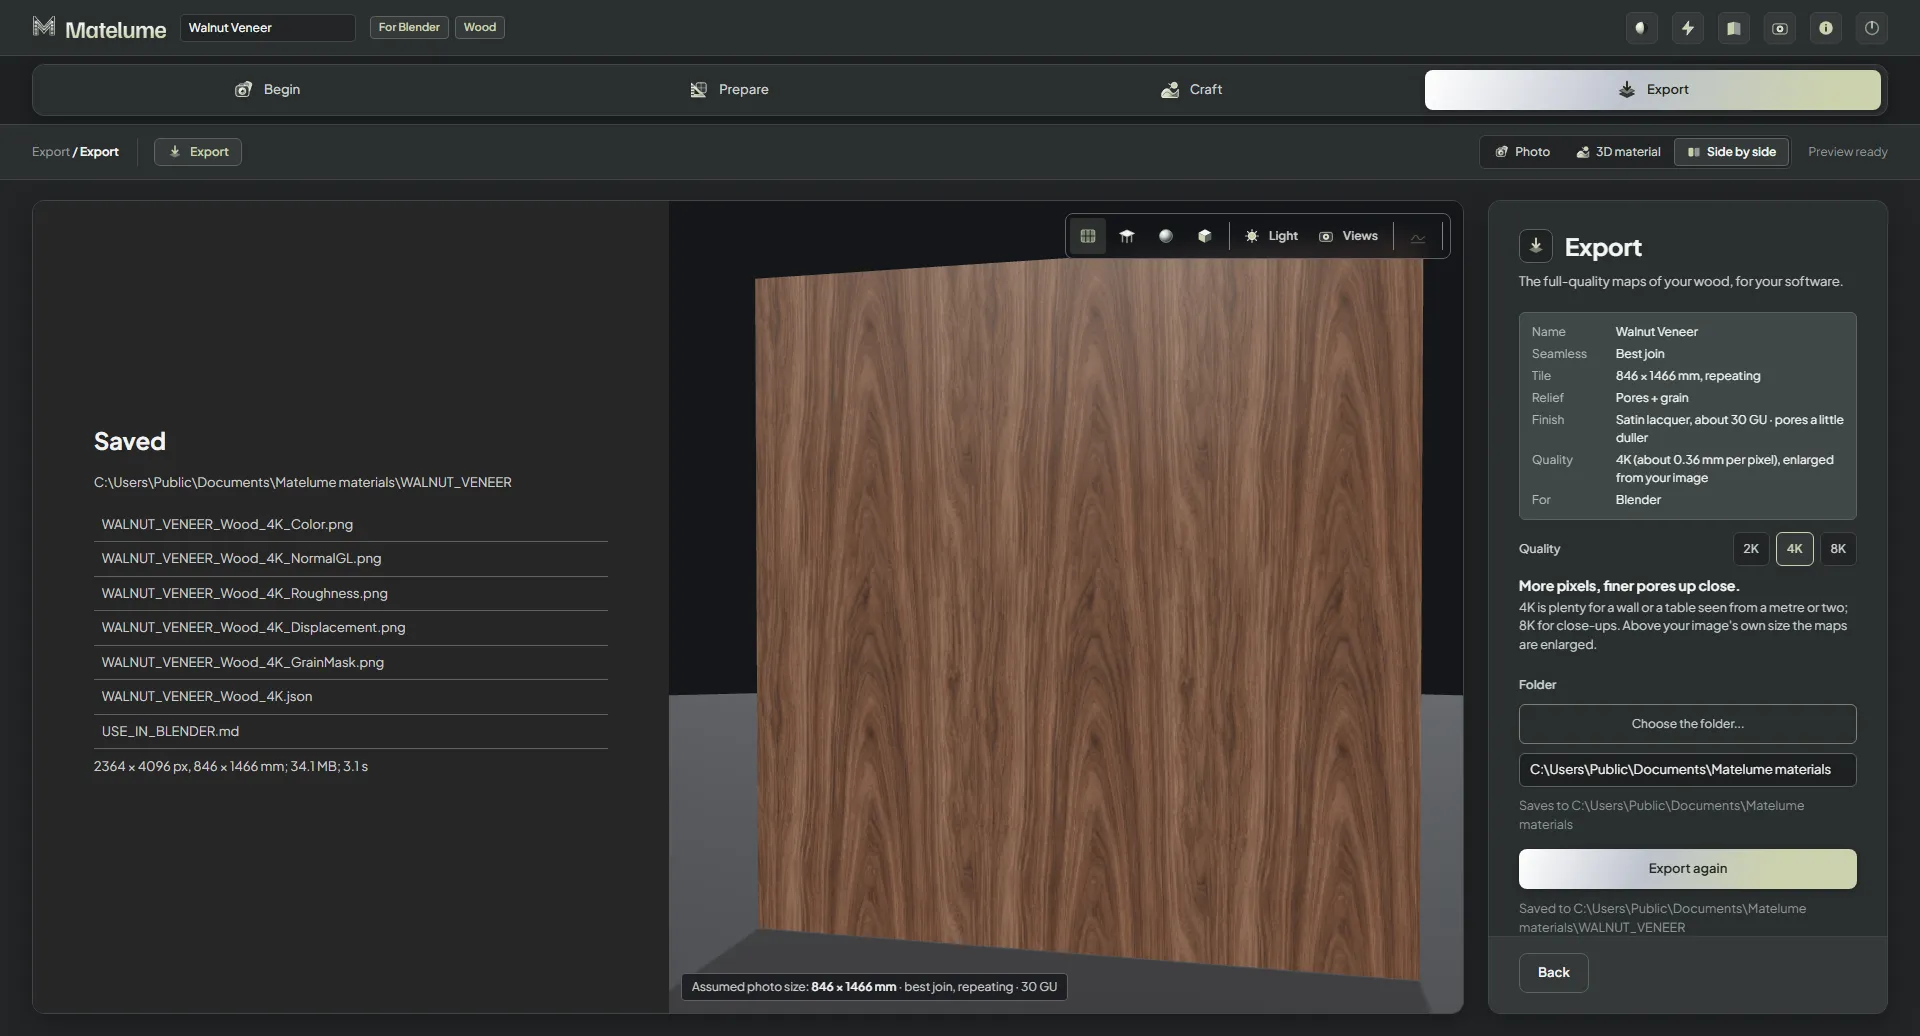
After exporting: the saved folder and the list of files, Color, NormalGL, Roughness, Displacement, GrainMask and the .json.
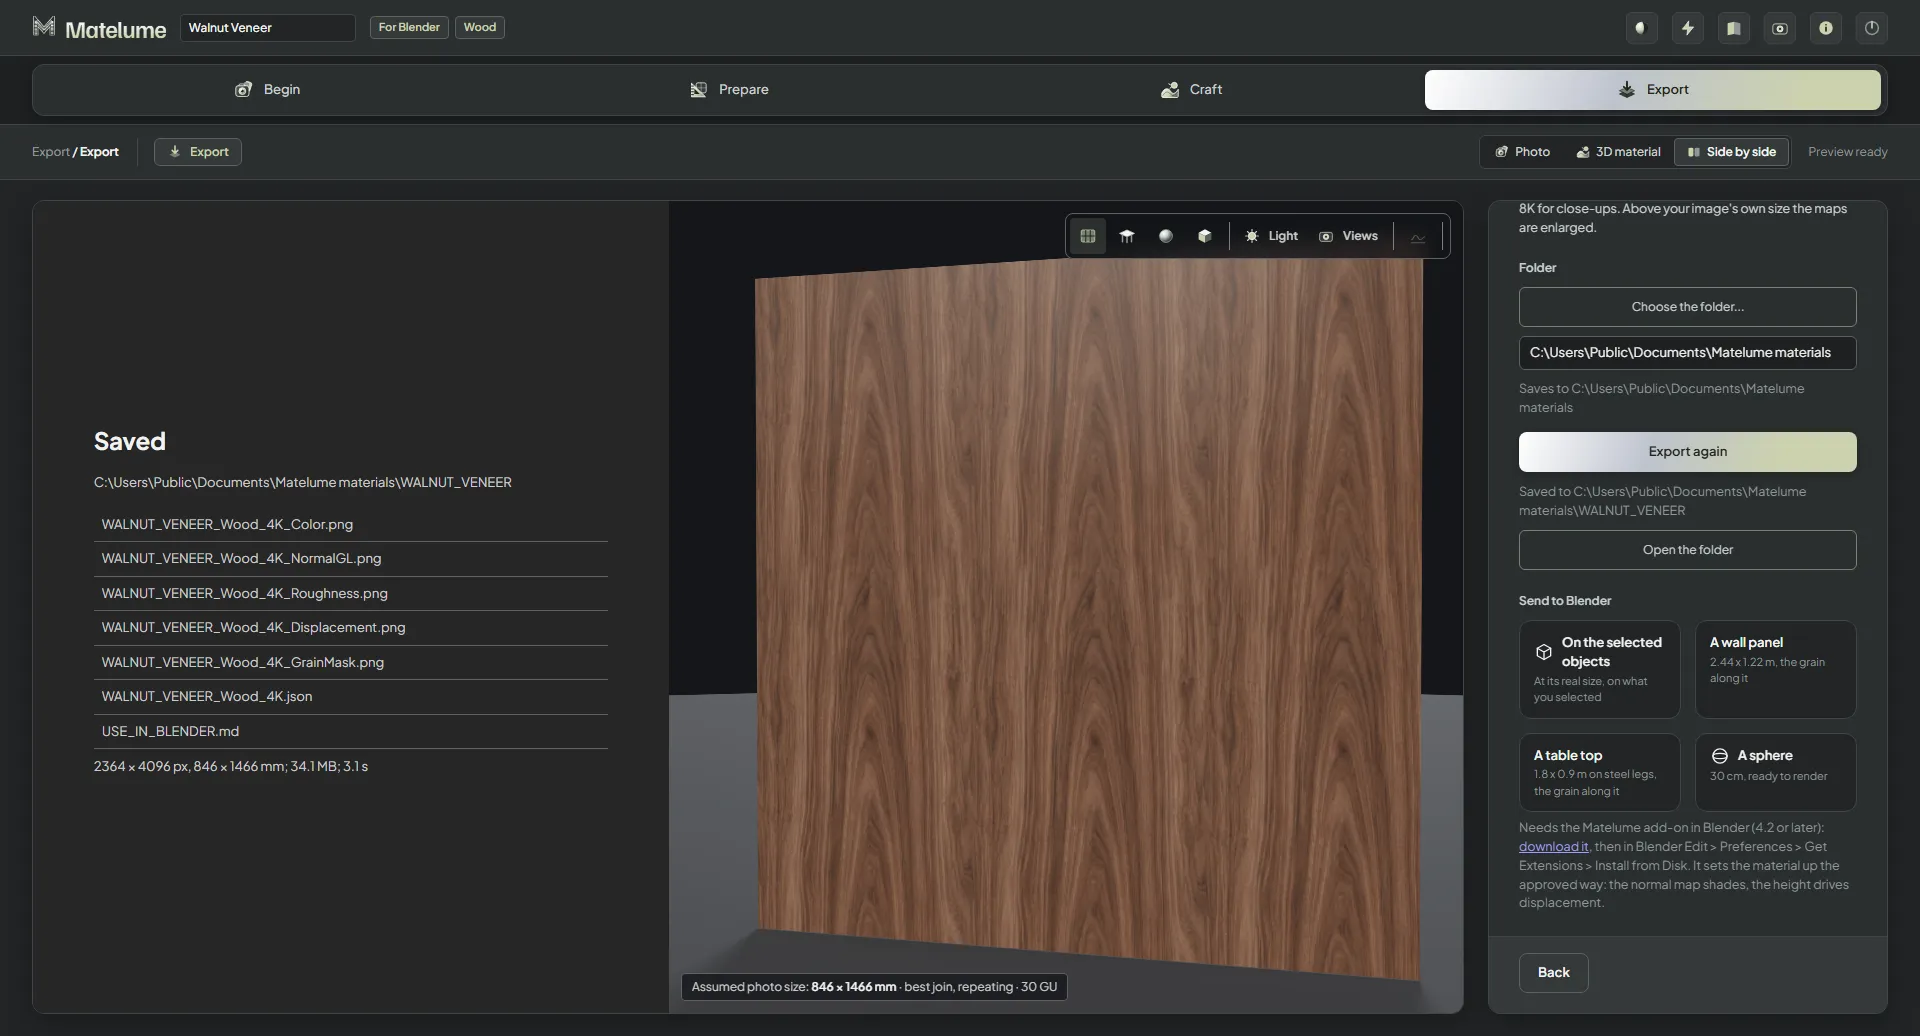
Send to Blender after the export: on the selected objects, a wall panel, a table top or a sphere.