

Metal
Exporting metal
Export the full-quality maps of your metal for the programs you use.
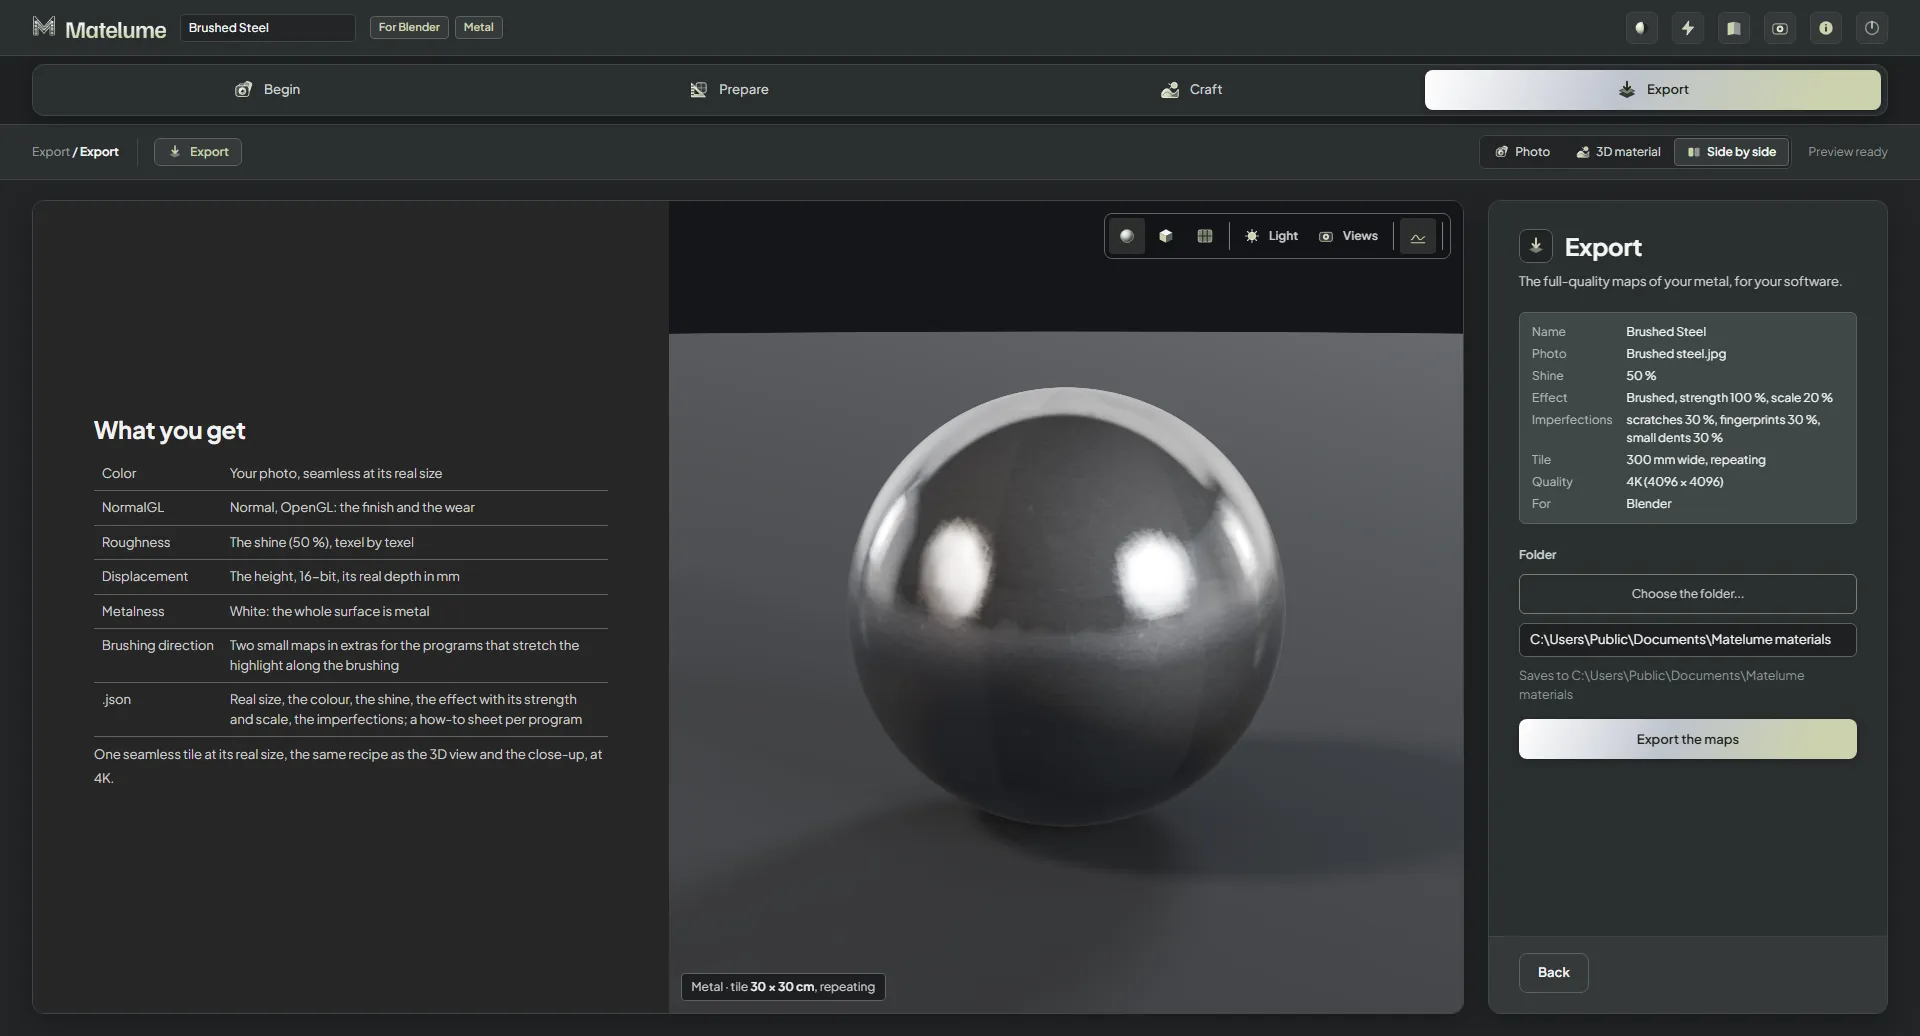
Export the maps
- Check the summary: Name, Colour (or Photo), Shine, Effect, Imperfections, Tile, Quality and For (your programs).
- Under Folder, click Choose the folder..., or type a folder into the box. The line under it shows where the maps are saved.
- Click Export the maps.
The export is one seamless tile at its real size, made with the same recipe as the 3D view and the close-up.
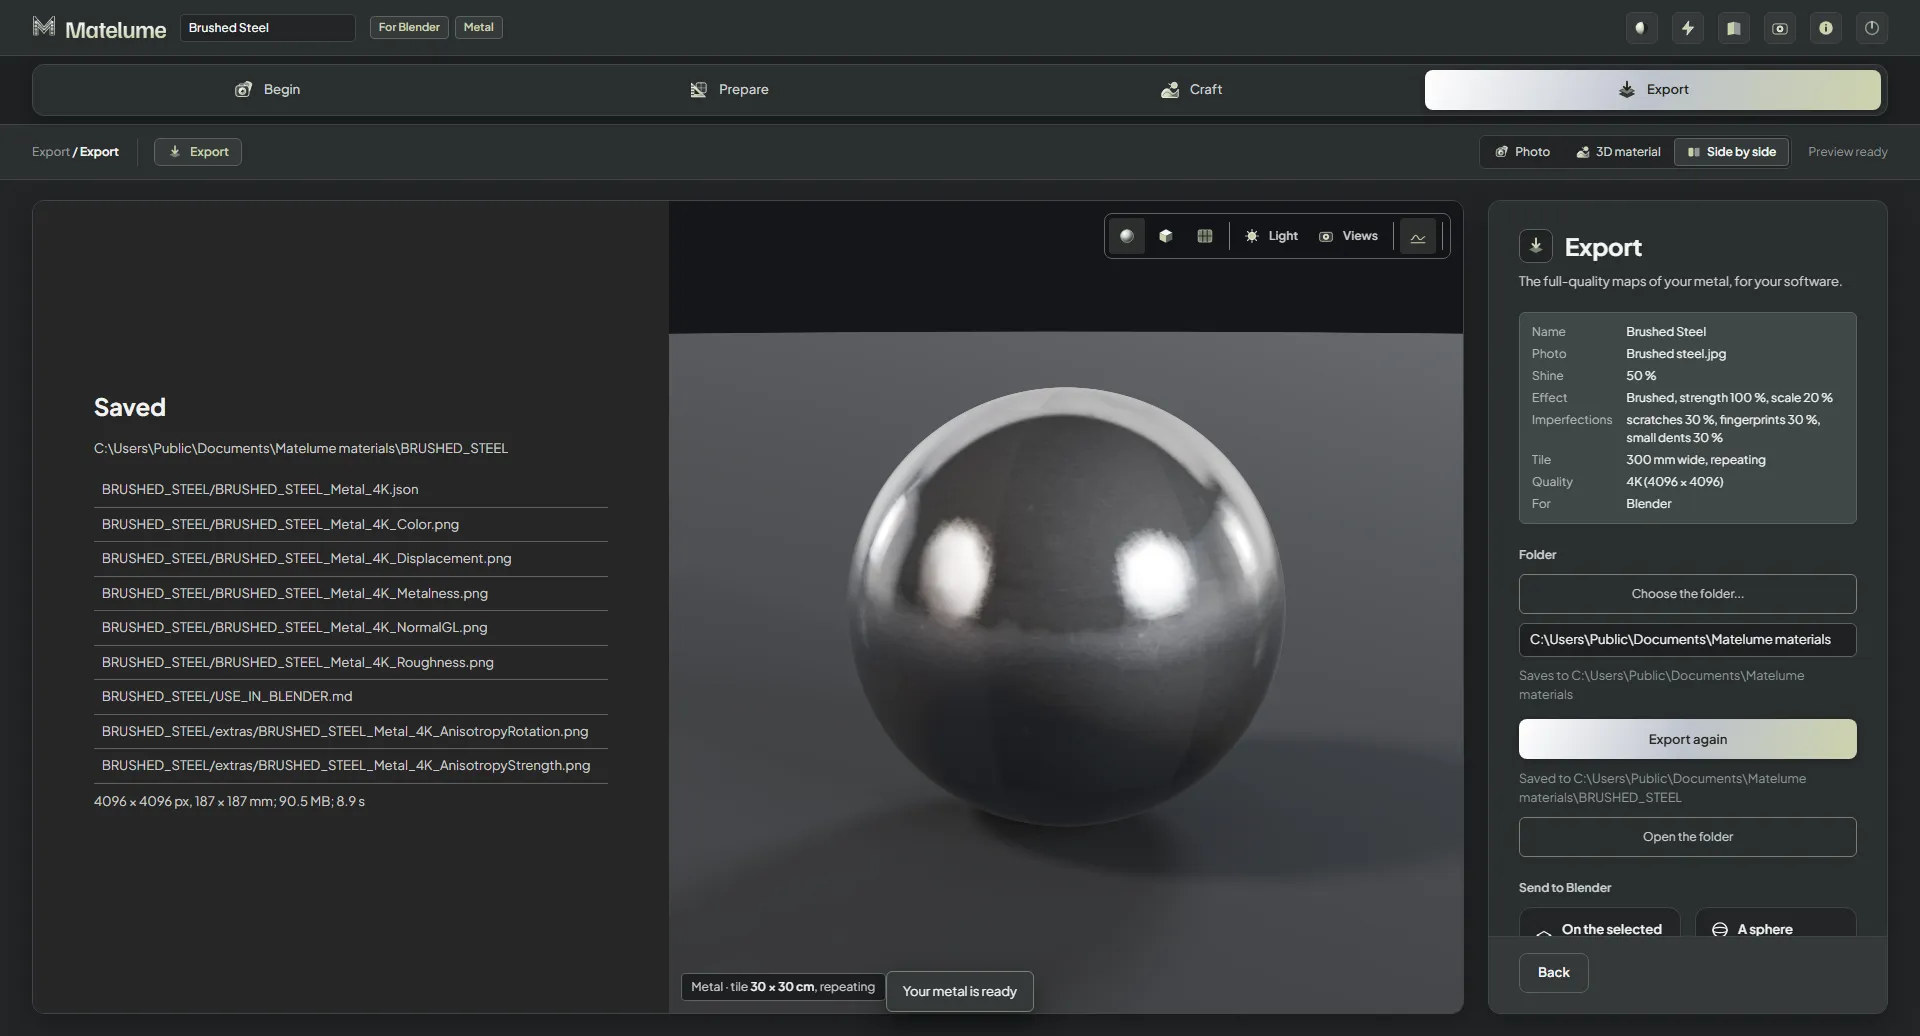
When it is done, Saved lists every file, with the map size and how long it took. Open the folder opens it, and Export again makes a new export.
What you get
What you get lists the files for the programs you picked. For Blender:
- Color: your metal's colour.
- NormalGL: the finish and the wear.
- Roughness: the shine, texel by texel.
- Displacement: the height, 16-bit, with its real depth in mm.
- Metalness: white, because the whole surface is metal.
- .json: the real size, the colour, the shine, the effect with its strength and scale, and the imperfections, with a how-to sheet for each program.
Each file is named after your material, the word Metal and the quality, for example BRUSHED_STEEL_Metal_4K_Color.png.
Your programs
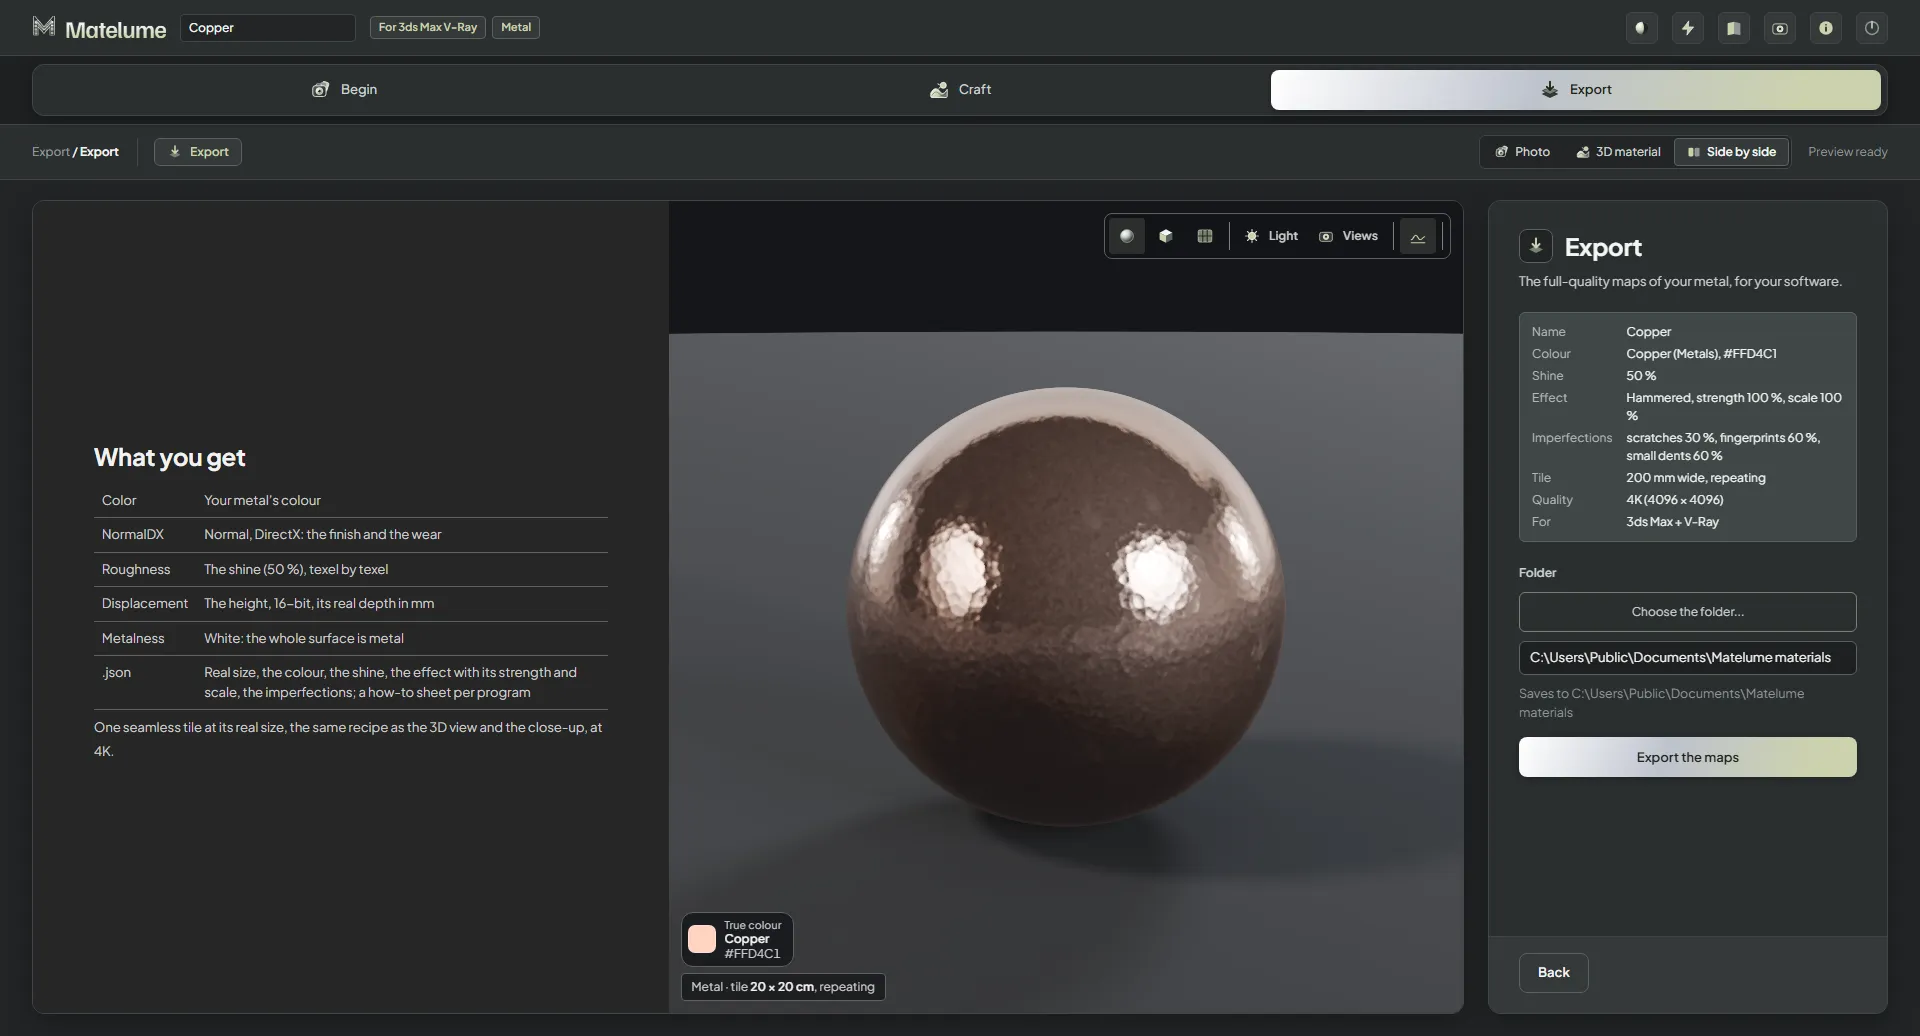
Each program you picked under Your software gets its own list:
- Blender (Cycles / EEVEE)
- 3ds Max + V-Ray
- 3ds Max + Corona
- Cinema 4D (Redshift)
- Unreal Engine (maps for Unreal Engine 5)
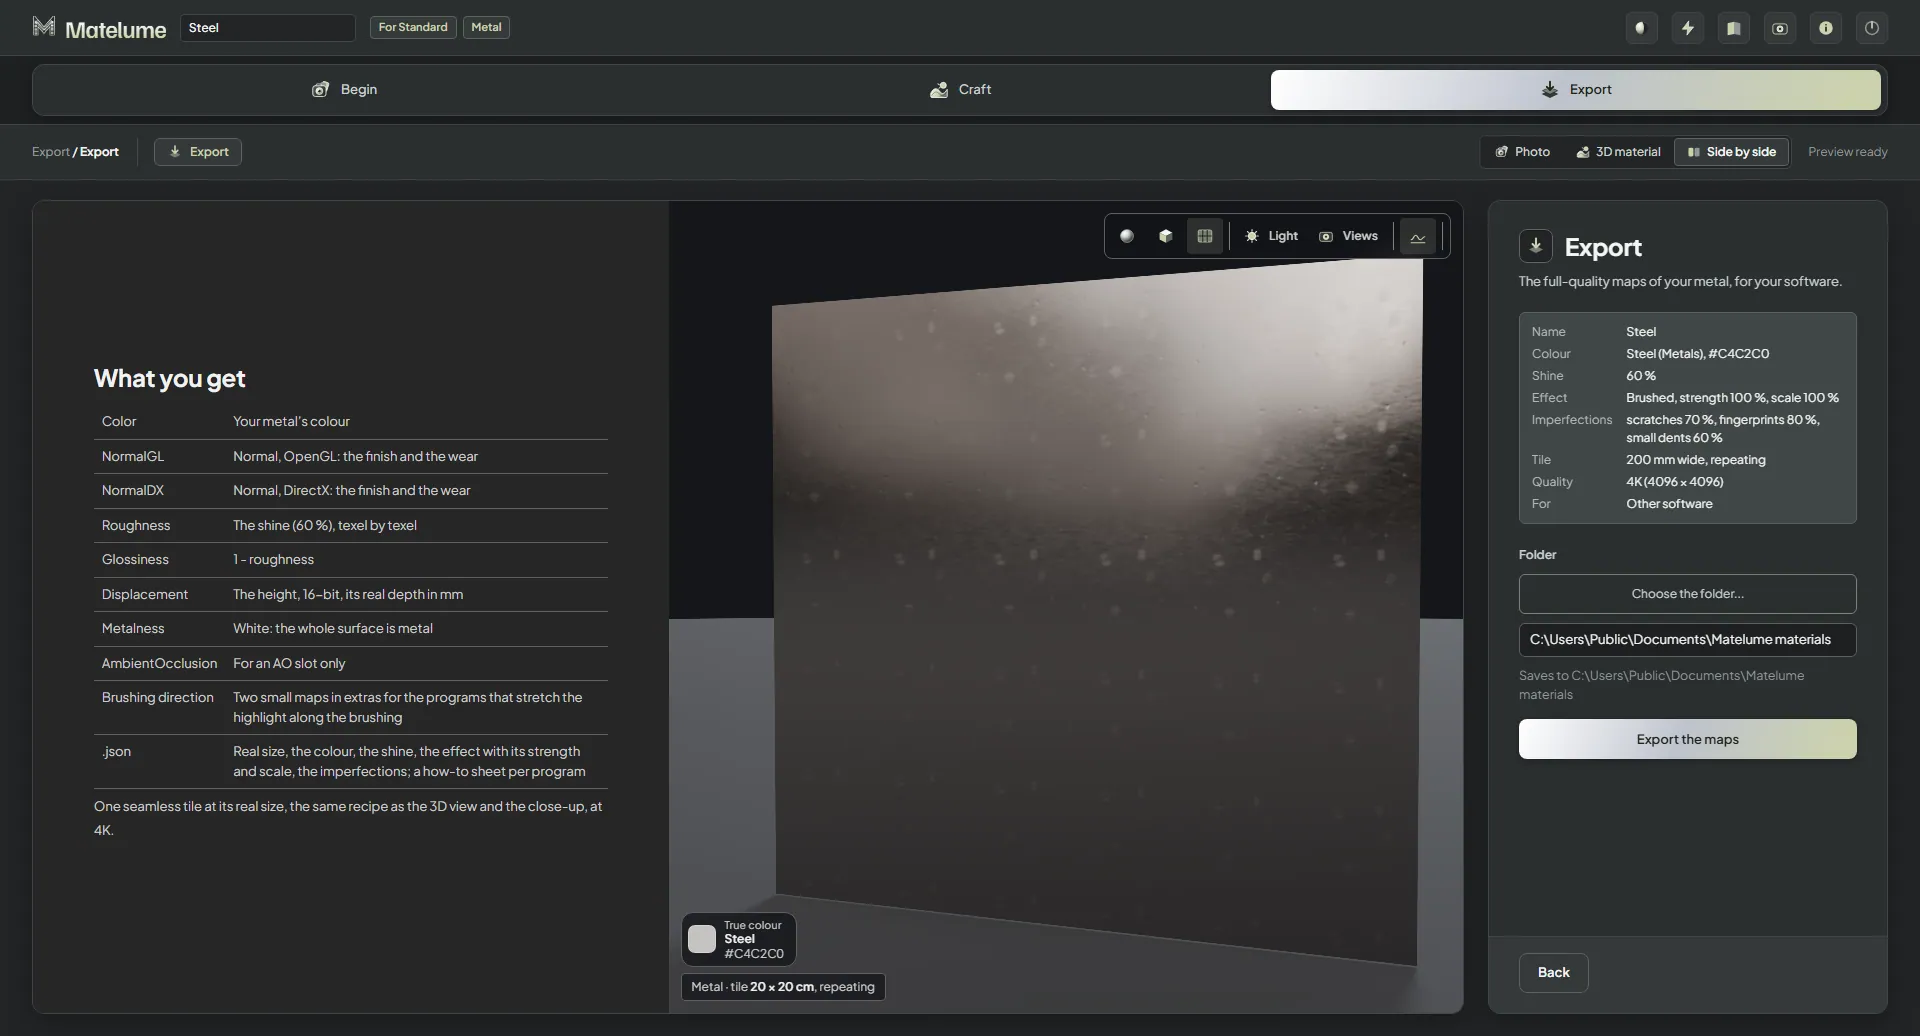
- Other software: the standard set of eight maps (Color, NormalGL, NormalDX, Roughness, Glossiness, Displacement, Metalness and AmbientOcclusion) for SketchUp, Enscape, D5 Render, Twinmotion, Lumion, Unity and others.
Brushed metal
A brushed metal also exports two small Brushing direction maps (anisotropy maps) in the extras folder, for the programs that stretch the highlight along the brushing. The Blender add-on 0.2.2 connects them for you.
8K on a 16 GB PC
An 8K metal export runs on a PC with 16 GB of memory. One measured 8K metal export took 41 seconds on an RTX 4090. That is an example, not a promise: the time depends on your PC.
Send to Blender
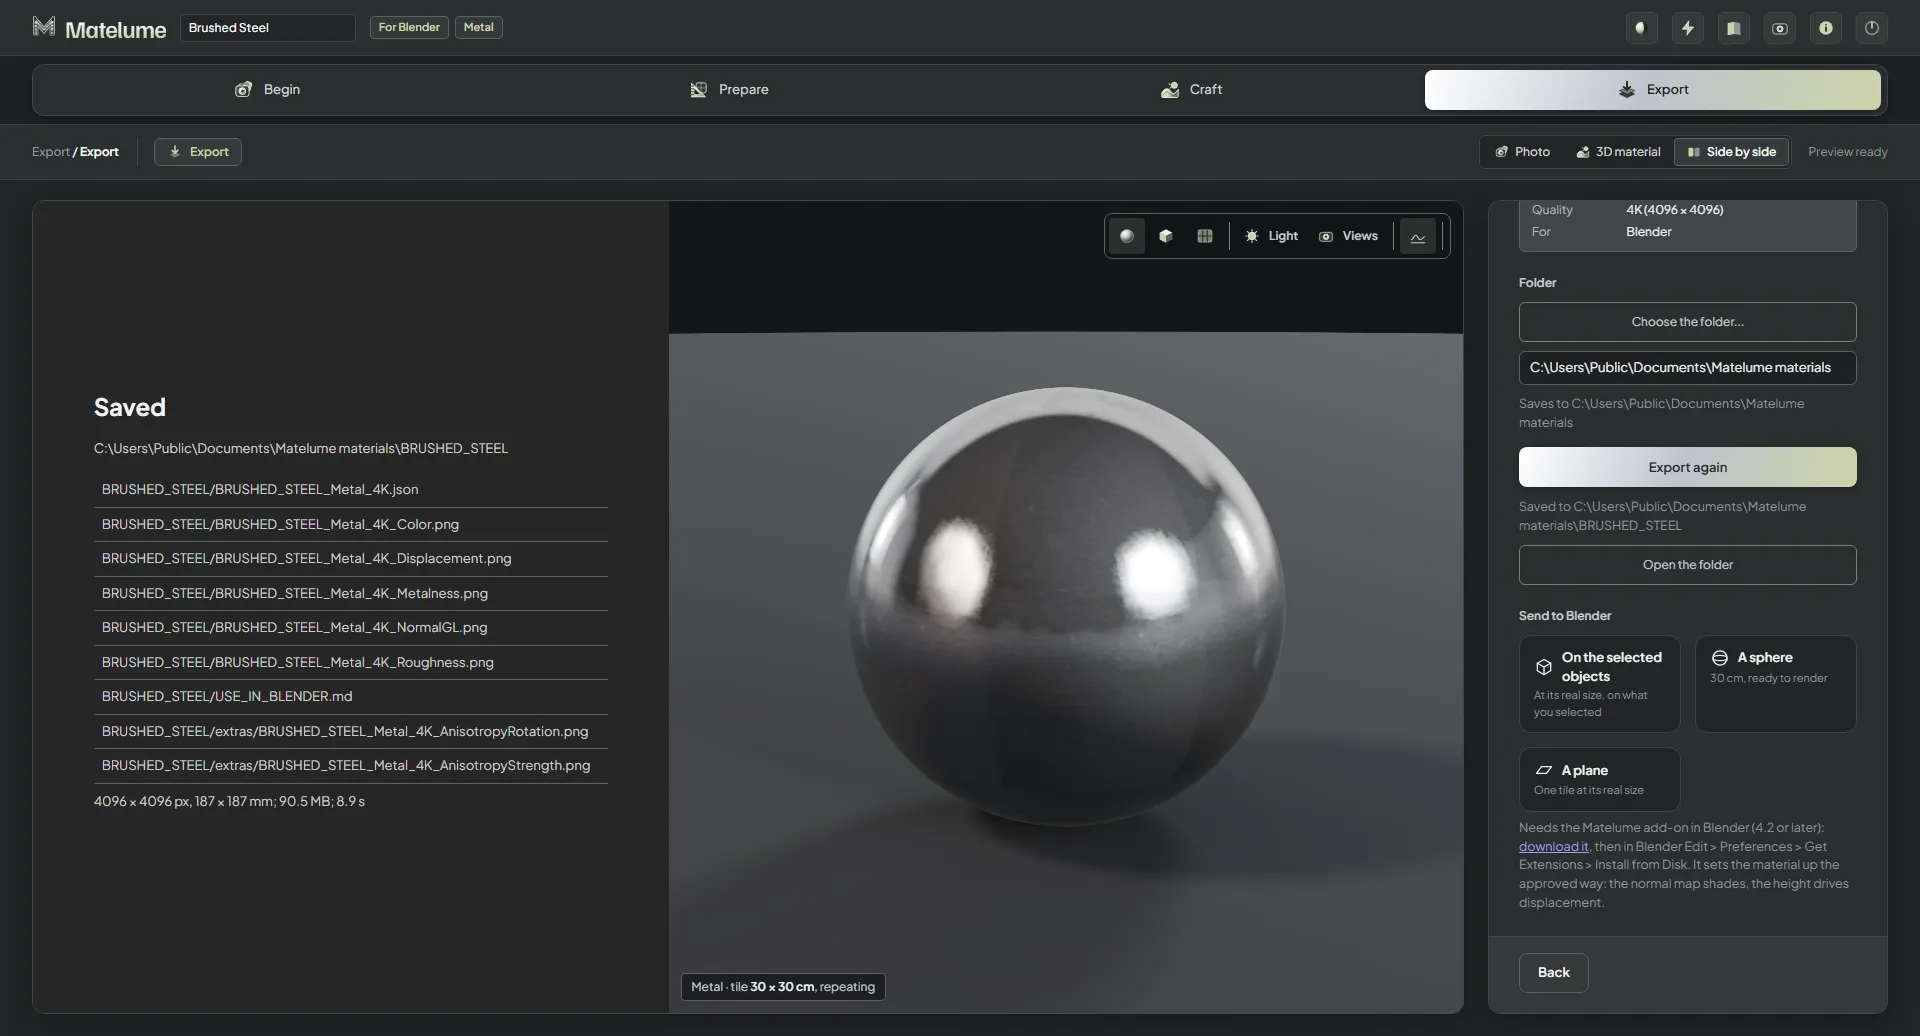
After the export, Send to Blender brings your metal into Blender: On the selected objects at its real size, A sphere (30 cm, ready to render) or A plane (one tile at its real size). It needs the Matelume add-on in Blender. Use Matelume in Blender
Render in Blender: the Studio no longer renders with Cycles itself. The live 3D view stays.