

Wall paint
Real size and seamless
For a photo, tell Matelume how much wall it shows, then make one tile that repeats over the wall.
These two steps are for a photo. A colour start skips them.
Real size
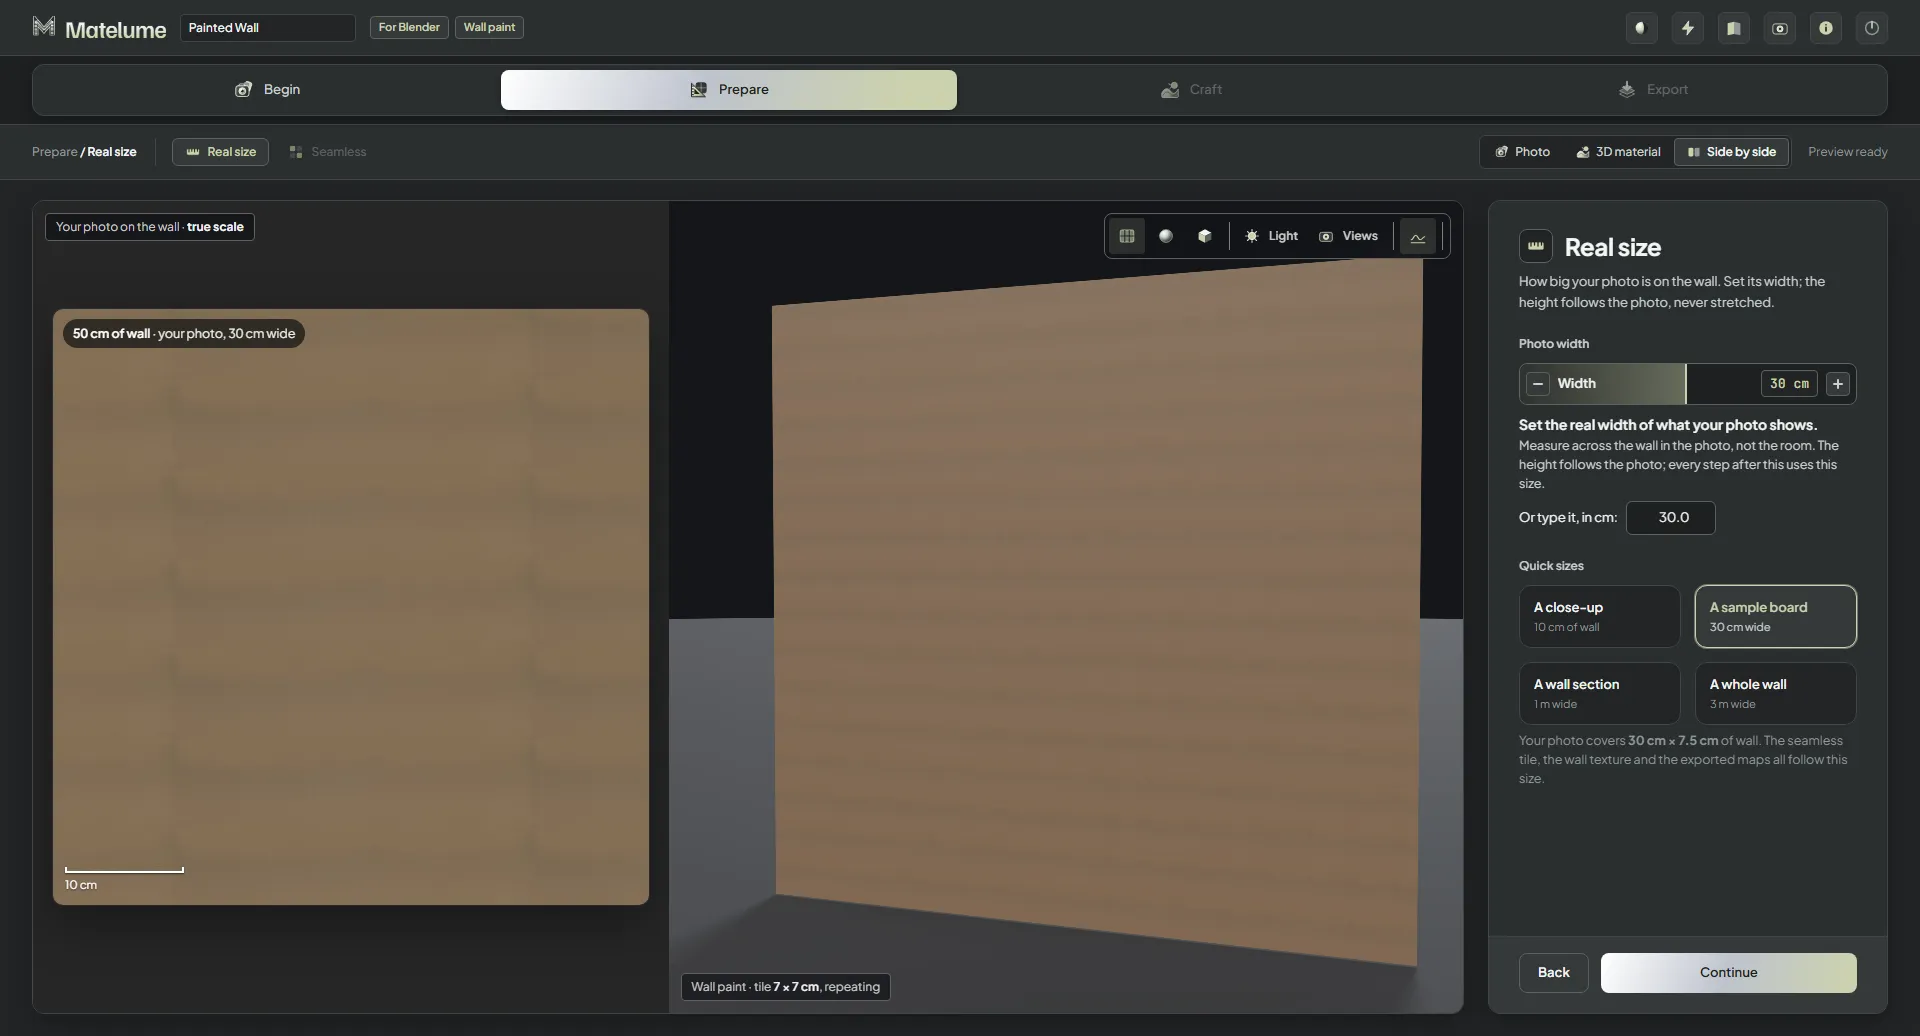
- On the Real size step, set the real width of what your photo shows: drag Width, or type it next to Or type it, in cm:. Measure across the wall in the photo, not the room.
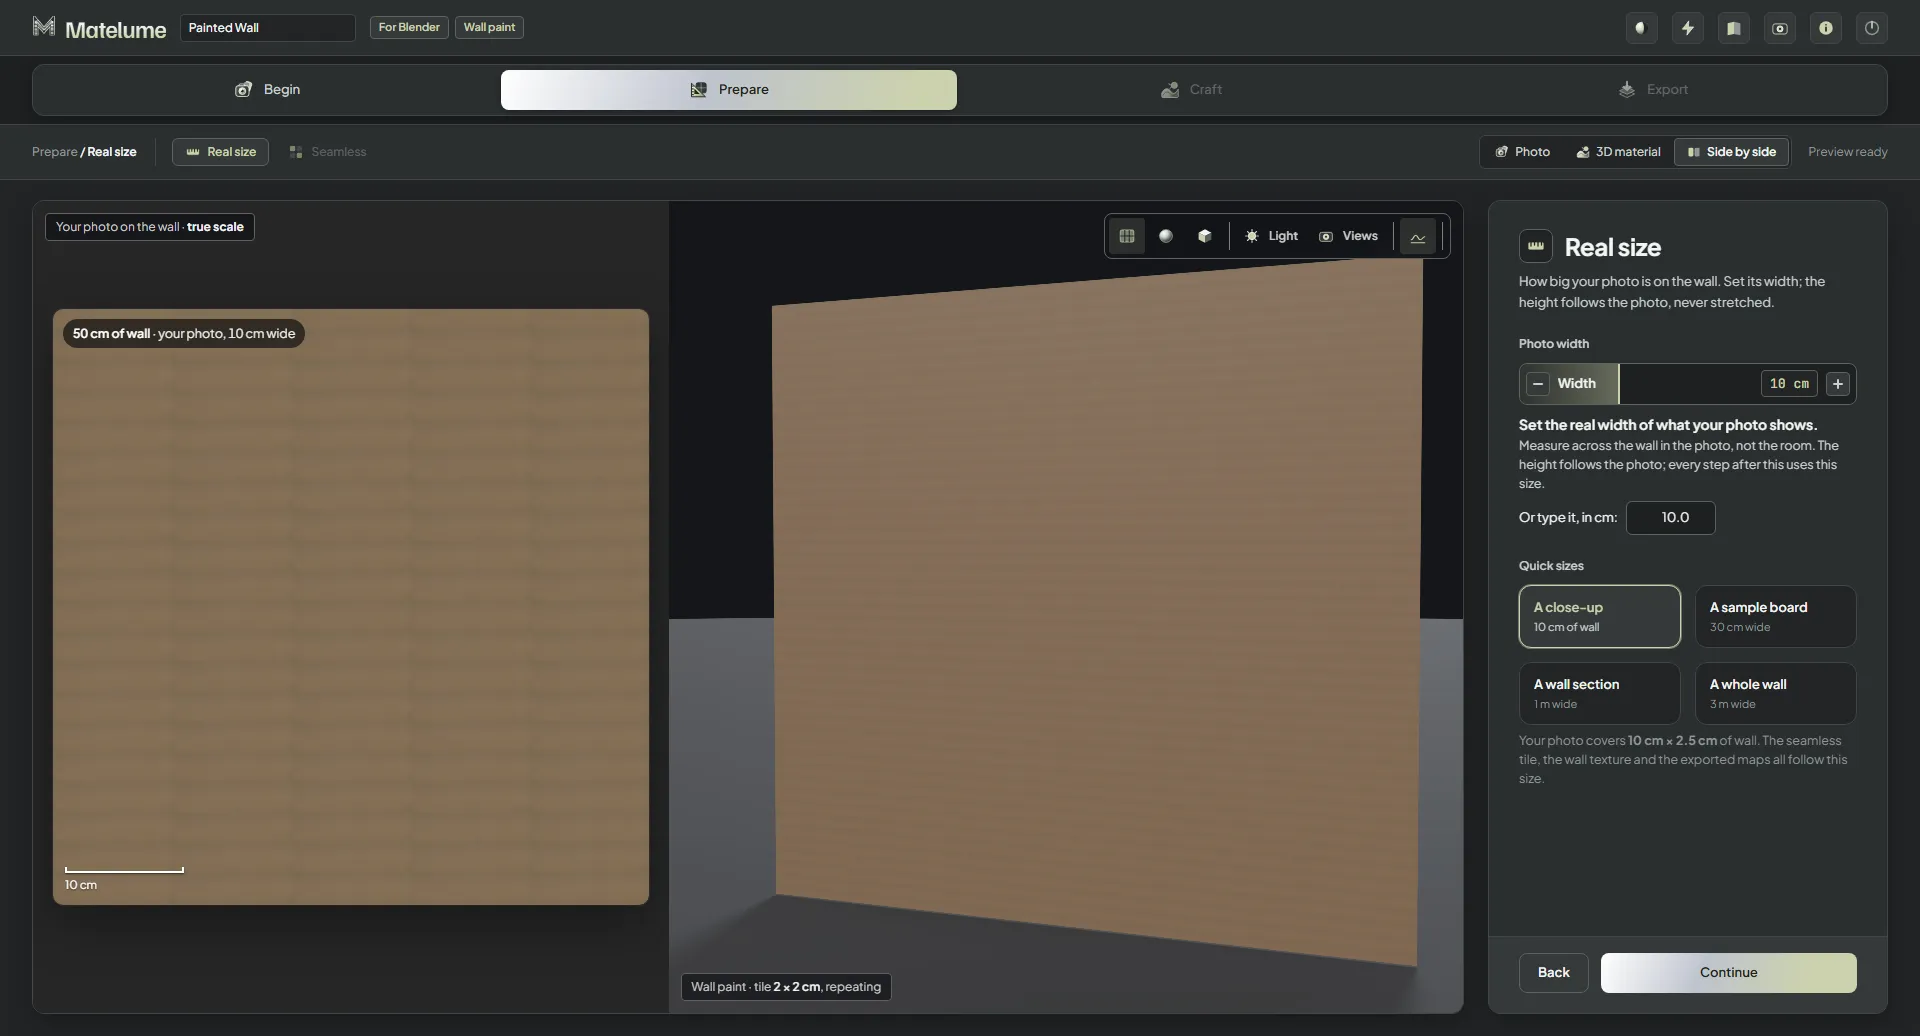
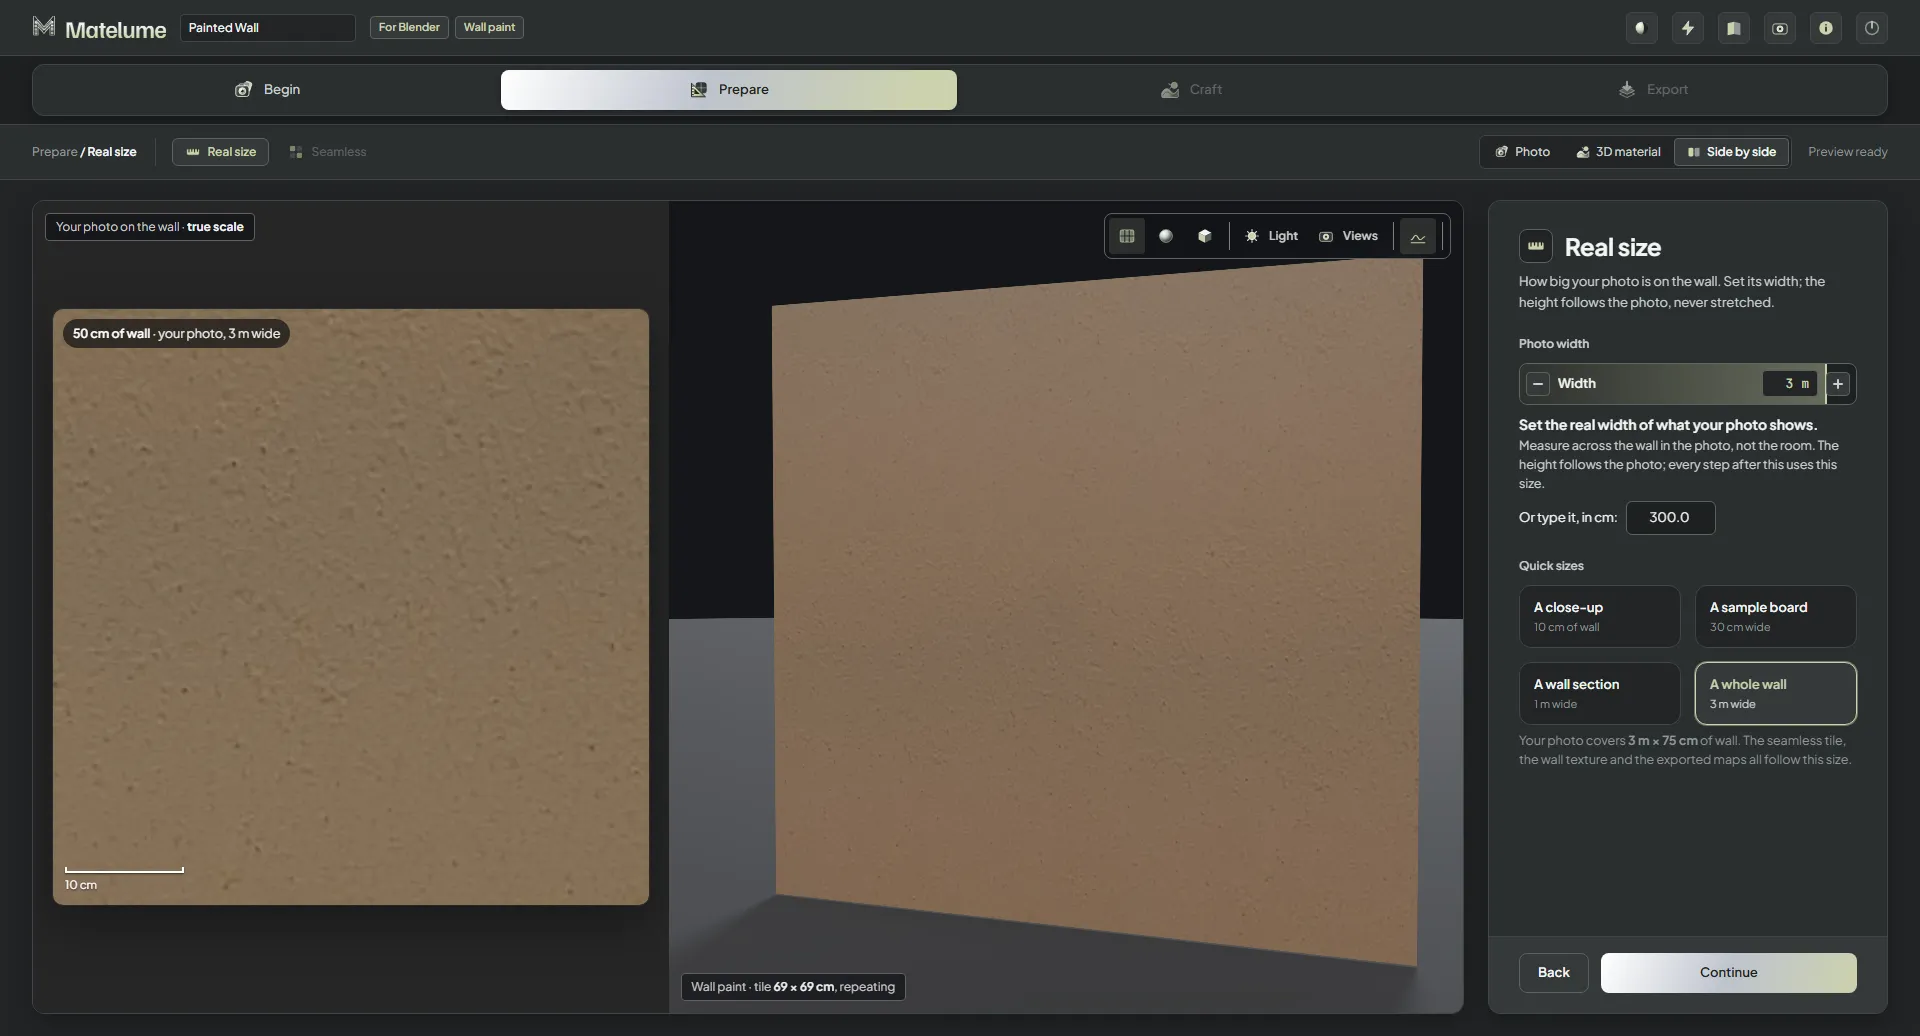
- Or pick one of the Quick sizes: A close-up (10 cm of wall), A sample board (30 cm wide), A wall section (1 m wide) or A whole wall (3 m wide).
- Click Continue.
The height follows the photo and is never stretched. The panel says how much wall your photo covers; the seamless tile, the wall texture and the exported maps all follow this size.
Seamless
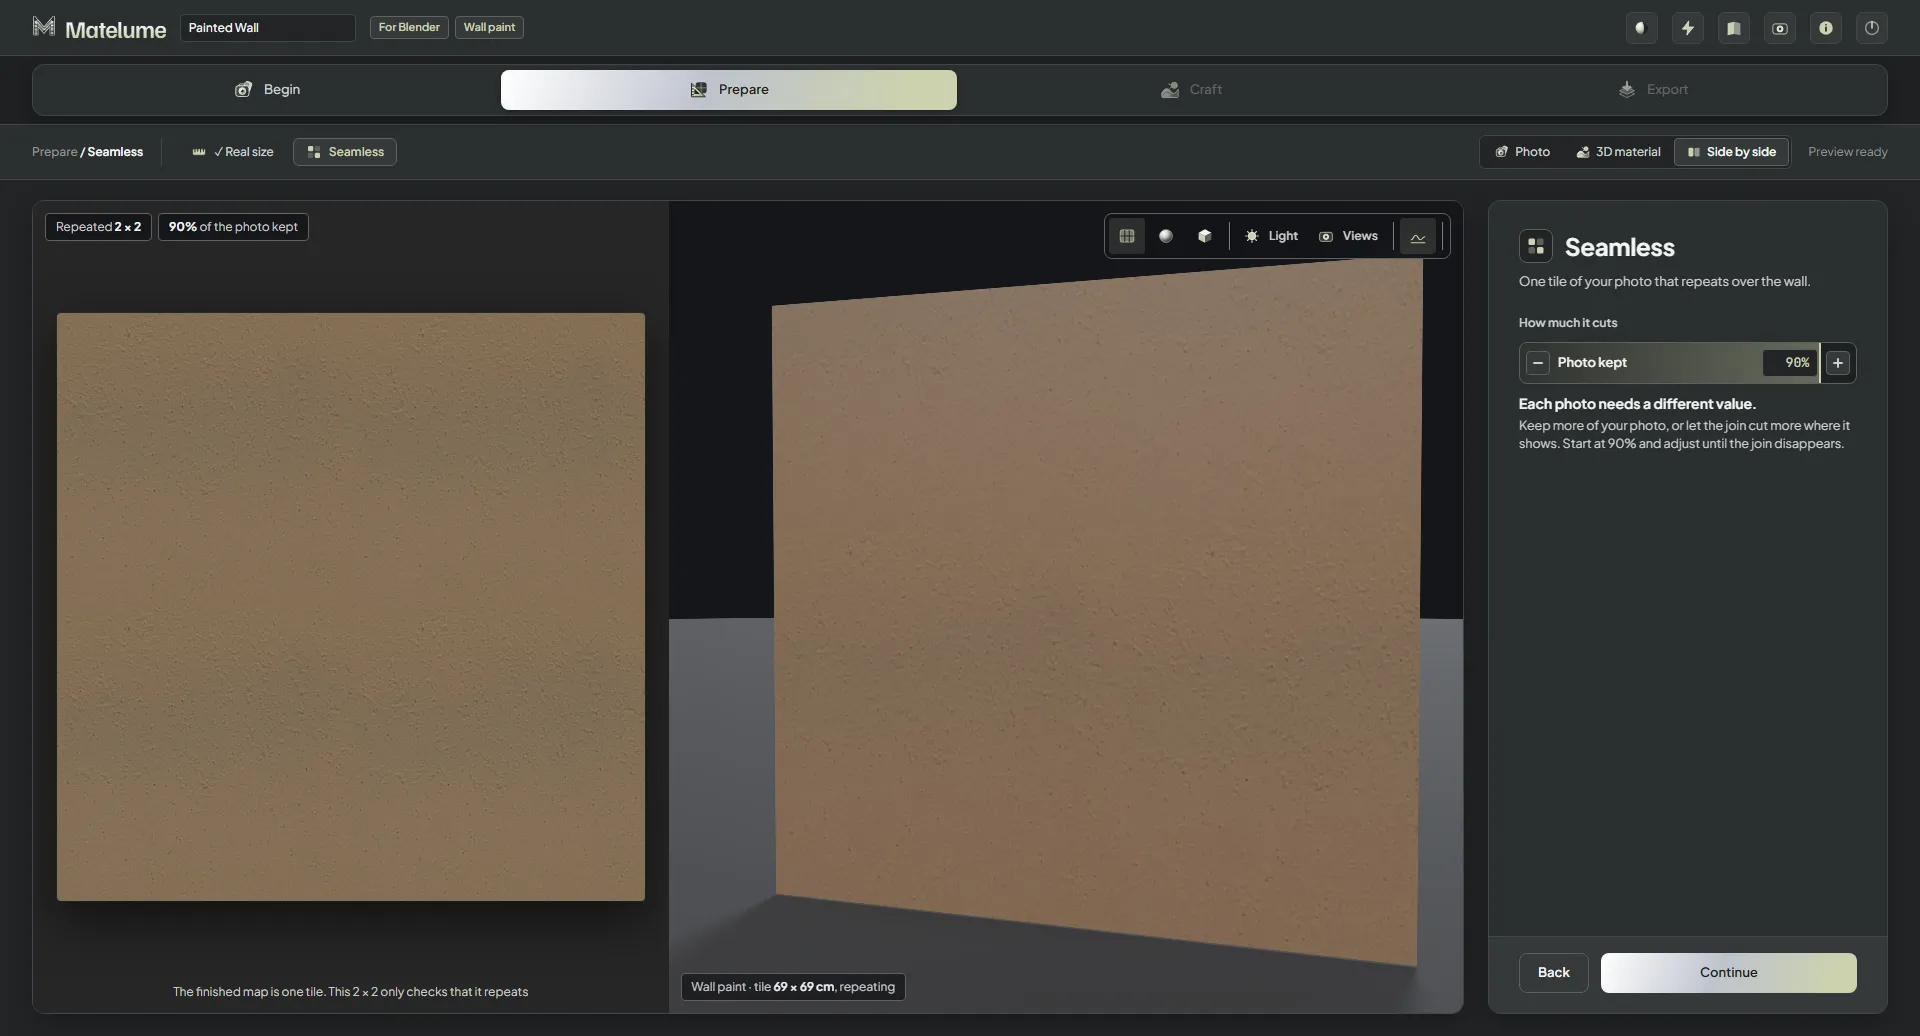
- On the Seamless step, start with Photo kept at 90 %.
- Keep more of your photo, or let the join cut more where it shows. Adjust until the join disappears.
- Click Continue.
Each photo needs a different value. The finished map is one tile; the 2 × 2 view only checks that it repeats.