

Wall paint
Exporting wall paint
Export the full-quality maps of your paint for the programs you use.
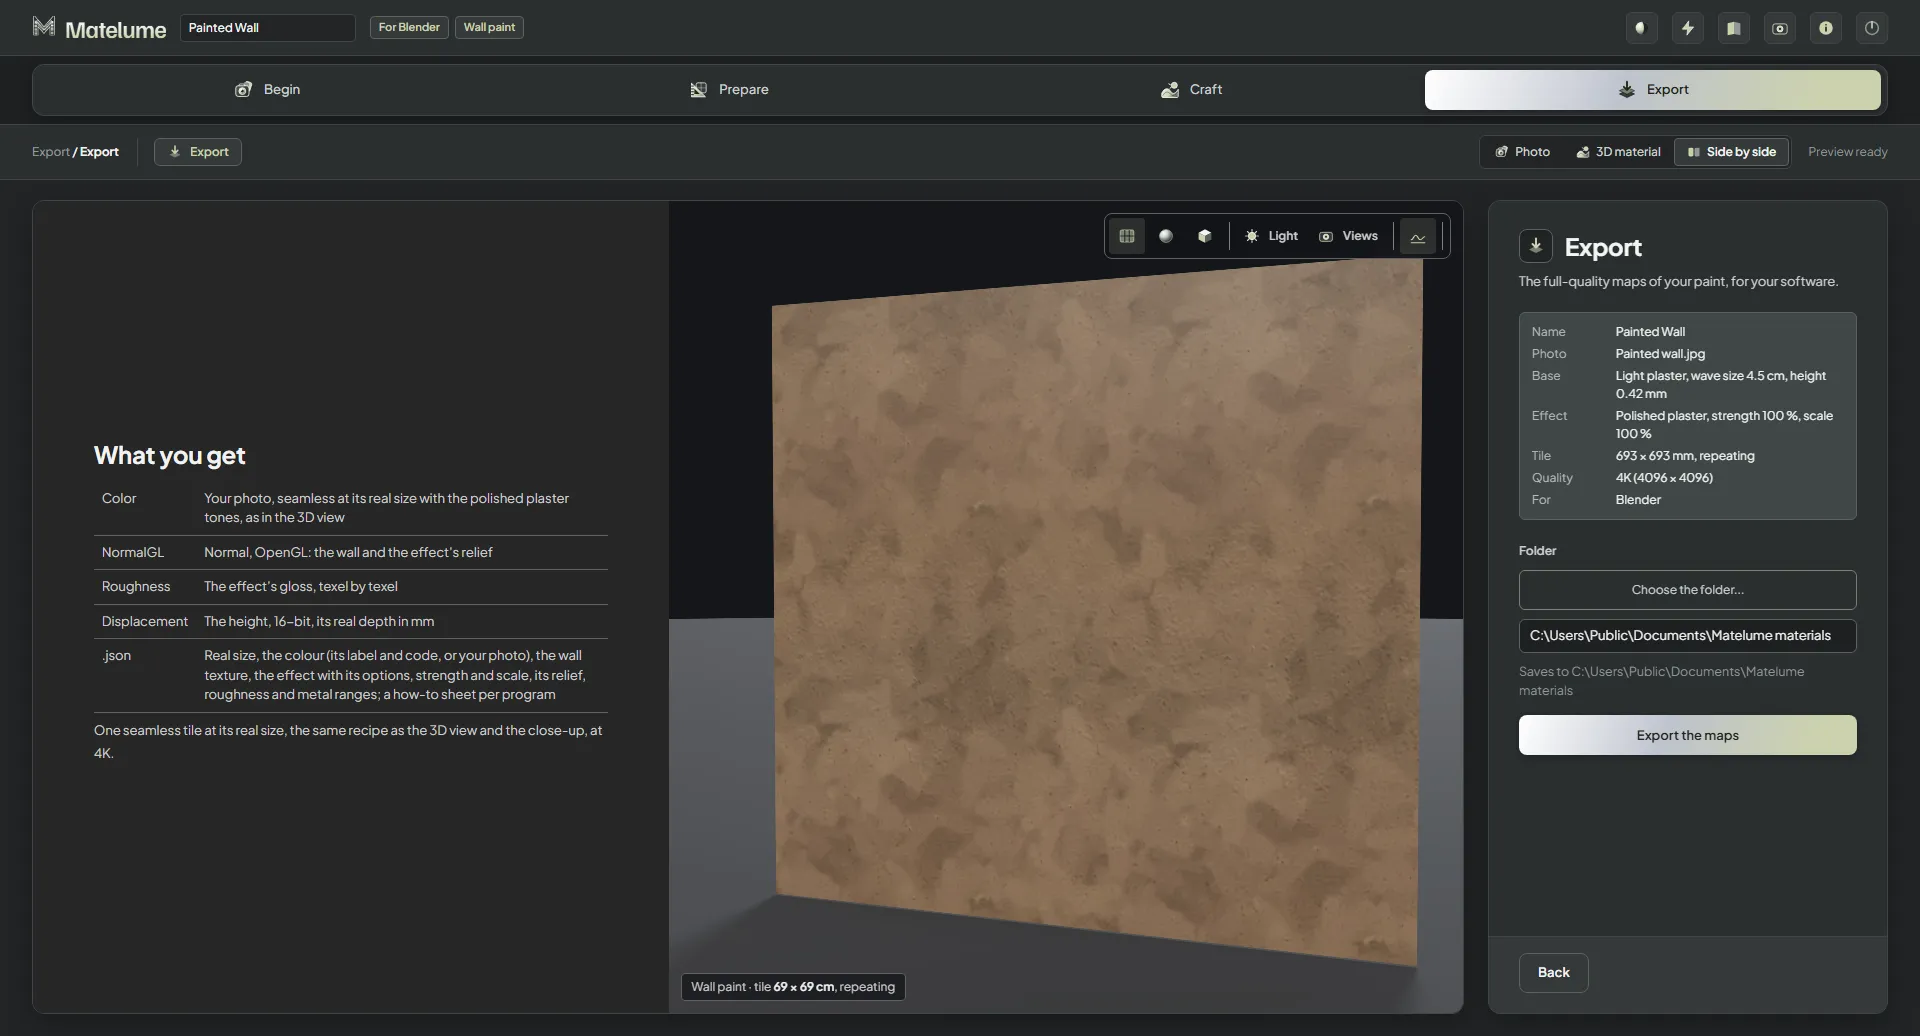
Export the maps
- Check the summary: Name, Colour (or Photo), Base, Effect, Tile, Quality and For (your programs).
- Under Folder, click Choose the folder..., or type a folder into the box. The line under it shows where the maps are saved.
- Click Export the maps.
The export is one seamless tile at its real size, made with the same recipe as the 3D view and the close-up.
When it is done, Saved lists every file, with the map size and how long it took. Open the folder opens it, and Export again makes a new export.
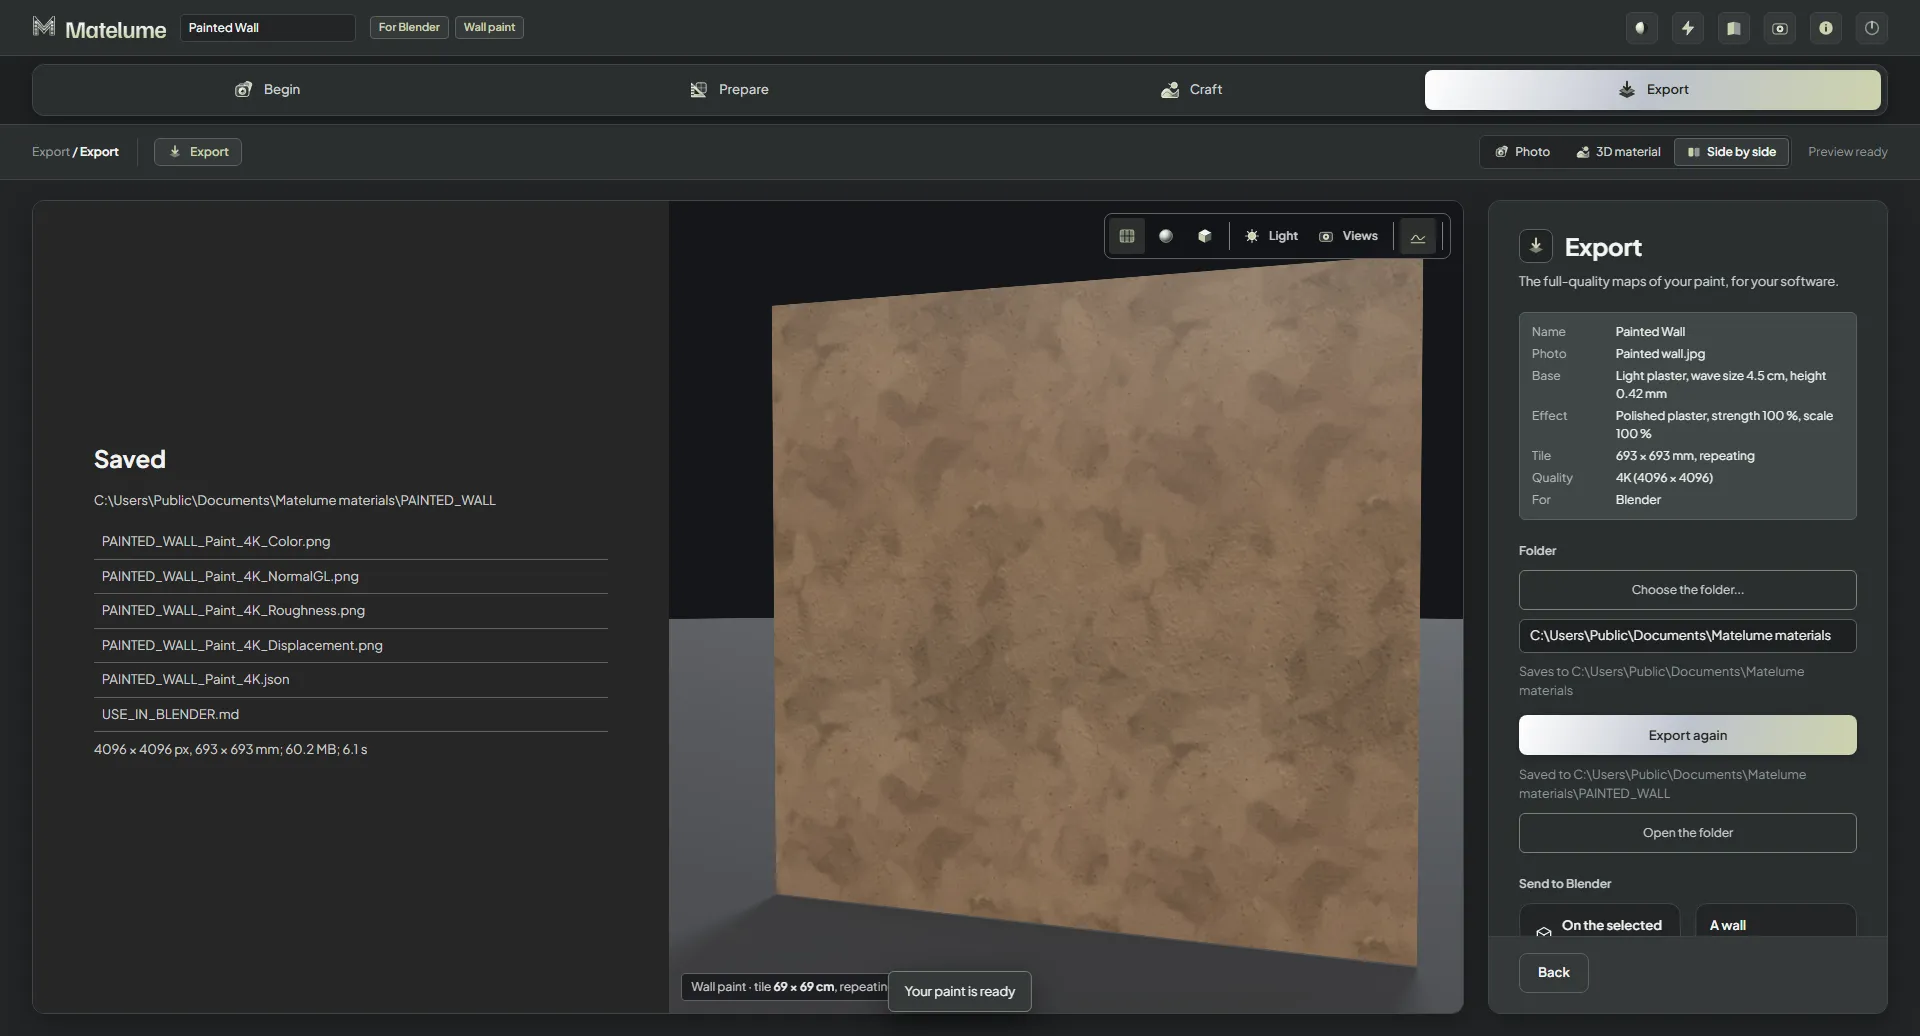
What you get
What you get lists the files for the programs you picked. For Blender:
- Color: your colour or photo with the effect's tones, as in the 3D view.
- NormalGL: the wall and the effect's relief.
- Roughness: the effect's gloss, texel by texel.
- Displacement: the height, 16-bit, with its real depth in mm.
- .json: the real size, the colour (its label and code, or your photo), the wall texture and the effect with its options, strength and scale, with a how-to sheet for each program.
For a photo, Even out the light and Flatten colours from the Photo step are in the exported maps.
Your programs
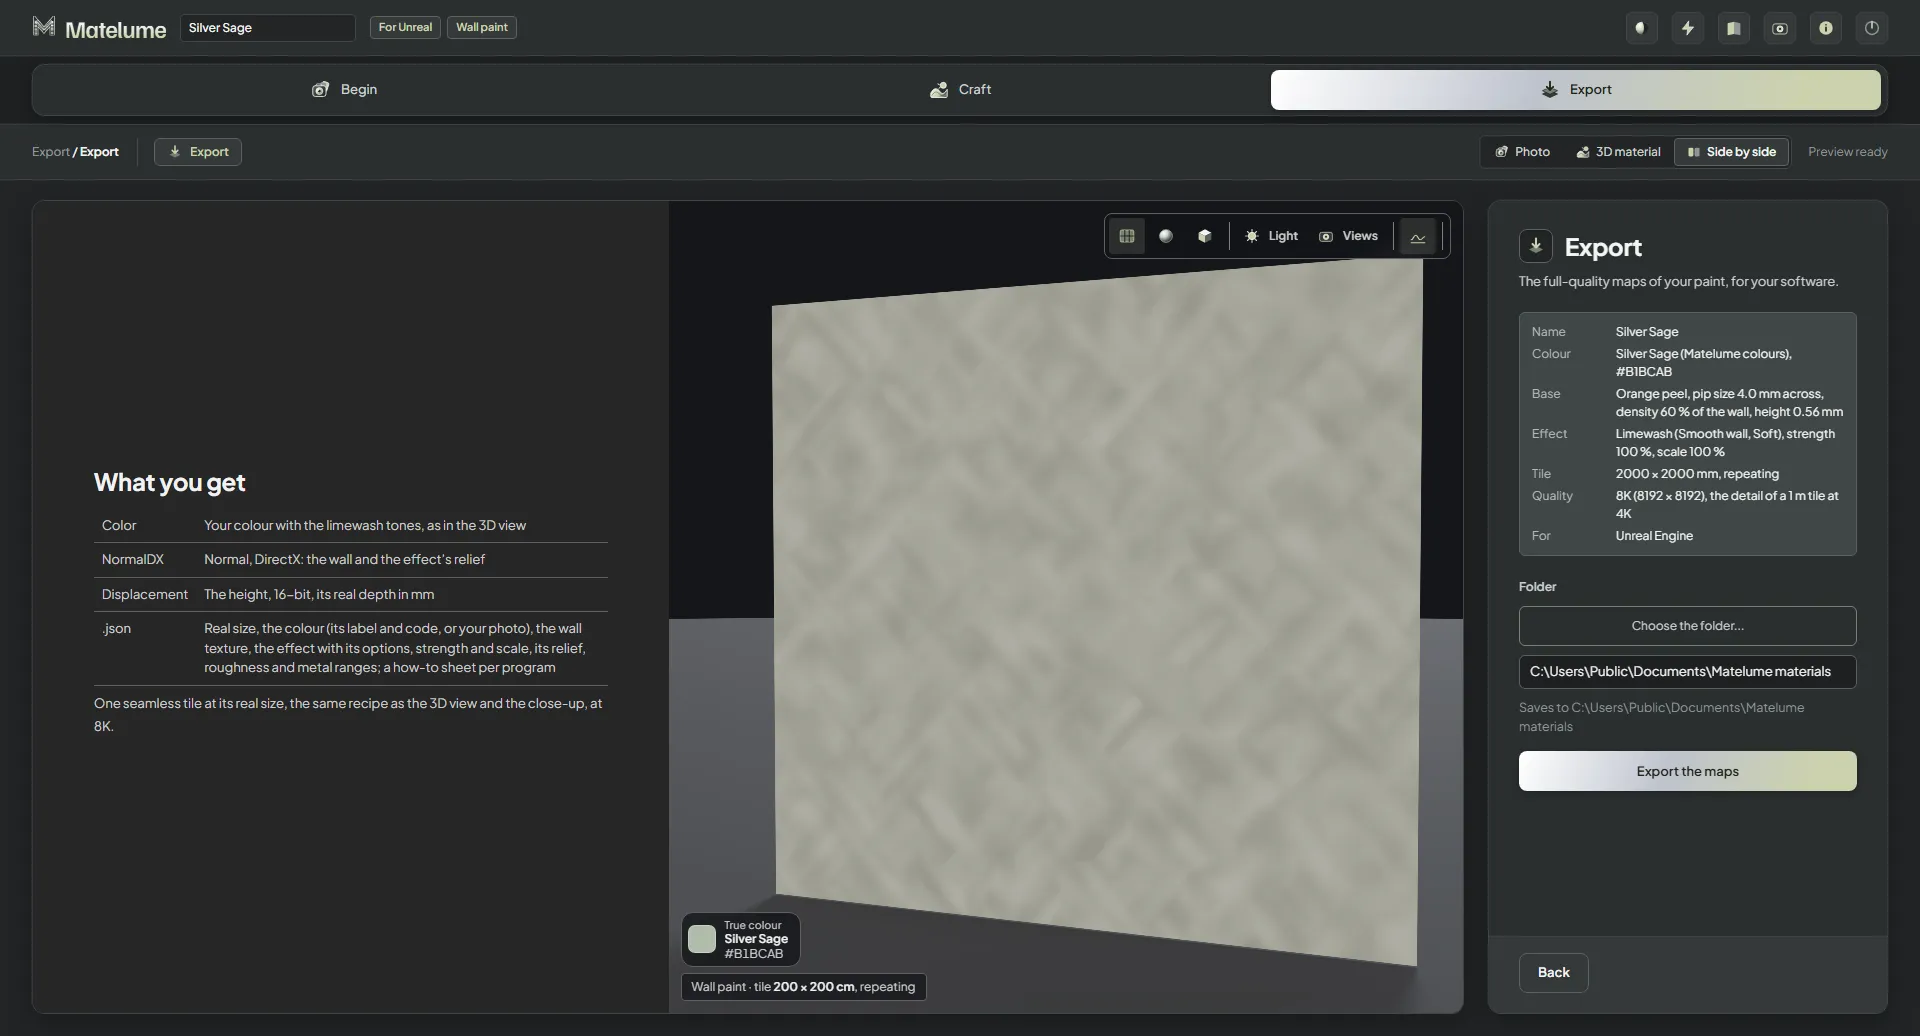
Each program you picked under Your software gets its own list. For Unreal Engine, for example: Color, NormalDX and Displacement. Export your material explains the maps.
Send to Blender
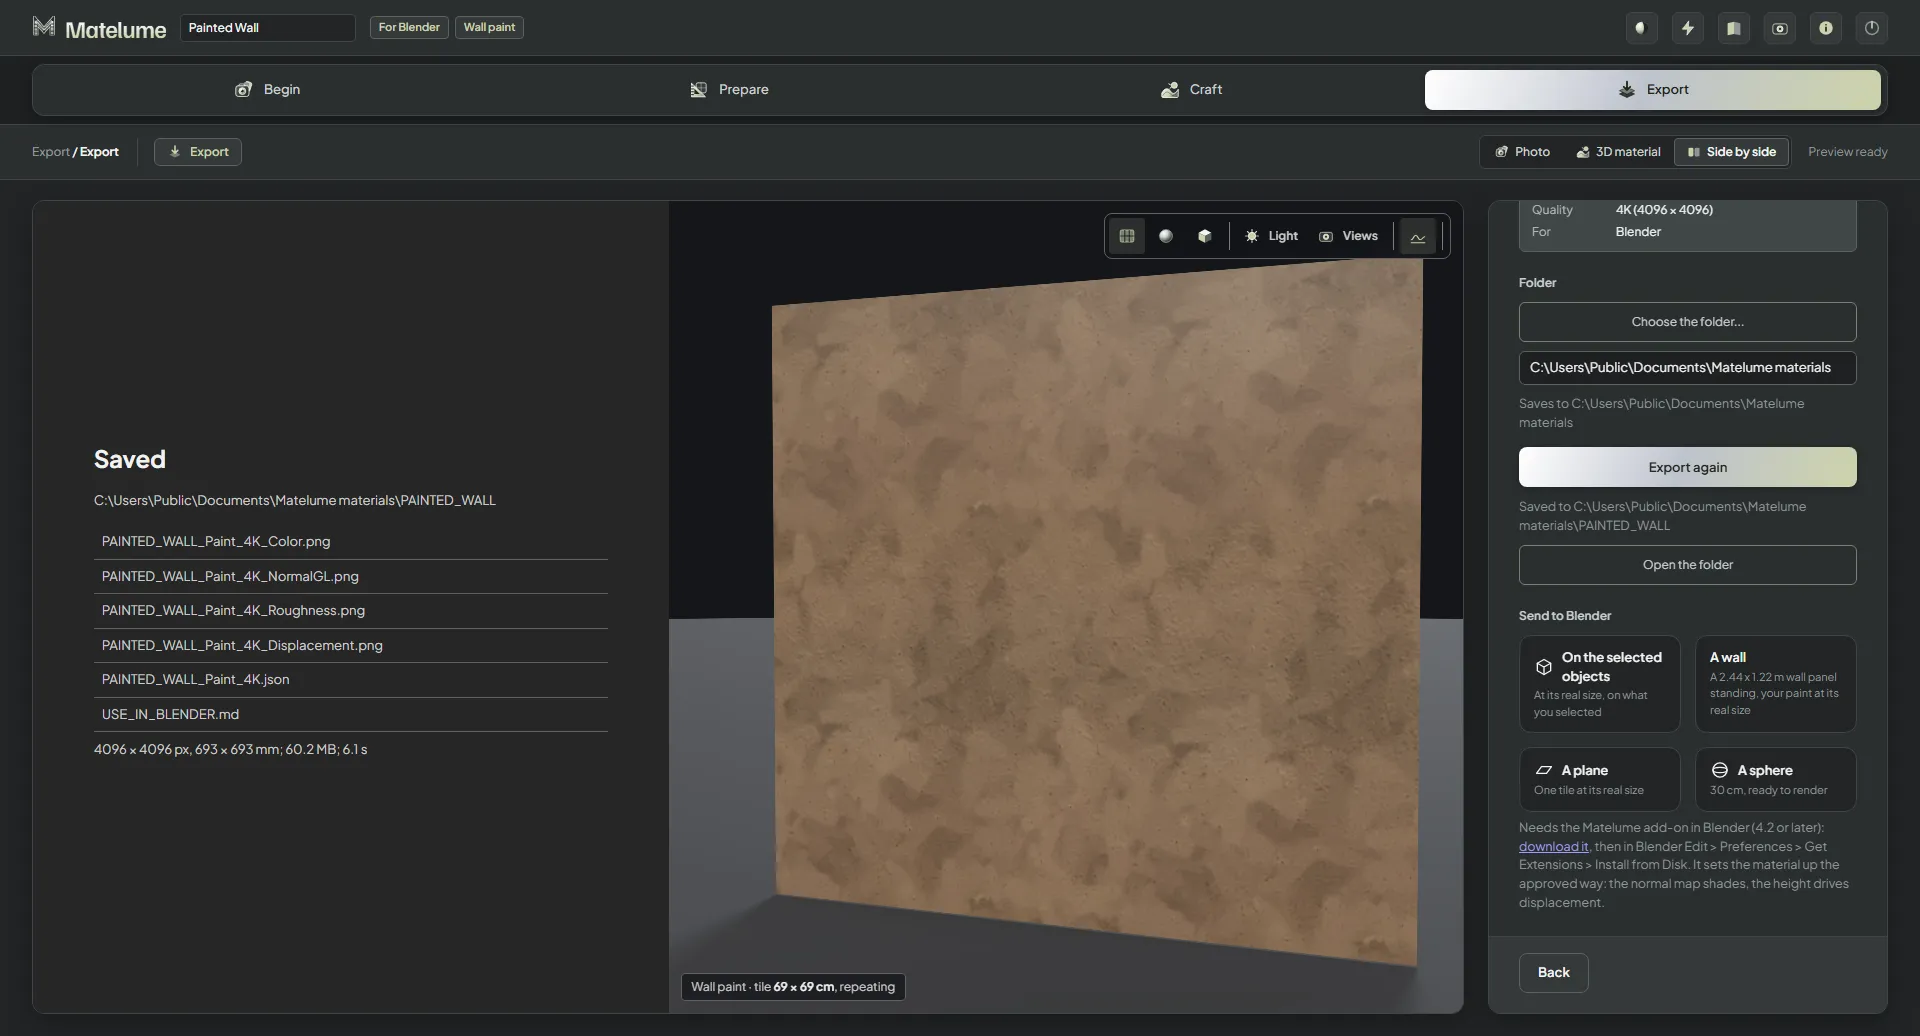
After the export, Send to Blender brings your paint into Blender: On the selected objects at its real size, A wall (a 2.44 × 1.22 m wall panel standing, with your paint at its real size), A plane (one tile at its real size) or A sphere (30 cm, ready to render). It needs the Matelume add-on in Blender. Use Matelume in Blender
Render in Blender: the Studio no longer renders with Cycles itself. The live 3D view stays.