

Wall paint
Wall paint overview
Make a painted wall from a colour or a photo: the wall under the paint, a decorative effect if you want one, and the finish.
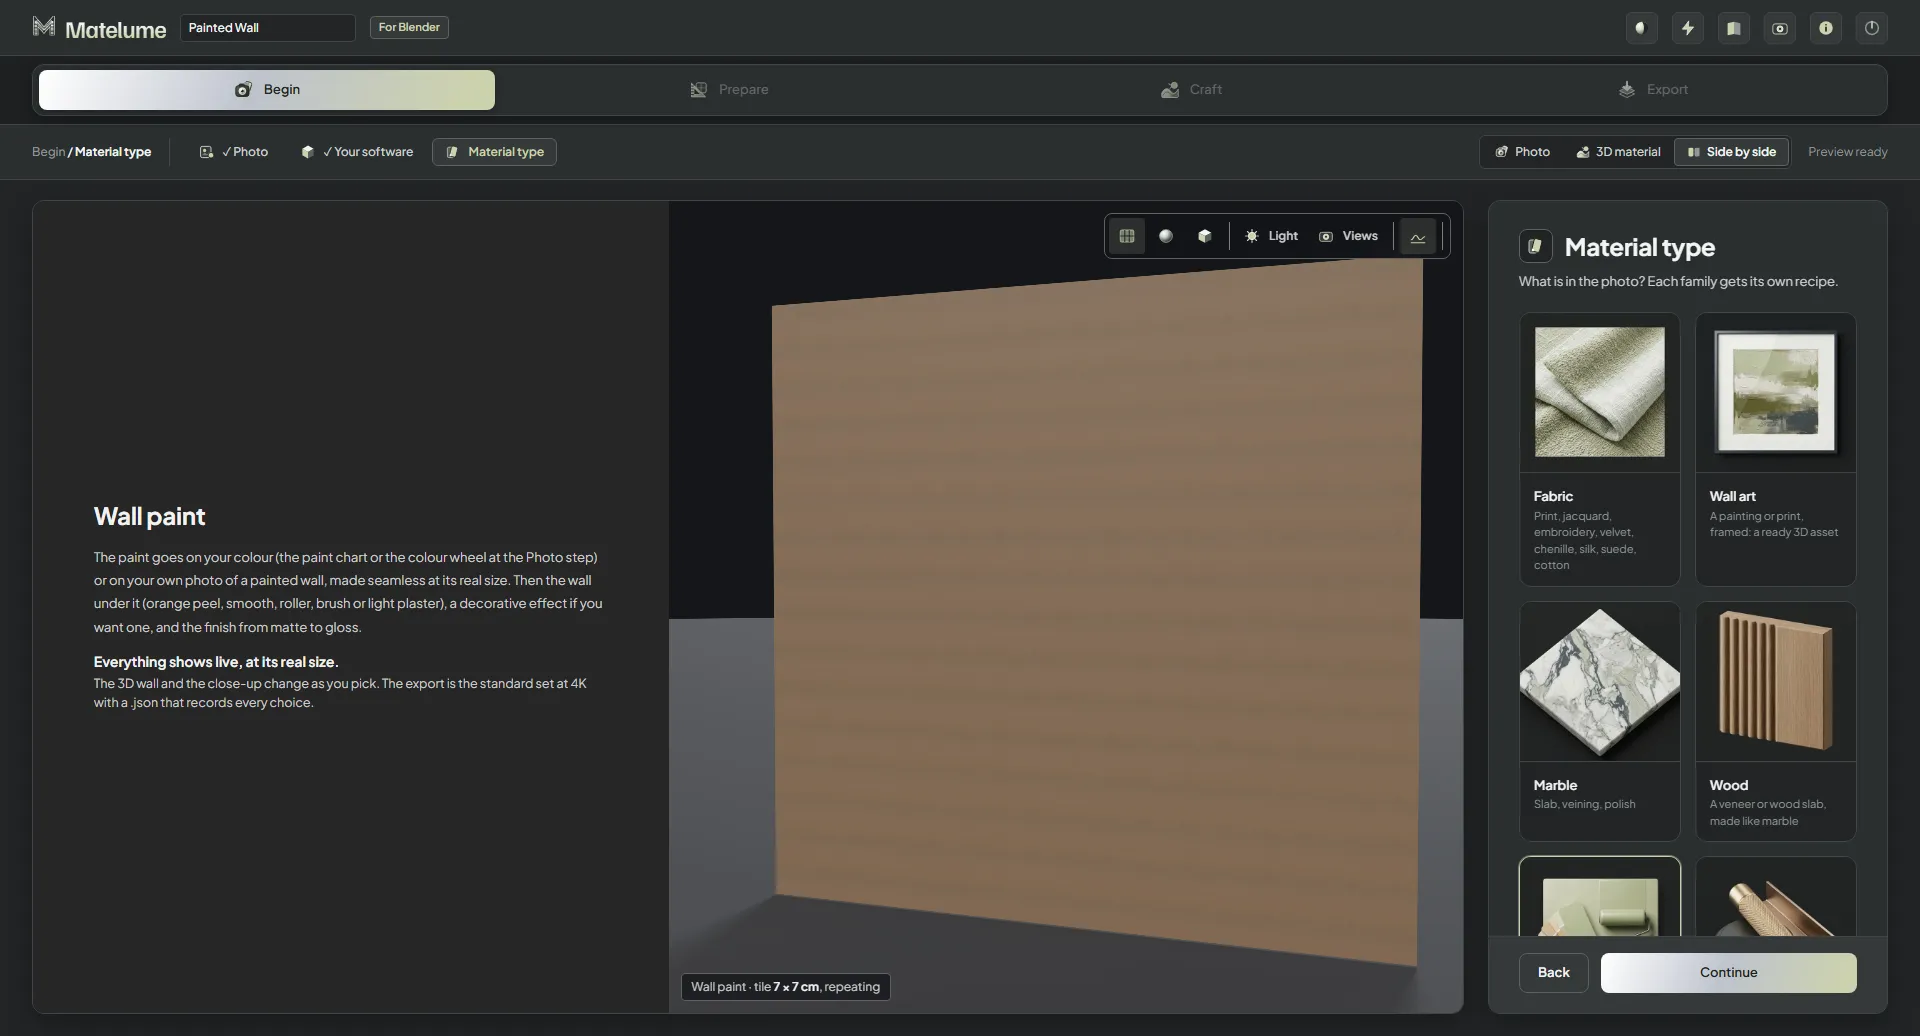
The steps
- Begin: start from a colour (Colour catalogue or Colour wheel) or from a photo of a painted wall, pick your programs, then choose Wall paint. Start from a colour or a photo
- Prepare, for a photo only: set its Real size, then make it Seamless. Real size and seamless
- Base: the wall under the paint: Orange peel, Smooth, Roller, Brush or Light plaster. Base
- Effect and Finish: a decorative paint if you want one, and how much it shines. Looks and finish
- Export: the maps for your programs. Exporting wall paint
Everything shows live
The 3D wall and the close-up change as you pick, at the real size. Wall paint opens on a wall, its usual object. The export is the standard set, with a .json that records every choice.
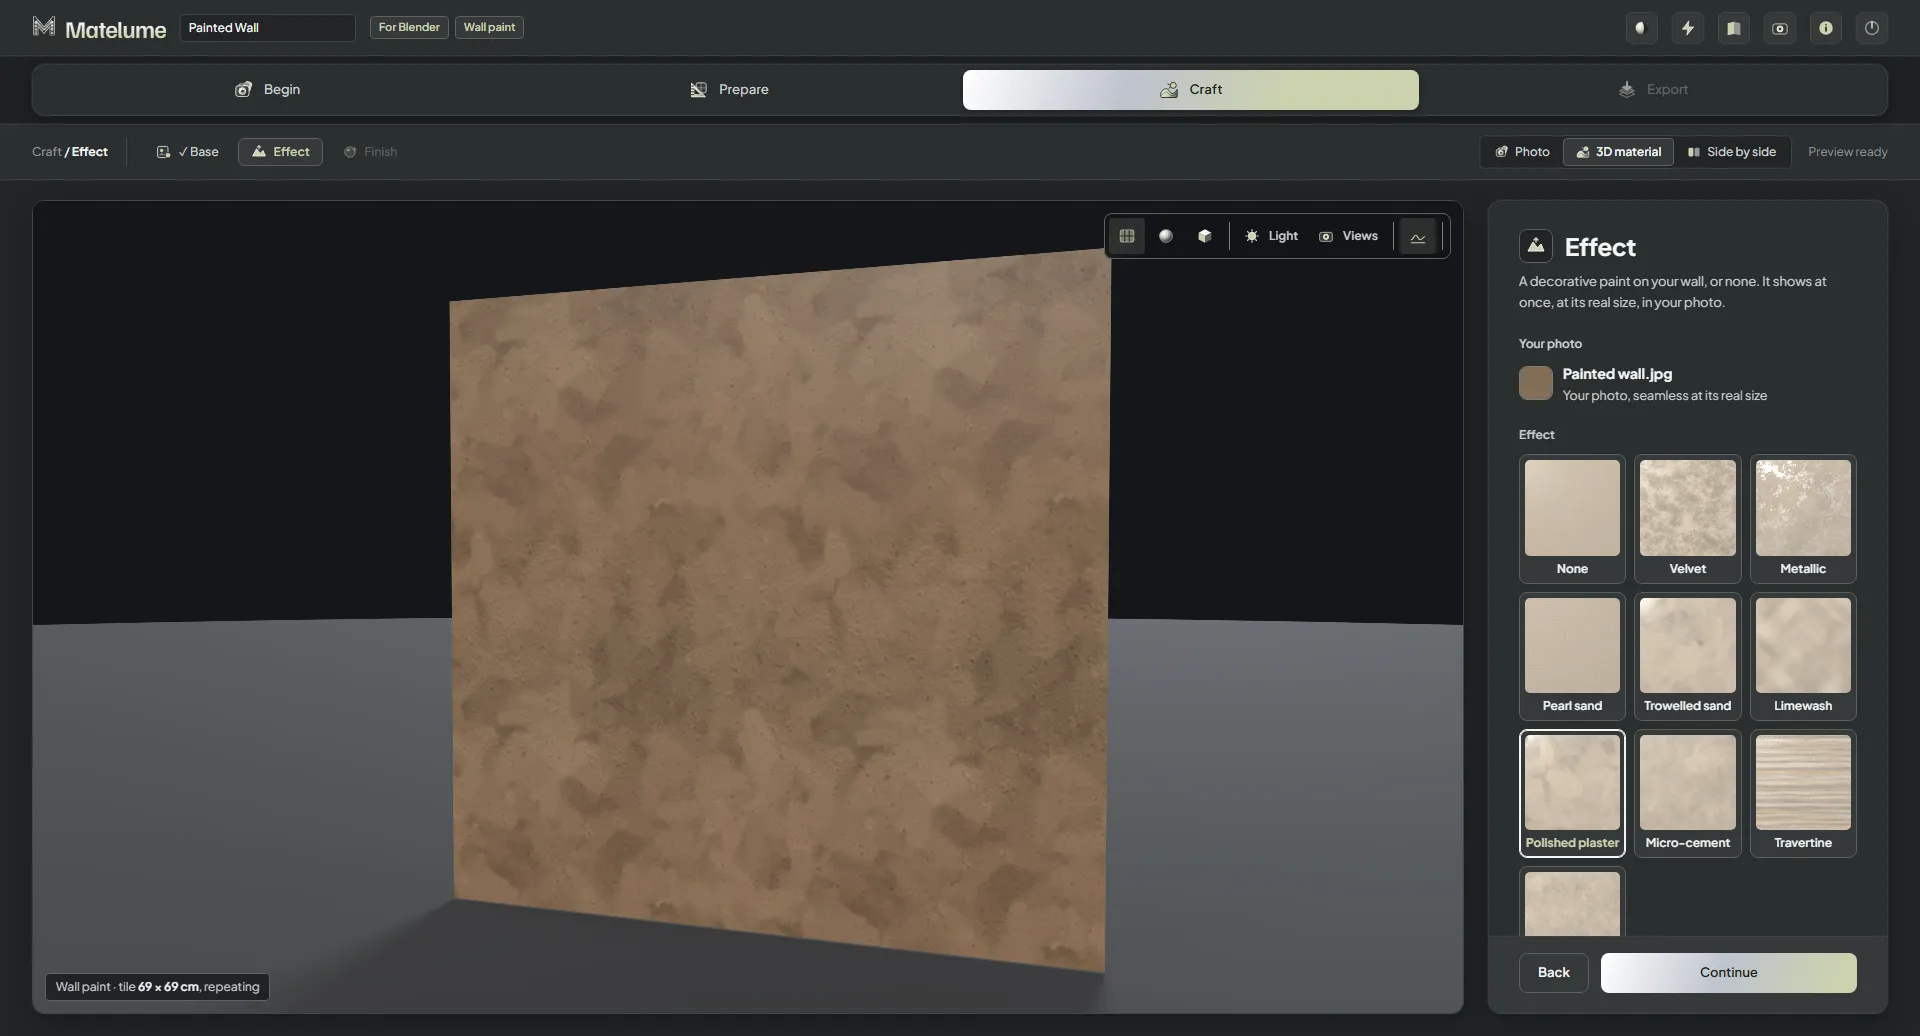
Under Views in the 3D view, Close-up 30 cm, Furniture 1.5 m and Room 4 m show the wall from those true distances. They change the preview only; the maps stay the same.
Faster in 2.0
Wall paint is about twice as fast as before. On an RTX 3090, a measured paint from a colour took 18 seconds instead of 45, and one from a photo 27 seconds instead of 48. The time depends on your PC.