

Wall paint
Start from a colour or a photo
Begin your wall paint with a colour, or with a photo of a painted wall.
From a colour
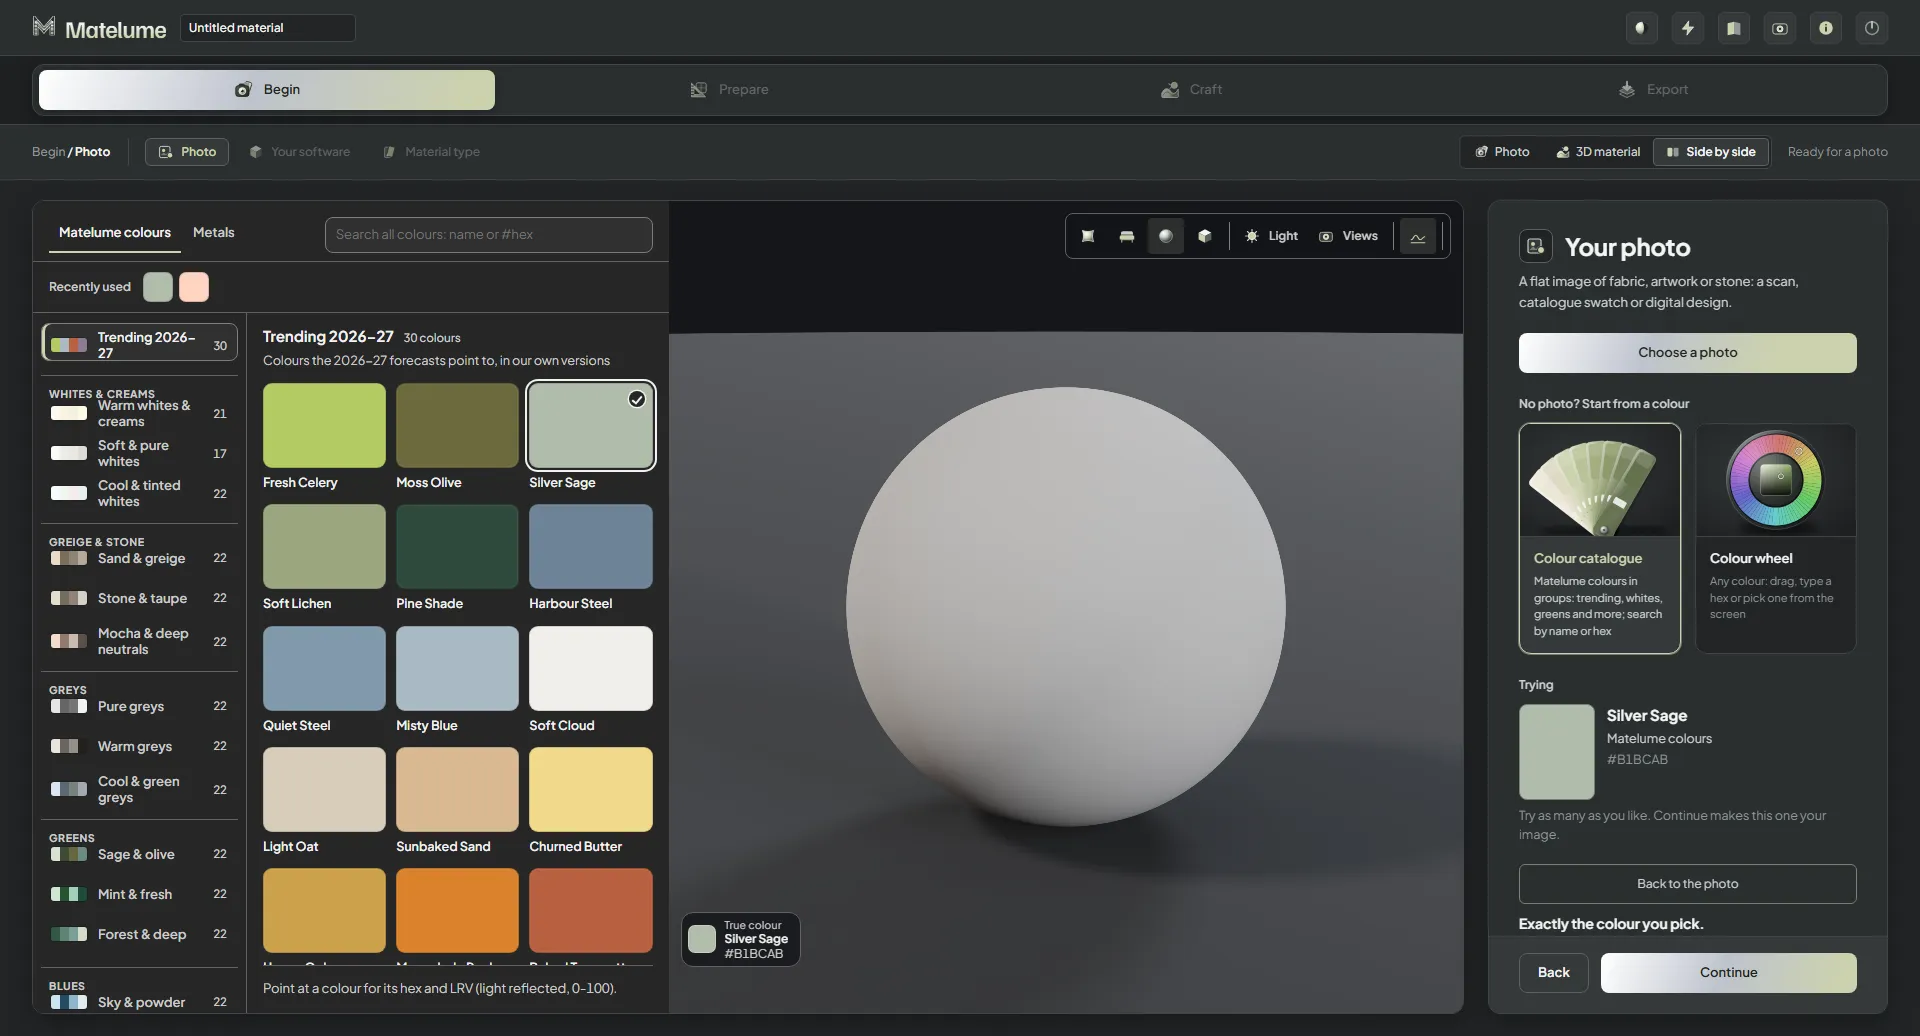
- On the Photo step, under No photo? Start from a colour, click Colour catalogue or Colour wheel.
- In the catalogue, browse Matelume colours by group (trending, whites, greens and more), or search by name or hex. The wheel takes any colour: drag, type a hex or pick one from the screen.
- Click a colour to try it in 3D. Try as many as you like.
- Click Continue: the colour becomes your image.
A new colour starts fresh: nothing is carried over from your last paint.
From a photo
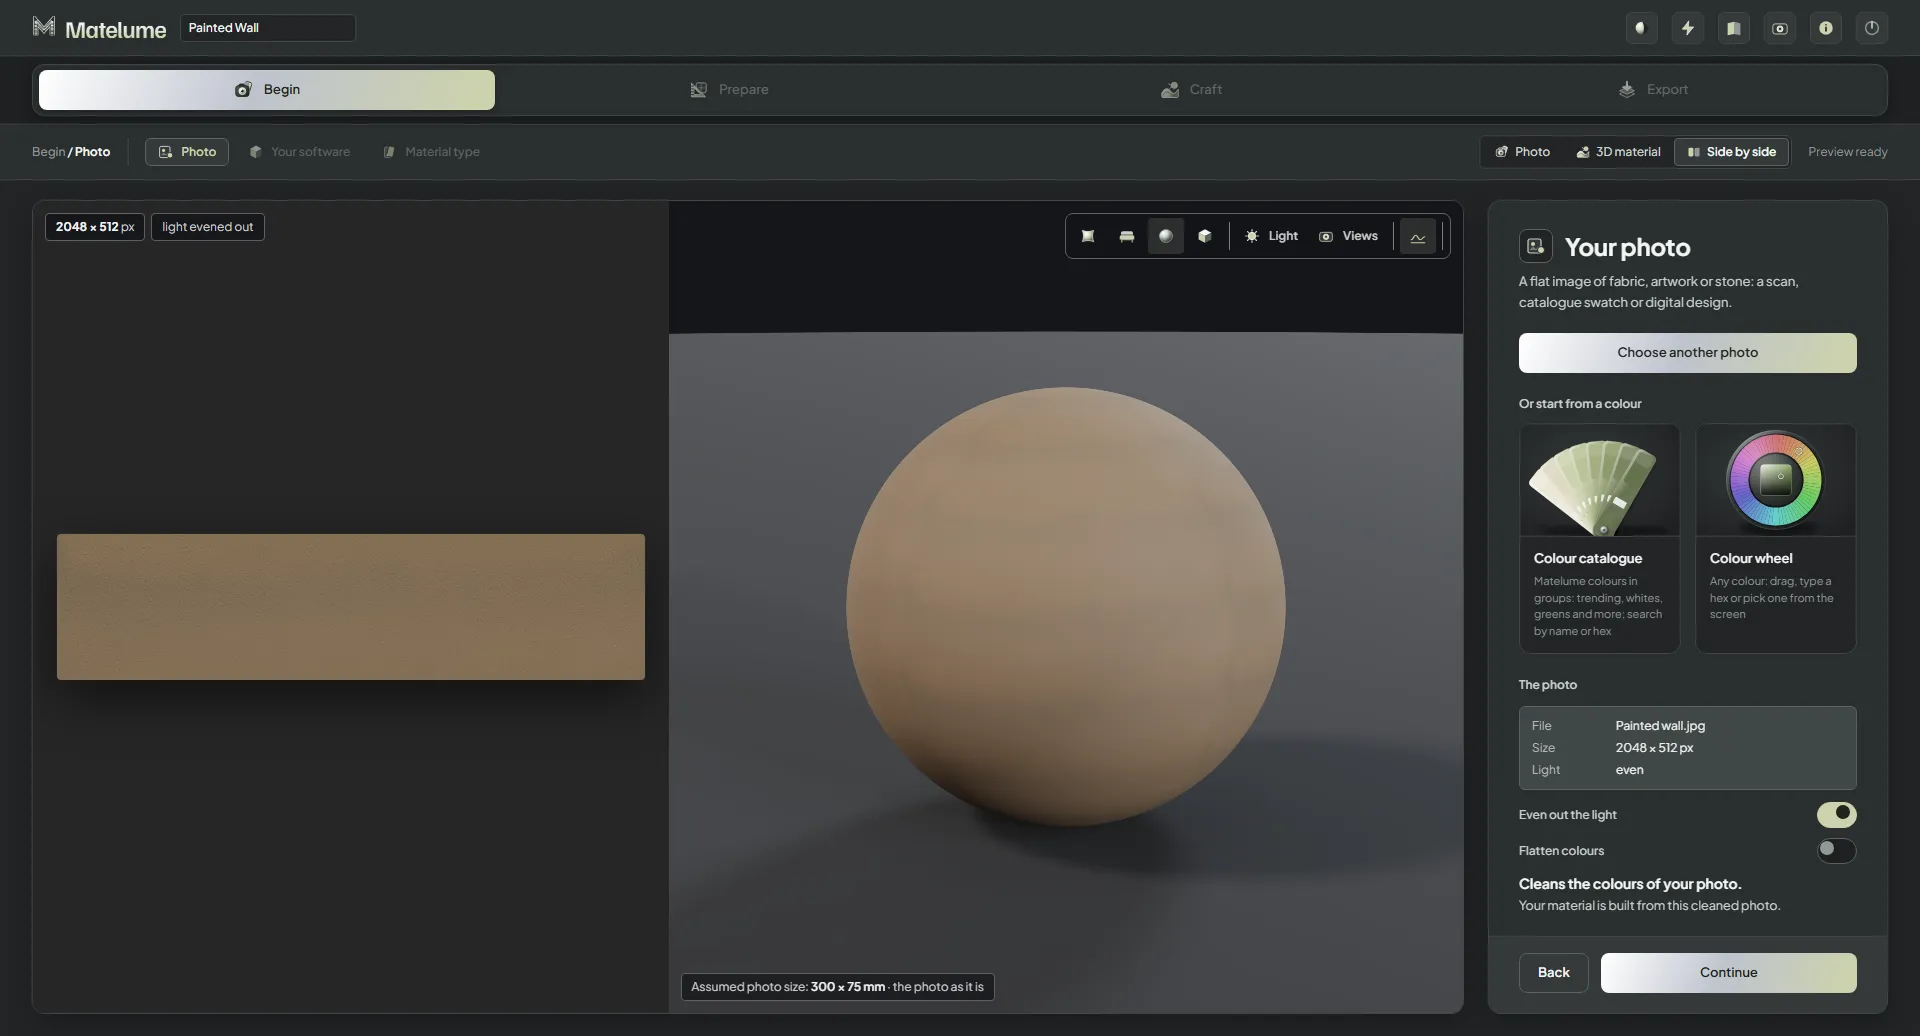
- On the Photo step, click Choose a photo and pick a flat photo of a painted wall.
- Check The photo: its File, Size and Light.
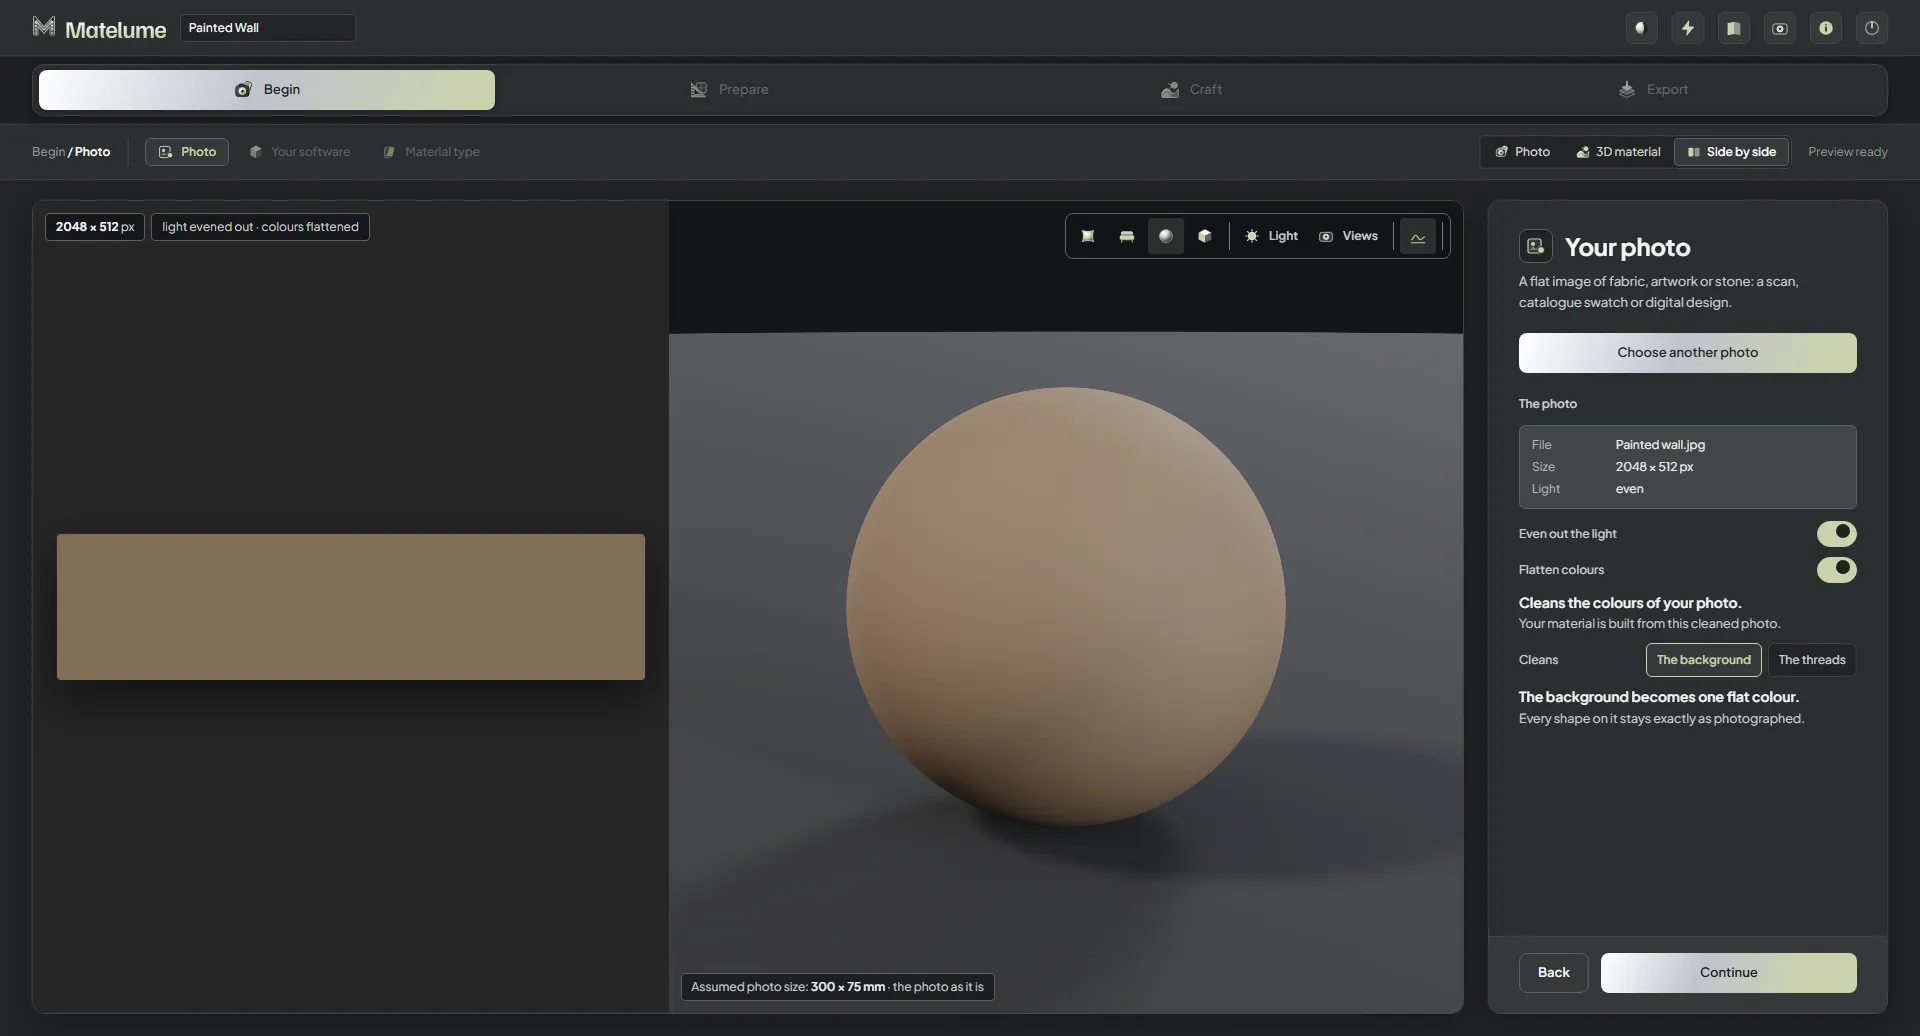
- Set the two switches under it: Even out the light and Flatten colours, which cleans the colours of your photo.
- Click Continue.
New in 2.0: both switches reach the export. Your material is built from the cleaned photo.
Choose Wall paint
- Under Your software, pick one or more programs.
- Under Material type, choose Wall paint and click Continue.
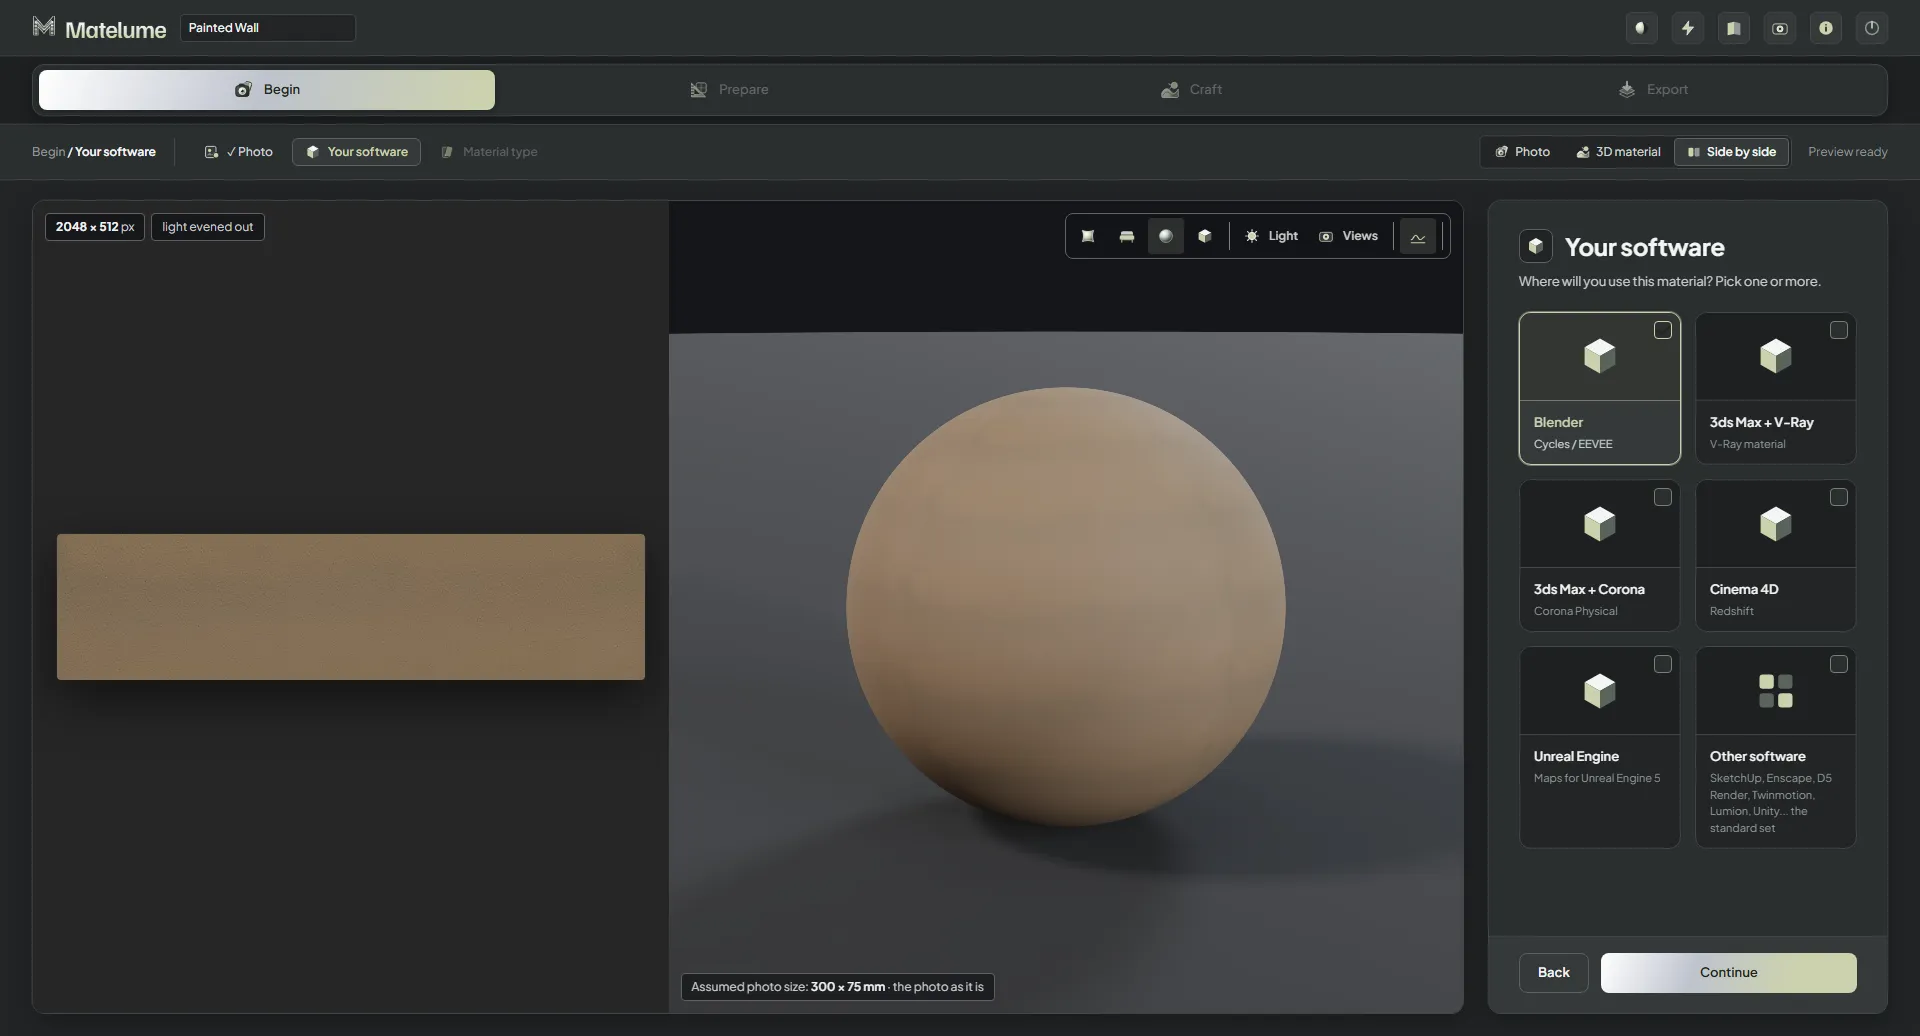
A colour goes straight to the Base step. A photo first gets its real size and its seamless tile.